

Three years ago, I drew up the design for these “QRS-Tree-UV” alphabet boards. I wrote about my design process in this post back then. I’ve had some fun revisiting the design and carving these three new boards. There they sit among the oak leaves in the sun, just a day or two before this week’s snowfall. These three are available for purchase and so is the pattern.
First, the pattern. It always takes me longer to design lettering than it does to carve it. It is time well spent. I’ve finally gotten around to setting things up to make this design available and I hope it encourages you to carve it. Or maybe you can apply it to other mediums. It’s all set up HERE if you’d like to check things out in more detail. If you have any questions, let me know and I’ll be happy to answer and update the page accordingly.
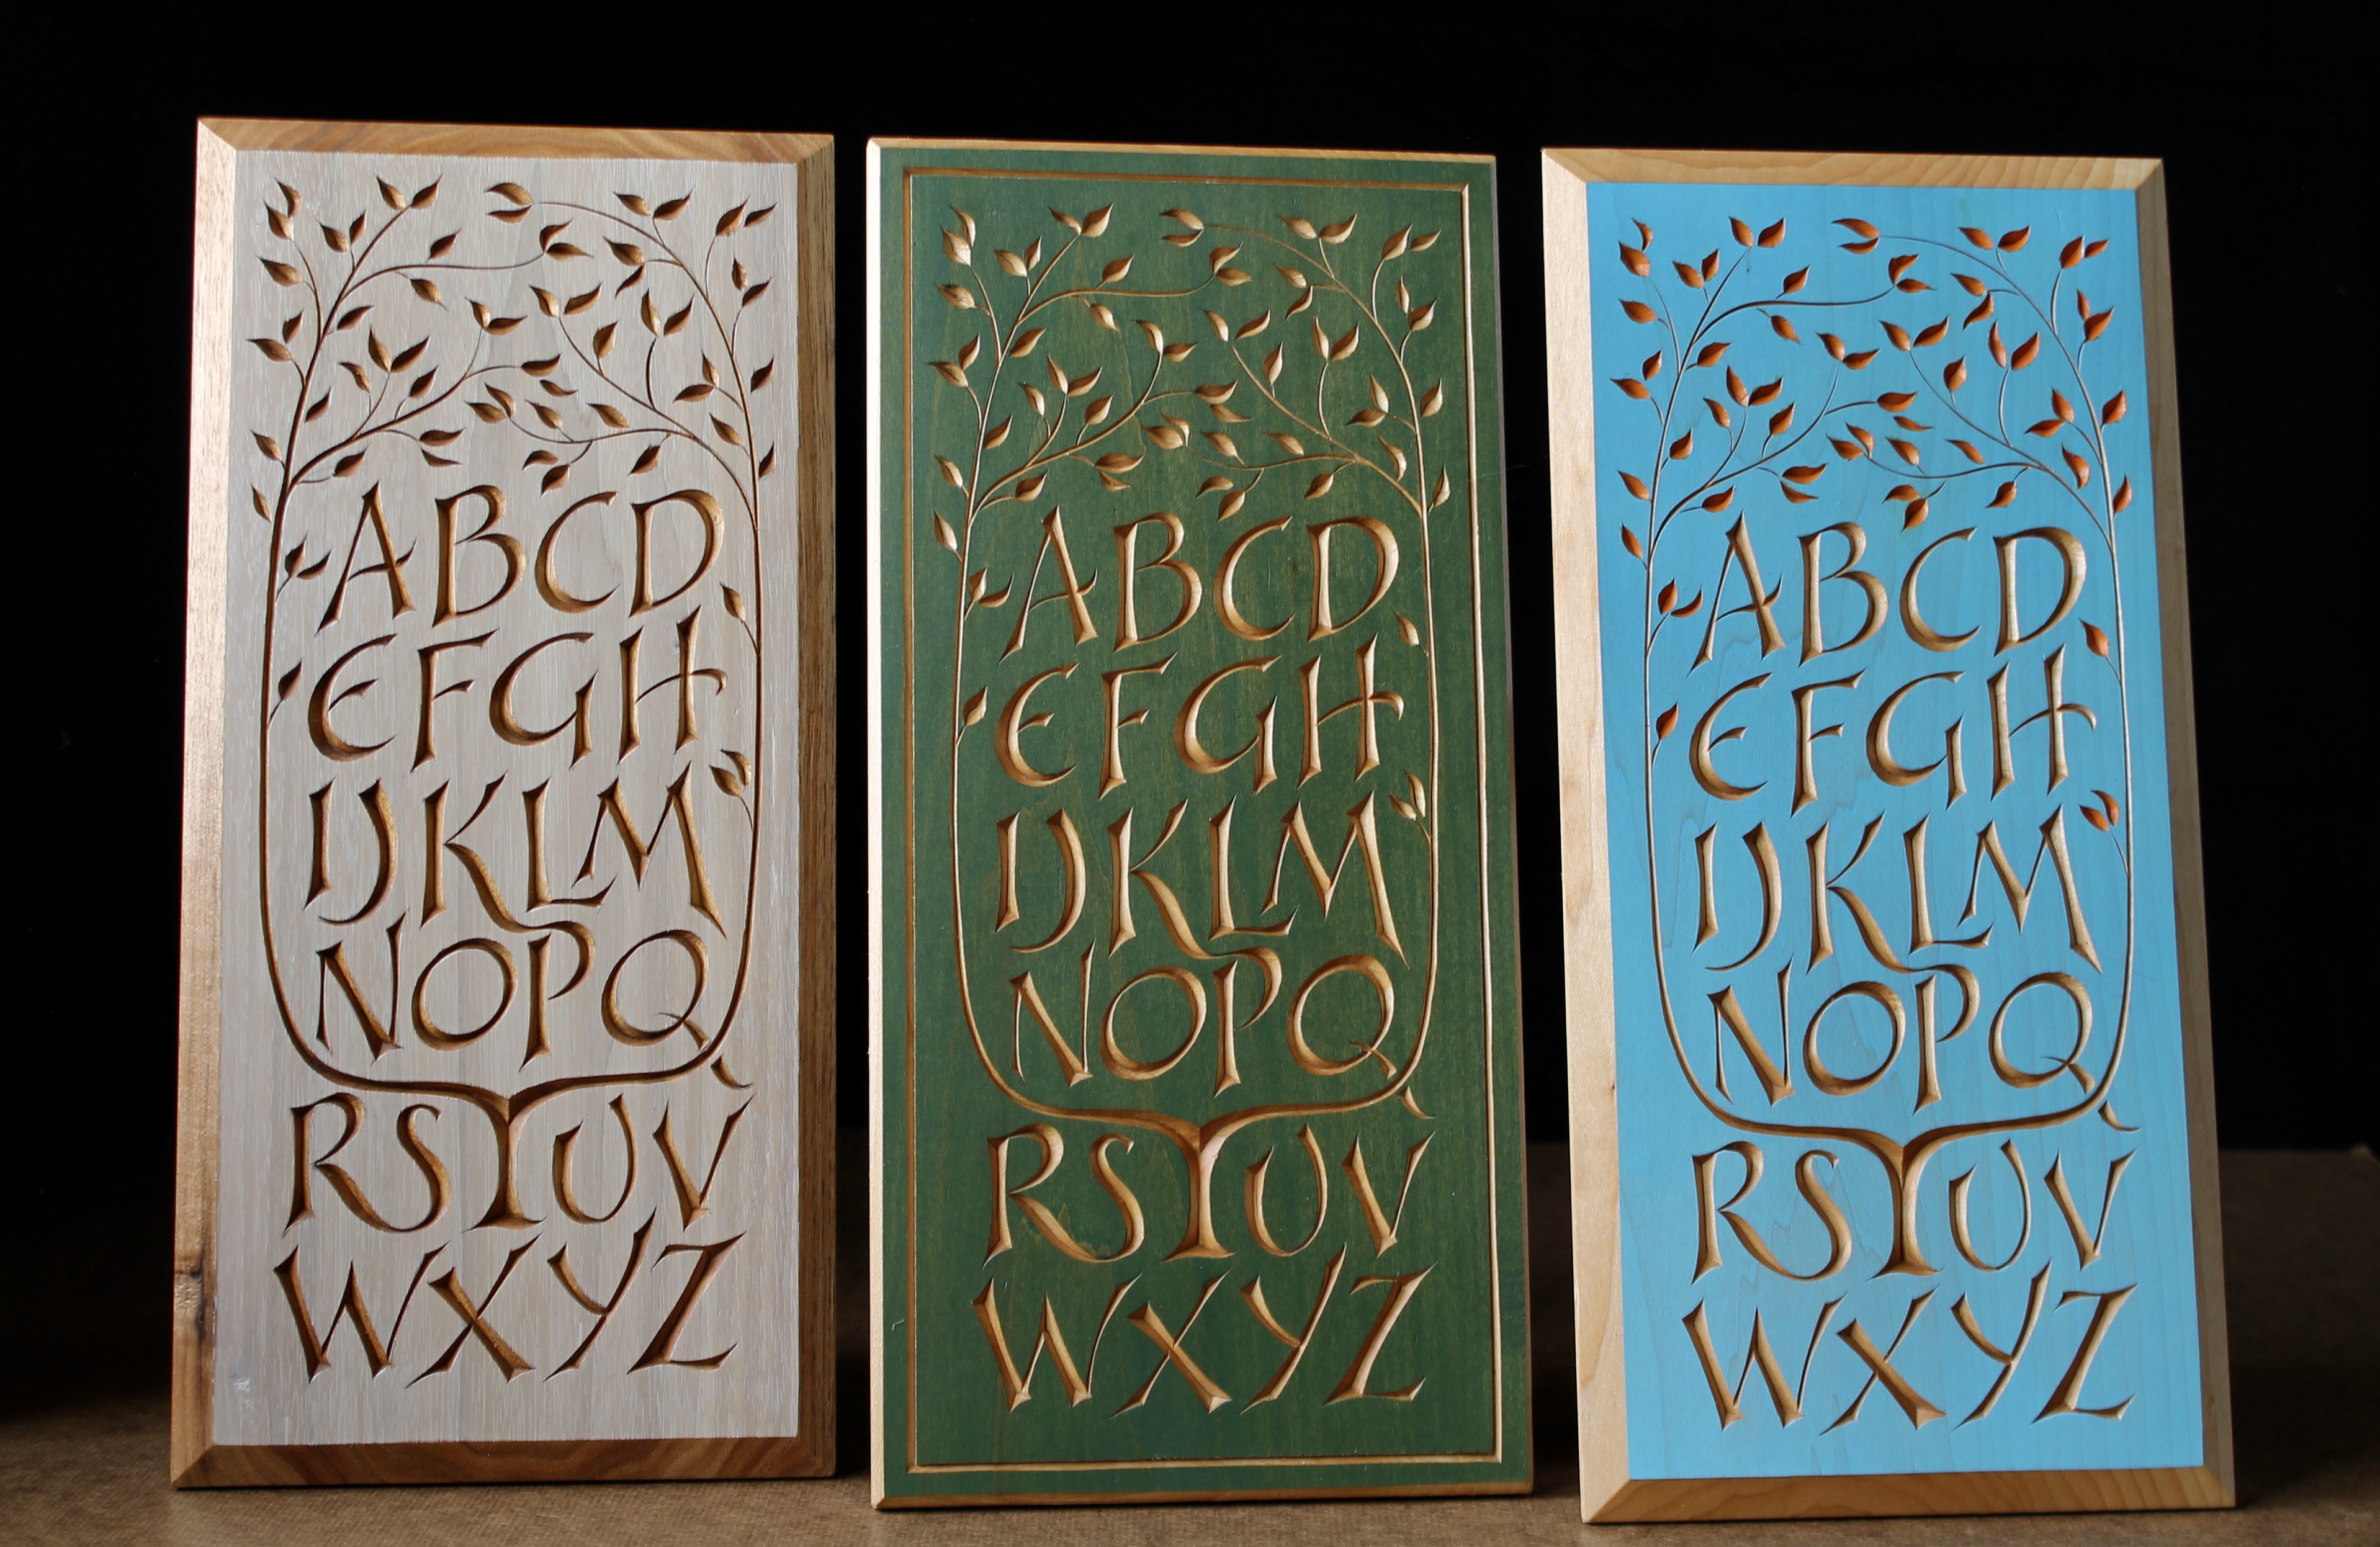
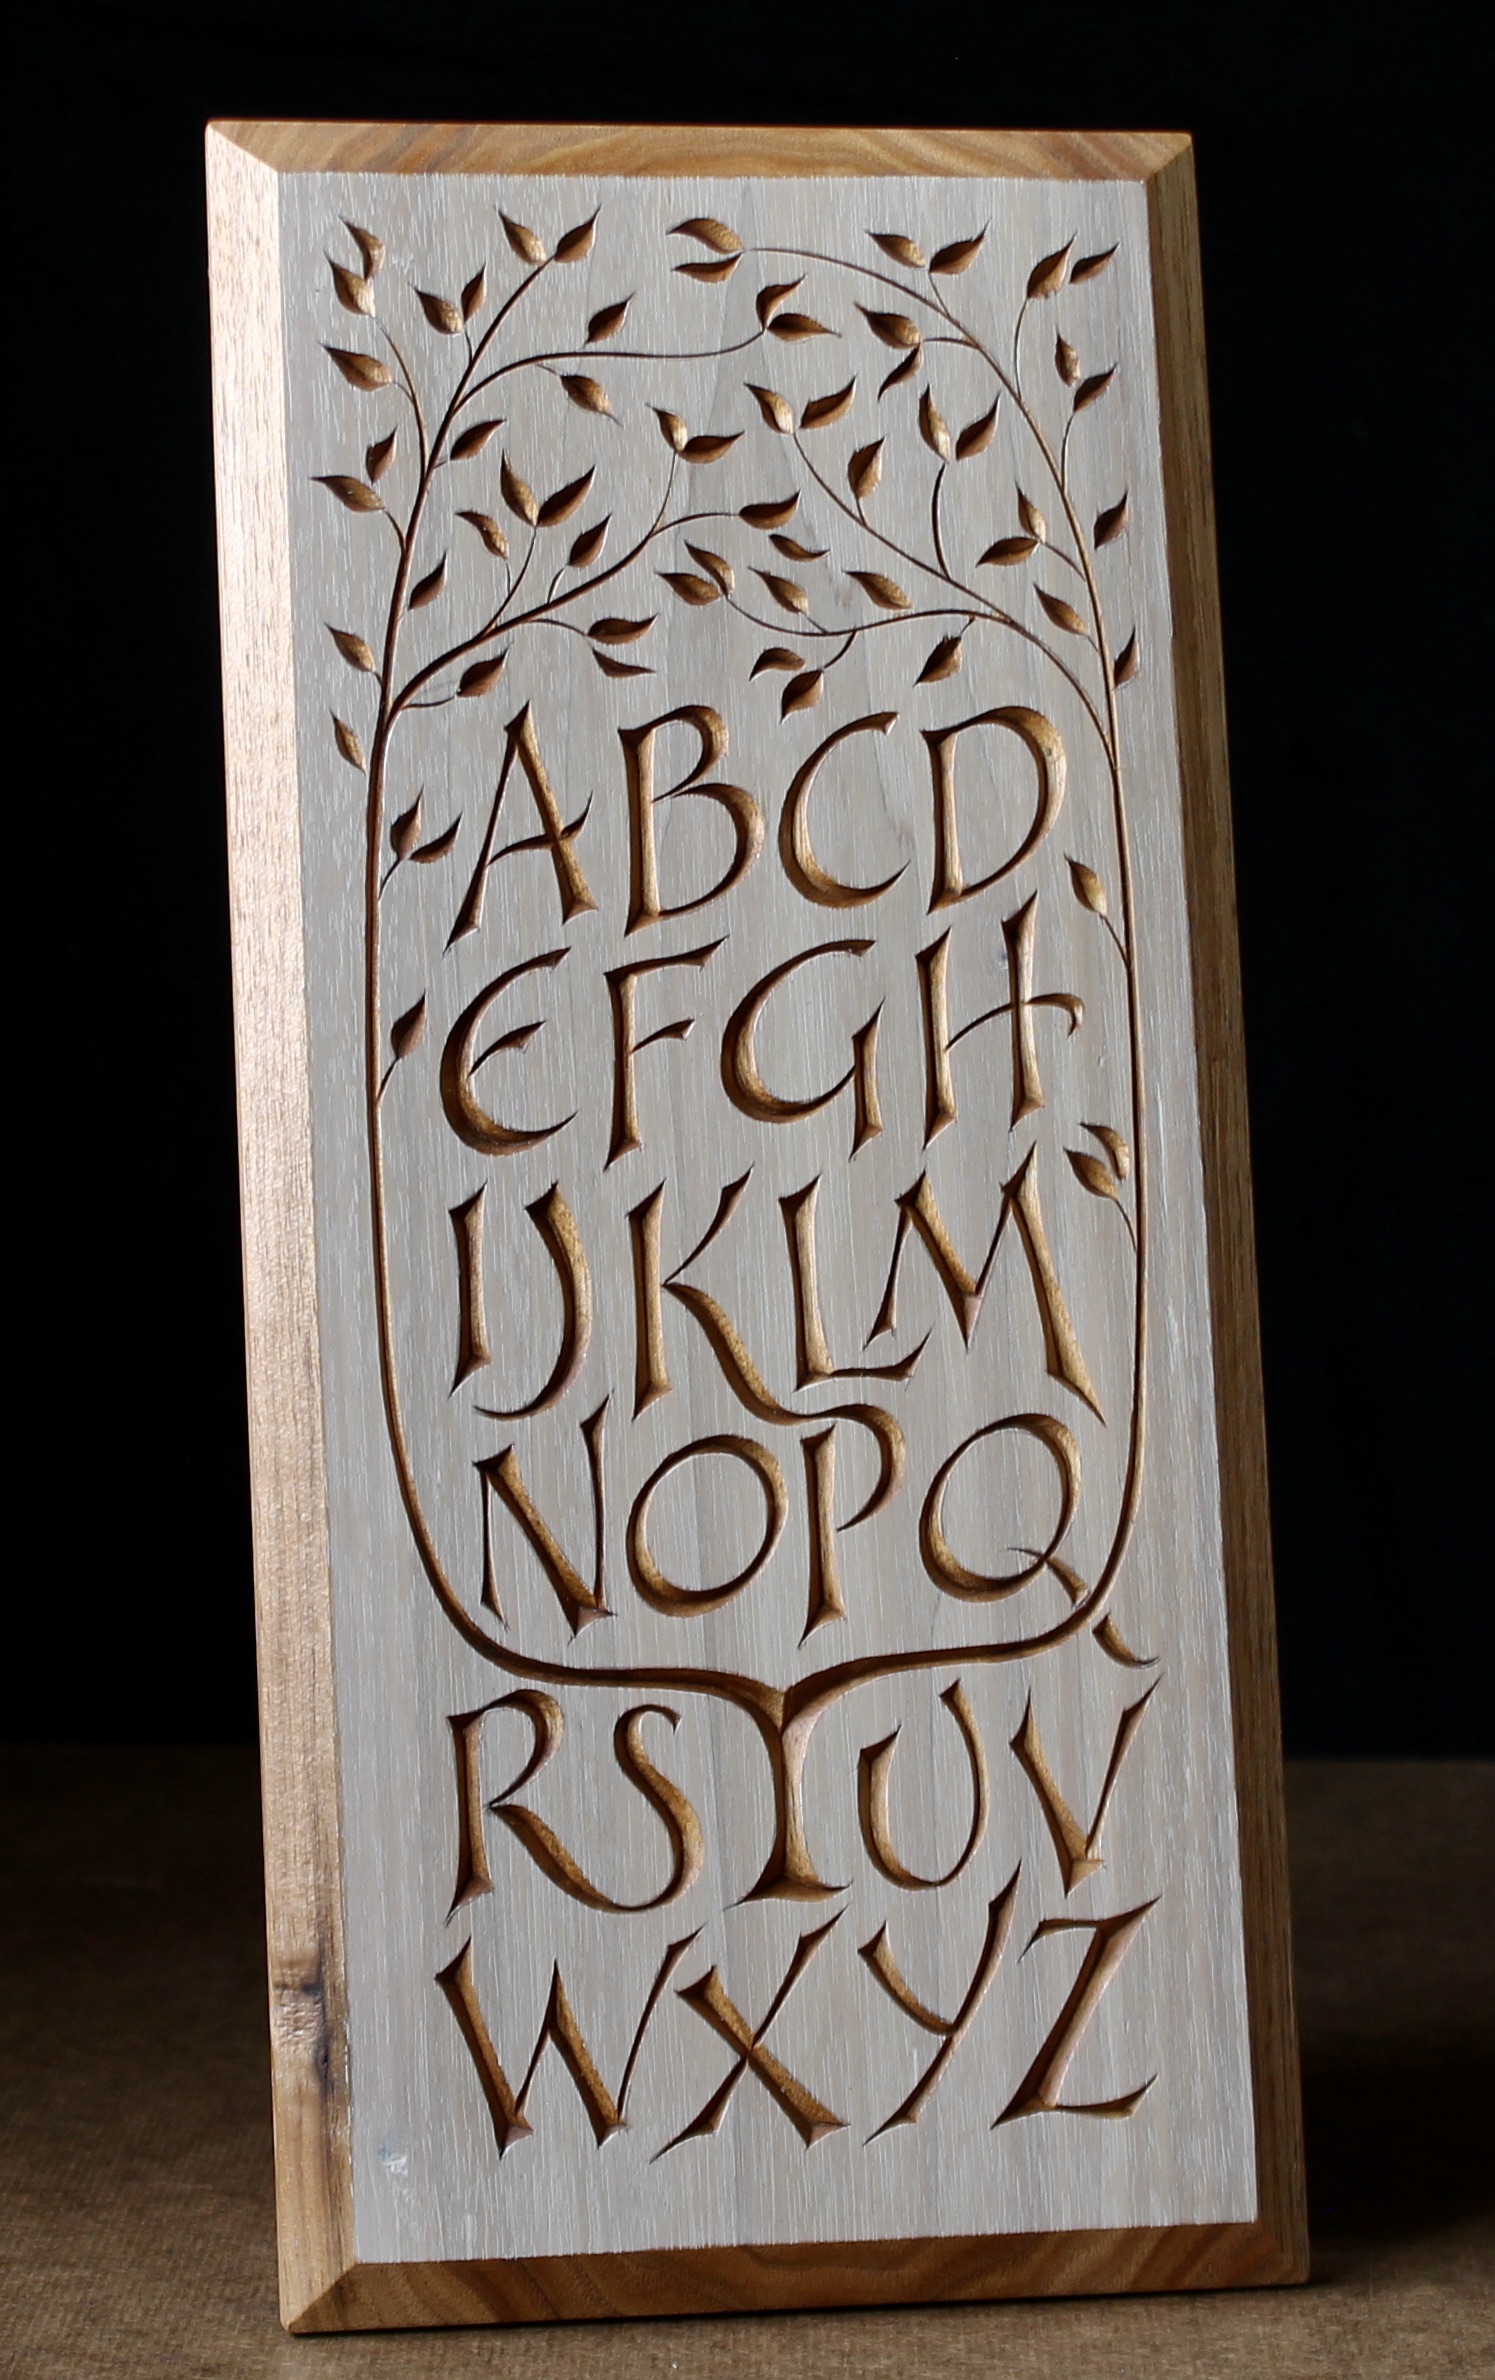
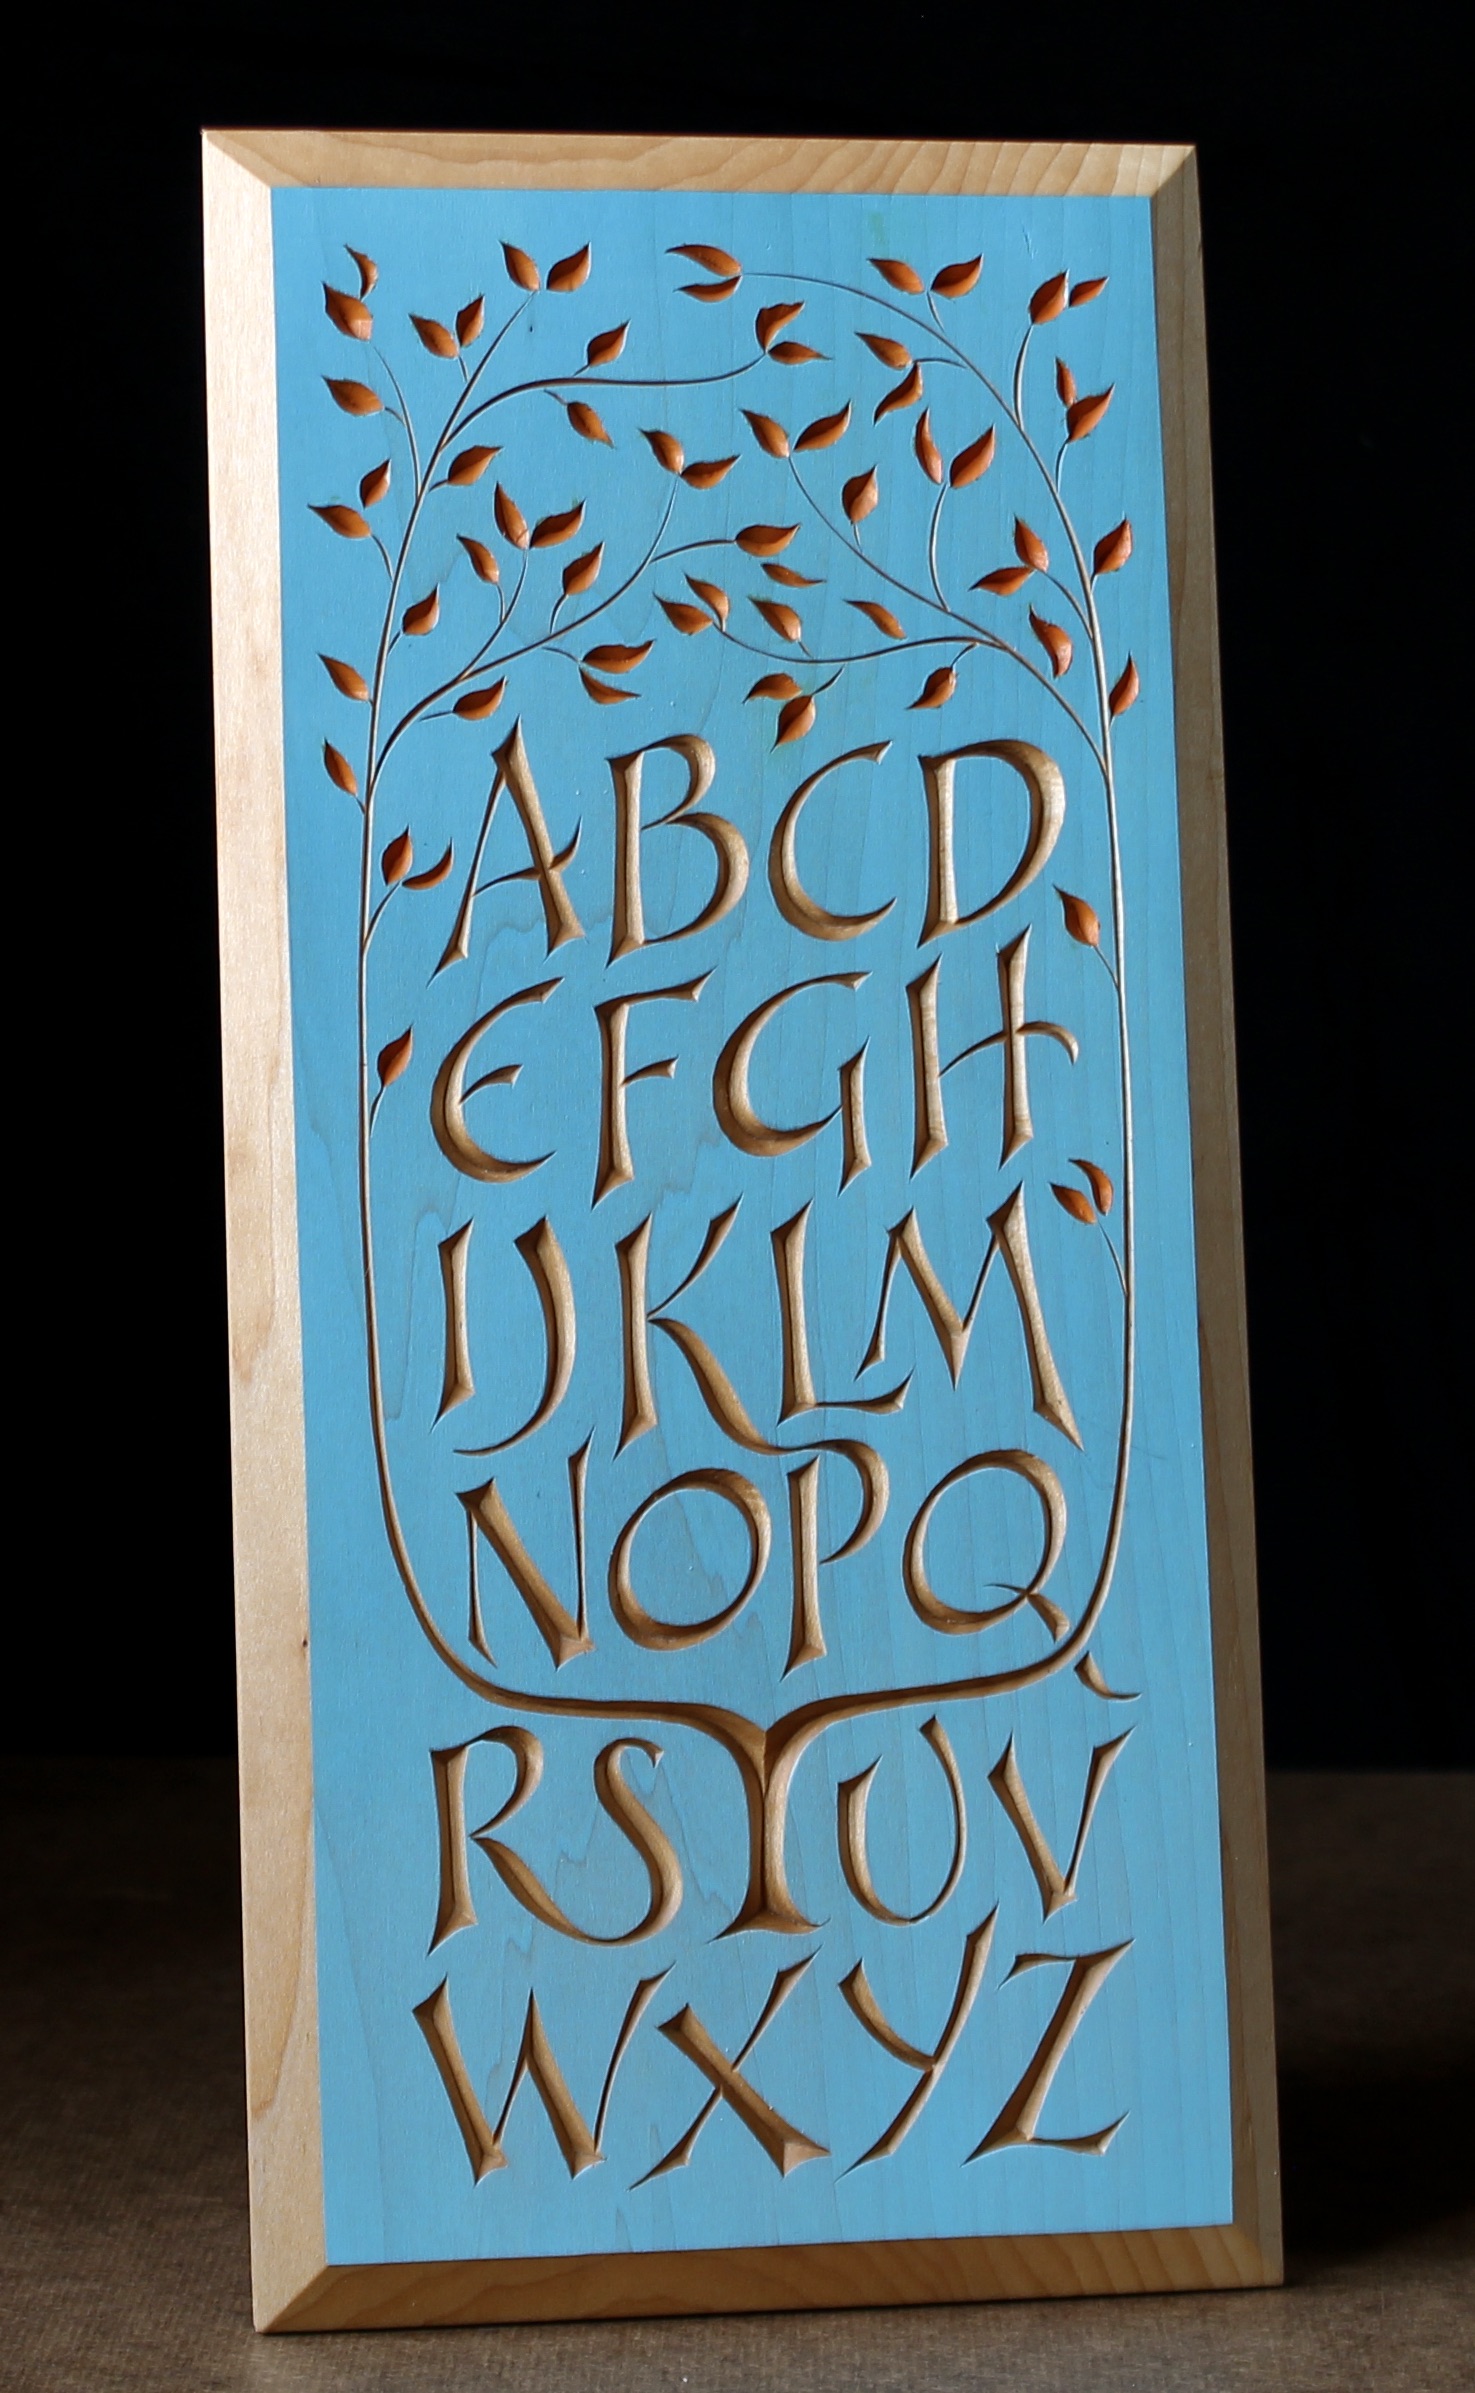
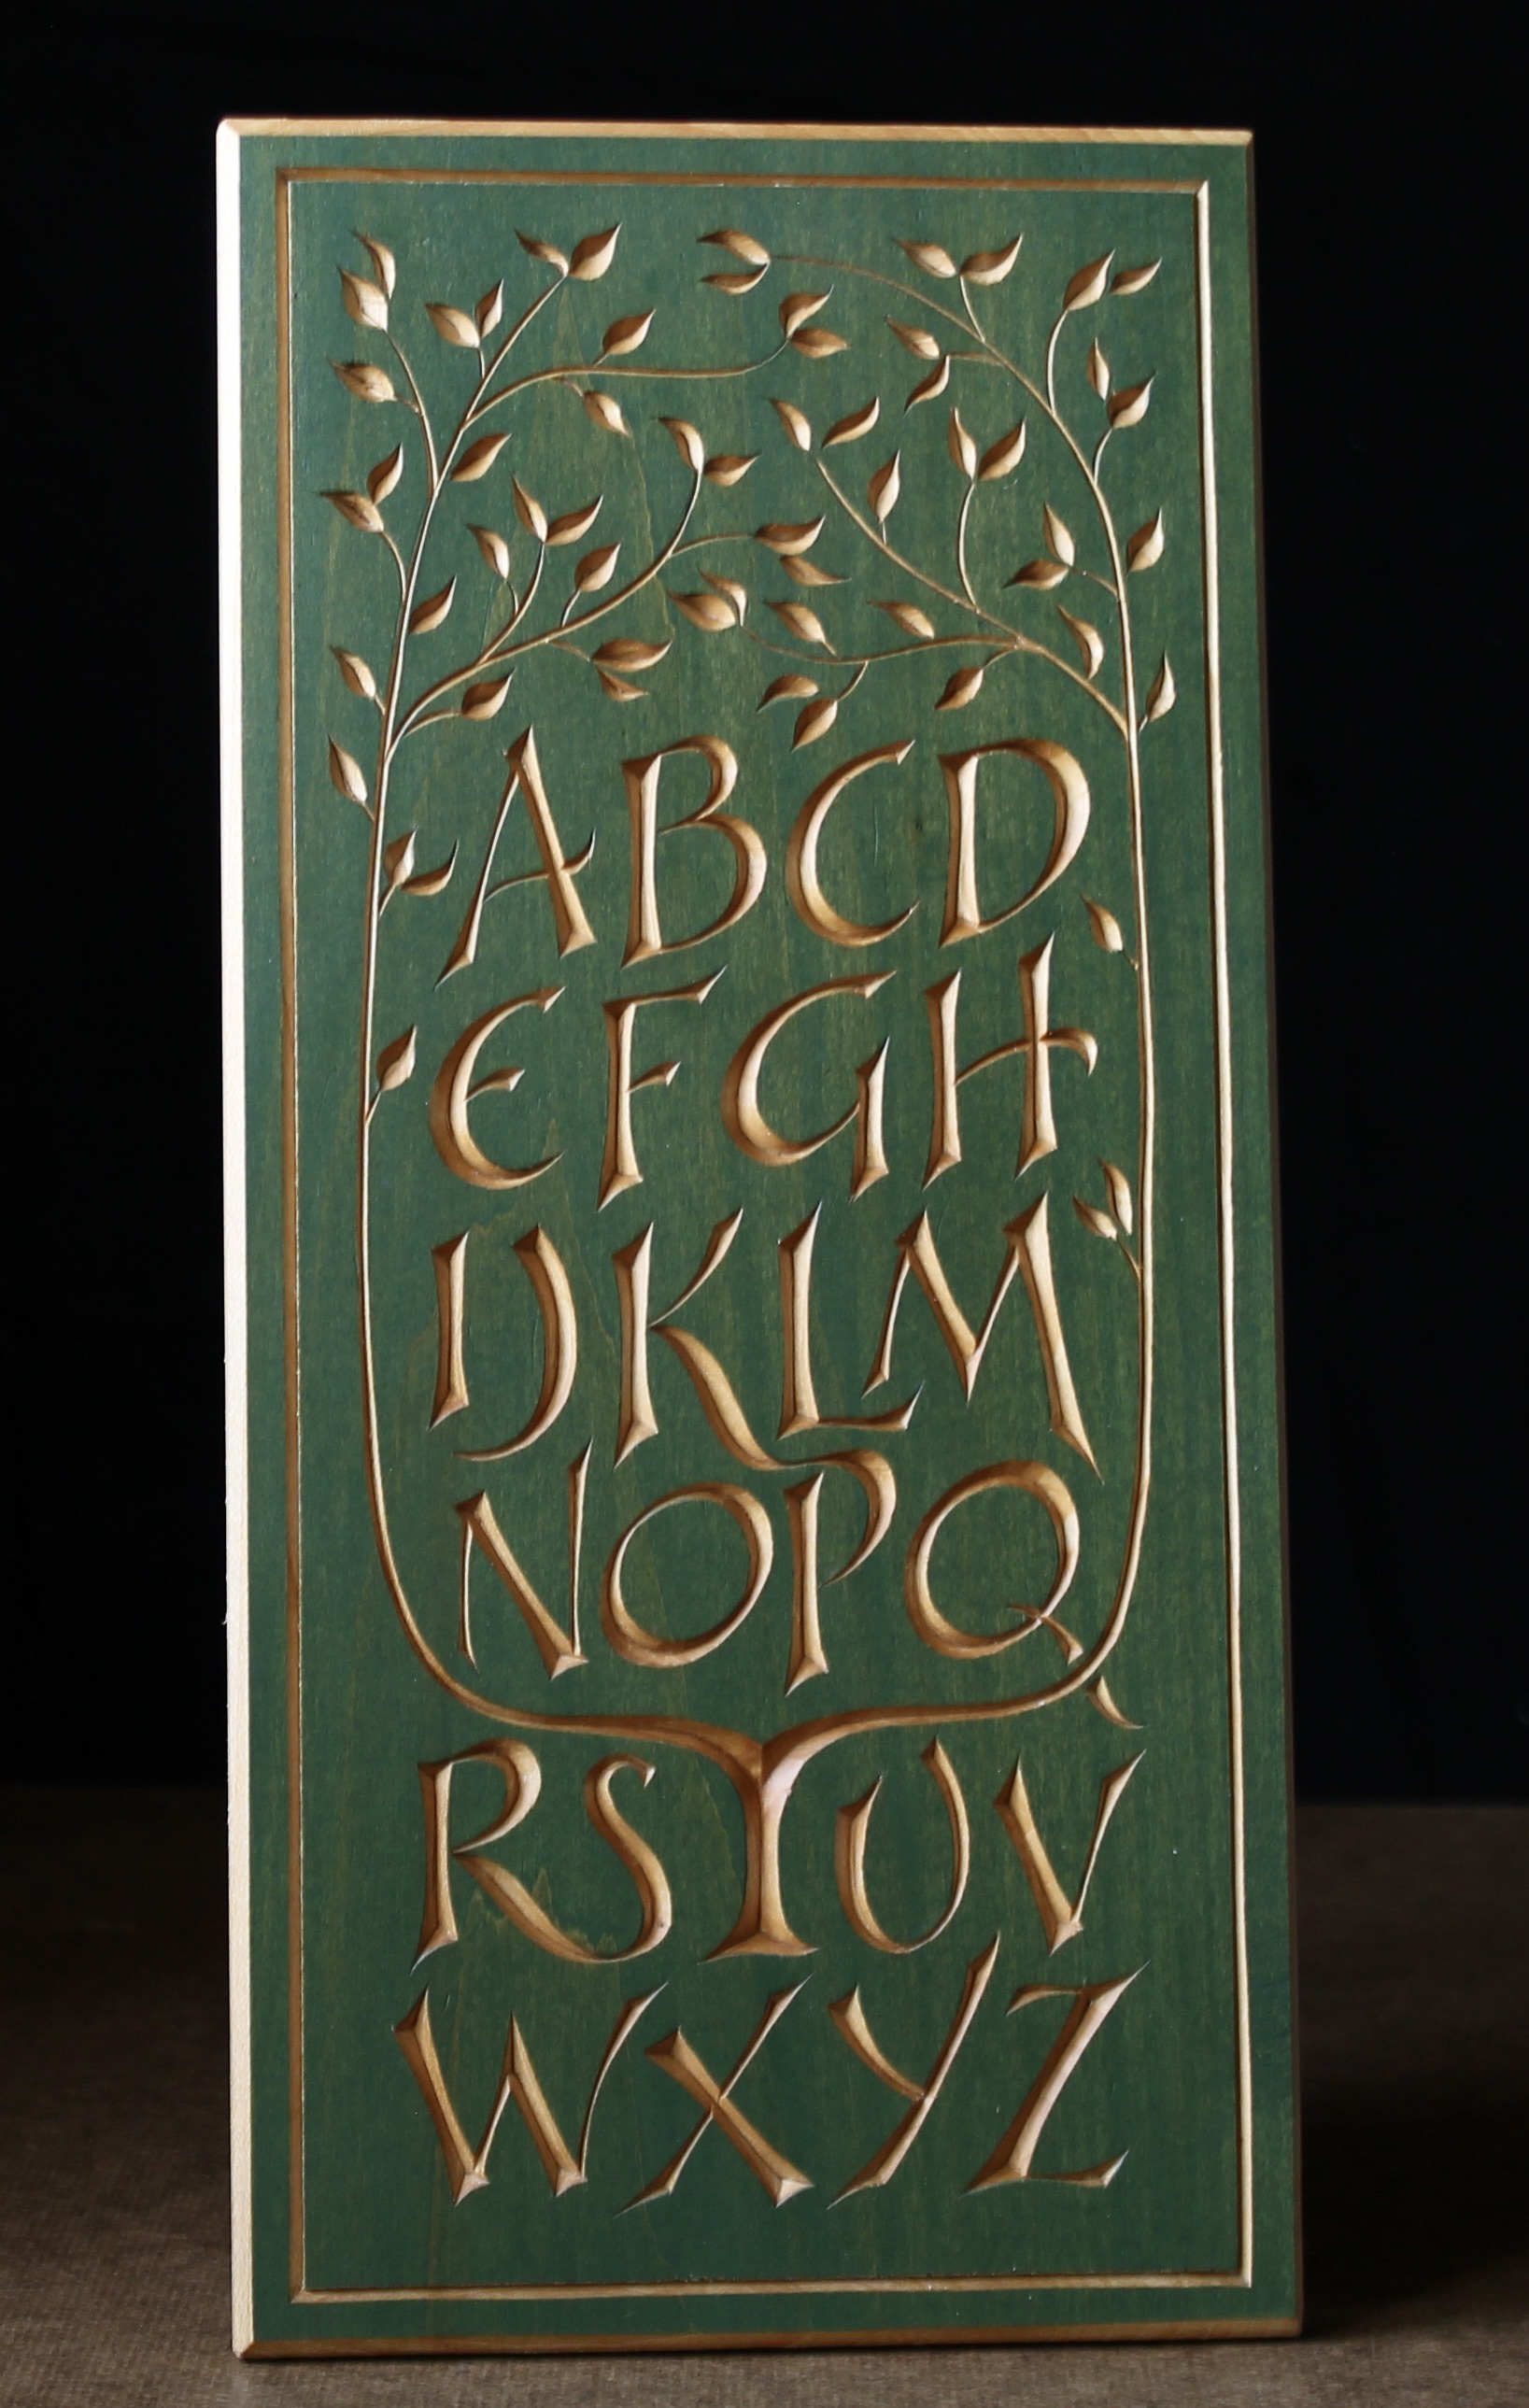
Back to those three boards. There they are again, above, but in a more subdued light out of the sun. A little more about them: They are each about 6 5/8″ x 14″ x 3/8″. The one on the left is butternut with a white wash of thinned artist oil paint. The middle one is basswood (aka limewood or linden) with green artist oil. The right one is also basswood and artist oil, with the leaves painted orange.
The price of $550 includes shipping. If you’re interested in one, please email me at dandkfish@gmail.com. Thank you. Update: All Sold
I’ll include a larger shot of each of them below.
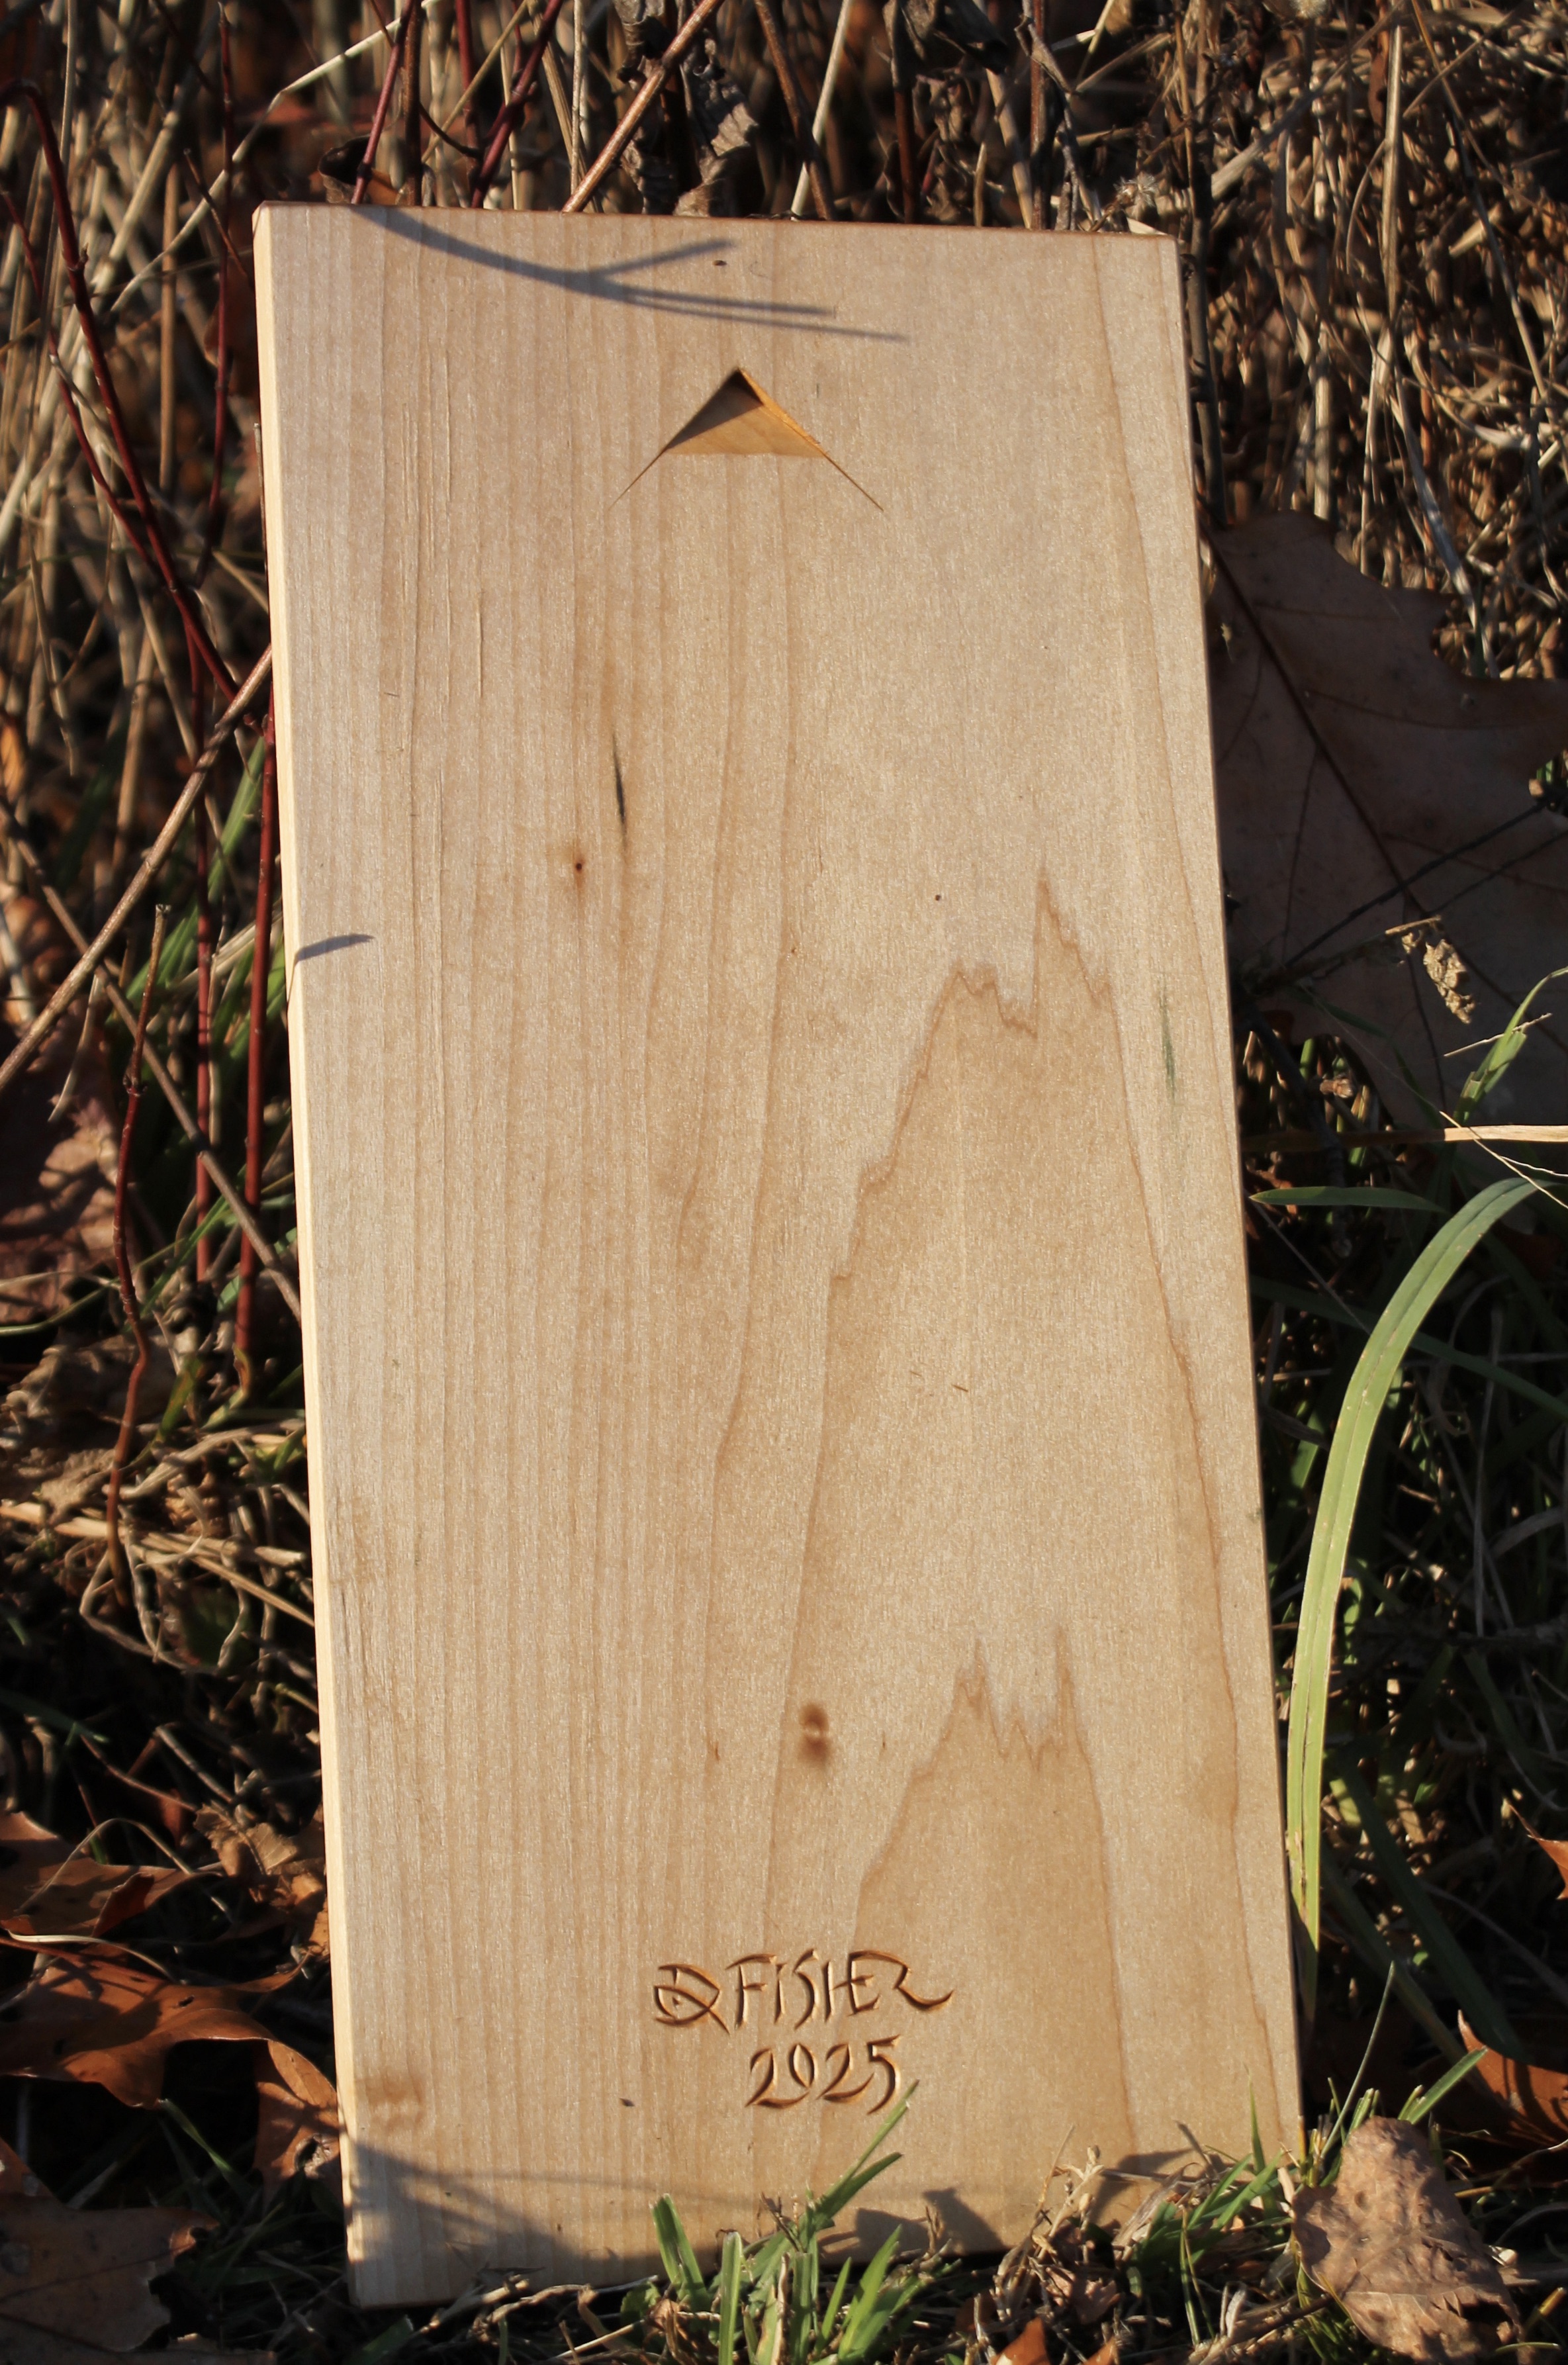
Each is ready for hanging.

Your letterring is well done–typographically correct–and beautifully carved–
LikeLiked by 1 person
David,
Thank you for this carving blog! $20.00 very well spent. I ordered the Boker knife, cannot believe the pen blade is that thin. Do you also reduce the bevels when you are sharpening the coping blade?
On the slide show you are using a chisel to carve larger letters in white oak. Where in your blog do you show the process of starting the letters-double bevel chisel, v-chisel, etc.
Again, I do appreciate and thank you!
Pete Magoon
LikeLike
Thanks, Pete. Yes, I sharpen the coping blade the same way. It’s even a bit easier, since the edge is straight.
When letter carving with gouges and chisels, just about every method begins with making a stab cut down the middle of the letter to prevent the fibers from lifting all the way across when working from one side. It’s a form of a stop cut. I usually use a v-tool to serve as this stop cut and it also removes much of the material. Either method works. You can see it in a series of photos in this post: https://davidffisher.com/2023/01/22/exterior-sign-in-white-oak-underway/ and also here and there in several other posts. Here’s another where I just used the v-tool to remove much of the waste, then when back to mainly knife work: https://davidffisher.com/2024/10/01/wandering-cherry-bowl/.
LikeLike
Hello Mr Fisher I am interested in your PDF letter template. Can it be used on a Cricut machine so I can make a stencil like template on thin plastic? Are there other electronic formats available? As you can see I am barely digitly literate. thank you David Miller
LikeLike
David, I think I may be less digitally literate than you. I didn’t know what a Cricut machine was, so I just looked it up. I still know nothing about it, but if you try it out and need the image in a different format, shoot me an email and we’ll work it out.
LikeLike
Your work is very inspiring, have you drawn plans for numbers….we all like to put the year on our work and numbers are challenging too?
LikeLiked by 1 person
I haven’t drawn up a particular pattern with all of the numerals, Mark. Most often, I carve numbers at a small scale to record the year on pieces, as you suggest. I’ll try to draw something up soon, in the same scale as the QRS-Tree-UV board. Thanks for the suggestion.
LikeLike