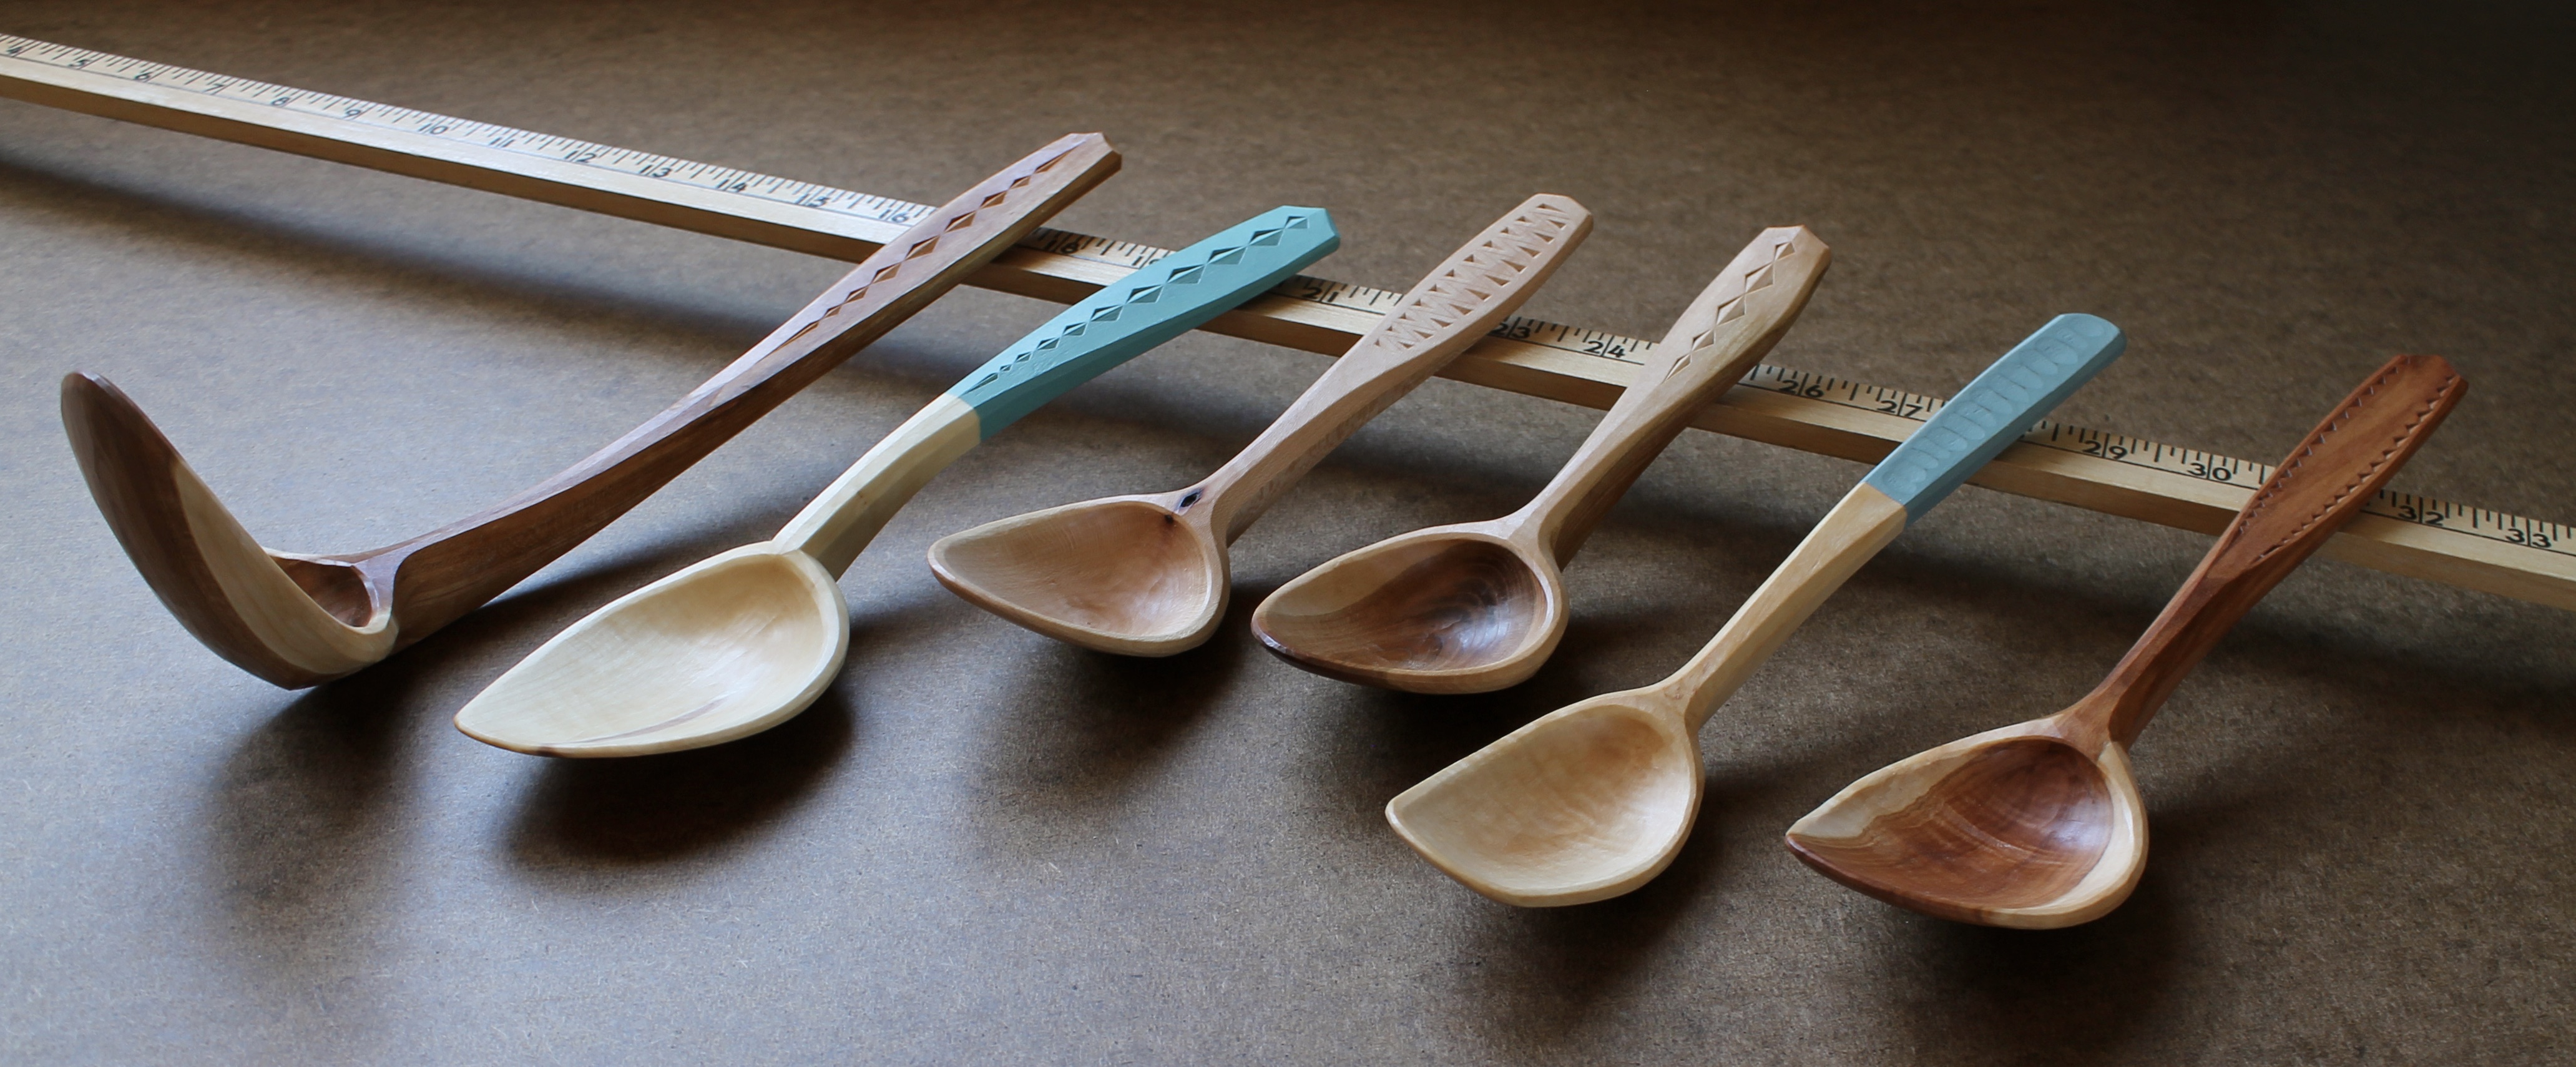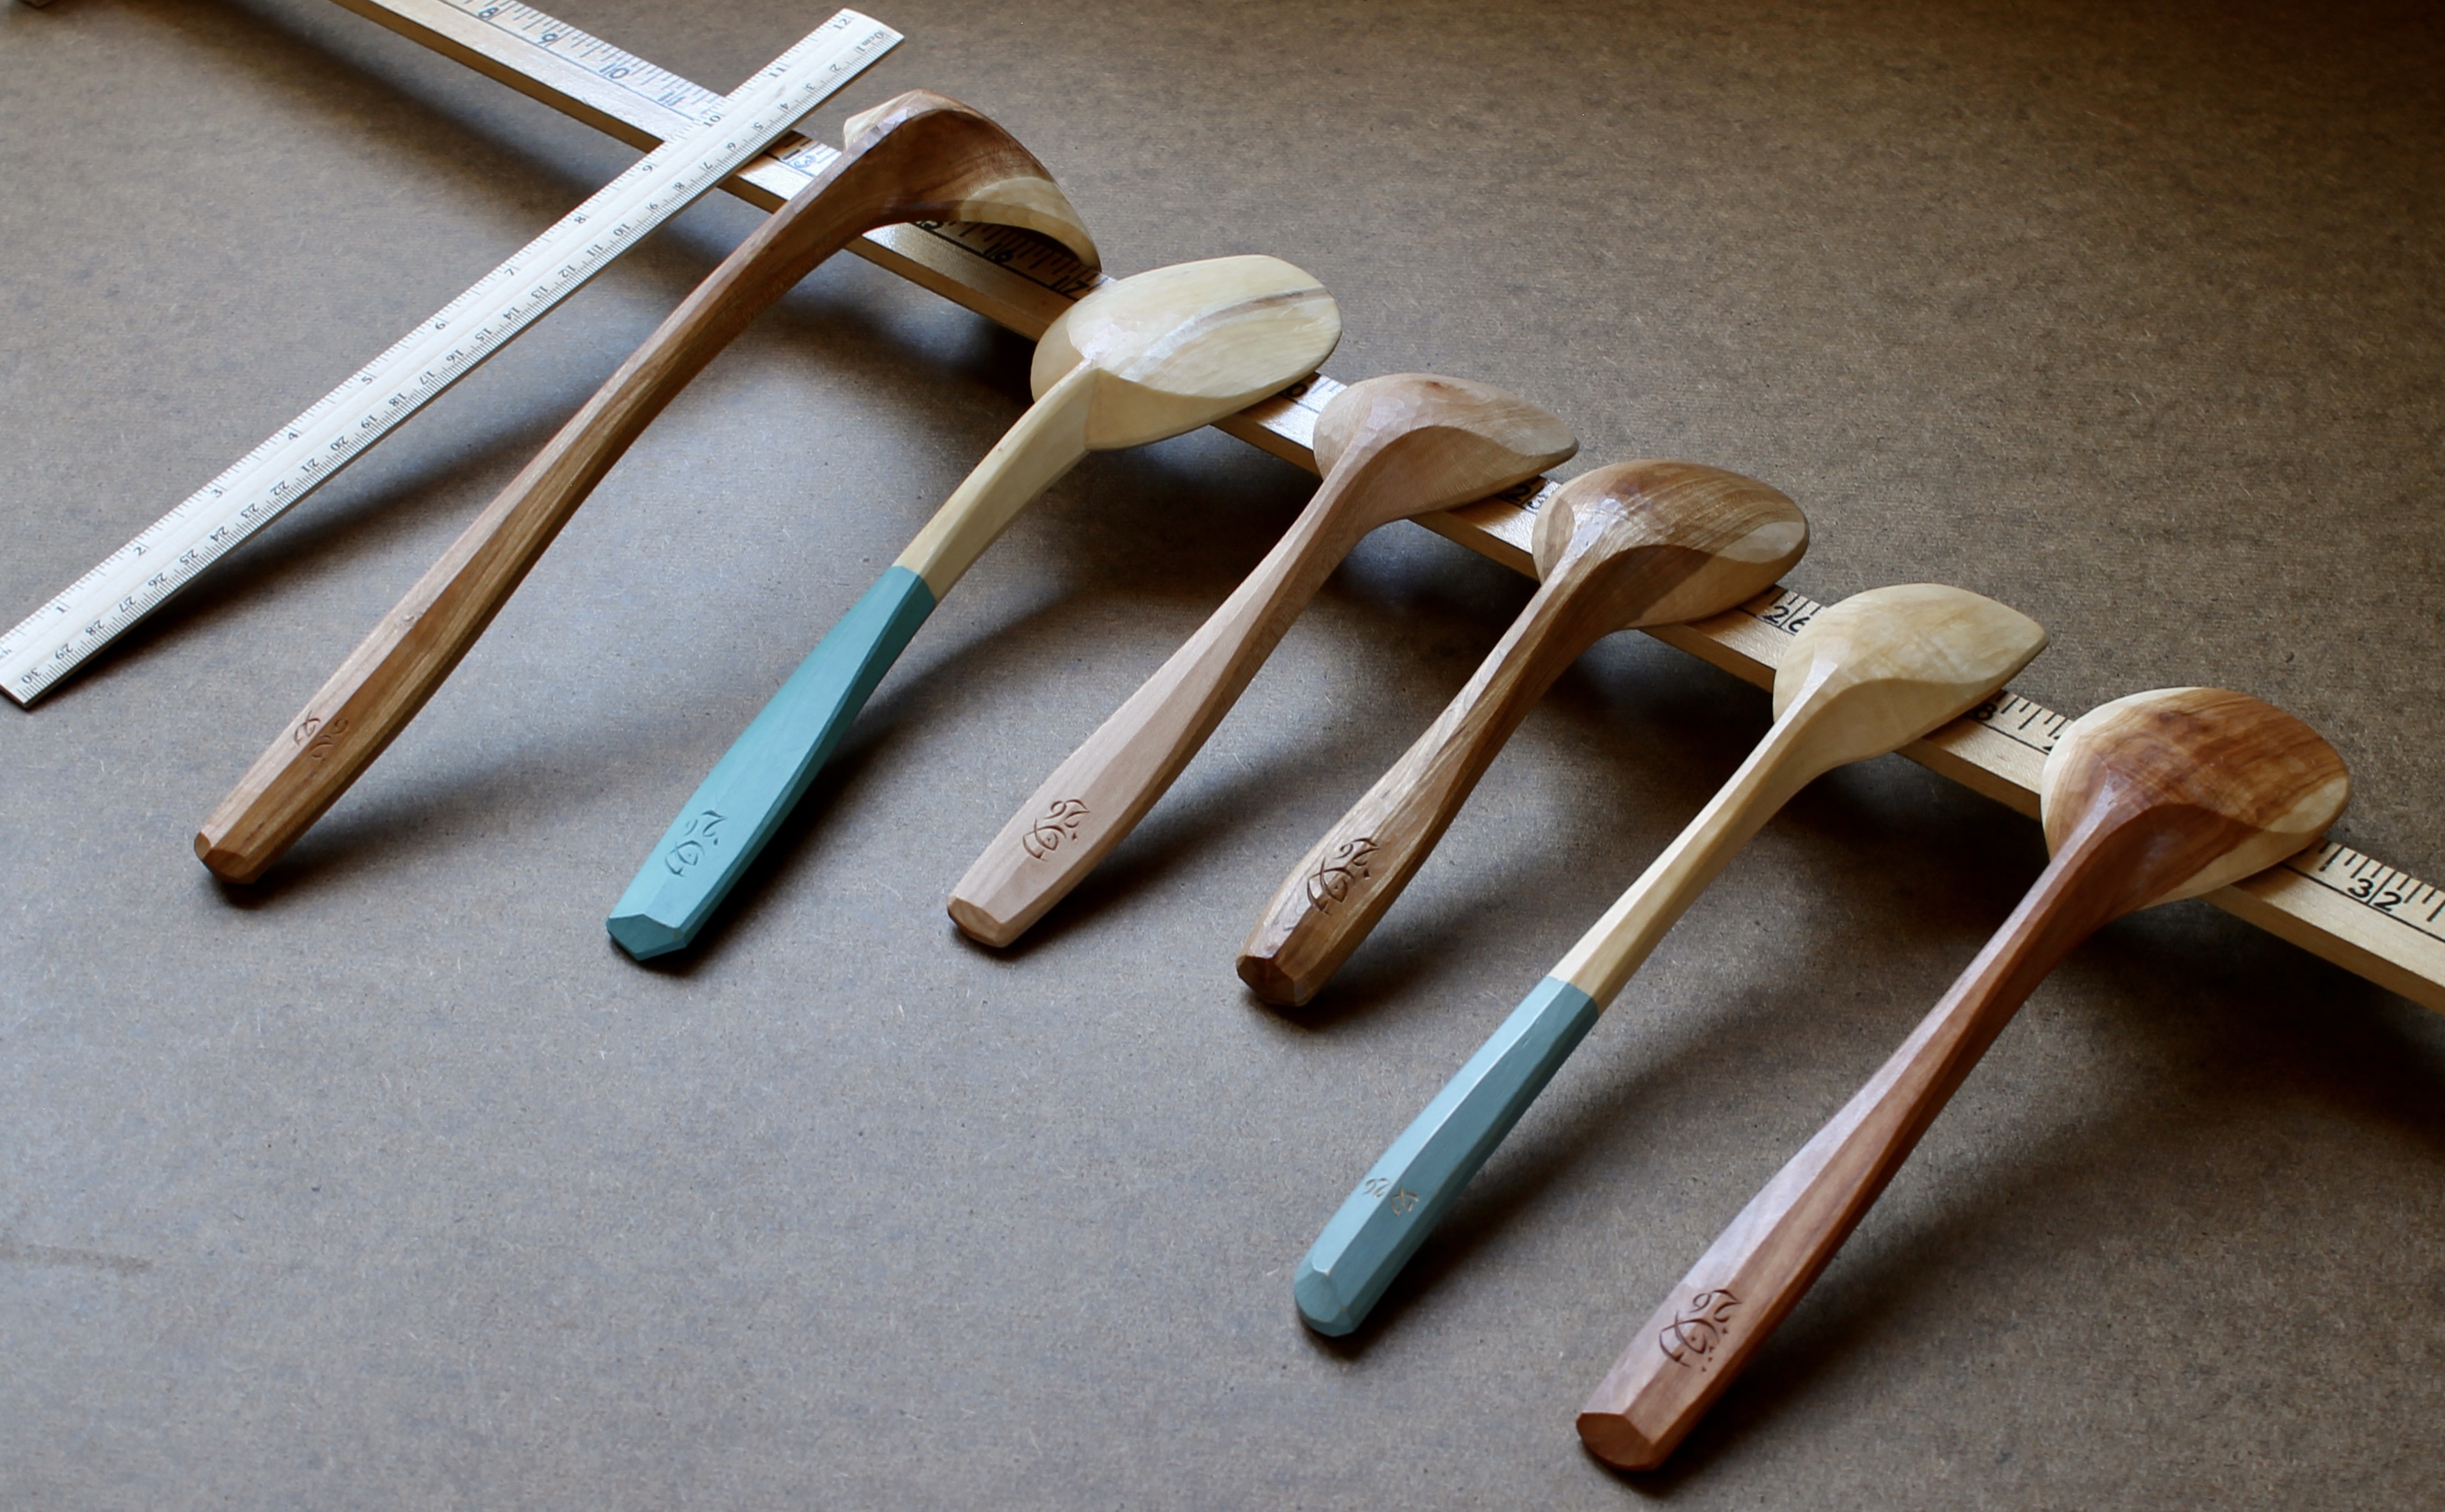
June is here and the birds and flowers are bursting with enthusiasm. I’m mostly making final preparations for my upcoming shrink pot and lettering class at Pete Galbert’s, but I wanted to take a moment to post this bowl that I’ve just finished and follow up on a couple things from the Hand Tool Haven event.
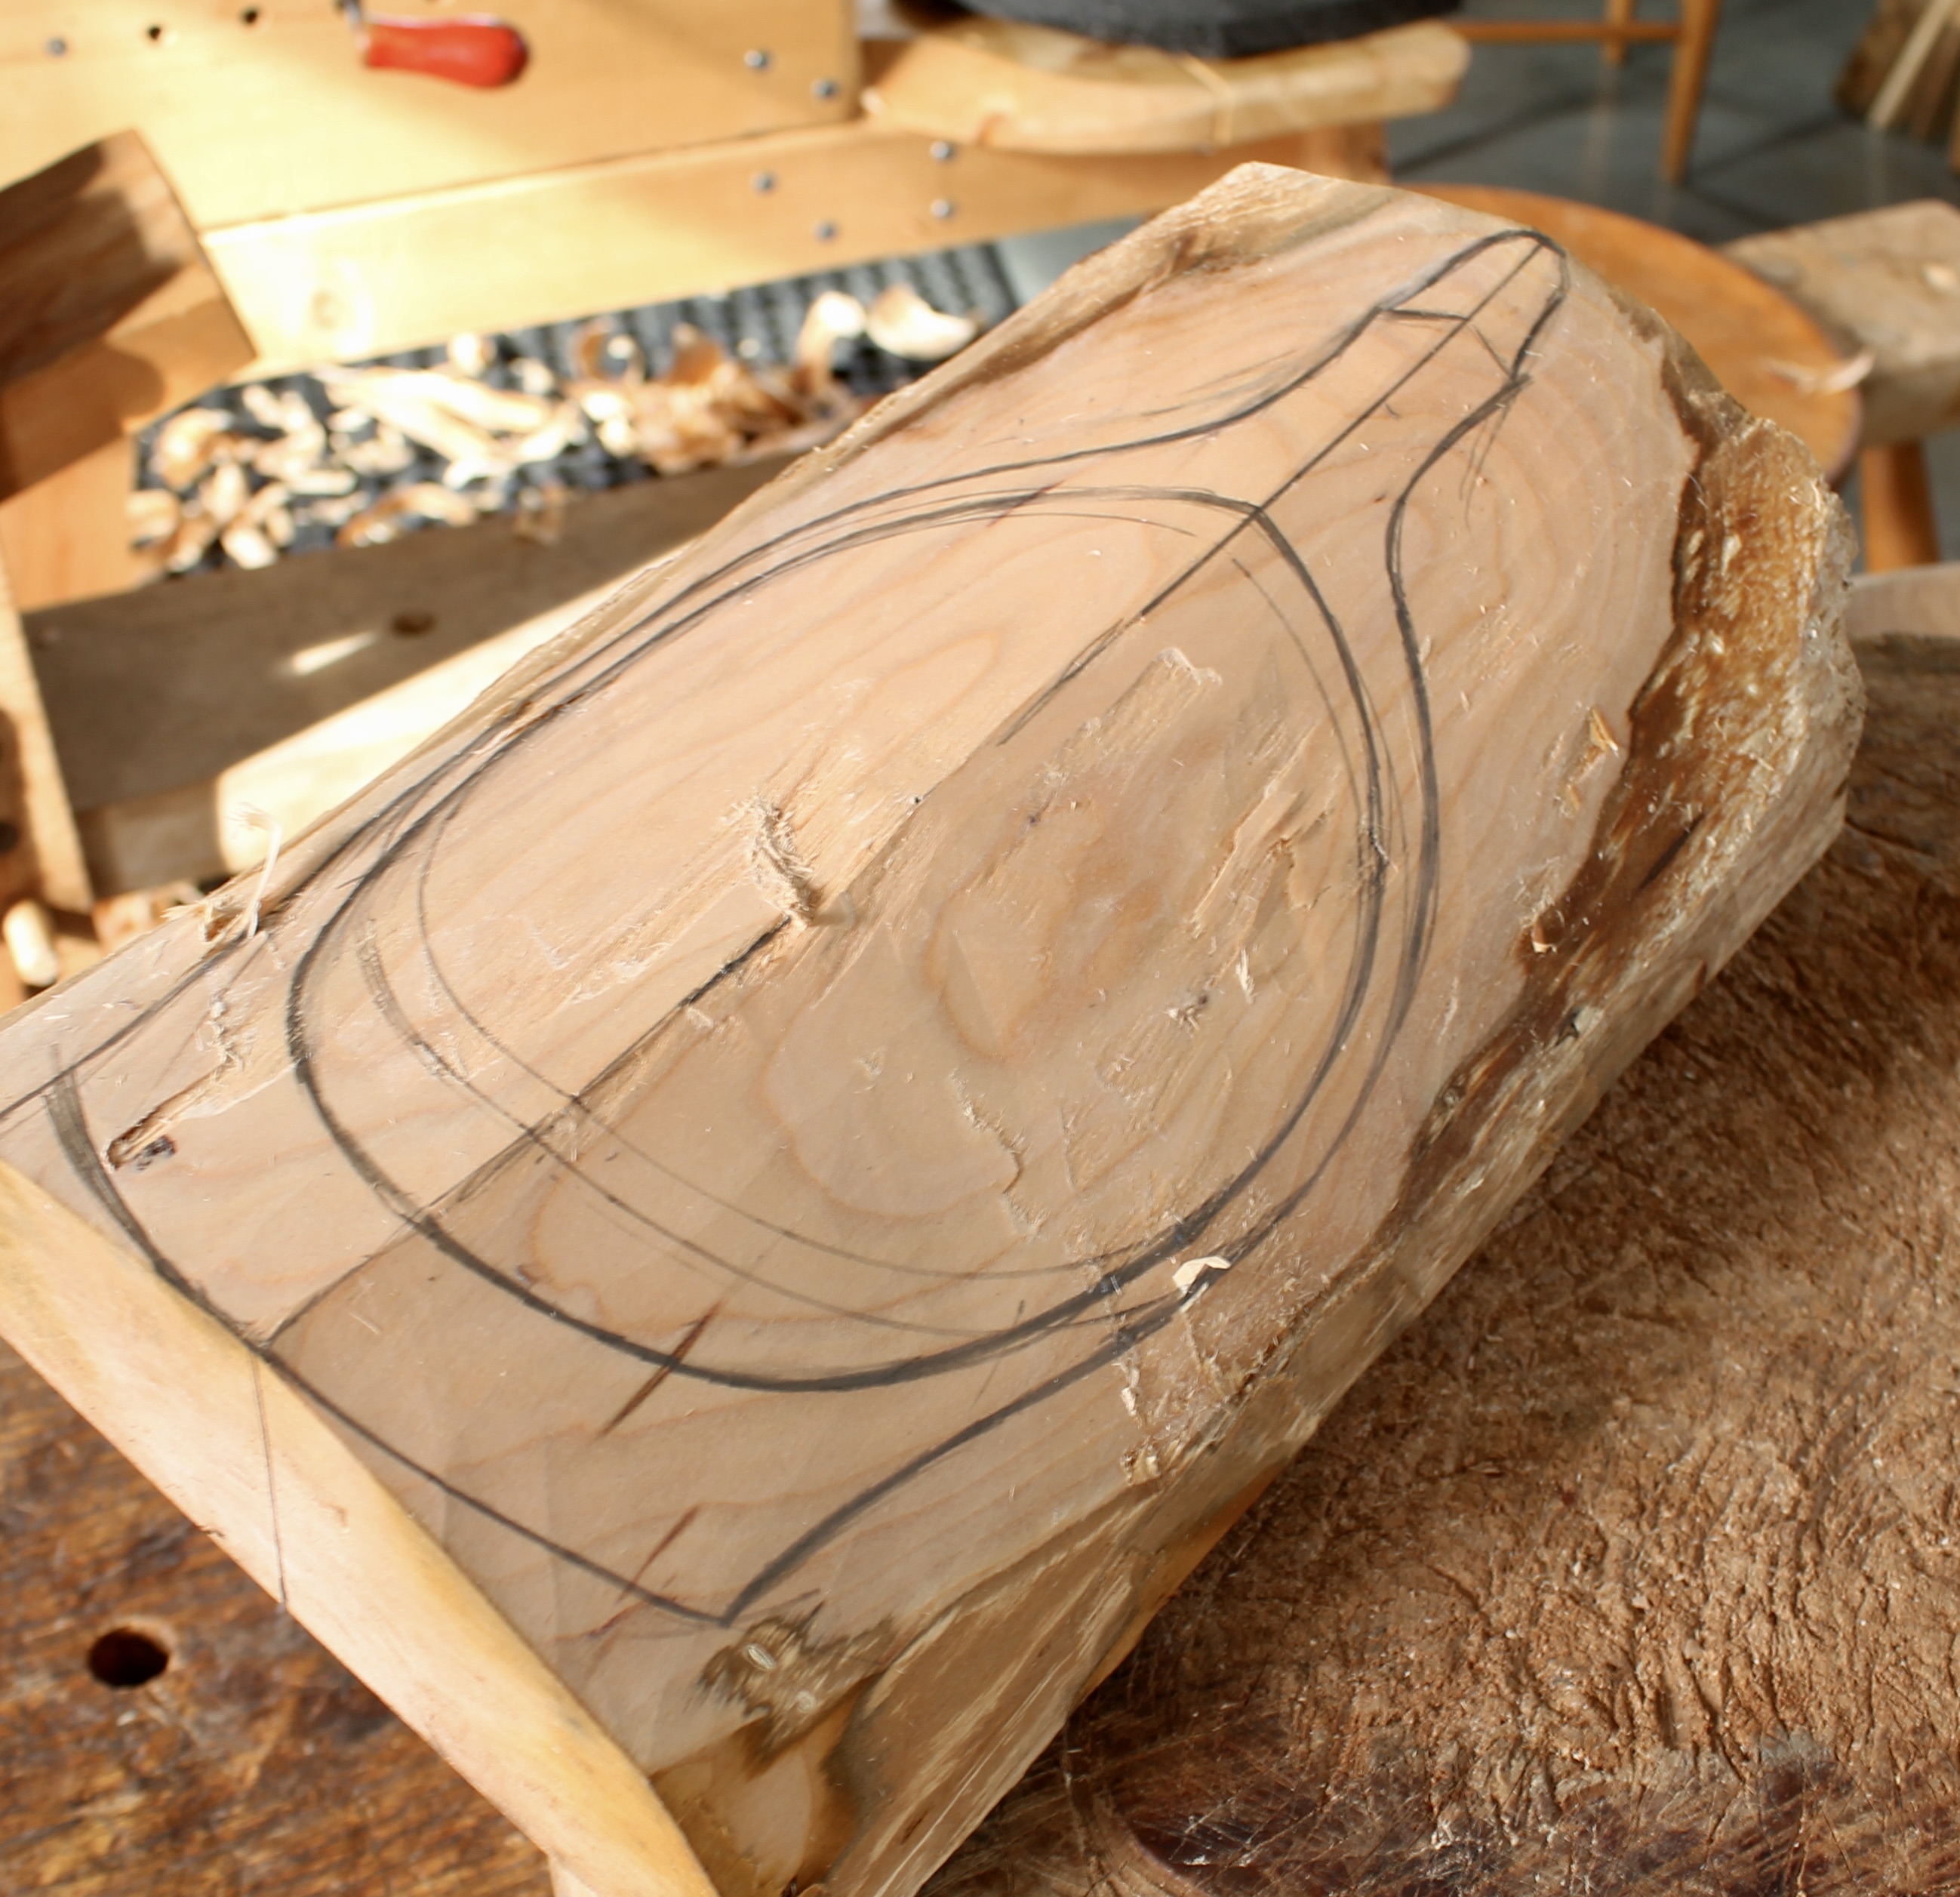
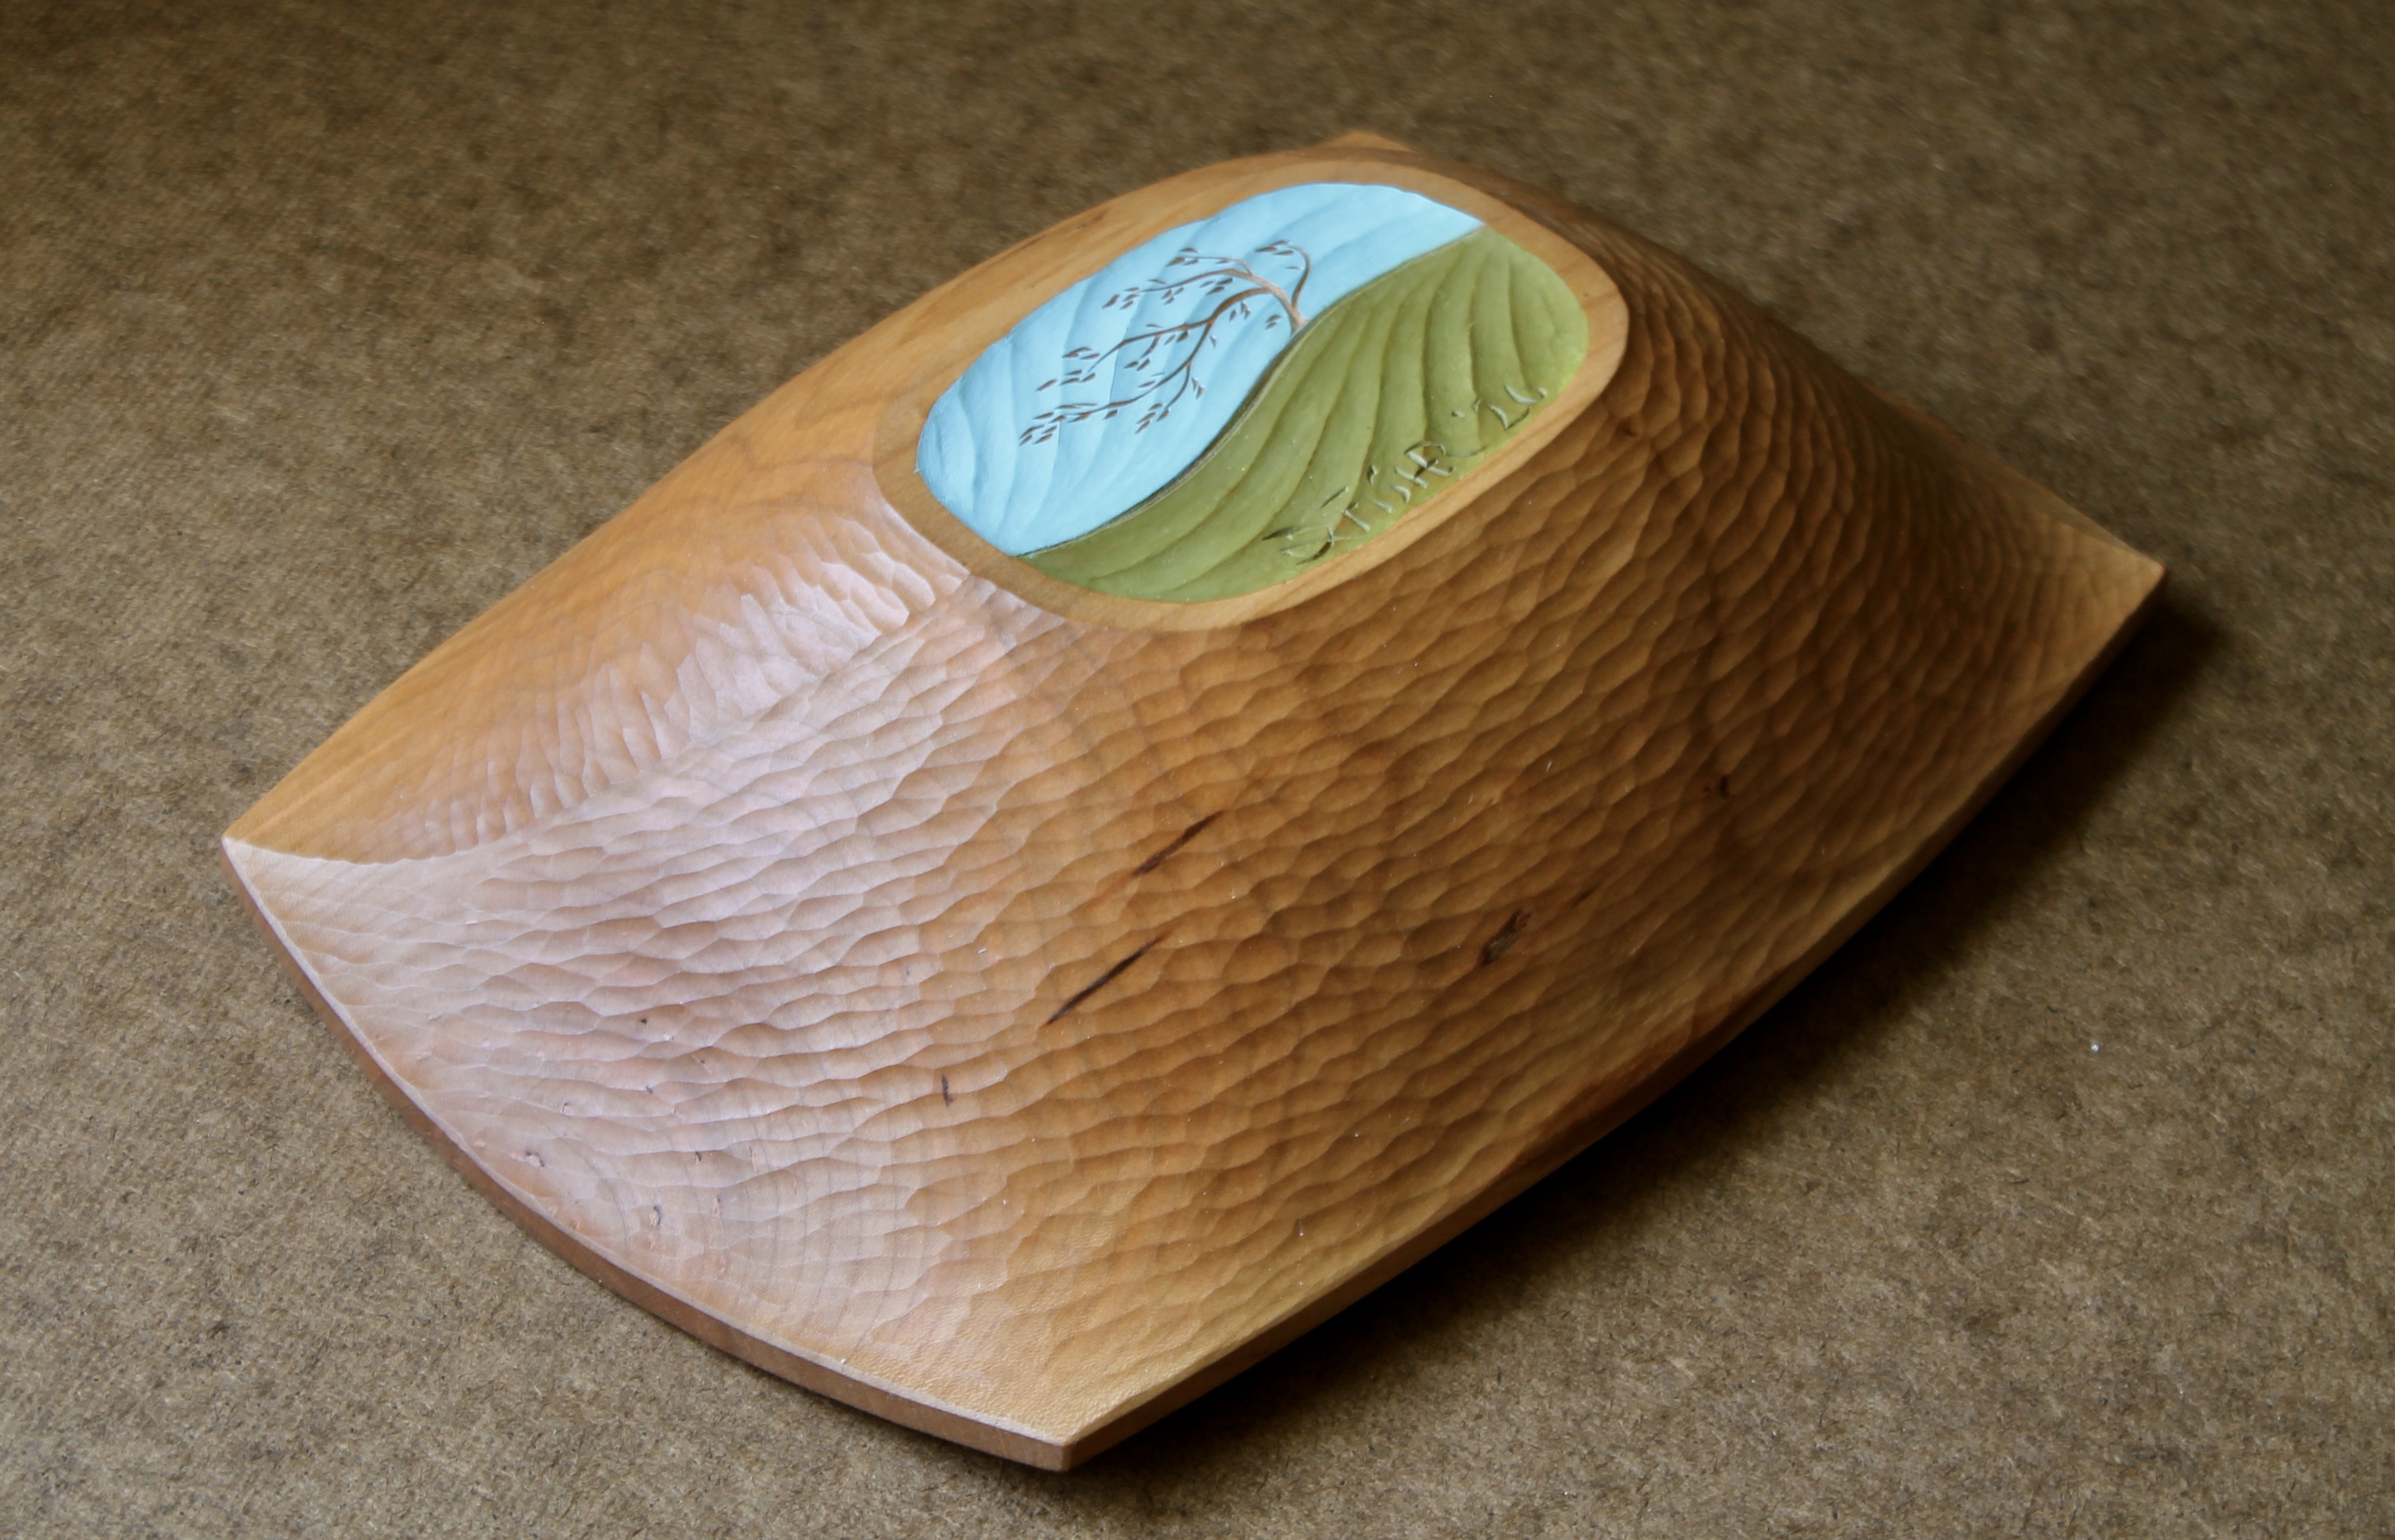
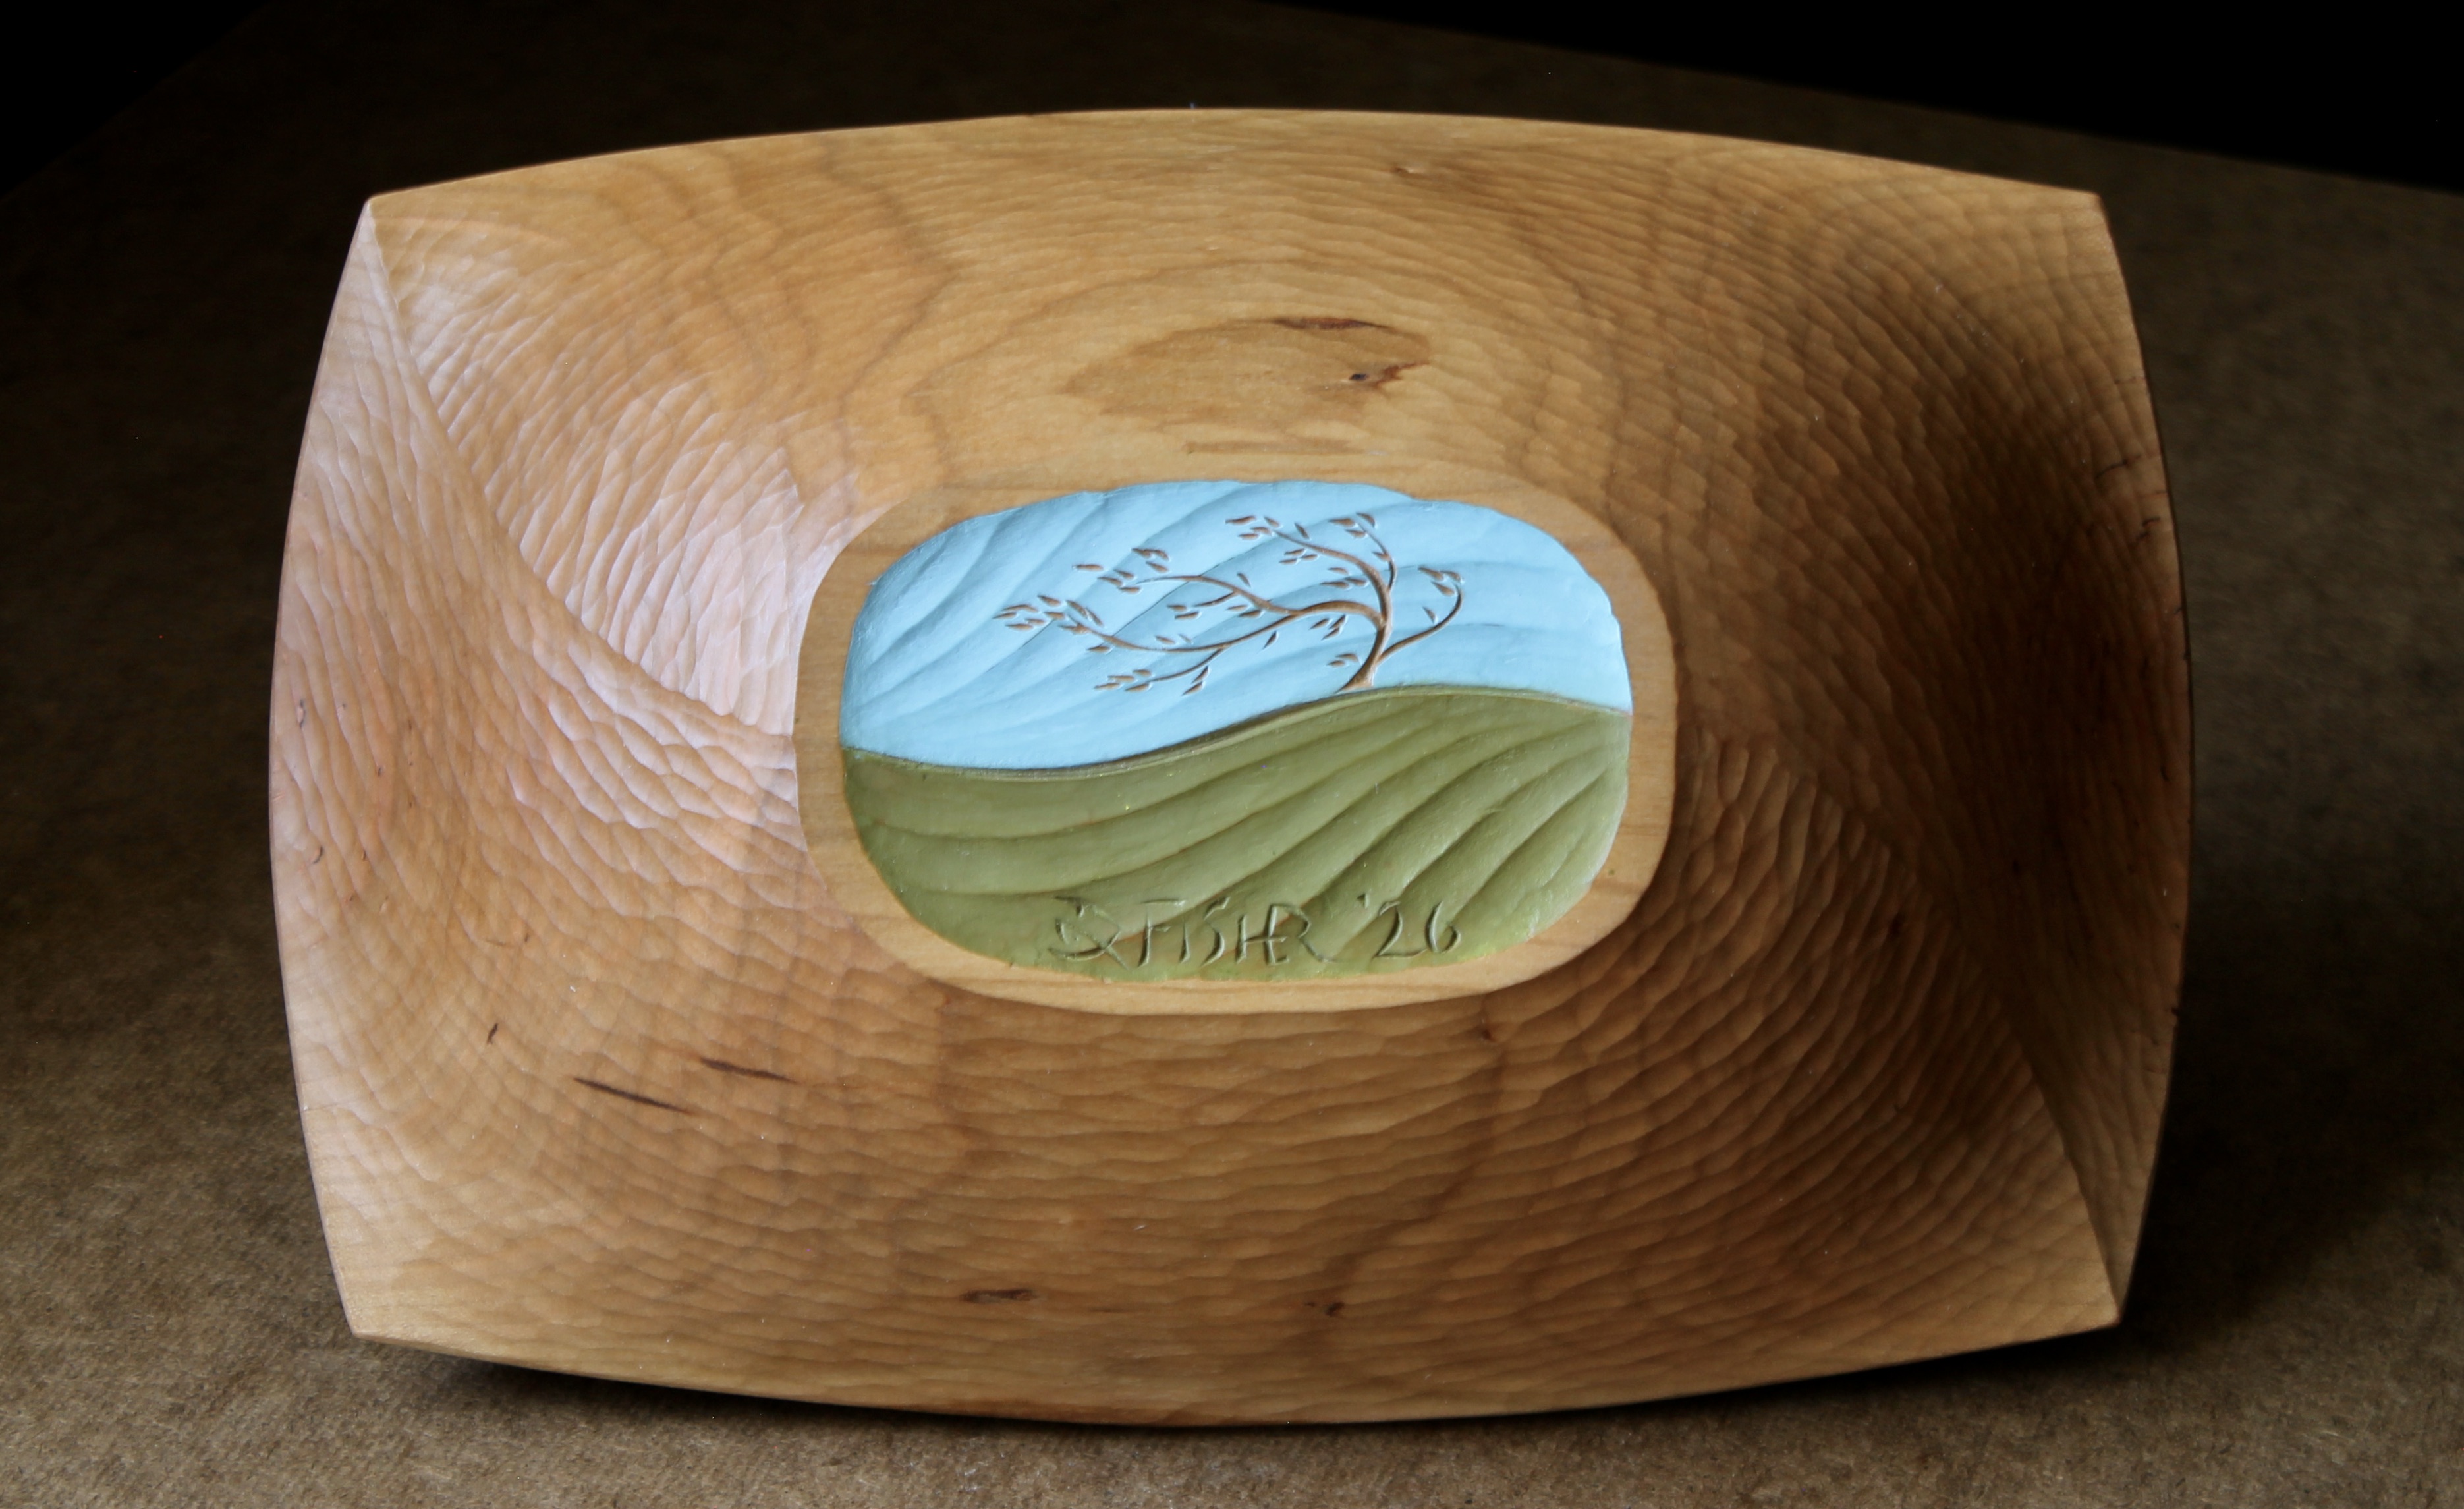
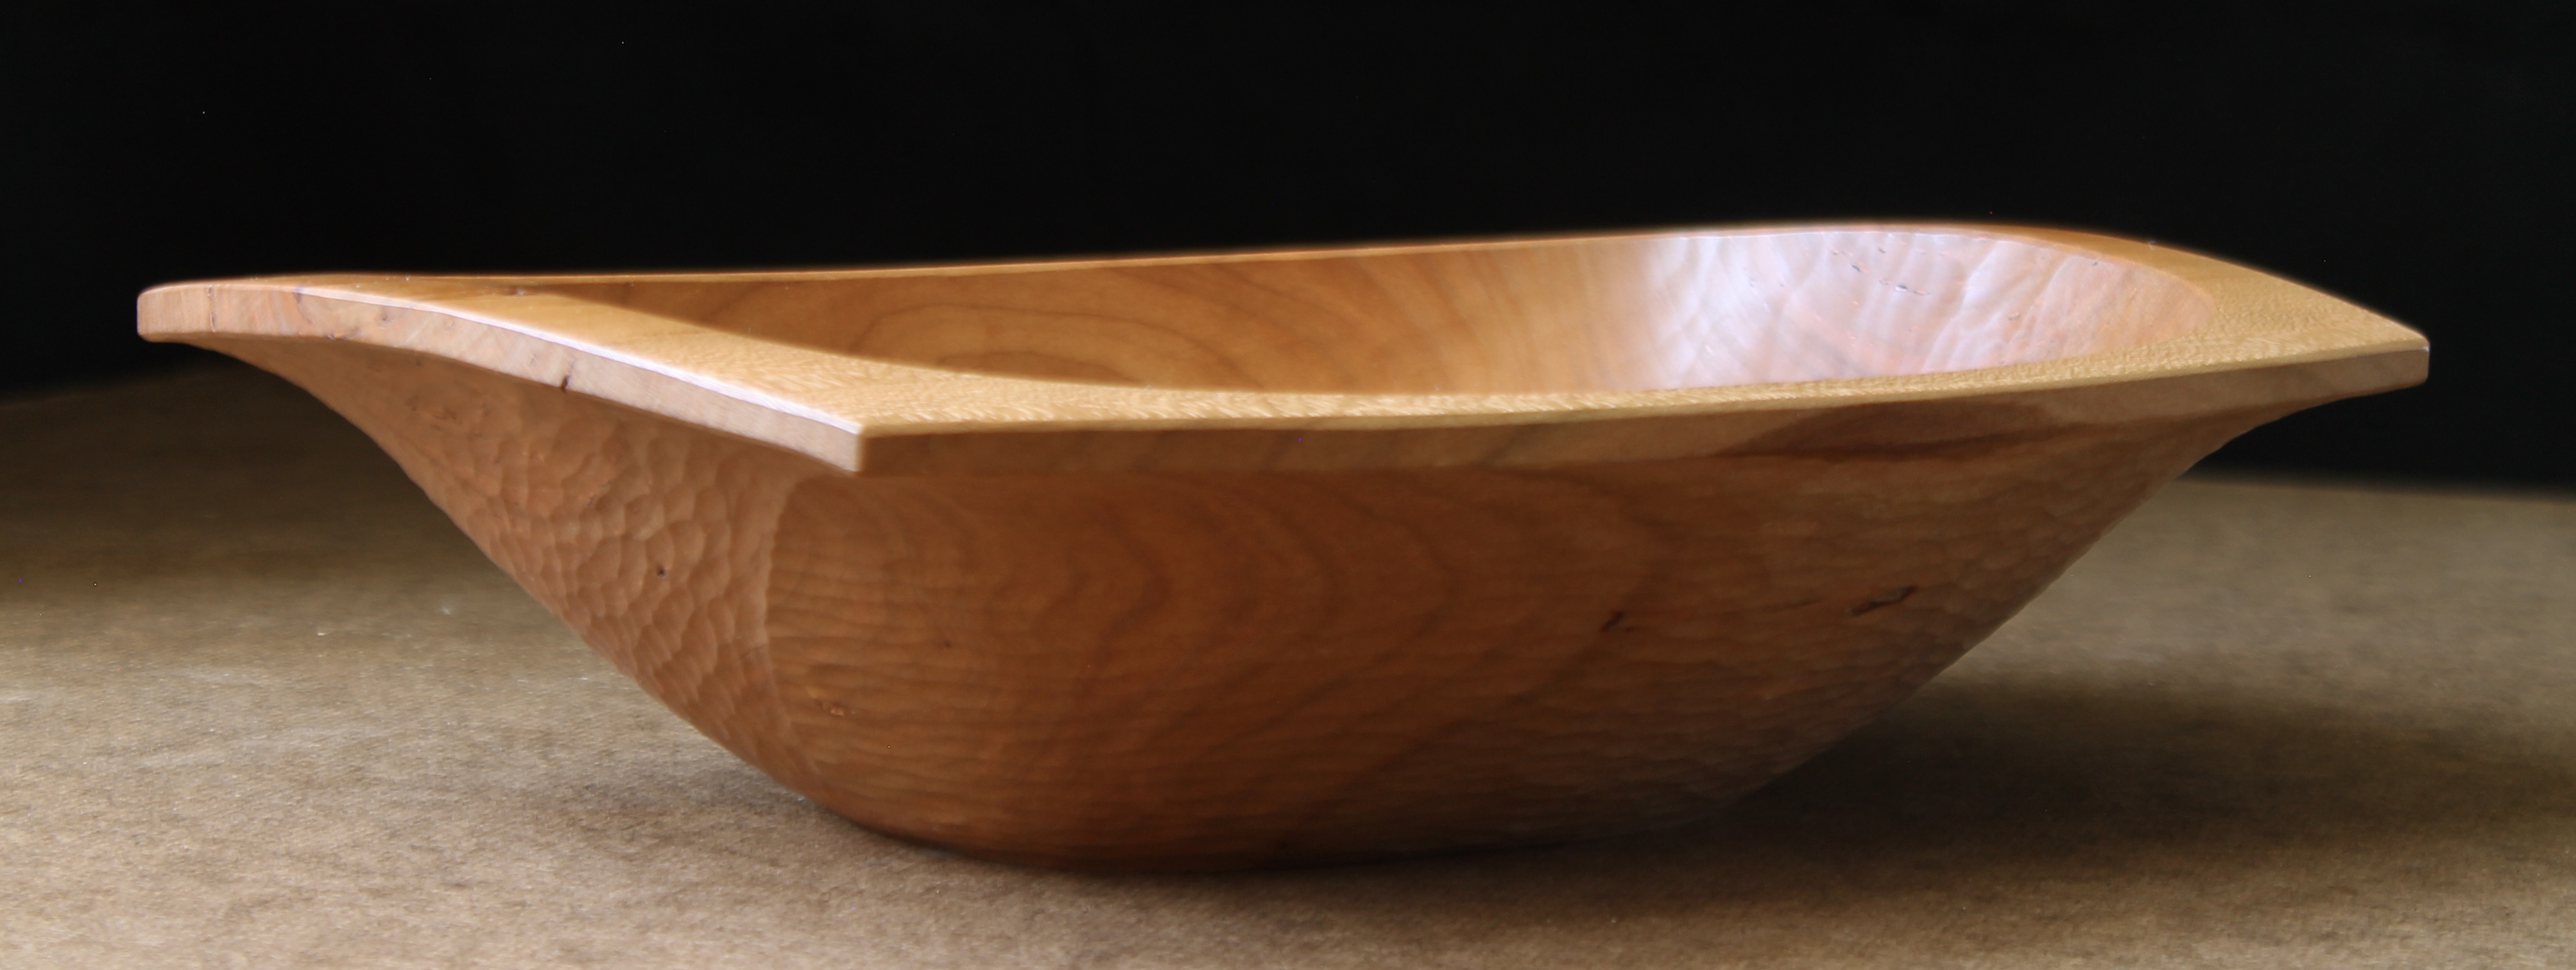
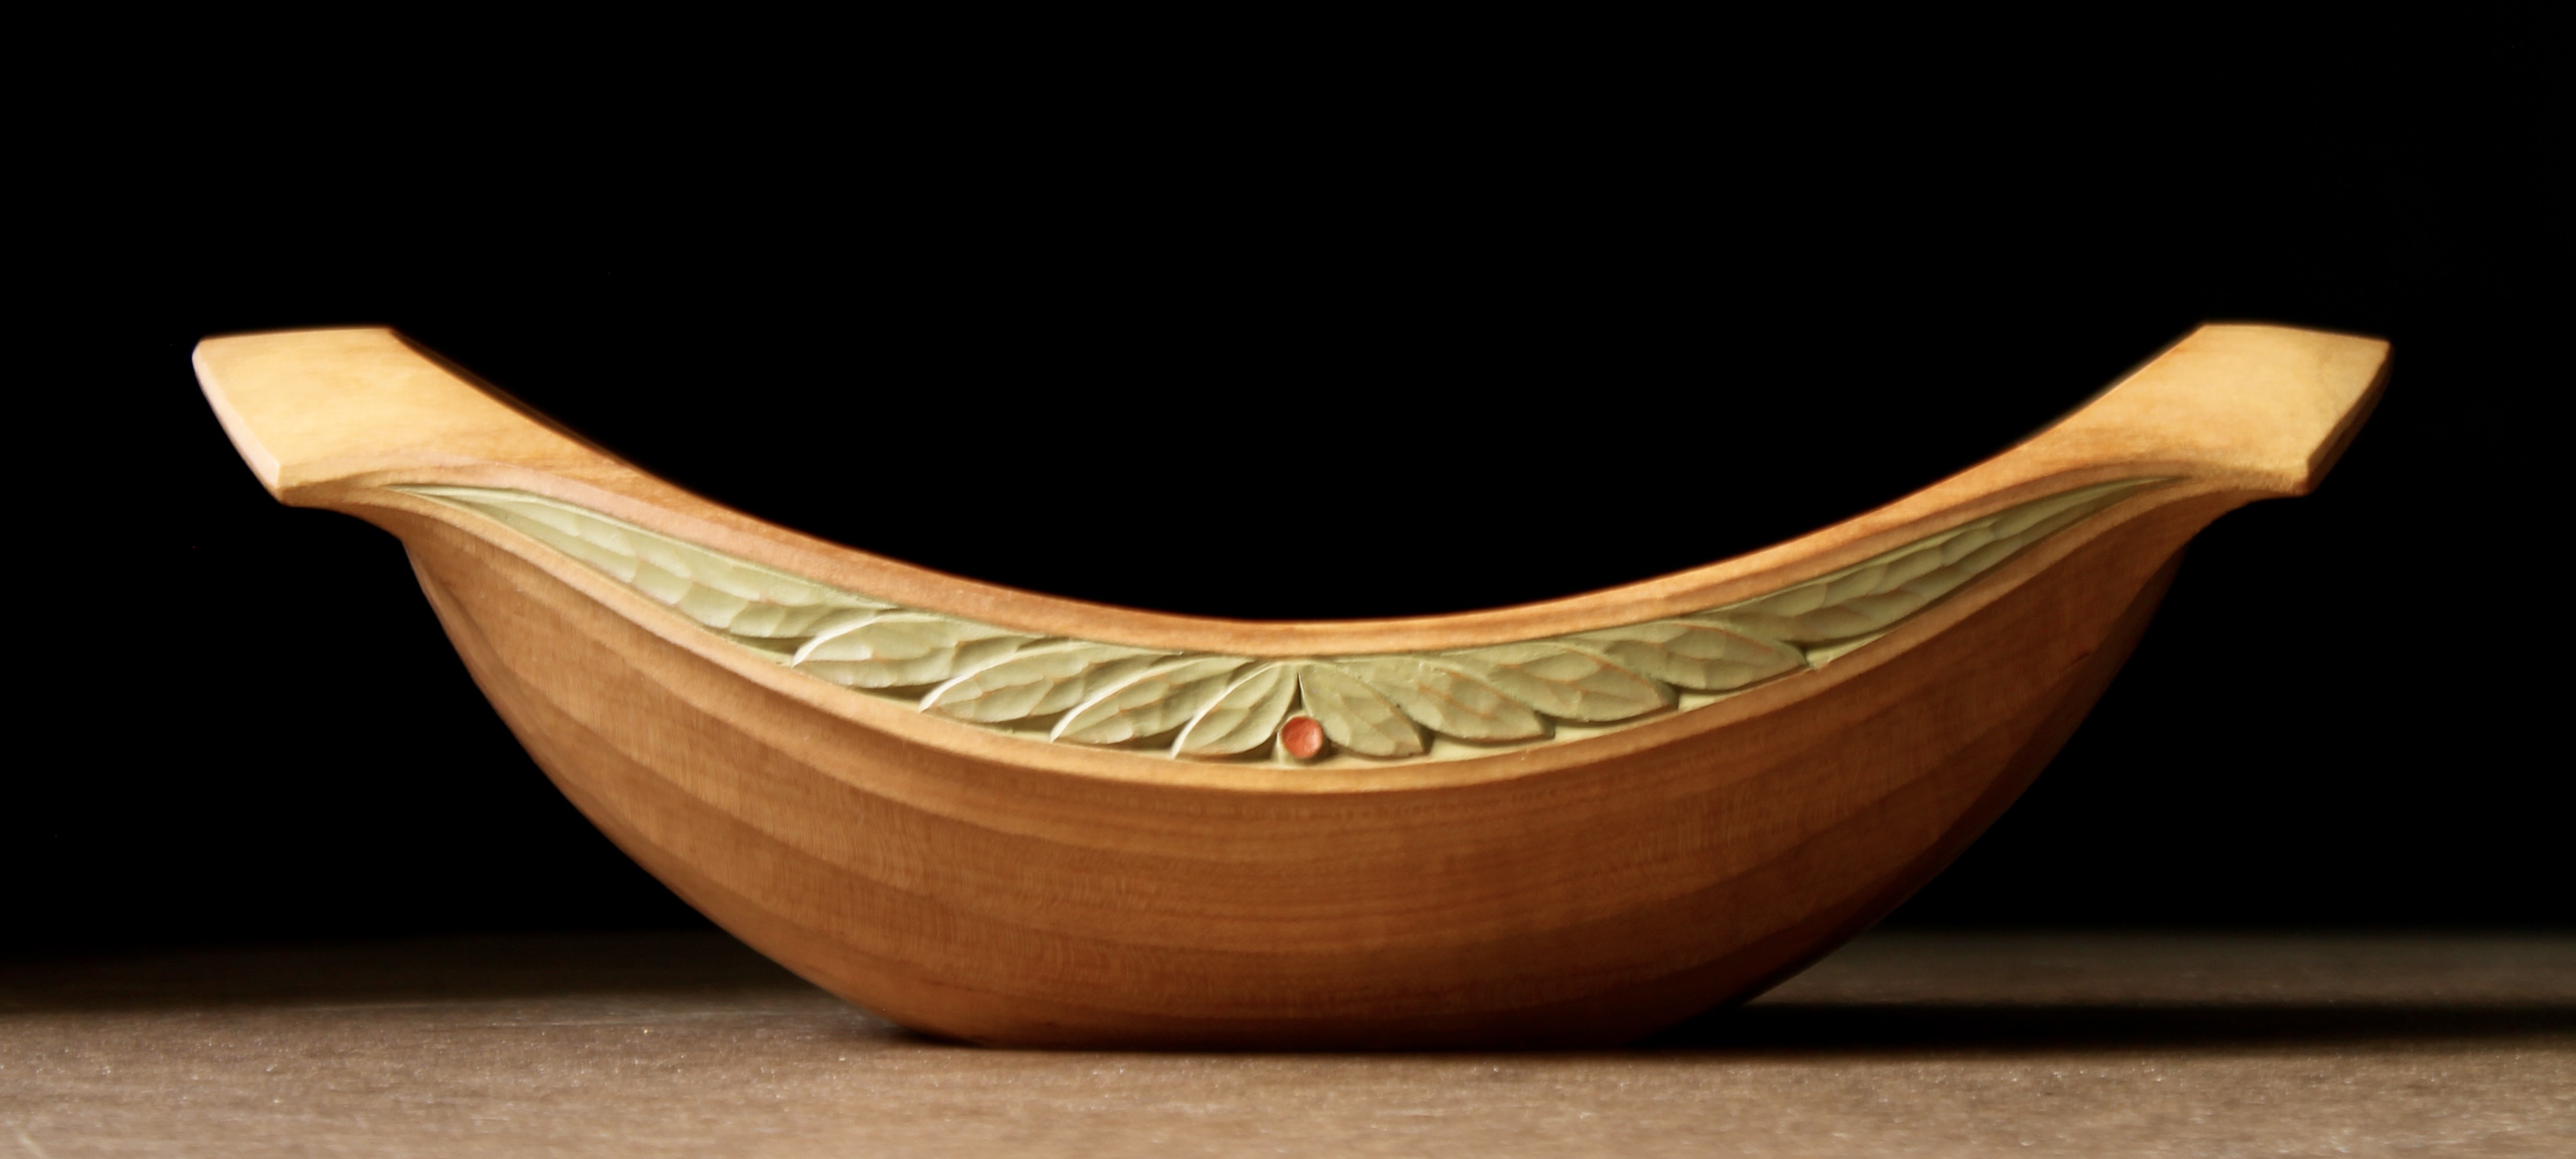
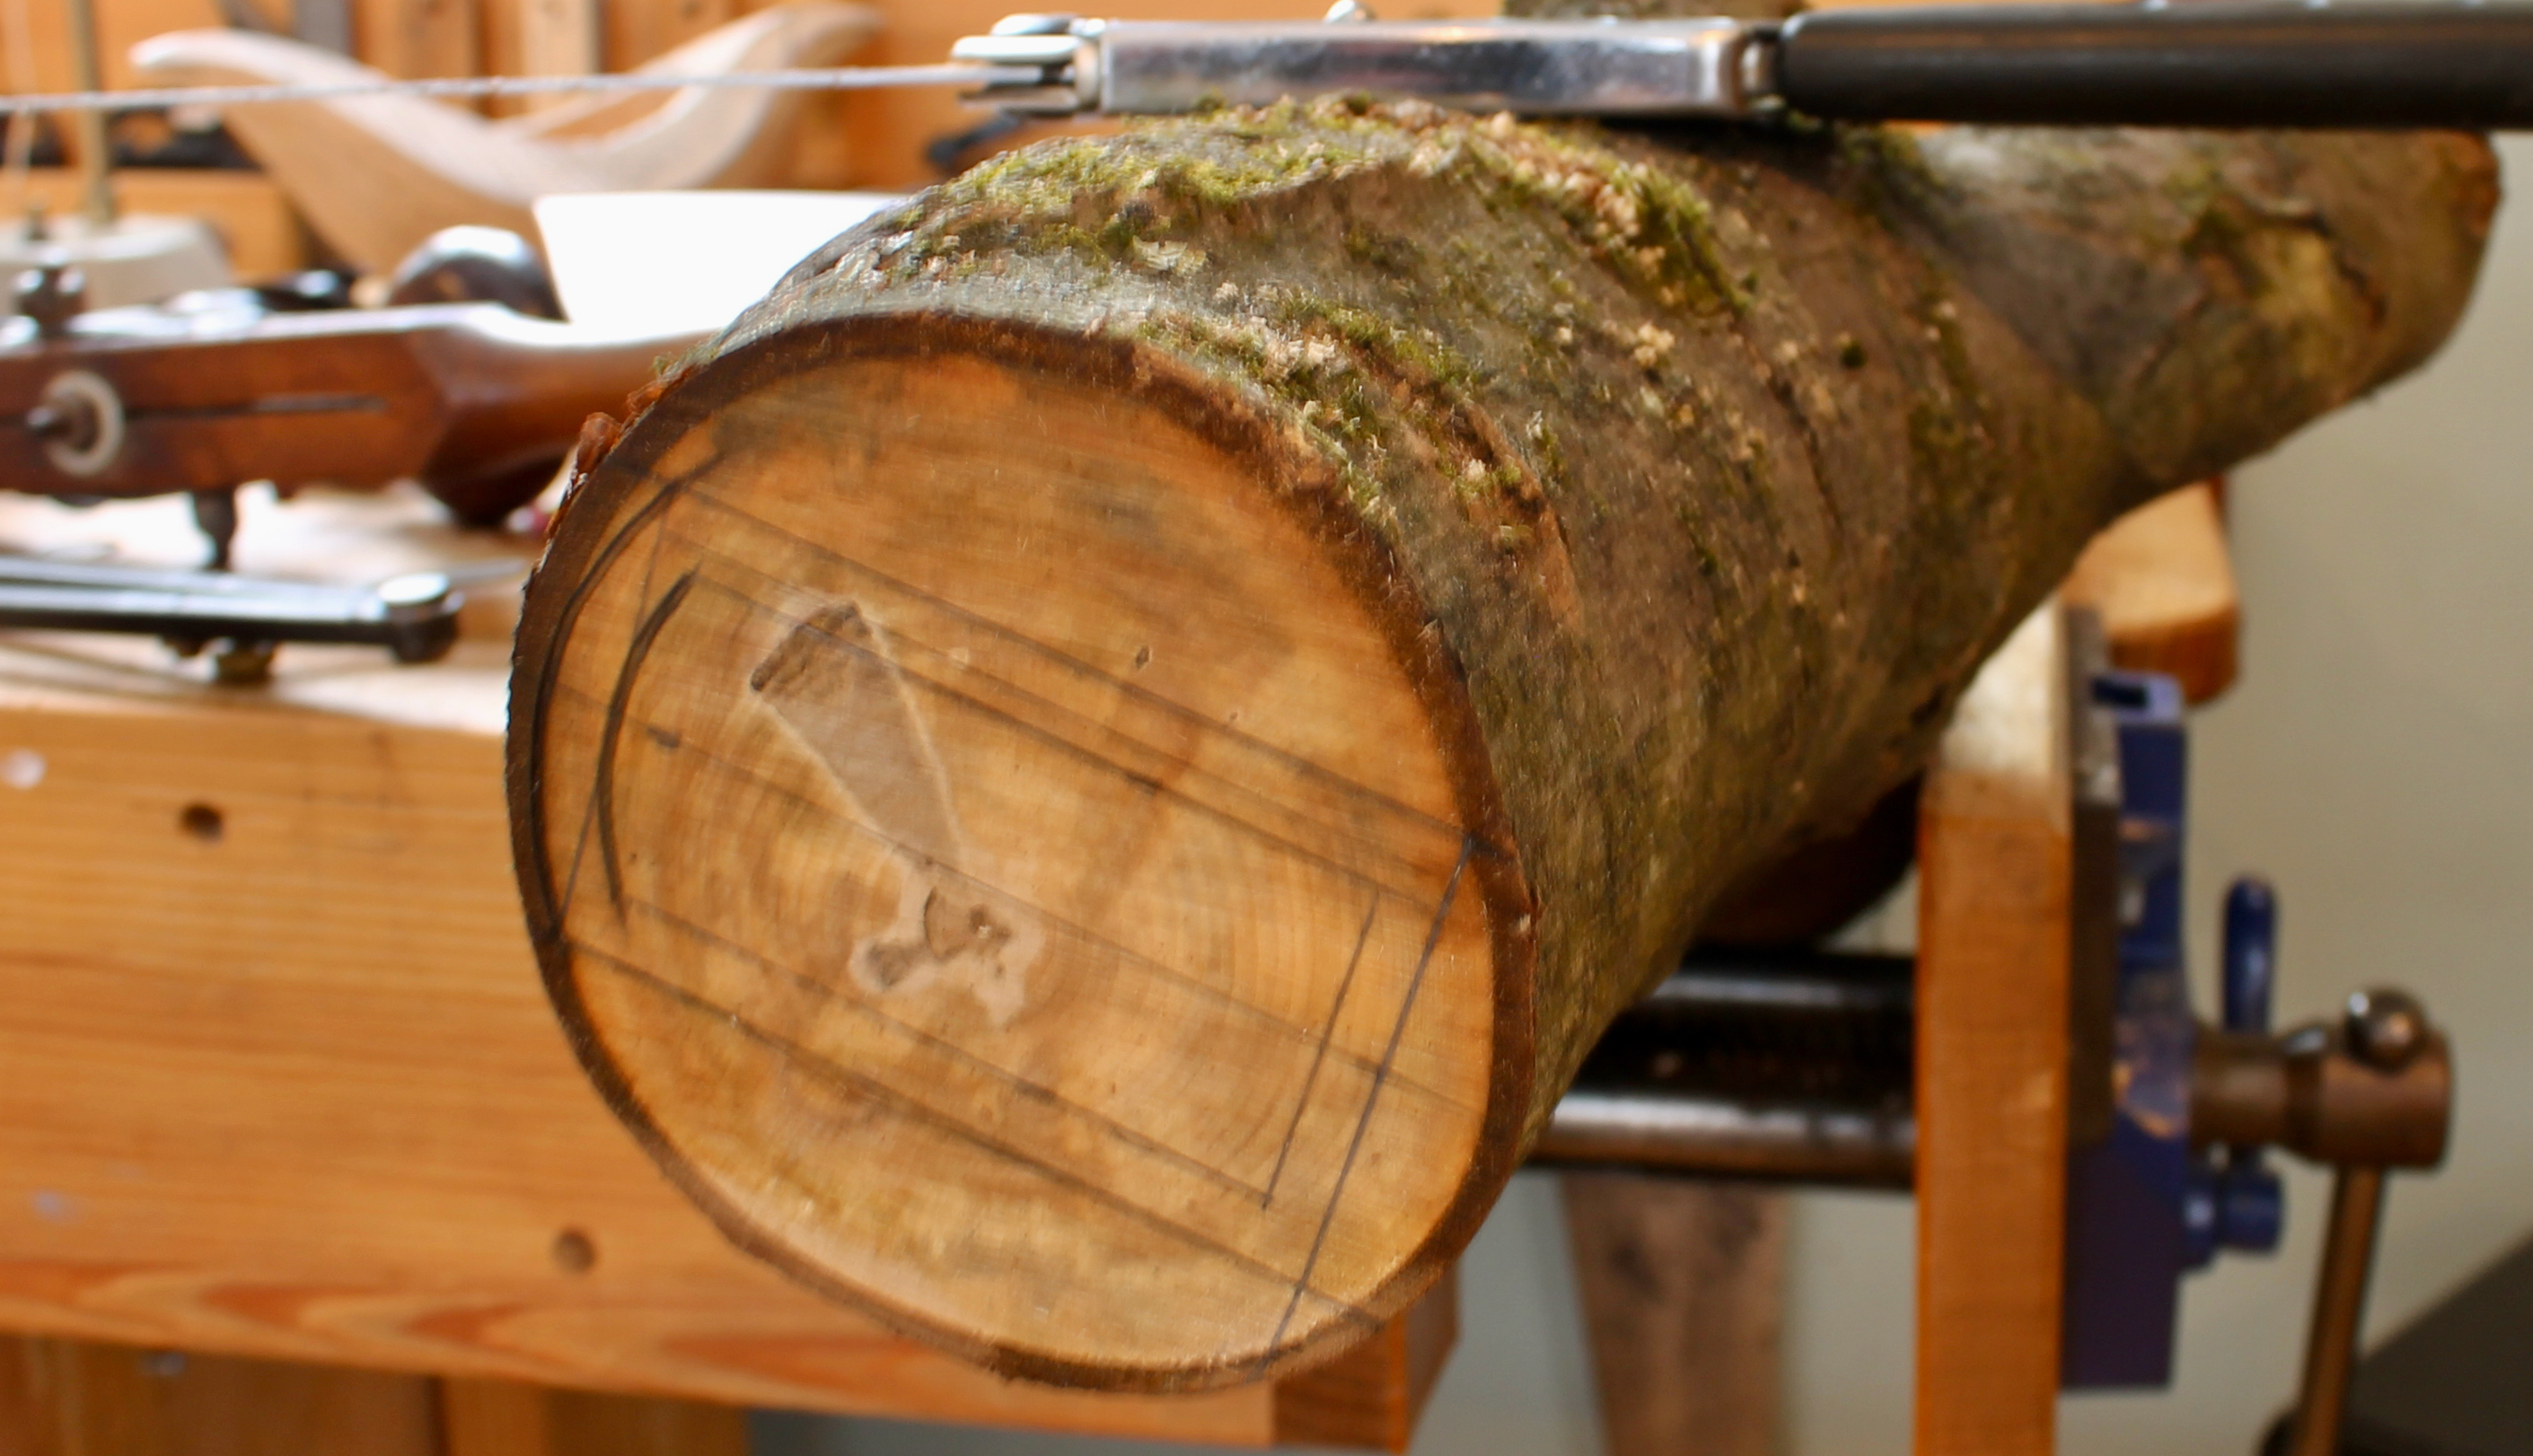
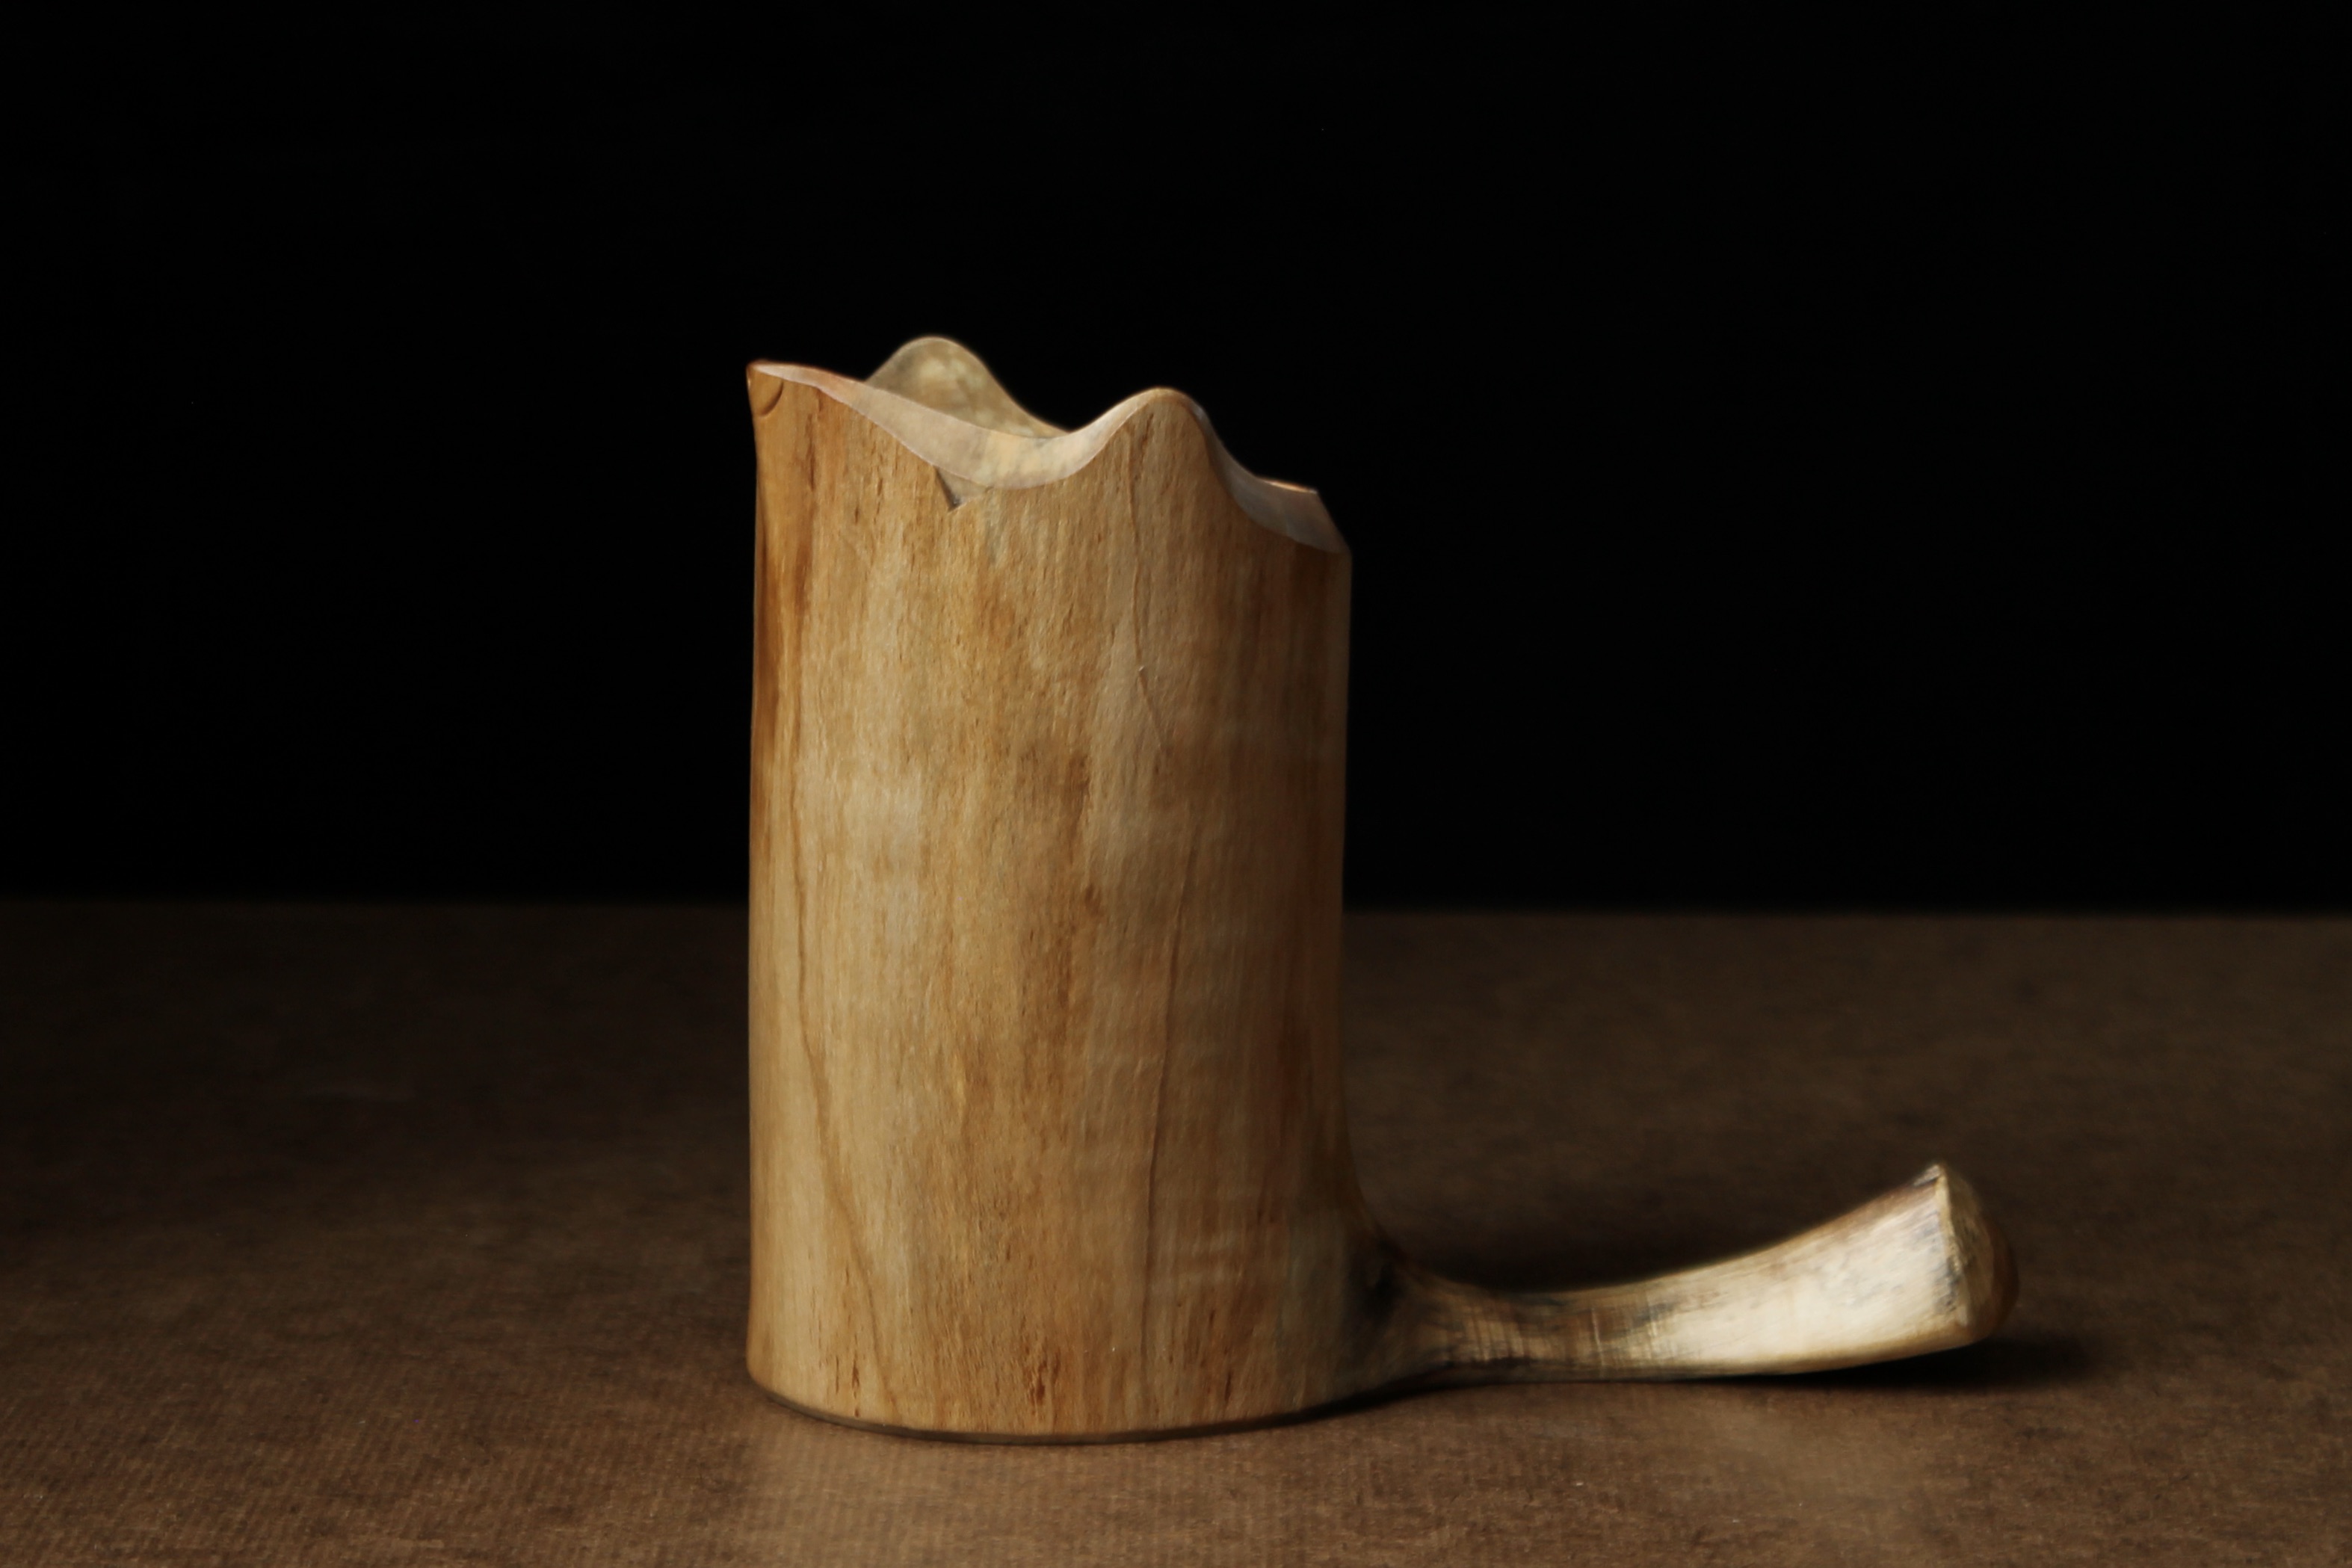
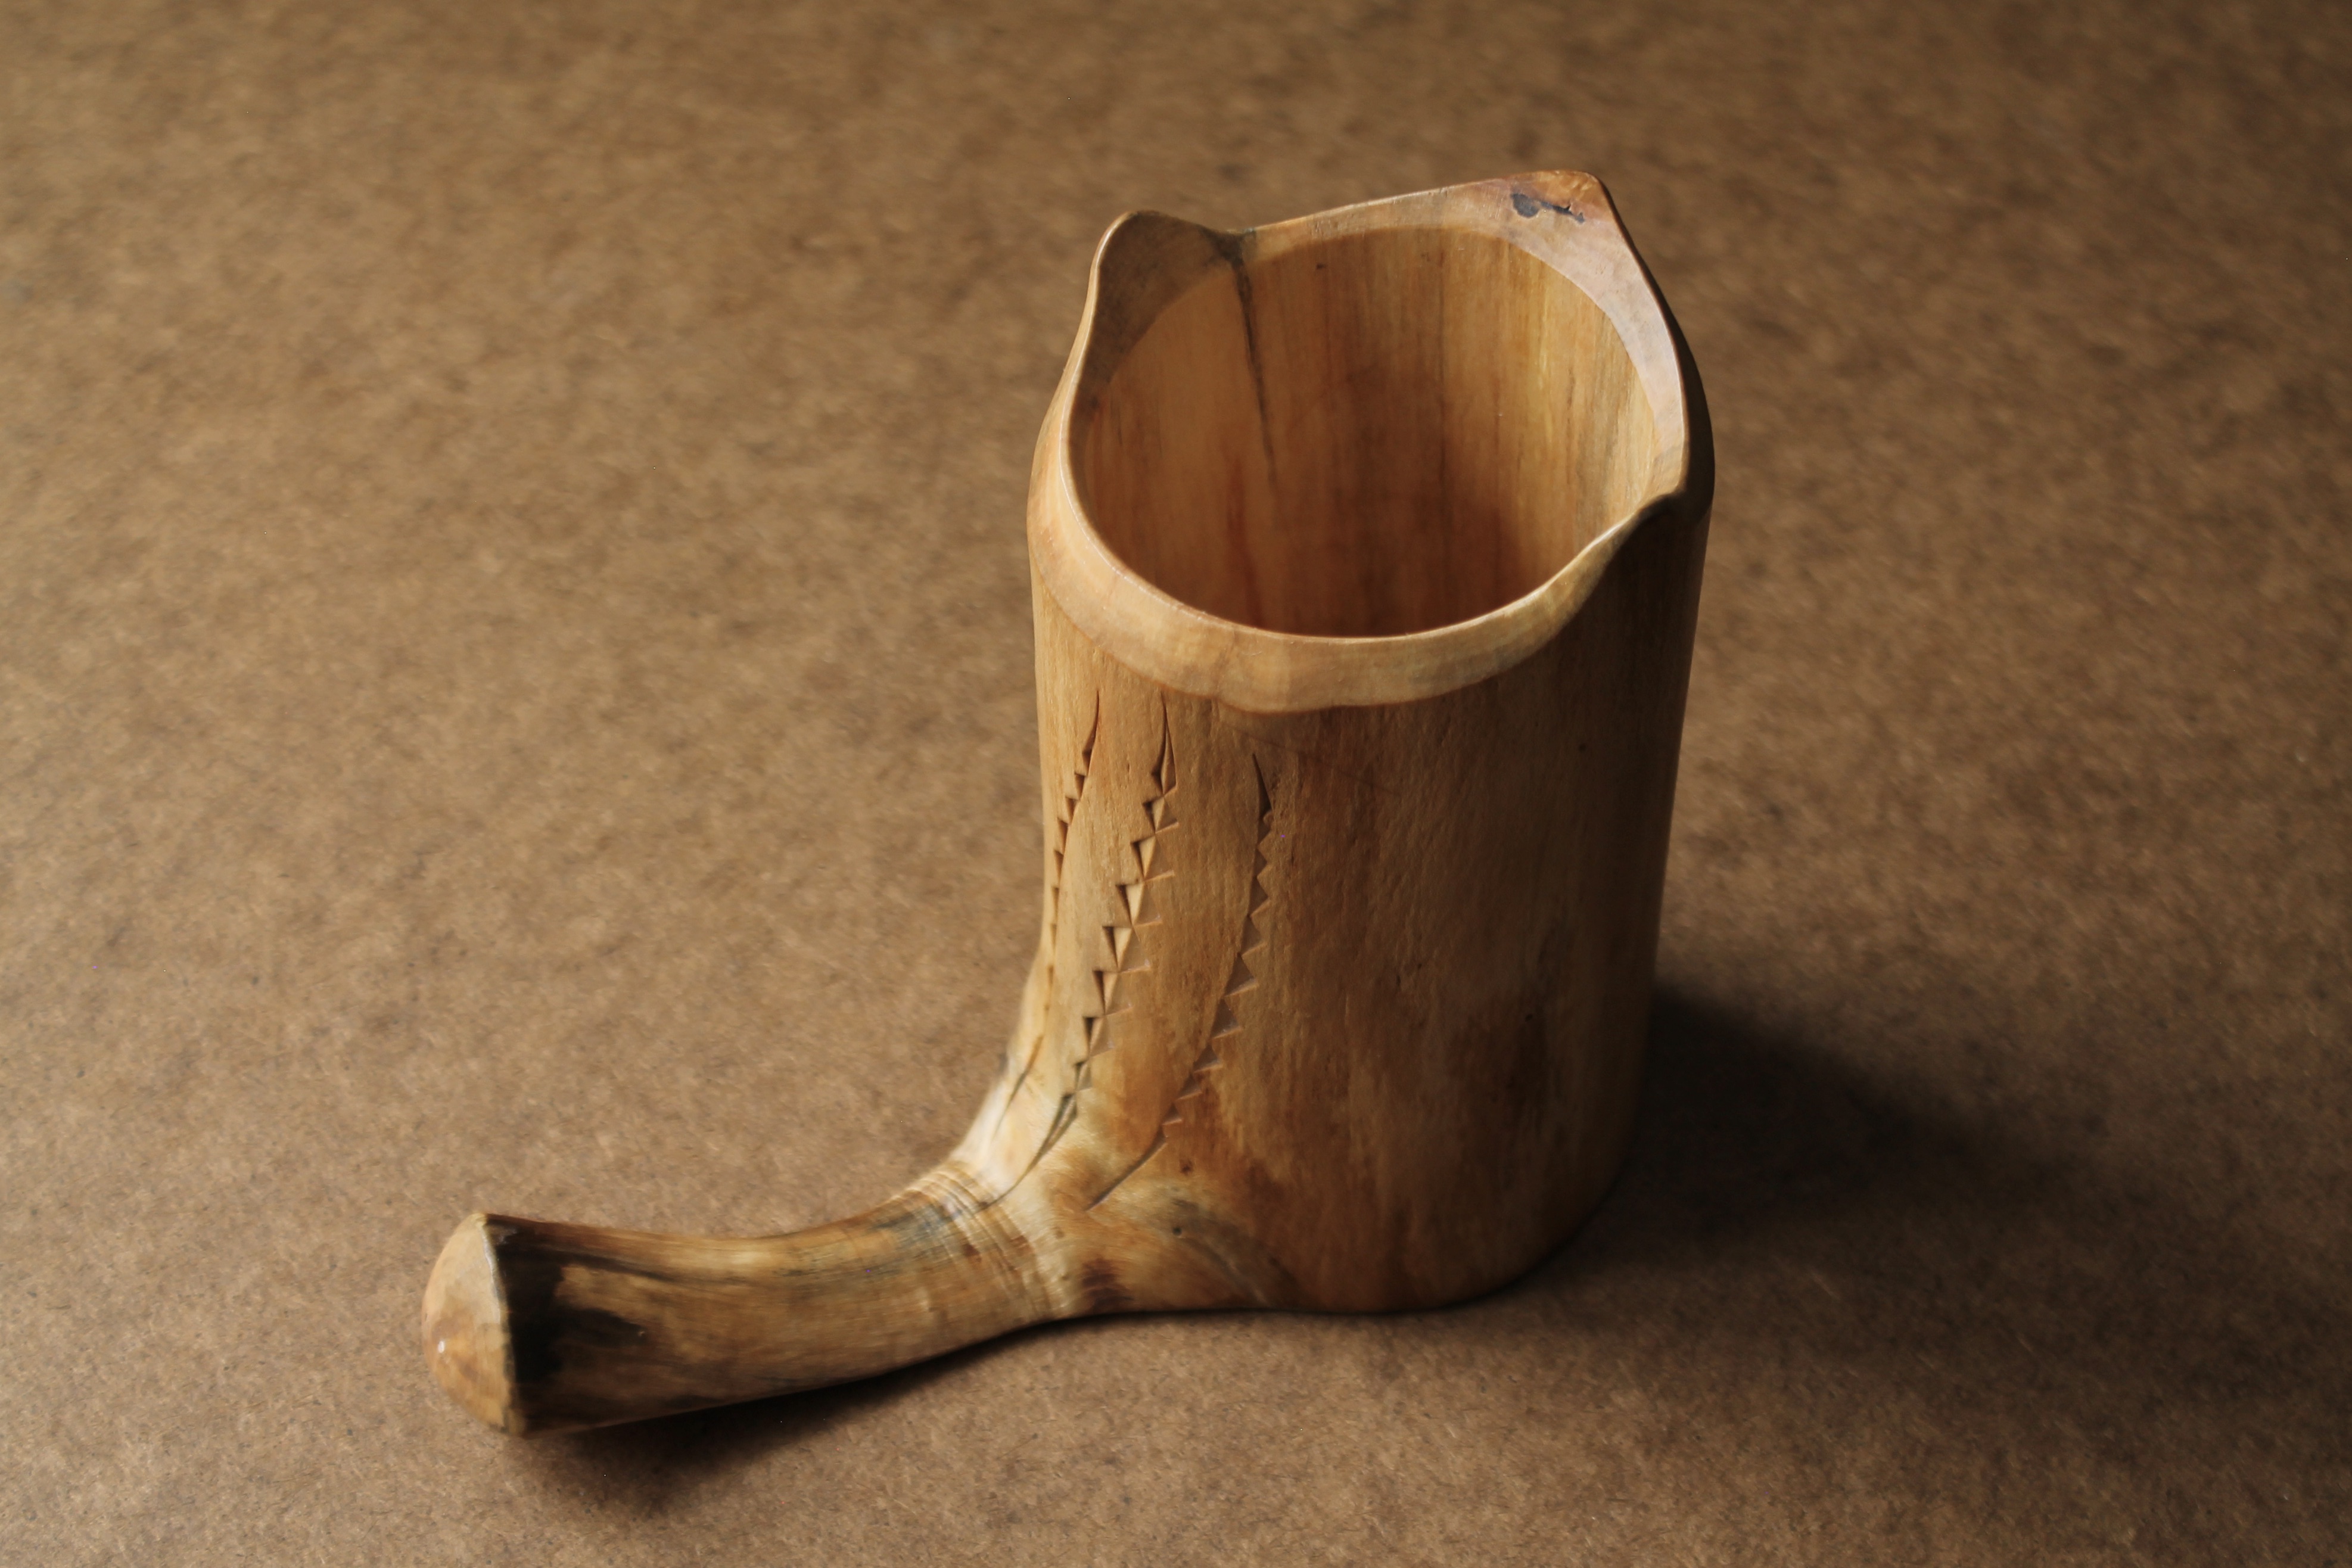
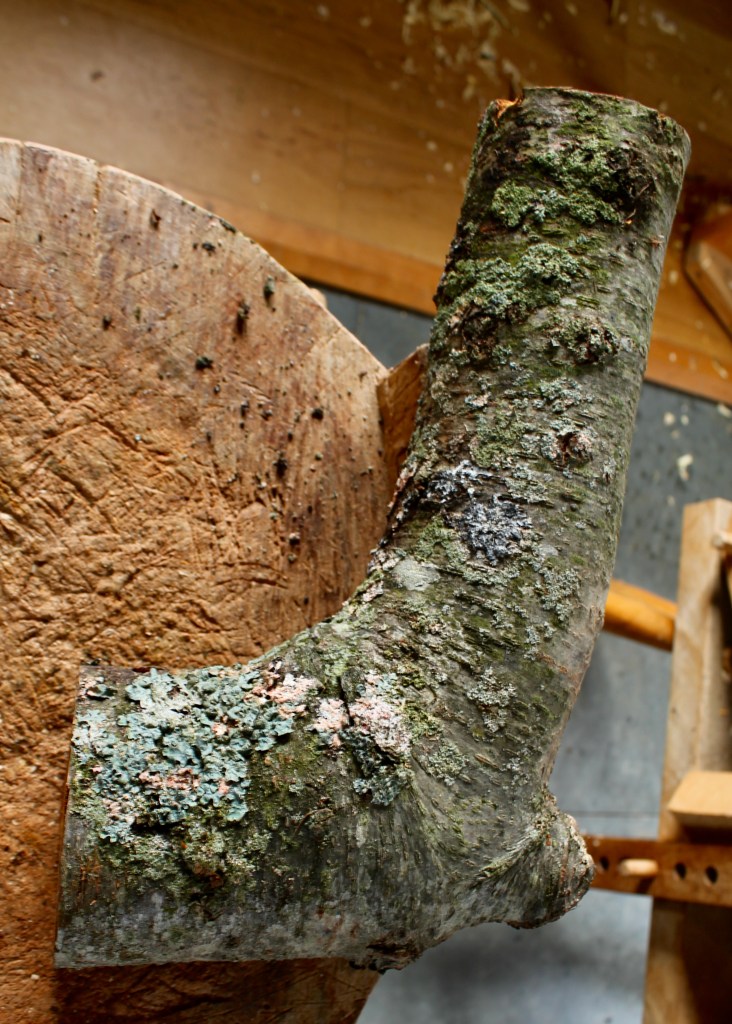
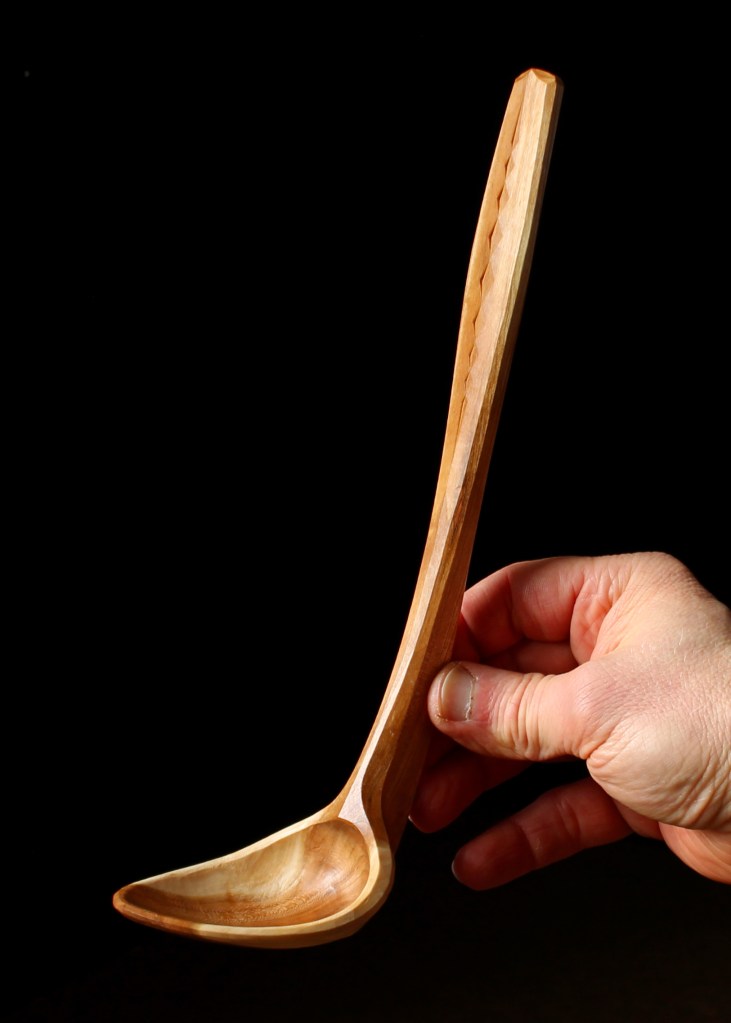
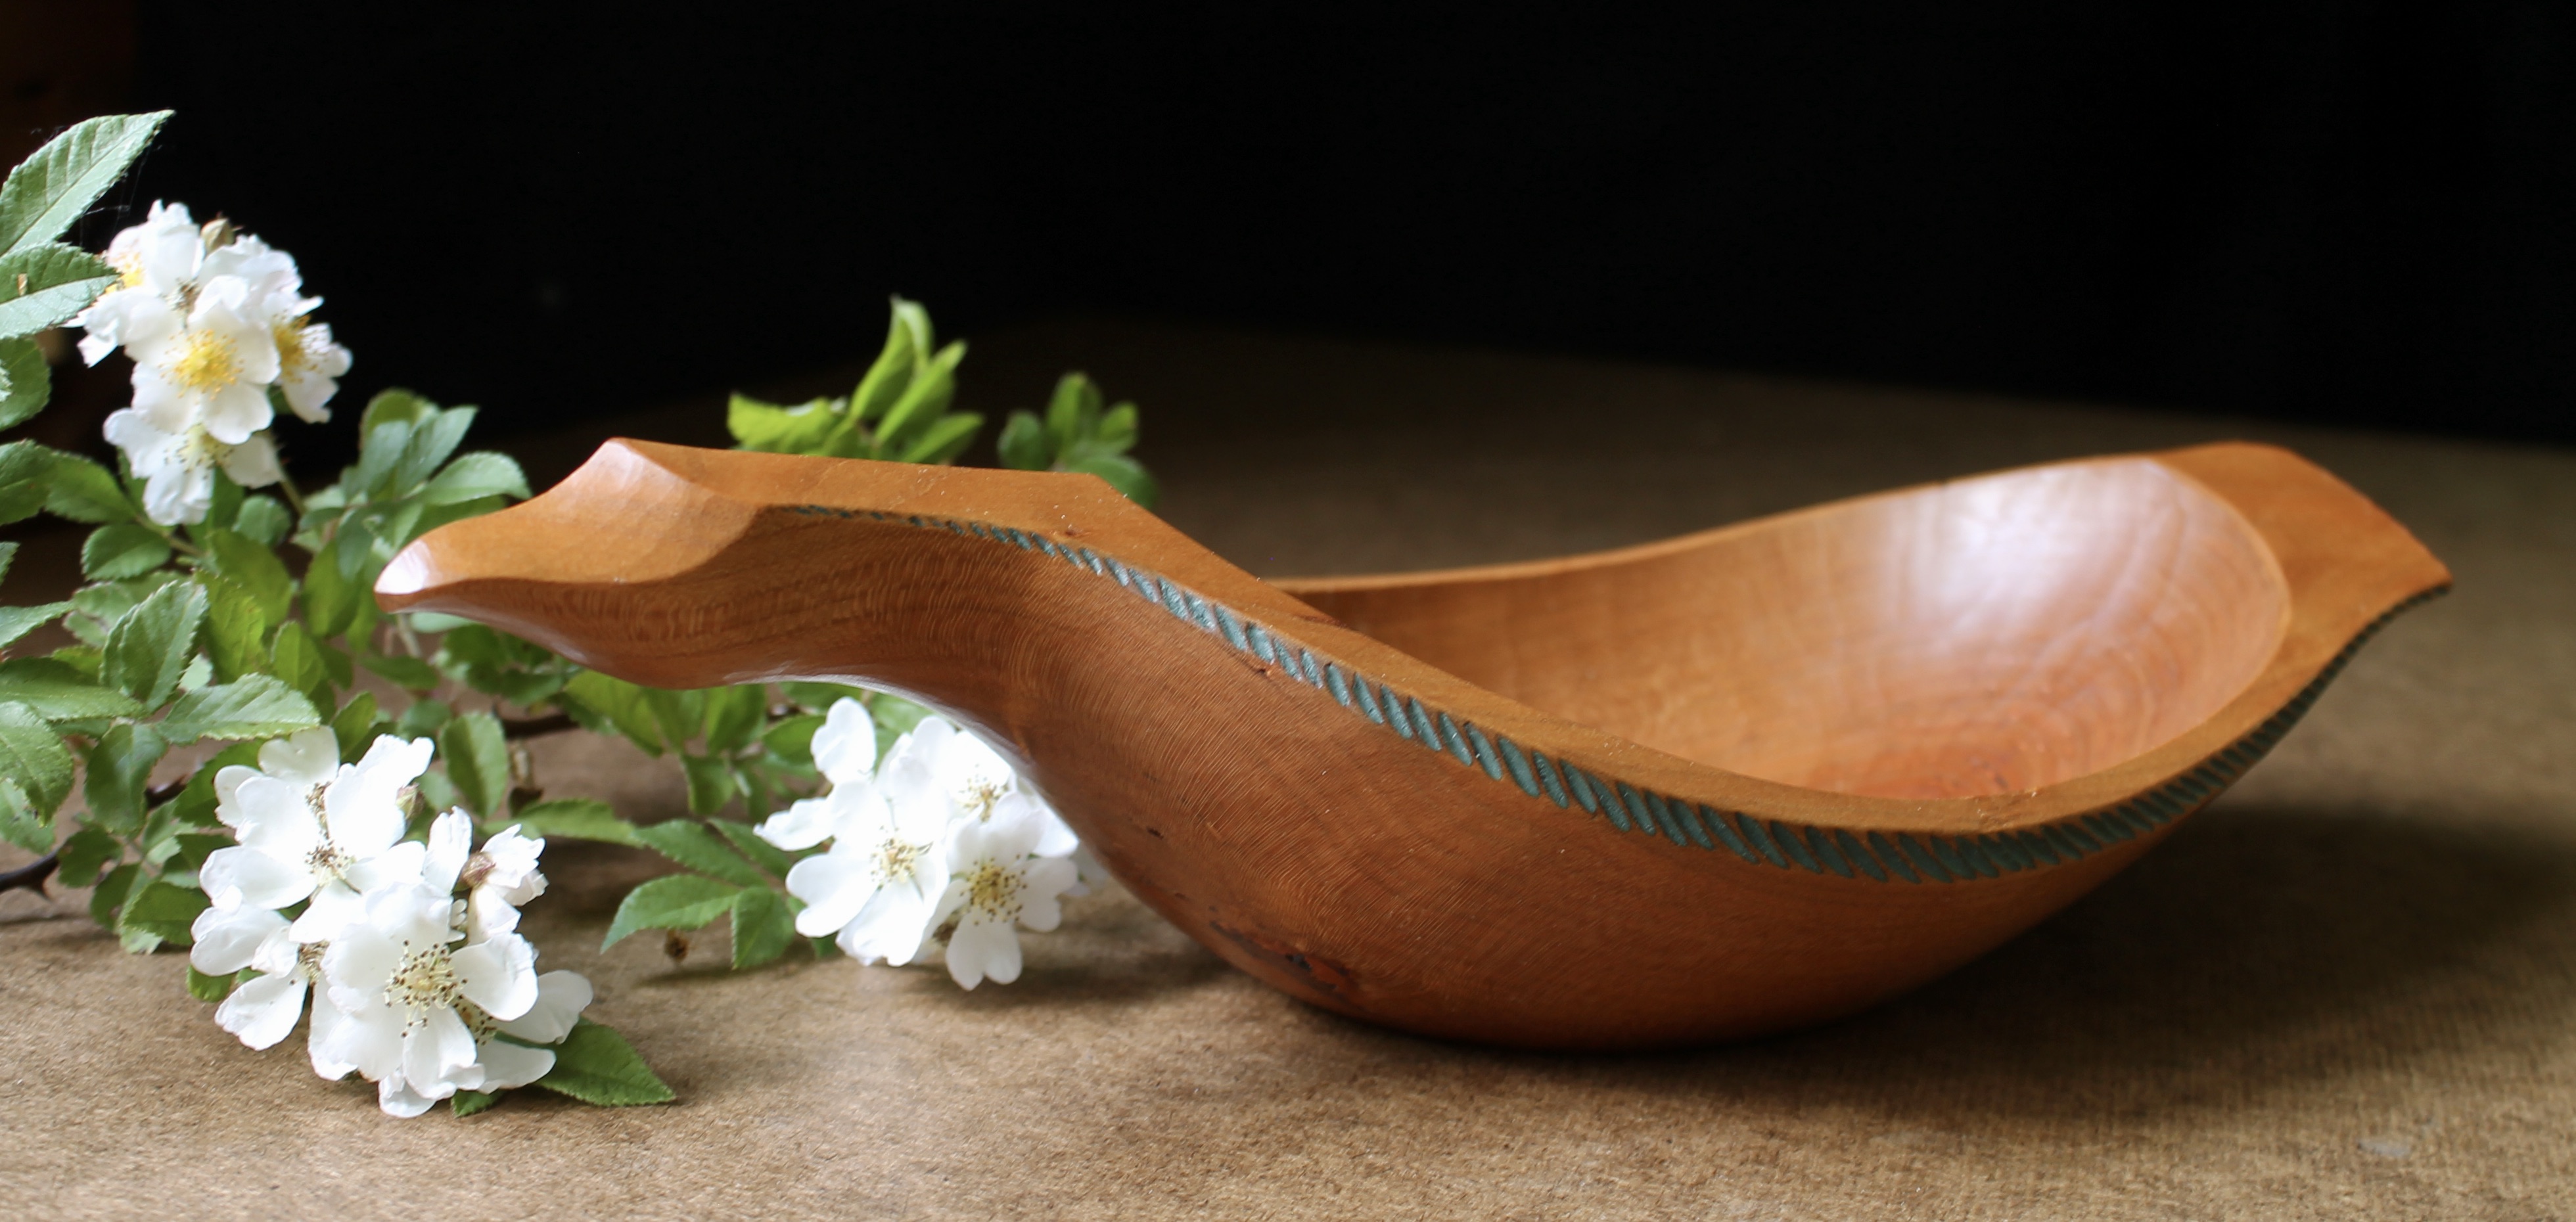
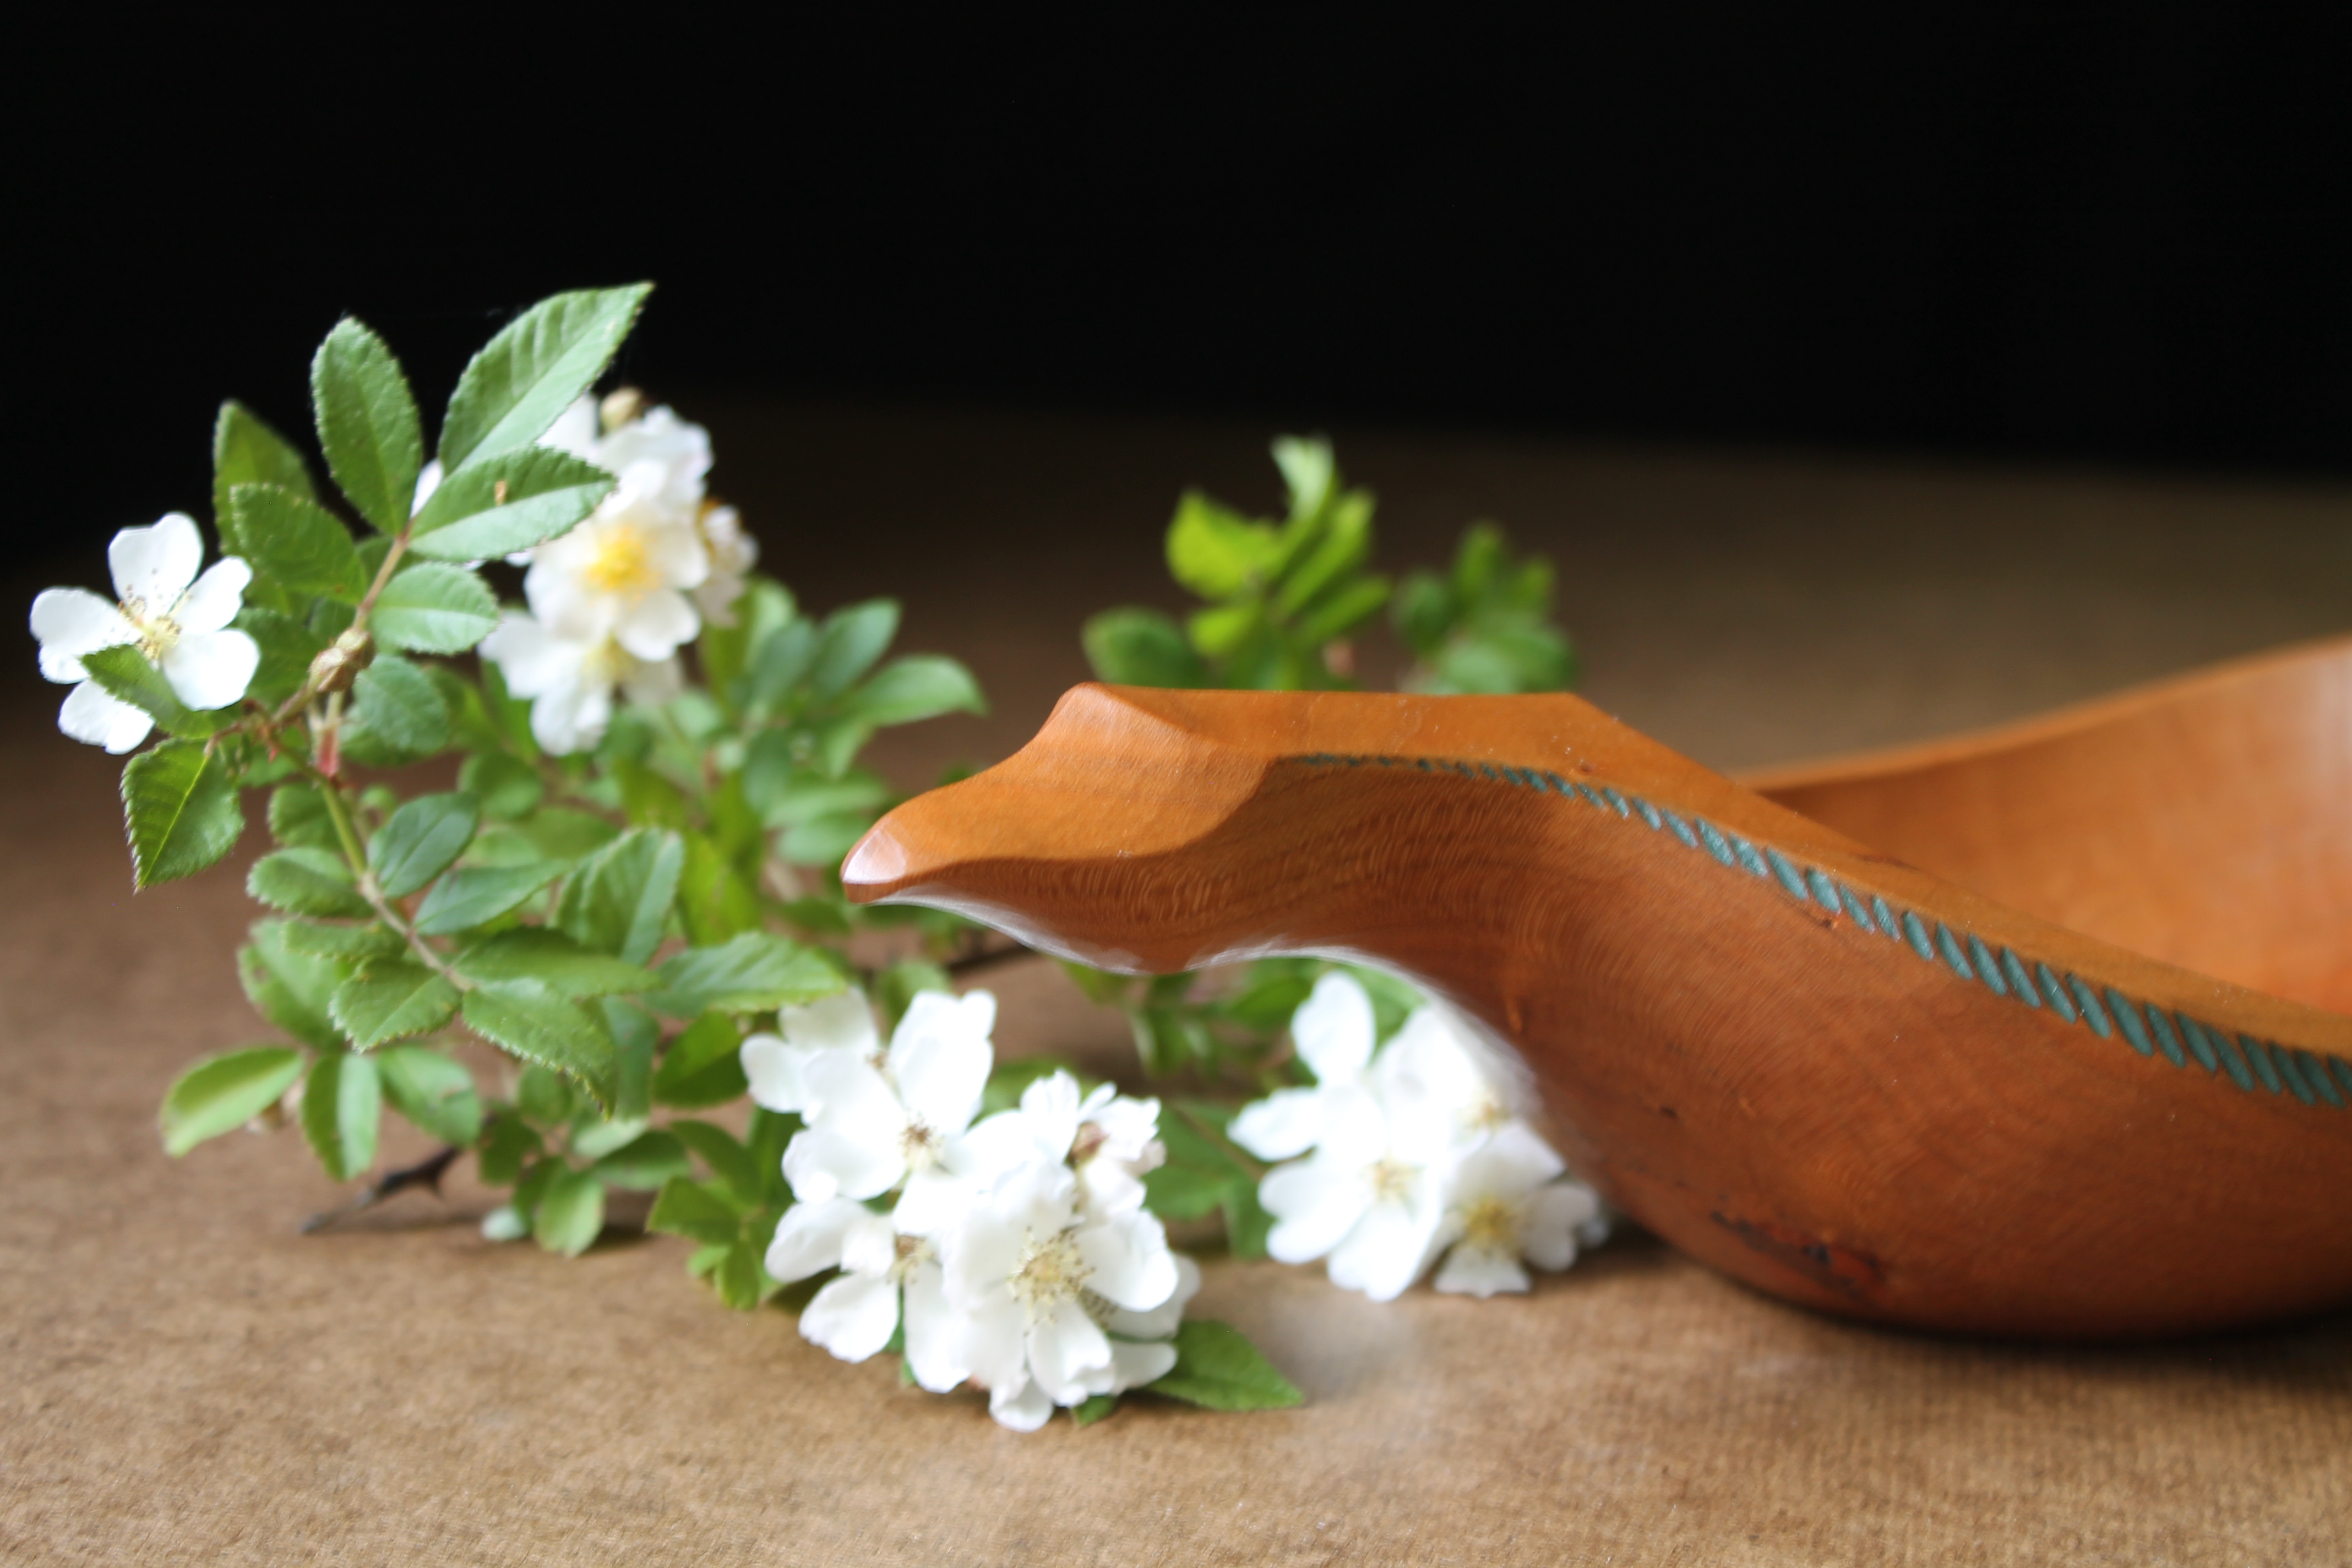
This bird/waterfowl-inspired bowl was carved from a straight section of cherry log. I shaved off the rotten sapwood and got down to the sound heartwood, shaping the blank so that the head and tail, in profile, would rise slightly up and away from the body.
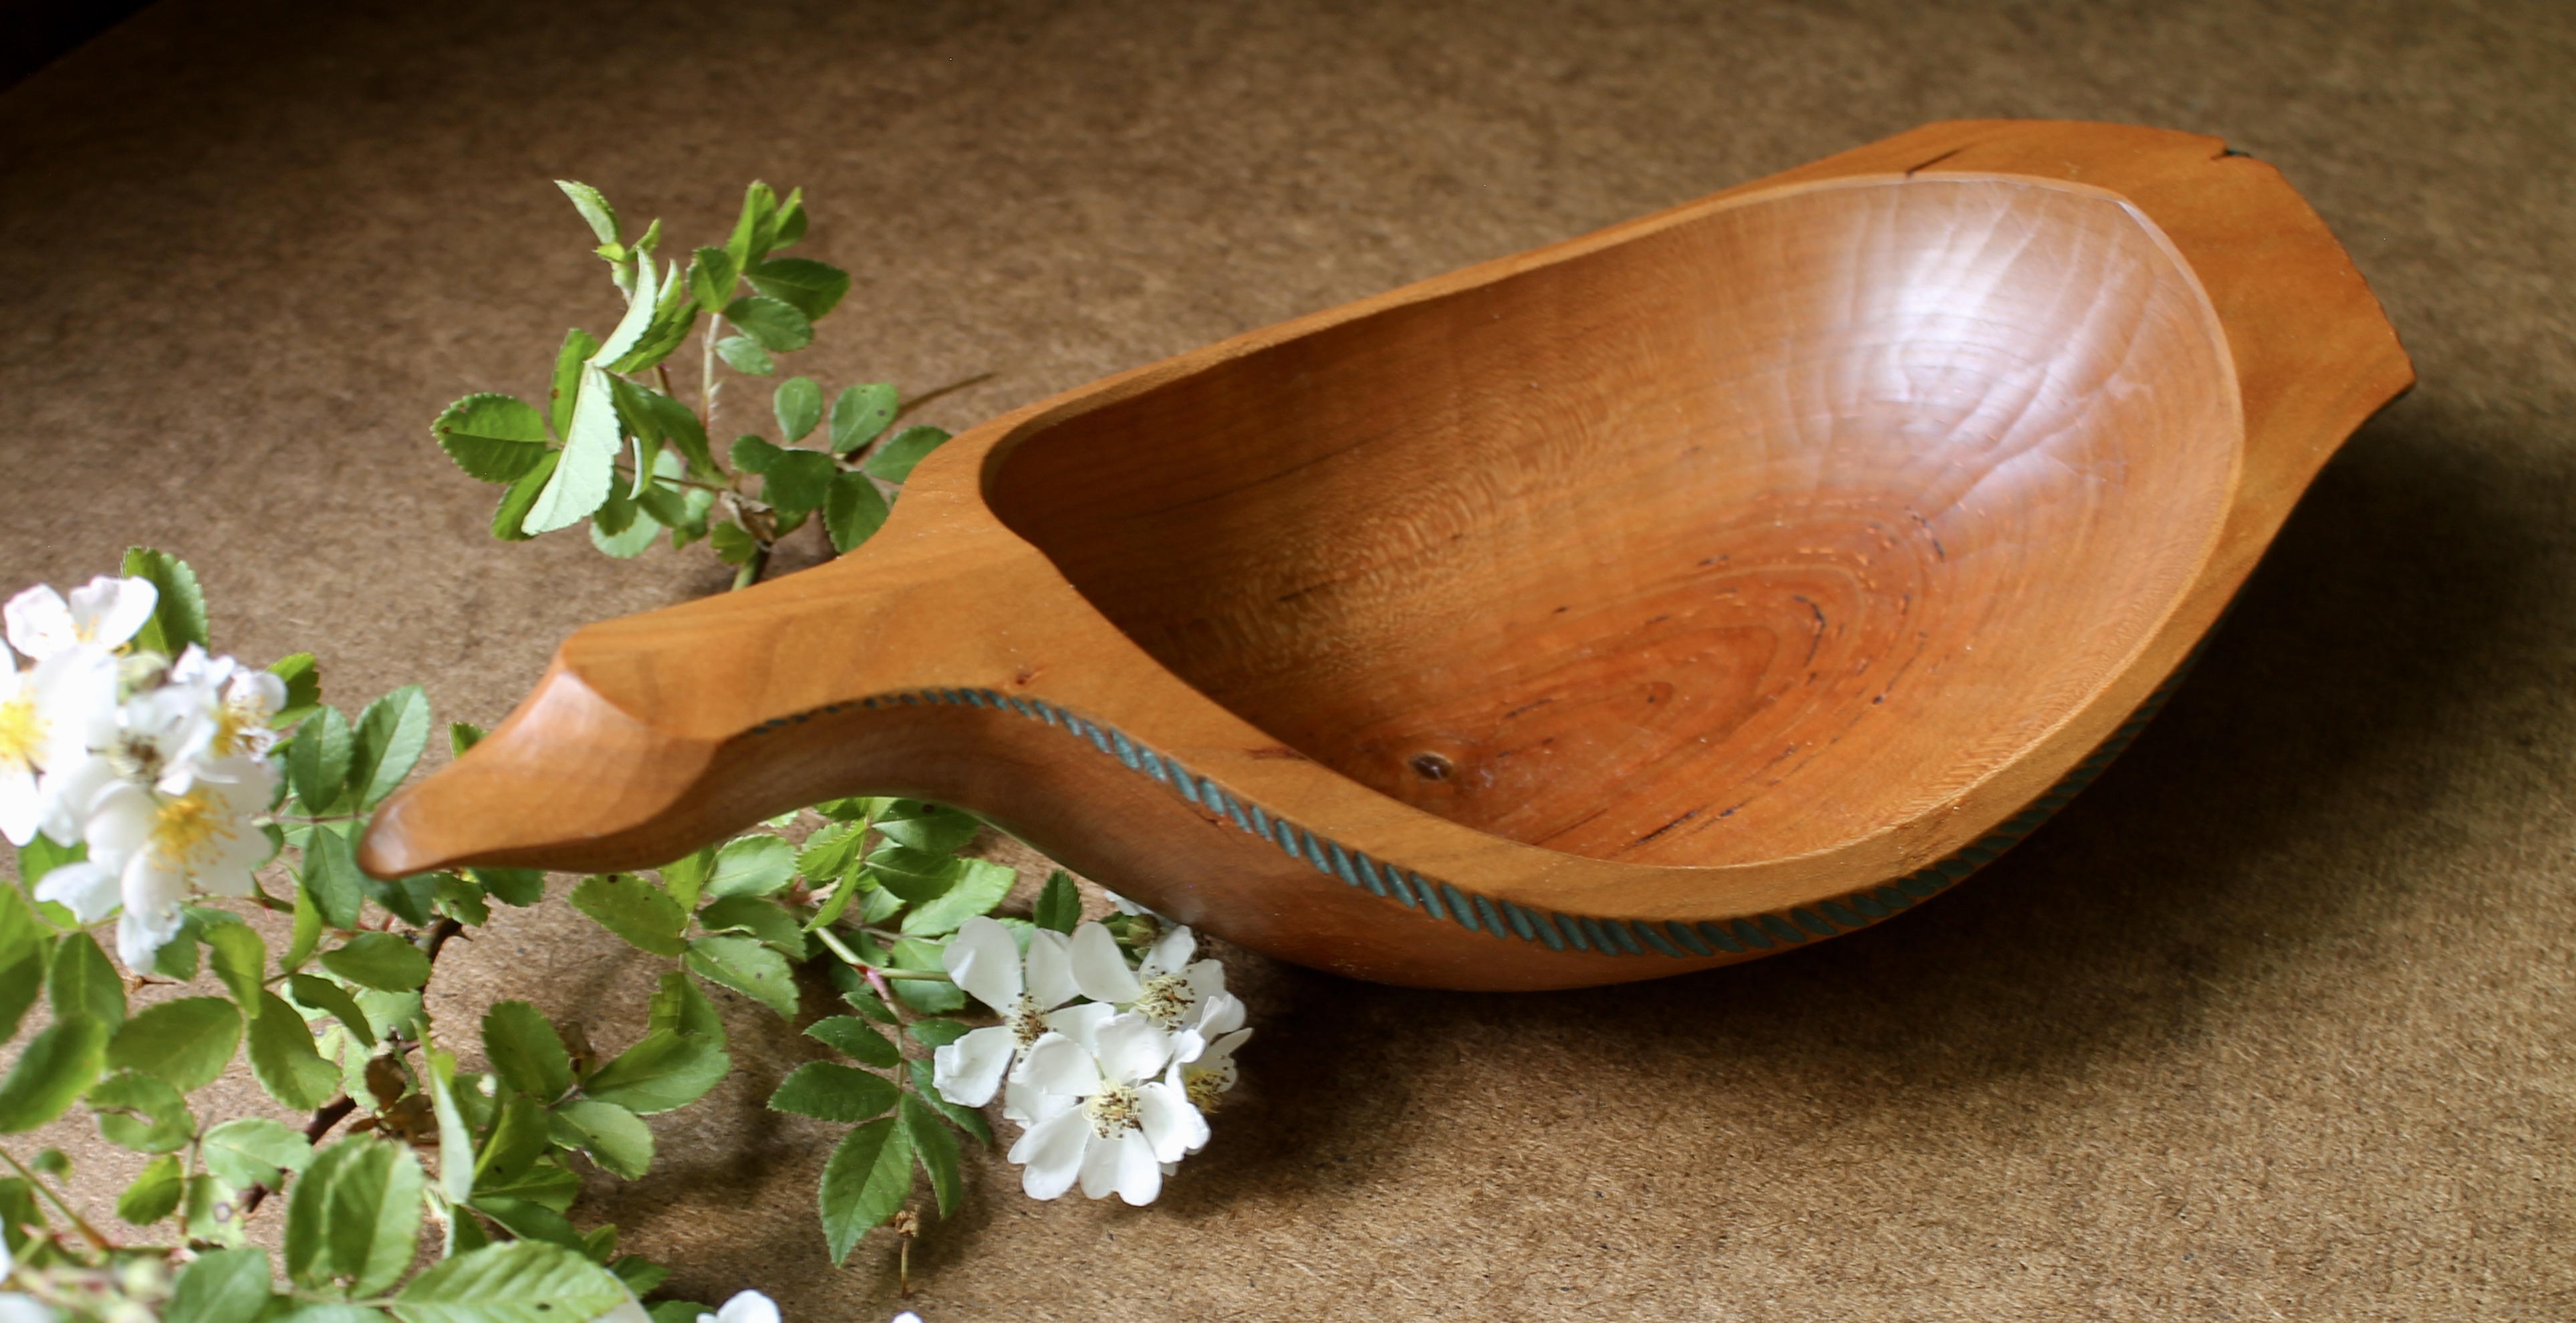
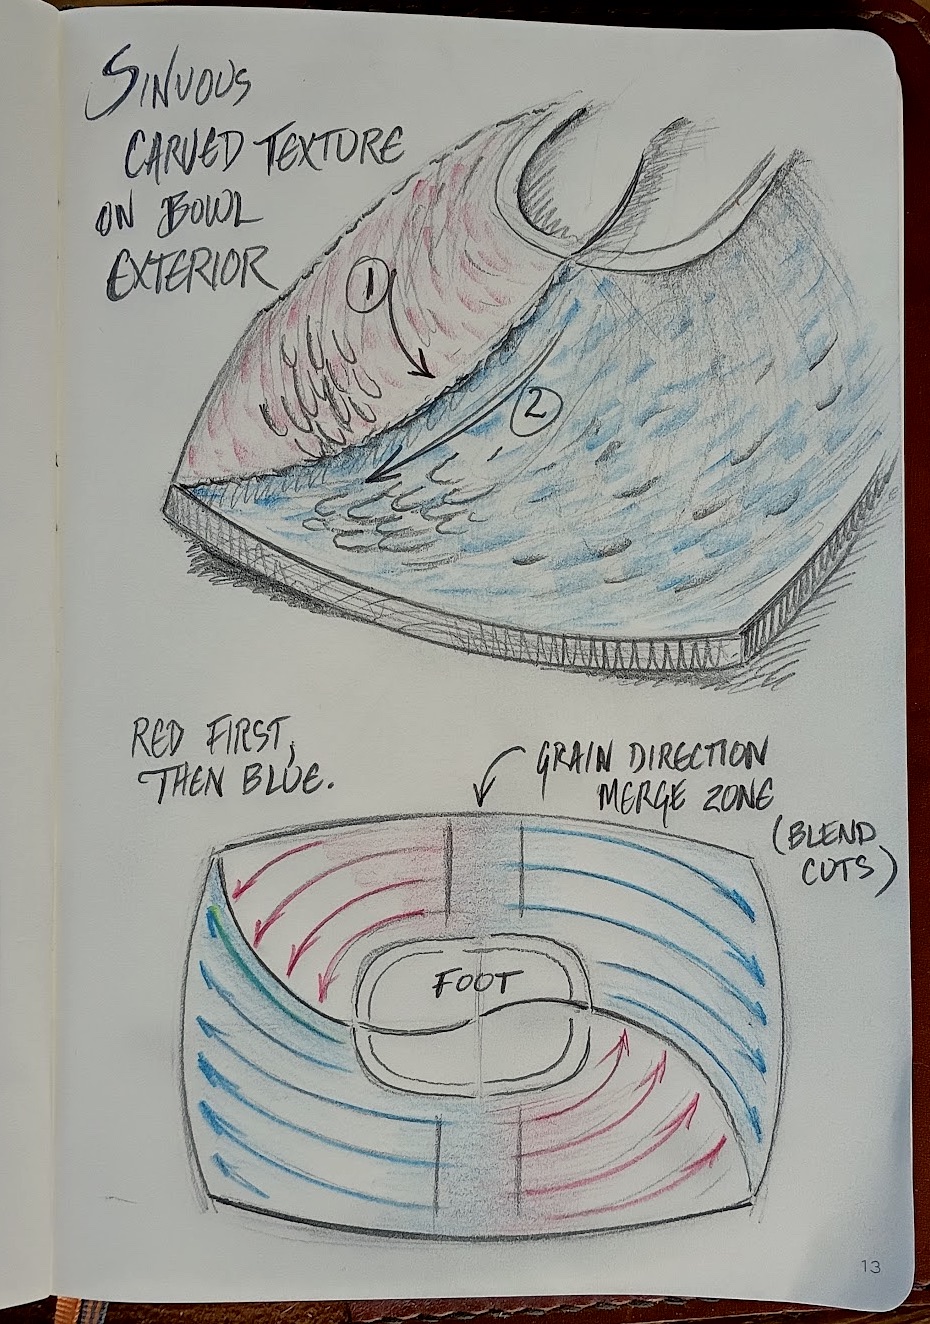
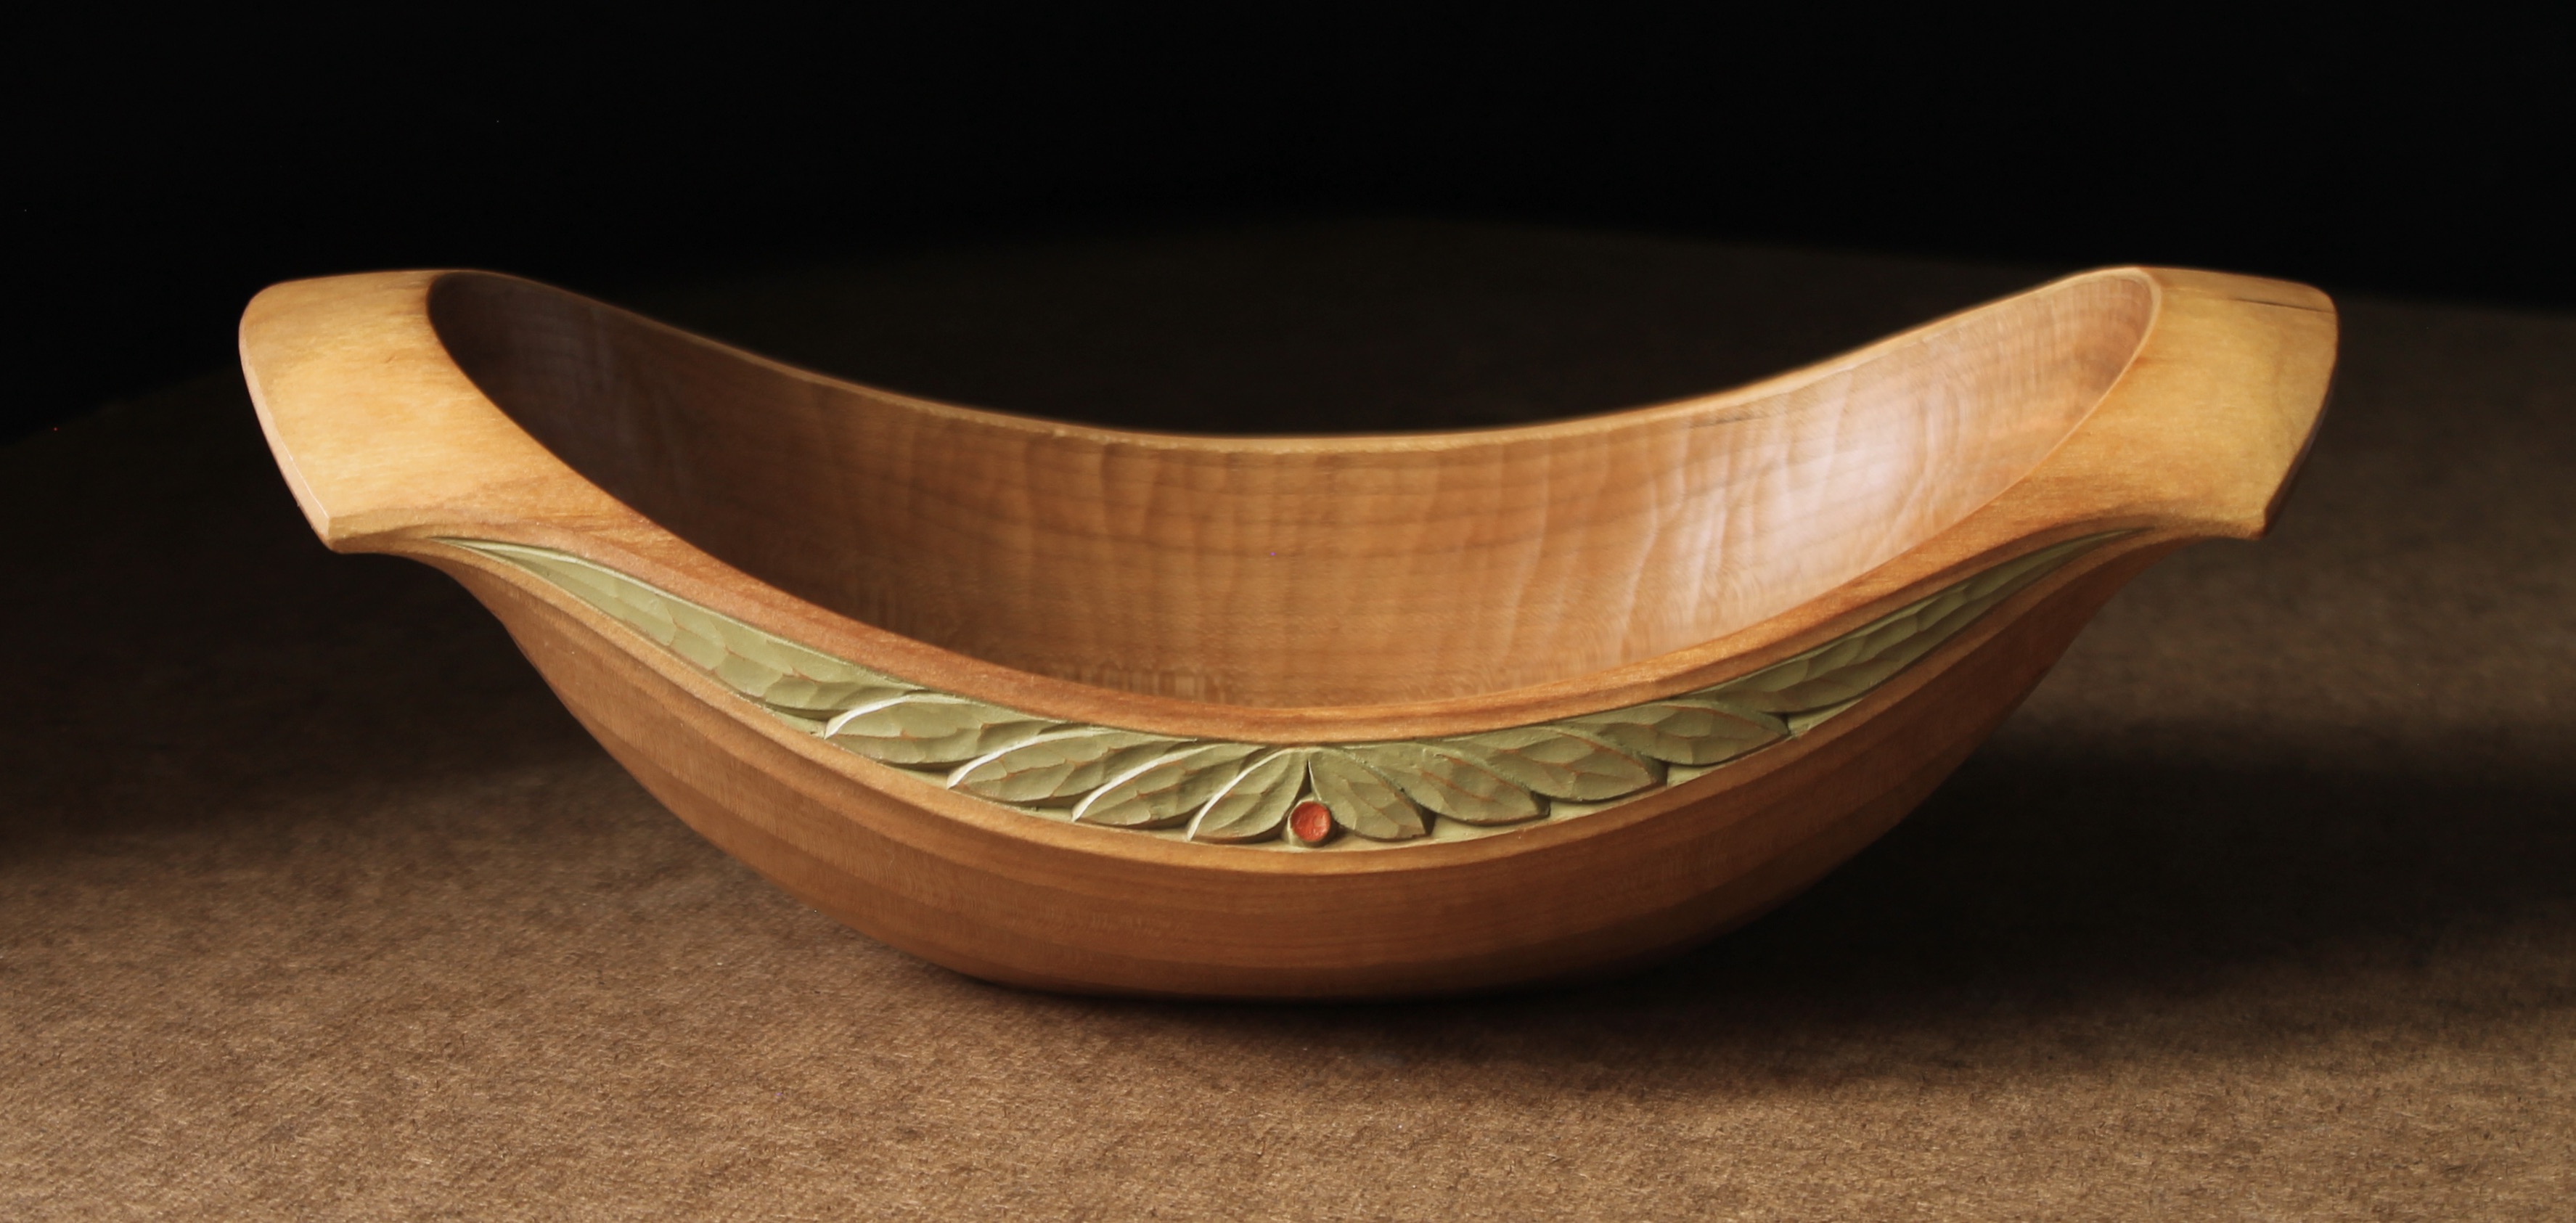
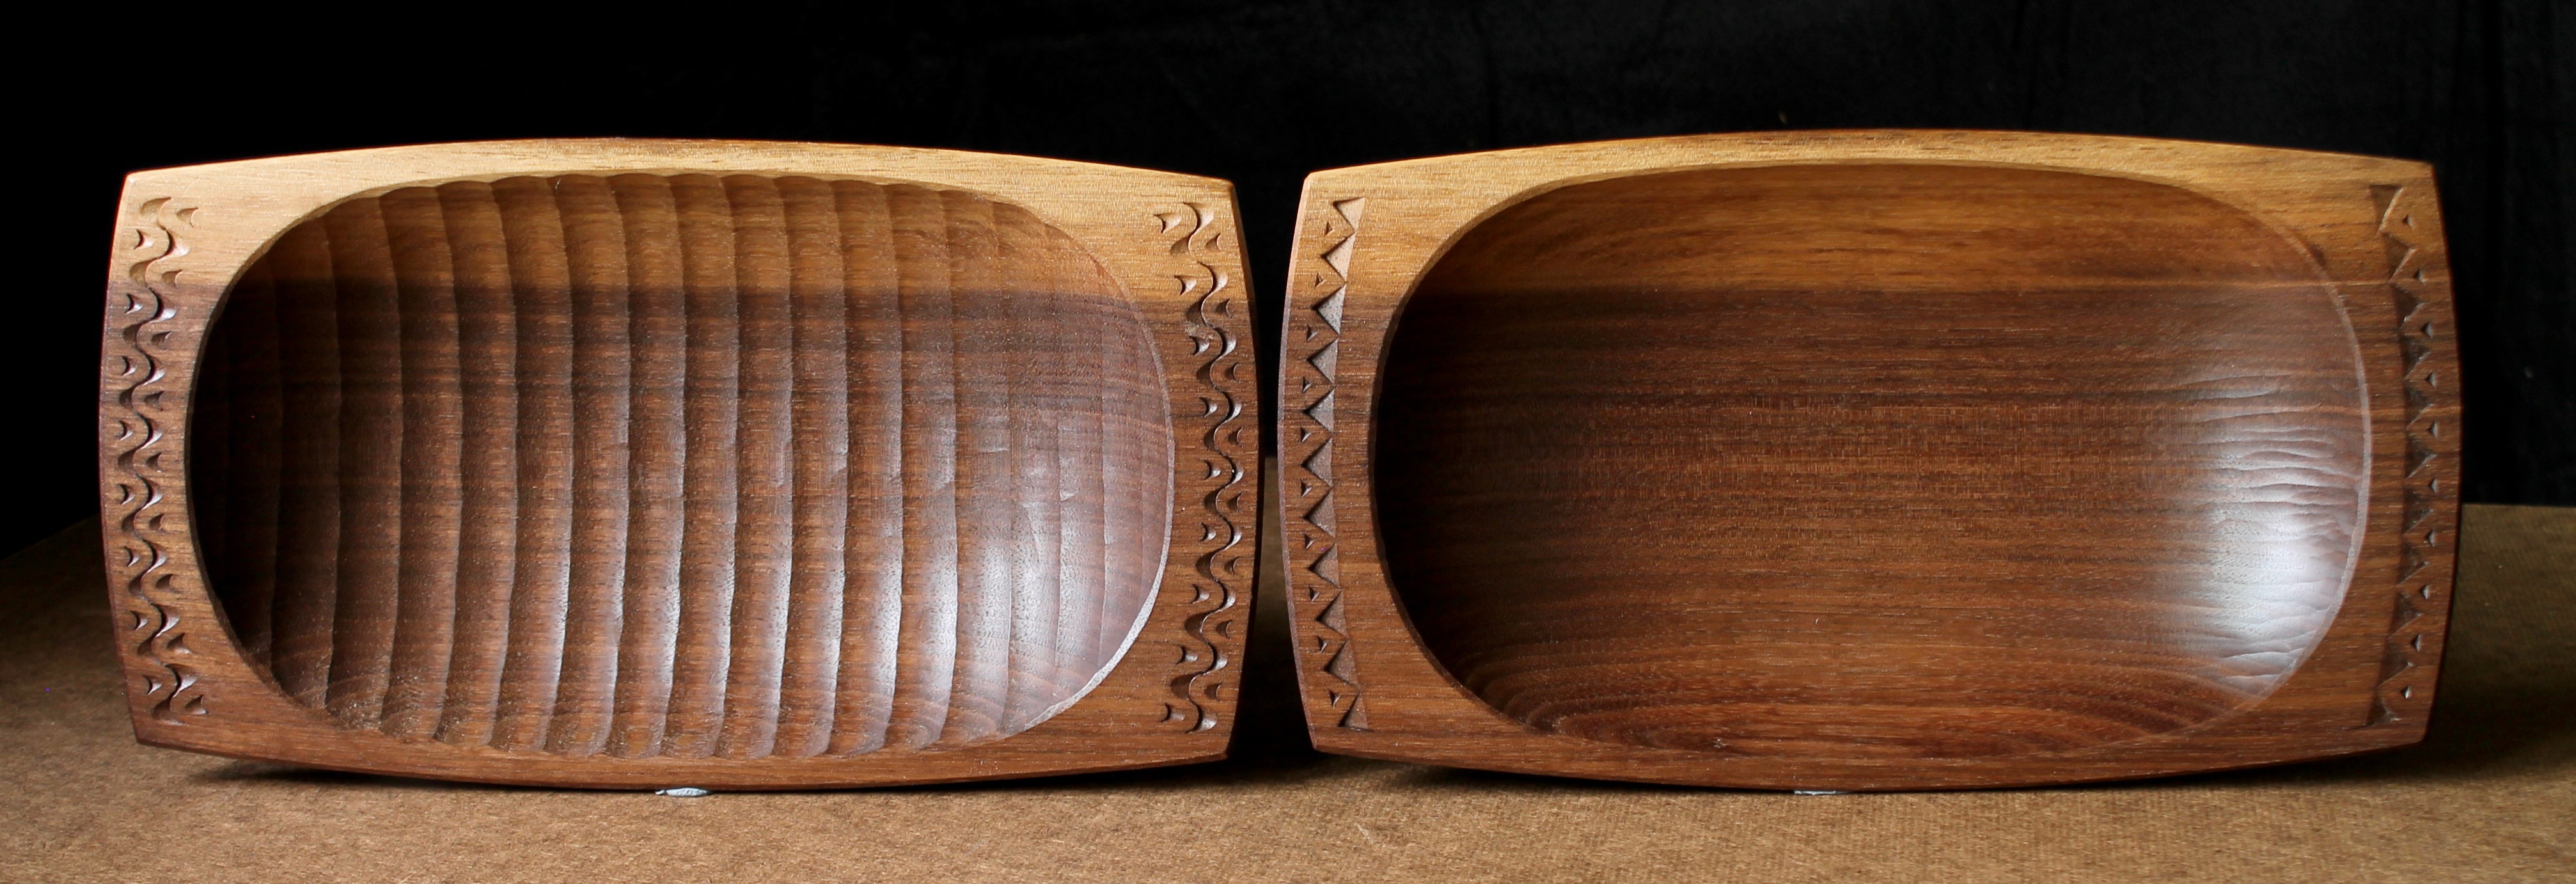
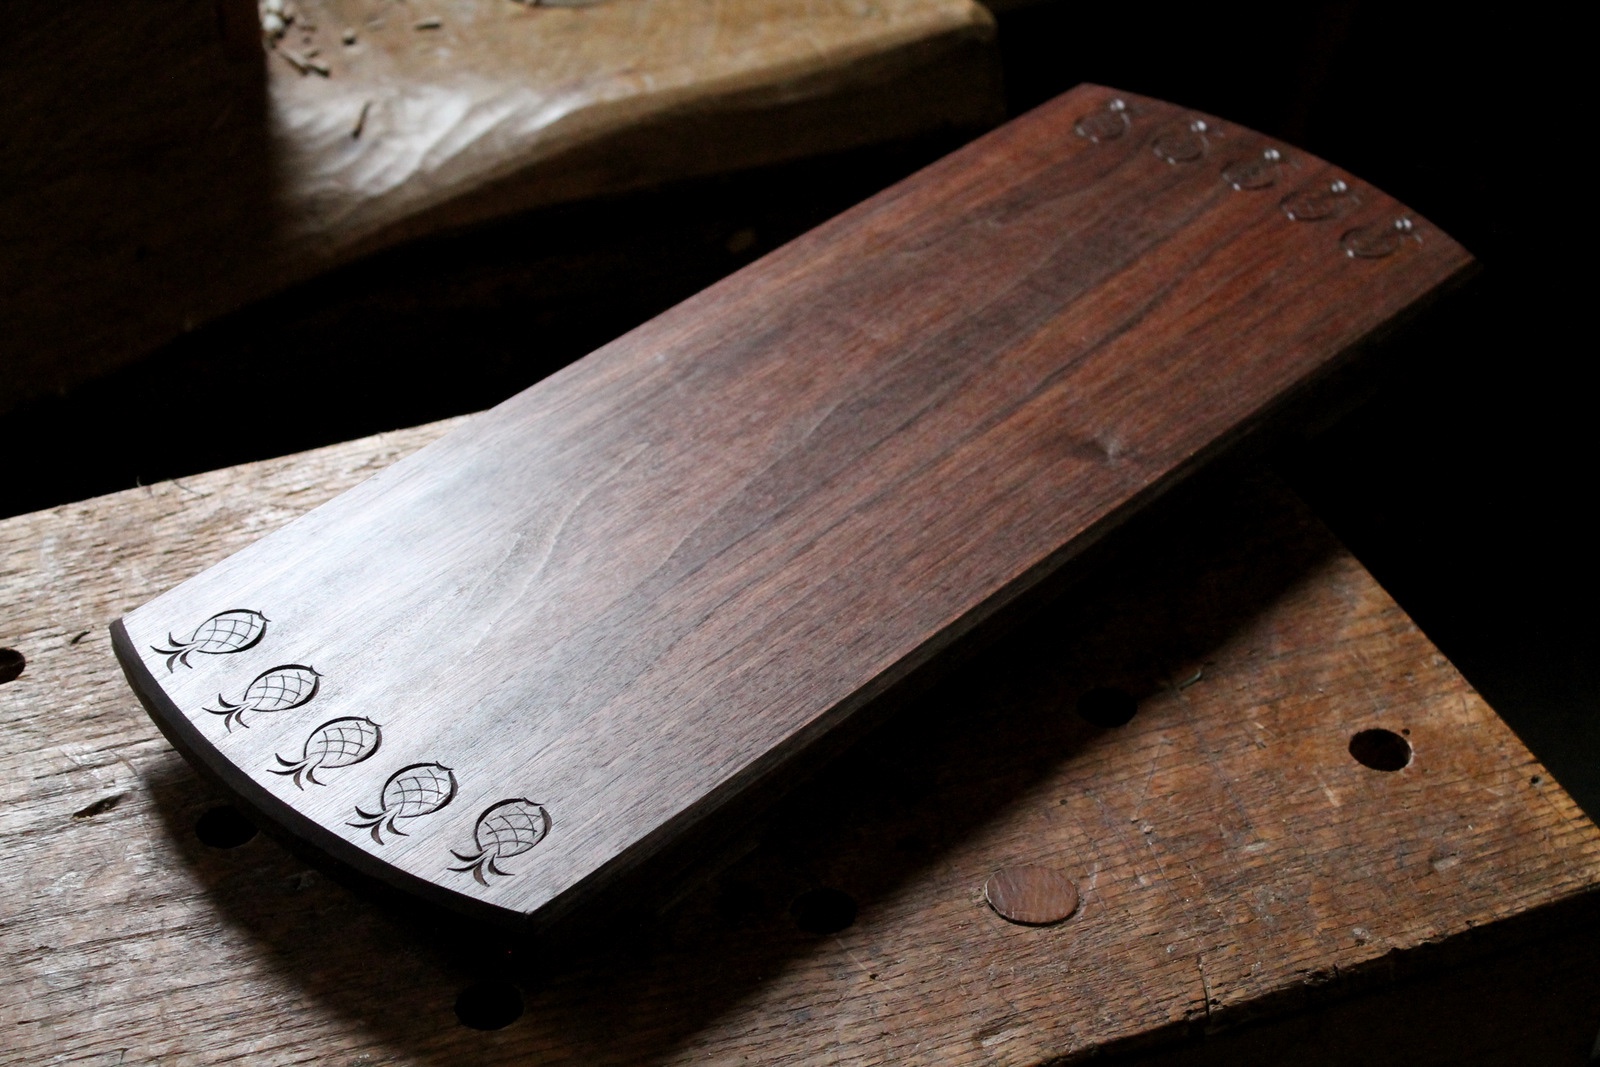
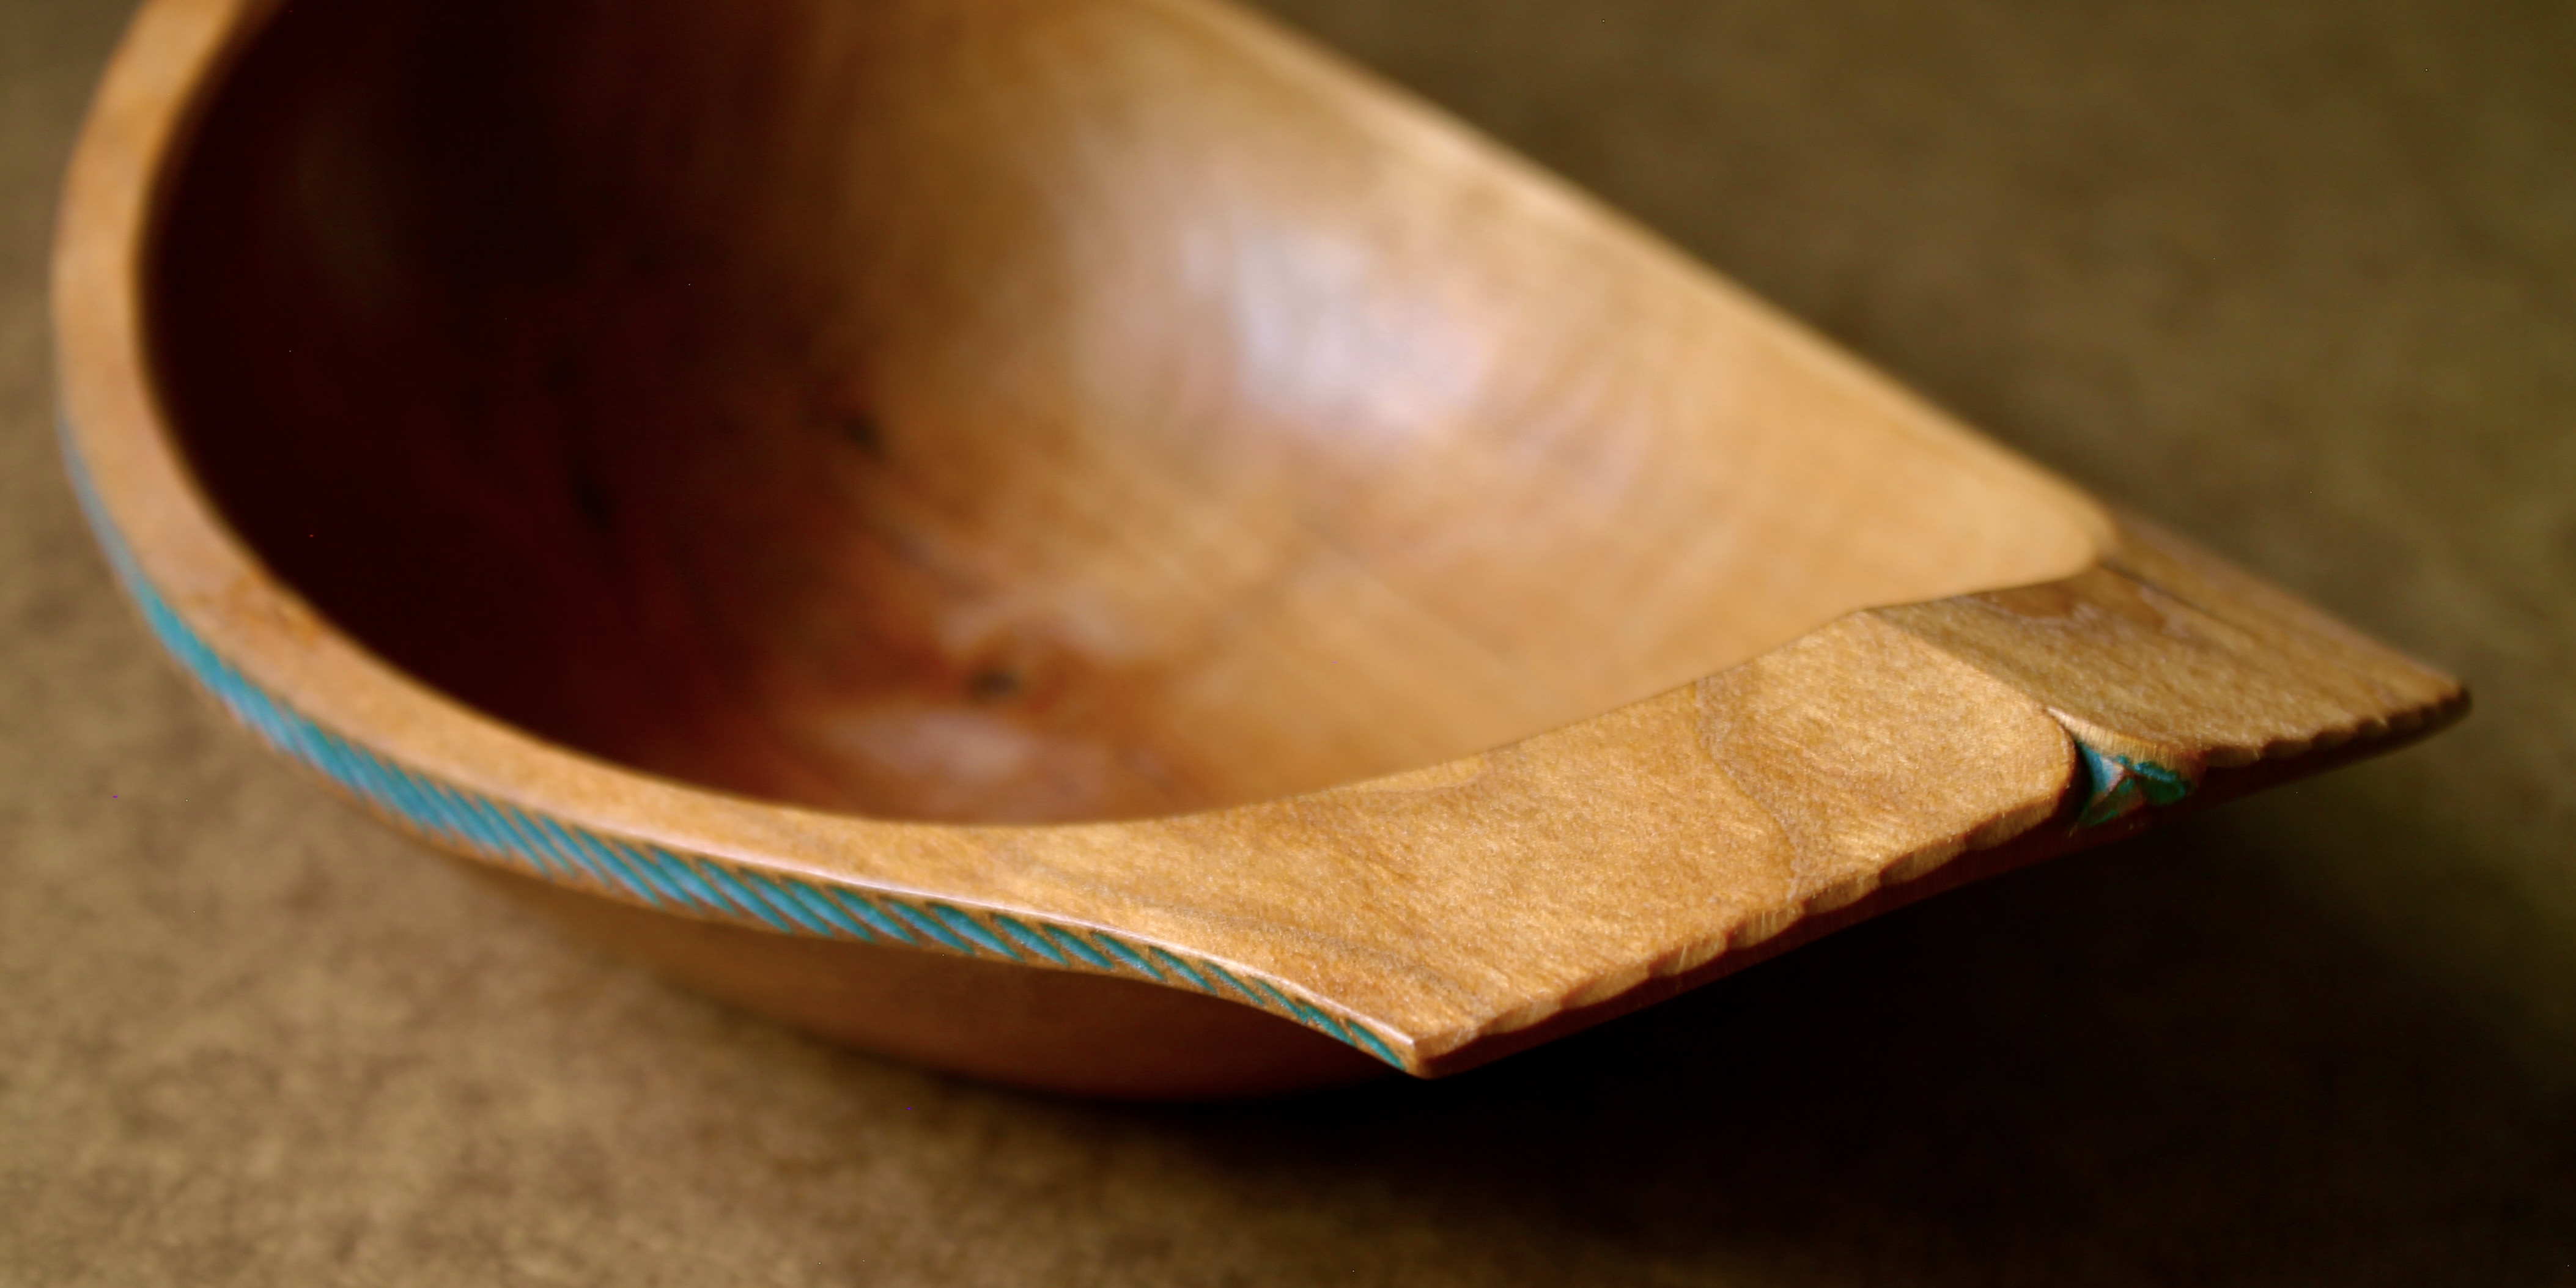
There’s the hollow from above, ready to serve. You can also catch a bit of the band of texture and color just below the rim. On that narrow tapering band, I carved a loose series of gouge cuts, then some “blue spruce” milk paint, which was then rubbed back. The paint appears more bright and bold in these photos than in reality.
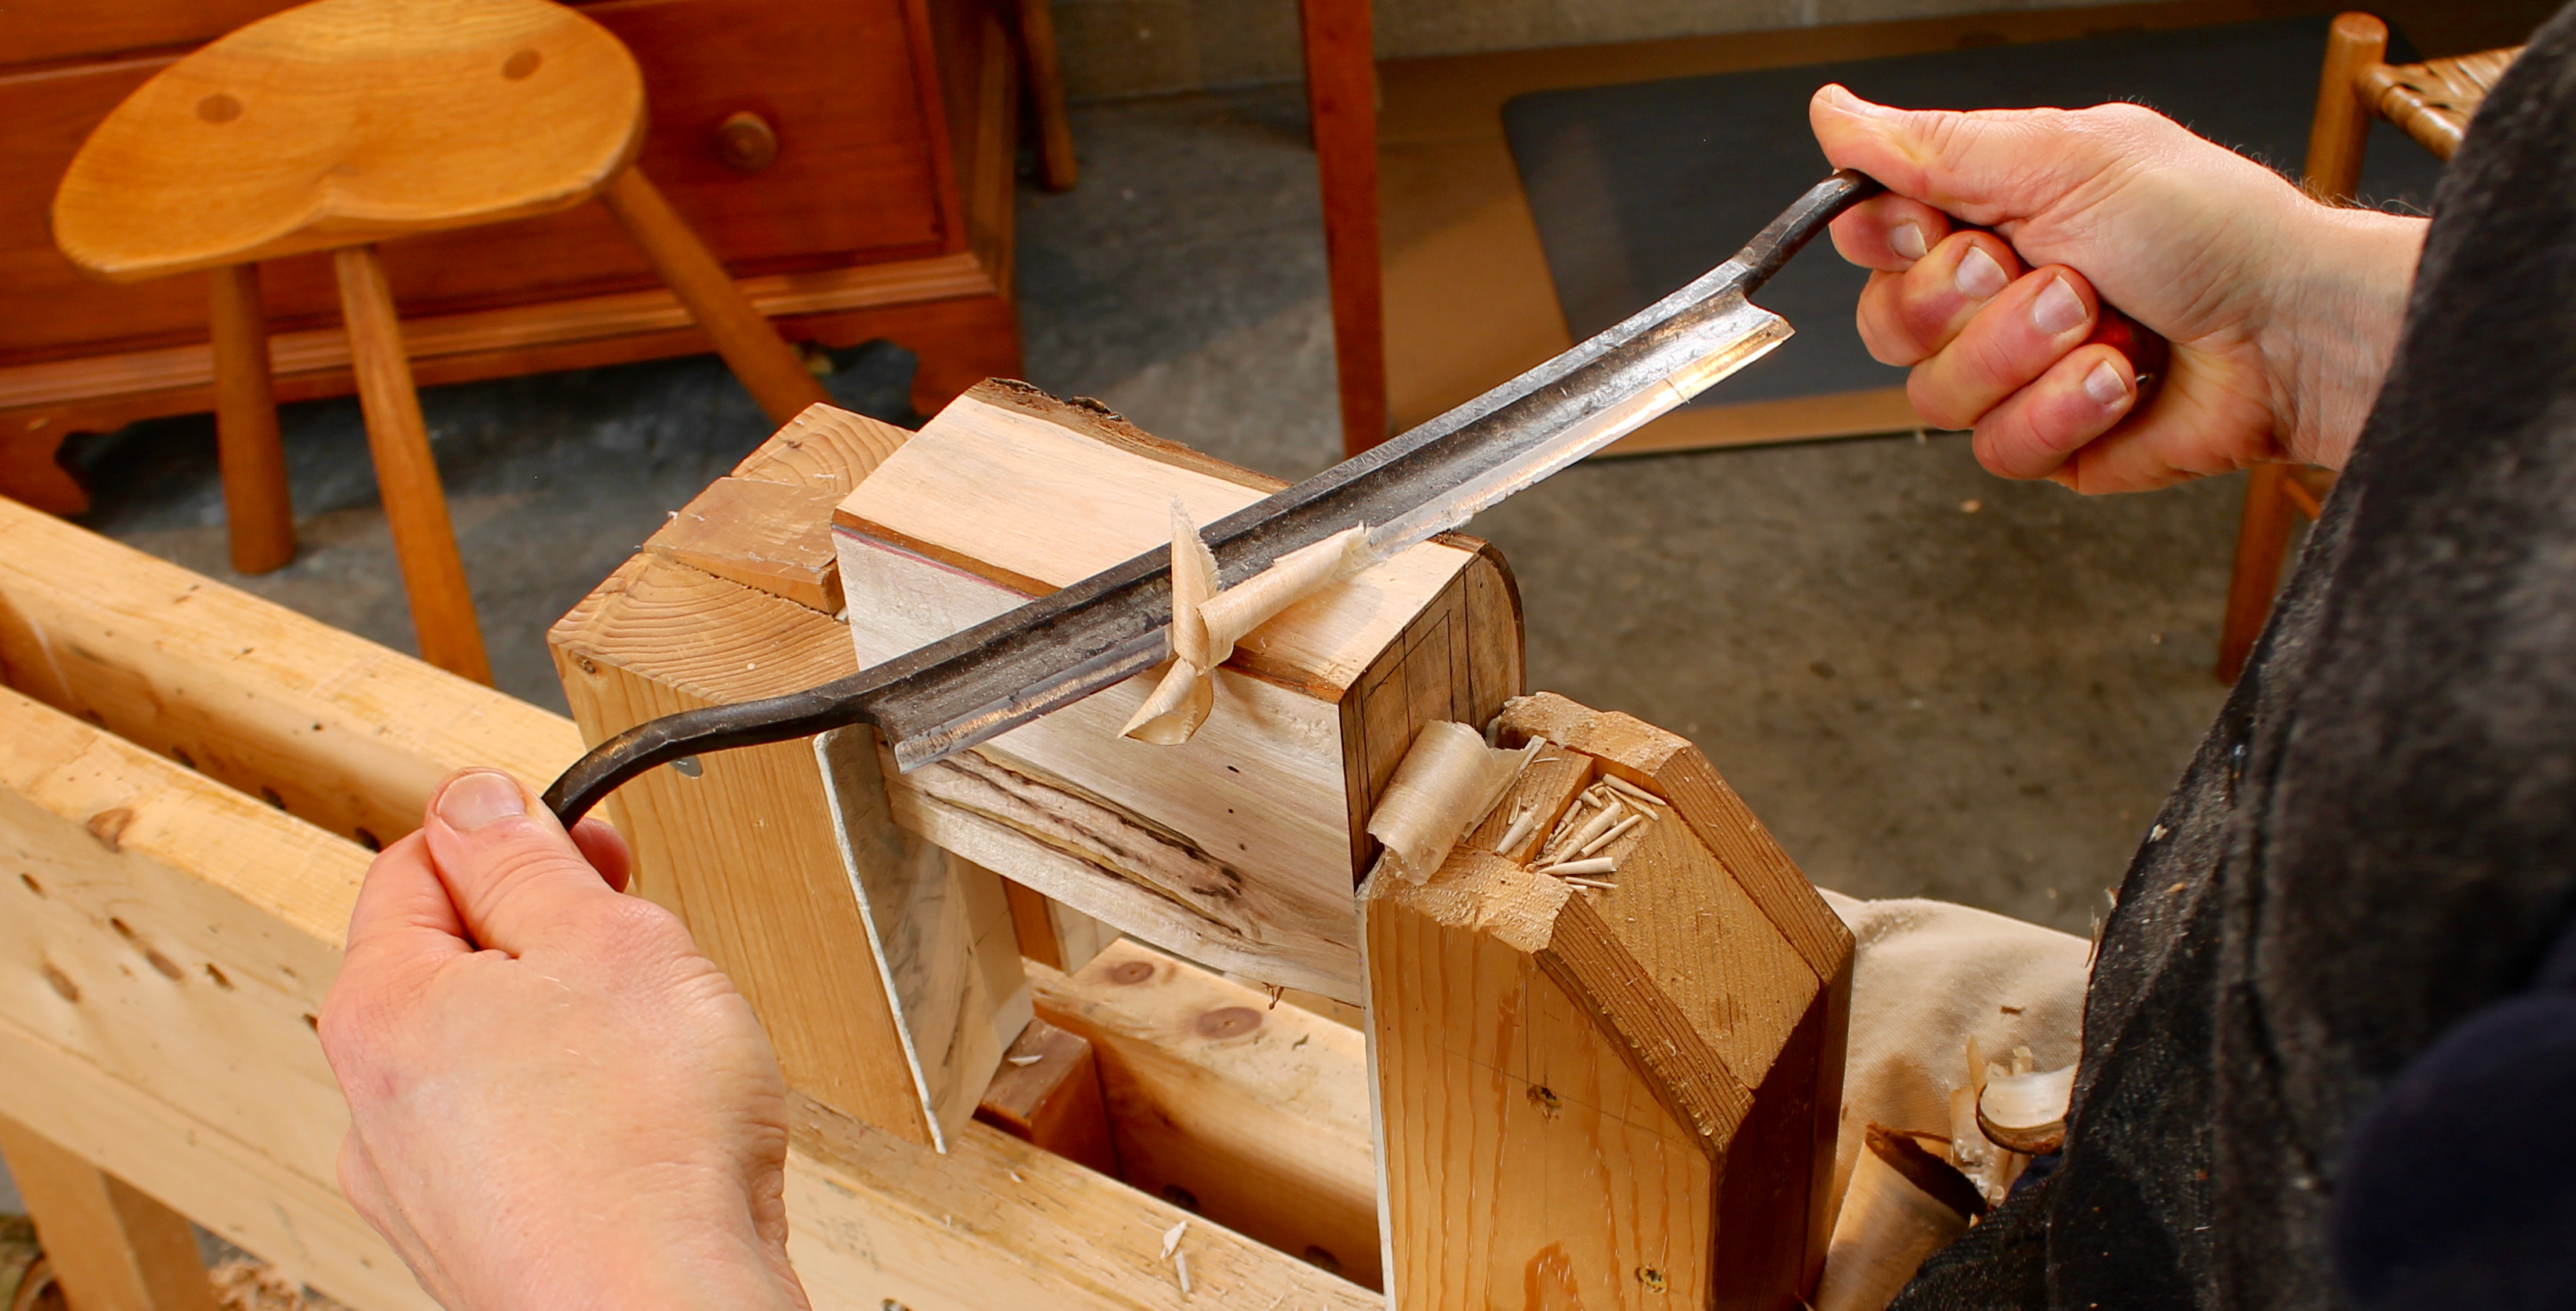
The exterior surfaces were left from the drawknife and sloyd knife. Cherry is known for some surprise sap pockets, and there was one right about the location of the bird’s heart (only on the exterior). I did a little cardiac repair with a mix of wood glue and cherry sawdust. That went well with all of the colors around the wound. There are a couple more photos of the bowl below.
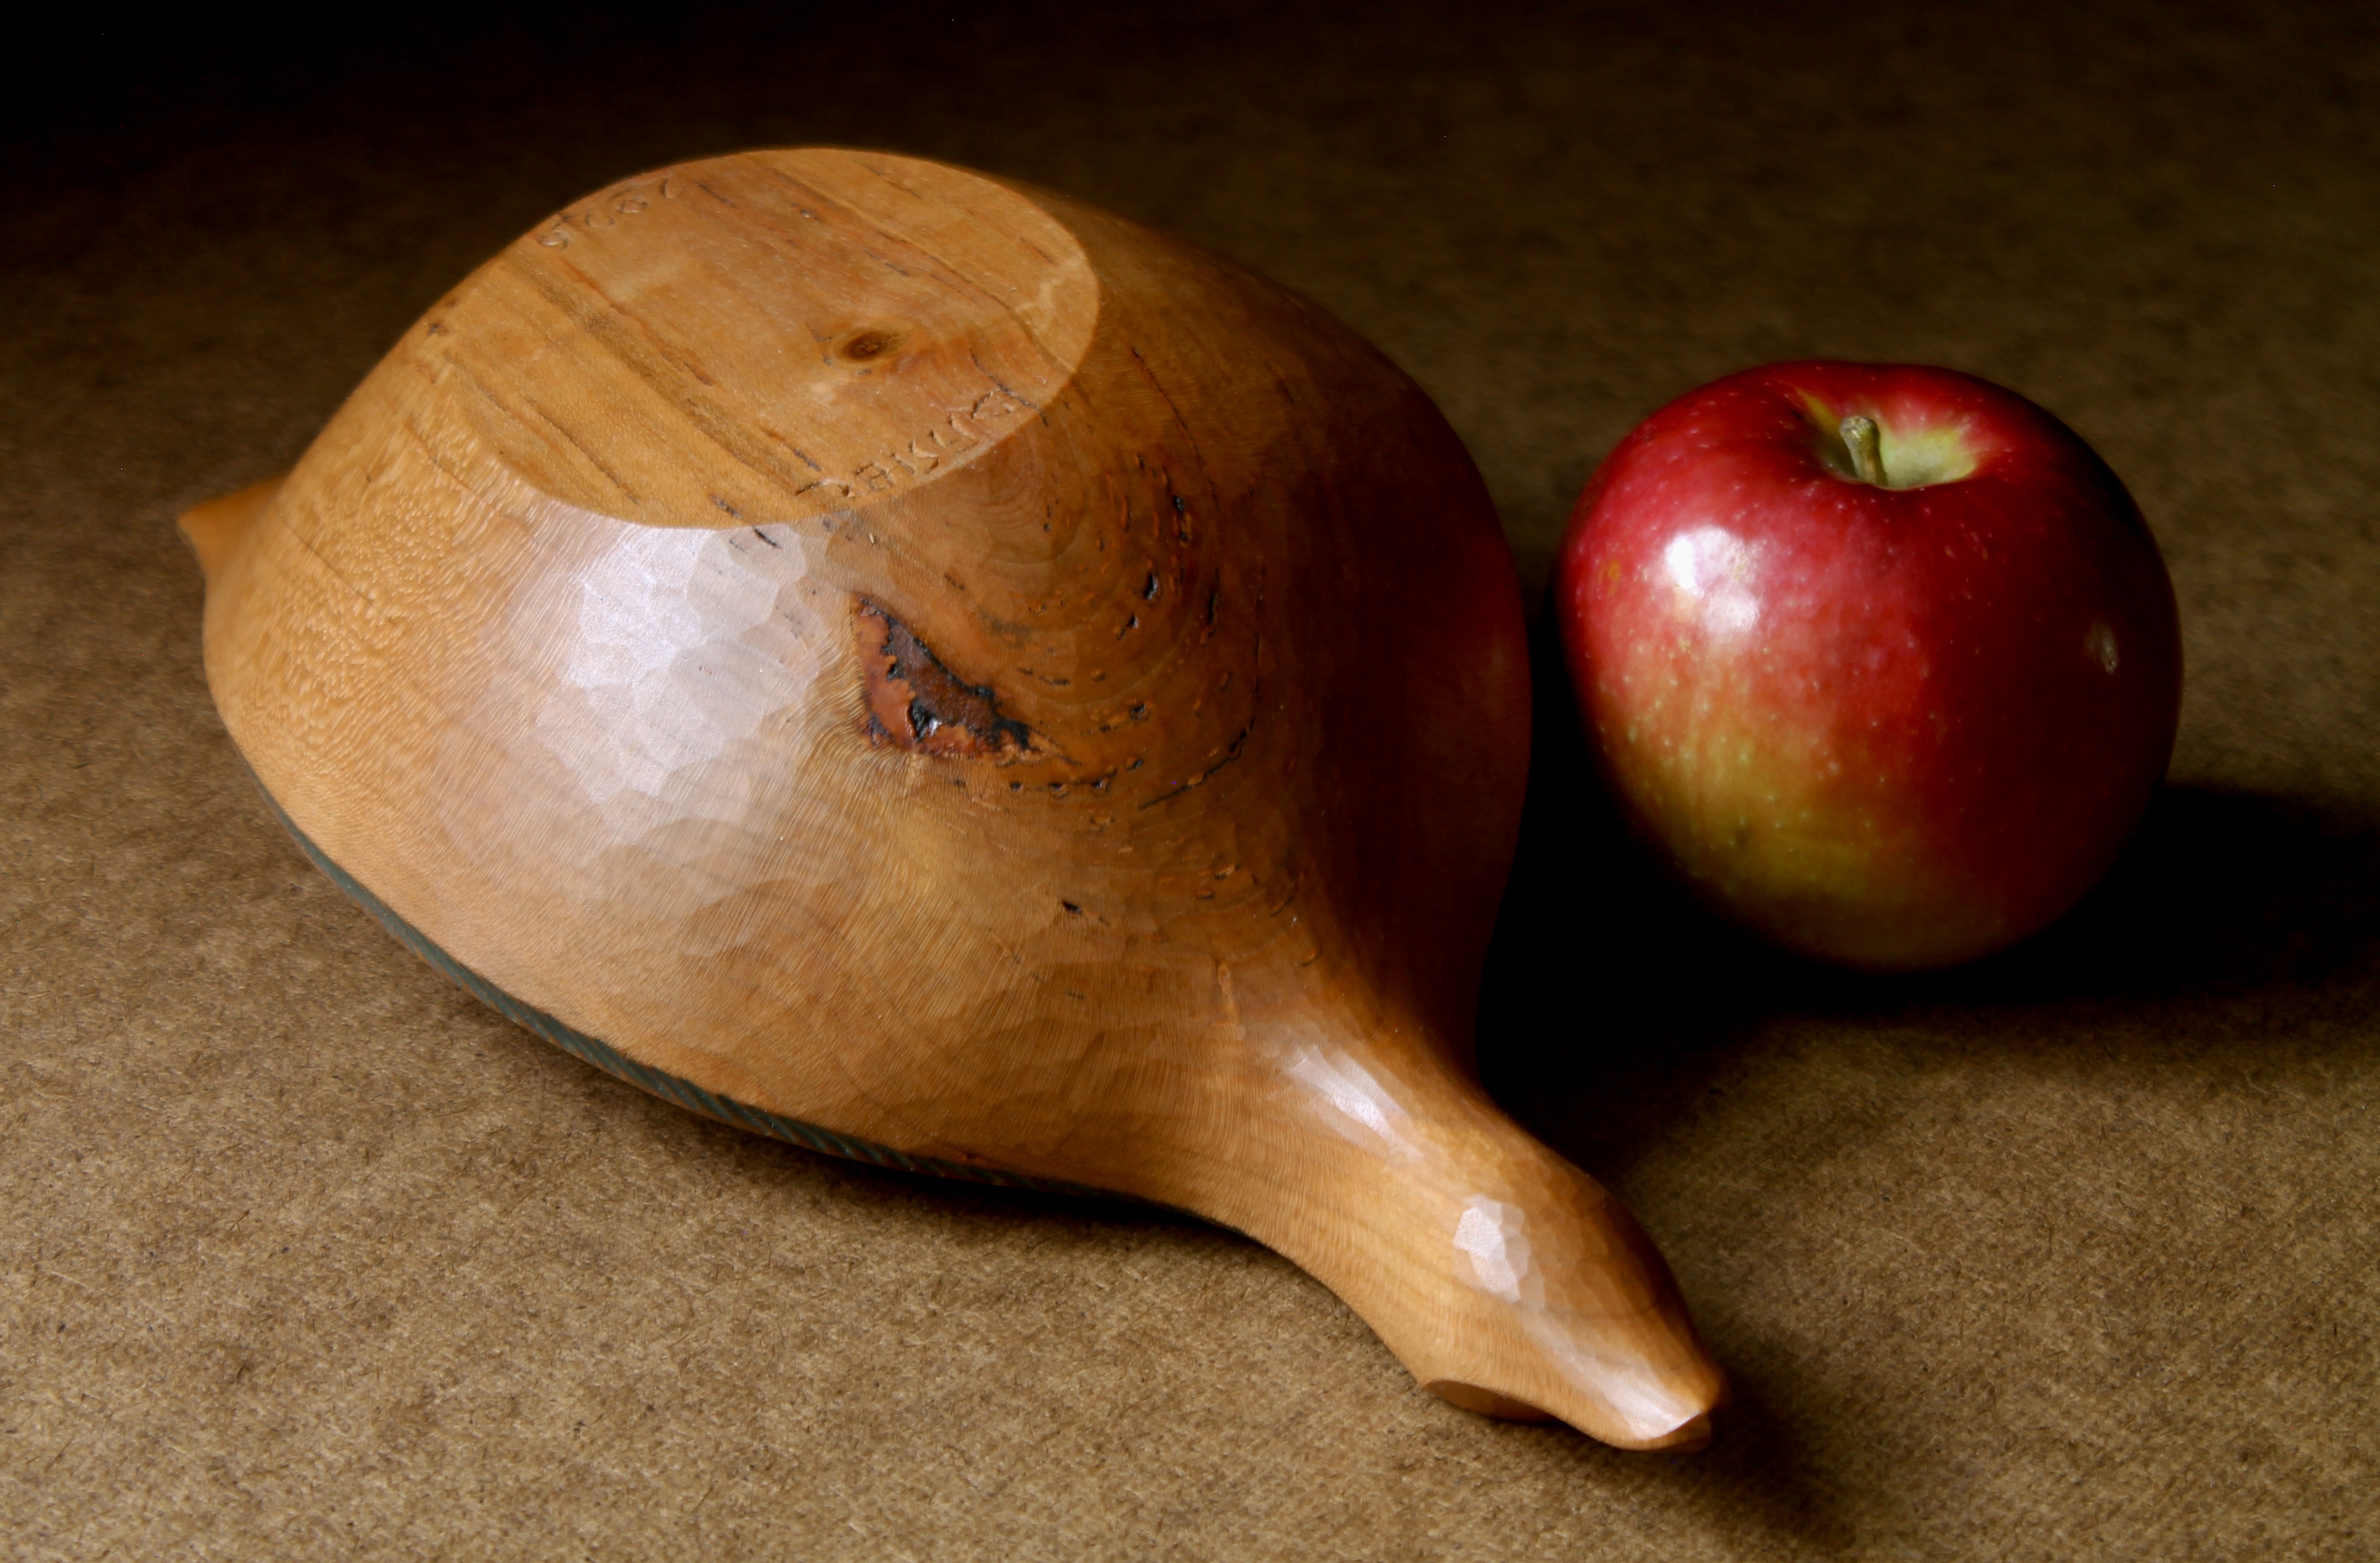
This cherry bird is available for purchase. It is just under 12″ long, 5 1/2″ wide, and 3″ high. $650 includes shipping. If you’re interested, please email me at dandkfish@gmail.com. Thank you. SOLD
Going back a couple weeks to the Hand Tool Haven event, it was a thrill to be there and meet Jamie Harpster and his crew that are doing so much for a good cause. I met many interesting and talented people, including Shea Alexander. Shea and I met while we were searching through Josh Clark’s vast assortment of antique carving gouges for sale. I have purchased some used tools from Josh’s Hyperkitten Tool Company over the years, and it was nice to meet him.

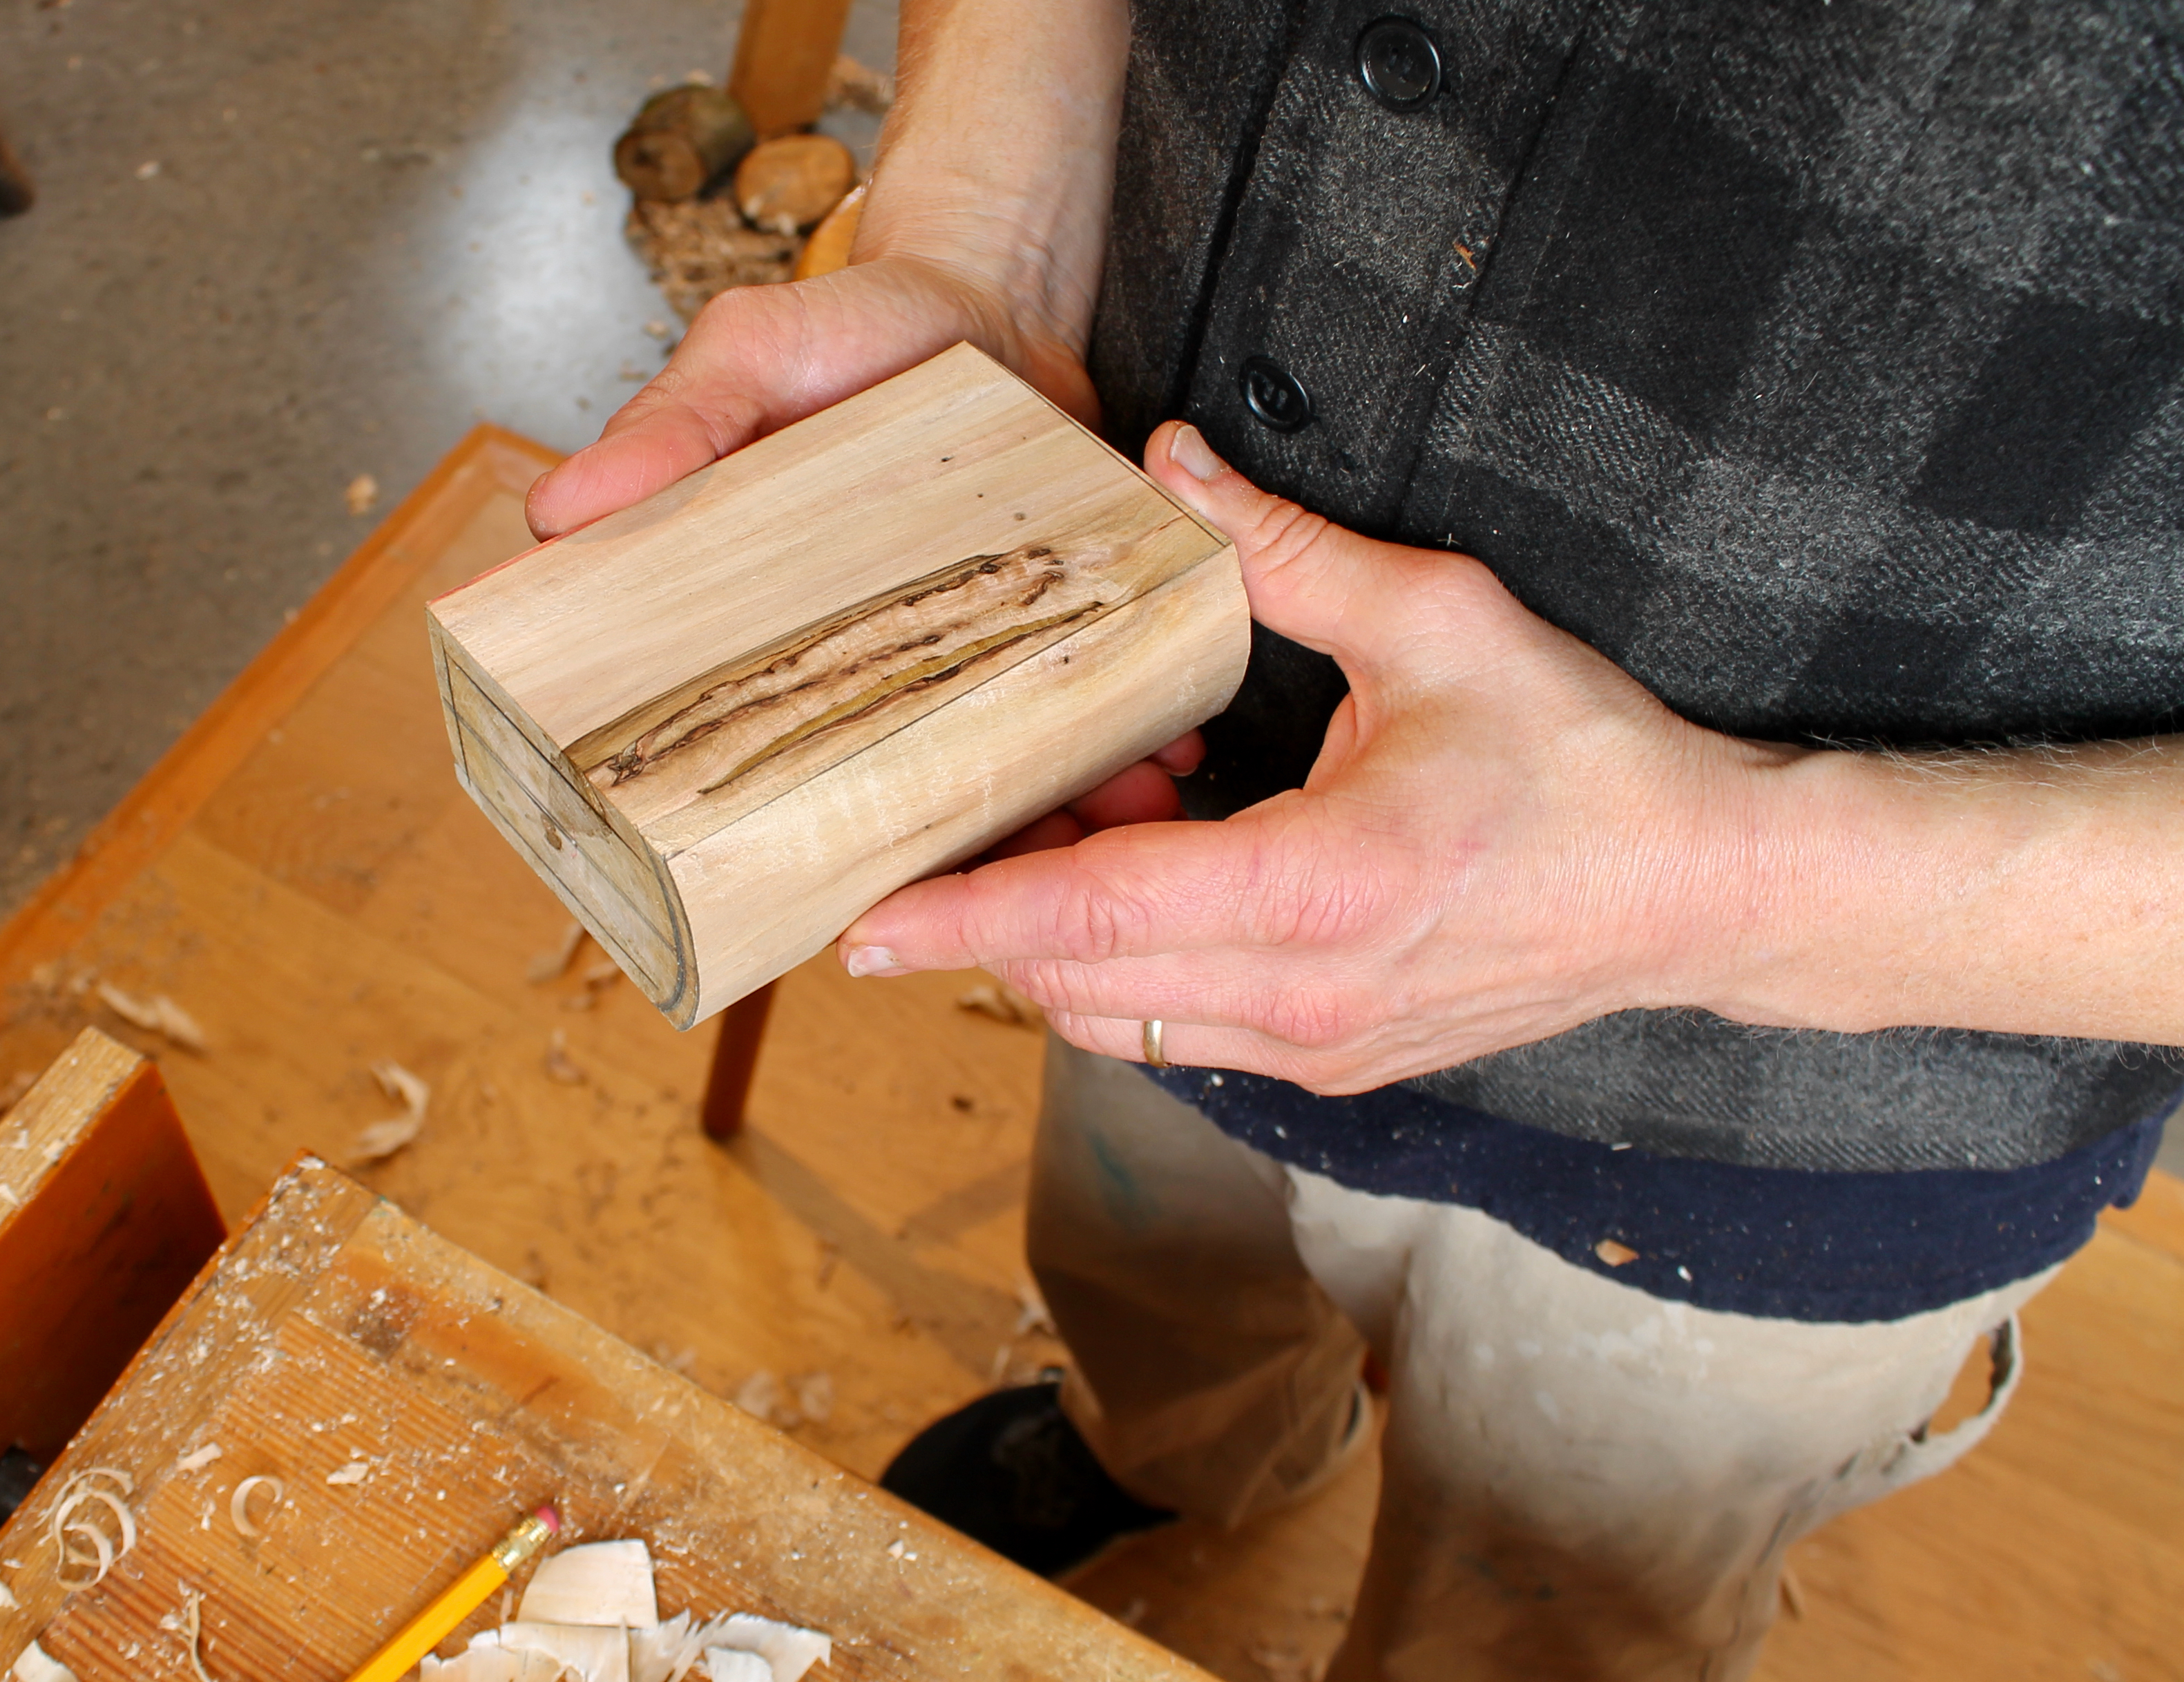
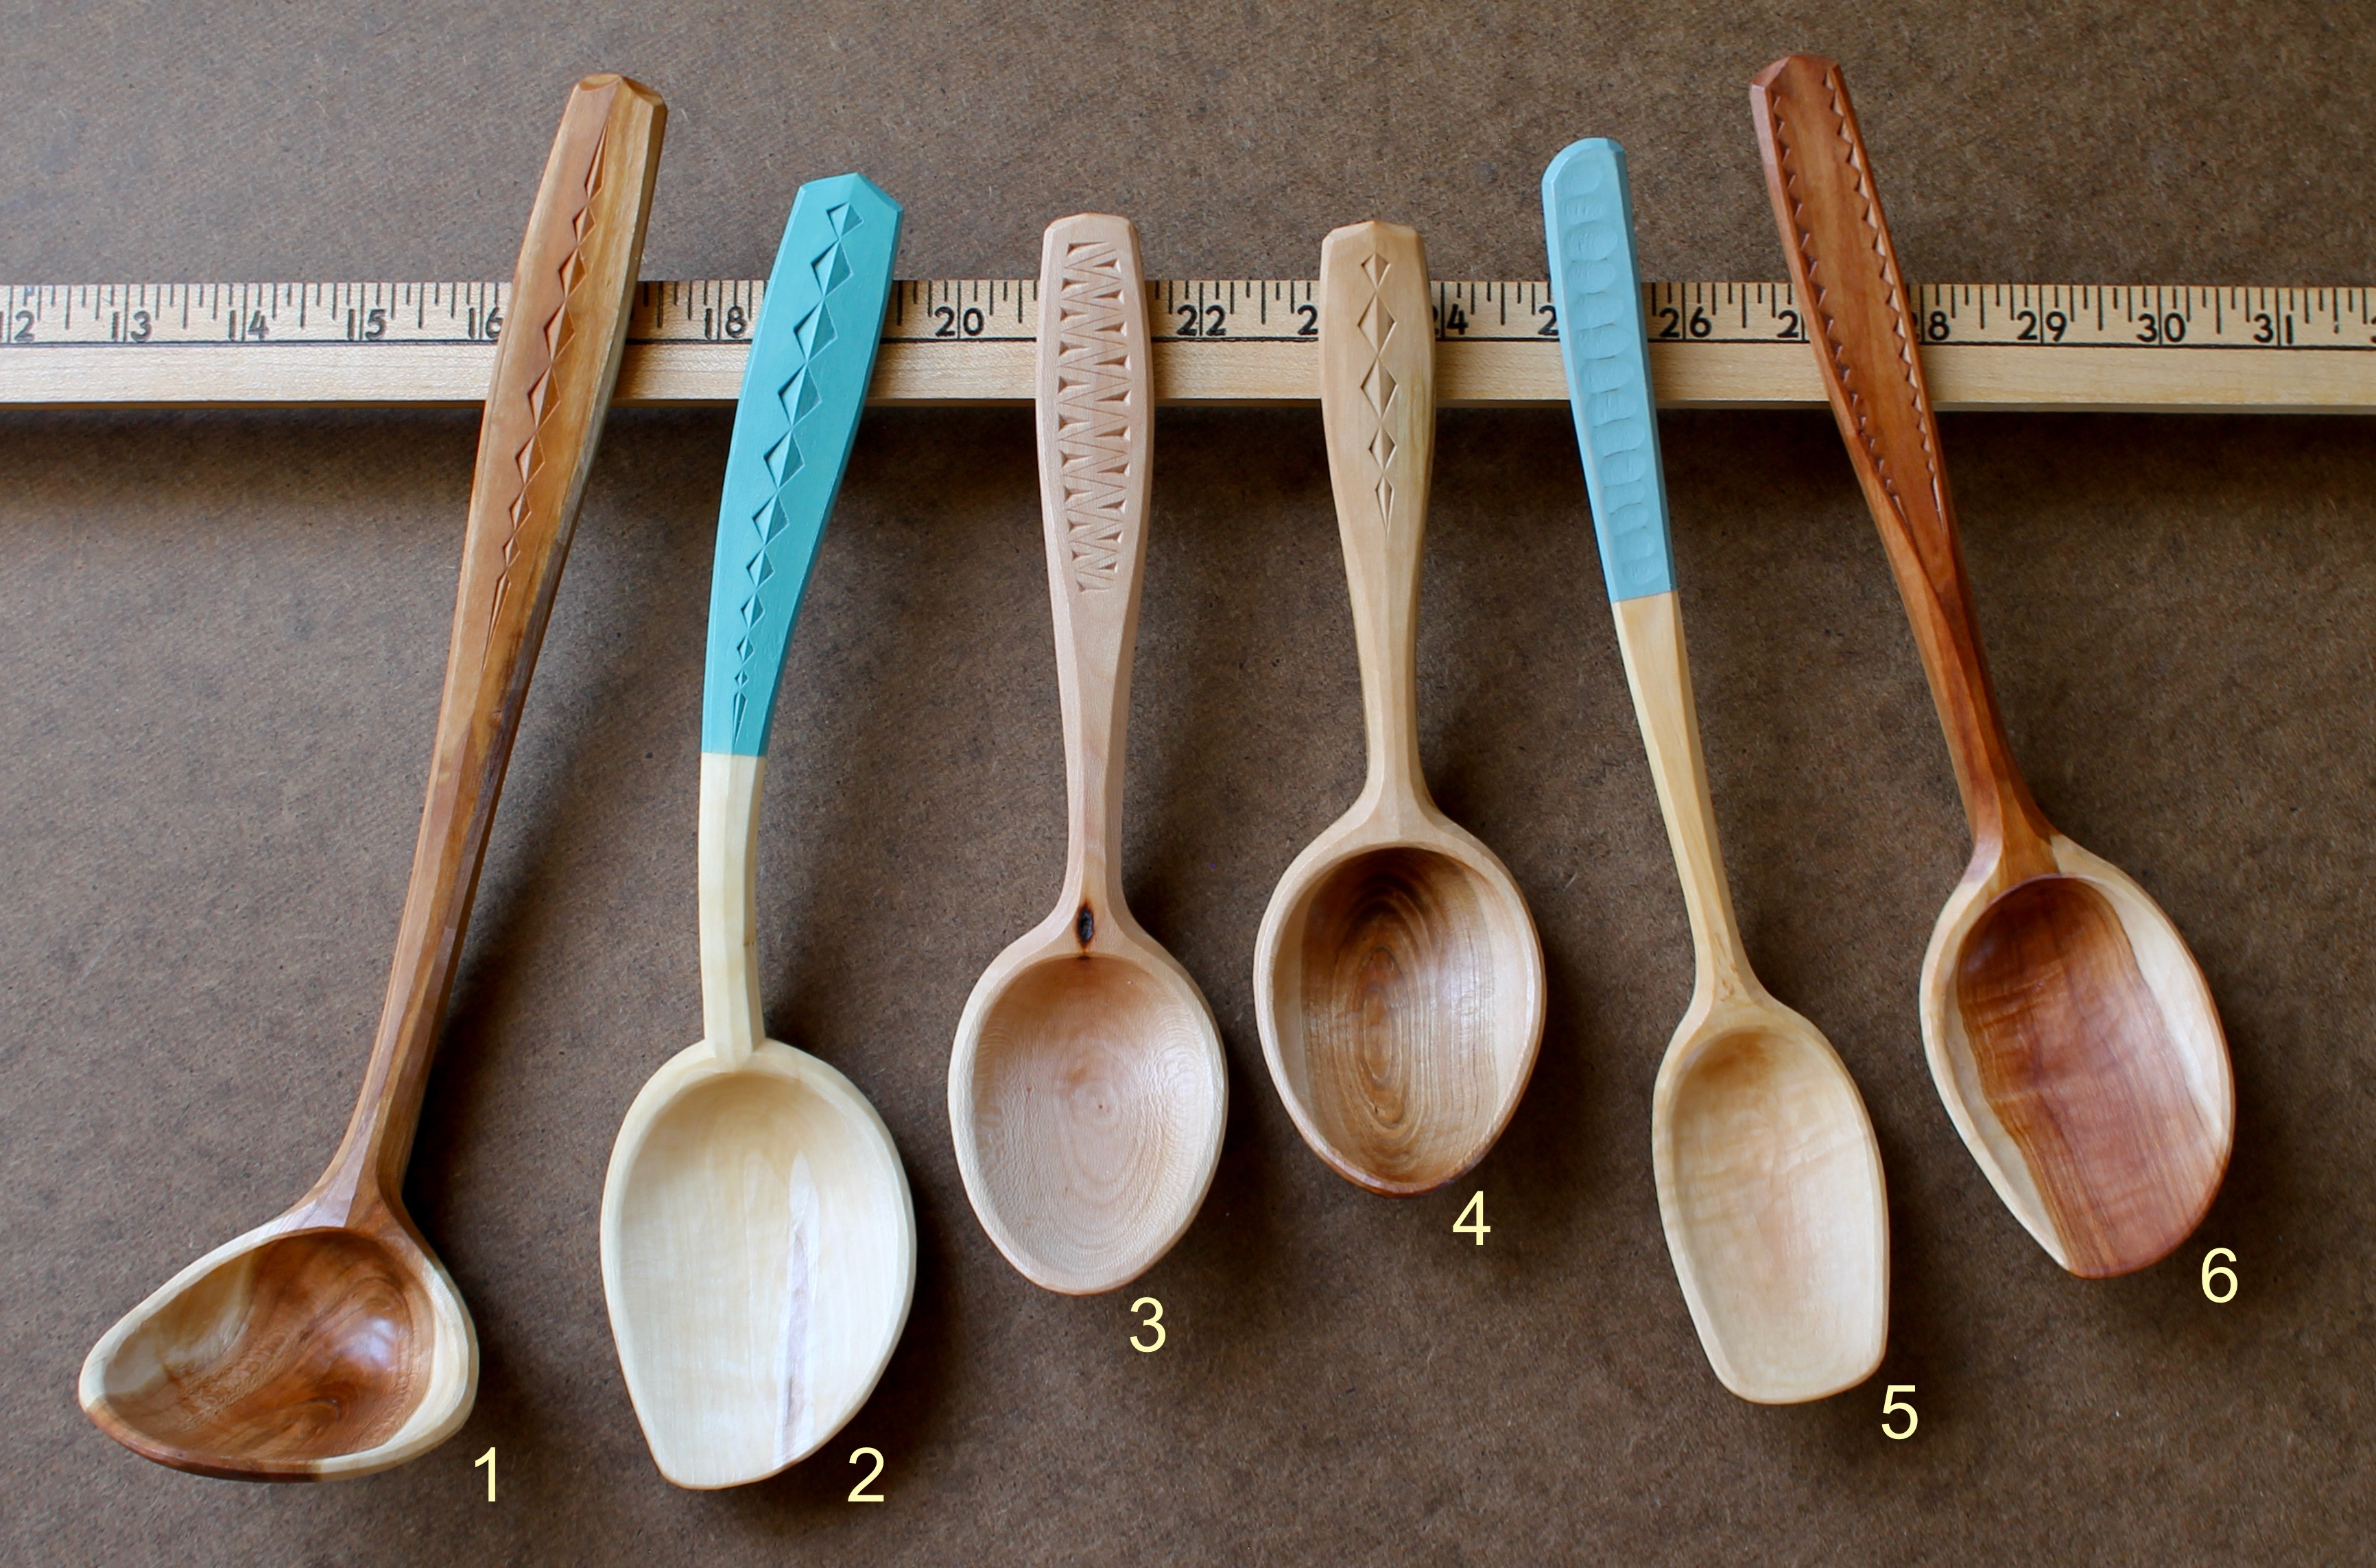
Shea is part of Alexander Brothers. They provide all sorts of materials and finished goods related to woodworking, blacksmithing, and leatherwork. I learned the they’re selling butternut bowl blanks sized perfectly for my Bowl From a Plank design. Butternut can be difficult to find, so it’s a great resource.
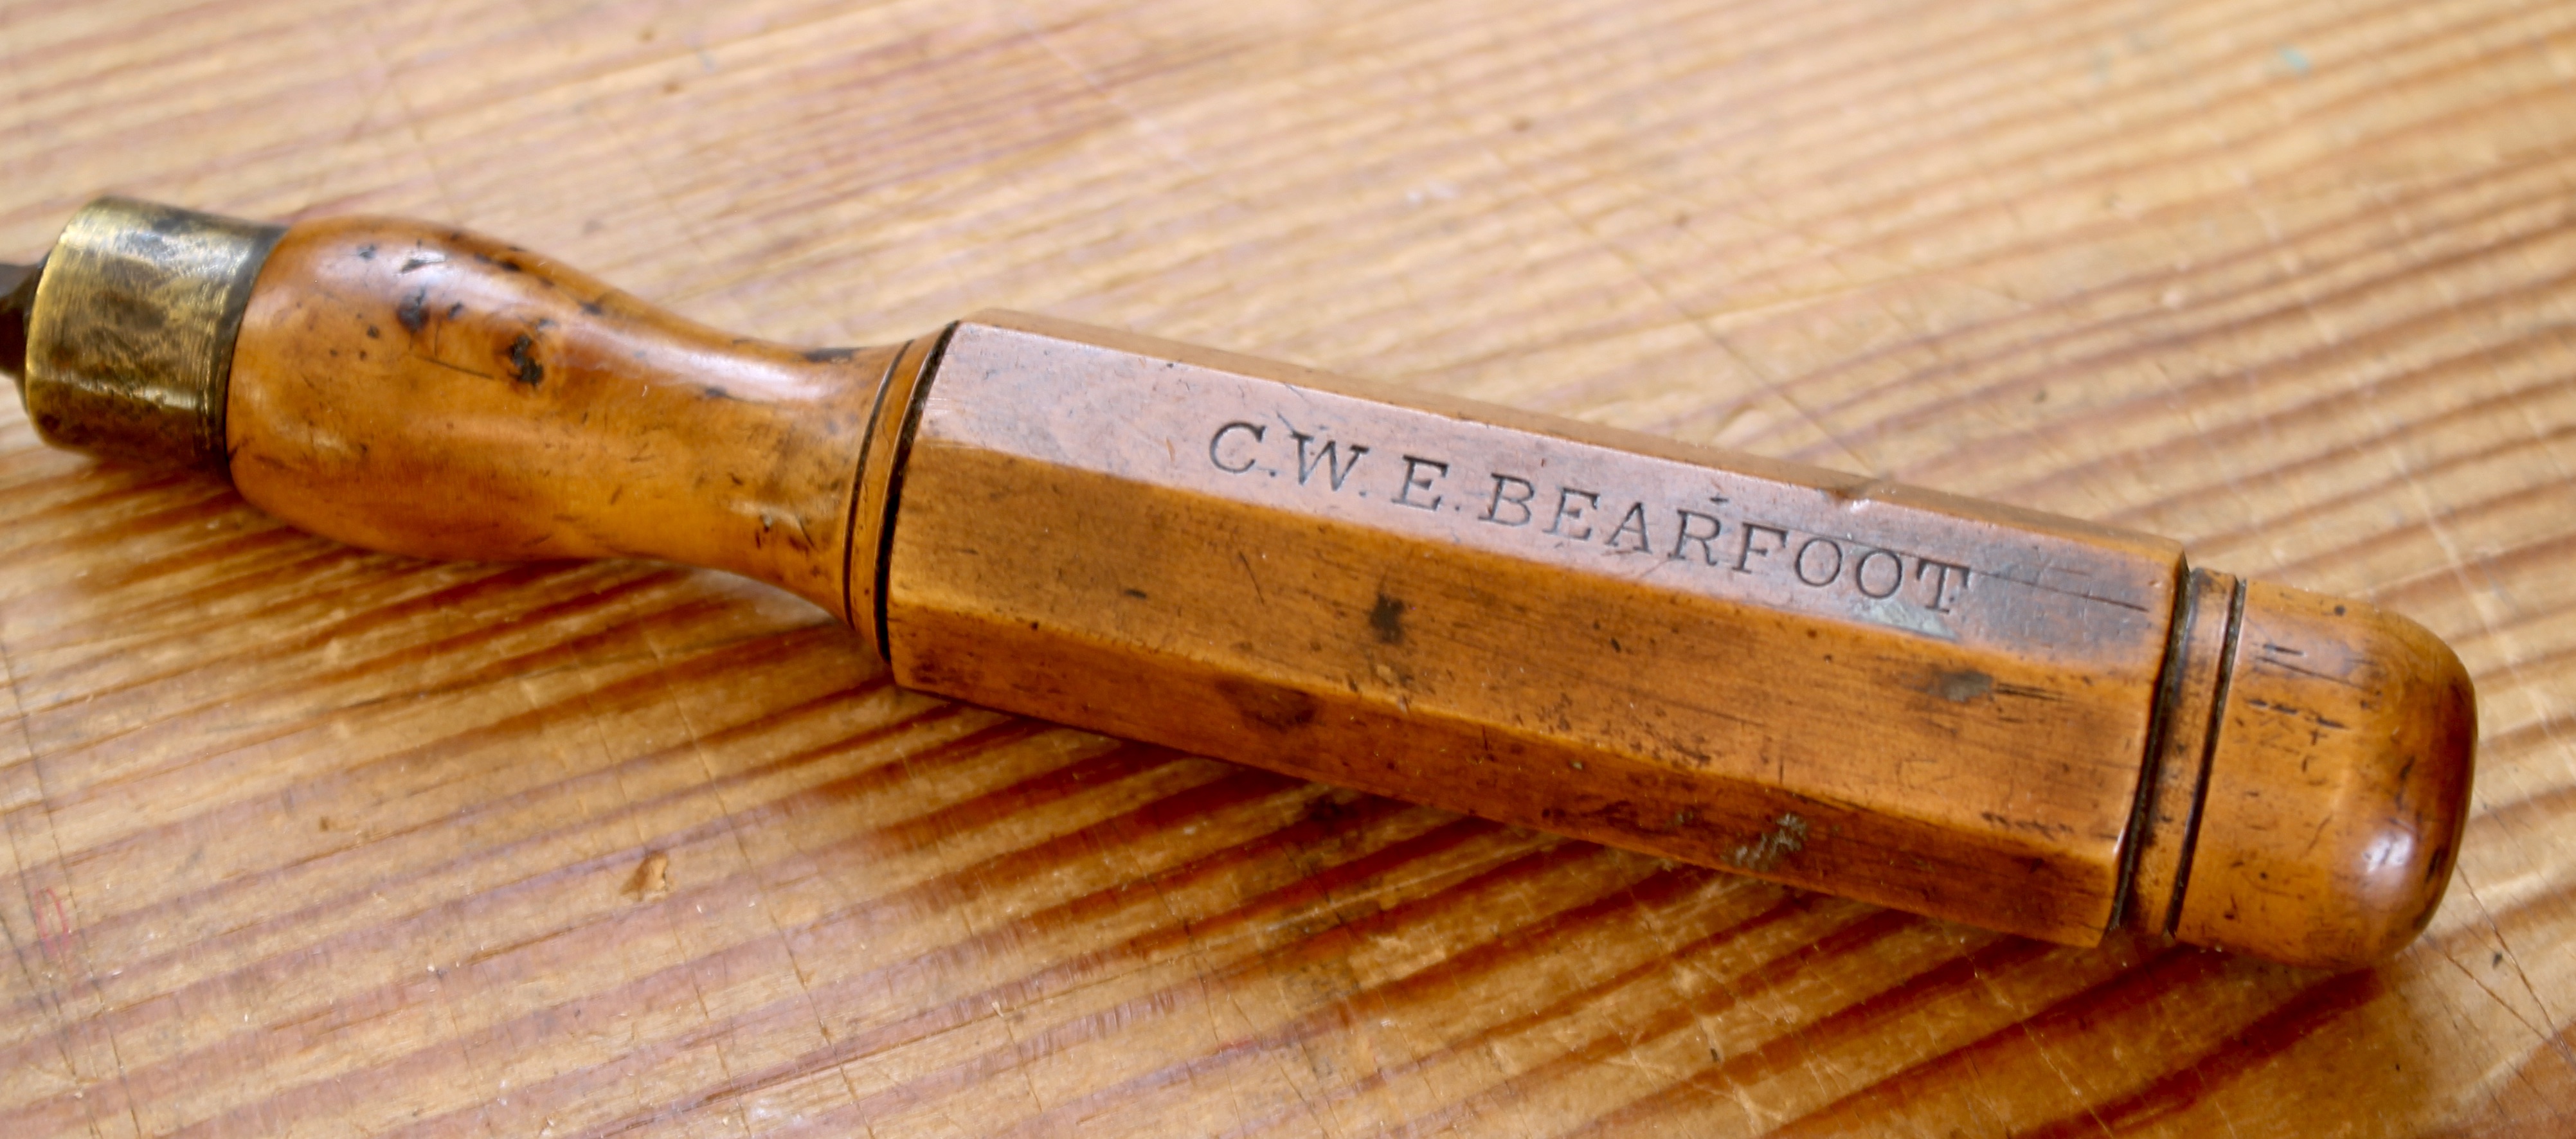
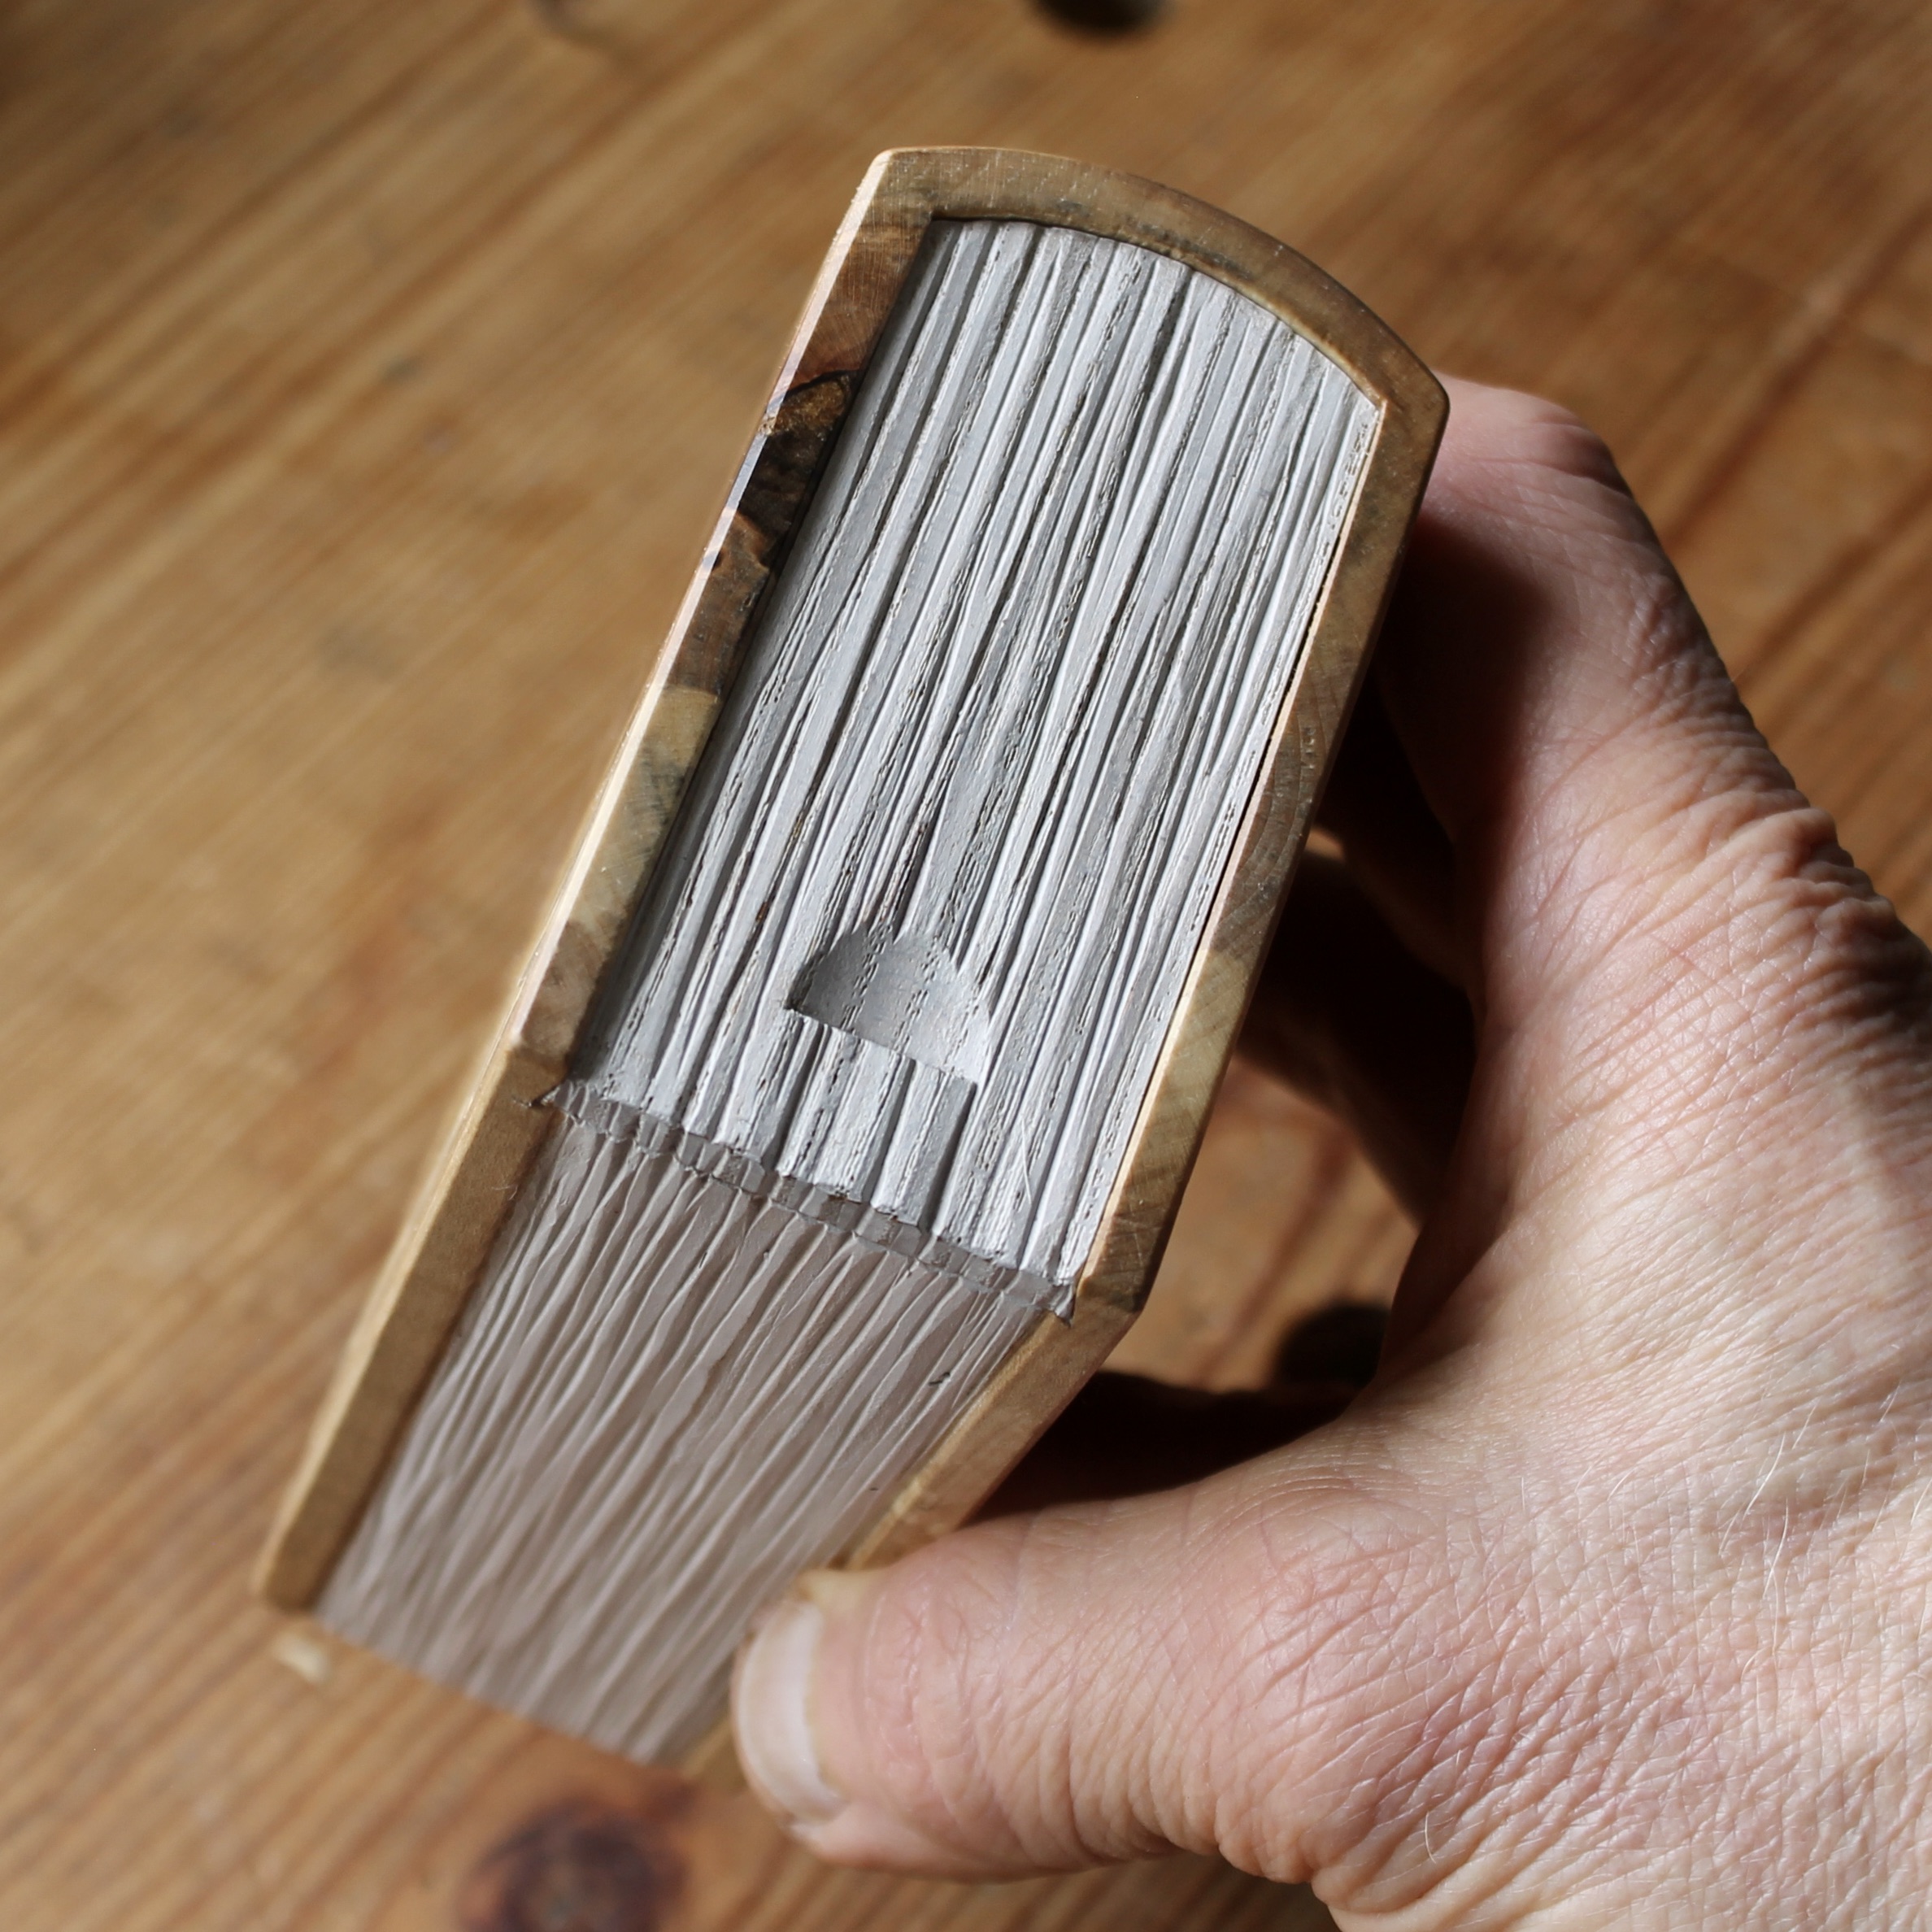
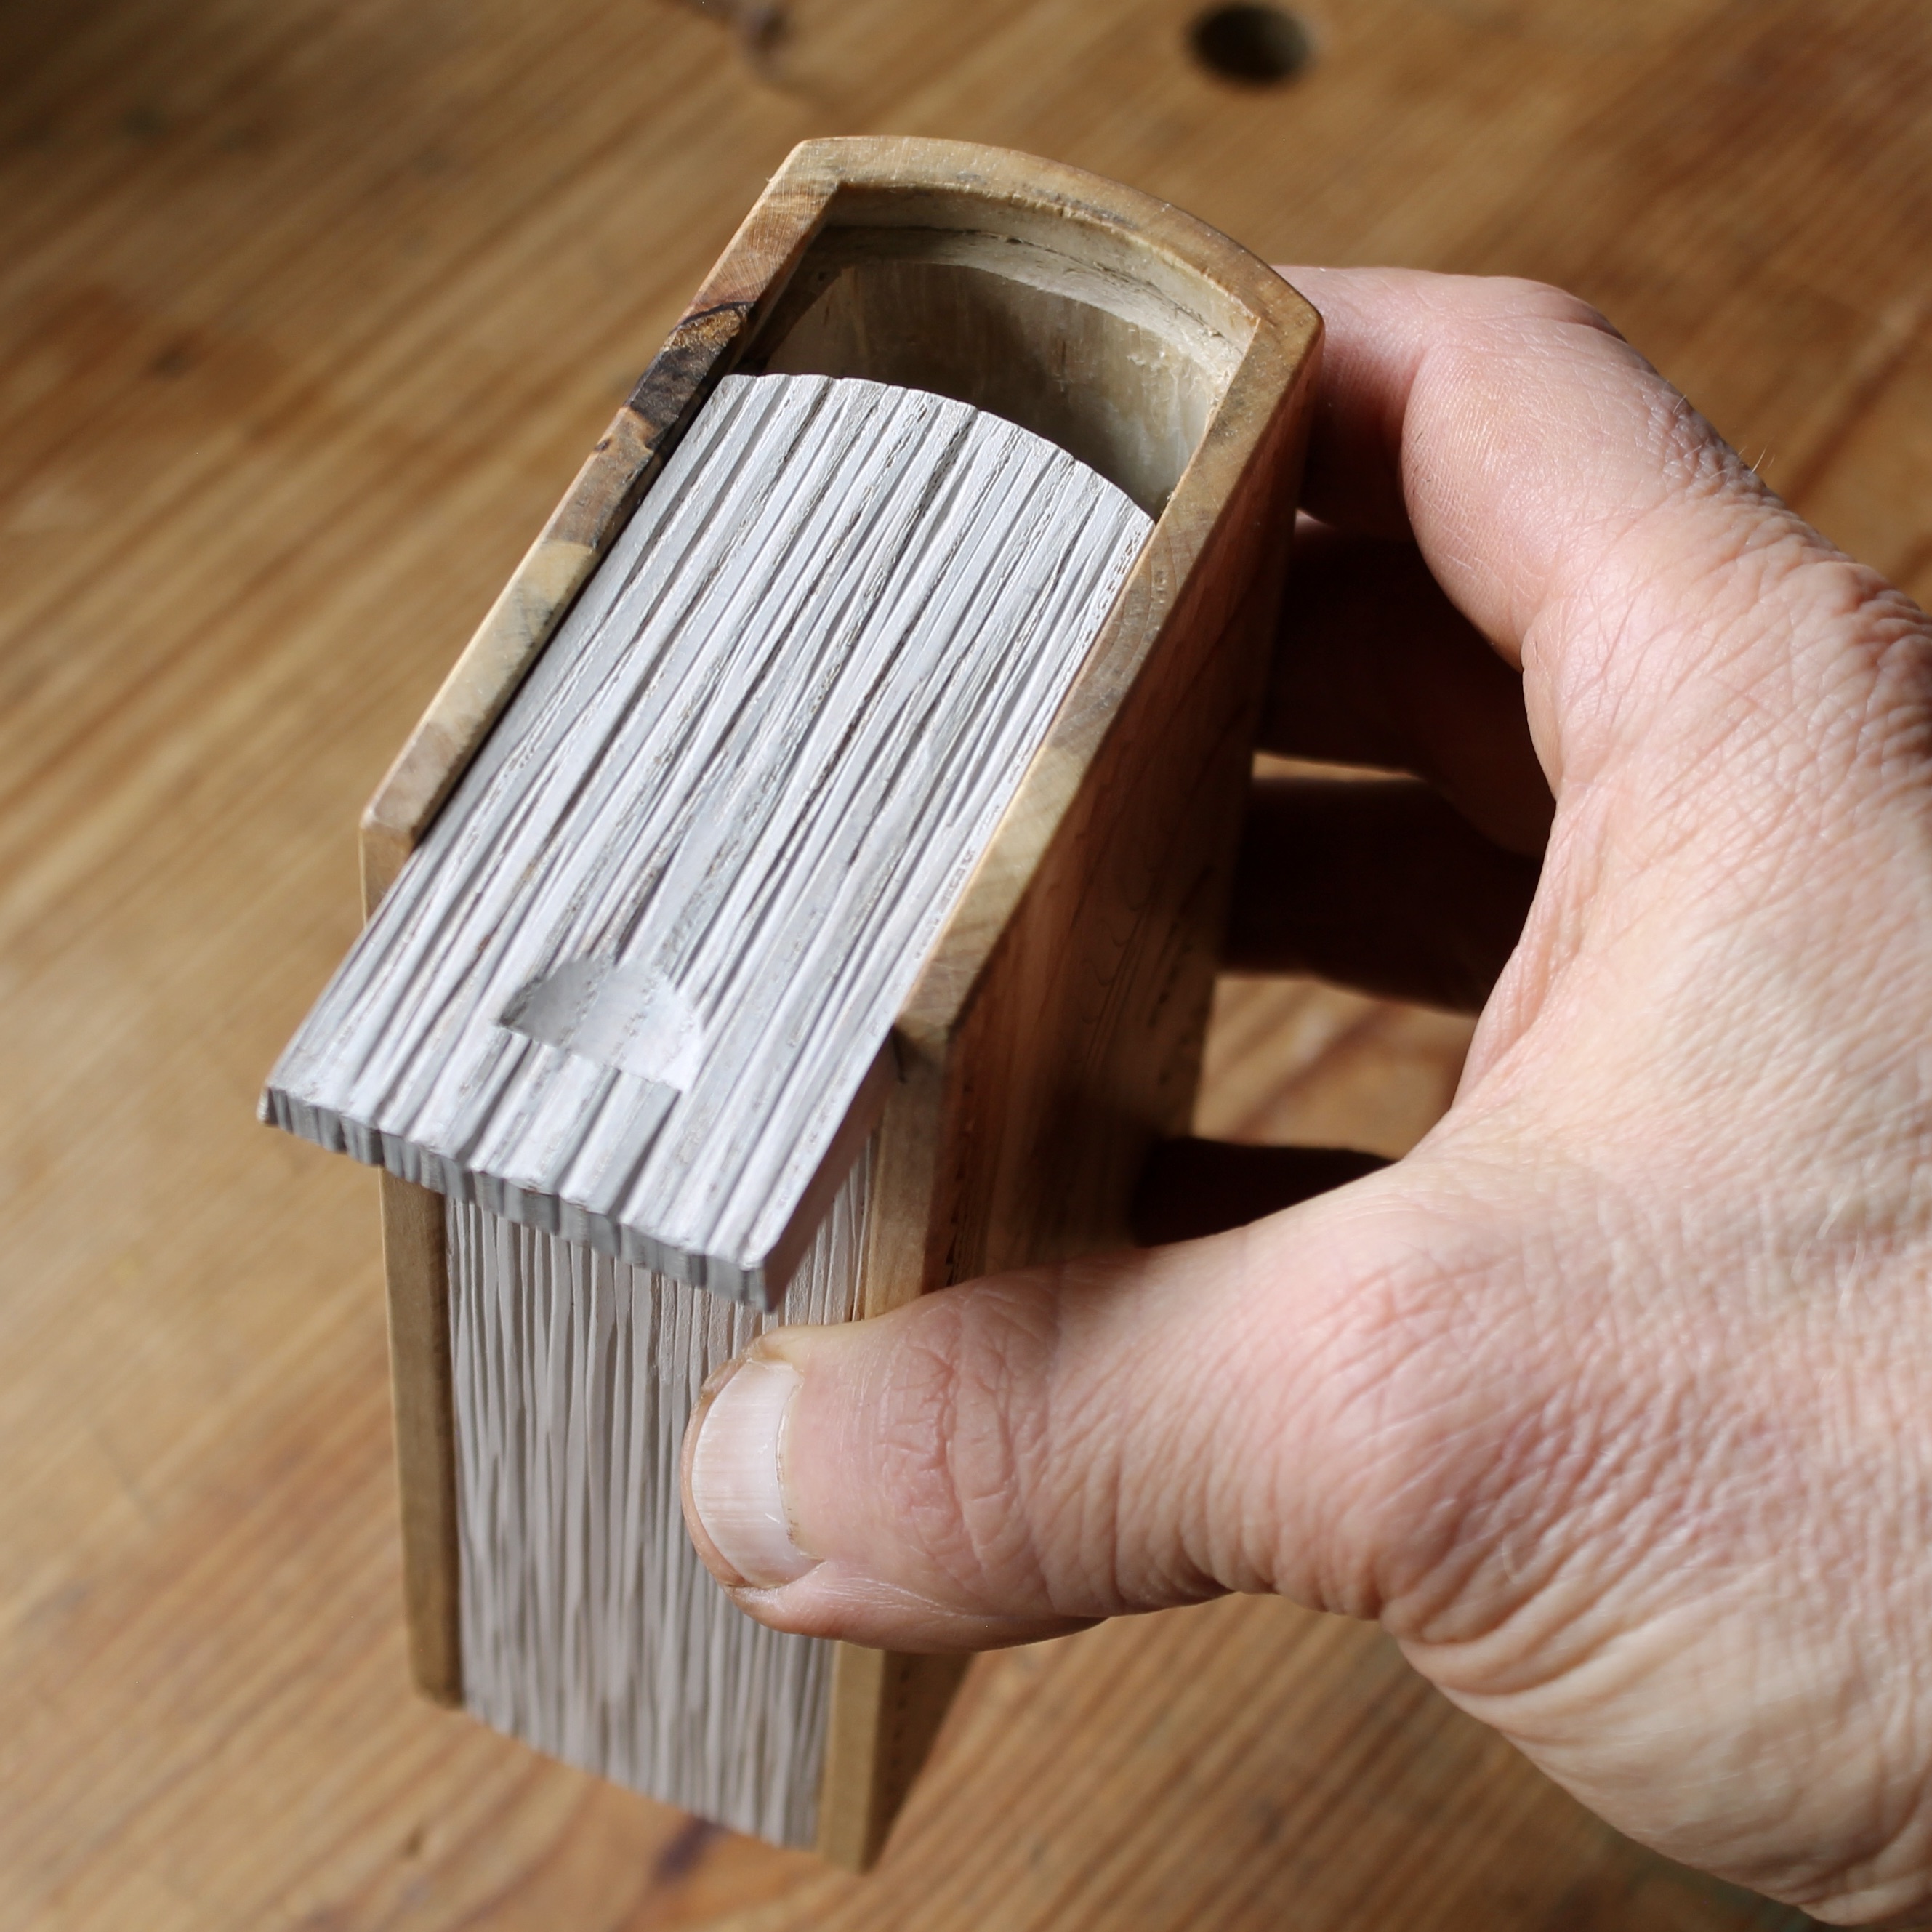
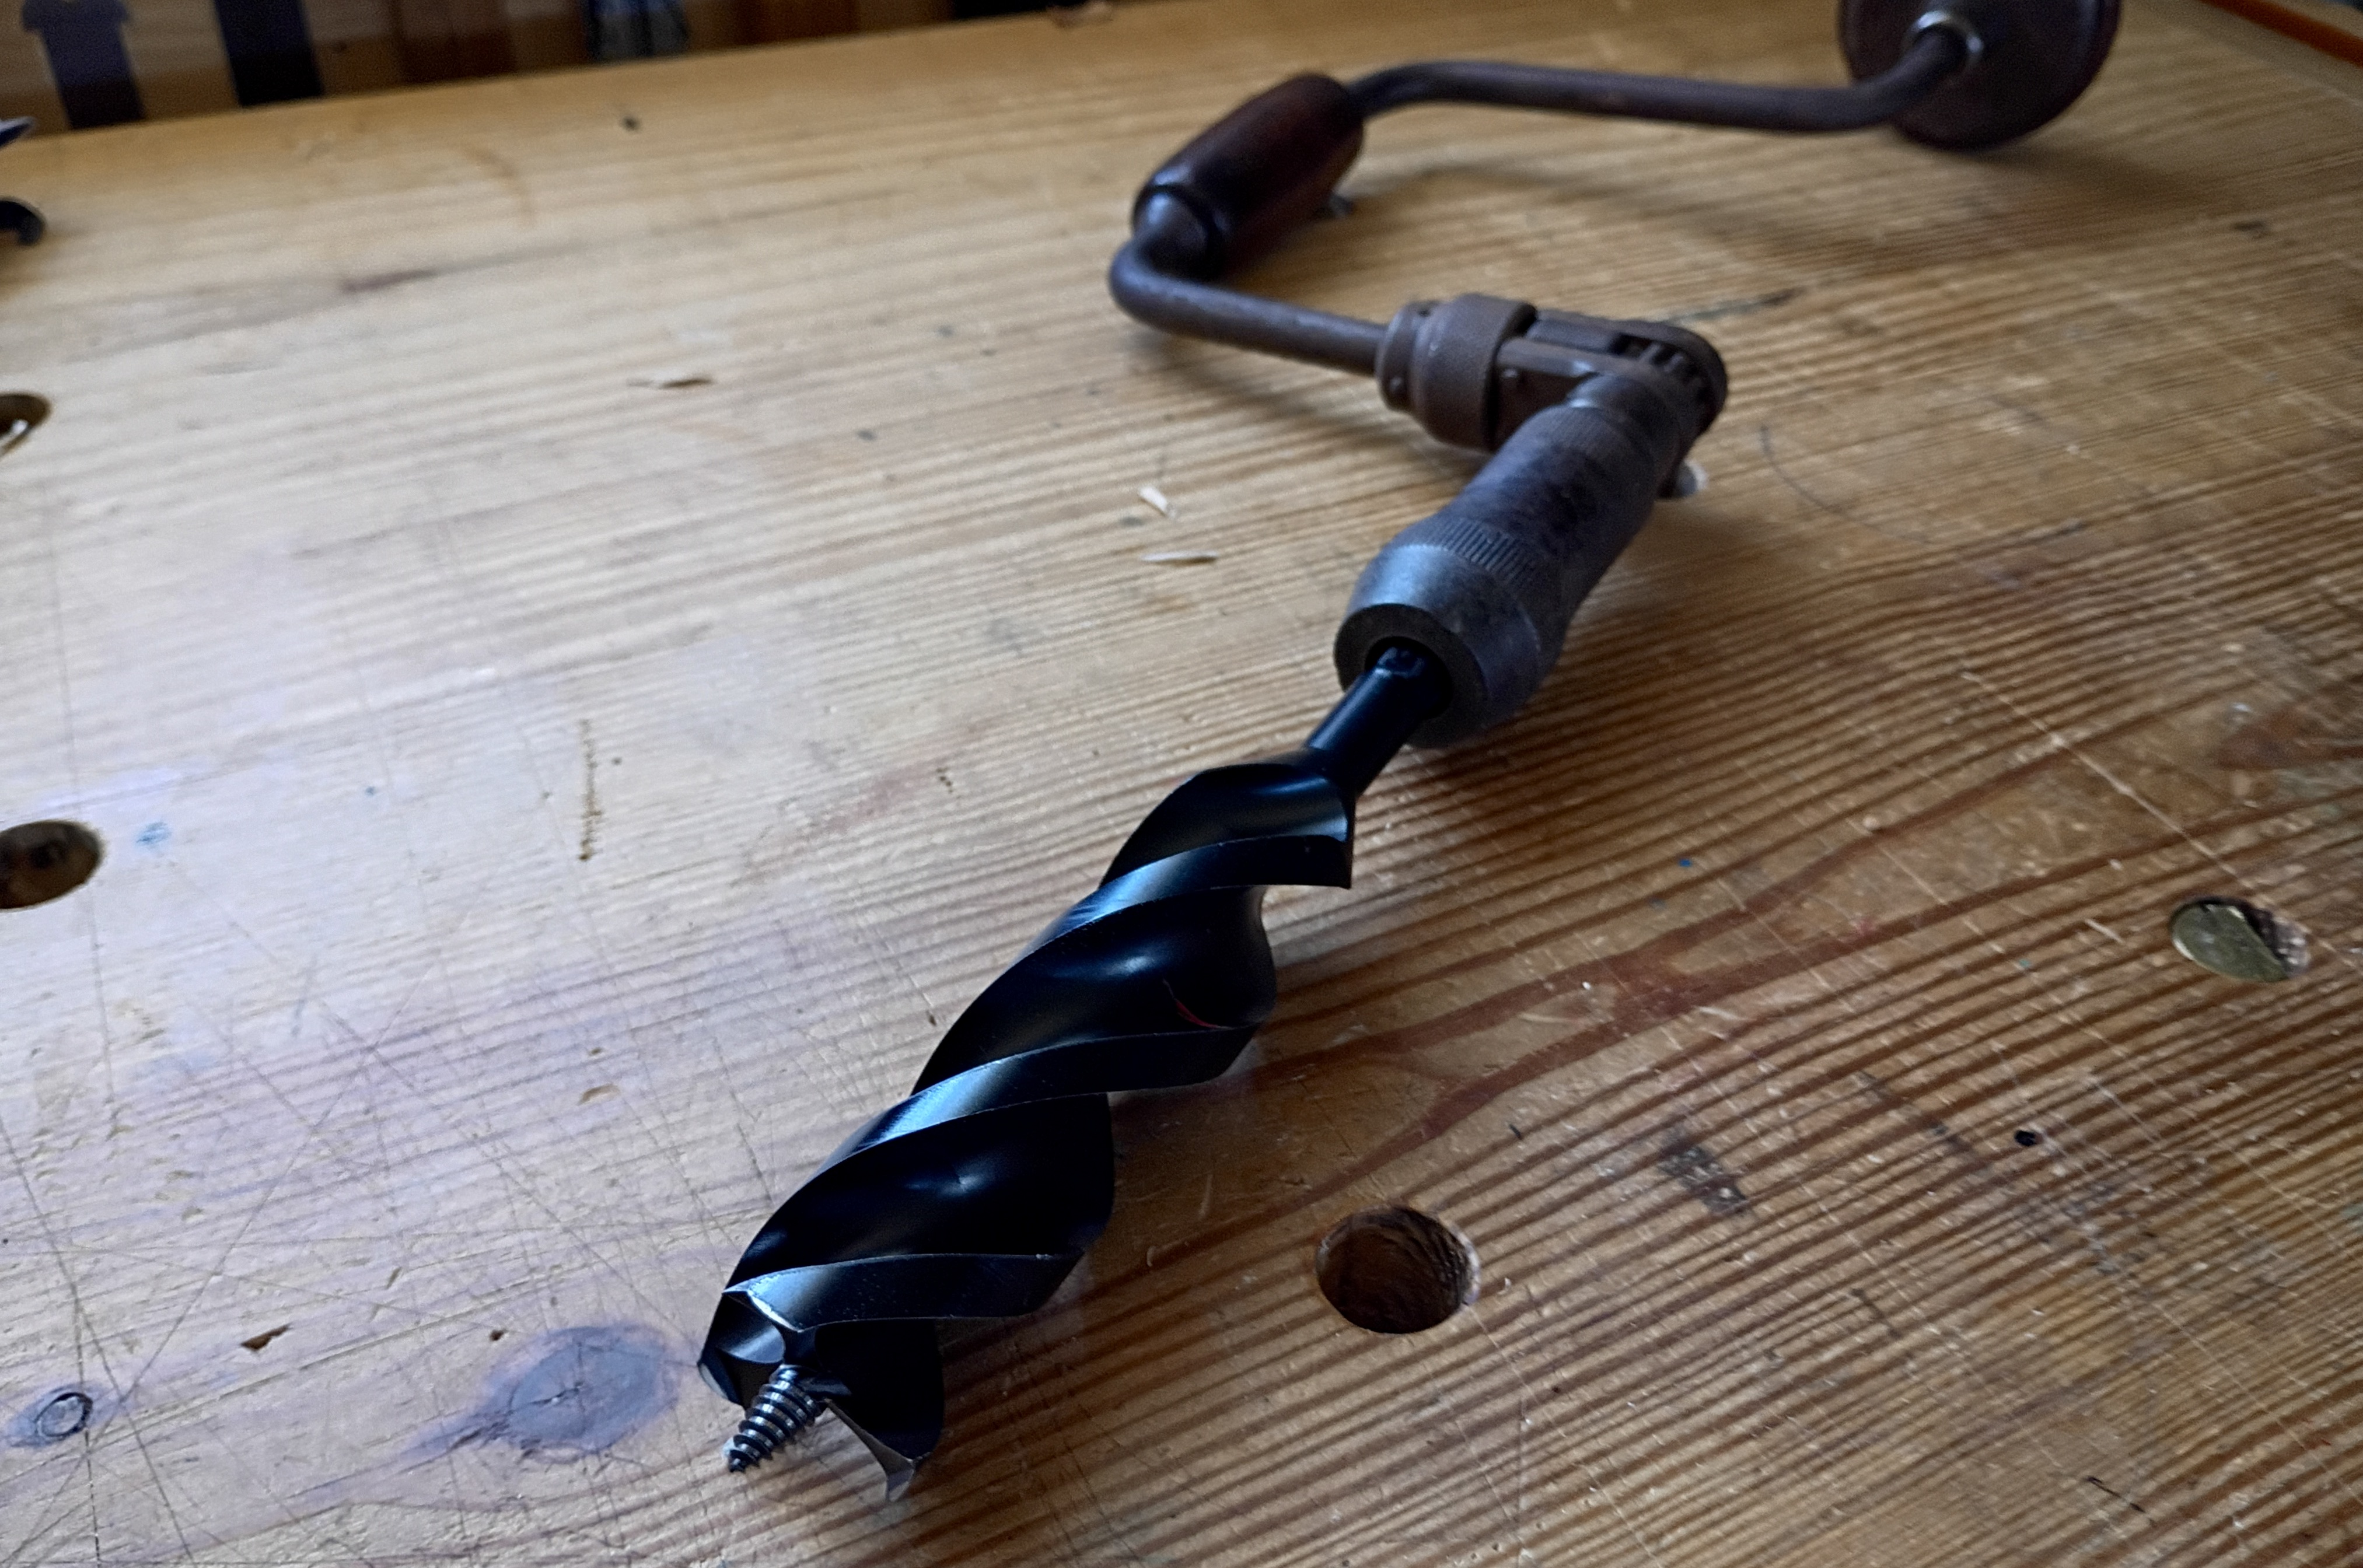
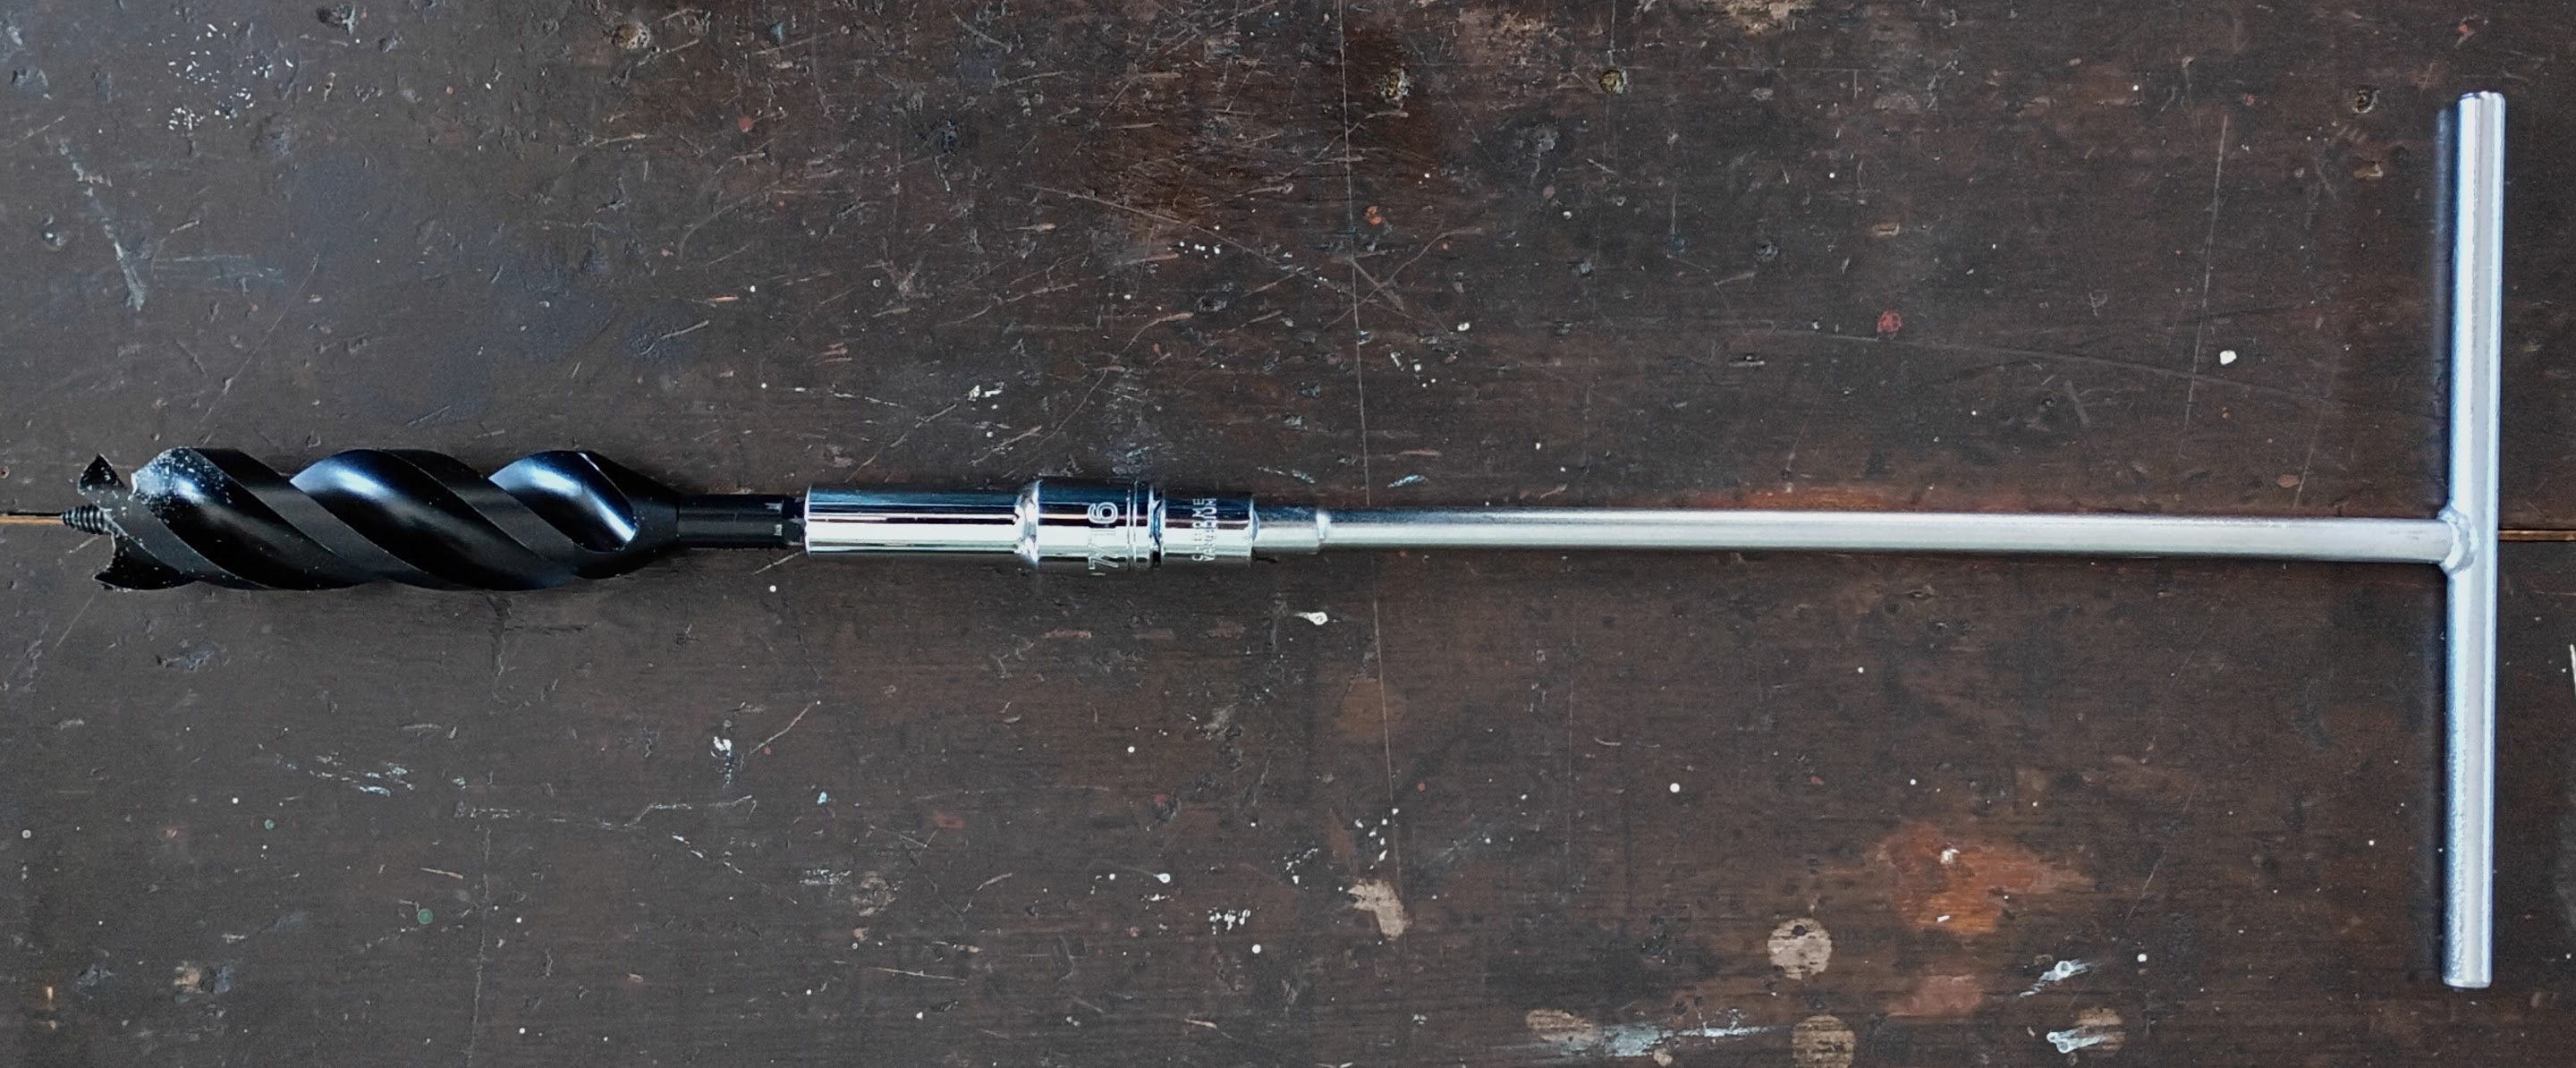
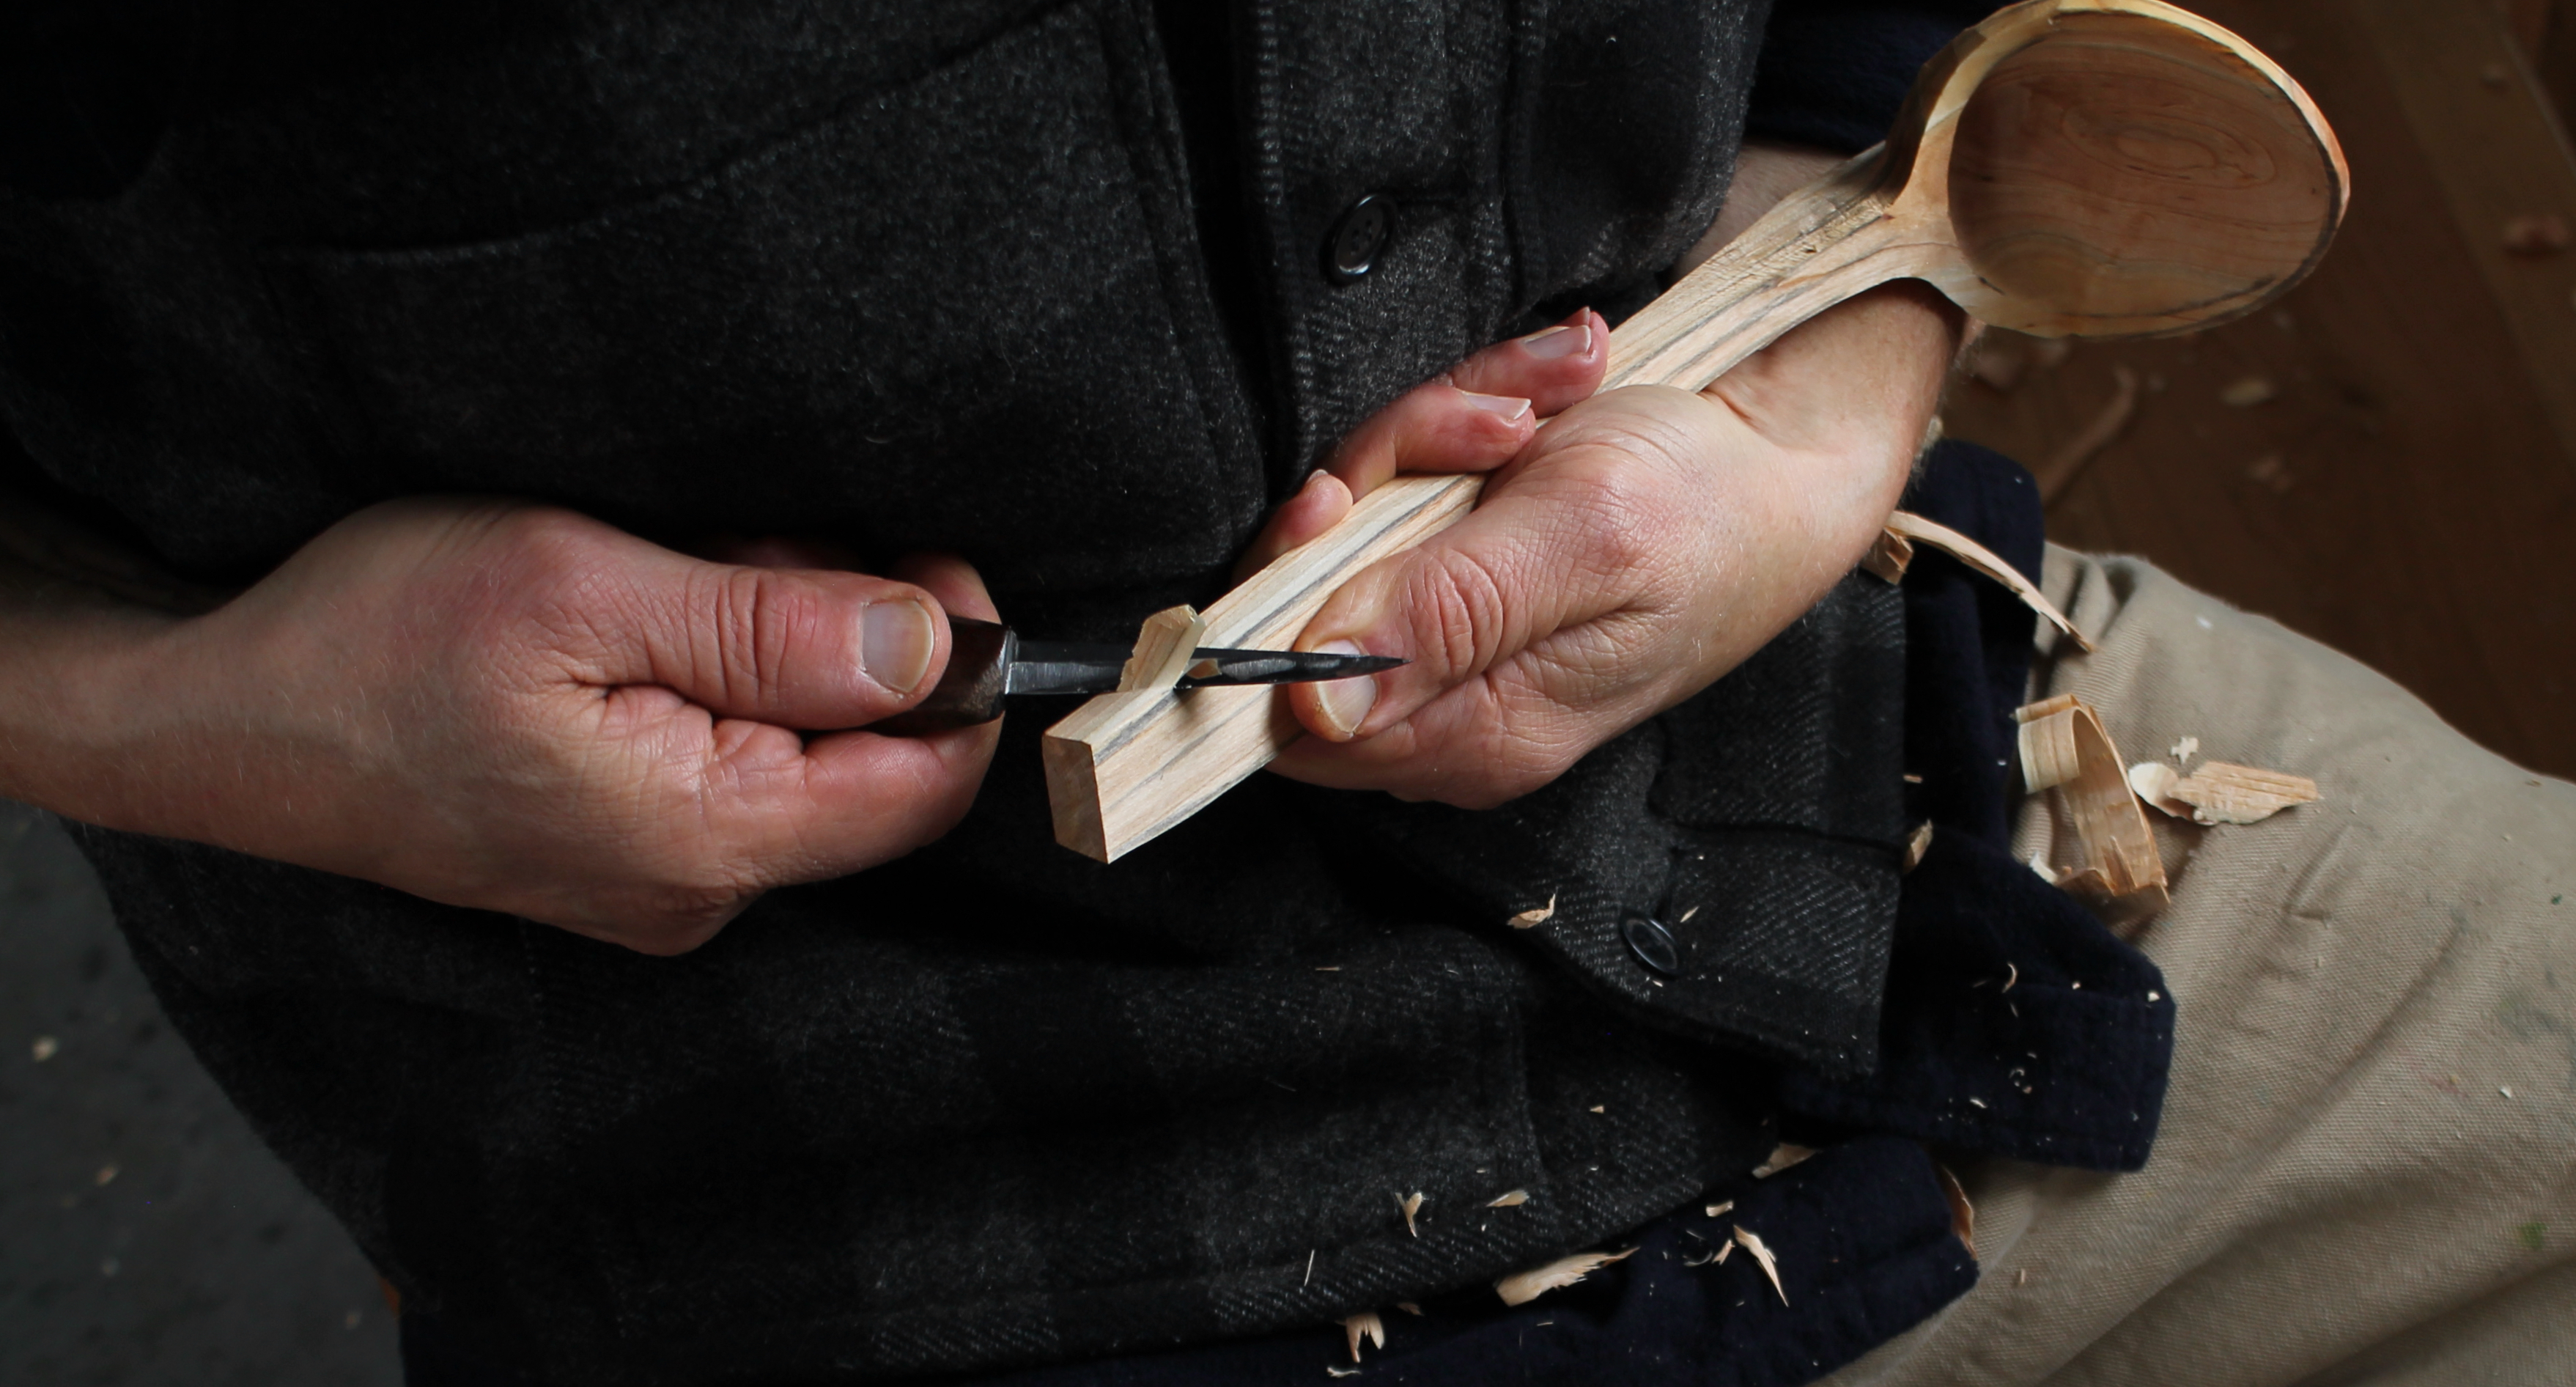
I did buy a few gouges from Josh. The name stamp of the former user is often icing on the cake.
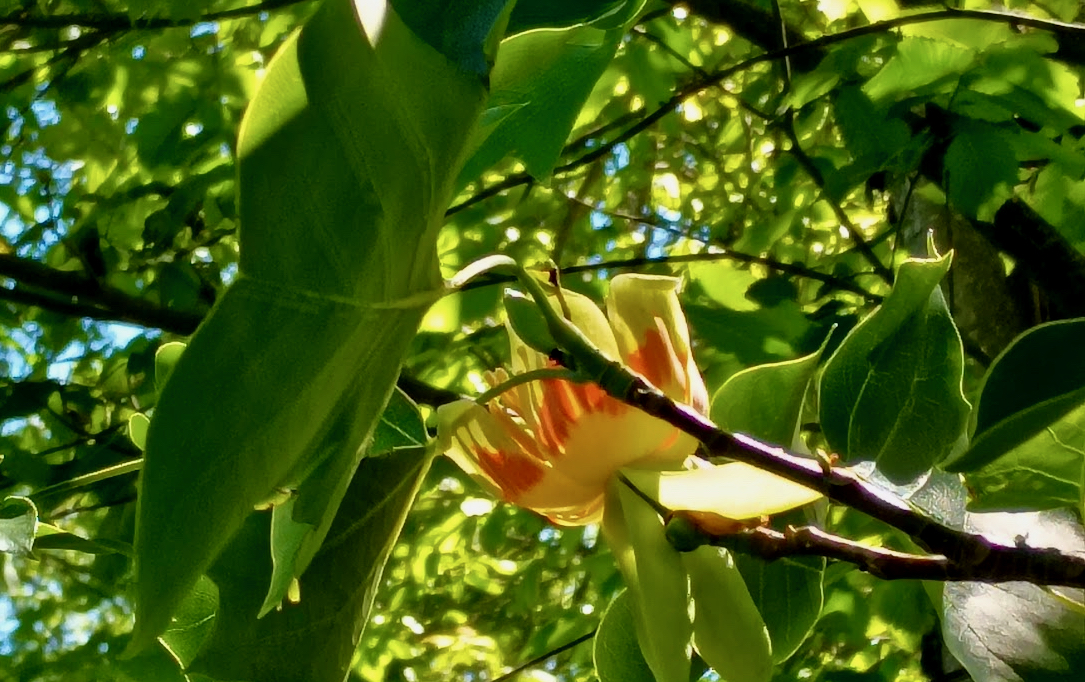
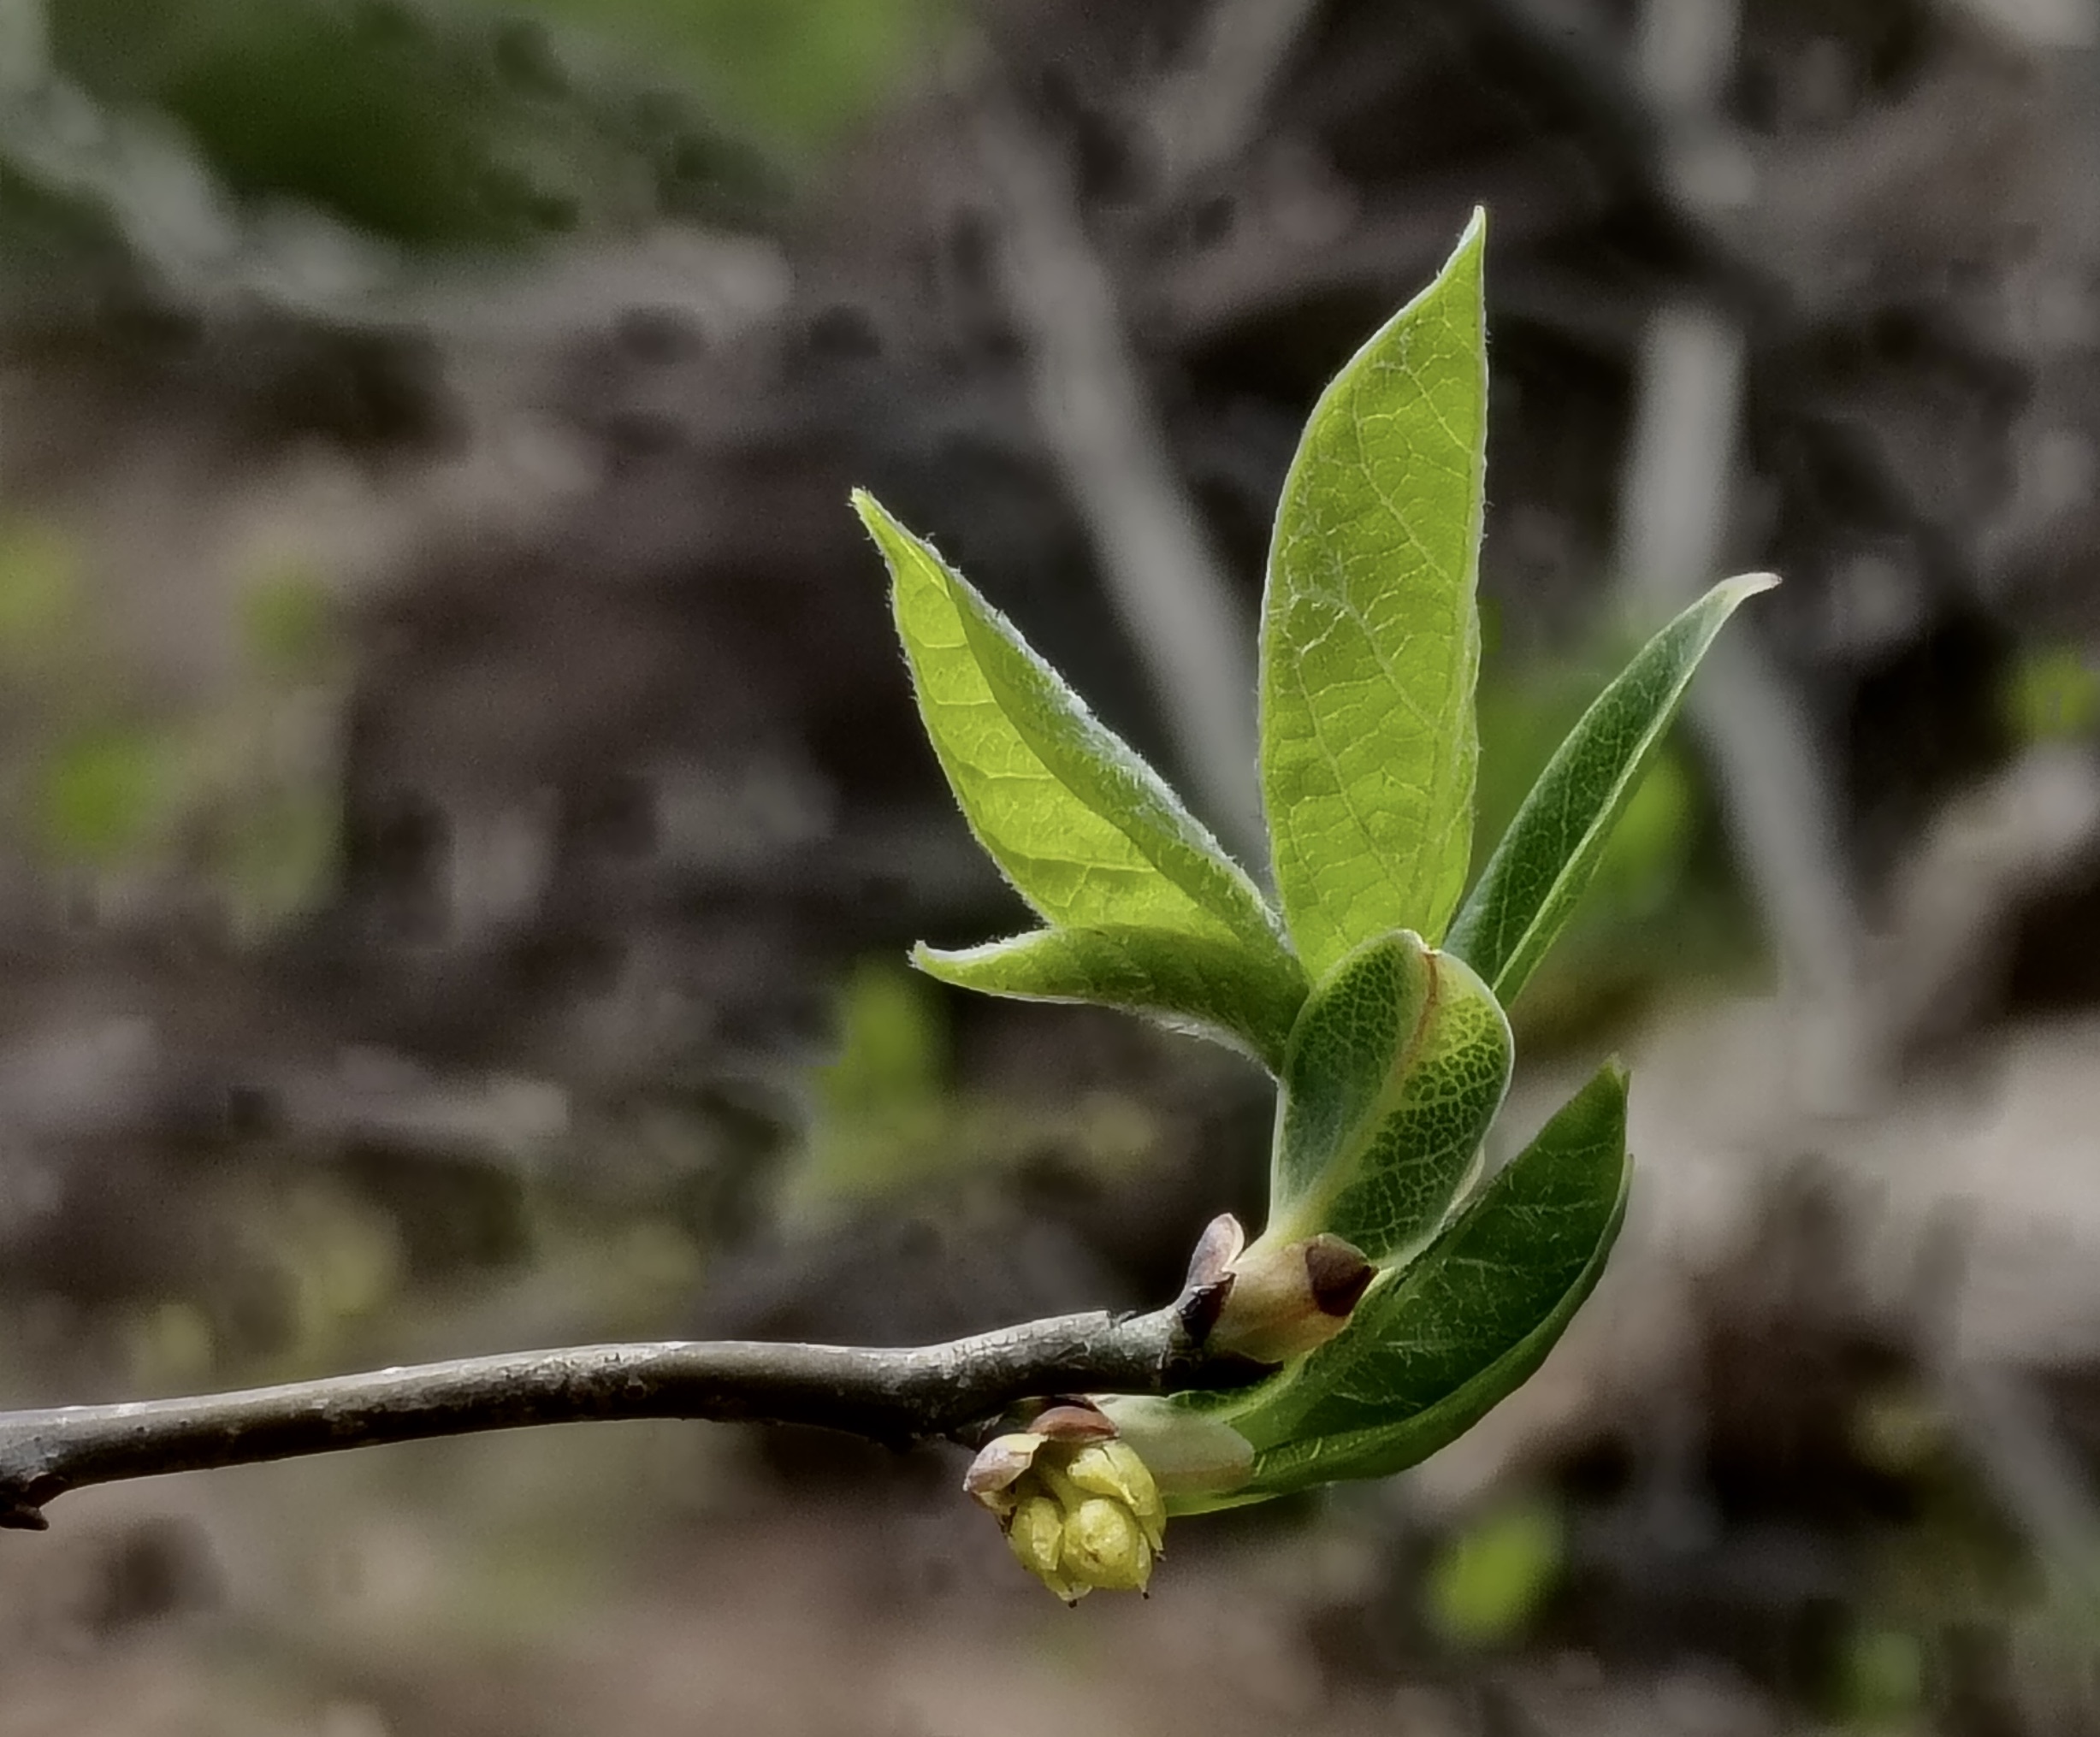
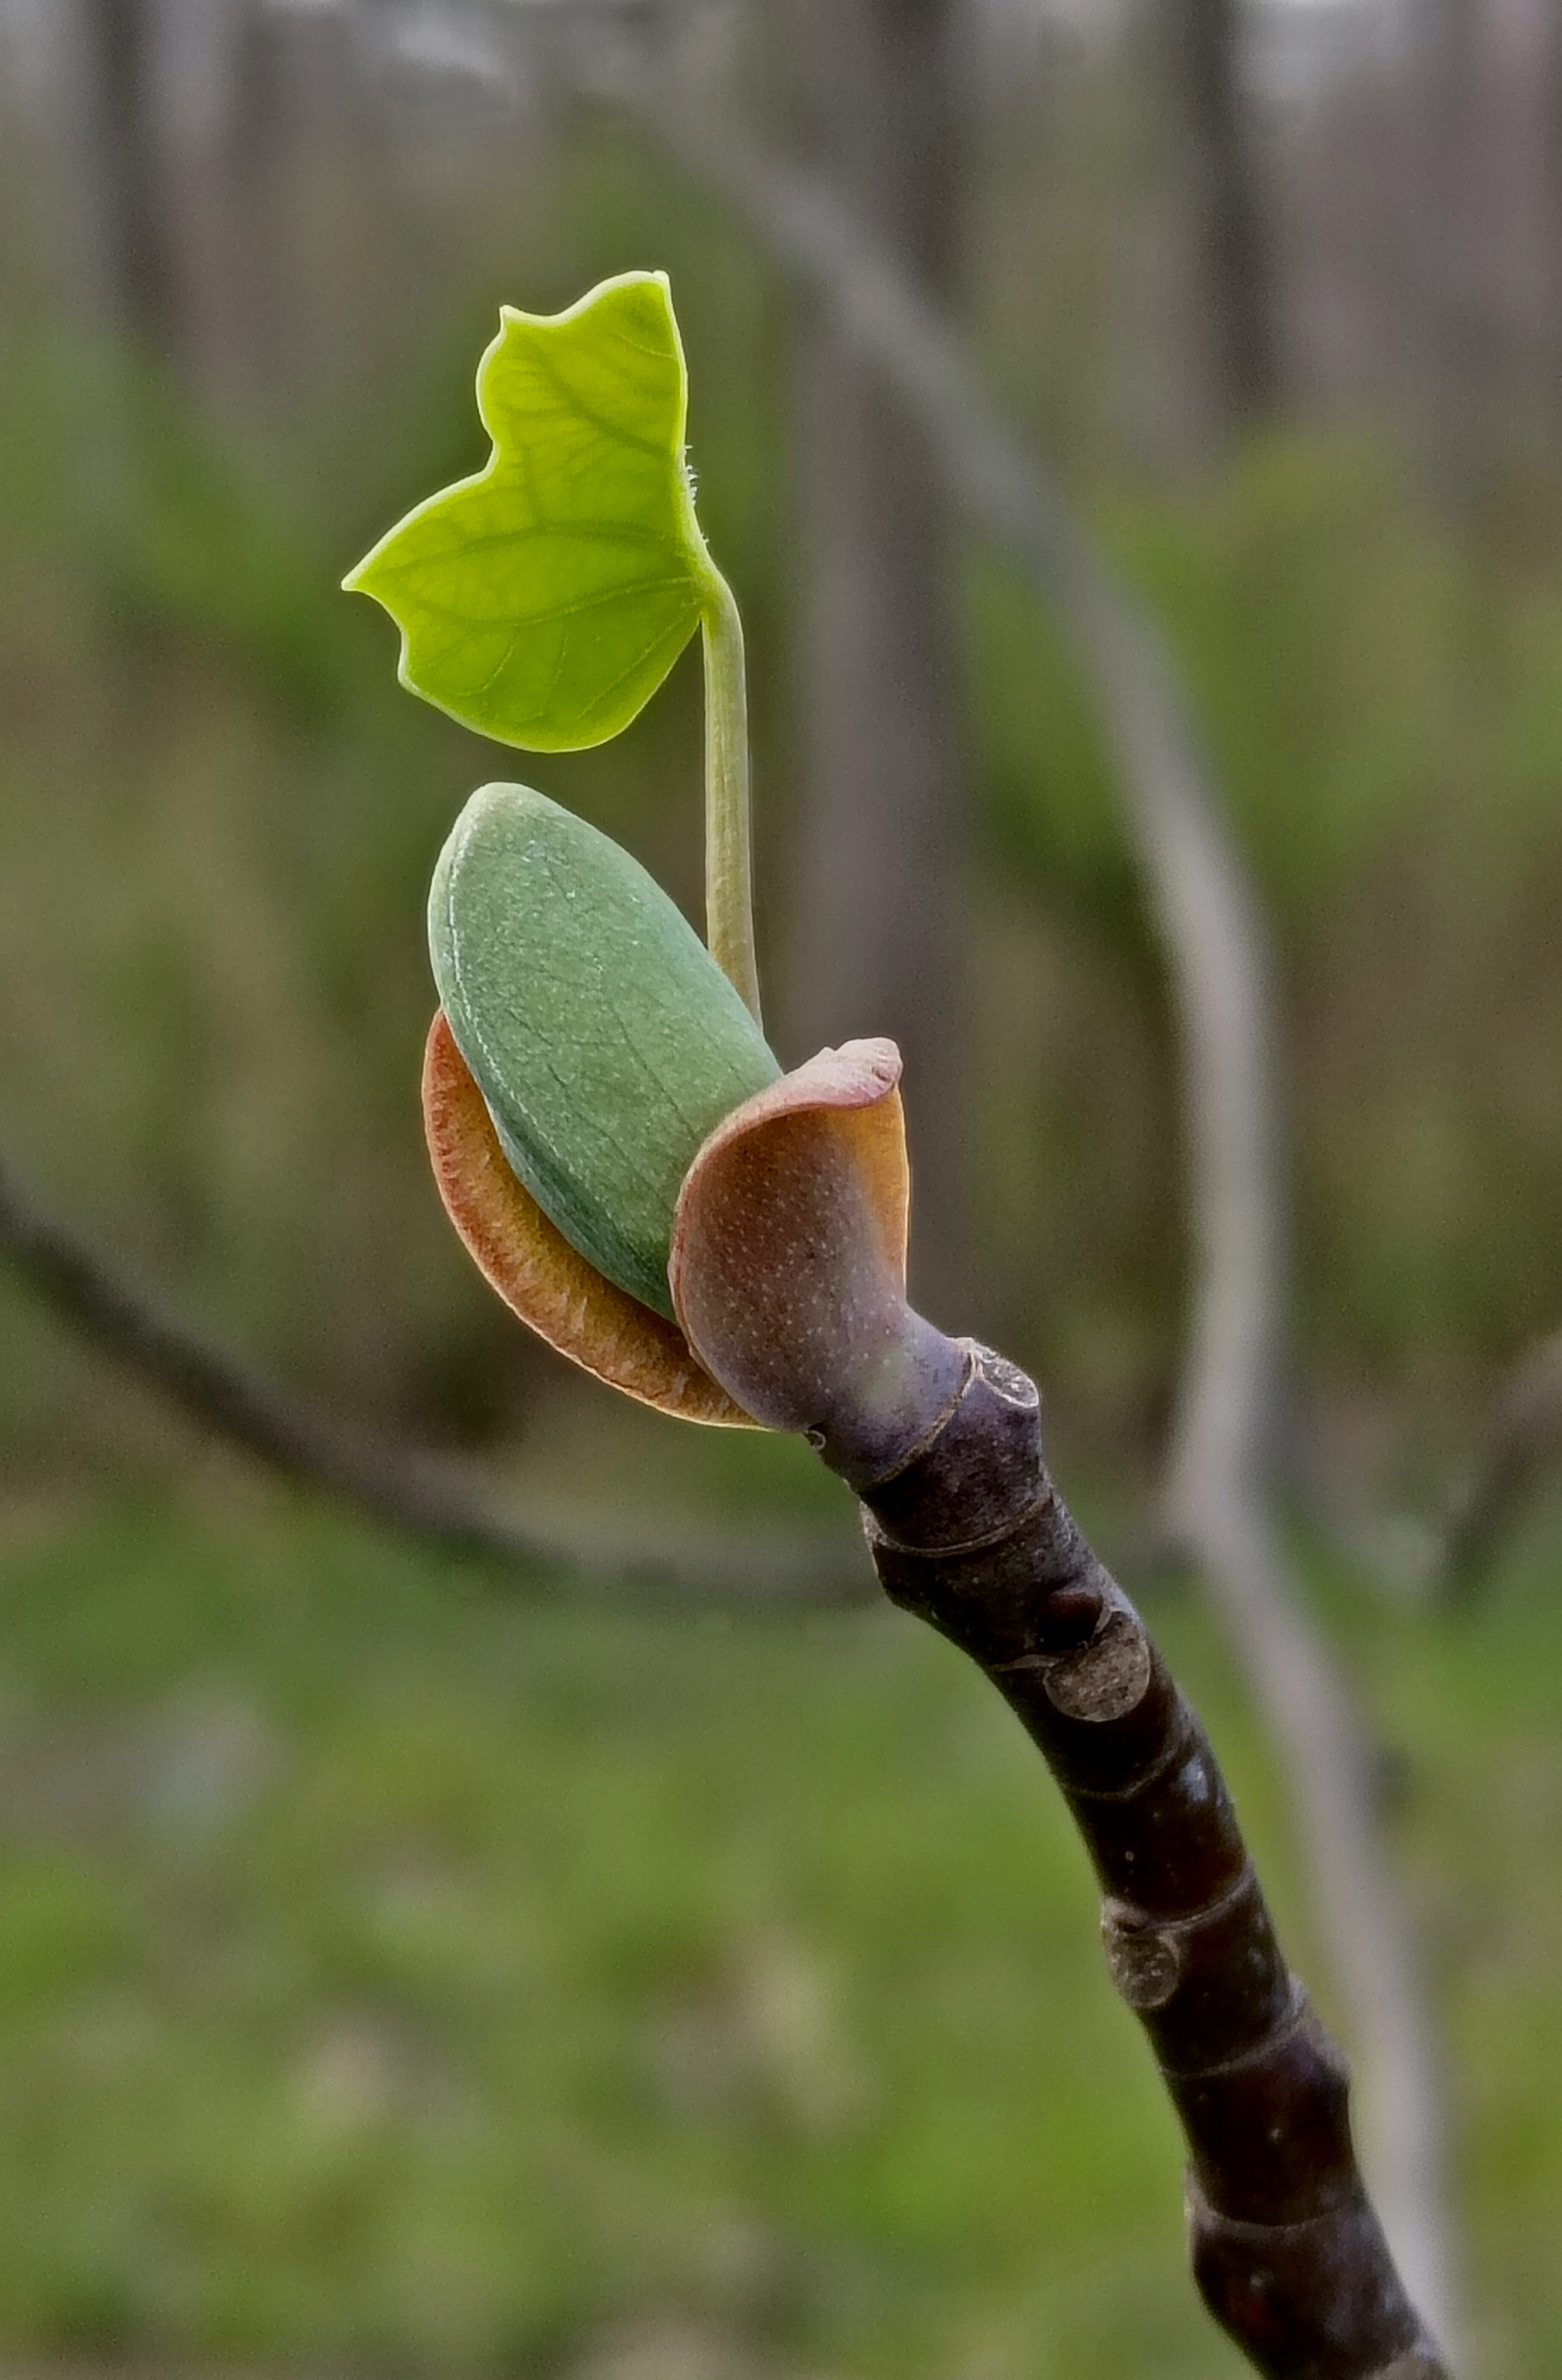
The multiflora rose isn’t all that’s in bloom in June. The “tulips” are on the tulip poplar again.