
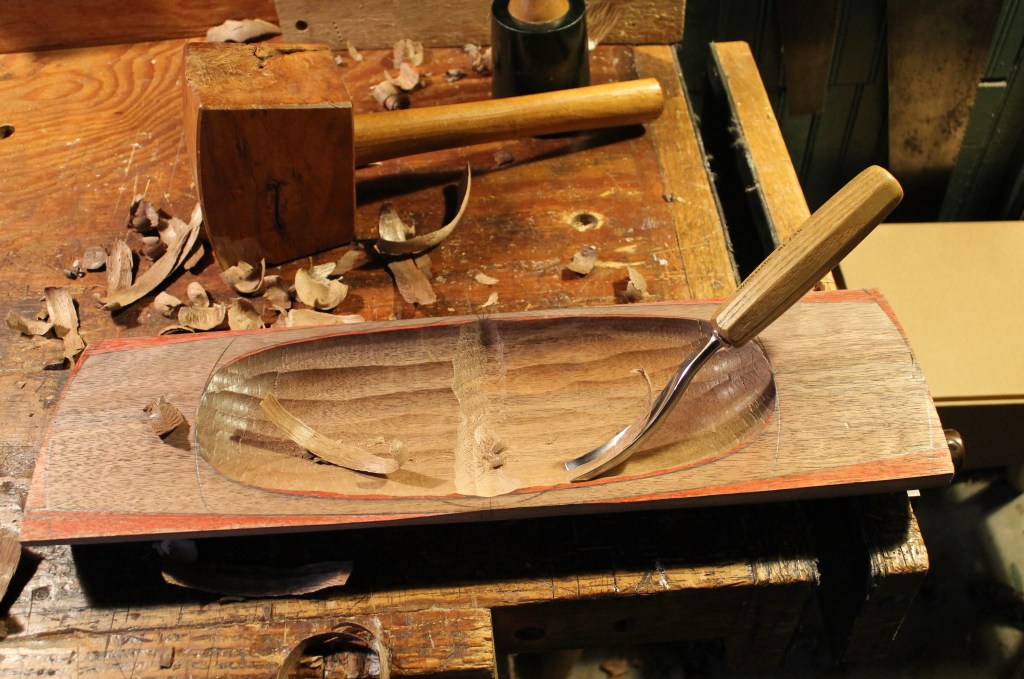
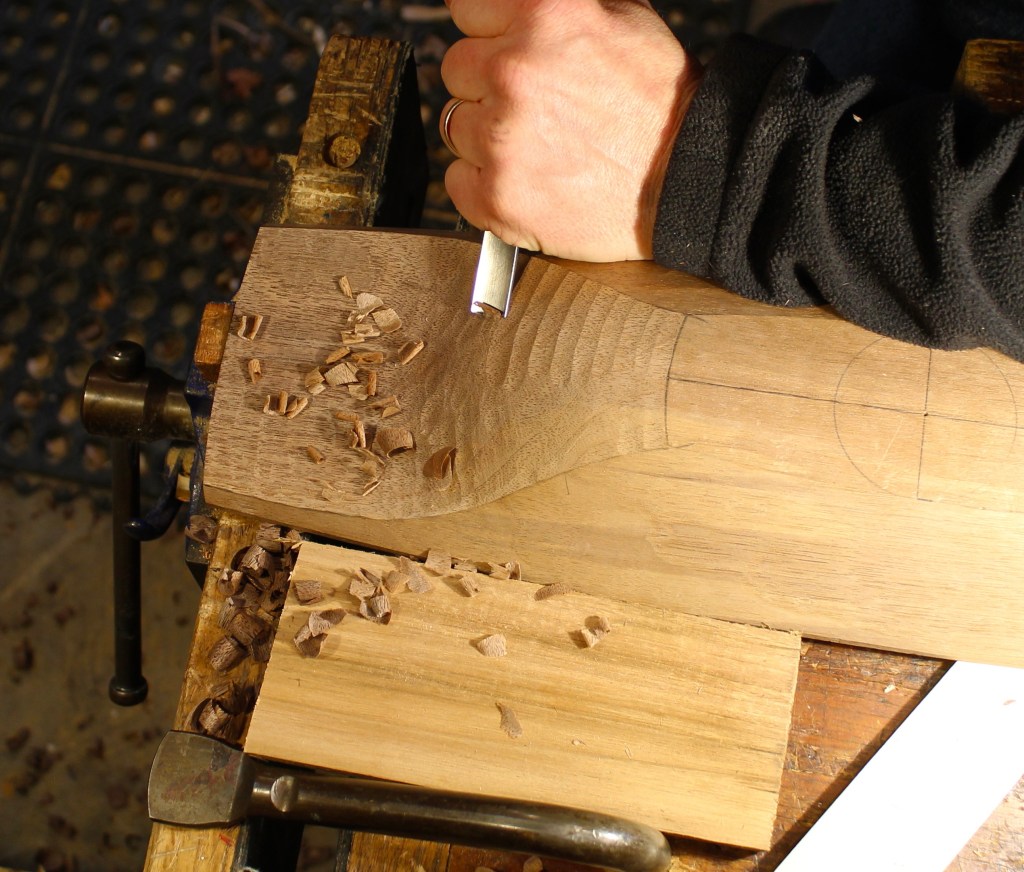
Back to the “bowl from a plank” that I started in this post a couple weeks ago. After preparing the blank and laying out the hollow and rim, I began to hollow the bowl. Remember, this plank was completely dry. In fact, I think it had been kiln dried a few years ago. I can tell you, the adze doesn’t sink in nearly as deeply as it does into green walnut! After getting most of the bulk out, I switched to a gouge and mallet. Not only because of its effectiveness in this dry wood, but because of the shape of the hollow which descends steeply from the rim.
That’s my #8 30mm bent gouge in the photo above. I’ve recommended it as a first-gouge for anyone getting started in bowl carving. You can remove a lot of wood fast. A heavy mallet absorbs the shock of the blow and drives the gouge forward. I set aside one of my usual carver’s mallets and grabbed the much heavier mallet I made twenty years ago with an apple wood head and a sugar maple handle. It’s sweet.
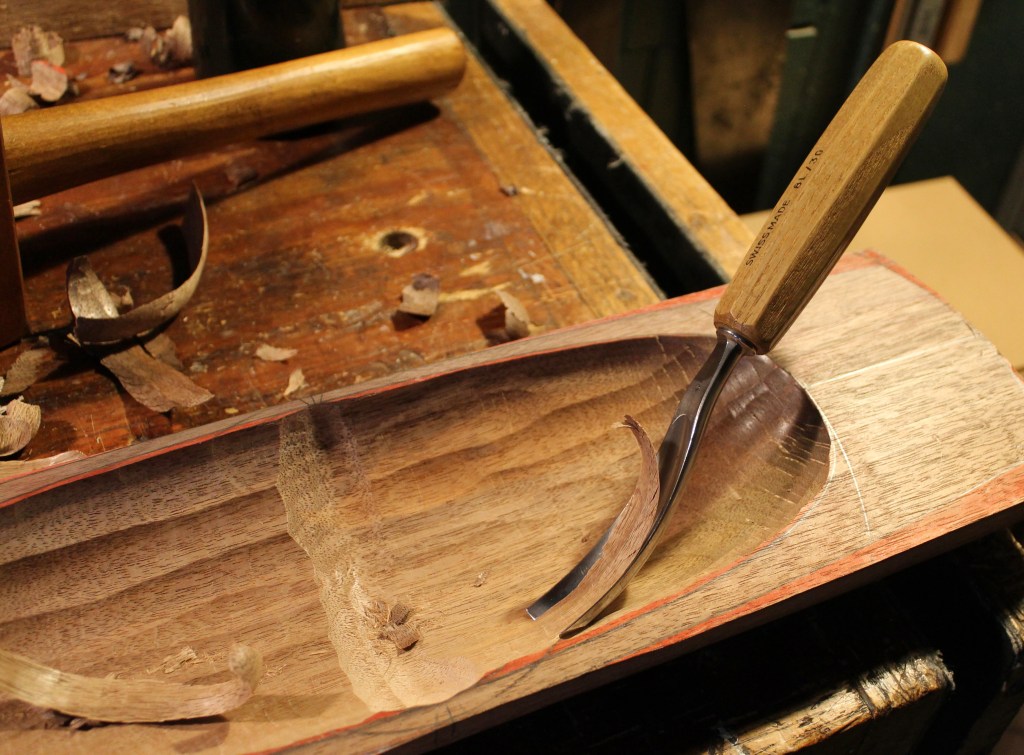
Even on a narrow bowl like this, the cross-grain trench provides a stop cut of sorts. You can see how a heavy chip like the one being taken above will run out at the trench rather than run through to the opposite side.
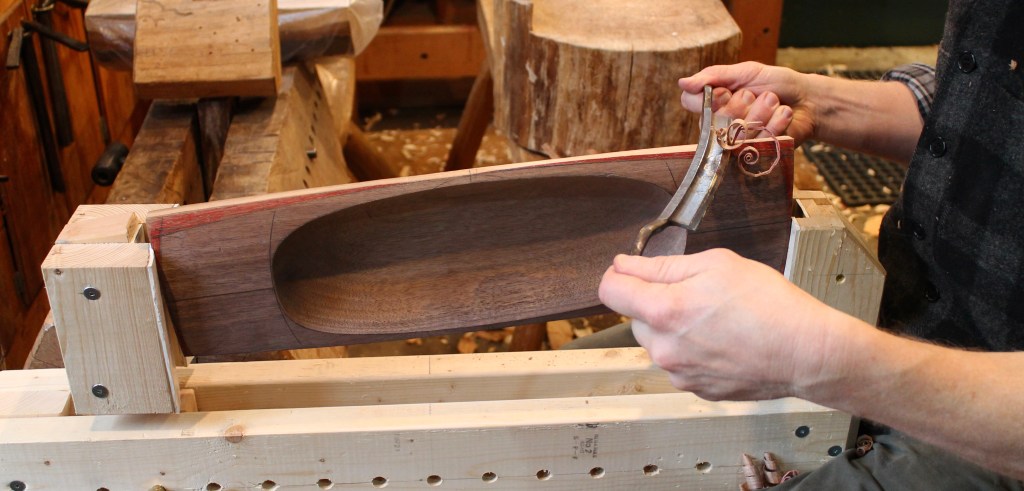
I moved to a gouge with a slower (flatter) sweep to do the final paring of the interior, then moved to the outside. I went straight to the drawknife for defining the rim and shaping the outer side walls. I’ve been using my Bowl Horse 2.0 now for a few months and I’m very happy with it. I made several adjustments in terms of construction, dimensions, and details that have all proven to be changes for the better. I’ll be sharing more about this and I’ll be making very clear plans and a full building tutorial available.
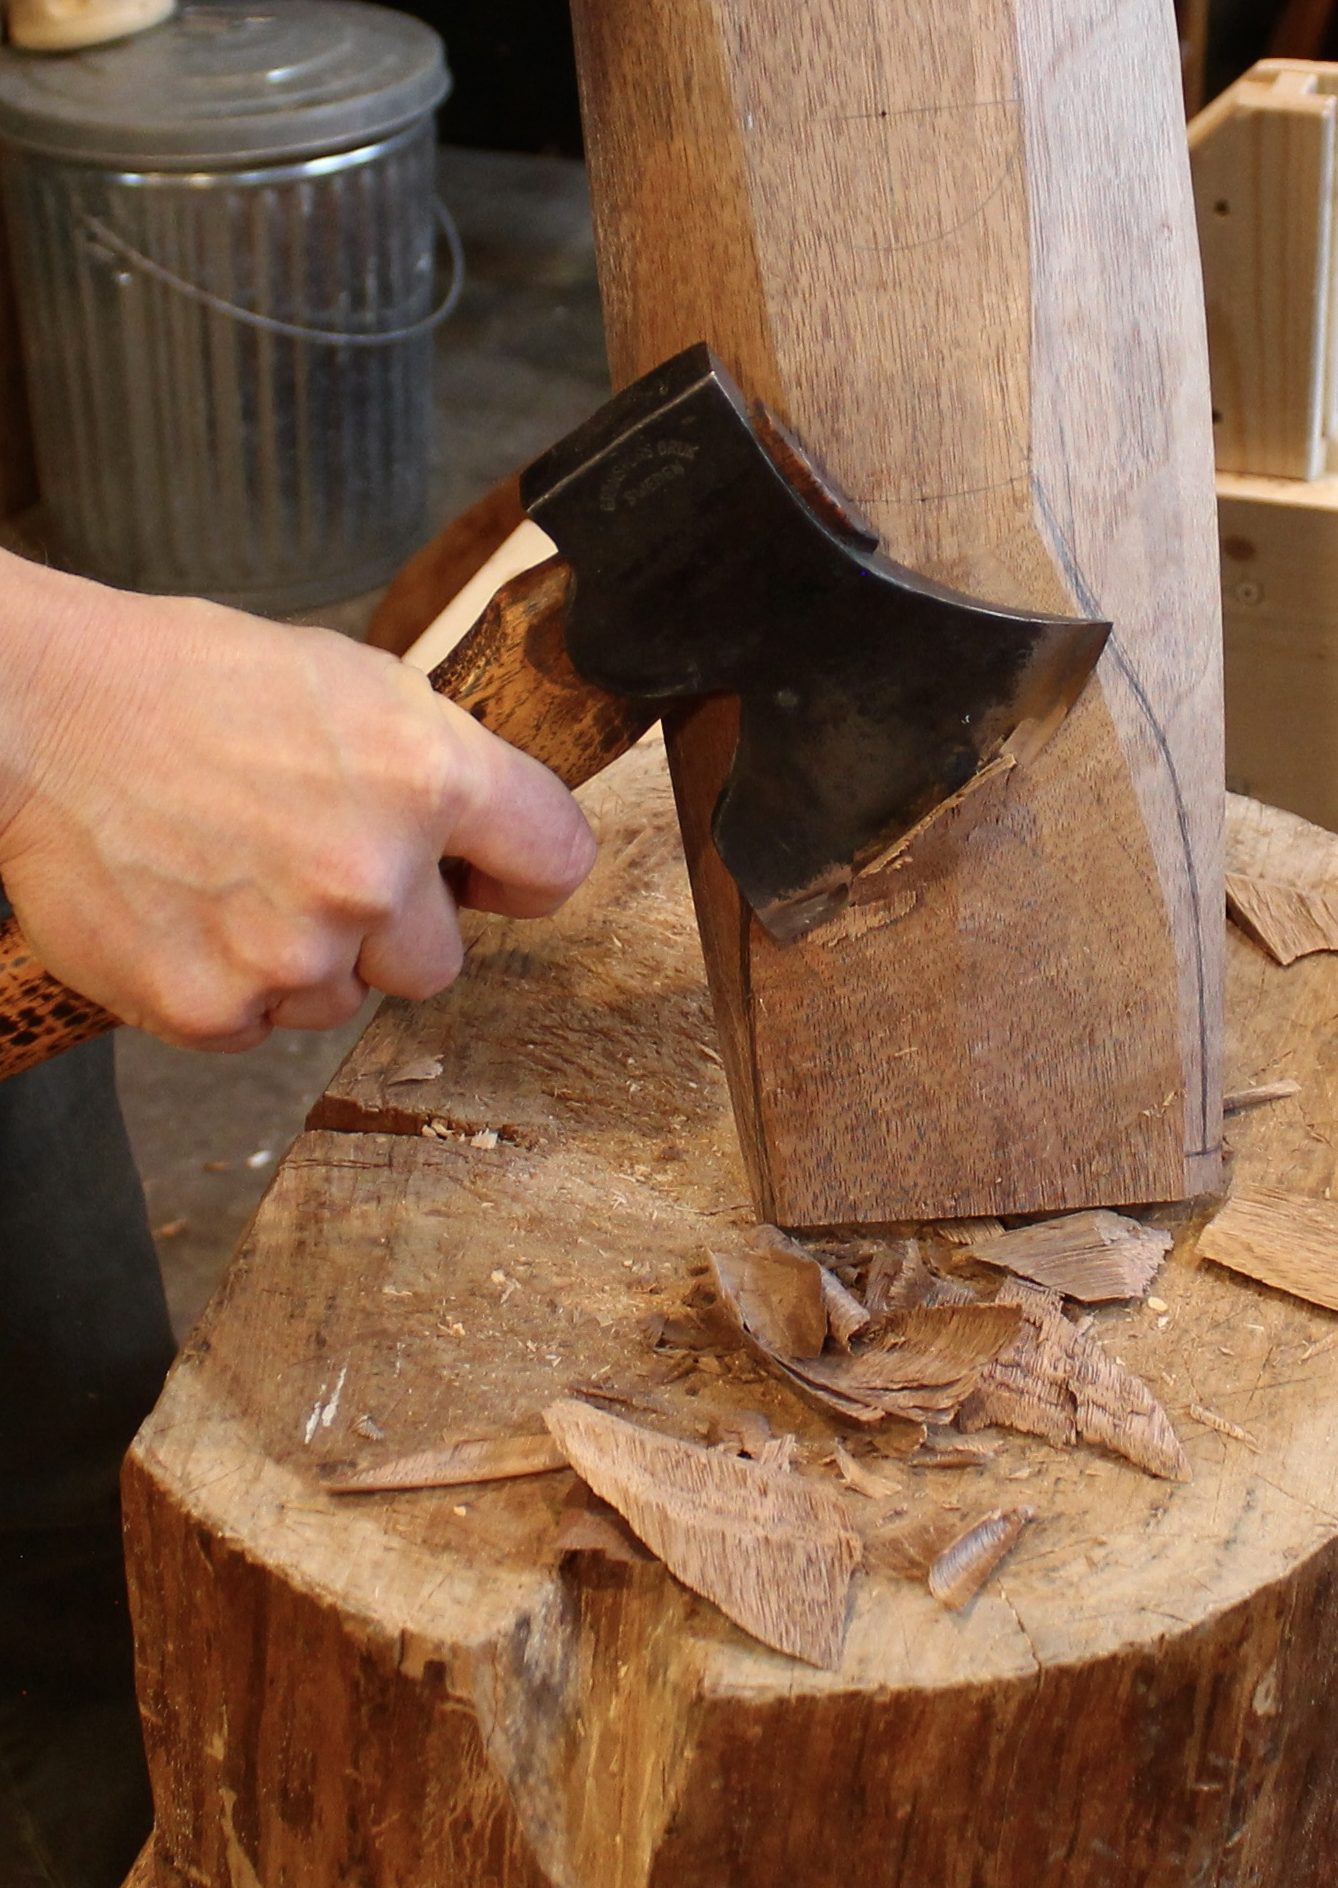
After shaping the sides, roughed out the compound curve under the deep handles with an axe. Then refined them further with drawknife, adze, and gouge.

For the final shaping and surfacing of the sides, I worked in rows by eye with the drawknife, one row at a time from rim to foot.
On the end panels, I worked across the grain with a #3 gouge by eye, curving the rows slightly. Since the end wall bulges out at the center, I stop about halfway across to work with the grain as much as possible, then flip the bowl around and work toward the middle from the other side. The flutes merge in the middle.
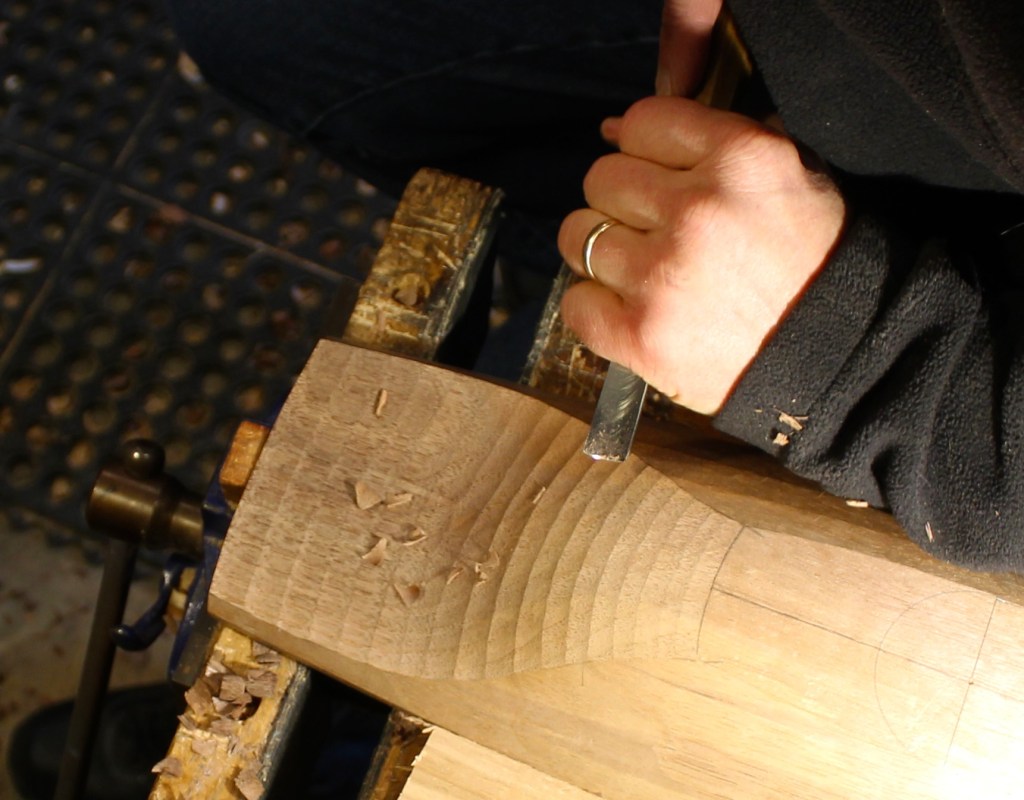
After doing both ends of the bowl, I touch up here and there, shifting the lines one way or the other slightly by shaving a little heavier to one side of the flute.
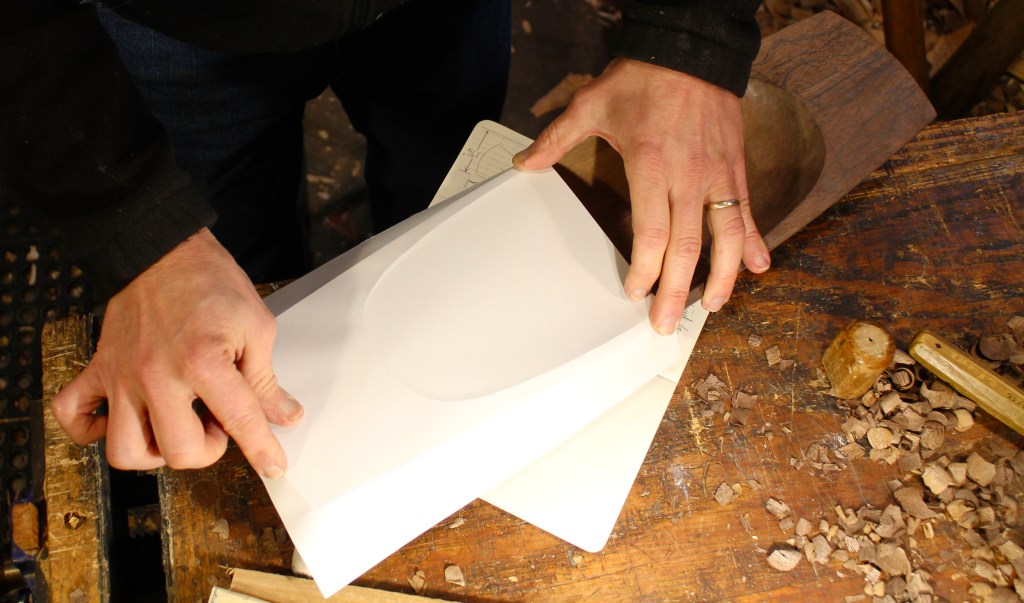
I’m still not completely settled on what I’m lettering on these handles. To experiment with different ideas without writing any more on the wood itself, I placed a sheet of paper over the bowl and ran my fingers over the edges, leaving an impression of the bowl’s outline on the paper. I can now take this away from the bowl itself, darken the outline with a pencil, lay tracing paper over it, and play around with design after design. The paper can’t always conform to the complex curves of the surface, but close enough for the purpose.

This is great to see. A friend of mine is a chippy (UK term for a builders carpenter), and has lots of hardwood off-cuts I’ve been considering using. This is ideal!
LikeLiked by 1 person
Chippy. I wasn’t familiar with that one, Russ. I like it. Good luck with the offcuts. I’m sure you’ll find some good ones. This particular bowl could have been made from a 21 x 6 x 2 1/4″ bit of wood.
LikeLike
I can’t even imagine getting facets so perfect, especially in dry wood like that. Beautiful.
LikeLiked by 1 person
Thanks for the inspiration David!
We moved some 18 months ago from the great northeast where it was very easy to find recently felled wood, often “for the taking.” Here, in the central part of that peninsula that hangs off the east side of the US, tree felling for new construction is on an industrial scale and green logs are very hard to come by. While I would prefer greenwood, you’ve shown that old dry boards can still become bowls.
The canted shoulders on Bowl Horse 2.0 look very useful. Thanks for that inspiration too!
Happy New Year
LikeLiked by 1 person
Happy New Year to you too, Bob. Glad to know that this could be a good alternative for you down there. And I’ll bet you can’t even make a decent snowball most of the time. Hang in there.
LikeLike
Happy New Year Dave!
LikeLiked by 1 person
To you as well, Alexander!
LikeLike
Happy New Year David!
The way the bowl is looking I’d of thought it was green wood, but it’s the craftsman behind the tool. Such even cuts – just wonderful work.
I’m looking forward to Bowl Horse 2.0 and building one myself.
LikeLiked by 1 person
Happy New Year, Dave! And thanks for sharing this tutorial on using dry stock for making bowls. Your work continues to be an inspiration and a joy to see.
LikeLiked by 1 person
Happy New Year Dave and thanks for the always informative posts and photos. I always look forward to them and learn something new. I’m very excited to see the bowl horse plans and tutorial you provide. This is the one aspect of my set up that is missing and would be very helpful with my drawknife. Thanks again !!
LikeLiked by 1 person
As always, Dave, both your wood skills and your explanation are inspirational! I wish you the happiest of New Years. Just a couple thoughts on working dried wood, and they are so obvious. 1) Take your time. To hurry is to invite a ruined project or worse a bad cut. 2) Sharp tools are mandatory.
Do you know when you will make your bowl horse 2.0 available? I really like what I see. Rob
LikeLiked by 1 person
Thanks for your comments, Rob.
I’m hoping that the plans will be available within the next couple months. I appreciate your interest.
LikeLike
Dave,
Like other readers, I can also get dry wood easier than green.
I am really enjoying and learning from this tutorial! And the pen knife grips shown in the Barn 2019 video are great.
Looking forward to seeing the patterns you will be selling, and the 2.0 horse plans and tutorial.
Pete
LikeLiked by 1 person
Thanks, Pete. I’m going to try to work out the logistics on patterns and such soon.
LikeLike
I’m enjoying the bowl as it is shaped by your sharp gouge, but even moreso your wit, which is equally sharp:
“ I set aside one of my usual carver’s mallets and grabbed the much heavier mallet I made twenty years ago with an apple wood head and a sugar maple handle. It’s sweet.”
Well said!
LikeLiked by 1 person
Thanks Dave. I will looking forward to the Bowl Horse 2 plans and tutorial.
LikeLike
Pingback: Bowl from a Plank Part 3: Handle Pattern | David Fisher, Carving Explorations