

Onto another stage with the chestnut bowl. Although a little bigger and deeper, the design of this bowl has much in common with the cherry bowl on the left. Same general upper outline, narrow side panel, arched top. But the cherry one has an oval foot and the chestnut one has a sort of rectangular foot, but with all four sides curved. (Anyone know a proper name for that shape?) The point is that it has corners, and that makes the difference.
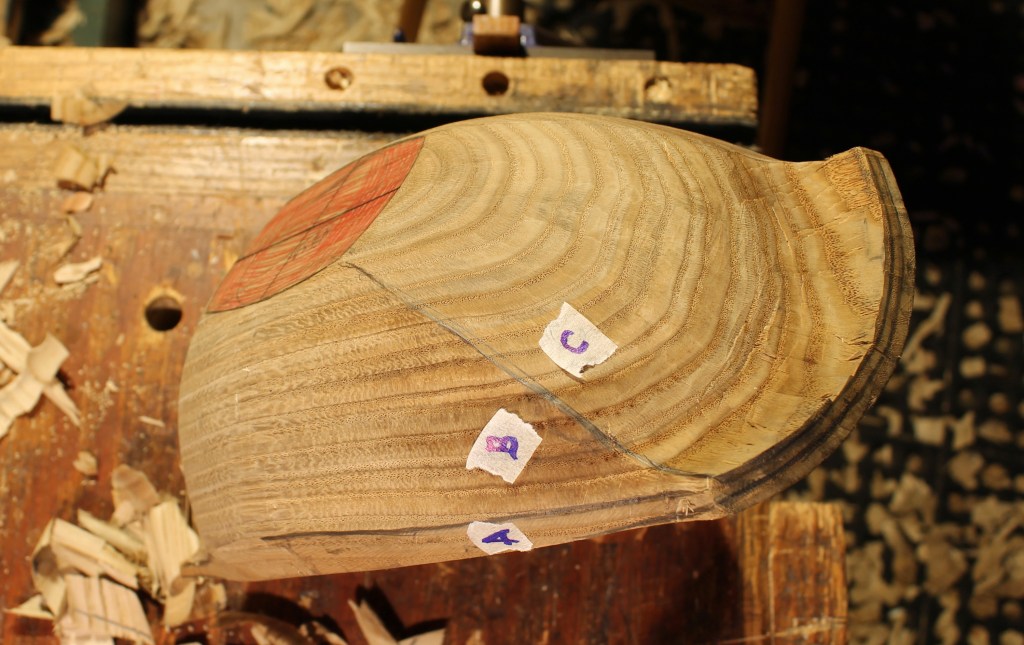
Unlike the continuous exterior surface of the cherry bowl, the chestnut bowl has distinct side (B) and end surfaces (C), a natural extension of the foot shape. The narrow side panel (A) is just an option. The junction of surfaces B and C form a ridge that runs from the lower corner of the handle to the corner of the foot.

Here it is from a different angle.
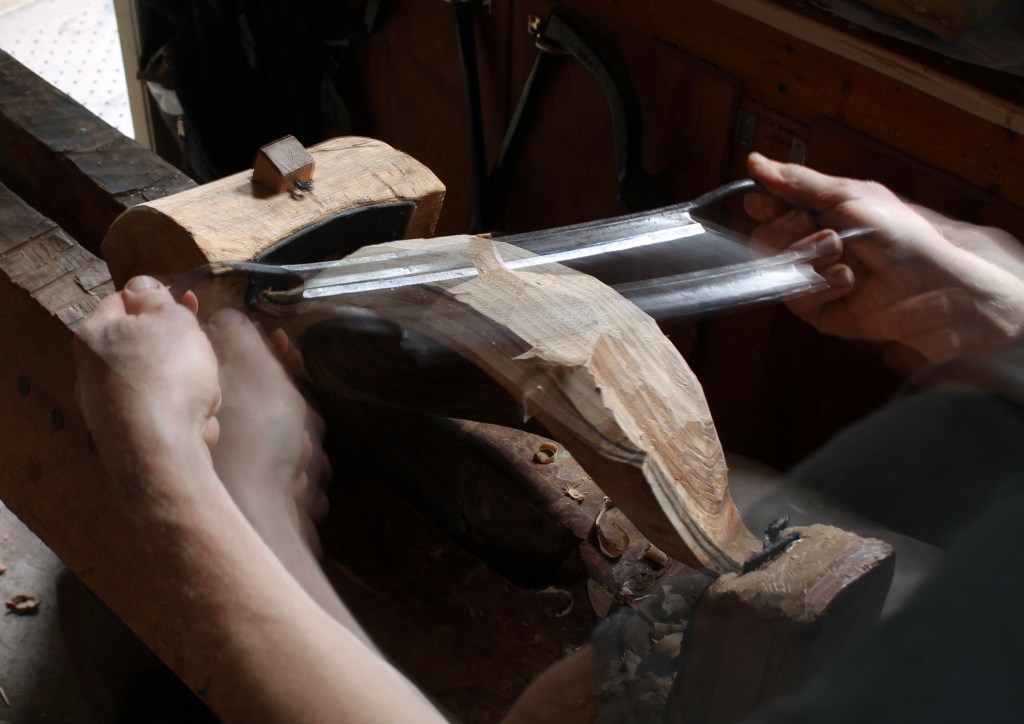
Shaping surface B with the drawknife.

Working across the grain with the adze forms most of the concave area beneath the handles.

After working more on the ends with axe and spokeshave, I’m paring under the handles with a gouge. Even though I’ll come back to it for more work after it’s dry, I remove all I can while it’s green.

Shaping the top of the handle with the drawknife. That’s the last thing I did before setting it aside to dry. I wrapped it in an old sheet, but with the current humidity, it probably wasn’t necessary.

Dave,
The slide progression really shows the blank morphing into a bowl. Is the area under the handles seems to have different grain directions, is that area more prone to tear out? What can you do to mitigate tear out?
LikeLike
I work from the outside of the handle to the center, Skip. So I flip the bowl around and do the same from the other side, meeting in the middle.
LikeLike
This is very helpful for shaping, thank you.
LikeLike
Glad to hear it, Alison. You’re welcome.
LikeLike
The ridge is a really cool detail. In my (very inexpert opinion seems like it increases the finesse required quite a bit.
Look forward to seeing the finished result.
LikeLike
That shape can be correctly defined as an Oblong. This can happen to rectangles when they’re exposed to too much screen time and a calorie dense diet.
LikeLiked by 1 person
I’ve made a note of that, thanks!
LikeLike