

This black walnut tray started out as an experiment in rehydrating kiln dried wood. One of the carvers in my October class asked me if I had ever tried soaking a block of kiln dried wood to bring it back to a green moisture content. I hadn’t.
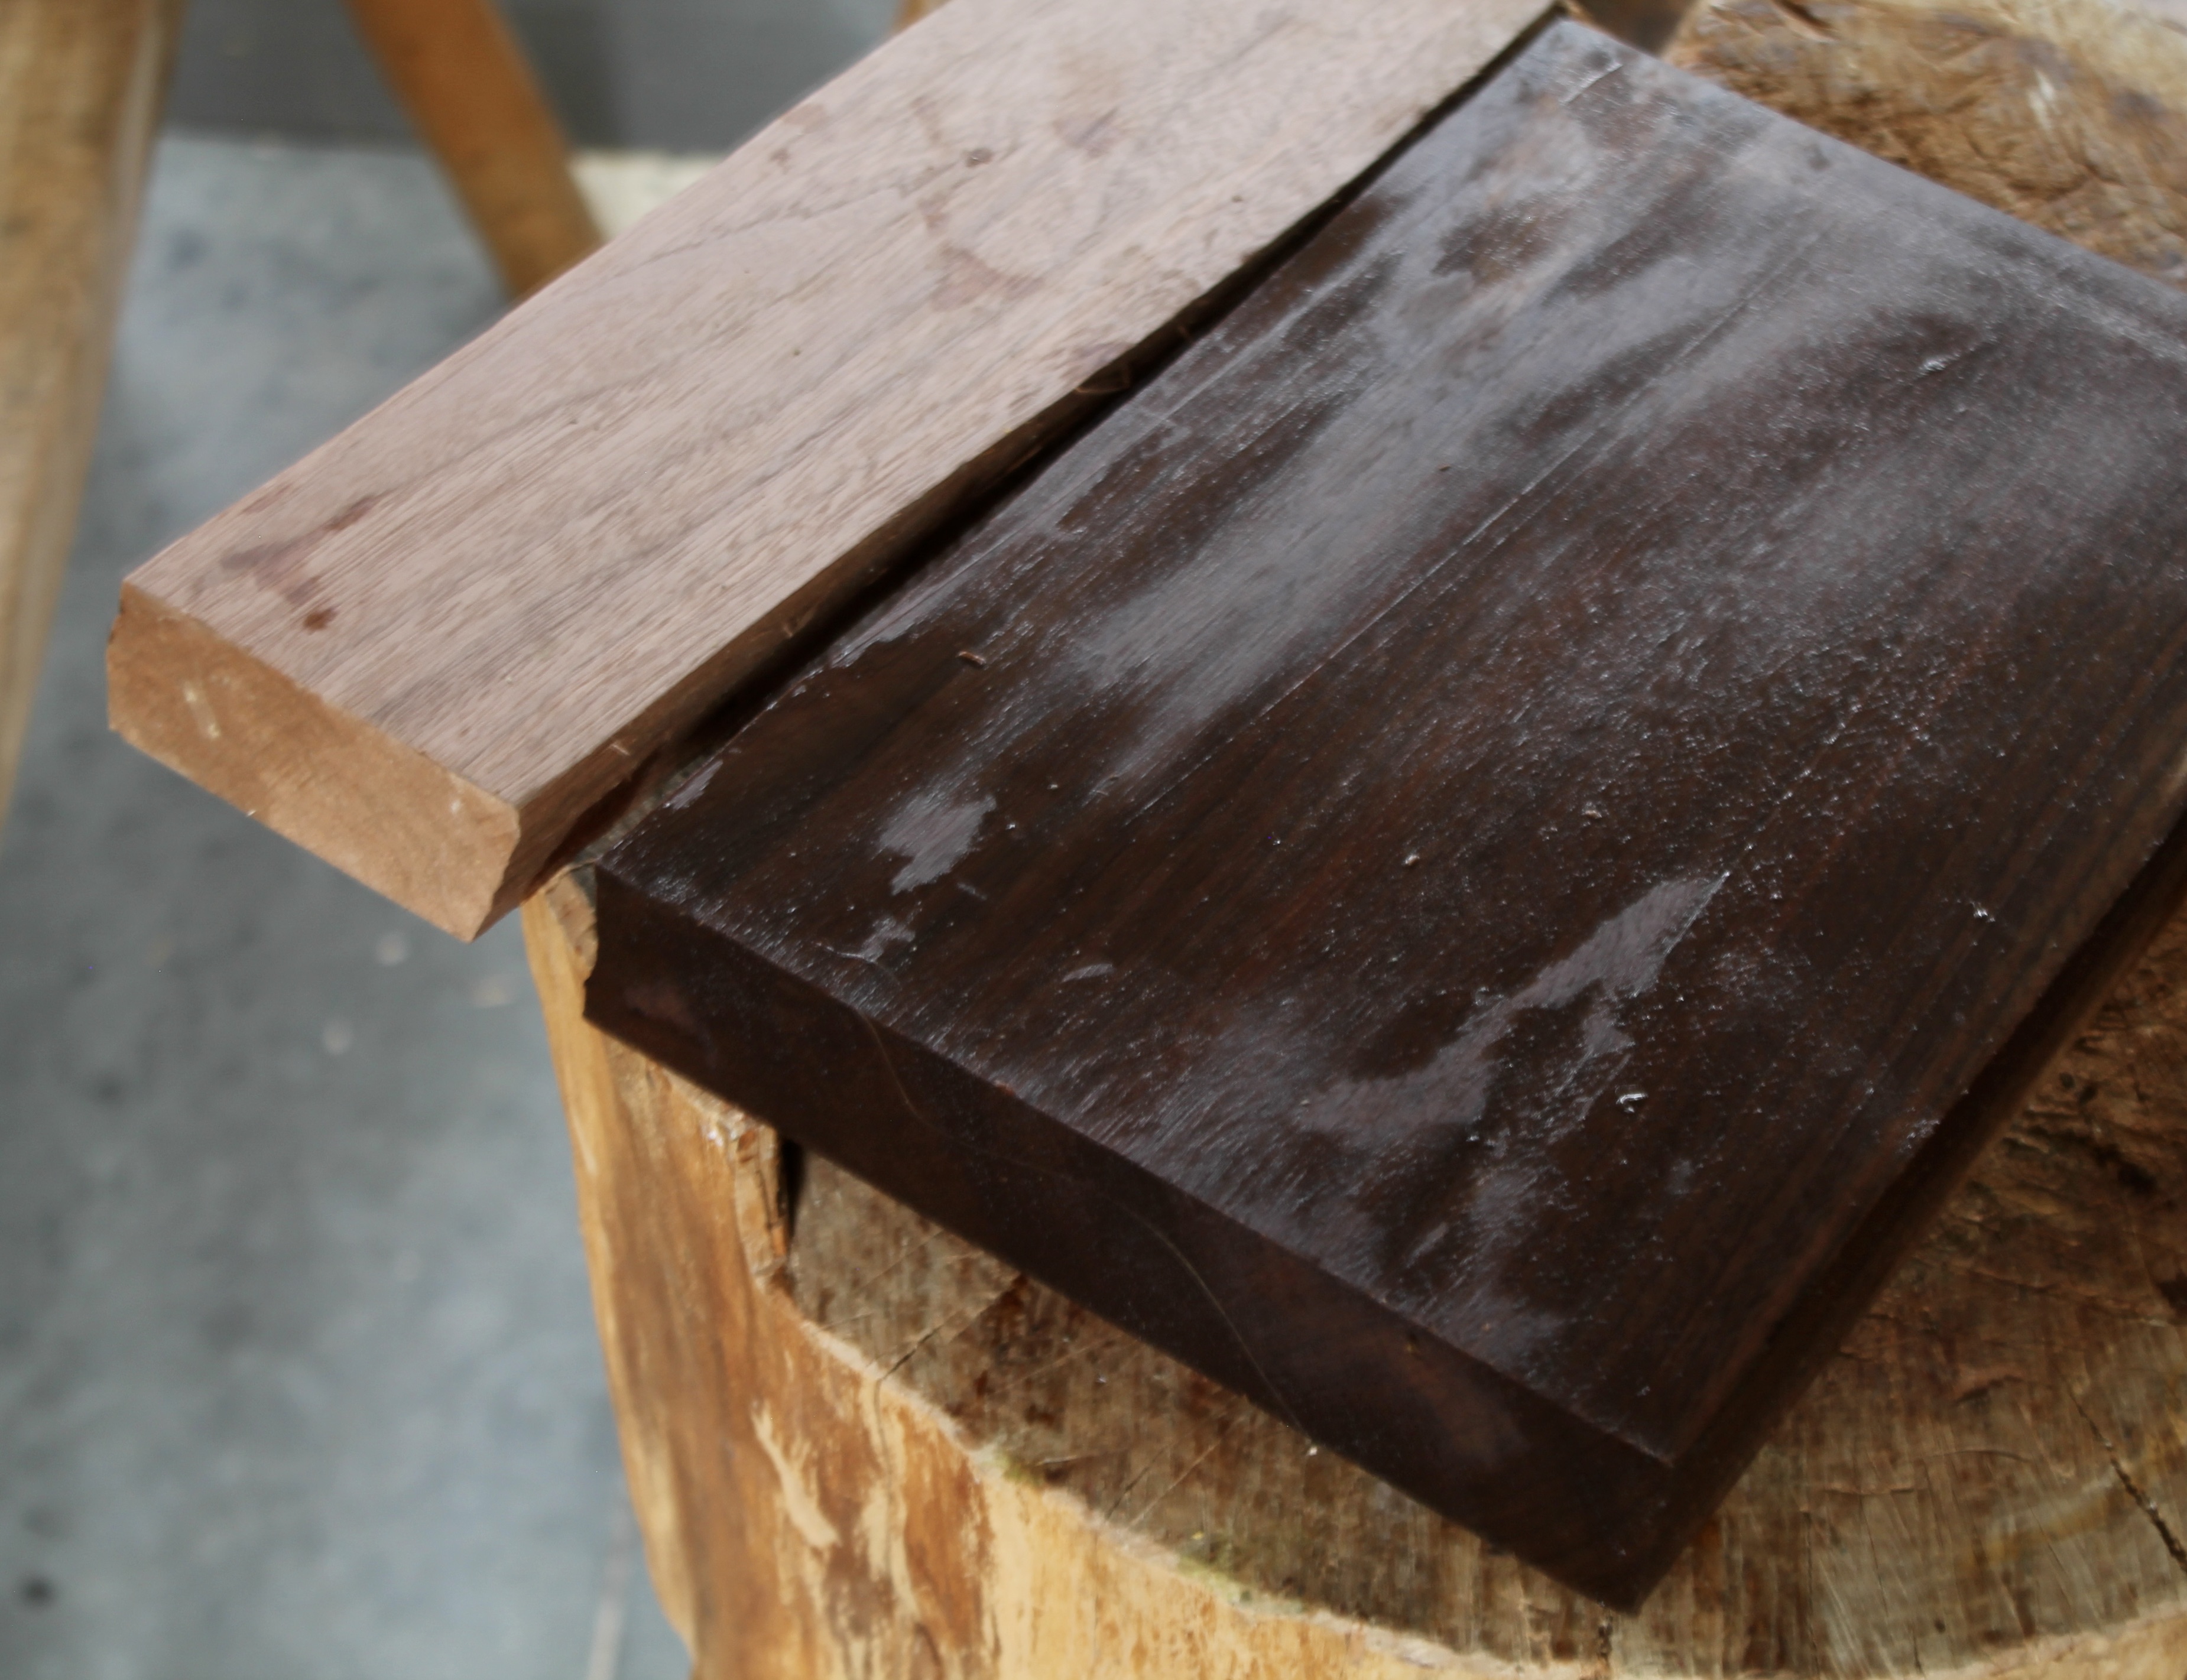
So, after I returned home, I took a piece of kiln-dried black walnut, 12″ x 8″ x 1 1/2″ and submerged it in a bucket of water for over three days. A rock held it under the surface the entire time. That’s it on the right above, with an unsealed piece of the same board to the left.
It didn’t work. Even after three days, the water saturated the wood only about 1/2″ deep into the end grain and maybe 1/8″ deep on the face grain. Beyond that, it was like carving, well, kiln-dried walnut. The good news is that steel is harder than kiln-dried walnut, so I went ahead and carved the tray. I was curious if the water soaking would lead to any cracks as the moisture dried from the end grain. No problems. Maybe a few weeks in the water would have soaked the wood to the core? I’m not sure. Maybe some other time.

Meanwhile, the tray worked out well. It’s 11 3/4″ long x 7″ wide x 1 3/8″ high. One potential use is for holding stationery. A5 size fits nicely with a little extra room for a pen or pencil. Of course, there are lots of other possibilities.

I did some chip carving on the ends and just below the rim on the sides.

There’s the plan view. Another project from a plank, and this one can be made from a 6/4 plank. Maybe you’ve got a chunk of 2×8 laying around? The layout was done with a compass and drawing bow, the same techniques used for the Bowl-from-a-Plank.
When I flipped it over to carve my mark and year on the bottom, an idea struck me. The windows over my workbench treat me to a view of trees. There’s quite a variety in a short space at the back edge of the yard: maple, tupelo, red oak, tulip poplar, hickory, black cherry, beech… I sketched, carved, and painted a representation of their varied fall colors on the bottom.

The paint is milk paint. Mixes from sample packets from RMP. I cut pads from veg tan leather to protect the tabletop and the trees. Finish is a blend of pure linseed oil and beeswax.
This one is available for purchase. $675 includes shipping. If you’re interested, email me at dandkfish@gmail.com. Thank you. SOLD
Every autumn, I’m reminded of Peanuts comic strips. The falling leaves theme is one that Charles Schulz returned to many times. Here’s one of my favorites:


A last shot, outside. Only the oaks and beeches are holding onto their leaves now.

Suchba sense of movement! I can see the gentle swaying…the bottom is so beautiful that I would be tempted to leave the tray bottom up forever!
LikeLiked by 1 person
such beauty and such fun to say nothing of your skill and light poetic touch–
LikeLiked by 1 person
David I had very good luck soaking kiln dried
cherry and made some nice spoons by roughing
it out first it carved like green wood.
Kent T
LikeLiked by 1 person
Interesting, Kent. Do you mean you roughed out the spoon while it was still kiln dried, then soaked it and did the knife work after that?
LikeLike
Yes and it carved like green wood
LikeLiked by 1 person
A tray, inspired! I will need a new tray soon and had been thinking of making one more traditionally following a recent article and video by Paul Sellers. Now you’ve got me thinking! 😀
LikeLiked by 1 person
Sounds like a good opportunity to do both methods! Have fun.
LikeLike
Dave, a beautiful tray. I like too the note to self, “Write more letters,” which I have carved in me somewhere. I’m thinking the tray fall leaves up might make a good invitation to write. Peace, Glenn
LikeLiked by 1 person
Thanks, Glenn. I need to keep that reminder note close by.
LikeLike
Beautiful, as always. and…”The good news is that steel is harder than kiln-dried walnut,…” 🙂
The leather feet are an easy and innovative idea. THANKS!!!
Now, gotta step up my chip carving.
Many Thanks Dave!
LikeLiked by 1 person
Thanks, Bob. If I’m remembering right, I think I got the general idea from reading a tip from Fine Woodworking’s Jeff Roos. He custom cuts leather and glues it to the bottom of chair legs as an alternative to self-adhesive felt.
LikeLike
I’m wondering if black ash can truly be rehydrated. Basket makers seem to have success in carving and bending parts for baskets from black ash which they have put back into water to soak.
LikeLiked by 1 person
I know Pete Galbert has had success rehydrating stock for chairmaking. As with the ash basket material, I wonder if the effectiveness depends on the general dimensions of the stock. Rehydrating bulky chunks for bowl making may be more limited.
LikeLike
Dave, what a wonderful looking piece! As with one other comment, I’d be tempted to leave it bottom up. Those type of additions to your work really adds to them.
When doing the bulk of material removal is it mostly by adz and then finishing up with a gouge or another process?
LikeLiked by 1 person
Yes, normally on bowls I go from adze to gouge. In the case of this tray, it makes more sense to hog away the interior by working across the grain with a gouge and mallet. With flat bottom forms, you can remove some of the waste with a drill or drill press too, but a gouge hogs it away pretty quickly. I finish the interior by paring with gouges, working from the rim down to the bottom and across the bottom from the middle toward the sides (a bent gouge fits in there better). The exterior sides were shaped and finished with a drawknife. The foot was left from a hand plane.
LikeLike
Thank you👍
LikeLike