
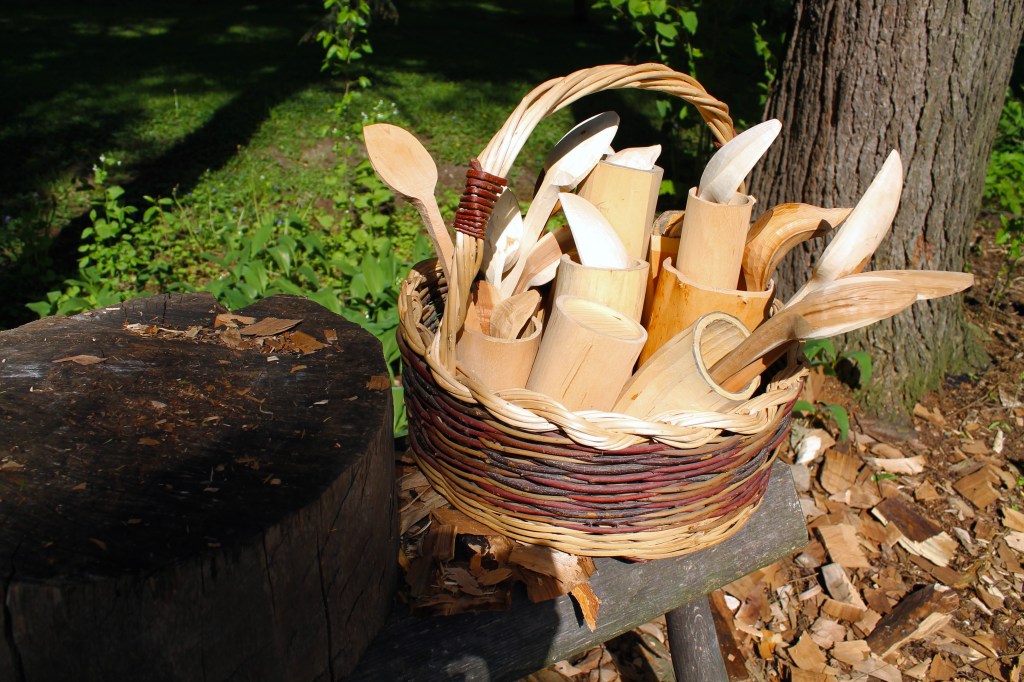
We just had our first full week of summer-like weather, and it had me outside working and preparing some material for some of the projects I’m looking forward to. Some of them are in that willow basket waiting for the next carving stages: shrink pots, spoons, bird bowls….and plenty of other projects that won’t fit in the basket.

I’ve also been itching to make a couple more hen bowls, especially after receiving this wonderful watercolor painting from Peter Galbert of a bowl I made for him several years ago. Getting this treasure into a proper frame is another project I’m anticipating. Until then, I love to look at Pete’s artistry up close. It allows me to look through his eyes and reminds me to pay attention to the subtle colors all around us that require more than a glance to appreciate.

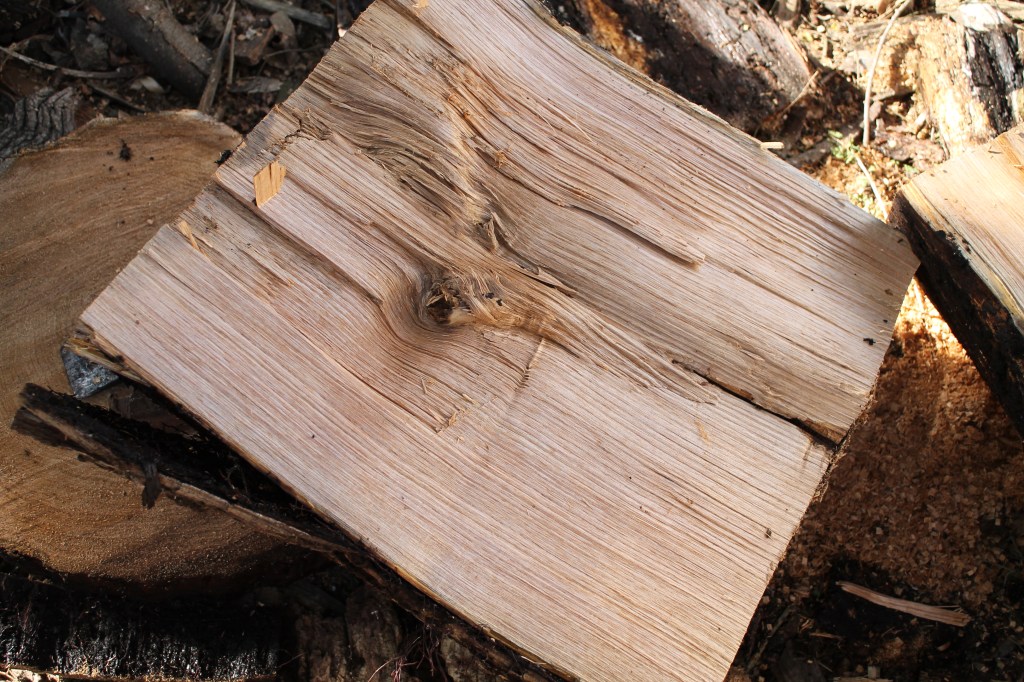
I’ve had some butternut logs laying around for longer than I had planned. With a hen bowl or two in mind, I took advantage of the weather and dug into one. I painted the ends, but could have done another coat. The deepest check just to the left of the yardstick dictated the initial splitting of the log. The smaller radial checks don’t run as deep, and I got past them by cutting three inches or so off the end of the log. That check up by the 17 inch mark that runs parallel to the growth rings probably indicates some ring shake that could be present all along the length of the log in that area.
After cutting the ends off, I split the log generally along that major check. For those interested in more of the splitting process, this post link goes into much more depth. There was a branch of this tree that snapped off early in its life. The tree grew over it, leaving no signs on the outer surface decades later. I’ll still be able to get something out of it, but I turned my attention first to the other half.

There wasn’t enough sound wood for a full half-log, but that’s no issue at all. A blank like this can still be used either bark up (just hew a flat area along the peak for the foot of the bowl) or pith up. I’ll probably go with the latter and have the hen’s wings spread out along the radially-split upper surfaces there. Too early to tell. For now, I just wanted to get this chunk into a garbage bag to keep it from drying while I take care of some other things.

Before that, I wanted to hew away the narrow ring of sapwood. The bark had fallen away.

Close enough. Lots of exciting projects coming up, including revisiting this piece. Maybe on a hot day in June, when this relatively soft butternut won’t make me sweat too much.

I am going to have to place an order for some butternut. Post Mark – TX
LikeLike
Alright, it’s on the way, Emil. I just sent it to “Emil in Texas,” so I hope you’re the only one.
LikeLike
David, I always enjoy your blog posts and learn from them. Thank you.
LikeLiked by 1 person
Thrice read. Thanks
LikeLiked by 1 person
Dave, thanks for the beginning pictures and narrative. It guides us in the preparation of the blank. I’m sure they will be amazing finished pieces.
LikeLiked by 1 person
Super interesting every time, I always look forward to it!
LikeLiked by 1 person
Would you ever consider splitting this along the center line and using the two blanks? I could see a skinny bowl, but would it be too skinny?

LikeLike
Sure, that’s absolutely possible, and would especially make sense if there was a problem area to one side or the other. I’ve made several very long skinny bowls, so that would be fine. But, if the blank were long enough, you could also cut it in half lengthwise to get two blanks from what was one long and skinny blank. When you split the pointy part off to form the bottom of the blank, you’d have two bark-up blanks. Alternately, you could orient the blank point/pith up, what I’ve called a “rooftop” orientation to get something like this:
Lot’s of interesting possibilities!
LikeLike
Reading the earlier post you refer to, I came across your answer to the question of sharpening a froe. I had no idea one could do that, until I saw this video, https://www.youtube.com/watch?v=jMUneyezaEI about making shingles for roofs. Some pretty serious log cleaving in there, by the way, at least for me who scrounges branches and arm-thick “logs” for carving.
LikeLike
Thanks for introducing me to that video, Jim. Fascinating and informative. My froe is nowhere near as sharp as that man’s! The point became clear when he started chamfering the edge of the log with effortless slices from the froe. Especially in the relatively soft pine, he is able to rive with that precision-edge froe with remarkable control. And then the whole roofing procedure with those long narrow shingles….amazing work.
LikeLike