
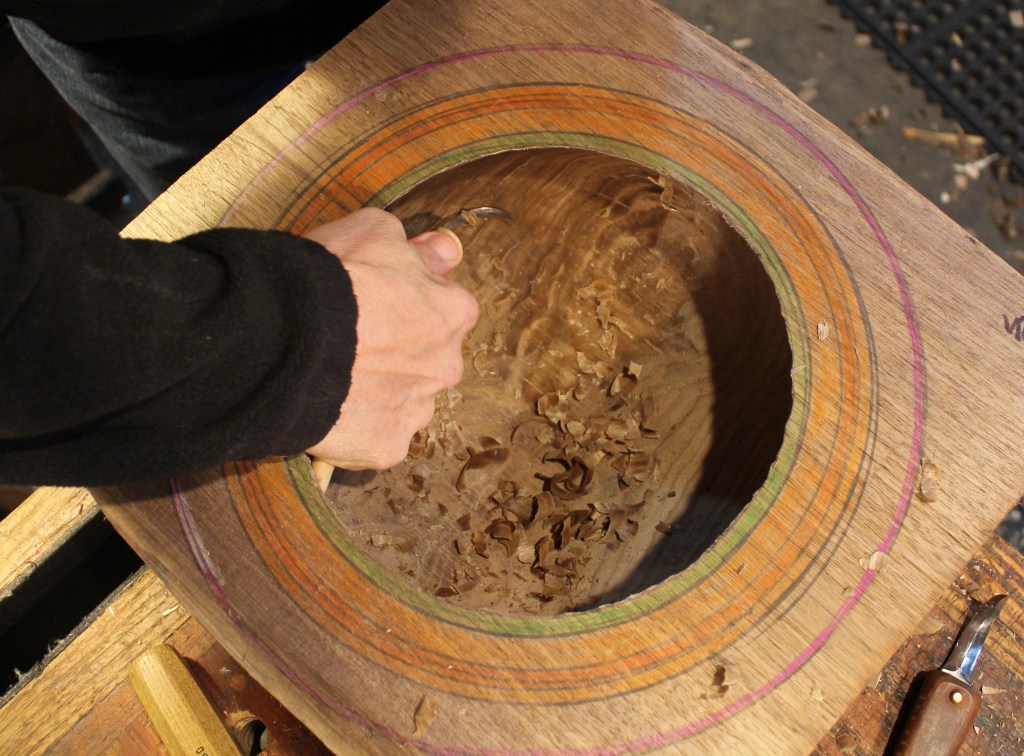
The plan is to carve a deep round bowl from black walnut with a wide surface below the rim for a lettered inscription. Here, I’m refining the hollow with a crooked knife after having done the rest of the hollowing with a little adze work and a lot of bent gouge work. In order to accommodate the outer shape I want, I carved a substantial undercut below the rim on the interior.
Laying out a round bowl is pretty straightforward. I wrote about it in this post. Sometimes I tweak that process as I did with this bowl. It may be hard to tell, but in the photo above, the “circle” is wider across the grain than with the grain — by about 3/8″ (10mm). I just use two focal points to strike the compass arc on each side of the center line — each focal point is 3/16″ (5mm) away from center. You end up with two semi-circles with a narrow gap between them to just bridge by eye.

I stuck a ruler up to it while the bowl was still green. The shot above shows the inside measurement across the grain at about 9″.

While the measurement with the grain is about 8 5/8″. I know the bowl will shrink across the grain as it dries, but not in the direction of the grain. So the idea is that the bowl will start out as a bit of a wide oval but shrink to round. It’s not that important, but it’s really no trouble to do. You could look up expected shrinkage percentages on tables based on species and such, but I just took a guess since it’s not critical that the bowl end up absolutely round. Plus there are too many variables at play to predict with certainty.

After hollowing the inside, I hewed away all of that excess from the outside with the axe. Just finishing that process in the photo above.
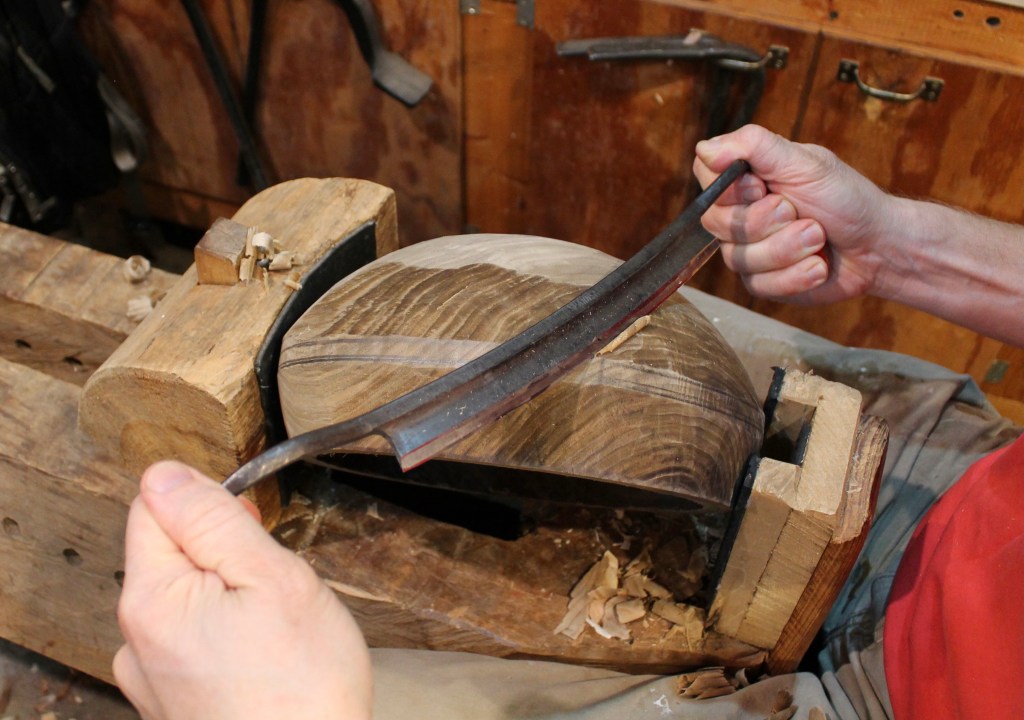
I followed up with a drawknife at the bowl horse. A spokeshave works well to fair these surfaces too.
To mark the guidelines around the bowl, I lay it on the bench and, using whatever is convenient as a spacer, I do a combination of spinning the bowl and sliding the pencil/spacer stack. You can accomplish the same thing with a pencil compass, a stack of books, or whatever.

After roughing, I set the bowl aside wrapped in an old sheet for a for the first few days. After that, I removed the sheet and let the drying continue. It has now been nearly three weeks of drying. I’ve been weighing it periodically, which is unusual, so I might as well report the results. It is just about done losing weight, losing a third of it’s weight at this point — dropping from 3 lb. 4 oz. (1474g) to 2 lb. 1 oz. (934g). So that’s 1 lb. 3oz. of water evaporated, or, in terms of volume, about 2 1/4 cups (540ml)
It was able to move as it dried, resulting in the dimension across the grain decreasing from 9″ to 8 5/8″. It may end up around 8 1/2″, so I underestimated a bit. Close enough.

With the grain, the bowl actually gained 1/8″, going from 8 5/8″ to 8 3/4″. Maybe it was the combination of the flexibility of the shape and the forces as it shrunk across the grain — sort of like squeezing a plastic cup. I guess.

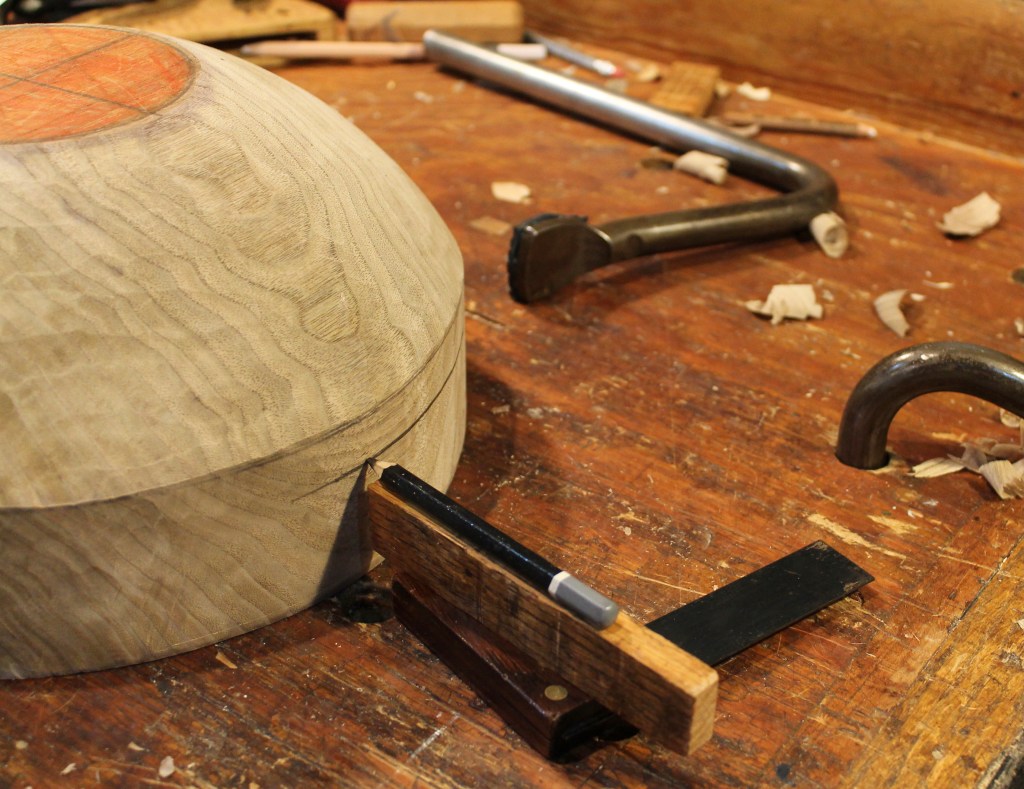
That’s just the beginning. It’s waiting for the next stage when I get a chance.

WOW!!! Such beautiful work!! Can’t wait to see the continued evolution. Thank you for sharing.
LikeLiked by 1 person
Dave,
Lots of good information on the process. Really like the “play by play” and the supporting pictures. It makes it easier to understand and possibly replicate in my shop.
I’m looking forward to other installment(s) to the completion of this project.
LikeLiked by 1 person
Thanks Dave. Beautiful bowl shaping up. Thanks for the measurements and weights. It’s a help for all of us watching to get a general handle on the amounts of water being lost in this kind of process. I wouldn’t have guessed 21/4 cups!
LikeLiked by 1 person
Great piece of wood and a great commentary. Thanks.
LikeLiked by 1 person
Thanks David. I’ve noticed over the years that you have a coloring scheme you put when you mark things out. Just curious what your colors mean to the layout.
Here’s something I have found to be helpful info. “A pints a pound the world a round.” Heard that about 30 years ago. As such, when you saw you lost about a bit more than a pound of water, that means you lost about a pint of water. Knowing that little rhyme just helps me to quickly visualize how much volume water takes. Of course a proper British pint is 20 fluid oz so it doesn’t work in the UK 🙂
LikeLike
Thanks for sharing the rhyme, Joe. I hadn’t heard that one, but I’ll remember it now. As it turns out, at 2 1/4 cups, I lost a proper British pint in this case!
As for the colors, they are just a way for me to see instantly where the crucial layout lines are. There are often other pencil lines and such on there, and I don’t want to be wondering as the axe is in mid-swing. In the case of this bowl I used a couple colors. The particular color has no meaning, just whatever colored pencil or lumber crayon I grab. For this bowl, the green is basically the upper rim and the red represents the extent of the sloped wall descending from the rim to the widest part of the bowl. I first hewed the bowl, perpendicular to the top, down from that outer line of the red ring. Then I cut the angle inward — If that makes any sense! I should have snapped a couple more photos during that sequence, but I was too busy swinging and wondering why I designed the bowl in such a way!
LikeLike
Pingback: Round Walnut Bowl: Follow Up | David Fisher, Carving Explorations
Pingback: Drying for Carving Versus Turning | David Fisher, Carving Explorations