
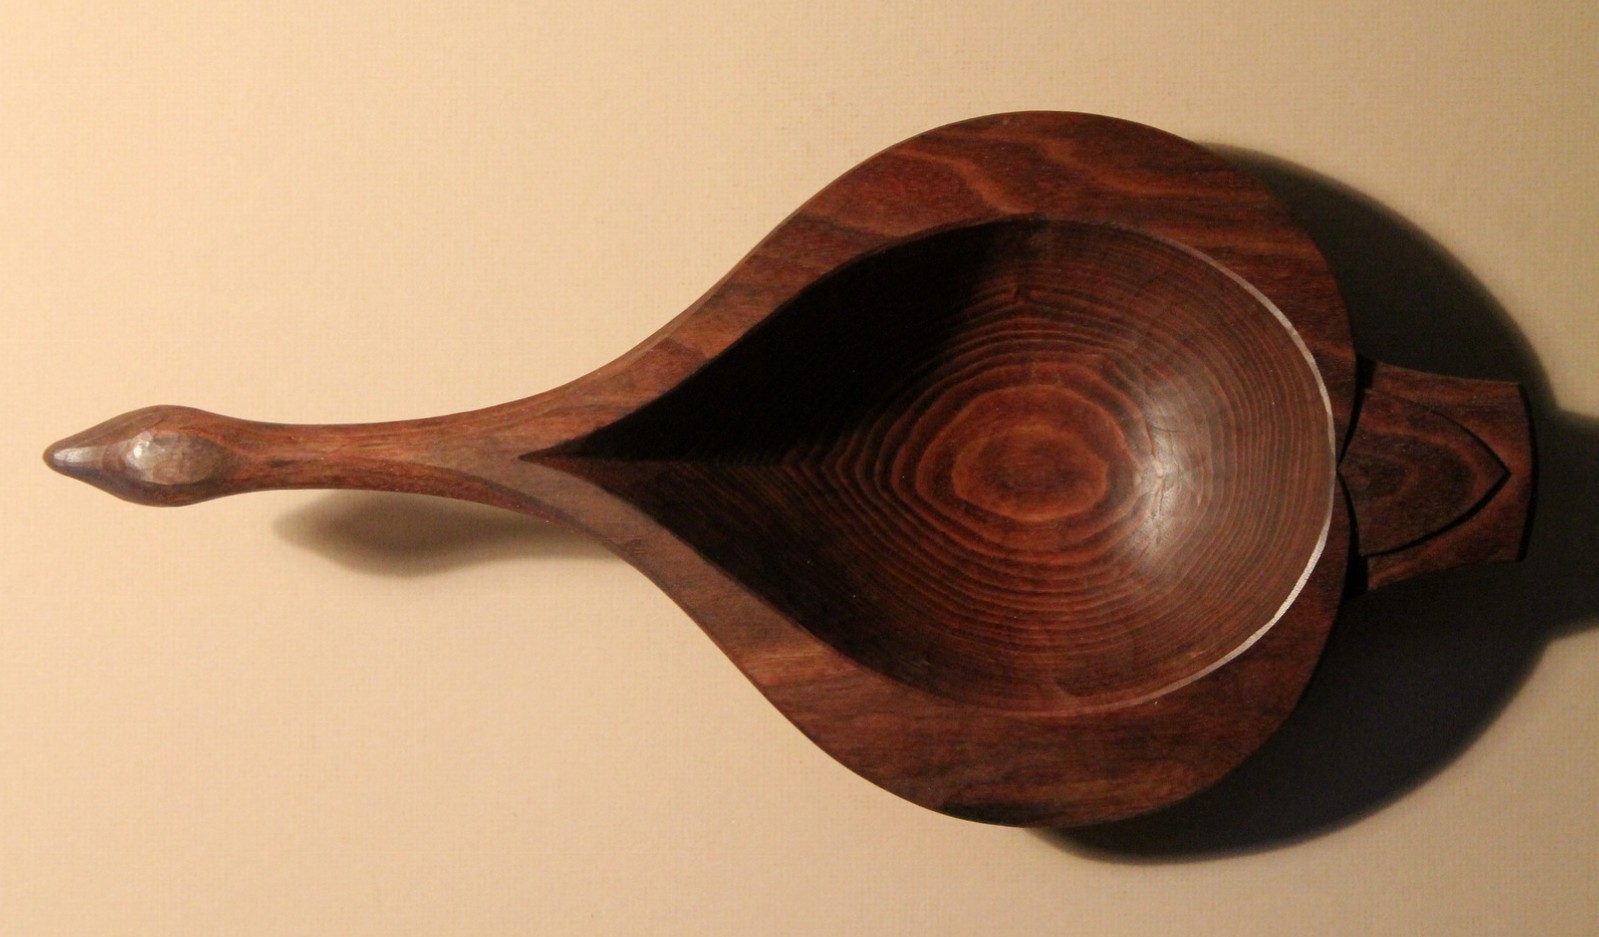
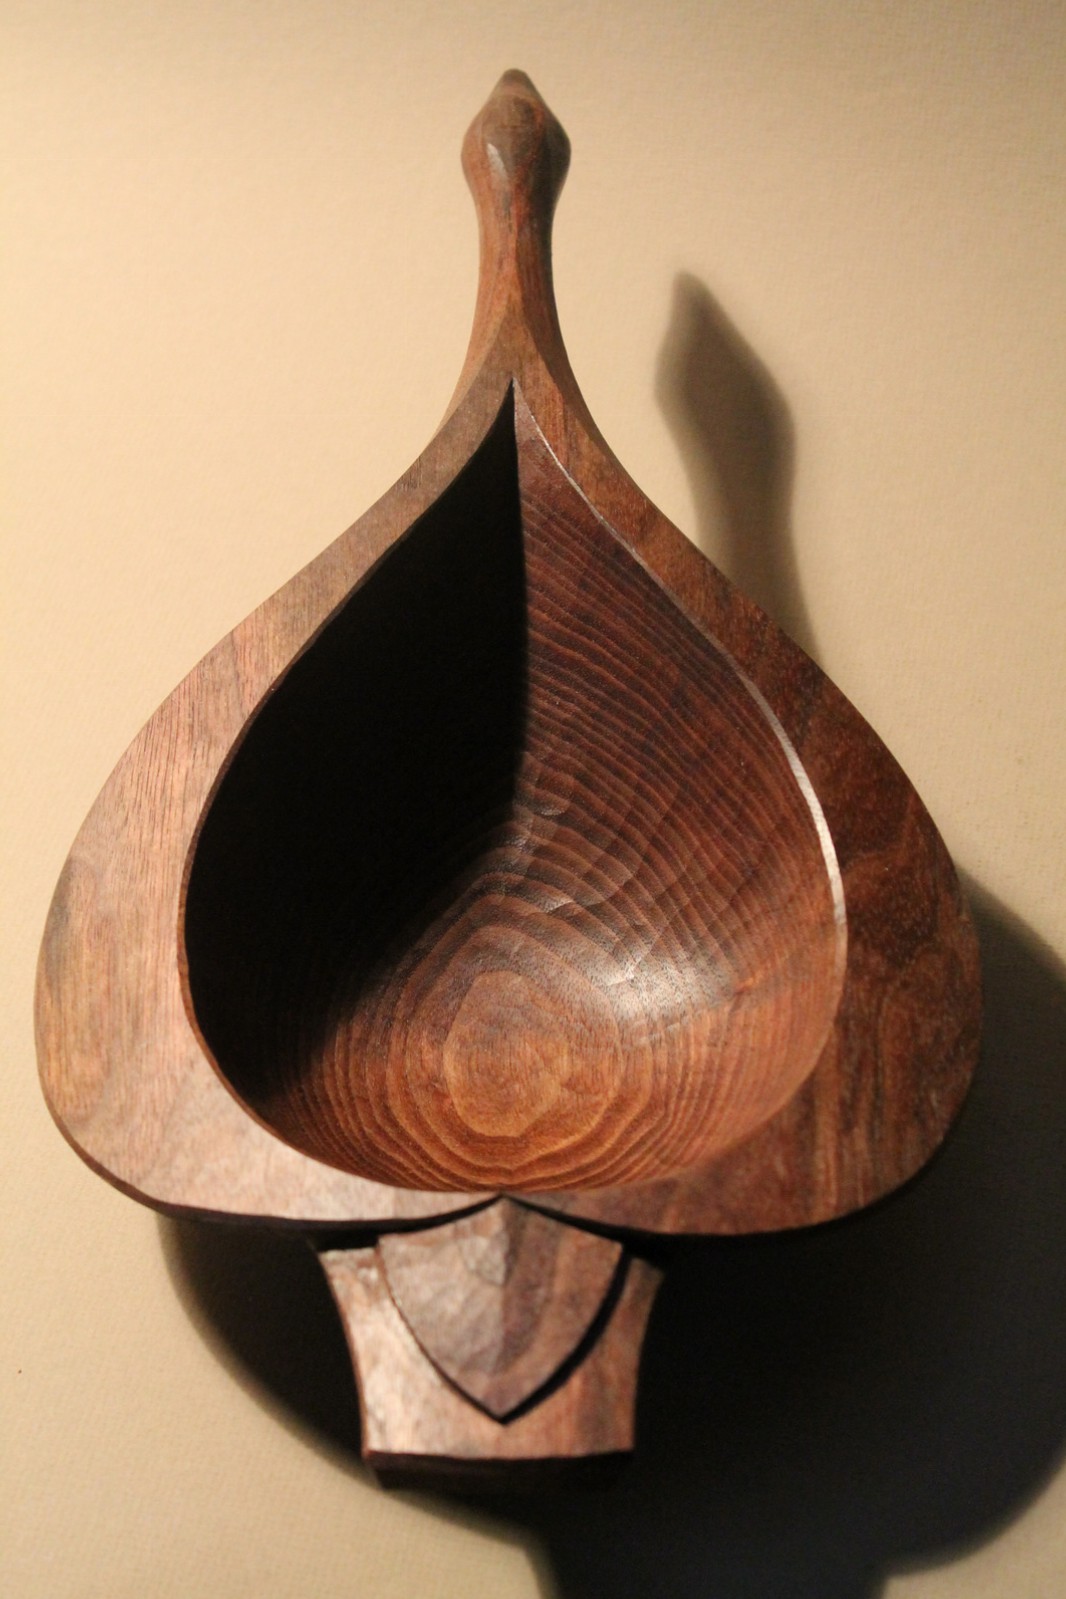
 I recently completed this commission for a goose-inspired bowl in walnut. In some ways it may seem to be quite a departure from a “regular” bowl form, but the process is essentially the same. As is typical, I work with a basic layout on top of the log indicating the interior edge of the hollow and the line of the outside edge (also on the bottom). Then I hew and carve away the material between the outer lines of the top and bottom by hand and eye.
To establish a symmetrical form, I usually rely on a compass. Even a form like this stylized goose begins with a few compass arcs. Playing around with a compass reveals all sorts of possibilities. If nothing else, it helps guide some freehand layout.
In the photo below, you can see the basic idea. This is not the exact layout for the bowl in the photos. Every log is different, so each bowl gets laid out directly onto the log. I’ve only drawn it on paper as a demonstration. The black lines are compass-struck; red are drawn. The same concept can be used to layout any bowl form if you are seeking symmetry.


David, you do wonderful work. I think its time for me to have another class with you. I’ll share stories of Alaska and bring some Brunswick stew. I’ll be in touch. Keep up the inspiring work!
– Adam
LikeLike
Good to hear from you, Adam! I’ll look forward to both the stories and the stew. The best kept secret of Ashtabula, Ohio.
LikeLike
Beautiful. Aside from your amazing carving. The finish on your work is so amazing. Do you burnish it by any chance? Or just super sharp tools? ( not that it’s “-just”) sharpening is an art in and of itself.
Thanks again for sharing your experience.
LikeLike
Cheryl,
Yes, usually. I take a handful of fine plane shavings (I save some when I happen to be planing a board) and rub the surfaces of the bowl for a minute or two. That said, it won’t save a poorly cut surface. It just serves to even things out a bit sometimes, and I figure, “Why not?” As you suggested, the real key is clean cuts with very sharp tools. This will leave a surface that shines, especially if cutting in dry wood.
The goose bowl in the post is finished just with flax seed oil, no beeswax mixed in as I sometimes have done. I’ve experimented with all sorts of combinations regarding oils and waxes. That can become quite a long and winding road. I’ll plan to write a blog post or two on my experience with finishing.
LikeLike