

A couple weeks ago, a friend brought me a length of clear apple tree trunk, about 6 or 7 inches in diameter. Apple is relatively hard and dense, even when it’s green. Then it tends to move a lot as it dries. It’s hard to beat for spoons, but in this case I decided to rough out a couple compact bowls that will have some carved side panels. The apple wood will hold small details at this scale well.
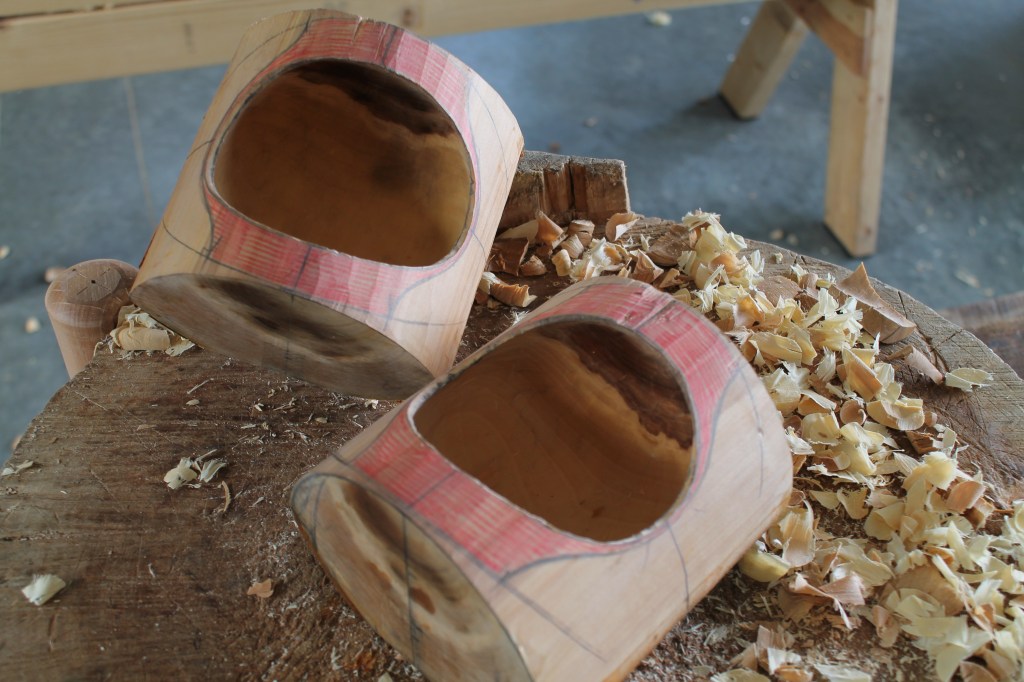
No need for an adze to hollow these. I bored a hole in the center, then worked with gouge and mallet followed by a hook knife.
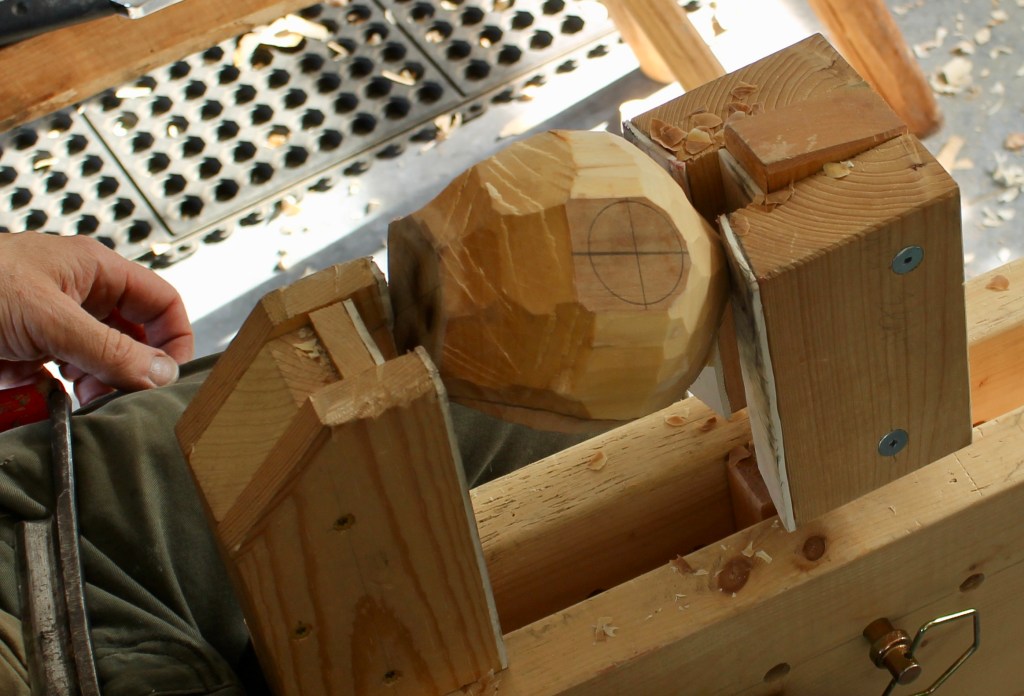
I roughed the outside with an axe, then went to the bowl horse.

The drawknife took care of the general rounding.
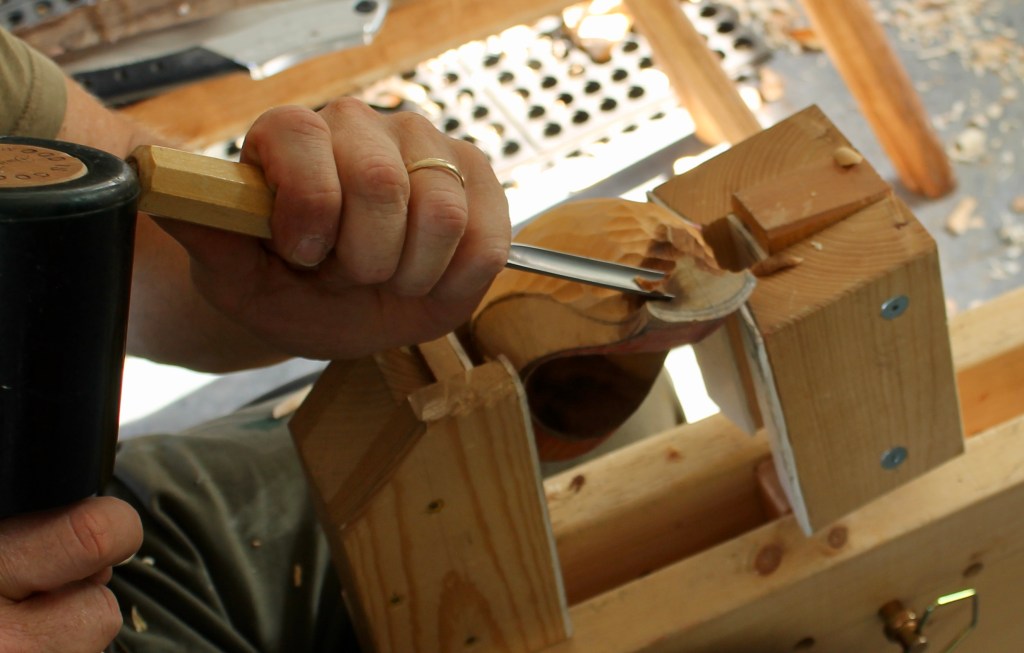
With this design, there’s a lot of end-grain carving, including the tricky area under the arched handles. To rough that out, I used a steep (#9) gouge and a mallet. Sharp strikes.

A spokeshave fairs the curves.

Some paring cuts with the gouge finished up the area under the handles. Then it was time to set it aside to dry before round two.

I had this little end grain disc from the end of one of the apple blanks. When it was green, that upper surface was flat. After drying for a couple weeks, it’s pretty clear how much it moved. Had this been a disc of the whole log, including the pith, it would have cracked, of course. Something’s gotta give.
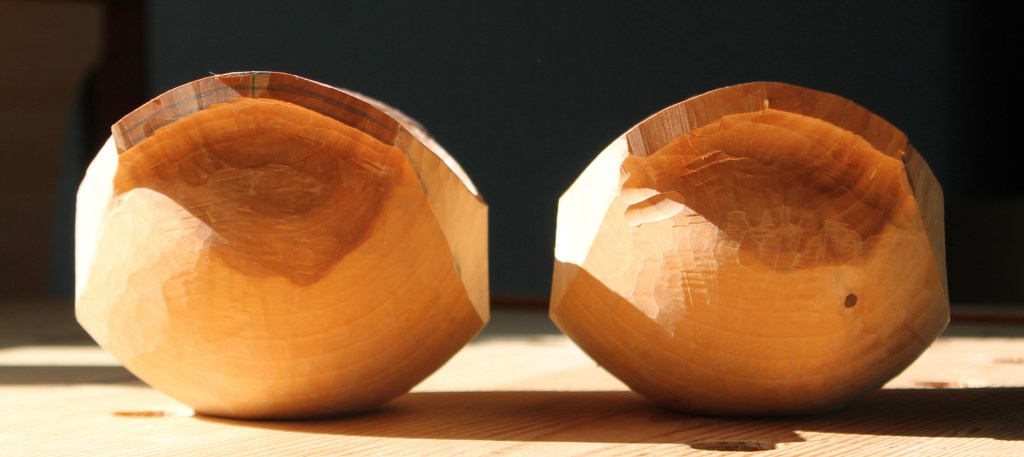
The same sort of movement has now taken place in the bowls, but it’s not as noticeable since they had arched tops already. They’ve just arched more. Any unwanted wonkiness can be reshaped now.

A look at the feet of the bowls shows the movement too. Those ovals were circles before drying.
Lots more to do with them, so I’ll get back to them soon enough. Meanwhile, several other projects are underway at different stages that I’ll share in upcoming posts. Here are progress shots of three of them. Cherry, cherry, and…cherry.


Hi David, A little off topic here, I am putting together my tool kit for my pending retirement when I will be getting back into carving some bowls and maybe a little bit of sculpture (all of it was pretty small scale stuff in the past). I was wondering if you could use a bent gouge for things you might normally use a straight gouge for or is it just not as effective in certain situations. Trying to save a little money on the initial investment.
THANKS
LikeLiked by 1 person
Hi Scott. I understand what you mean. Yes, you could use a bent gouge in situations that don’t require the gouge to be bent. And, it could often be just as effective in terms of the final result. But the bent gouge will be more difficult to control than a straight gouge, since the angle of the handle will be more out of line with the direction of the cut. For example, I could texture the convex exterior of a bowl with a bent #5 gouge, but it will be much more comfortable and controlled to do it with a straight #5 gouge.
I suggest just getting two bent gouges to start, a #8 and a #5. In the 25-30 mm range. As for straight gouges, if you’re starting from scratch: #8/20mm, #5/18mm, #8 10mm, #1/30mm, #12 (60 degree) V tool/10mm. That won’t be cheap but these are multi-lifetime tools. I wrote an article about gouge selection for green woodworking in the April 2021 Fine Woodworking (#288) that goes into the reasons for those recommendations. Of course, those specifics of sweep and width aren’t really critical, but it may give you a starting point as you’re looking.
LikeLiked by 2 people
Pingback: Applewood Bowl — Finished | David Fisher, Carving Explorations
Pingback: Apple Wood Bowl and Leaf Patterns | David Fisher, Carving Explorations