The Organic Artist

IMG_5822

Not long ago, in this post, I discussed my experiment of painting a spoon handle with home-made pigments from rocks.  A few of us were discussing that idea at Lie-Nielsen, when this book was recommended to me: The Organic Artist by Nick Neddo.  I’m glad I picked up a copy, and I now realize I was just scratching the surface with my little experiment.

Nick’s book not only covers in detail methods for getting pigments from rocks, he goes into brushes, inks, crayons, charcoal, paper,…. Well, check out Nick’s website, where you can explore his beautiful work done with materials from nature.  There’s a link there to check out his book, including the table of contents, and purchase it if you’d like.  The book is beautifully done, and everything is explained with remarkable clarity.


Posted in books, paint, tools, trees, Uncategorized | Tagged , | 1 Comment

More on the Maine Woods… from Eric

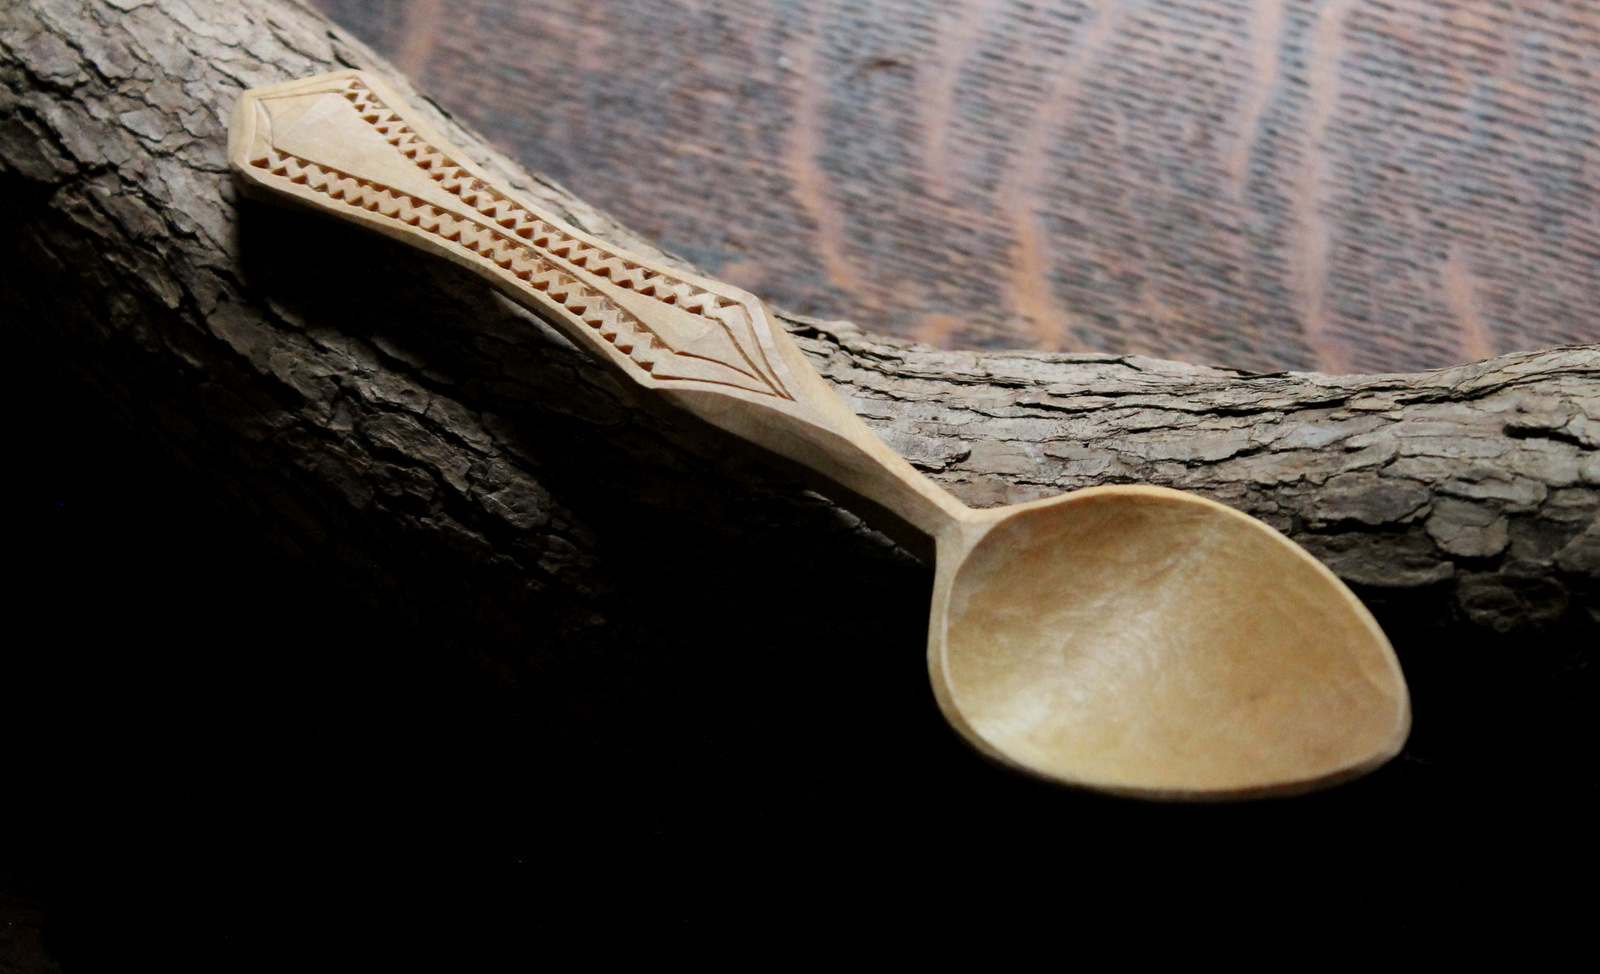
Rhododendron Eating Spoon by Eric Goodson

Rhododendron Eating Spoon by Eric Goodson (on a Rhododendron branch)

In addition to meeting new friends in Maine, I was able to catch up with some old ones, including Eric Goodson.  He even gifted me this lovely eating spoon with a delicately chip-carved handle.  Eating spoons are tricky to get right, but this one works great.  I’ve been testing it out!

Eric writes a thoughtful blog about his carving journey.  His two most recent posts relate some of his experiences in Maine with much more detail and more links than mine.  He also mentions many of the other folks that were there, including Drew and Louise Langsner.  It was the information in Drew’s books and on his website that got me started with bowls years ago.  It was a real pleasure to meet and talk with Drew and Louise in person.

Lot’s of interesting and helpful stuff in Eric’s prior posts as well.  And if you want to know what potential spoon carving gatherings are coming up, Eric is the guy to ask.  Here is the link to Eric’s blog if you missed it above.

Posted in bowls, patterns, spoons, Uncategorized | Tagged | 1 Comment

The Maine Woods

Jogge Sundquist carving at Lie-Nielsen Toolworks

Jogge Sundquist carving at Lie-Nielsen Toolworks

A little over 150 years ago, Henry David Thoreau visited the Maine woods to learn from nature and the Penobscot tribe, including his Penobscot guide, Joe Polis.  A week and a half ago, I also journeyed to the Maine woods and joined a tribe of carving enthusiasts who had traveled from Texas, Japan, and many places in between.  The guide was the Swede Jogge Sundquist, assisted by a man from Thoreau’s neck of the woods, Peter Follansbee.  Our piece of the Maine woods was situated behind Lie-Nielsen Toolworks.

I’ve been relatively physically isolated in my woodcarving pursuits, but this trip showed me the benefits of getting out there.  Jogge has many years of experience studying traditional Swedish handcrafts and incredible skill with a knife.  A visit to his website is a colorful feast for the eyes and truly inspiring (there’s an “English” button at the top).  The opportunity to listen to him, talk with him, and watch him work was a special one indeed.  Plus he’s a nice guy with a great sense of humor.

Peter Follansbee and Jogge Sundquist at Lie-Nielsen Toolworks.

Peter Follansbee and Jogge Sundquist at Lie-Nielsen Toolworks.

Peter and Jogge made a fantastic team throughout the weekend.  There were so many others I enjoyed talking with as well.  And Deneb, Chris, and the whole Lie-Nielsen crew are first-class.

Carving, learning, laughing, and sharing — and some birds!  What a pleasure to get together with folks from diverse backgrounds with a common passion.  Twenty guys having a blast making chips under the trees.  With so much going on, I did snap a couple photos that inspired these two sketches.

Thoreau was captivated by Maine, making three great journeys through it’s woods.  I’m looking forward to a return one day as well.

Posted in carving, nature, sketch, Uncategorized | Tagged , , | 10 Comments

Curly Bird

IMG_5532

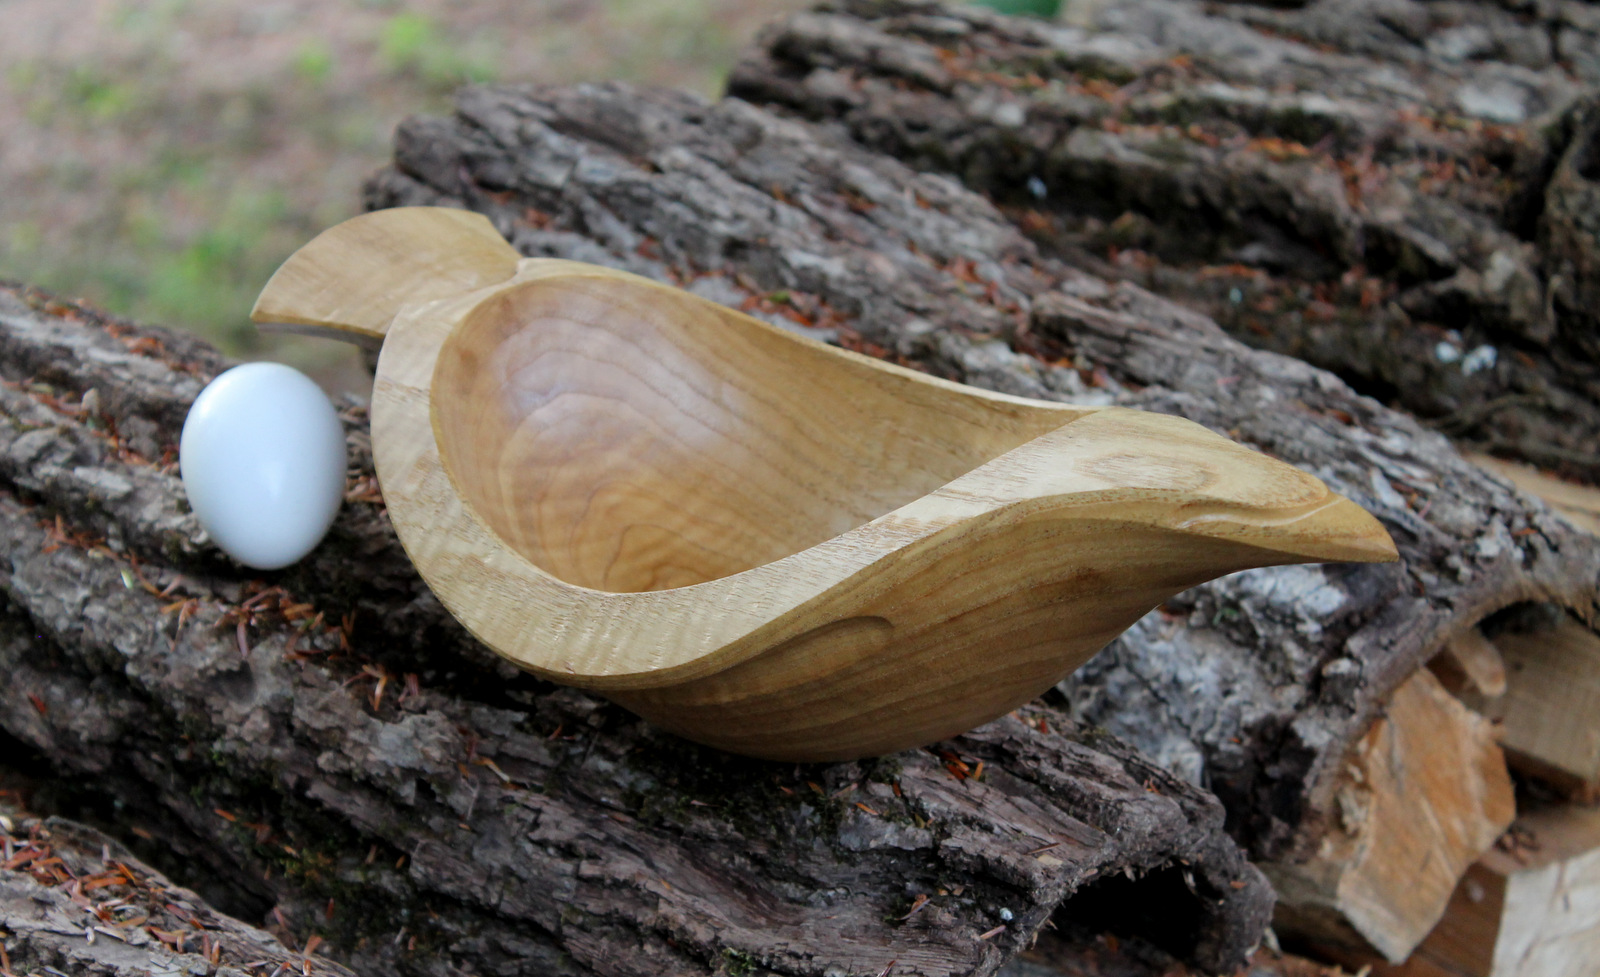
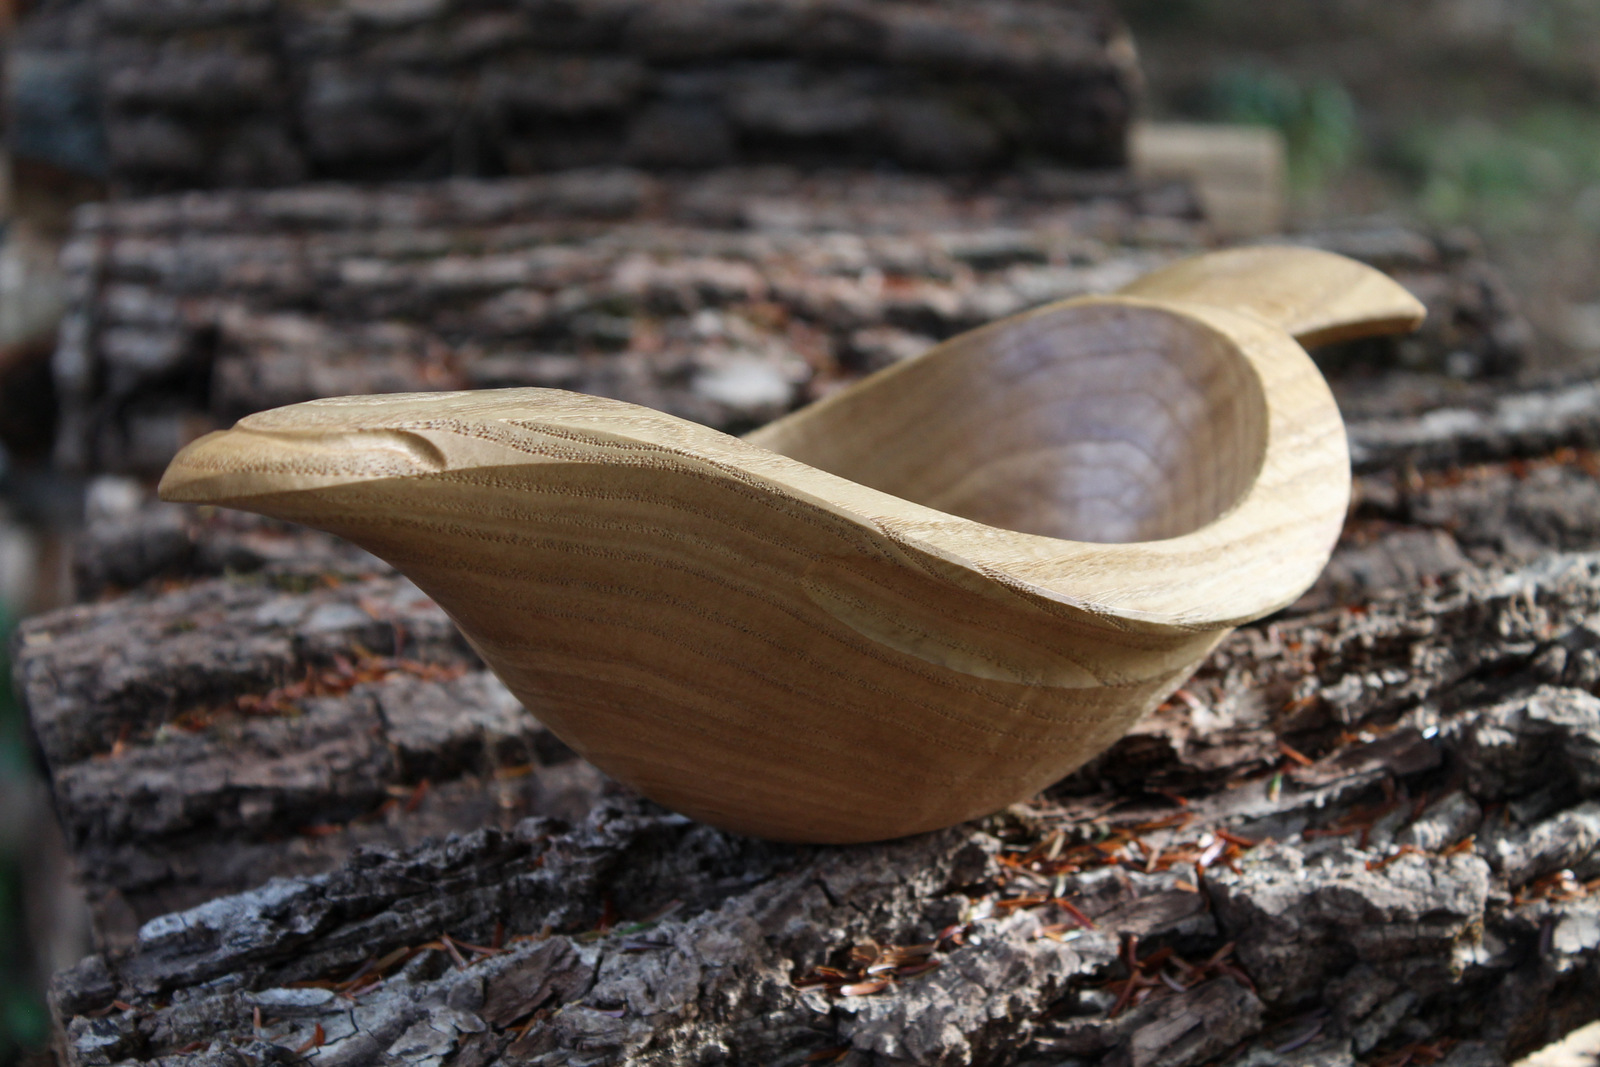
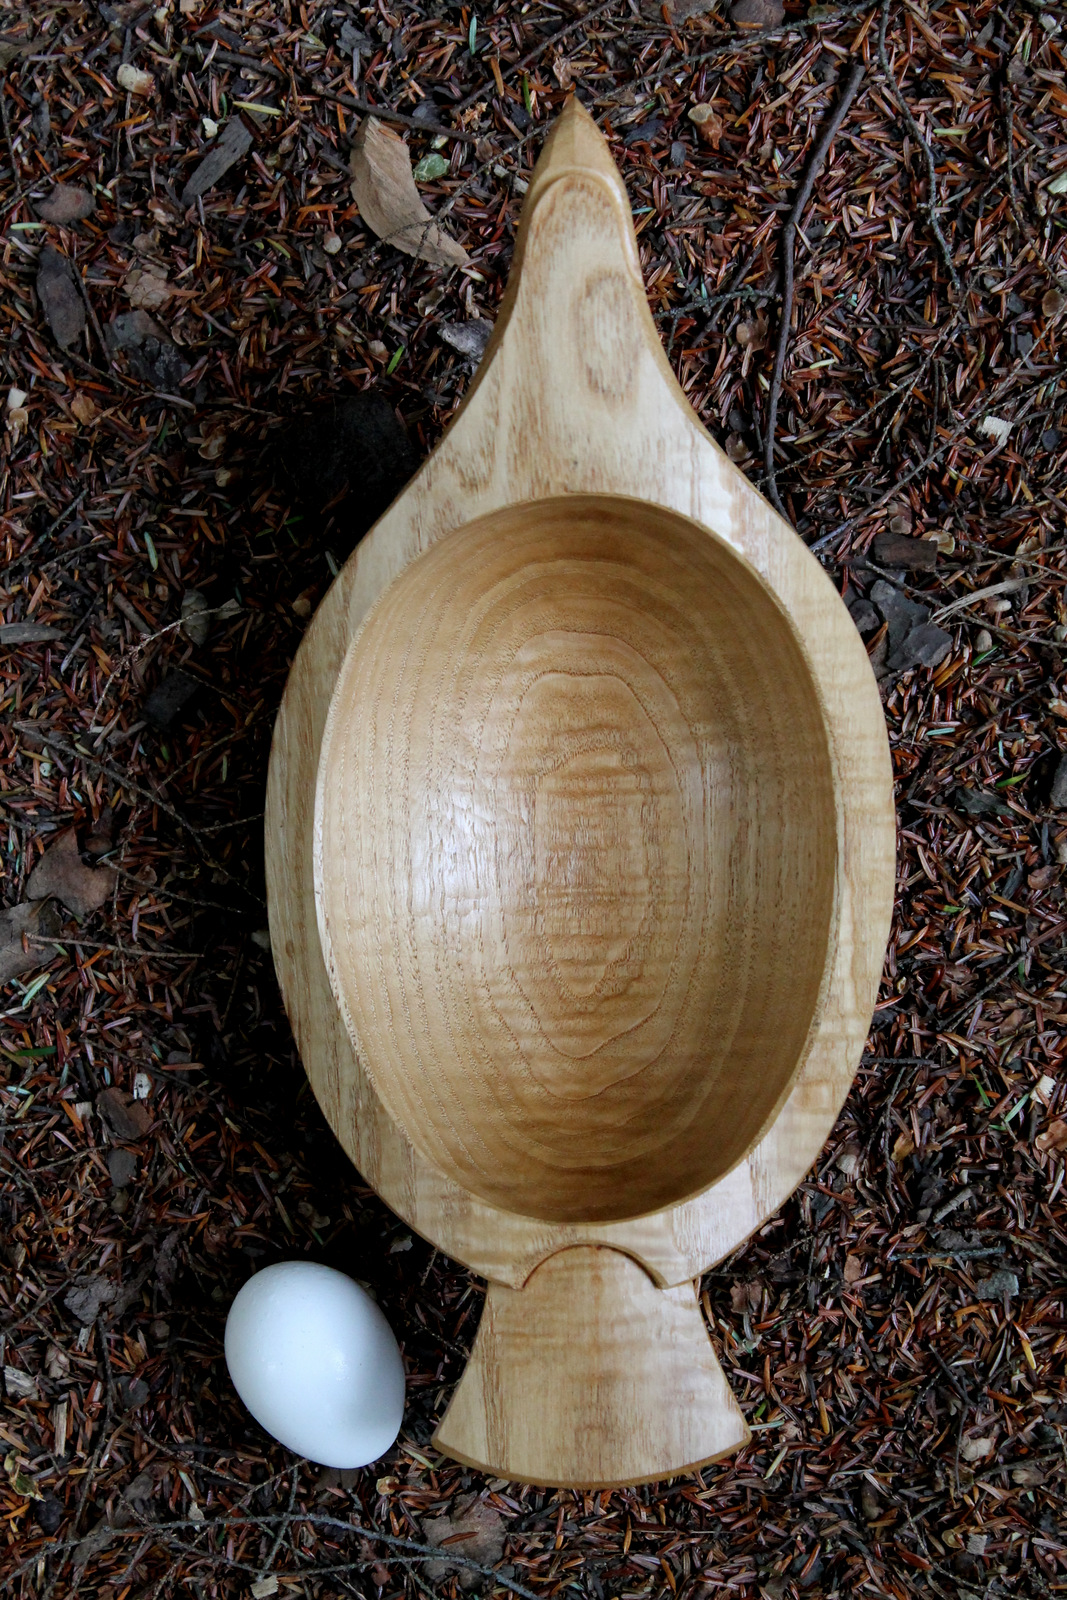
I’m looking forward to writing about this past whirlwind weekend full of knives, wood chips, and beards.  But, meanwhile, I’ll post some photos of this bird-inspired bowl carved from Chinese chestnut.  I hope the egg might provide some sense of scale.  The overall dimensions are 13 1/4″ long, 6 3/8″ wide, and 4 1/4″ high.

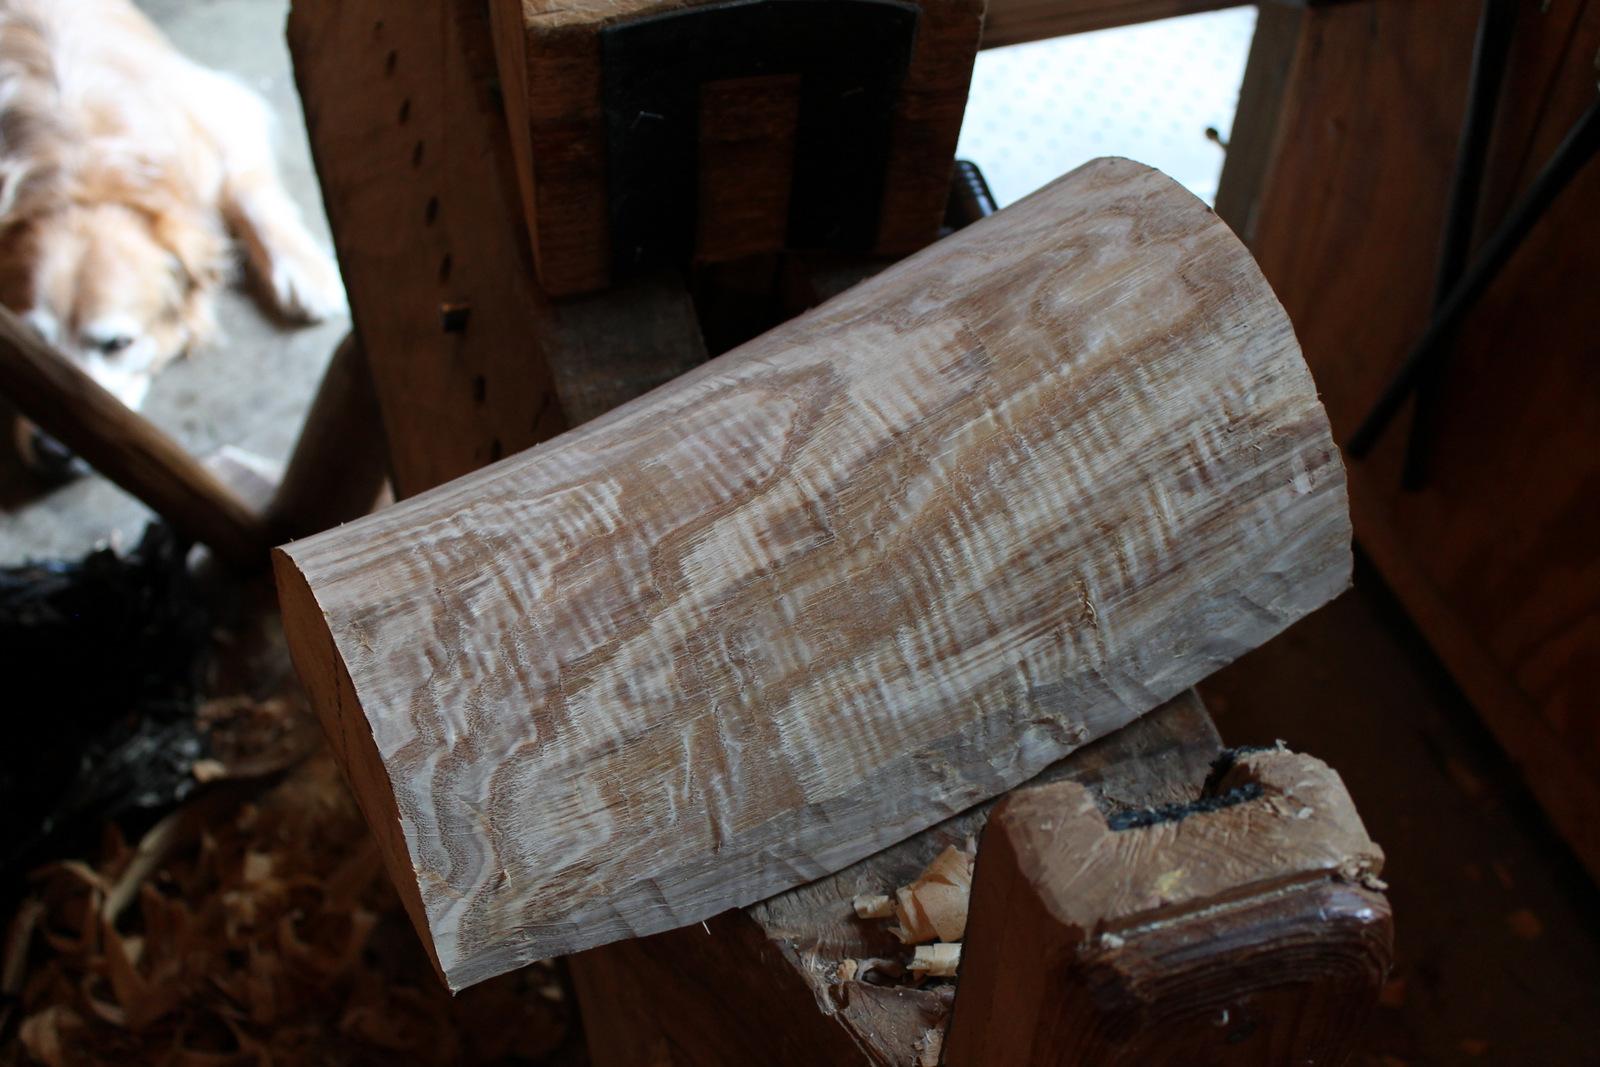
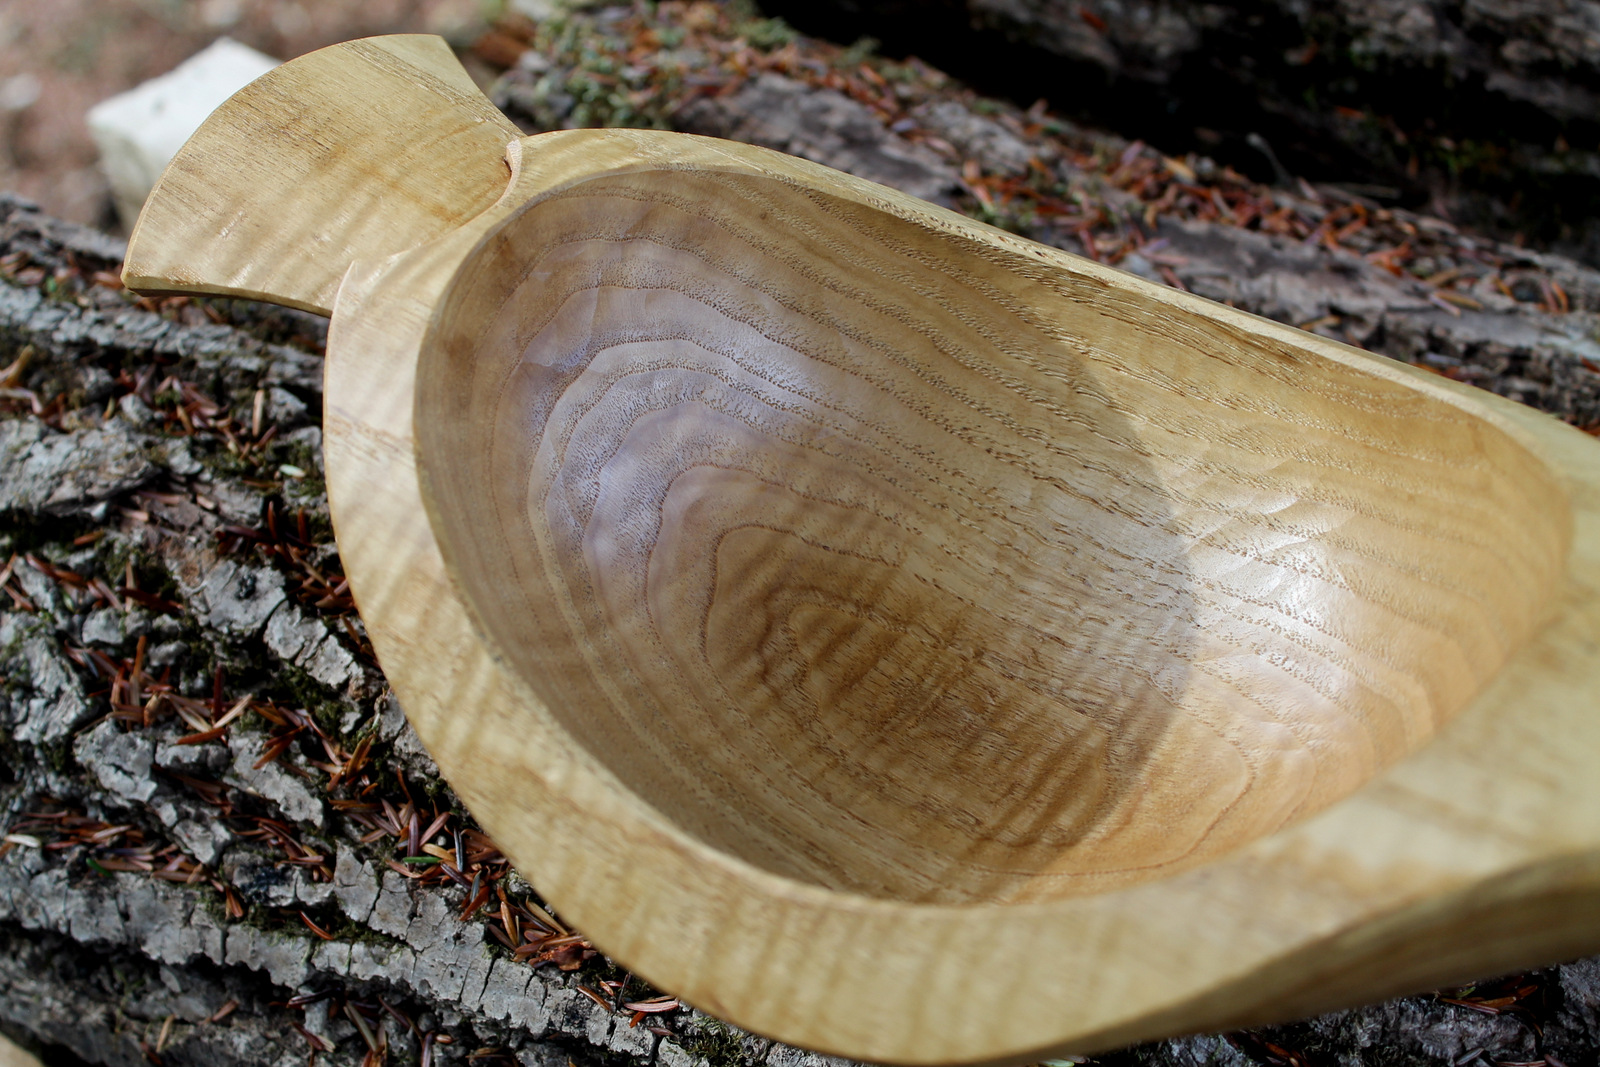
IMG_4595I was both excited and concerned to see the obvious figure in the wood when I shaved off the bark.  Curl is prized for it’s beauty, but it can be a bear to cut cleanly without tear-out.

The most challenging areas for avoiding this were along the upper edges of the wings and other places where the surface followed the annual ring layers closely.  Areas in which I was cutting clearly “downhill” were no problem, as long as the tool was sharp.

IMG_5521

Light and shadow. All carving depends upon it.

I have carved several bird shaped bowls over the years, and it’s fun to play with design ideas.  The concept of bowls in the form of birds is an old one.  I’ve seen many photos of Scandinavian examples, including the well-known ale geese.   There are endless variations, each representing the playfulness and creative freedom within the tradition.  So, while this bird is far removed in many ways from the old ale geese, it is in the same spirit.

Here are some more photos showing some ideas I played with on this one:

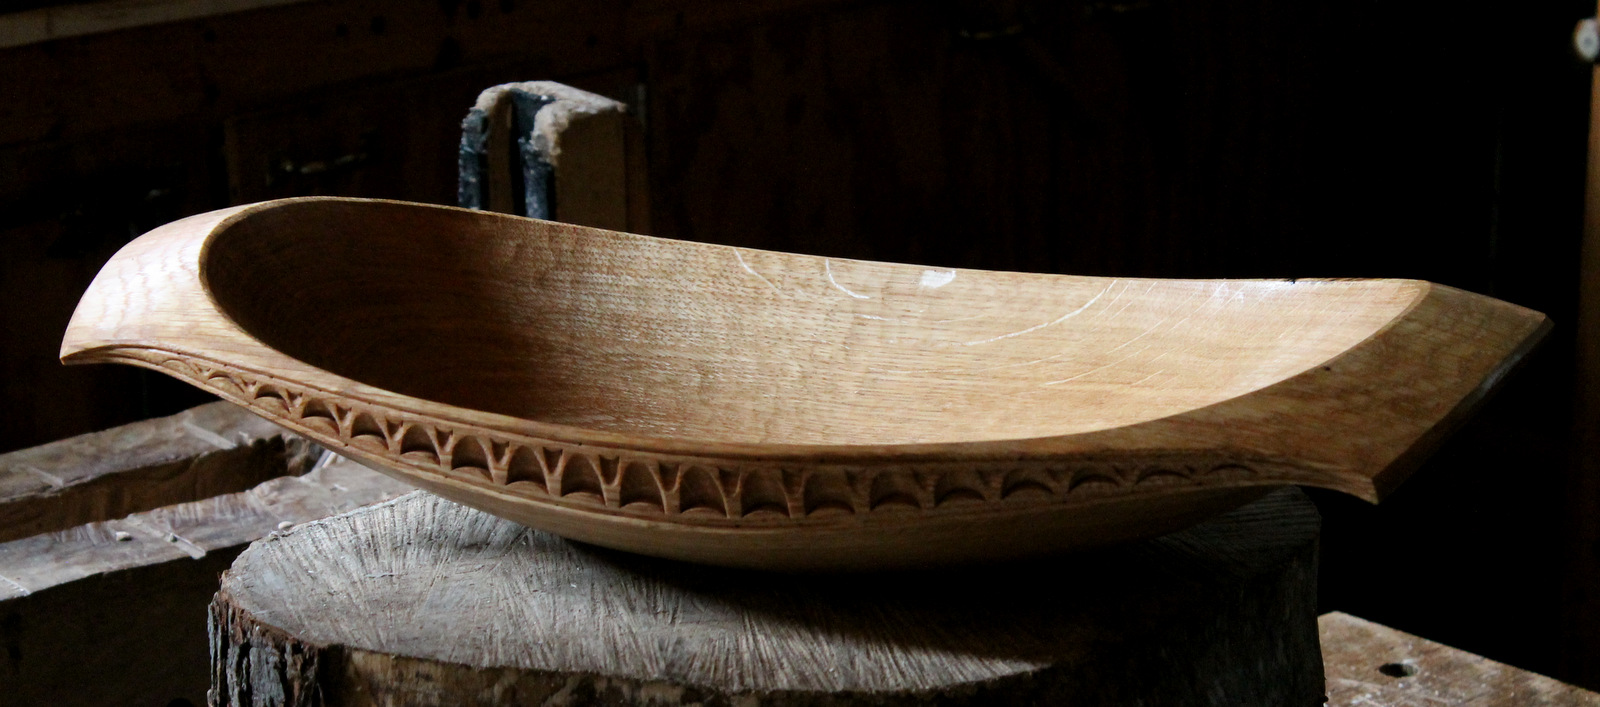
From another angle.

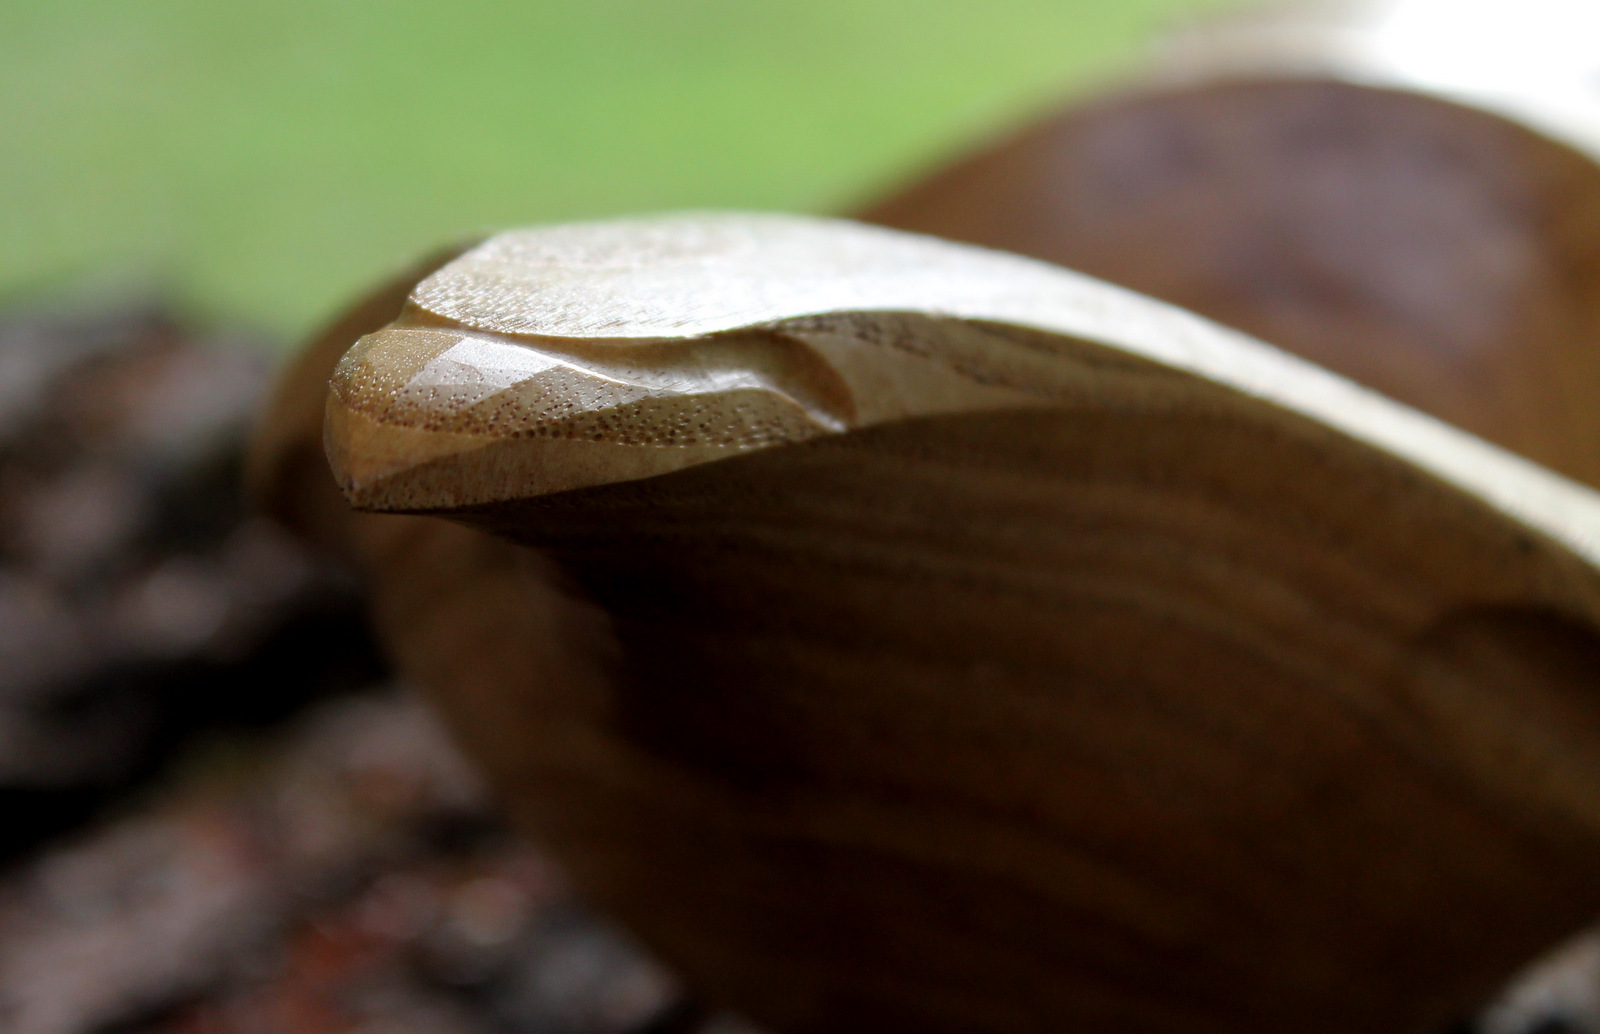
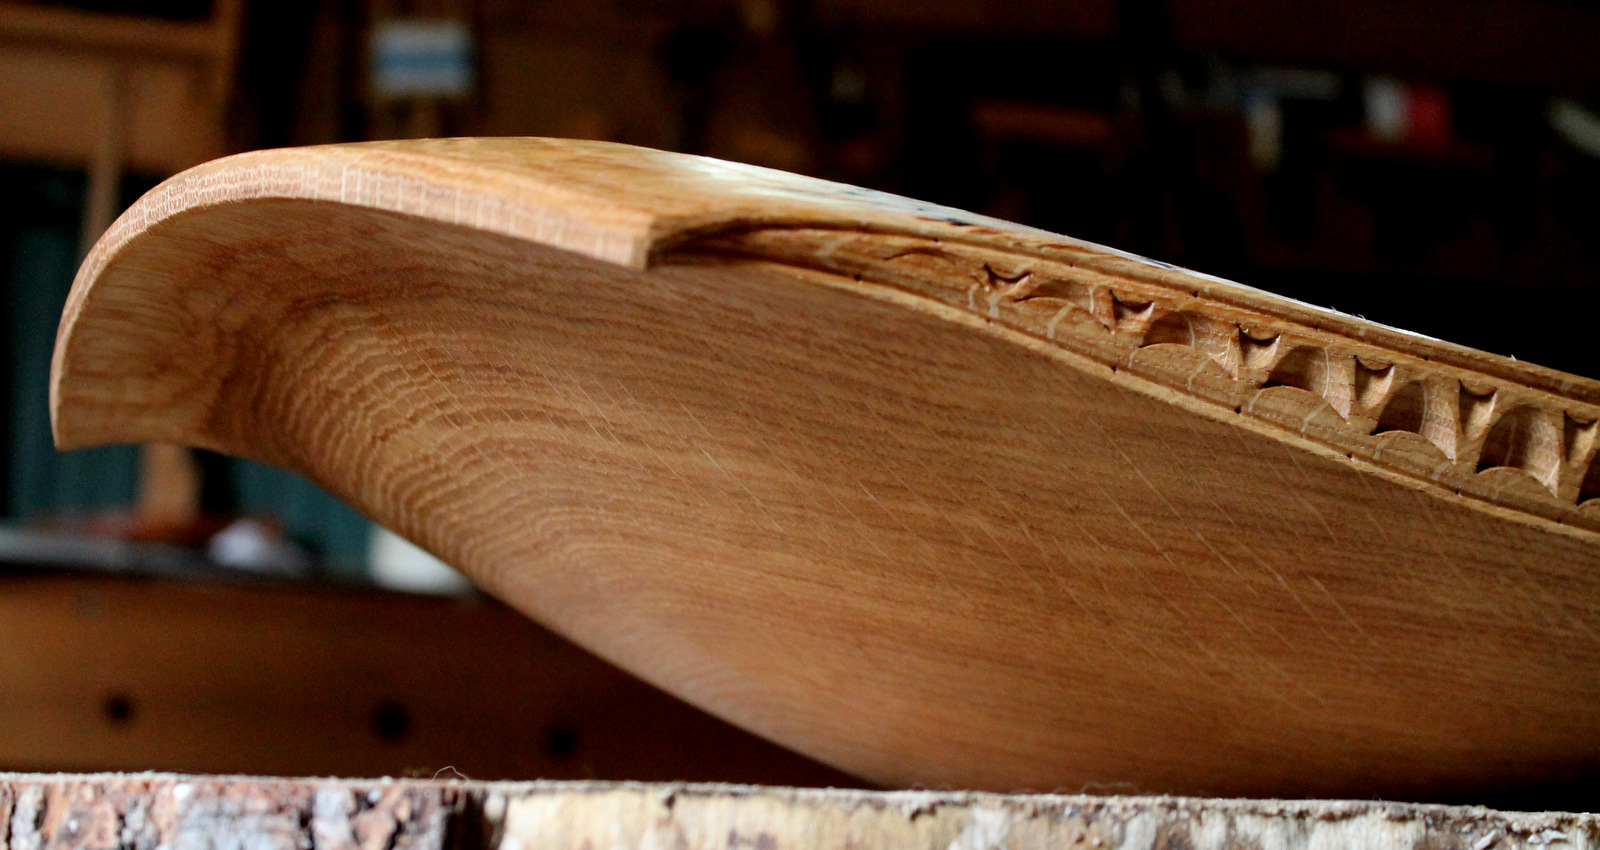
From another angle.  Although, the “wings” don’t project out much, a sweeping gouge cut beneath helps to define them.

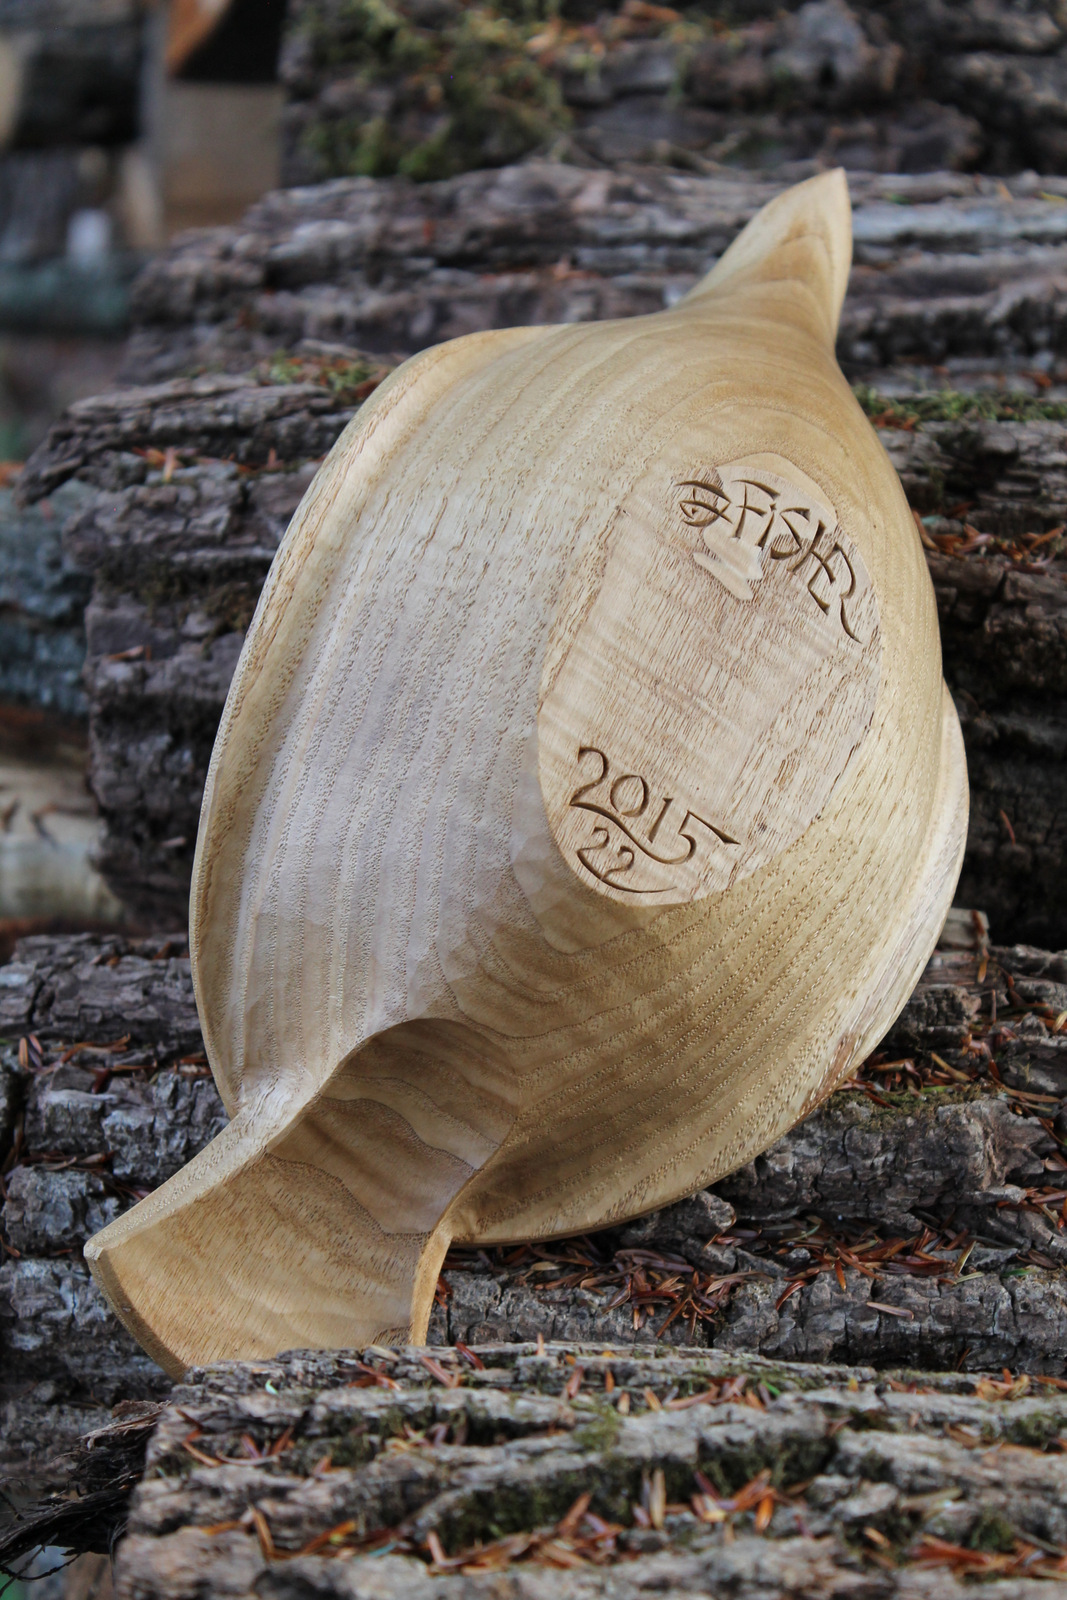
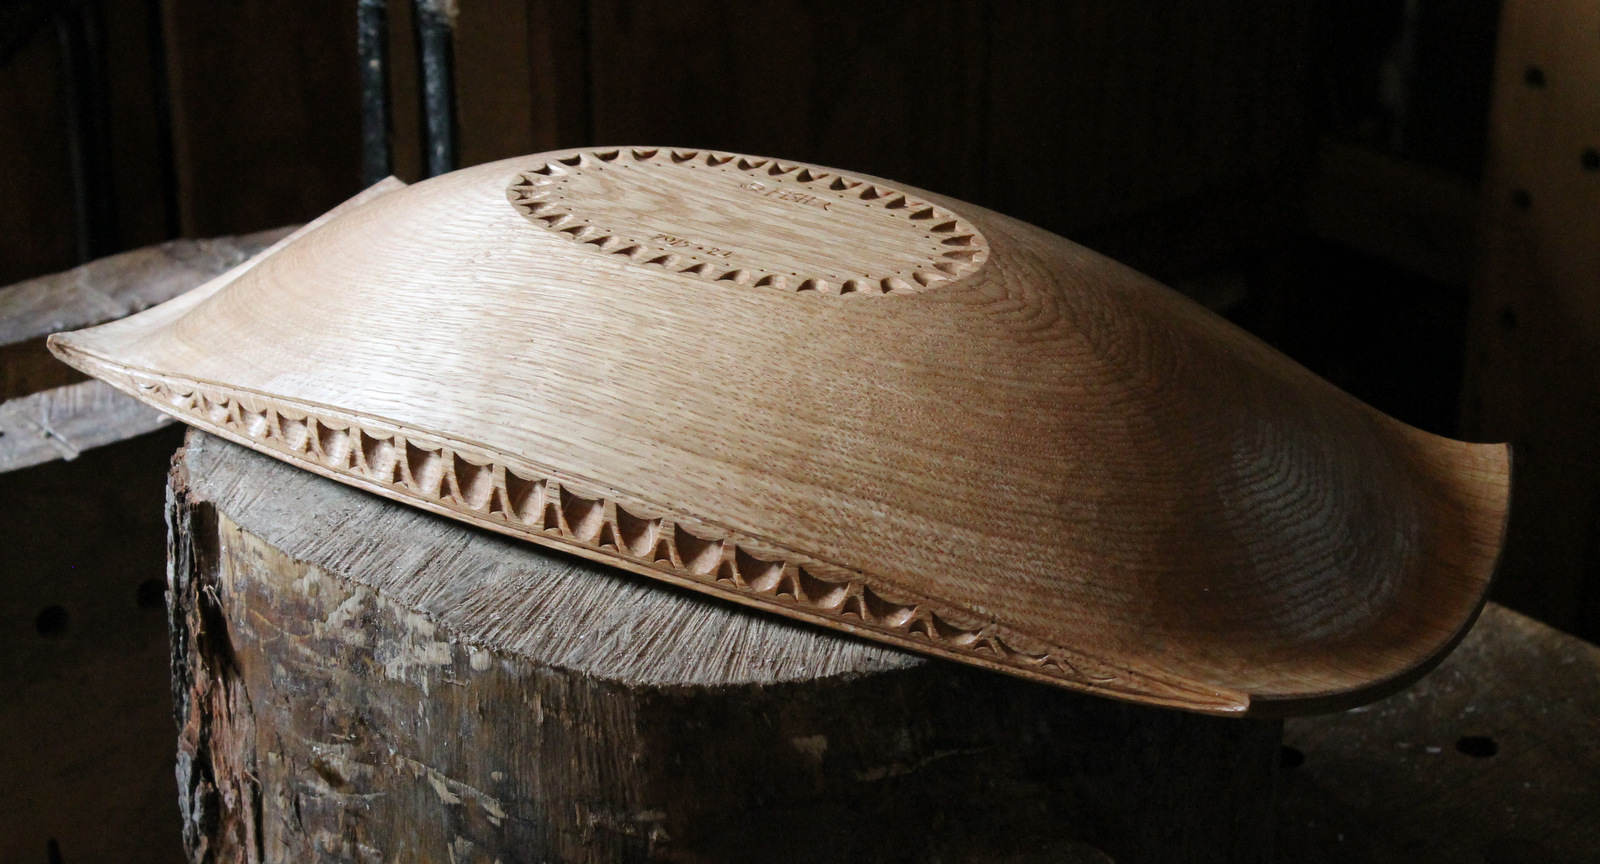
This view of the underside shows the carving beneath the tail and the egg-shaped bottom surface of the bowl.

This view of the underside shows the carving beneath the tail and the egg-shaped bottom surface of the bowl.

The curl.

The curl.

This view from above shows the grain orientation.

This view from above shows the grain orientation.


Posted in bird bowls, bowls, Uncategorized | Tagged , | 3 Comments

A Little Color

IMG_5472

After carving these spoons, I decided to add some color to the handles.  The top three are artist oil paints.  I like how easy it is to just squeeze a little out of the tube for small jobs like this.  I thin the paint with a little citrus thinner if I want the wood grain to show through more.  There’s no grain raising, but they certainly take longer to dry than other paints such as acrylics.  As with plain oil, I find some sunshine or other heat source speeds that considerably.

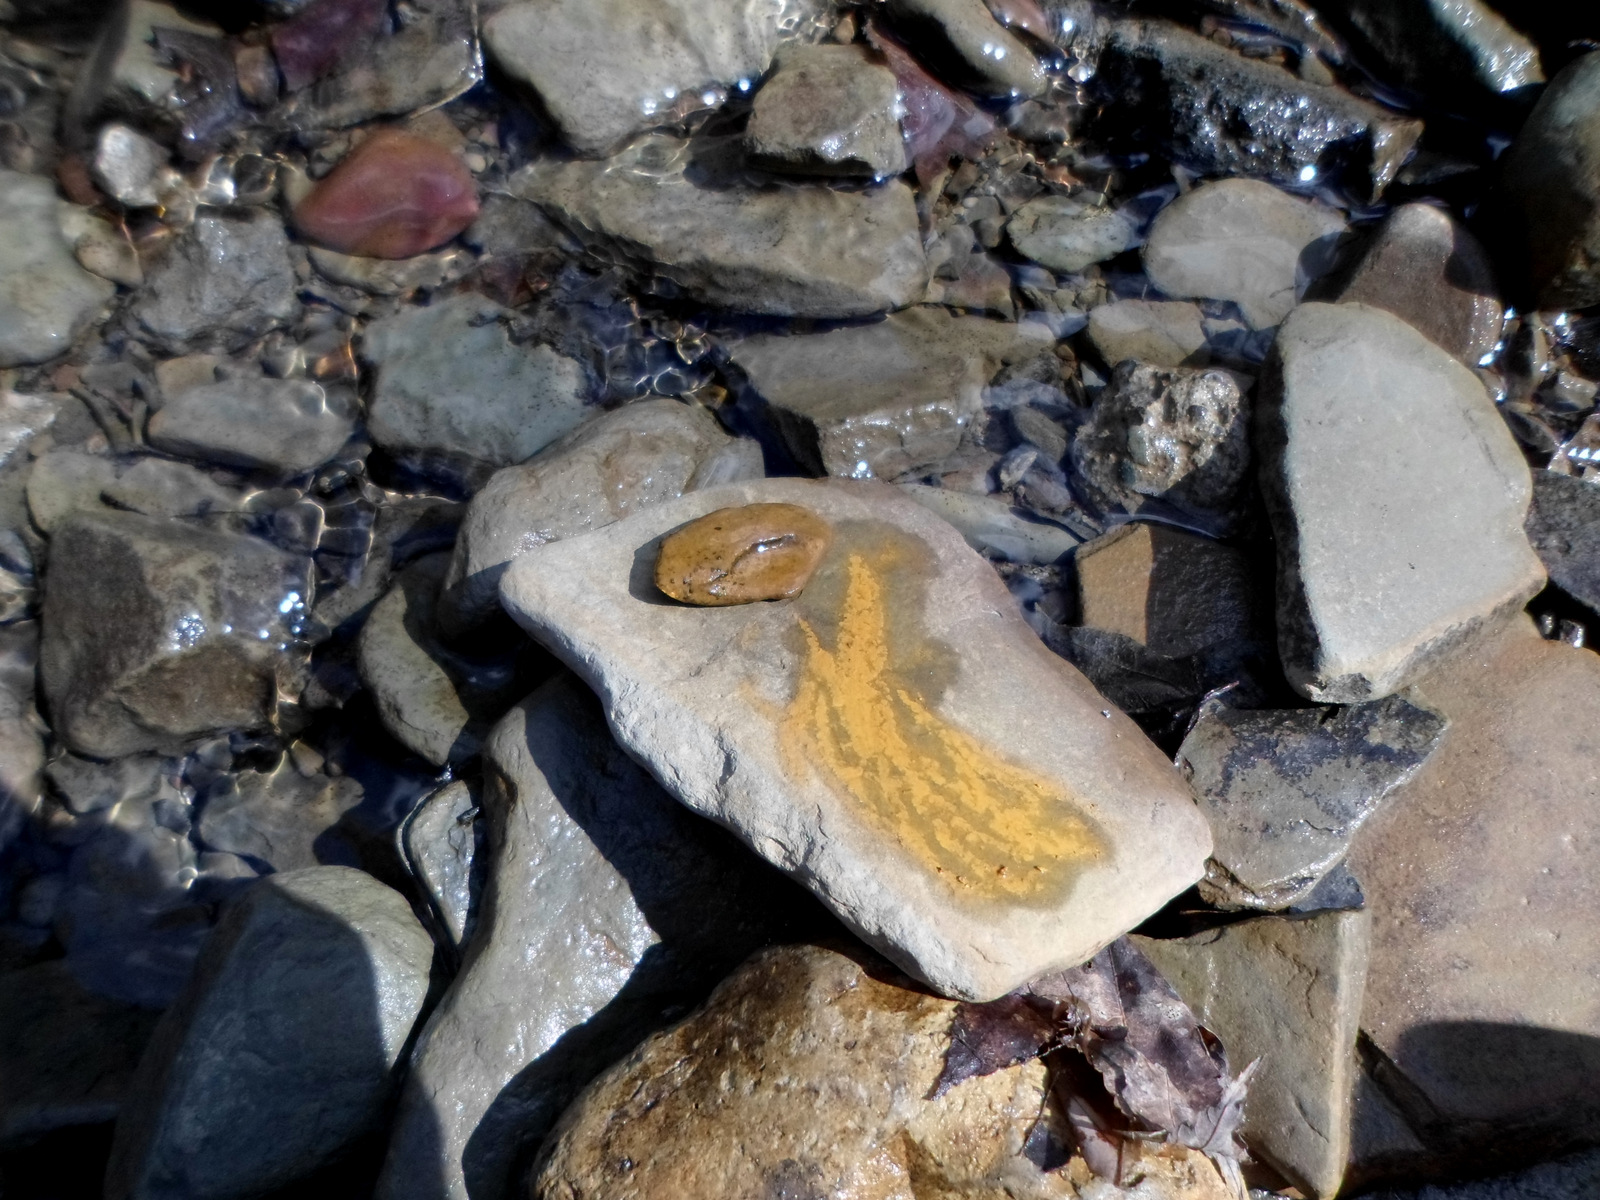
SAM_2125The bottom brownish-red one is also oil paint, but not from a tube.  I picked up a few ochre stones in a stream.  All sorts of yellows, reds, and browns are available.  It’s easy to test out the color by rubbing on a nearby rock.  Really, you’ve got a simple paint right there, and what a great reason to play in a stream.


SAM_2121

another option for your pallet

IMG_5471I’ve read about some more involved procedures for grinding the pigment, but I just kept it simple by pulverizing the relatively soft rock with a mortar and pestle.  Rubbing the rock on fine sandpaper also works.  Then I mixed in a little flax seed oil into the powder well and painted it onto the spoon.  Even with the relatively course pigment it works out pretty well.

Now that the paint is dry I can pop the spoons into some flax seed oil.  Next week, I should have some photos ready of a bowl I carved from this log:

IMG_4595


Posted in paint, spoons, Uncategorized | Tagged , , | 20 Comments

By Hound and Eye

IMG_5493

Arcs flow seamlessly across a transition point if their radii align there in a straight line.

— George Walker and Jim Tolpin, By Hound and Eye

If you read the quote above and said, “Huh?,” it’s because you haven’t seen it in the context of a page from By Hound and Eye by George Walker and Jim Tolpin.  Geometry and design are difficult topics to explain through words alone.  Walker and Tolpin have created a 177 page workbook that not only leads the reader sequentially through an astounding array of concepts, but also invites the reader to try out the concepts through many exercises.  The statement above, for example, becomes crystal clear once you have actually laid out two arcs that flow sweetly across a given point — right in the book.

Andrea Love’s illustrations add charm and clarity to the rich journey, a journey that empowers your designer eye.  I know my copy will end up with lots of holes and marks in it.

Posted in books, layout, patterns, Uncategorized | Tagged , , | 4 Comments

White Oak Bowl — Finished


IMG_5397In creating, the only hard thing’s to begin;

A grass-blade’s no easier to make than an oak

— James Russell Lowell, A Fable for Critics (1848)

IMG_5384I wonder if James Russell Lowell ever carved an oak bowl?  In these two previous posts (here and here), I discussed the beginning stages of this bowl of white oak.  I like the result, but I might wait forty years or so before trying another!

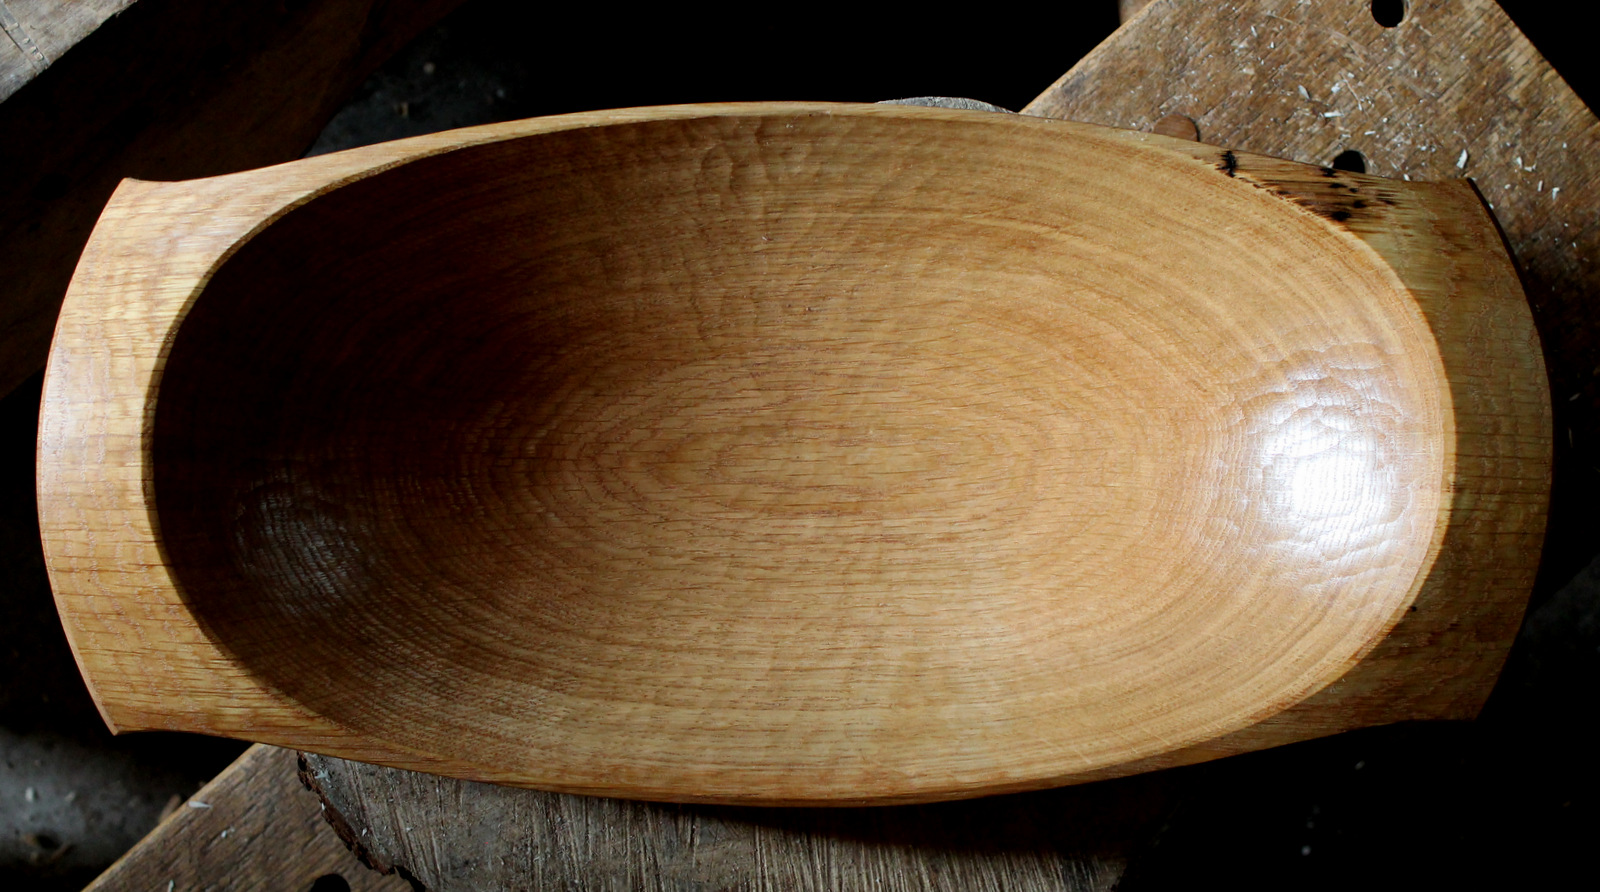
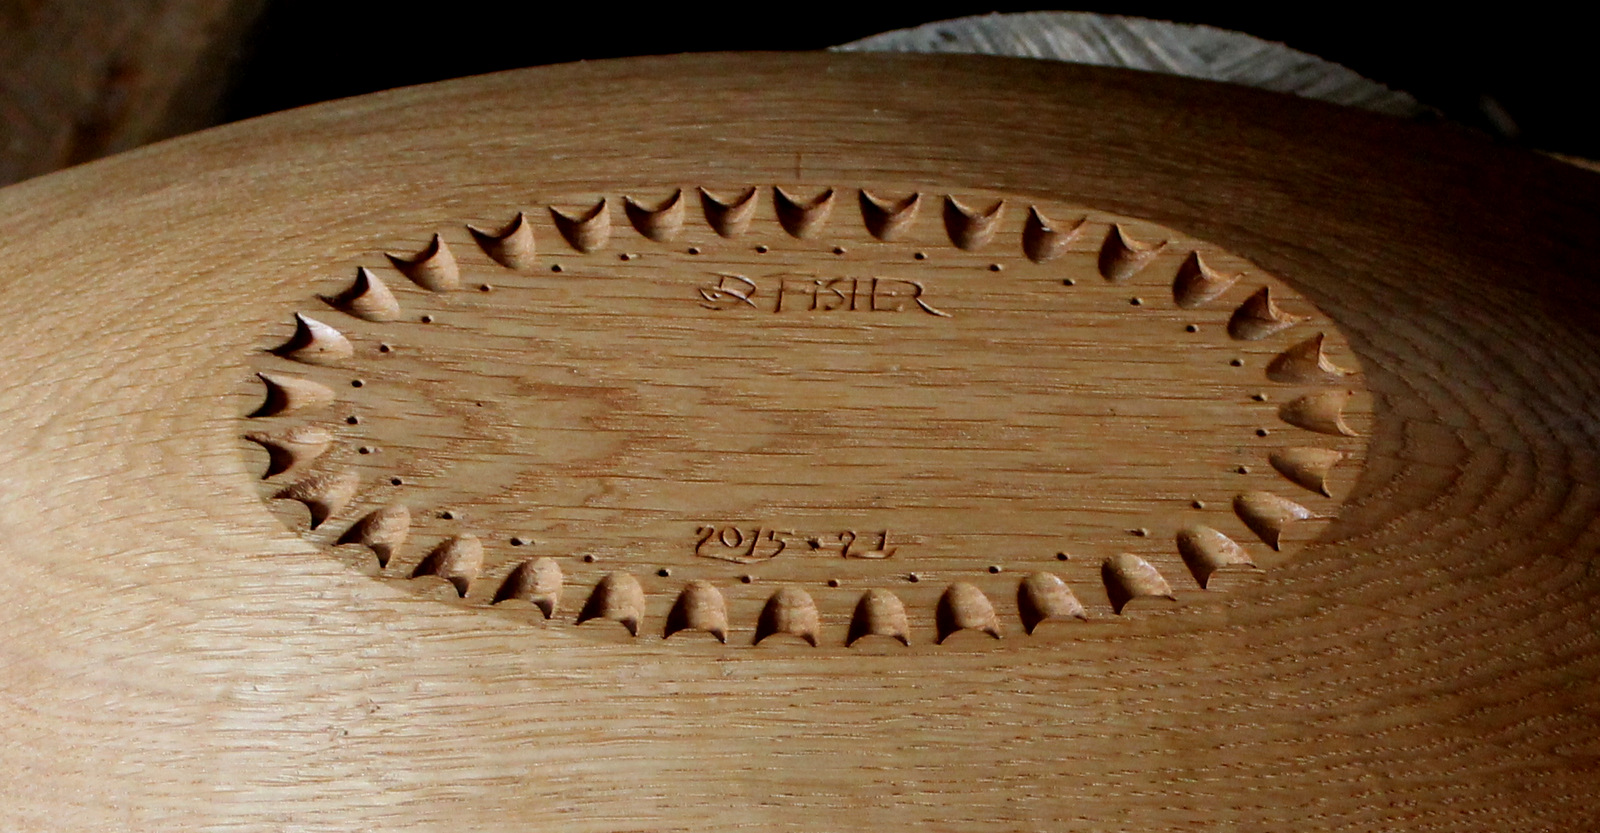
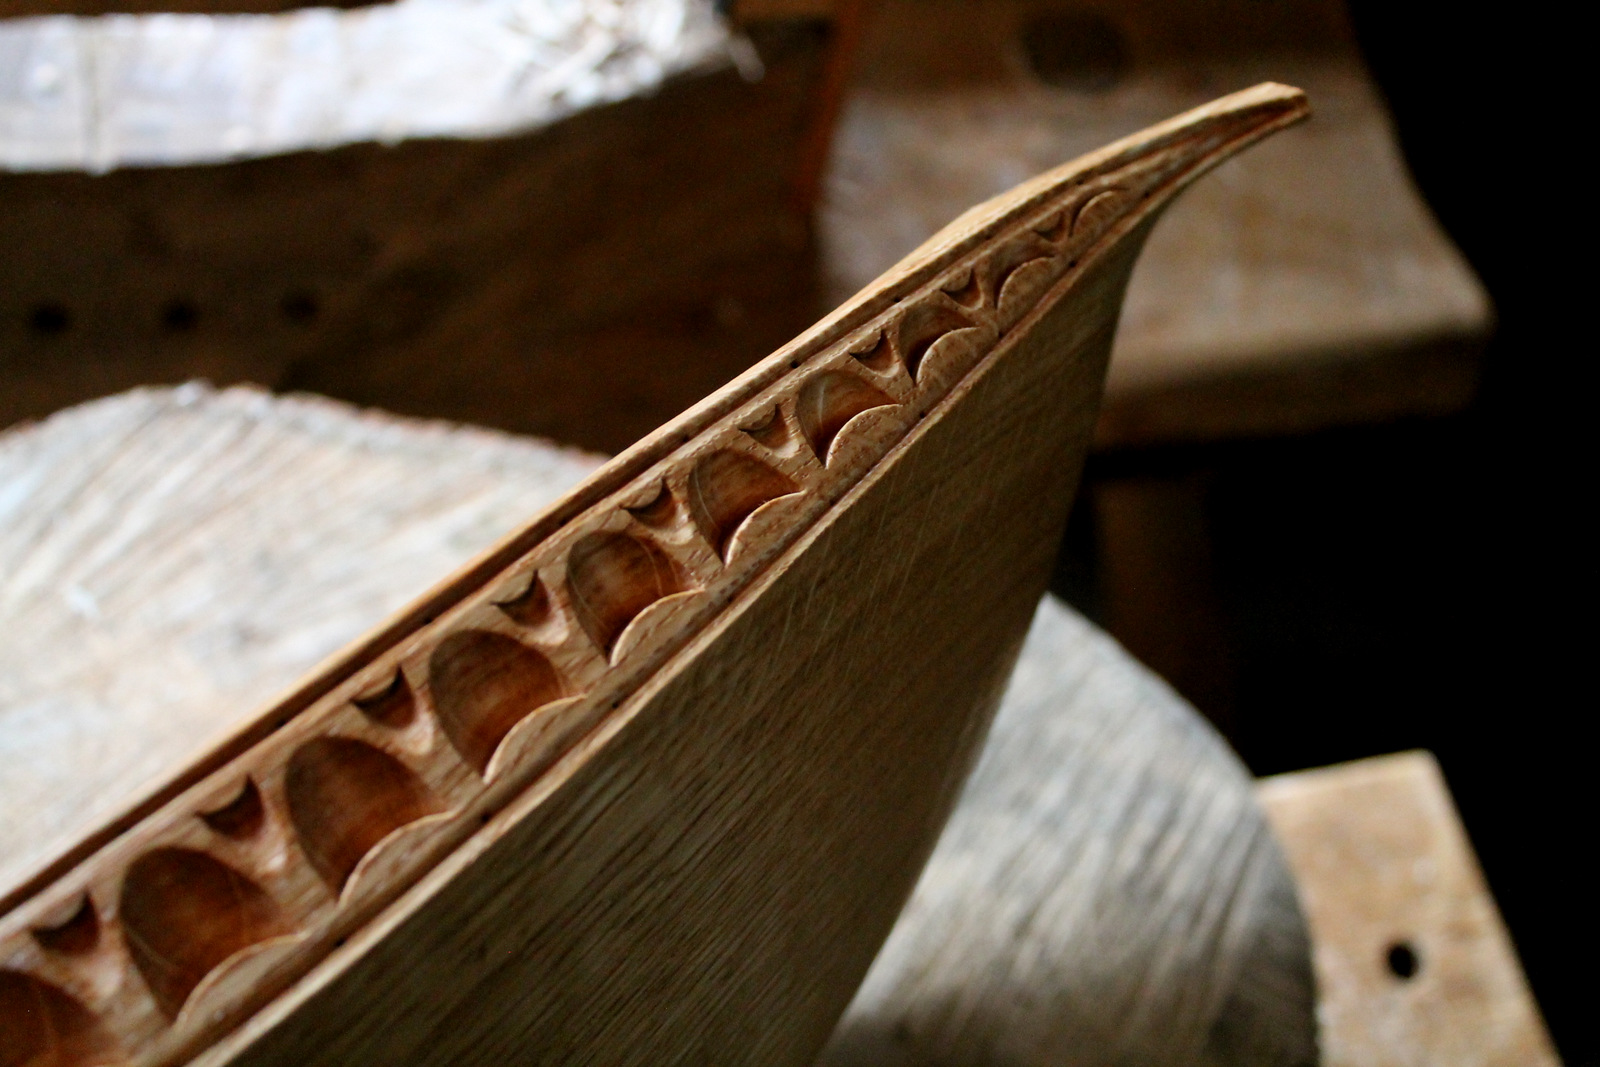
IMG_5401I thought the character of the oak called for some bold gouge cuts, albeit on a sleek form; a relationship similar to that of the hardy Northmen on their graceful oaken longboats.  This oaken vessel is 23 3/4 inches long, 11 1/4 inches wide, and 4 1/2 inches high.

IMG_5386In this overhead shot, the grain orientation is visible, as well as the “character stains” resulting from bugs digging around in the log at the fringe of the sapwood.

I’ve posted it to my website.  Time to go sharpen my tools…

IMG_5394    IMG_5390-001


Posted in bowls, patterns, quotes and excerpts, Uncategorized | Tagged , | 9 Comments

Sinuous Side Panels

IMG_5361

A sea of creamy maple chips.

A sea of creamy chips from roughing out some maple bowls.  Where is that apprentice with a shovel?

A week or two ago, a friend had a red maple (Acer rubrum) tree down, and I was happy to help him cut it up and rescue a few chunks for bowls.  The creamy white wood might represent a great opportunity to incorporate some color.  I’ve been roughing out a couple bowls for drying, including this one that will have wide side panels that will serve as a canvas for decorative carving.  I think I first saw bowls like these in a VHS video I bought from Country Workshops years ago.  It features then 82 year old Bengt Lidstrom carving bowls in Sweden in 1998.  If you haven’t seen it, grab a chair; you’ll love it.  Drew has put it onto youtube and here is the link.  My methods differ from Bengt, and some may prefer some of his ways.  There’s much to learn by viewing the video carefully.

Bengt lays out his side panels around the 20 minute mark of the video.  Sometimes I completely freehand them, but for these, I used a compass to help assure symmetry.  I snapped a few shots showing the process.

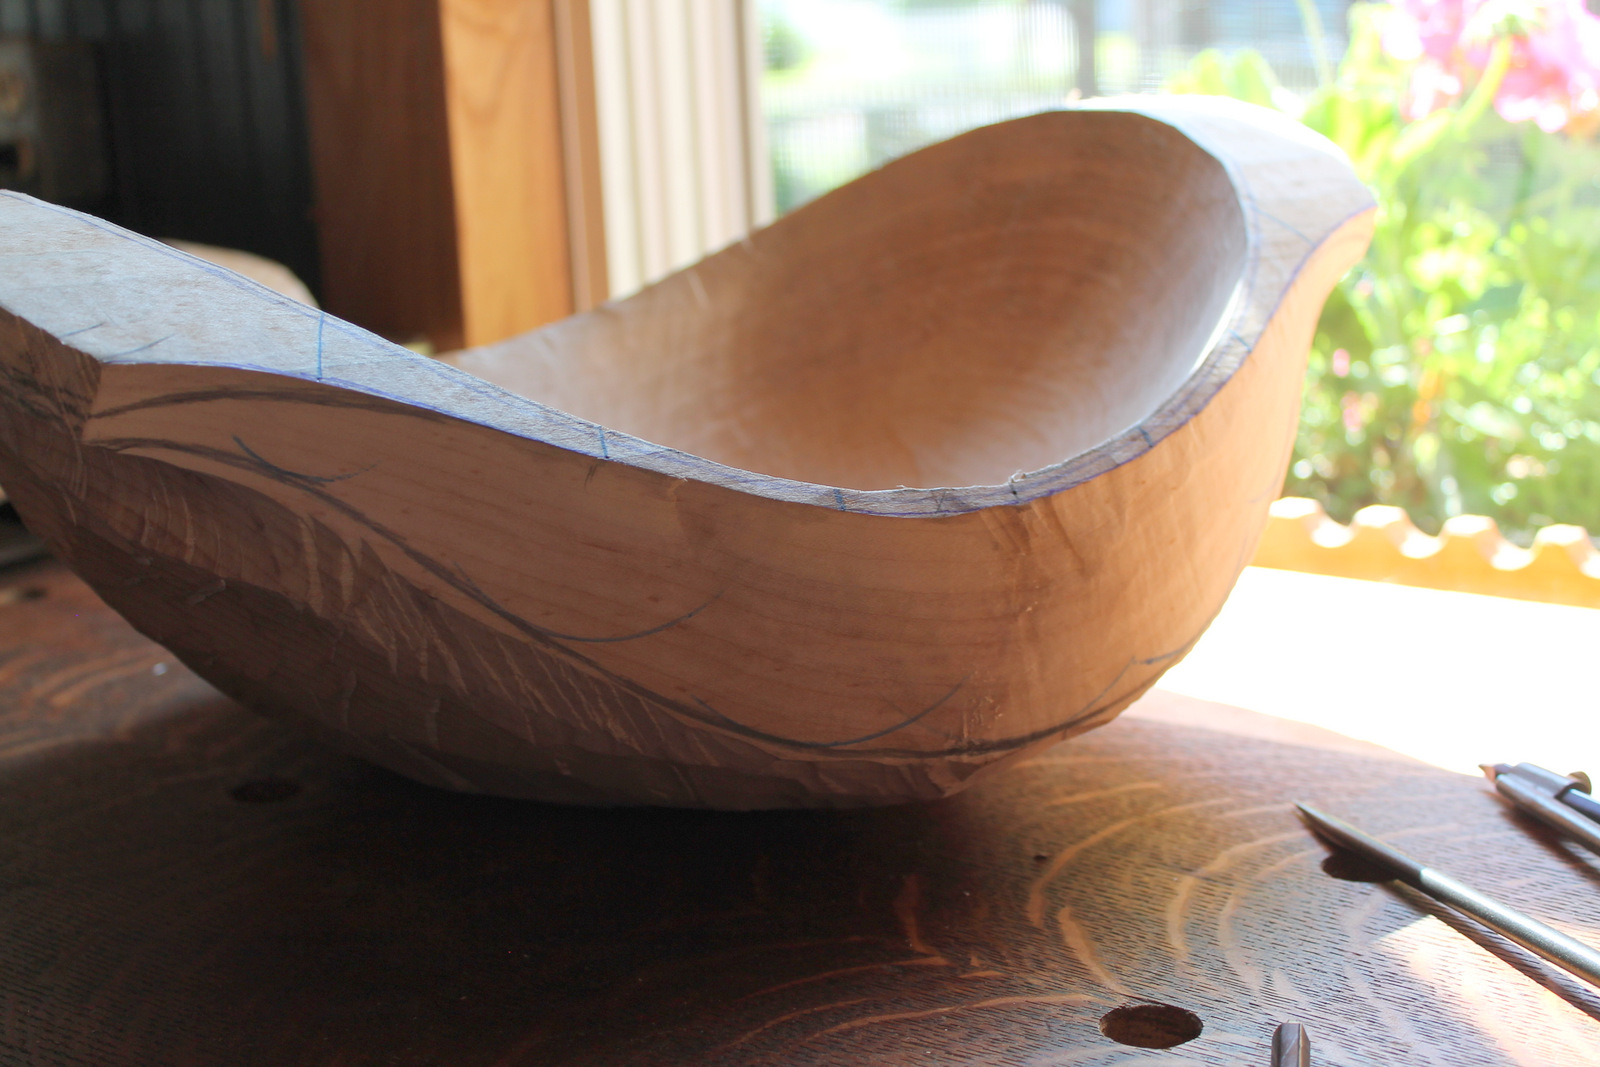
After hollowing the inside, and roughly hewing the surface of the side panels, I hewed away a lot of material from the underside of the bowl.  After refining the surface of the side panels a bit more with a drawknife and spokeshave,  it was time to draw the exact outline of the side panels before continuing to sculpt the exterior of the bowl.

Sketch a pleasing curve freehand. Trust your eye and think big movements. Don't fiddle with your fingertips.

Sketch a pleasing curve freehand. Trust your eye and think big movements. Don’t fiddle with your fingertips.

Most of the upper edge of the side panel is already formed by its junction with the rim of the bowl, so I just extended that curving line to the ends of the handles, representing how the handles will curve downward at the end once wood is removed above the line.  Still working freehand, I sketched on a pleasing curved line, representing the bottom of the side panel.  The drawn pencil lines can be seen on the right half of the bowl in this photo.

Using the compass, I made a series of marks along the rim of the bowl, swinging the compass to both sides of center.  I made four, but it could be more or less.  There’s no need to measure anything, just pick a few spots.

Making arbitrary reference marks along the rim of the bowl.

Making arbitrary reference marks along the rim of the bowl.

Referencing the lines that I drew freehand, I set the compass to the depth of the drawn line from each of my (blue) reference points along the rim.

Referencing the depth of the drawn line from the points on the rim.

Referencing the depth of the drawn line from the points on the rim.

With each new setting, I transferred these depths to each of the other three (yet undrawn) quadrants.  This creates a series of marks that serve as guideposts for drawing the remaining quadrants of the side panels.

Transferring the depths to an undrawn quadrant

Transfer the depths to the undrawn quadrants.  I’m marking now on the opposite side of the bowl.

Picking up my pencil again, I connected the furthest points of the blue arcs in a pleasing line that closely matches the one I drew freehand.  The end point is at the lower corner of the handle.  Now I’m ready to further sculpt the exterior of the bowl, stopping at the new lines.

Connect the outer portions of the little arcs is a pleasing curve.

Connect the outer portions of the little arcs in a curve.

This idea can be adapted in a variety of ways. I shot a simple video explaining this process that might make things more clear:

And I see that there is still a chance to carve bowls with Follansbee in Maine next weekend…

Posted in bowls, layout, patterns, Uncategorized, video | Tagged , , , , | 3 Comments

Carving with Kids

kid carving sketch_0001_NEW

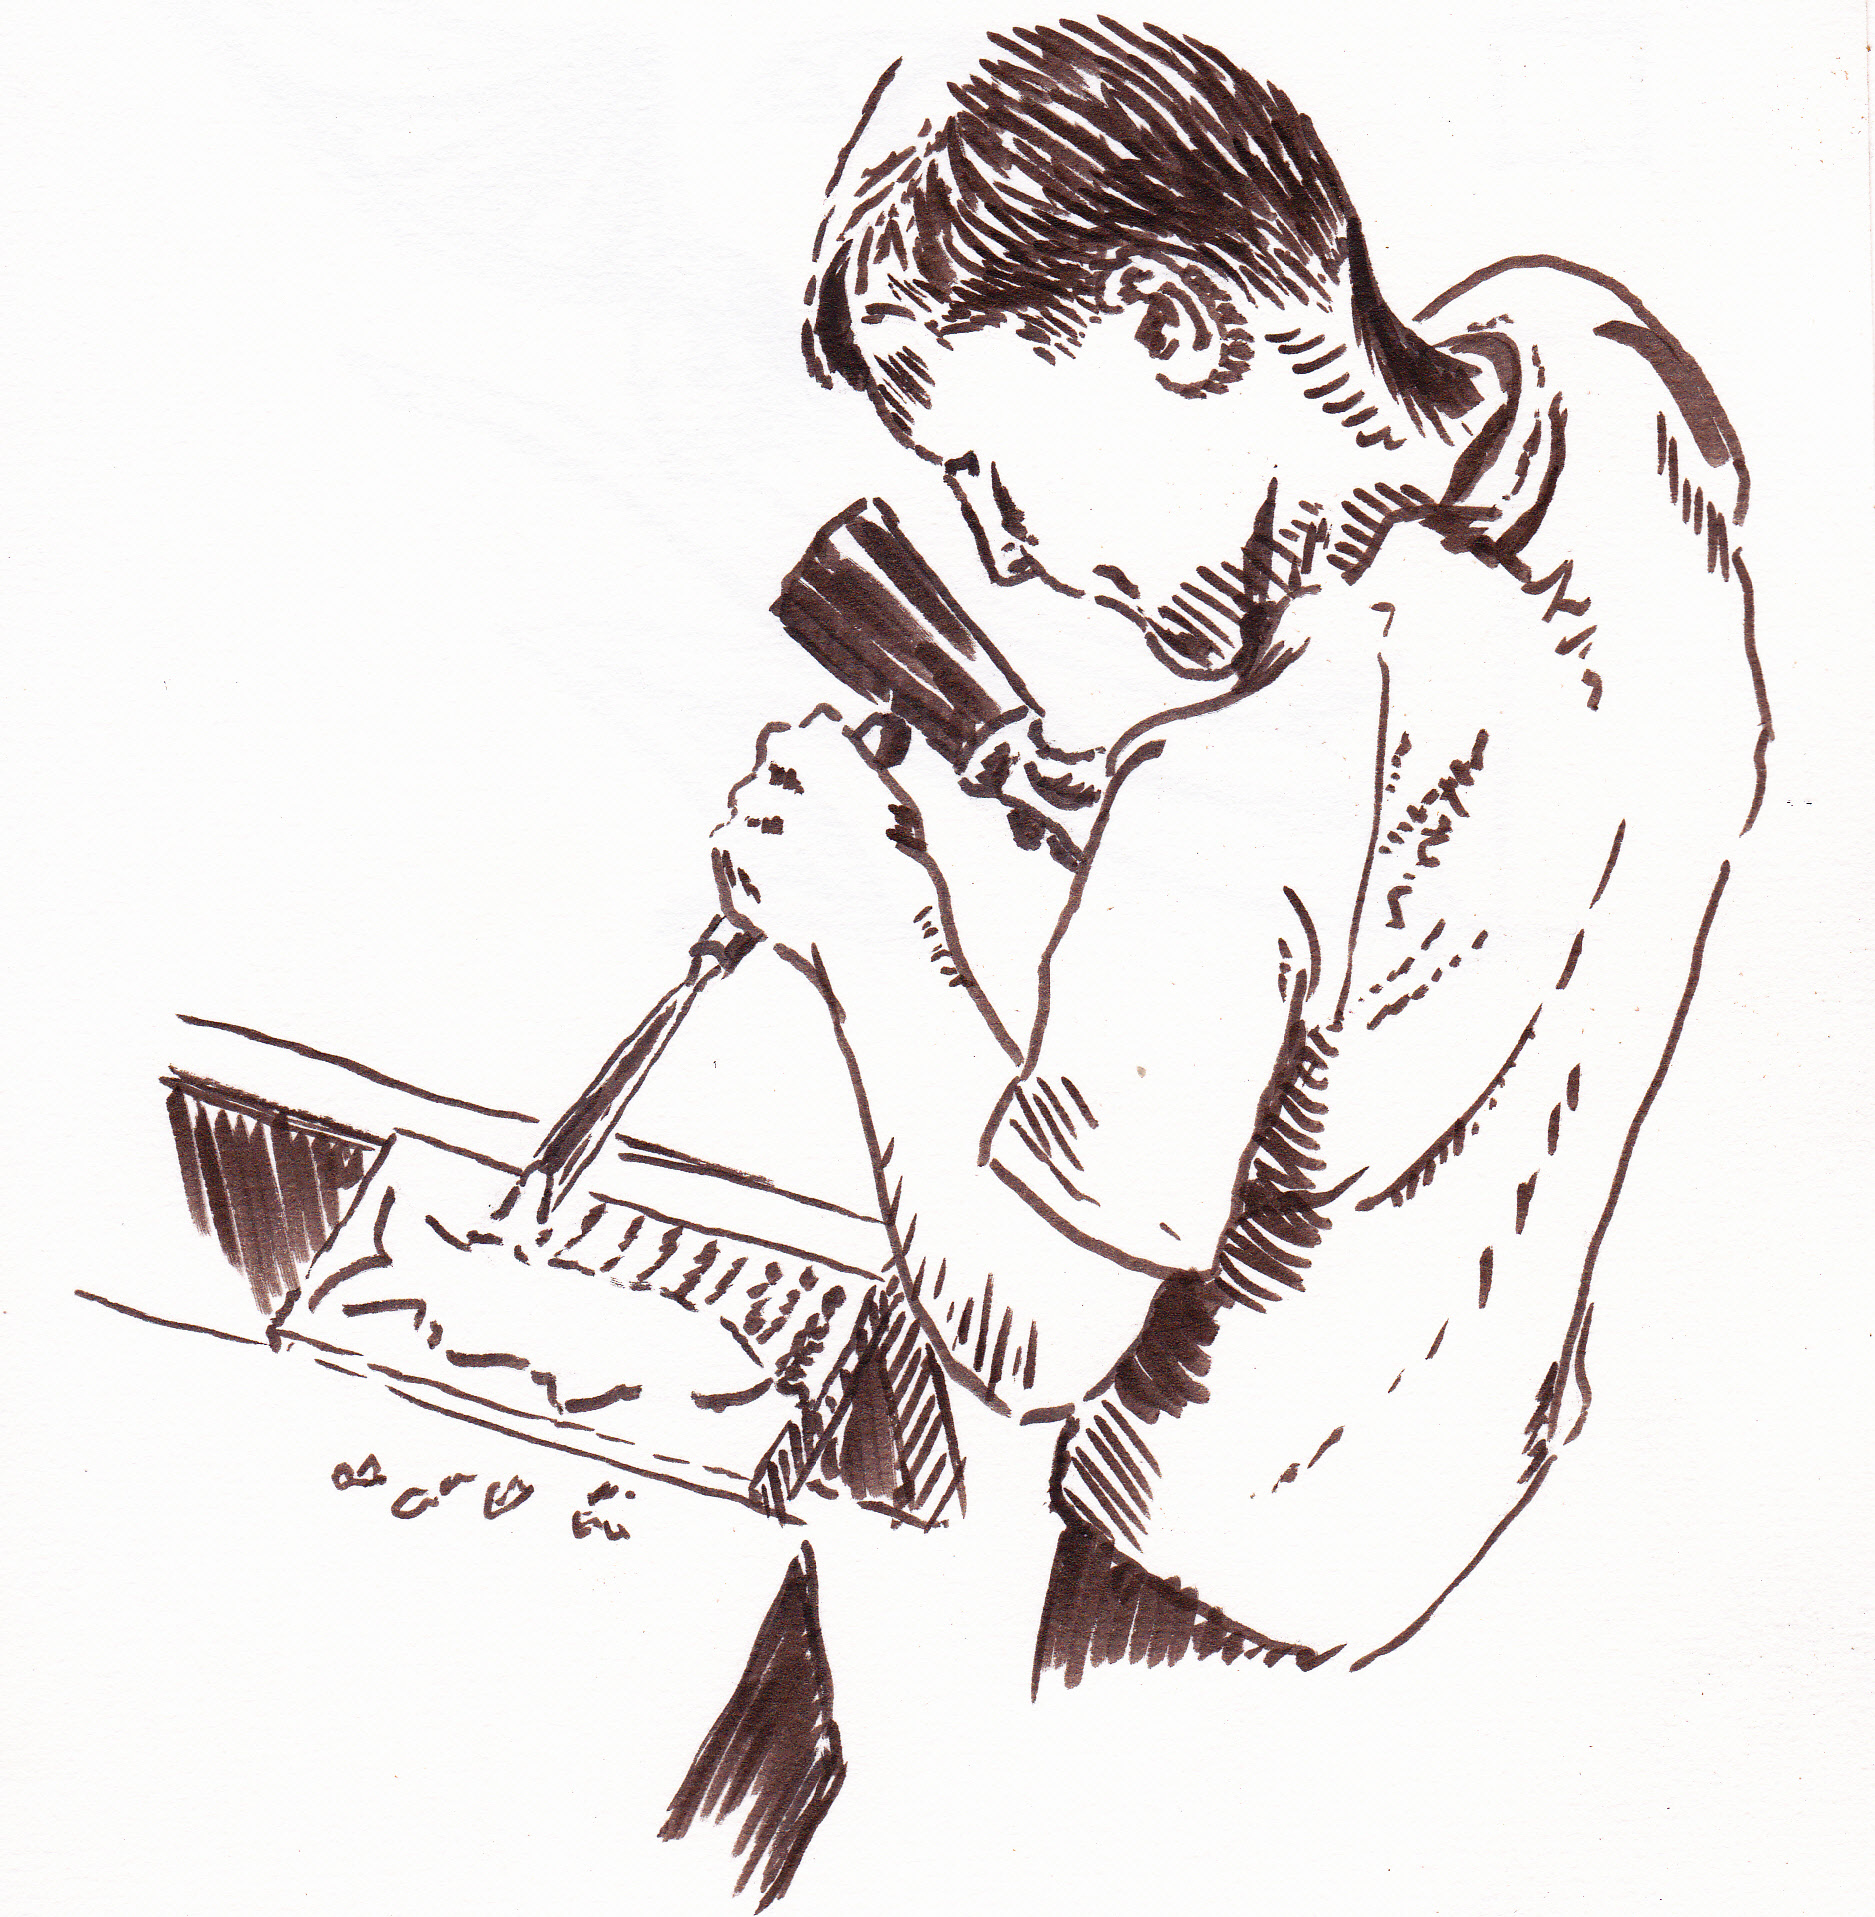
A recent young guest to the shop relief-carving a fish with mallet and gouge

Ten years ago, when my son was six, I gave him a pocketknife.  My wife thought this was stupid.  Within a day, I was with him at the emergency room watching him get stitches in his finger.  This was rough, as was the look on my wife’s face when I returned home.

I guess I was impatient.  I wanted him to gain confidence with tools from an early age and all that.  But the fact is, limited hand strength and dexterity can make it difficult to control a sharp knife for young folks.  Forcing a situation too early can instill fear and opposition, rather than confidence and excitement.  I don’t think there is a magic age for such things; much depends on the individual.

But, in my experience, kids want to carve.  In fact, kids want to create in many ways.  The more we can encourage them to draw, write, feel, build, and explore in the real world, the less they may wish to immerse themselves in a virtual world.  So, when opportunity presents itself, carve with them.

My son’s finger healed, and the two of us made lots of projects over the years.  At sixteen, my son, at least for now, knows more than me, but there are still curious younger kids around on occasion.  Here’s what I’ve learned since that trip to the ER:

  • For young kids, keep the projects simple.  They can achieve success and learn some fundamentals.
  • They may not be as interested in bowls and spoons as I am.  Give them a lot of choice.  If they want to carve Spiderman or a monster truck, then think of a way to simplify the image and go with it.
  • Consider a simple relief carving project for starters.  I’ll explain why…

Last week I had a nine-year old in the shop (see top sketch) who loves to go fishing.  We found a picture of a catfish in a book and drew a simple version onto a small plank of basswood.  With a mallet and a v-tool, he ran a trench along the outline of the fish, not concerned with occasional deviations from the pencil line.  Opportunities came up to talk about grain direction, raising and lowering the handle, and so on.  But, overall, I just let him get a feel for things and make little mistakes.

IMG_5342After the v-trench was done around the fish, I showed him how to remove the background simply with a deep gouge (a number eight or so).  Using the mallet, he tapped from the outside edge in until the chip released at the v-trench.  A few simple indications of gills and fin texture with the v-tool and gouge, and the carving was done.  Half an hour, tops.  He painted it with some acrylic craft paint, but markers work well too.

He loved it, and wants to carve some more.  He felt confident.  Working with a mallet and gouge allows smaller hands to remove wood efficiently, and there is never a hand in range of the cutting edge.  Softer wood like basswood is a big help as well.

A mallet and gouge is a great way for a kid (or an adult for that matter) to carve a bowl as well.  A lot of material can be removed, and it’s safer and cheaper than an adze.  And, of course, working safely with a knife will come as well.  Even if it means some stitches along the way.
 

Posted in carving, tools, Uncategorized | Tagged , , | 7 Comments

A Hollow Bunny

IMG_0955

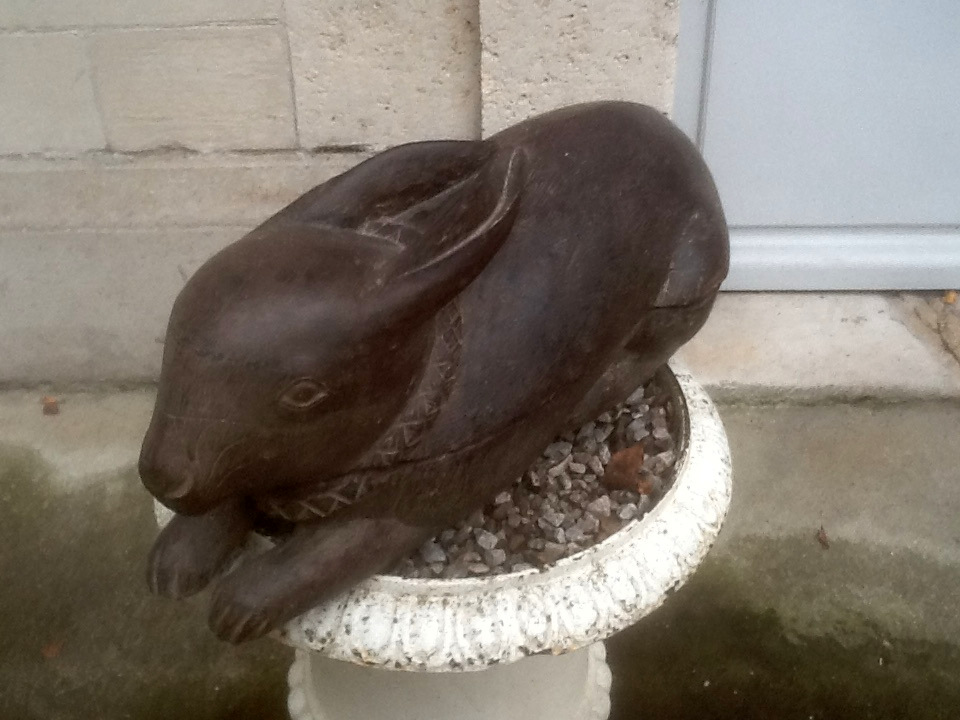
As children, many of us experienced the disappointment of biting into a chocolate Easter bunny only to discover that it was hollow.  Oh cruel world!  But no worries this time: the bunny above is made of wood, not chocolate.  And if a wooden bunny is hollow, that’s just cool.

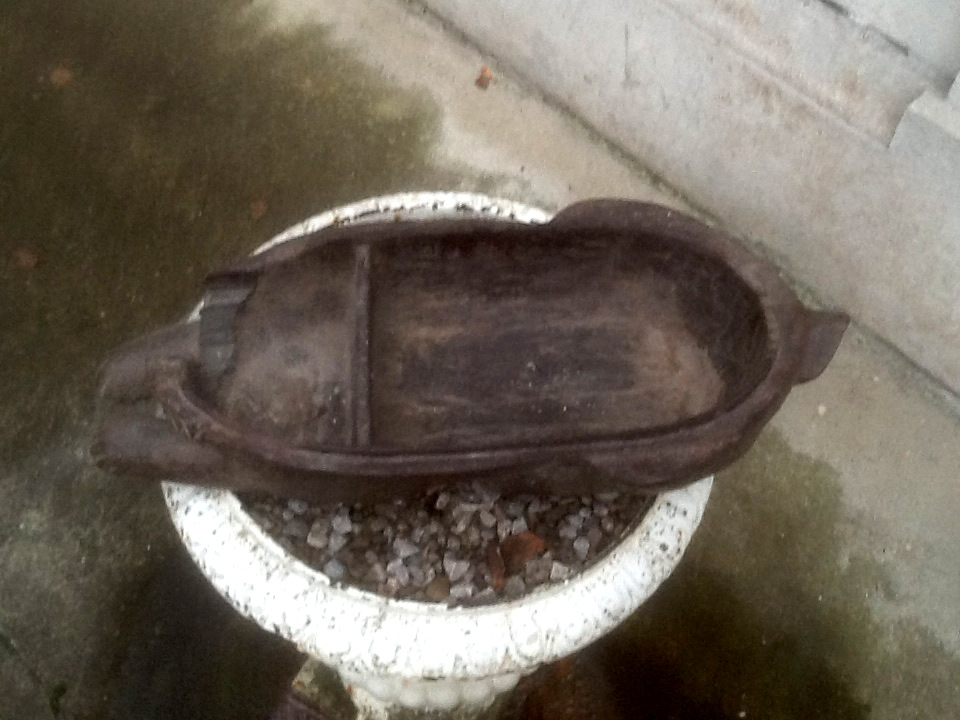
IMG_0958A friend recently sent me a couple photos of this piece he discovered in a chateau outside of Paris.  About two feet long, it has been carefully carved, right down to the collar around the neck.  The hollowed upper half lifts off to reveal a lower portion carved into two storage areas.  A careful look at the bottom half reveals that this rabbit has a rabbet.  I have no photo to show it, but the  upper half must have a corresponding rabbet carved along it’s inner rim.

Whether or not one wants to carve a bunny, this piece does inspire some ideas.  How about a bowl with an integral vertical divider?  And better yet, a bowl as a lid for a bowl below, forming a container as with this rabbit.  The design ideas are endless.  I would love to see any other examples of such a form.


Posted in historical reference, Uncategorized | Tagged | Leave a comment