Greenwood Fest Registration

About a month ago, I wrote a brief post about plans for the Plymouth Craft Greenwood Fest.  While specific scheduling for sessions is ongoing (and I still need to decide upon the focus areas for my demonstrations and instruction), the busy folks at Plymouth Craft have announced that registration will open up this Friday at 9:00 a.m.  Read more about it here at their website.  There’s more information under the Greenwood Fest 2016 tab, including the wonderful woodsy location, Pinewoods Camp.  I can smell the pines already.

Posted in classes, events, green woodworking | Tagged , | Leave a comment

Side Panel Carving

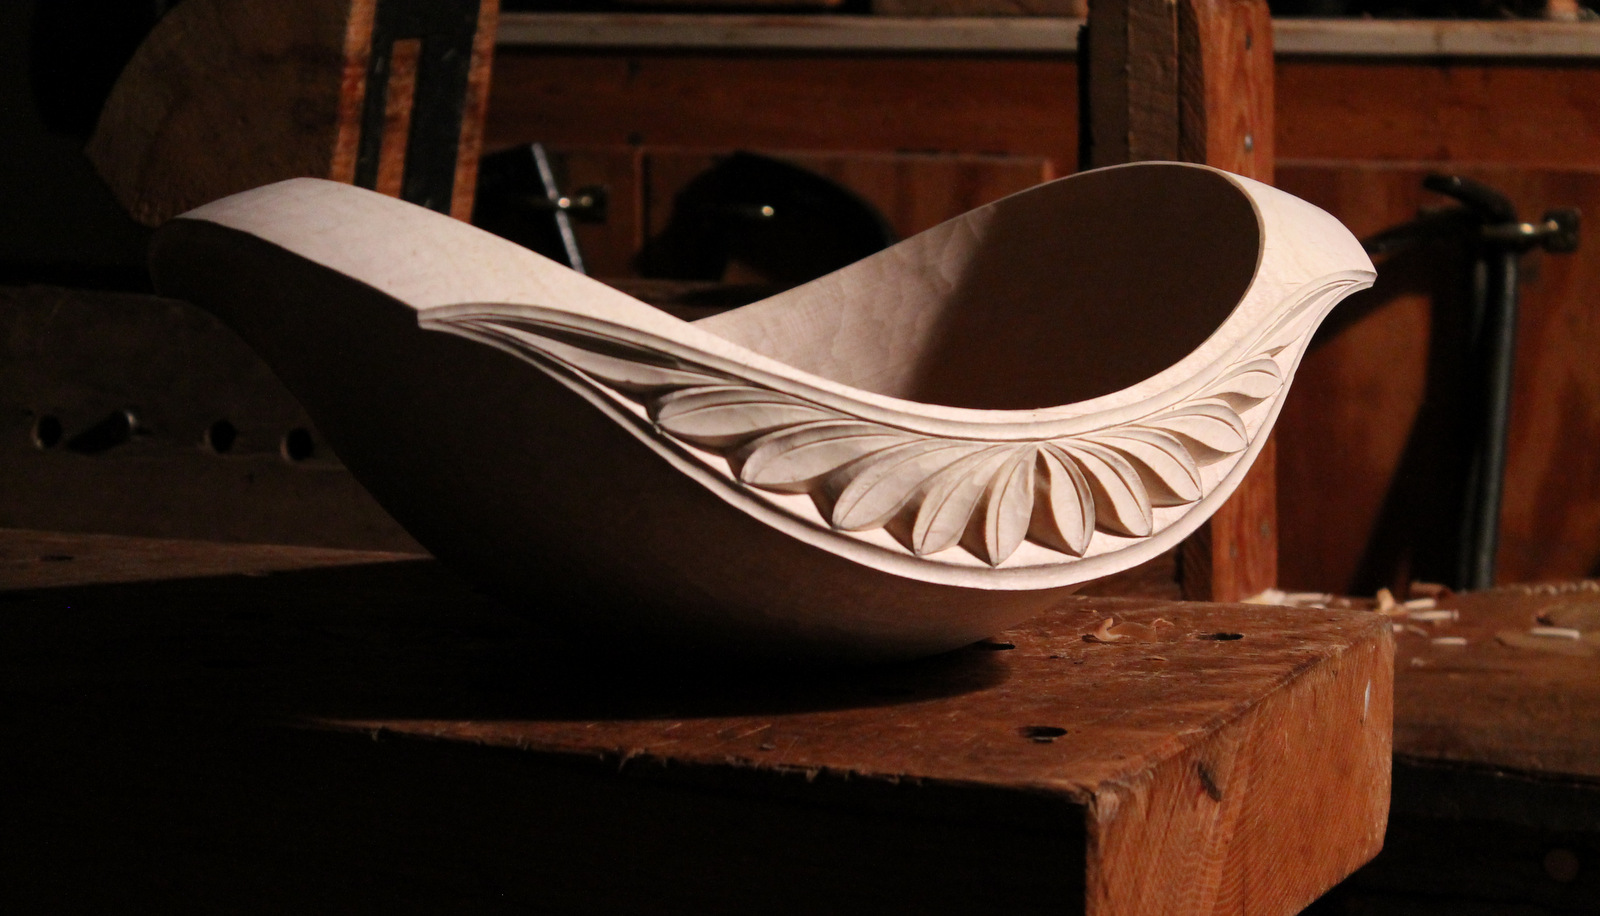
IMG_6260

A few months ago, I wrote a post about laying out the side panels on this red maple bowl.  Since then, the bowl dried and I carved over the surfaces again with paring cuts.  By the way, calling this “soft maple” is a dirty trick.  They should just call it “softer than hard maple.”  Regardless, the surface is creamy white with a very subtle close grain; an ideal canvas for some decorative carving and color.

So, what to carve on the side panel?  I wanted to incorporate leaves and I also wanted to take advantage of the potential depth of carving possible in the thicker lower portion of the panel.  I scribbled lots of ideas, and refined some of them a bit.  It’s also important to keep in mind the ultimate application of the idea; it must be carved on the side panel of a bowl.  Perhaps it can be drawn, but can it be carved?  I try to imagine how the carving tools can be manipulated.  Would I have to go against the grain there?  Will an area of the carving be too fragile to be handled?  I also wanted to design something that was in harmony with the sinuous shape of the side panel itself.  Some designs that might work well between parallel lines don’t adapt well to other forms.

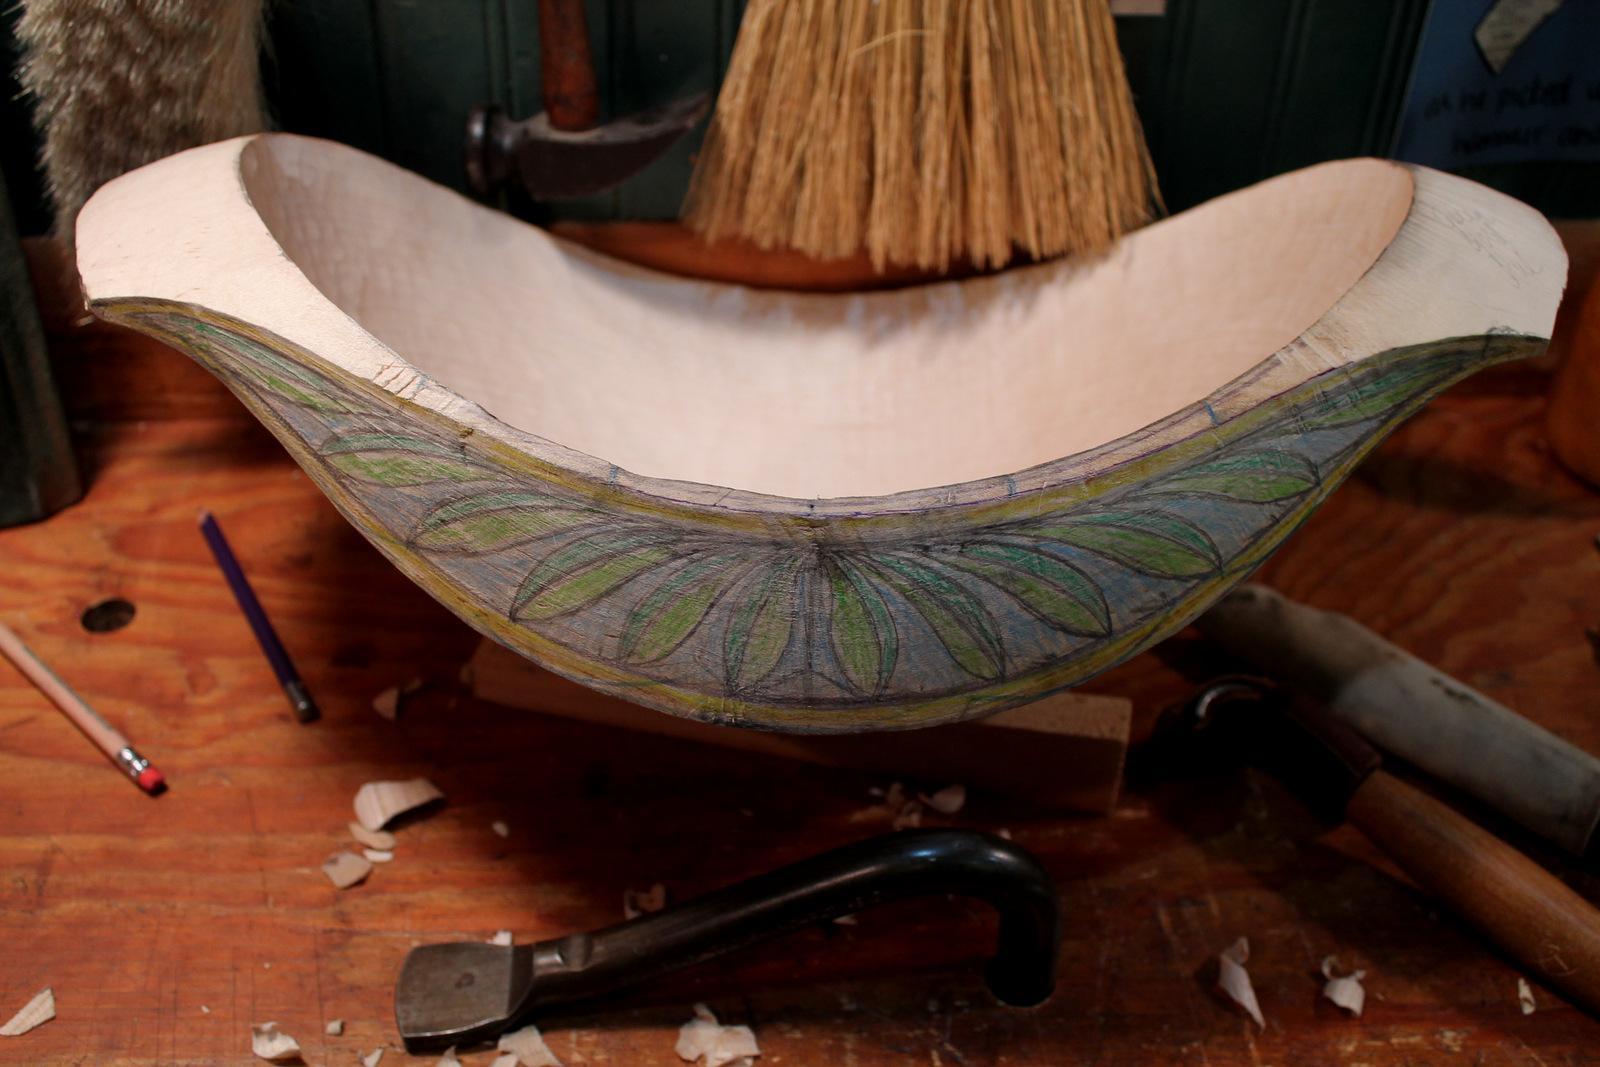
IMG_6229

Leaf motif sketched on the bowl side panel.

To make a long story short, I came up with this leaf motif.  I sketched it directly onto the side panel.  Paper patterns and such don’t work well on an undulating surface.  Besides, a little natural variation resulting from the hand sketching is interesting.  Before I started carving, I even scribbled on some color with some colored pencils just to visualize some possibilities for the eventual painting.  That is a whole other matter.

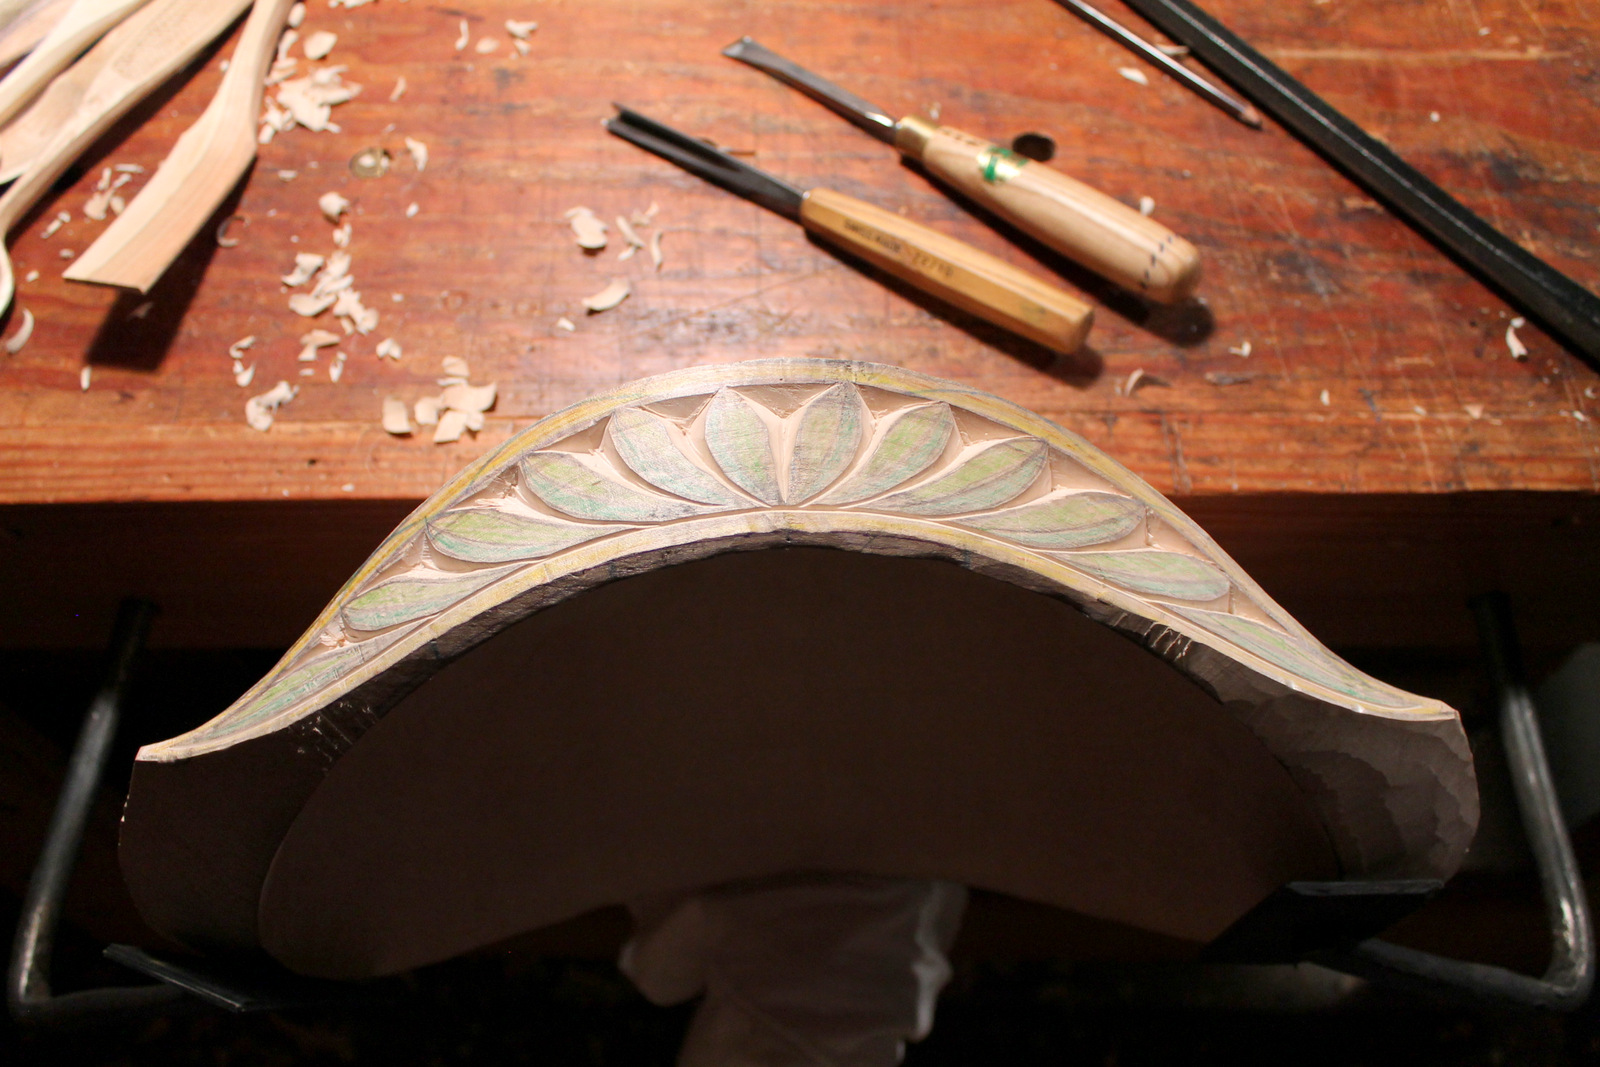
IMG_6230

Holding the bowl with holdfasts while carving the side panel.

This bowl was a challenge to hold for the side panel carving, at 6 1/2 inches high, 17 1/2 inches long, and 12 inches wide, it was too much bulk to fit in my vise.  But a peg and a couple of holdfasts did the trick.  A wooden peg under the bowl is padded with a t-shirt, and two holdfasts press the bowl against the apron of the bench.  Rubber belting material kept things from slipping around.  These holdfasts have a long reach.  I mentioned the making of them here a while back.

So now I will be thinking about color for this bowl.  I enjoyed talking with Jogge Sundquist about paints a couple months ago.  His fearless use of color is inspiring, and his knowledge of paints and traditions is deep.  I’ve also been inspired by the work of Bengt Lidström.  I’ve mentioned him before, and I am planning to discuss more about him in an upcoming post.


Posted in bowls, carving, holding, paint, patterns, Uncategorized | Tagged , , | 9 Comments

Walking….and Spoons

SAM_2529

The more you walk, the better you feel, the more relaxed you become, the more you sense, the better you think, the less mental clutter you accumulate.  And it’s the uncluttered man who is the happy man.

— Aaron Sussman and Ruth Goode, The Magic of Walking (1967)

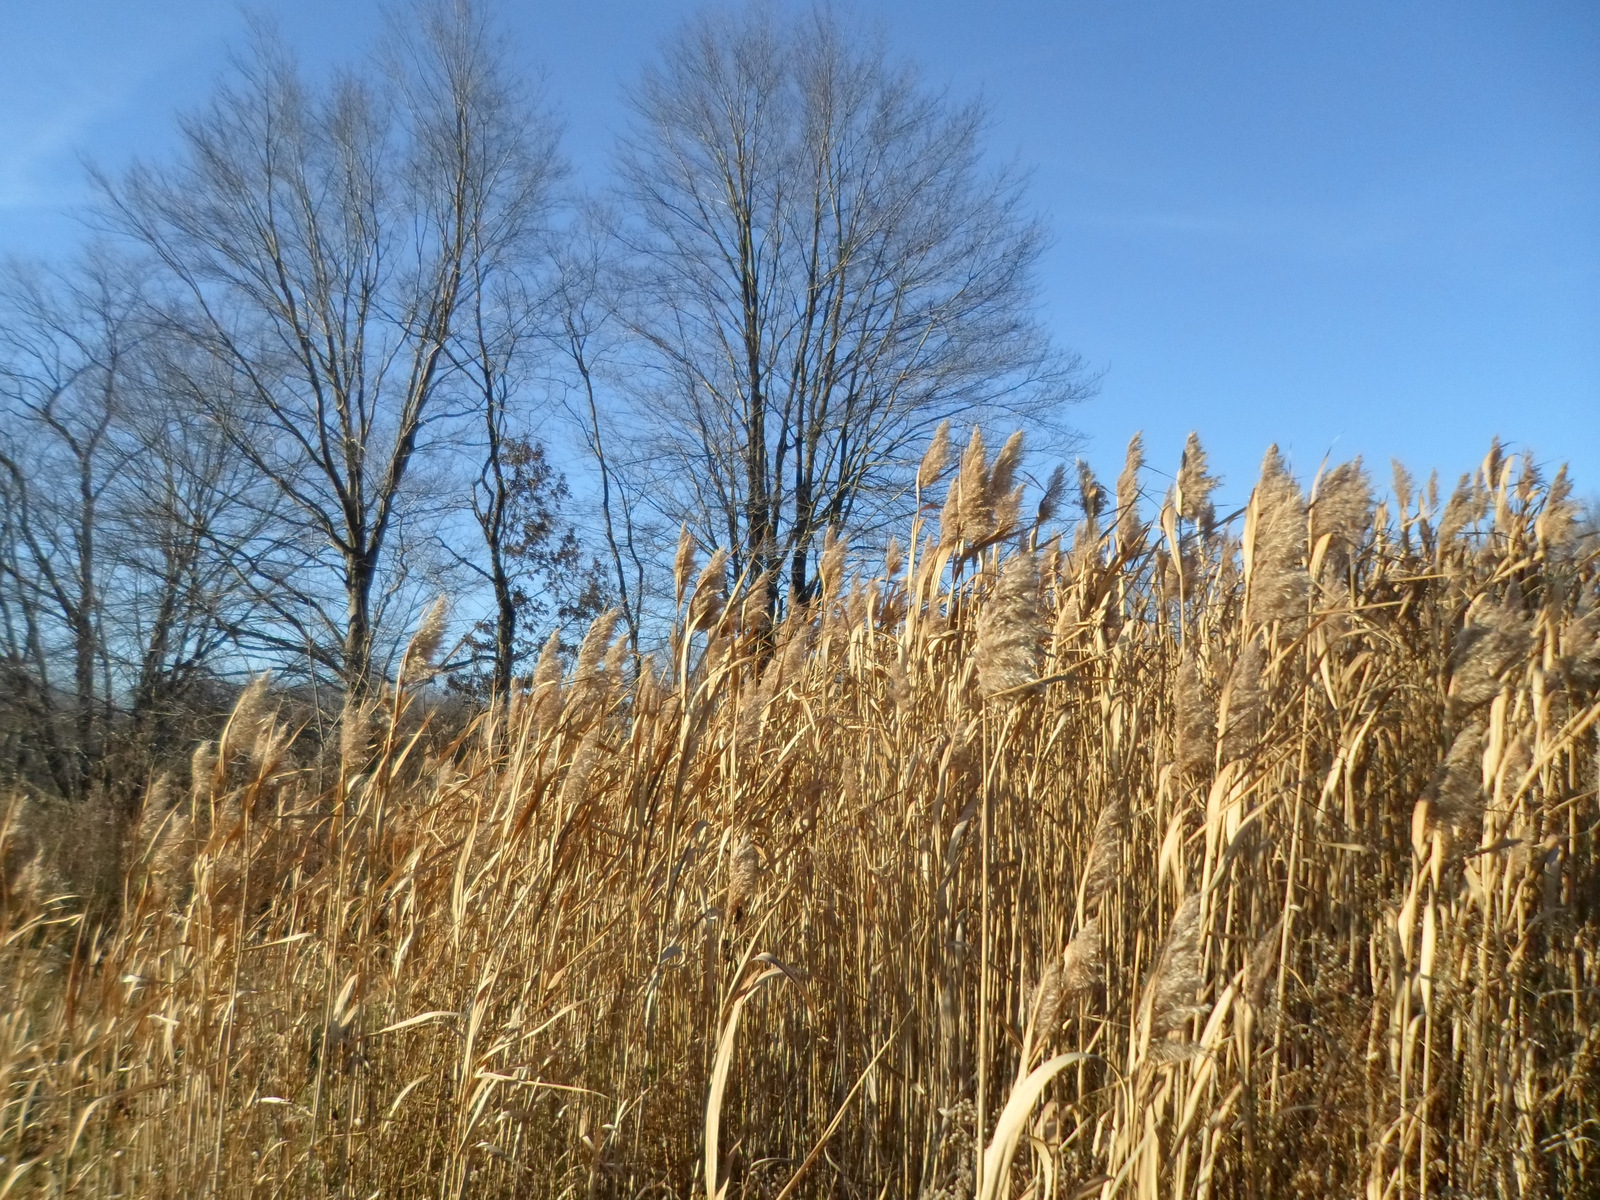
We’ve had some idyllic fall days lately, and I’ve been walking.  I’ve never been much of a driver, runner, or biker.  In fact, I’m bad at all three.  Walking suits me better, and it gives me a chance to get off the beaten path and explore.  On these crisp late afternoons with the sun bright but low, I’m struck by the effect of shadows and the contrast of color between the landscape and the sky.  With the leaves gone, drupe clusters stand out like ornaments on the velvety branches of the staghorn sumacs.

SAM_2531Even on familiar routes, there is always something new to notice.  Grasses turn golden, the river rises and falls, ….


IMG_6187….and the most impressive woodworkers of all leave beautiful toolmarks.


SAM_2545


And an added bonus is that I sometimes find spoons.  Well, spoonwood at least.  There are spoons is those gleaming sycamore branches, but I won’t be climbing up there (FYI: I see that Peter Follansbee recently made some great spoons from sycamore).  There’s wood to be found on the ground. I’ll sometimes come across areas where right-of-ways have been cleared, windblown branches, logged areas, or even beaver-harvested trees.  In any case, I look for spoons in the branch crooks, and I carry a folding saw in my pack.

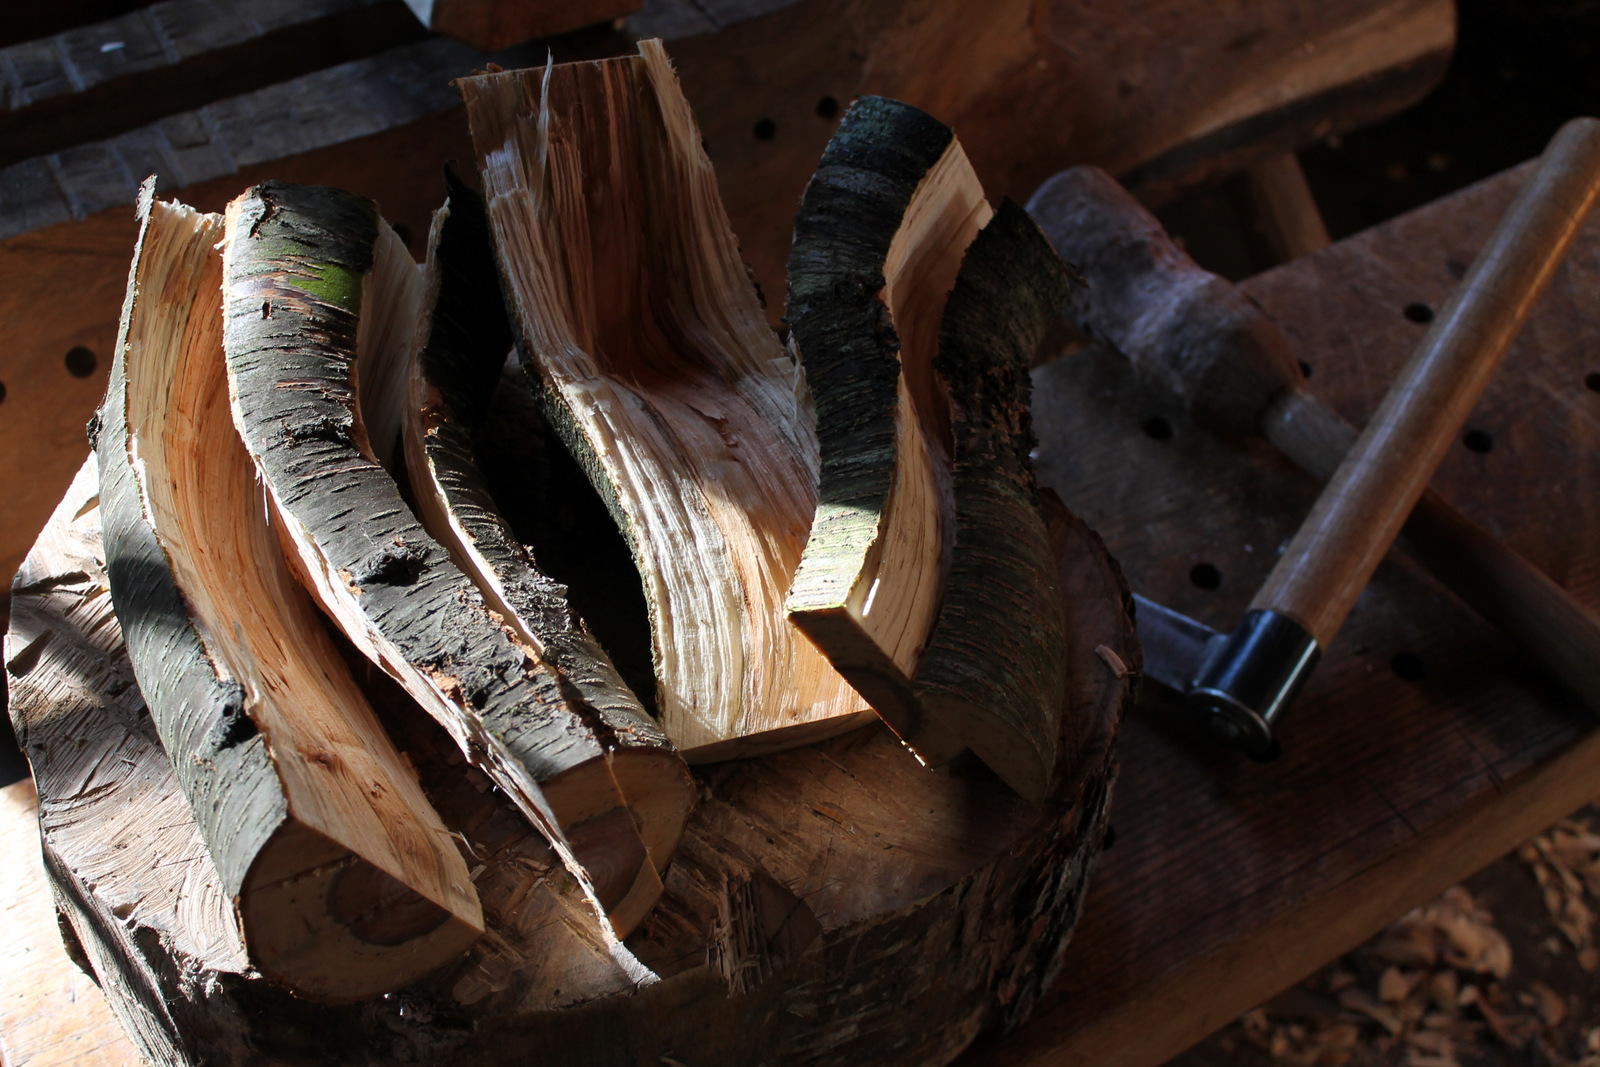
IMG_6178Once I’m home, I like to use a froe to split them up into spoon blanks.  I follow with the axe work, usually right away, then keep the hewn blanks in a plastic bag in the fridge or freezer until I’m ready to continue with the knives.

IMG_6218


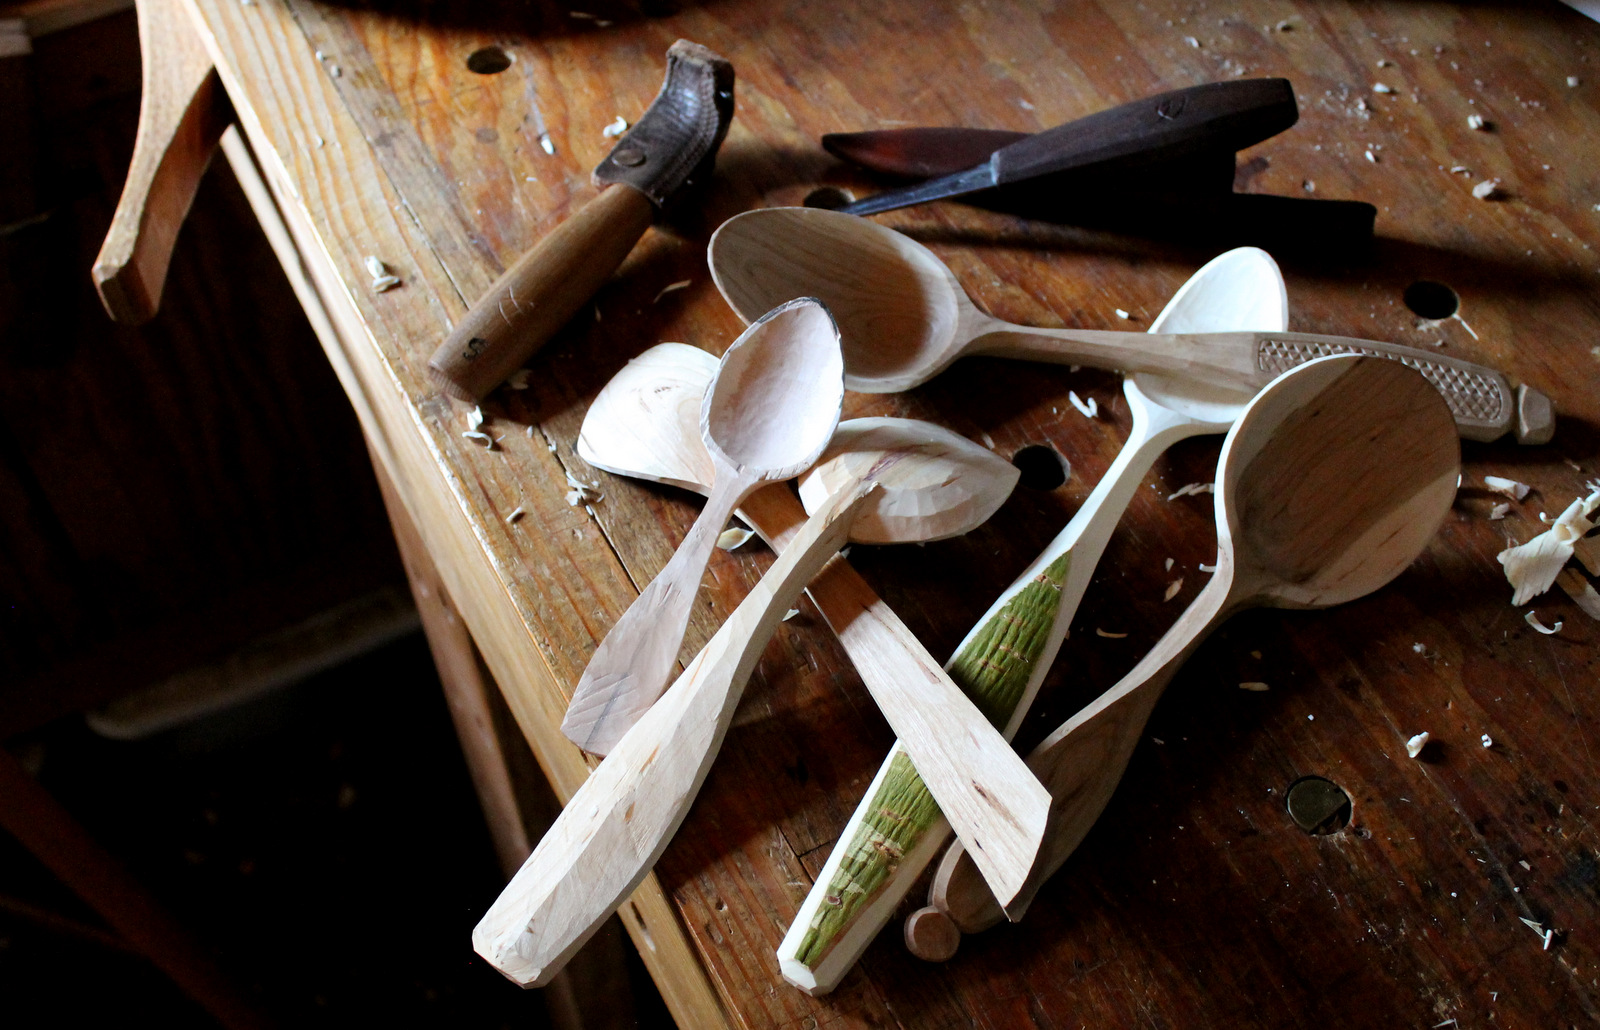
I should be finishing a couple bowls in the evenings, but a nearby recently-cleared hillside has been offering up some great branch crooks and I haven’t been able to resist working on a bunch of spoons.  And whether you’re carving spoons or walking, it’s easy to lose track of time.


Posted in cherry, finding wood, green woodworking, nature, spoons, Uncategorized | Tagged , , | 6 Comments

The Patience of Trees

IMG_6168-001

Knowing trees, I understand the meaning of patience.

— Hal Borland, Countryman: A Statement of Belief, 1965

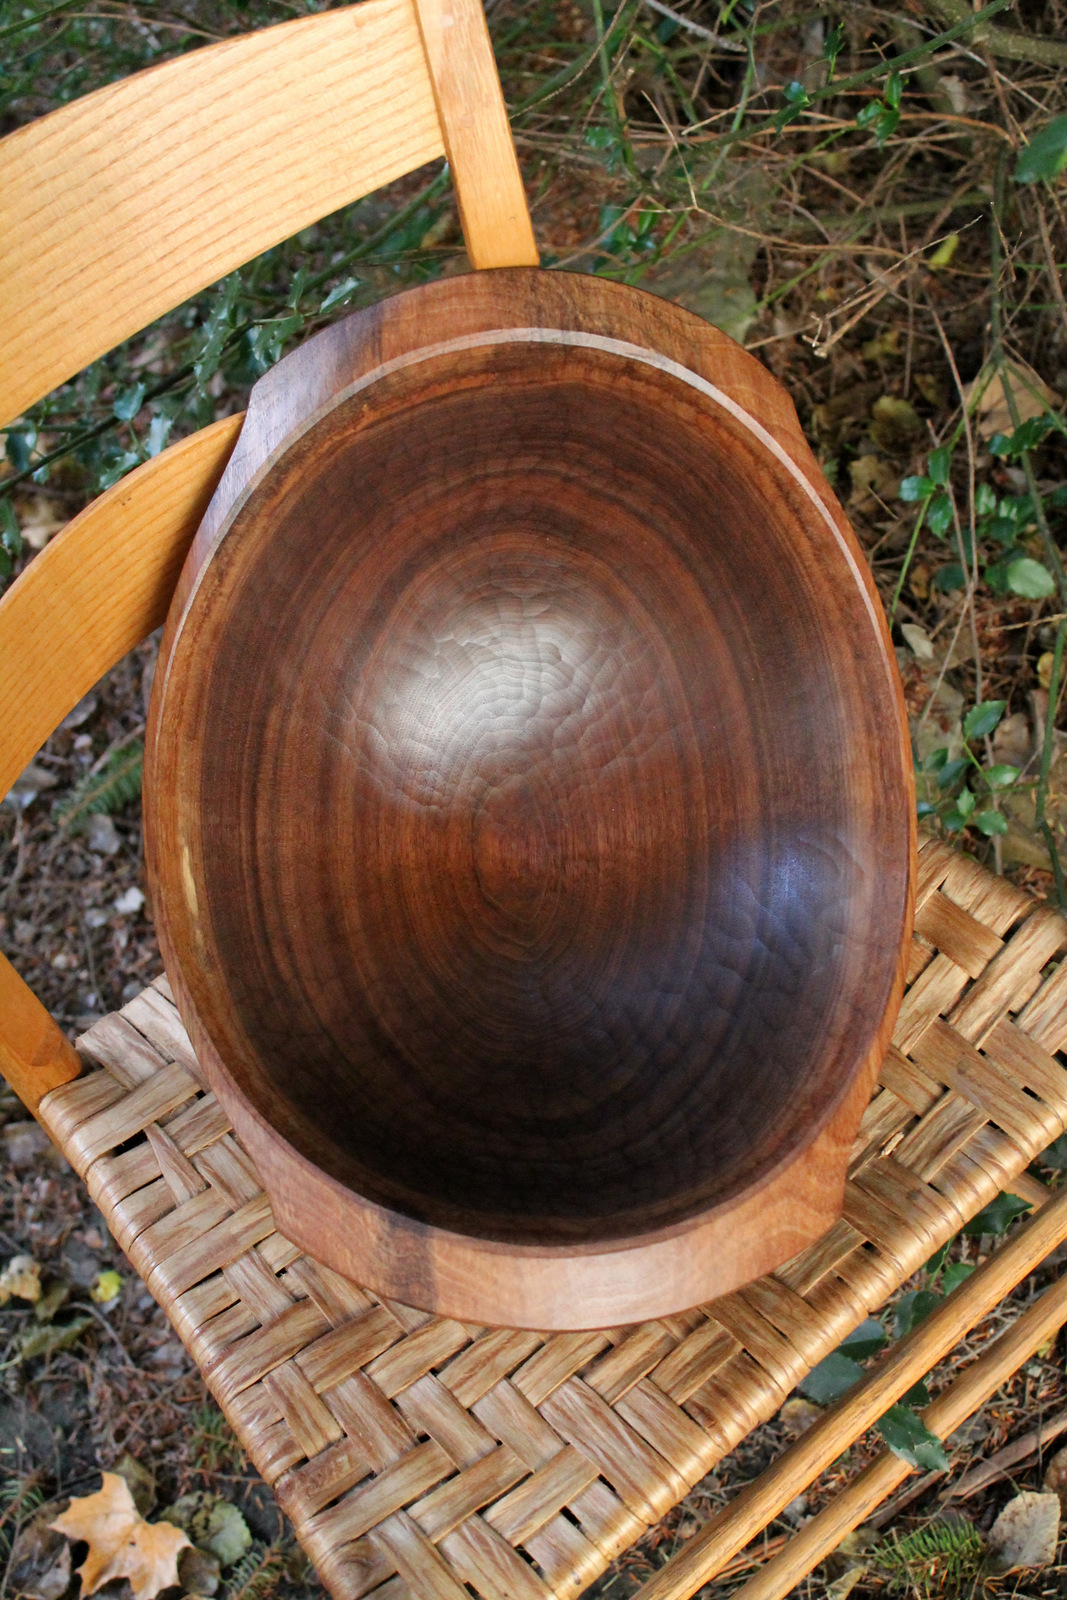
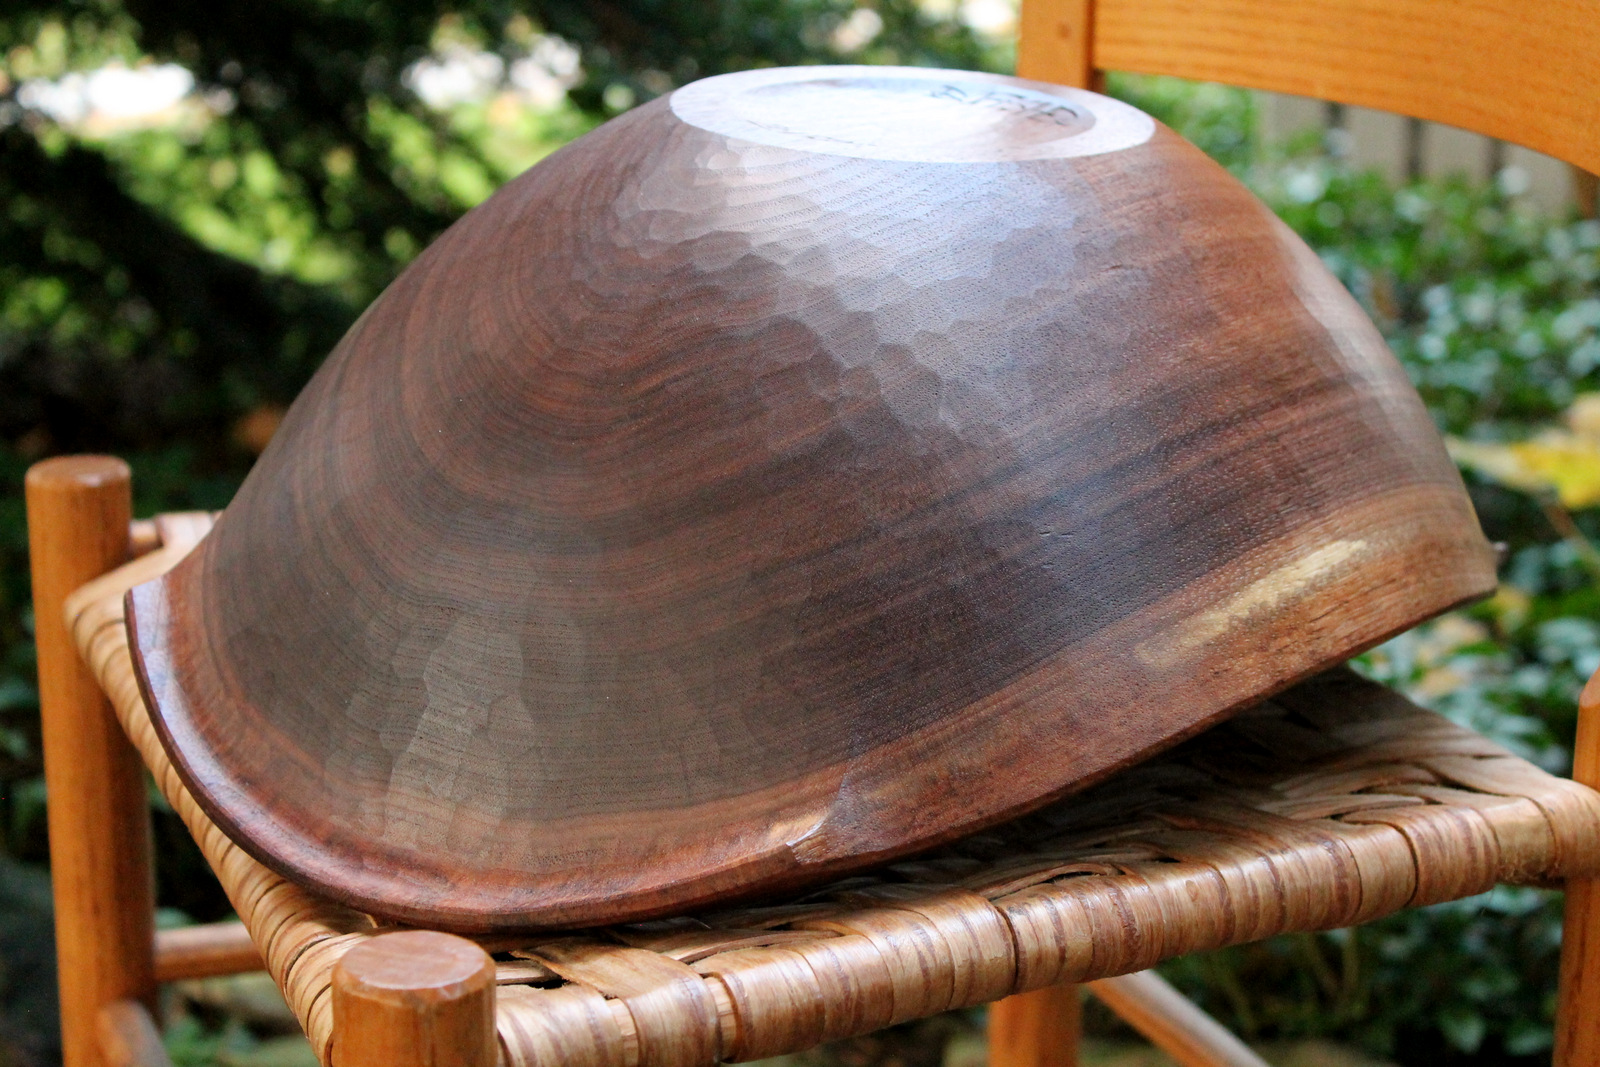
As the oil began to reveal the rich variations in each growth ring, I found myself thinking about the tree from which this bowl came.  It was a walnut tree that grew beside a winding stream at the bottom of a wooded ravine.  As its branches grew over the water, its roots reached into and under the flow.  Each year brought blessings and challenges of one kind or another.  Through it all, the tree stood steadfast, knowing that bitter winter gales would be followed by warm summer breezes, that a year of drought might be followed by soothing rain.

IMG_6158For over a century, the tree did what trees have always done, as humans whizzed around above the walls of the ravine.  But now it lies beside the stream, it’s roots finally giving way to the wind, and I am privileged to work with it. As I do, the story of those years is revealed in a rich tapestry of hue and pattern unique to this tree.

No apologies for the sentiment.  Maybe it’s the design of a bowl like this that sends such a message so strongly to me. An upside-down bowl, the rim lies just beneath the bark, and each ring reaches further back into the story of the tree.  From rim to bottom, there are over a hundred years of this tree’s patience revealed.

IMG_6164With no decorative carving, a bowl like this appears deceptively simple.  The challenge  lies in reading the log before carving, then achieving graceful lines and a pleasing surface.  This bowl is very high and full; it would cradle a basketball quite nicely, but might look better with fruit.  It is 16 1/4 inches long, 12 1/2 inches wide, and 6 5/8 inches high.  It’s on the website here.


Posted in bowls, green woodworking, trees, Uncategorized, walnut | Tagged , | 9 Comments

Tapered Reamers


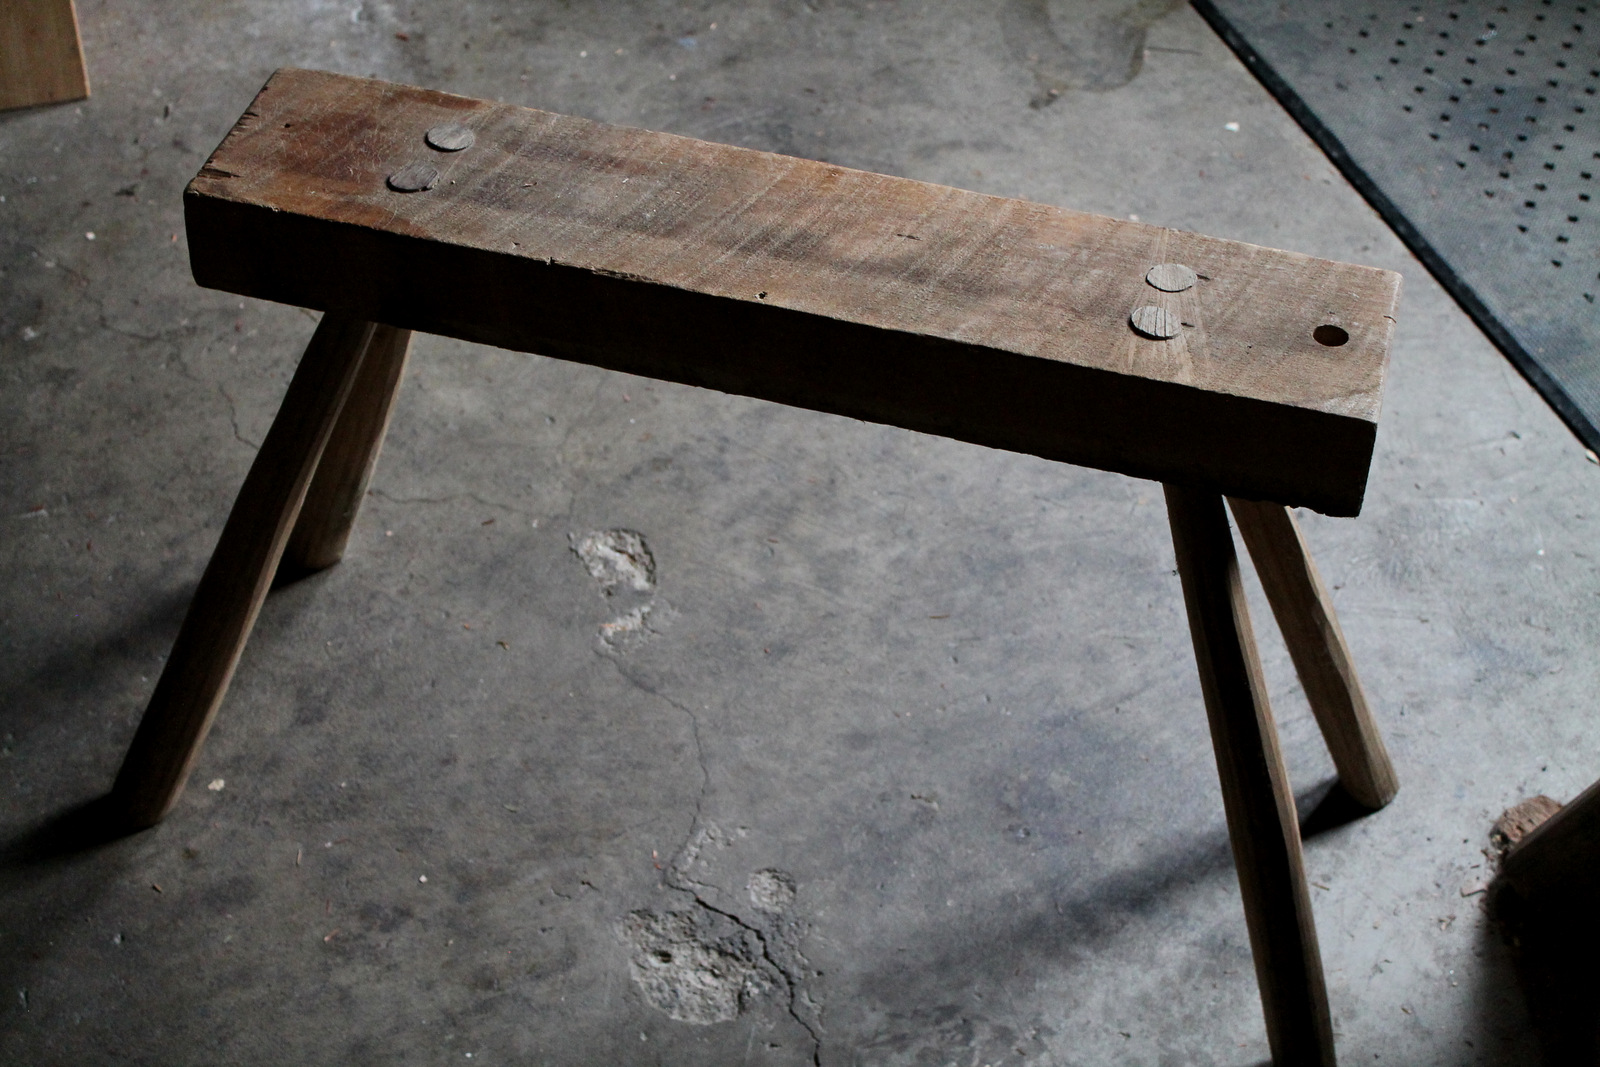
IMG_6125A couple people have asked me recently about what I use to make the tapered mortises on things like this low bench (above).  I have used this joint many times, for everything from sawhorses to tables.  I love its simplicity and versatility; whether it is a utilitarian horse, or a more finished bench, the process is the same.  The result is a solid, tight joint.

IMG_6127  IMG_2943

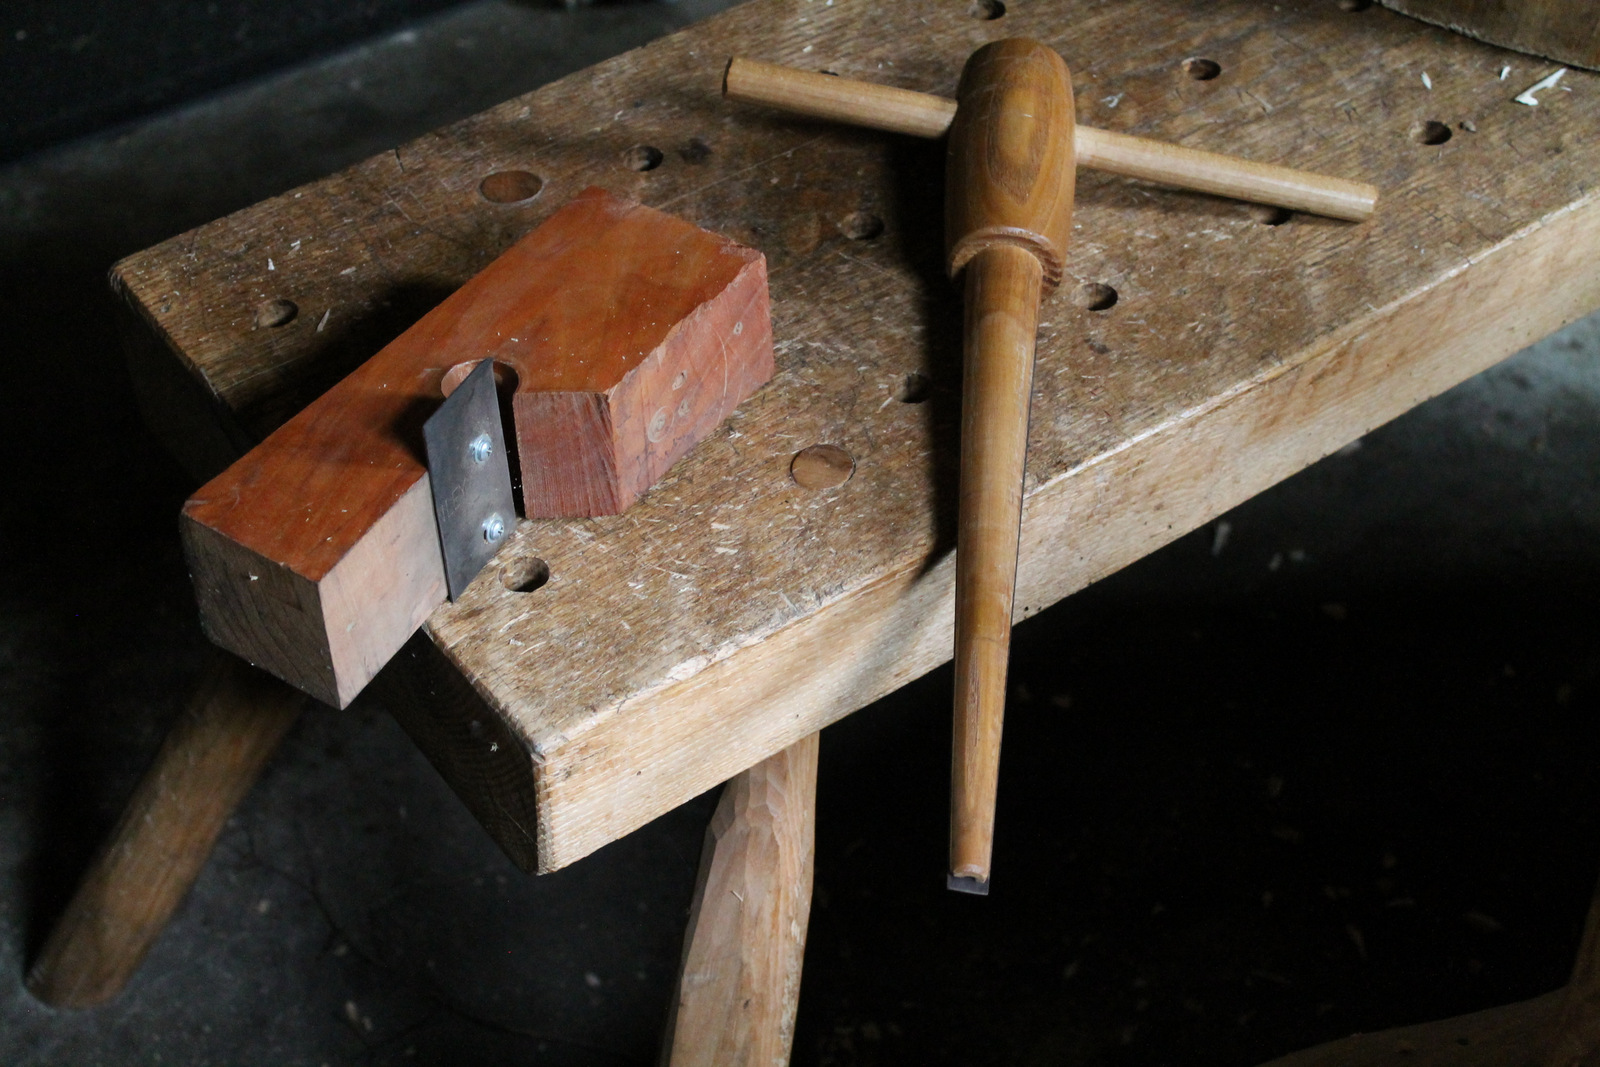
Windsor chair makers are very familiar with this joint, but the first time I used it was years ago when making a shaving horse according to These plans.  Alexander also had plans for making a tapered reamer for tapering the leg mortises after boring a hole.  I turned one (see top photo) on the pole lathe and it has done the job.  I also cobbled together a rounding shave of sorts to make tenons that match the mortises.  But chairmaker Tim Manney has taken things to a much higher level.

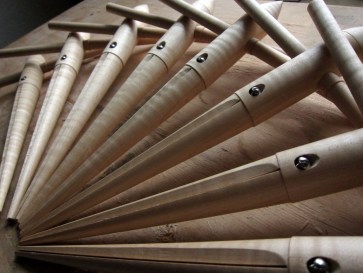
Tapered reamers in curly maple by Tim Manney

Tim makes and sells a gorgeous tapered reamer along the same lines but with some ingenious design adjustments and additions.  You can read more about them on his blog. He also has some great plans for the matching tenon cutter.  And then there’s his adze I’d like to try some day…

Whether you make your own, or pick one up from Tim, a tapered reamer opens up all sorts of possibilities.


Posted in green woodworking, holding, tools, Uncategorized | Tagged , | 12 Comments

Plymouth Craft Greenwood Fest

Distant travelers arrive in Plymouth for the Greenwood Fest.

If you follow Peter Follansbee’s blog (and you should), you know where I’ll be in early June.  Peter and the folks at Plymouth Craft were kind enough to invite me to be part of what is sure to be a special gathering in a special place.  Green woodworking in the green woods.  I am excited to be a small part of it, and I’m looking forward to meeting and carving with some great folks.

Peter wrote about it a bit in this recent post that also announces the involvement of yours truly (a.k.a. Goody Two-shoes).  I think you’ll be impressed with the other instructors on the list as things become confirmed.  Keep your eye on Peter’s blog and the Plymouth Craft site for updates as more details become available.  I’ve seen the rock; this is sure to be better.

Posted in classes, events, Uncategorized | Tagged , | 10 Comments

Reference Sketching

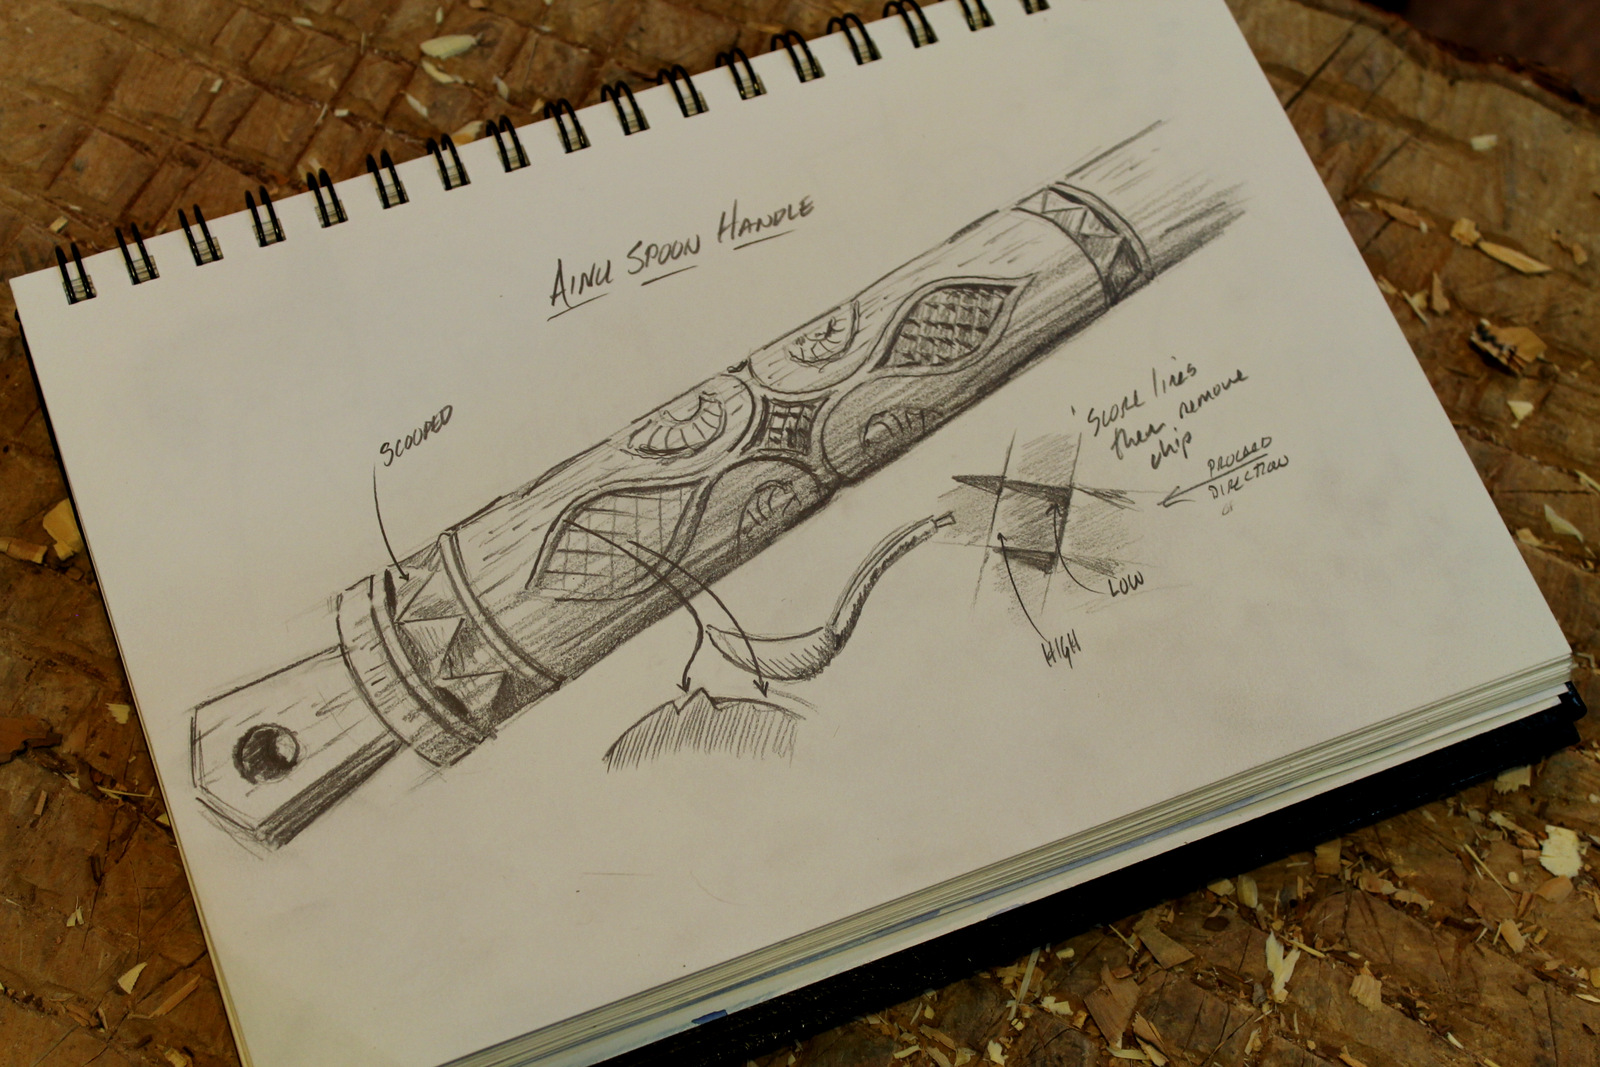
IMG_6077

Why make a reference sketch?  In order to draw a subject, one is forced to consider it intently.  I find that I’m often surprised, while sketching, by what I hadn’t noticed prior to making the sketch.  In fact, the process of making a sketch can be valuable even if you also have a photograph, or only a photograph.  I didn’t have time to sketch the spoon handle above when I was in the room with the spoon.  At least I was able to refer to a photo later (Thanks, Eric.).  And through the process of making a sketch, I came to understand the piece better.

If you have concerns about your drawing ability, consider that the greatest value in such an exercise is in the process, not the final picture.  In fact, you may find that the seeing process involved in sketching locks the image in your mind so well, that there’s little need to look at the final sketch anyway.  Still, you might like it!

Mary Magdalene sculpture in Portland limestone by Lucy Churchill

But don’t take my word for it.  What really got me thinking more about all this was an insightful  blog post on sketching by stone carver Lucy Churchill.  I admire Lucy’s work and aesthetic.  You can explore Lucy’s work at her website.

And if you’d like to make your own personalized and beautiful sketchbook, check out this post by Eric Goodson.

Posted in patterns, sketch, Uncategorized | Tagged , , | 4 Comments

A Little Bread

IMG_6066-001

A little bread—a crust—a crumb—
A little trust—a demijohn—
Can keep the soul alive—
Not portly, mind! but breathing—warm—
Conscious—as old Napoleon,
The night before the Crown!

A modest lot—A fame petite—
A brief Campaign of sting and sweet
Is plenty! Is enough!
A Sailor’s business is the shore!
A Soldier’s—balls! Who asketh more,
Must seek the neighboring life!

— Emily Dickinson, Poem 159 (1896)

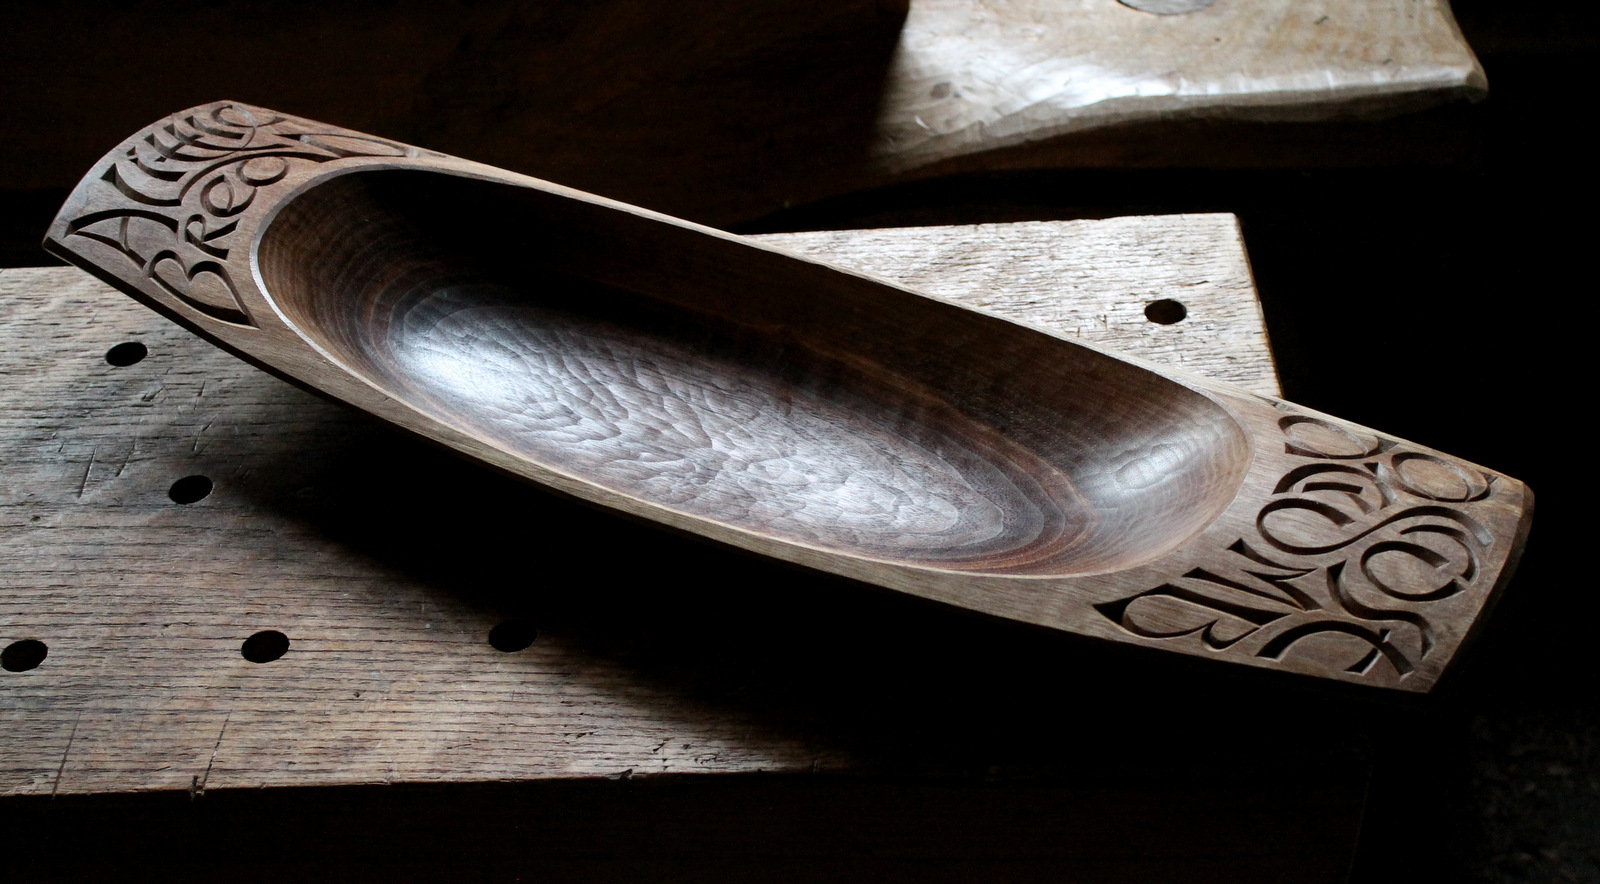
IMG_6076-001A few months ago, I almost threw this crust of walnut log onto the firewood pile.  It only had a bit of heartwood on the bottom, a remnant from the core of the log on which I was focused.  But the glaring white sapwood had already started to deepen to a beautiful brown, and I took a closer look.  This was enough.

IMG_6075-001I popped it into a garbage bag to keep it from drying out, and to allow the sapwood more time to deepen in color.  I’ve noticed that this process continues as long as the log remains moist.  Wait too long and you have rotten sapwood.    The process stops once the bowl has been roughed-out and allowed to dry.

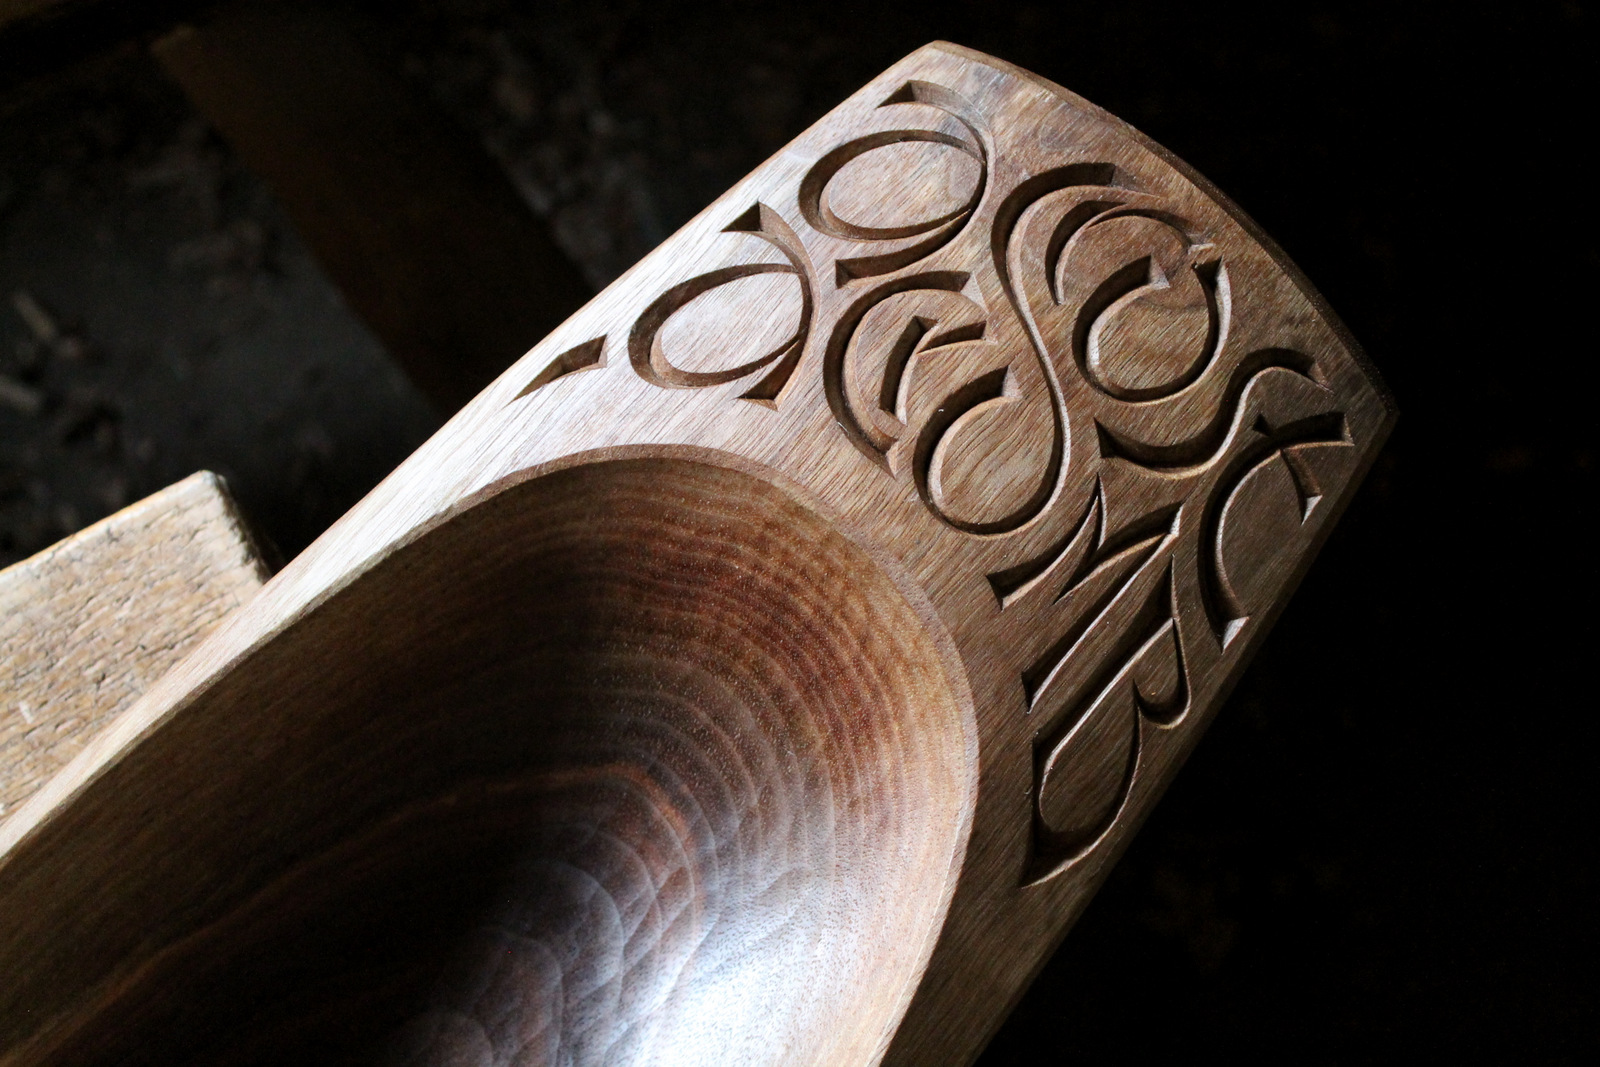
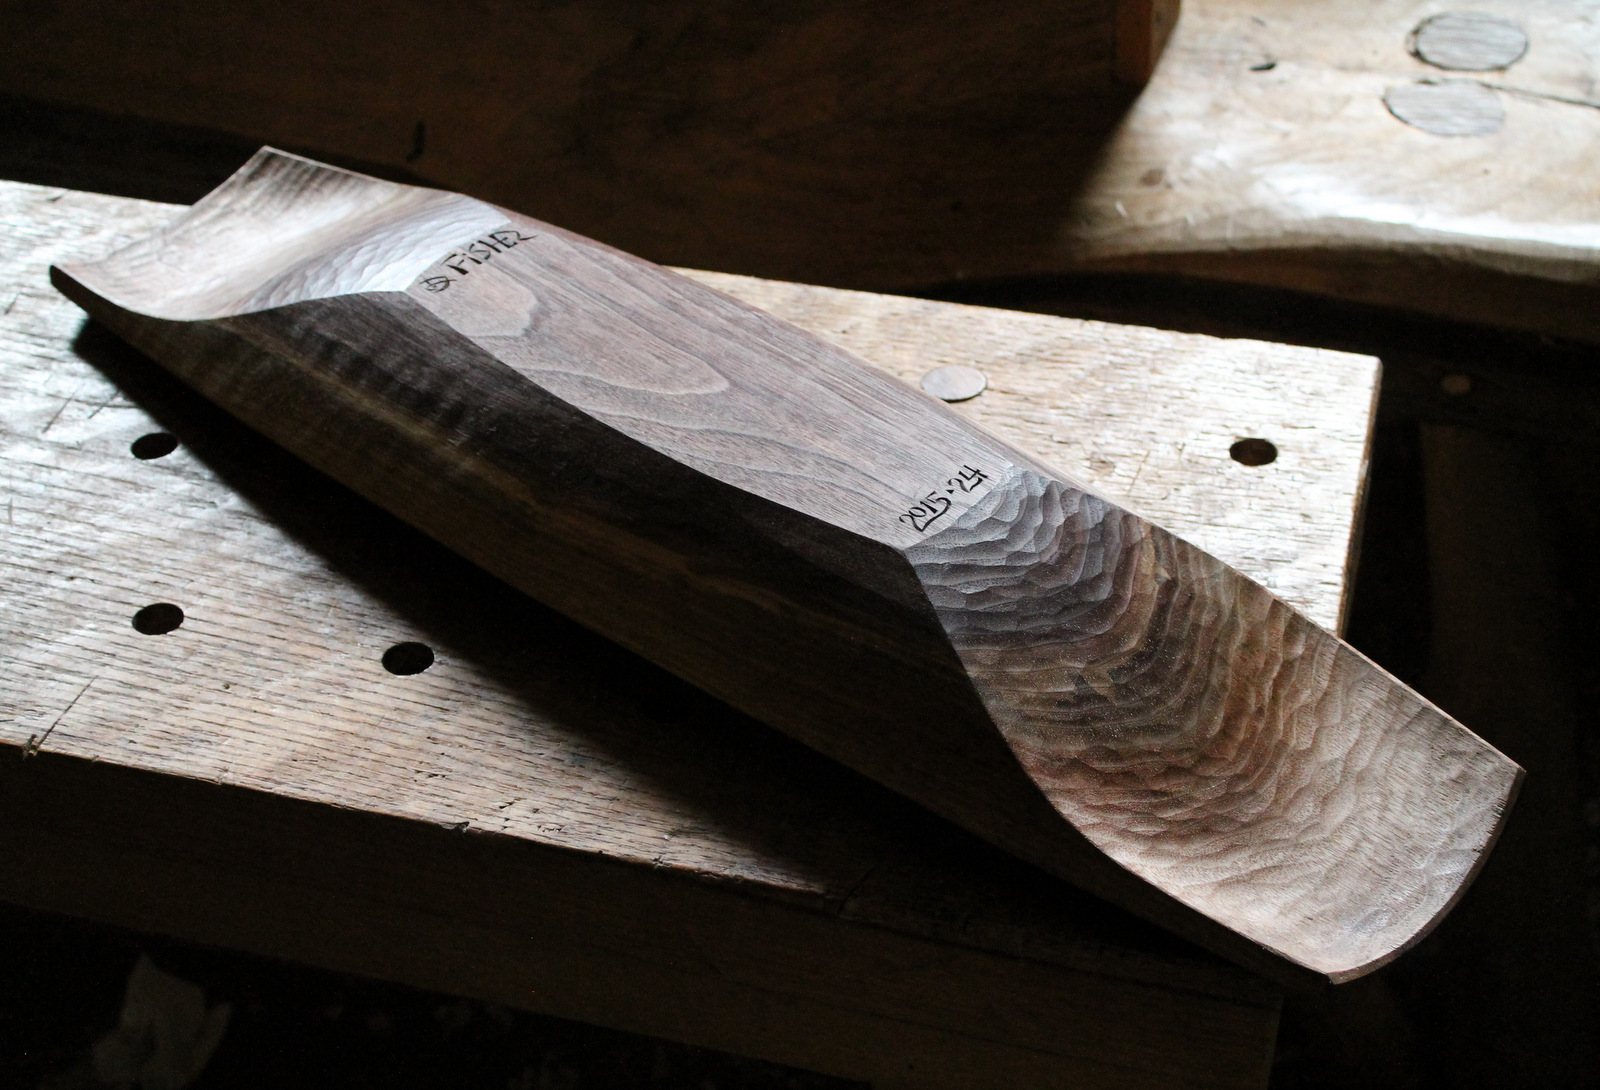
IMG_6069-001Considering the long narrow piece of wood, I carved a traditional trough style bowl (26 1/2″ long) that retained the naturally arched upper surface under the bark.  The handles are deep and undercut far back from the ends.  The broad surfaces of the handles were an ideal canvas for another exploration of letter carving, but I waited for inspiration.

IMG_6064-001It came through Emily Dickinson.

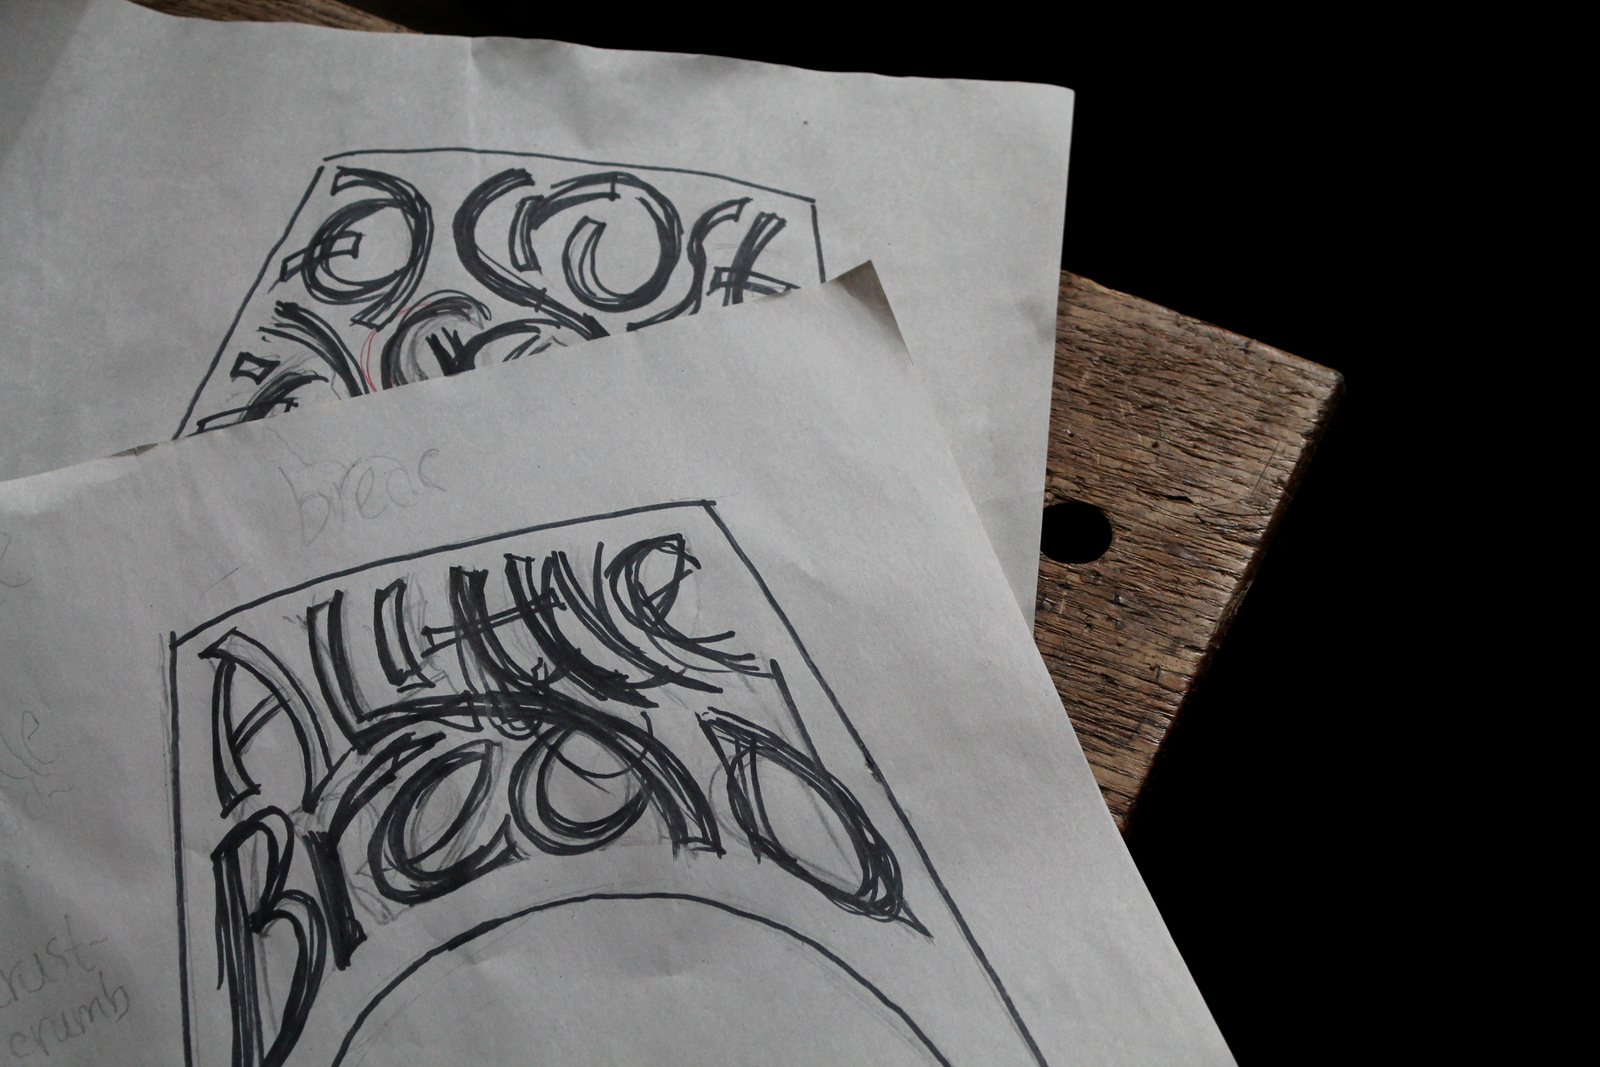
I explored ideas for the lettering design on paper, first with lots of pencil scribbles, then over that with marker, still keeping it loose.  It still had to be drawn on to the surface of the wood freehand anyway.  That is done more precisely.  Even then, it is the final cuts that matter, not the pencil lines.

IMG_6052-001For letters this large in walnut, I used a combination of a few carving chisels as well as the pen knife blade.  It takes time, but I enjoy the process.  It is a nice contrast to some of the heavier work done with the axe and adze.


Posted in bowls, Lettering, quotes and excerpts, Uncategorized, walnut | Tagged , , , | 7 Comments

The Secret Sits


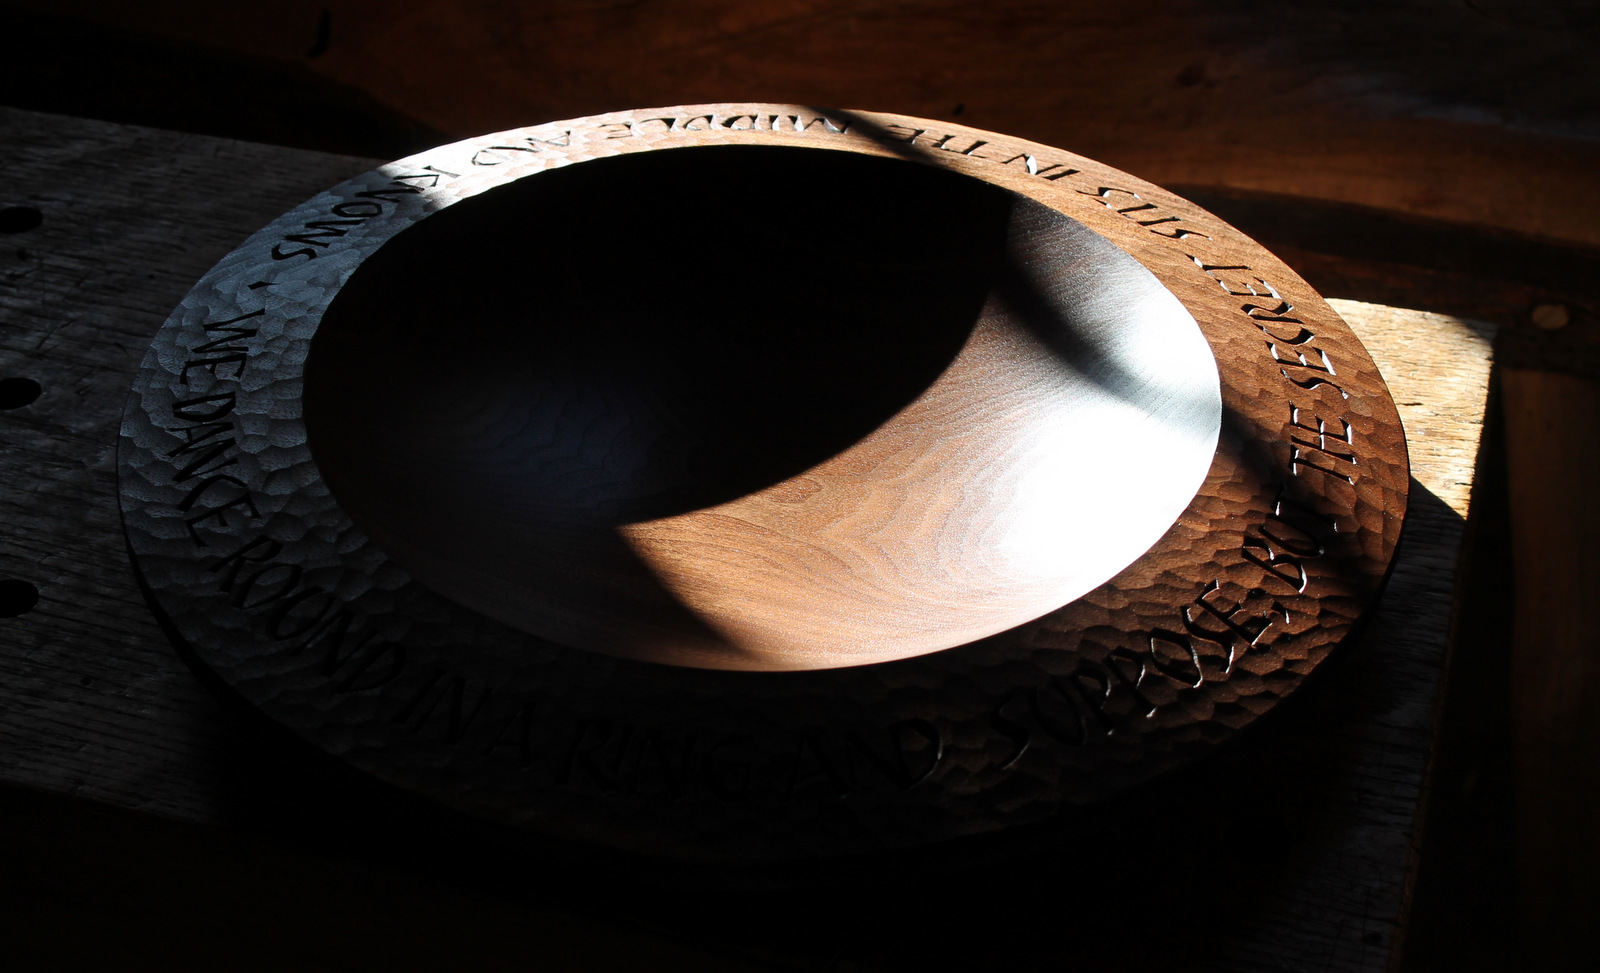
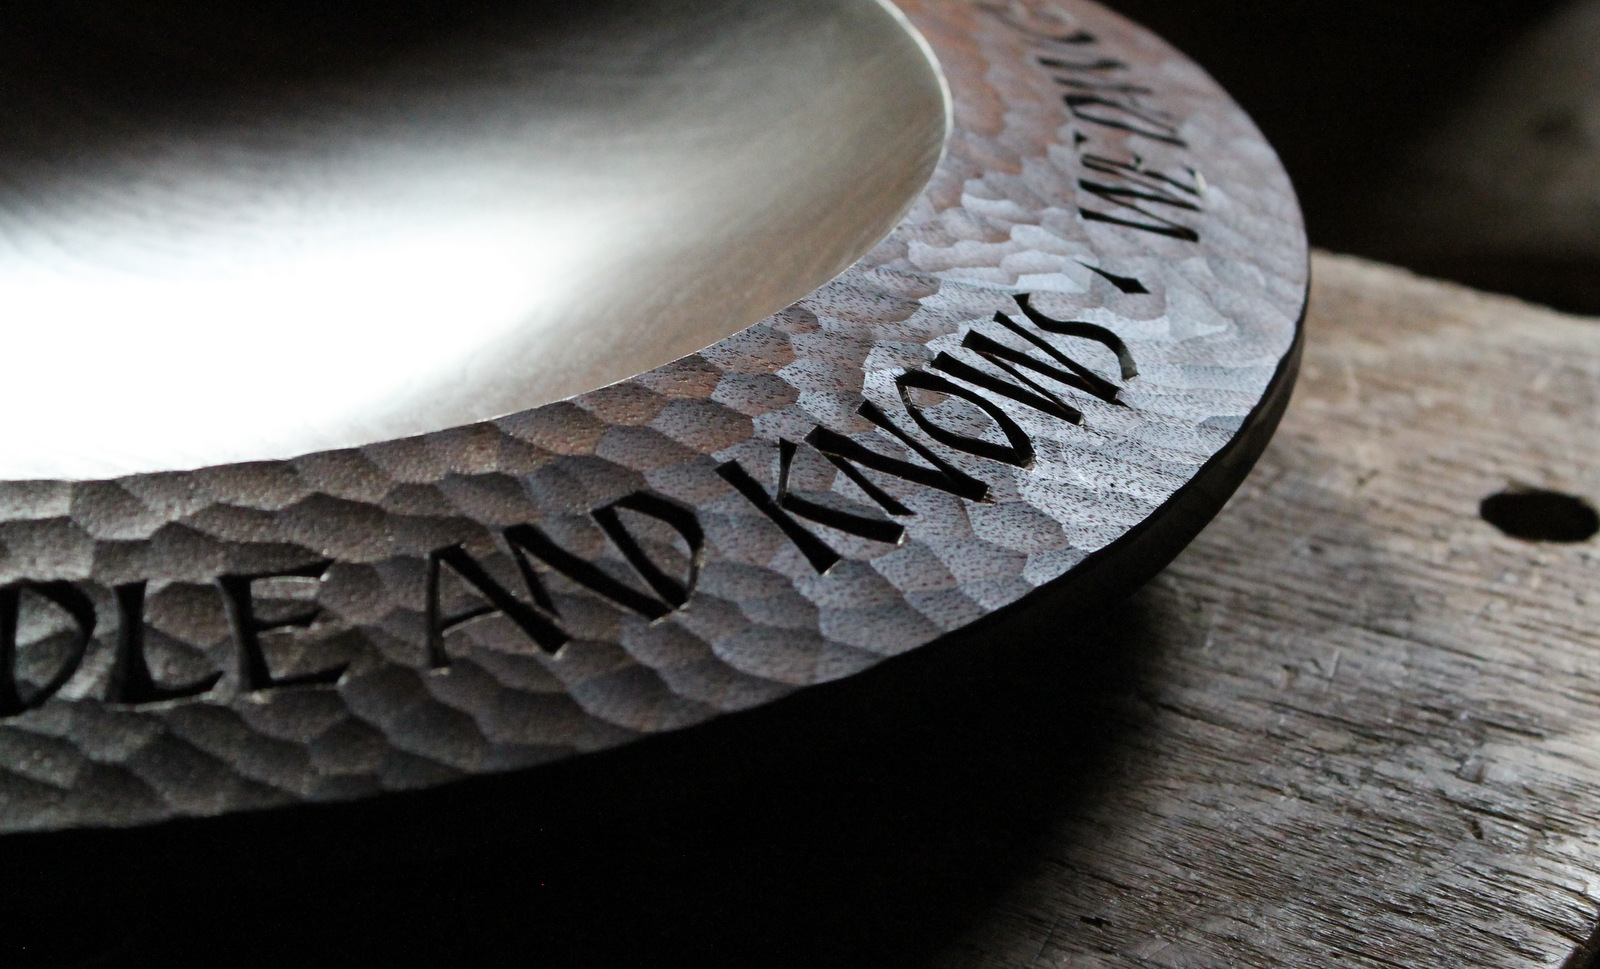
IMG_5884We dance round in a ring and suppose,

But the Secret sits in the middle and knows.

     — Robert Frost, The Secret Sits

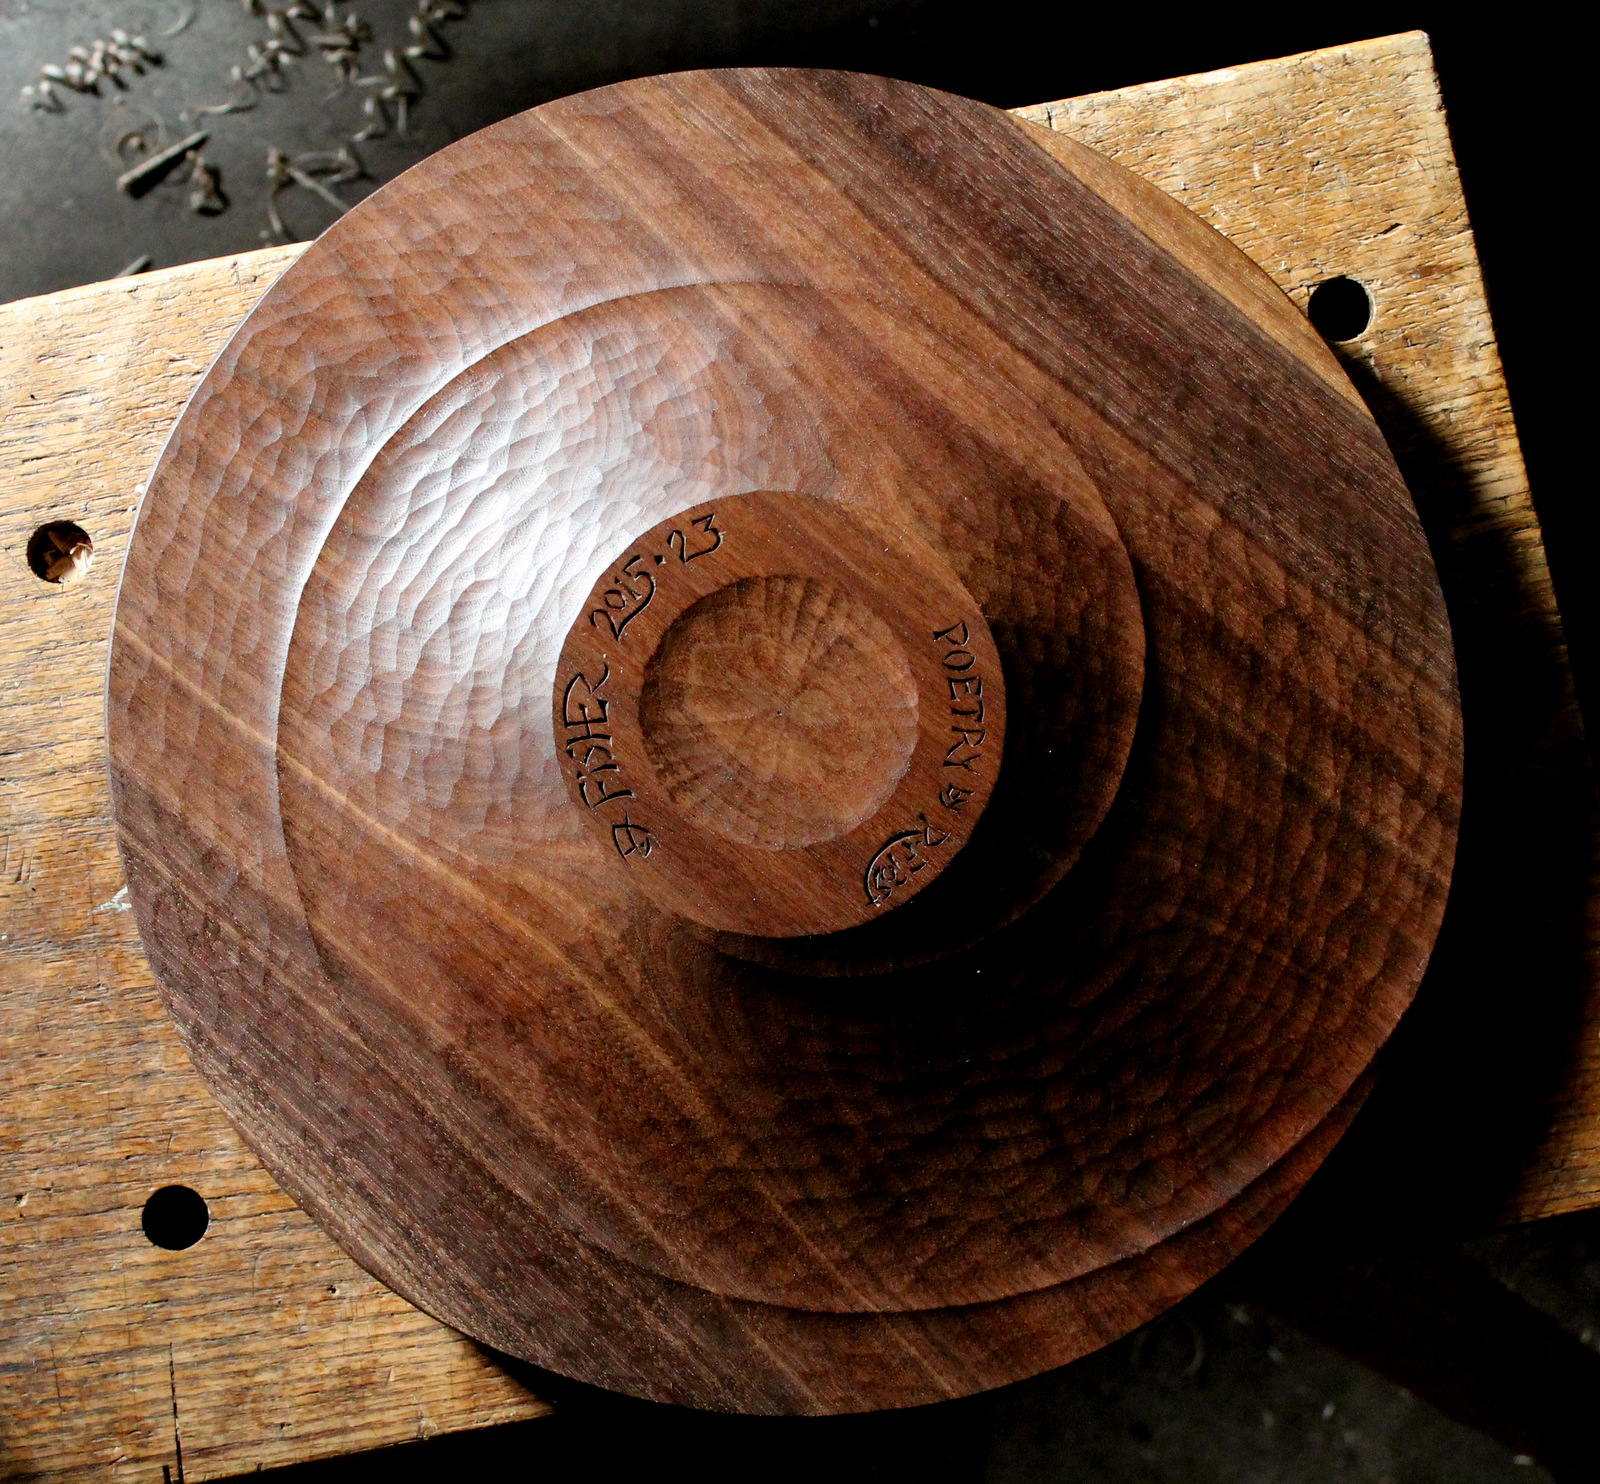
I thought I’d share some photos of my most recent bowl, inspired by Robert Frost’s poetry. In my last post, I discussed the process of carving the bowl itself.   Through the photos below, I’ll show some of the more recent steps, as well as a few shots of the completed bowl. The wood is walnut, and the bowl is 16 inches in diameter and 2 3/8 inches high, more of a platter I guess.

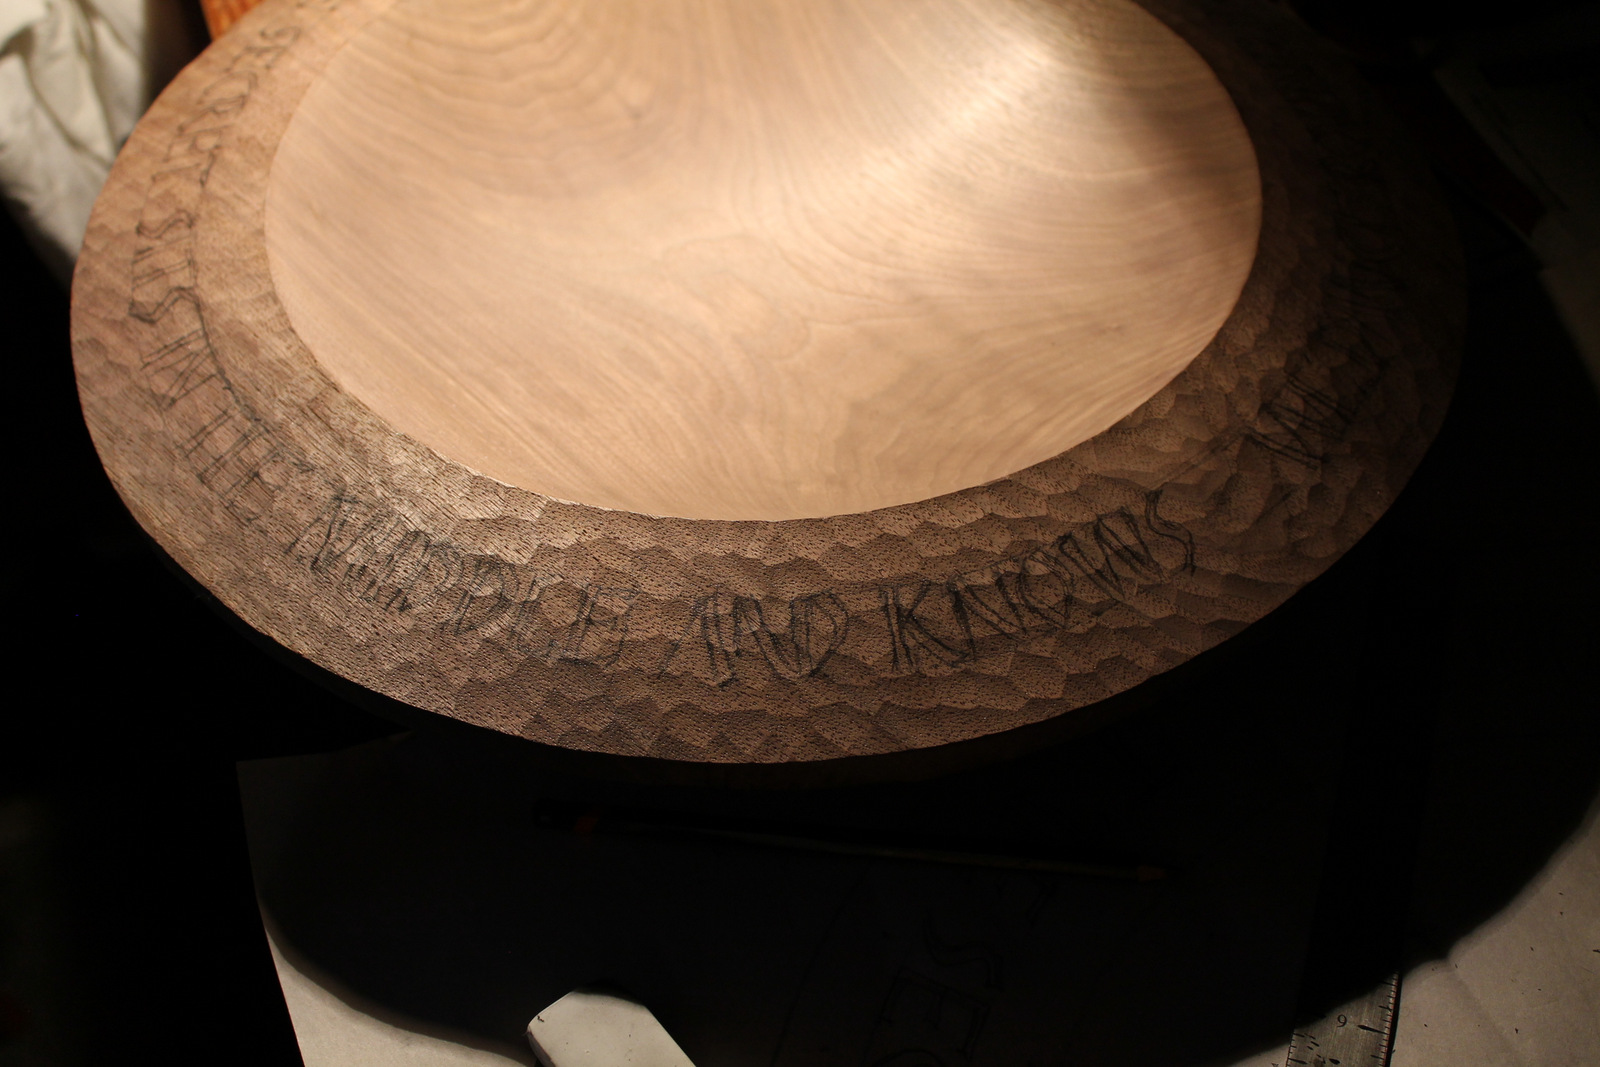
After texturing the wide rim with a gouge , I drew the letters on paper to work out spacing issues, then drew them again onto the bowl with a soft pencil.

After texturing the wide rim with a gouge , I drew the letters on paper to work out spacing issues, then drew them again onto the bowl with a soft pencil.

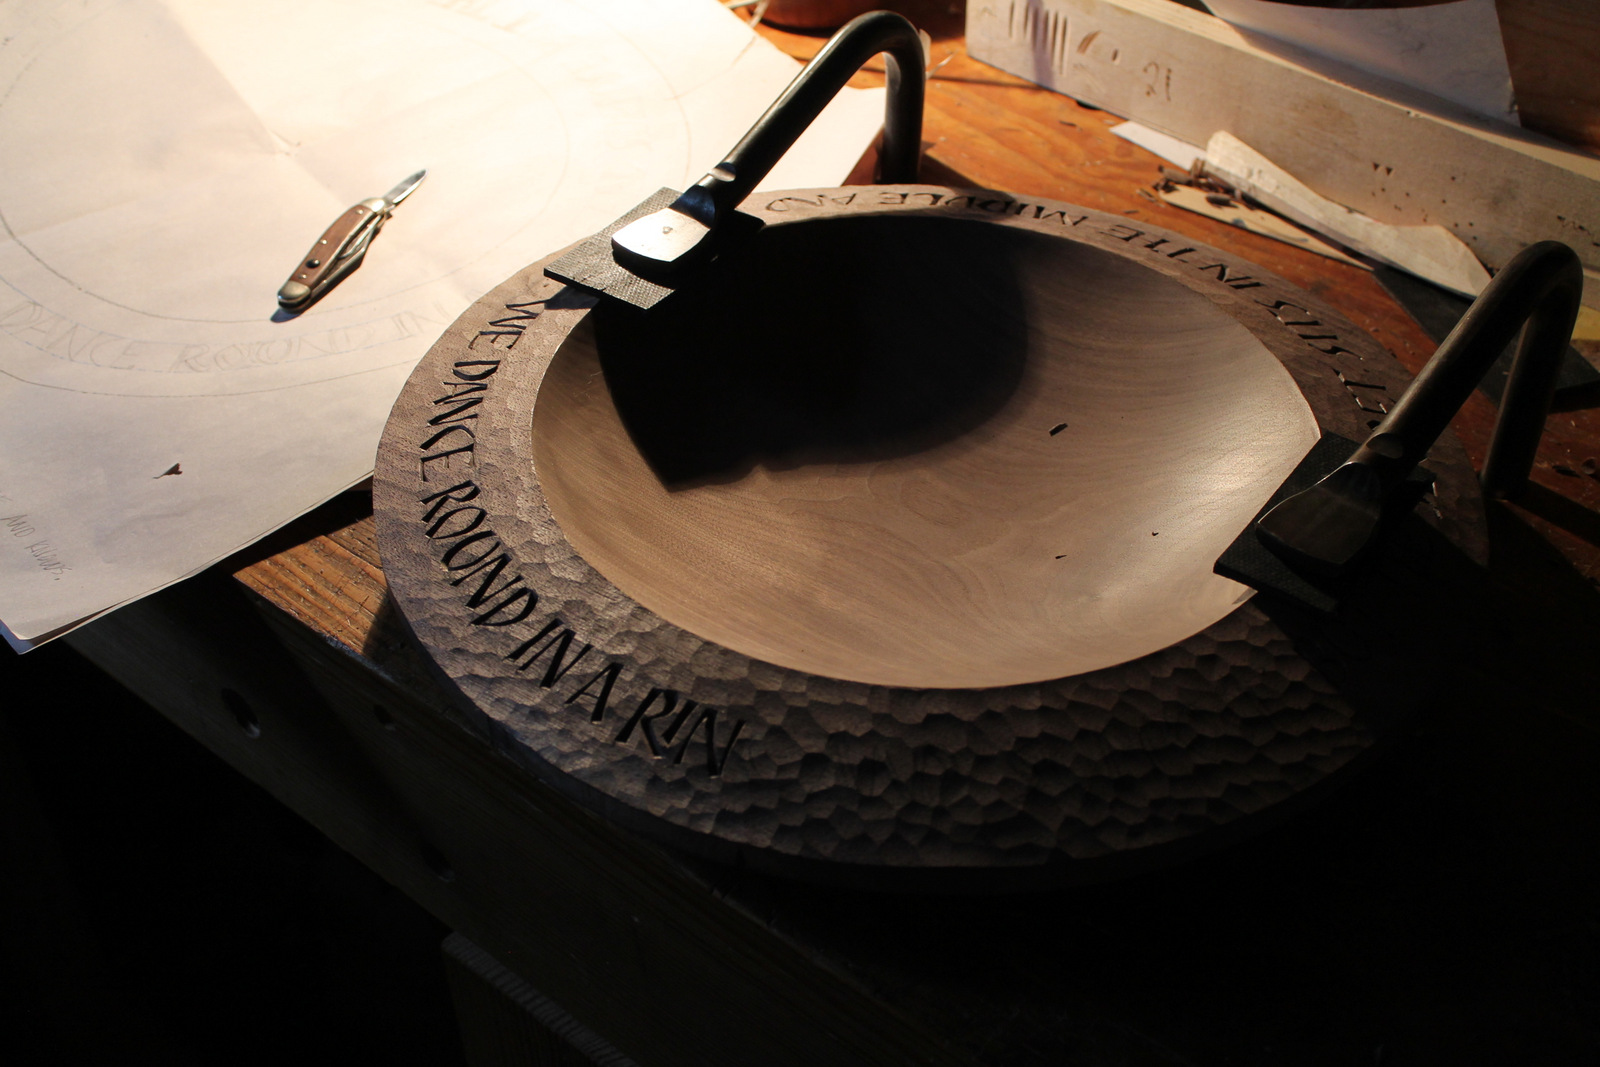
I used a small gouge or two at times, but the bulk of the lettering was done with the pen knife blade.

I used a small gouge or two at times, but the bulk of the lettering was done with the pen knife blade.

IMG_5886

Here, the grain pattern in the hollow is visible, along with the contrast in texture between the rim and the hollow.

The underside is textured with a spiral connecting the rim and the bottom

The underside is textured with a spiral connecting the rim and the bottom

IMG_5828

The edge of the rim is slightly hollowed. As the bowl dried, natural warping left the edge a bit wavy as it proceeds around the bowl — a welcome addition to the dancing theme of the rim.

I thought the chair might provide a sense of scale.

And, to provide a sense of scale, there it sits.

Thanks for looking.  I’ve also posted it to my website.


Posted in bowls, Lettering, quotes and excerpts, Uncategorized, walnut | Tagged , , | 13 Comments

“Turning” Without a Lathe

IMG_5314Months ago, I had a certain passage of poetry tumbling around in my head, and I envisioned it on a bowl.  But the bowl had to be round, and here I sat without a lathe — sort of.

Actually, I do have a couple.  Years ago, I built a a spring-pole lathe after reading Mike Abbott’s Green Woodwork — Working Wood the Natural Way.  I’ve had a lot of fun doing some spindle turning with it, but it sits disassembled in the basement, lacking the space to keep it set up in the shop. Plus, it’s not set up for bowls, let alone something 16 inches in diameter, like this bowl.  My other lathe is a mini-lathe I got for my son to use, but he is on to other things and it sits in the corner gathering dust.  So no lathe, or turning skills, up to the task.

IMG_5281-001

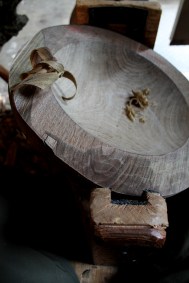
Sculpting the exterior of the walnut bowl with an adze. The small circle represents the bottom.

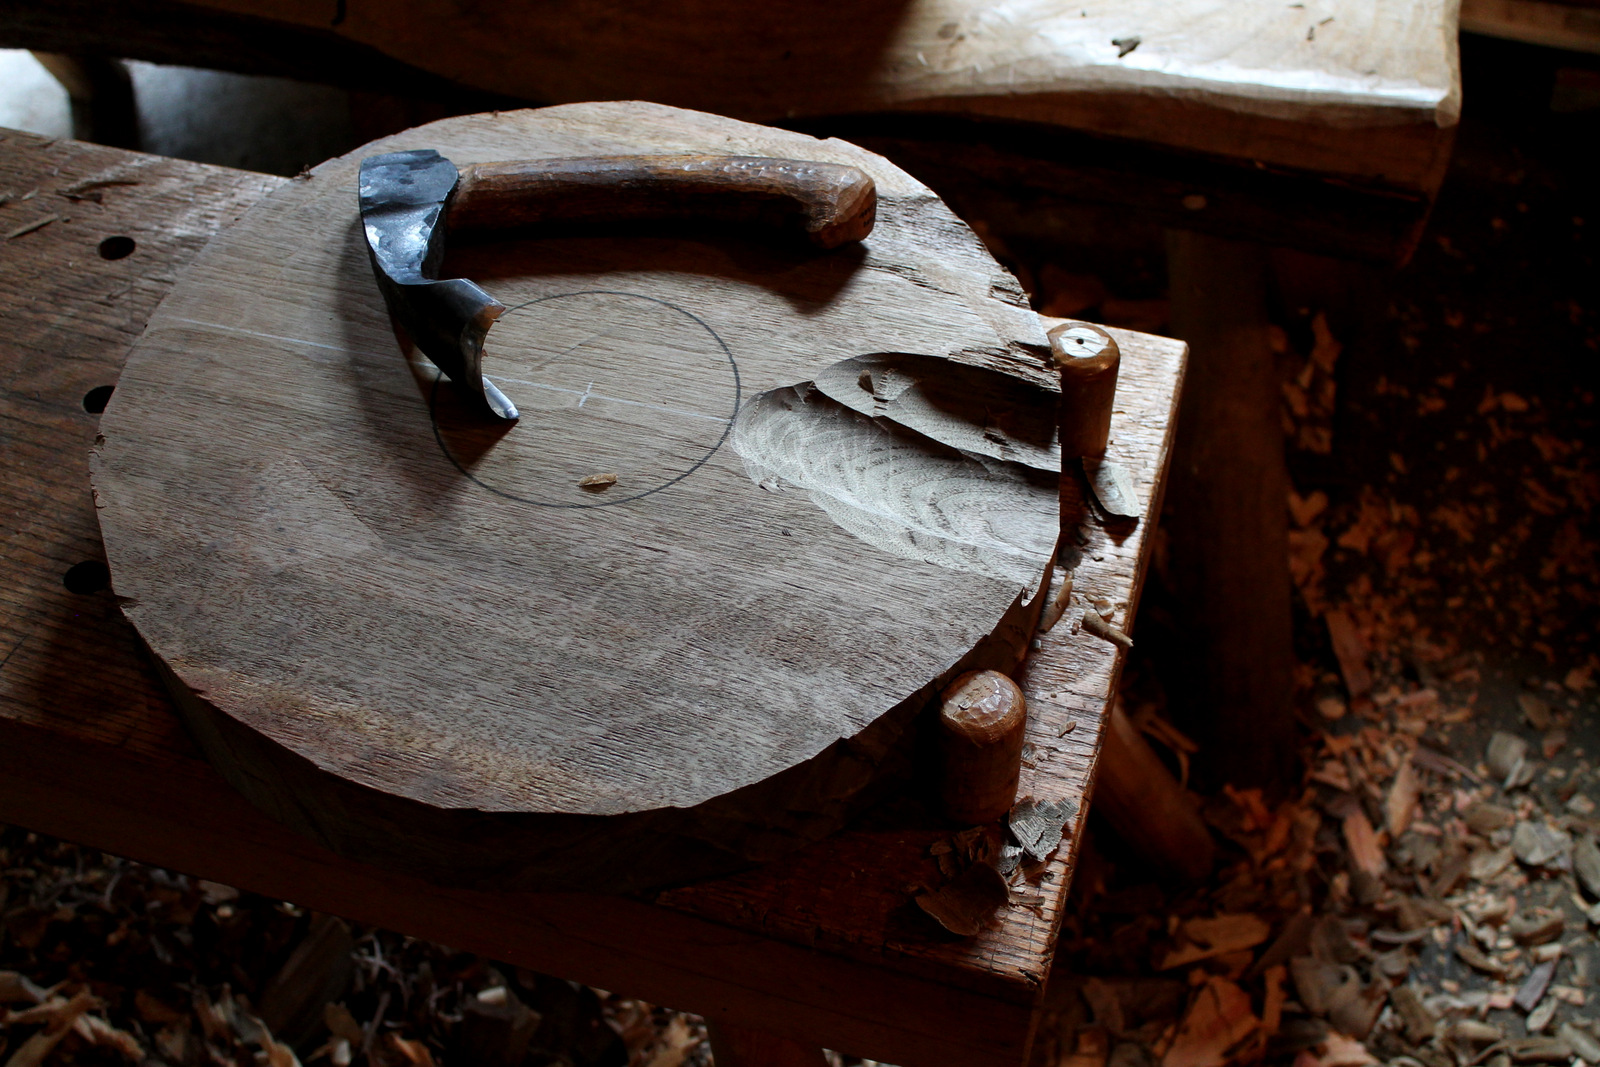
So, I stuck with what I know best, and started chopping away at a walnut log with an axe. After hewing the upper and lower surfaces flat, I struck a circle with the compass and hewed to it with the axe. Then I hollowed the bowl portion and sculpted the exterior with the adze.
IMG_5282

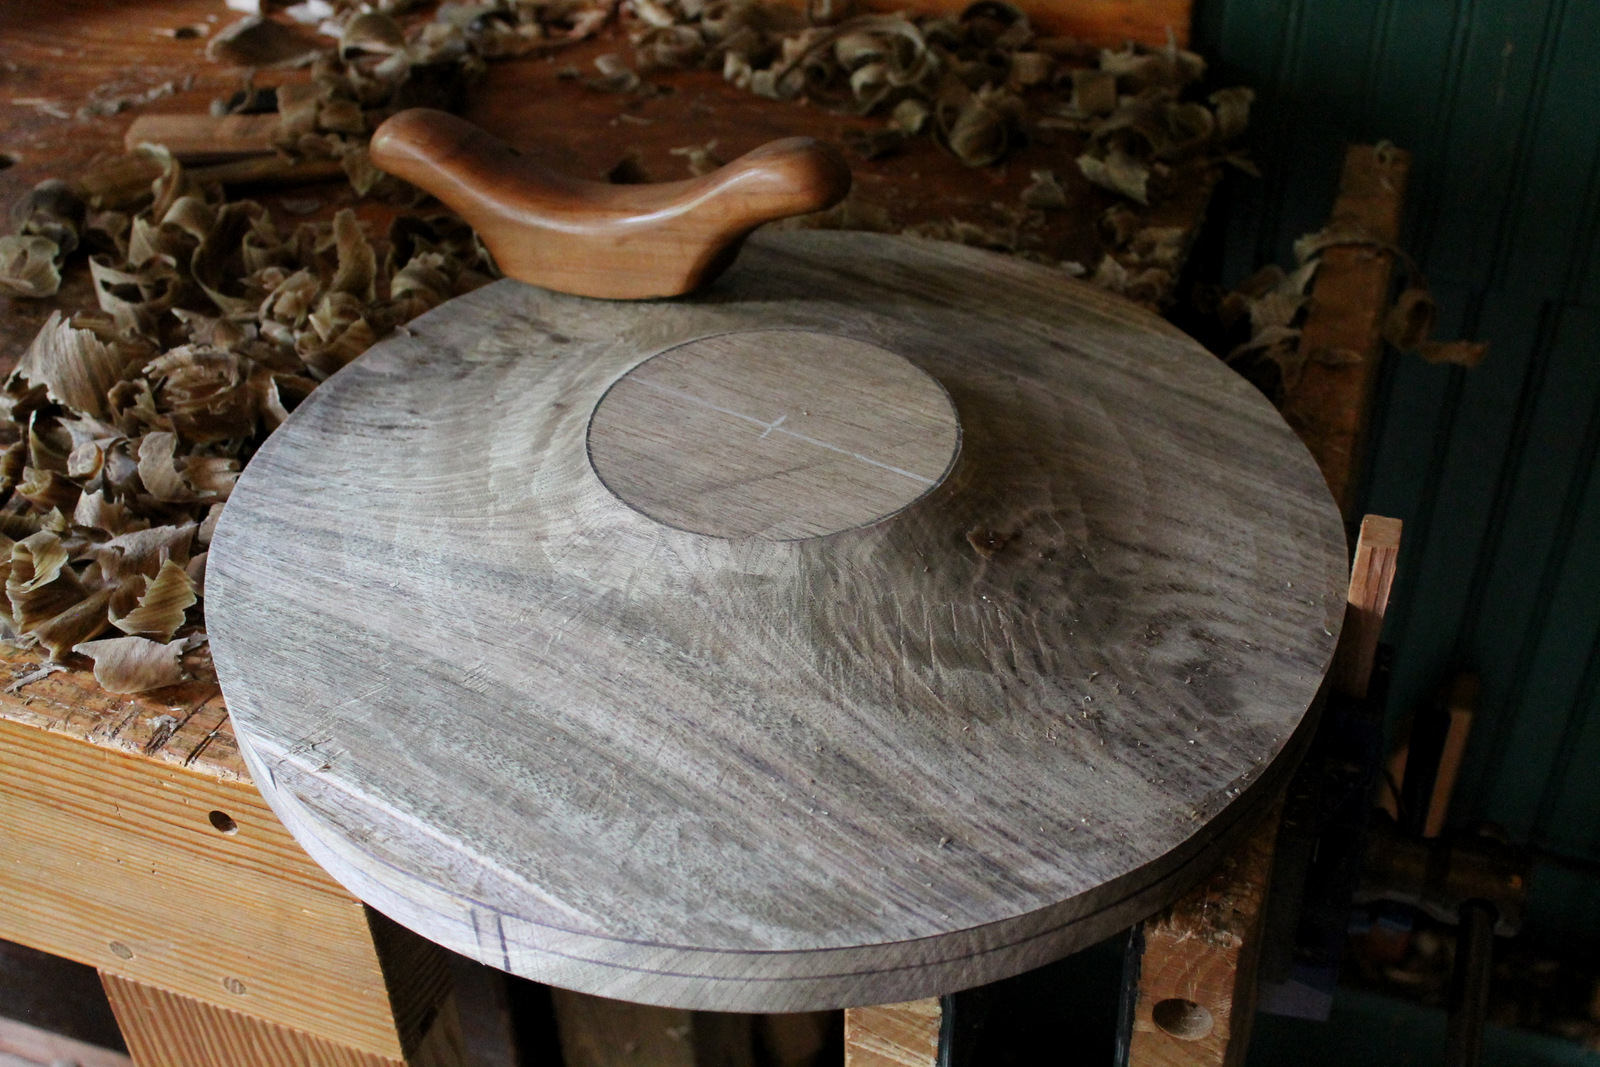
The bottom of the bowl after working with the travisher.


I refined the adze work with a travisher that I made years ago.  If I recall, I bought the blade from Country Workshops, but they don’t sell them anymore. Of course, the wood is still green at this point.
IMG_5283

Sculpting the wide rim with a drawknife.


The wide upper rim was easy to shape with a drawknife.

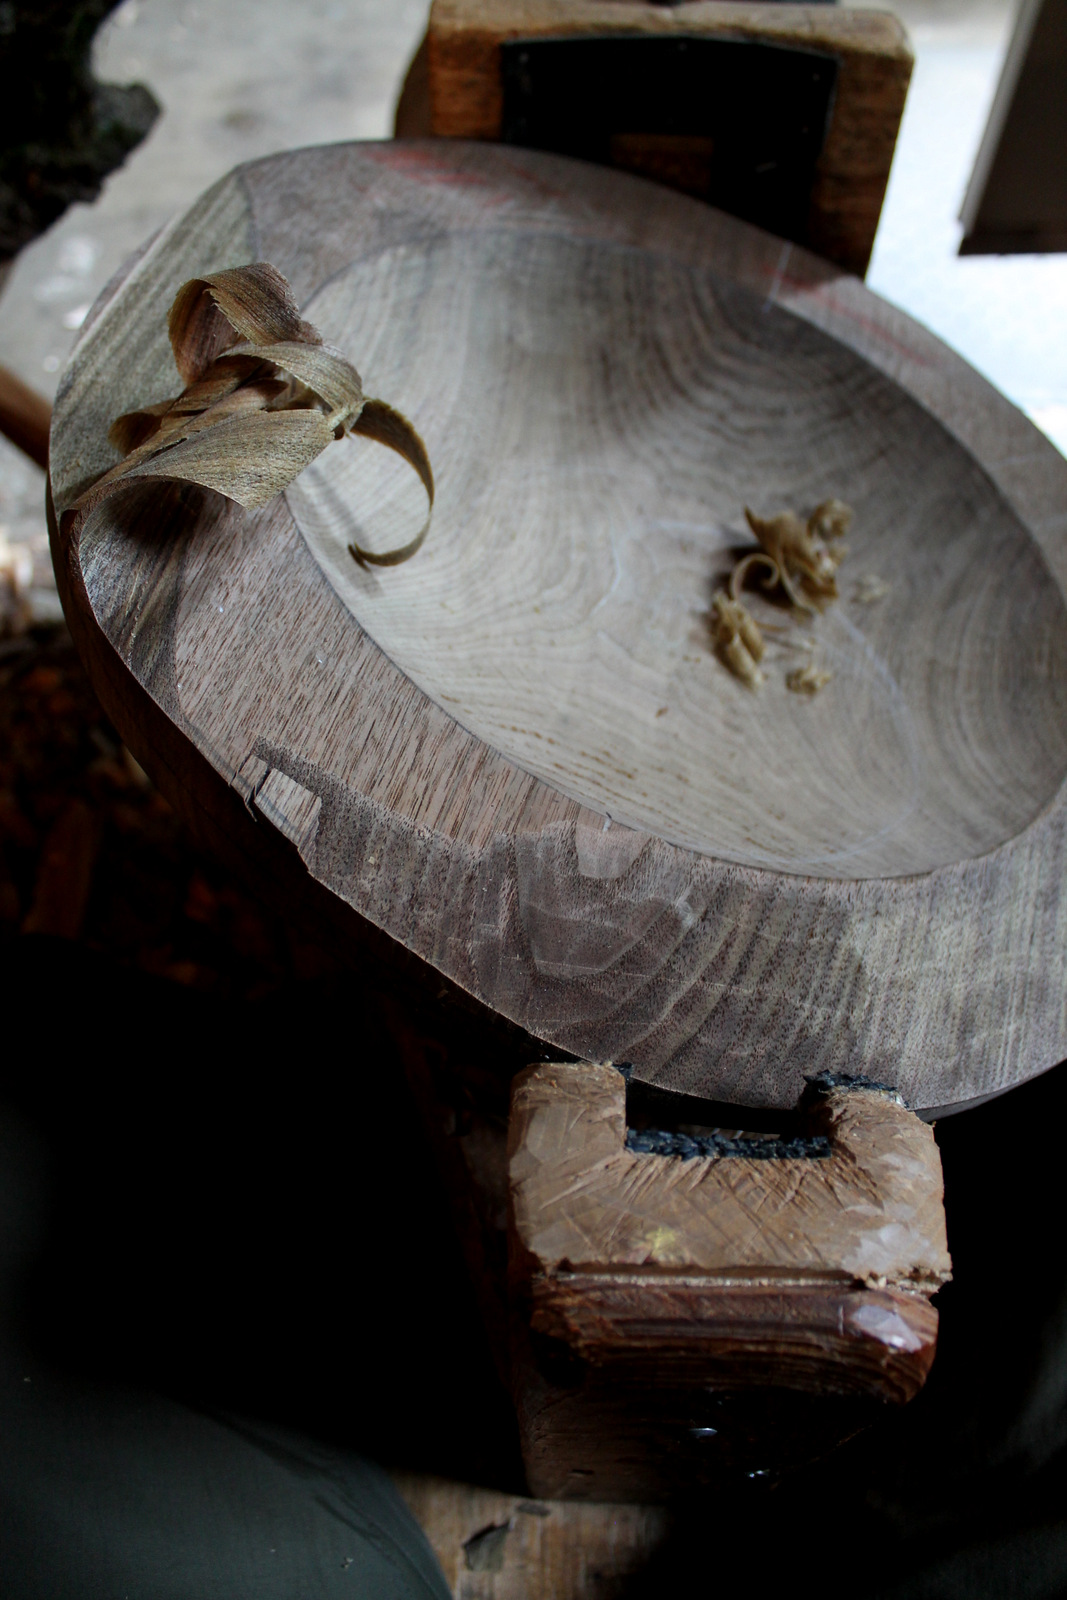
After leaving the bowl to dry wrapped in an old sheet for a few weeks, additional refinements could be made.  Due to the nature of the poetry passage, I wanted a strong tooled texture to the rim, but an absolutely smooth, even surface to the interior of the bowl.  An unusual task for me.  Time for a card scraper.
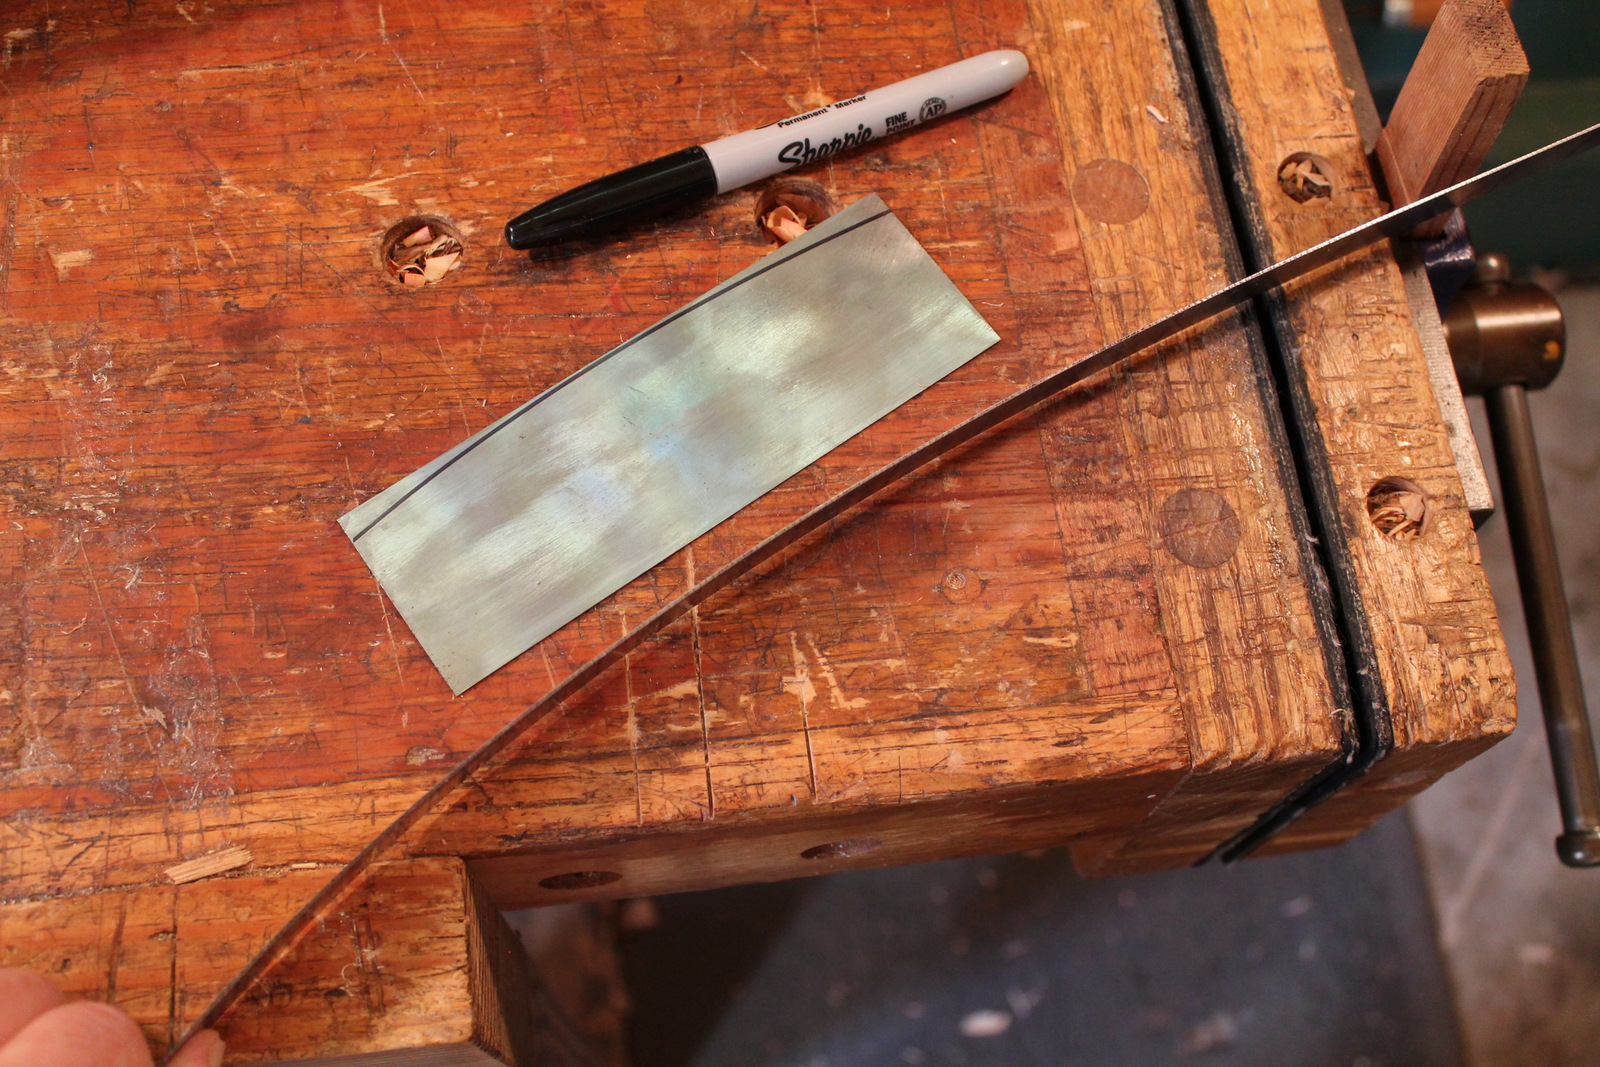
Marking a curve on a scraper.

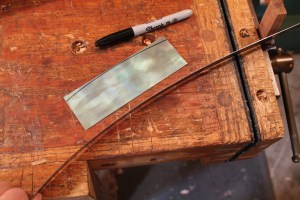
Marking a curve on a scraper.


I started by grinding a curve to the edge of a square scraper after marking a line with a Sharpie and a flexed ruler.  I actually made three in increasingly tighter curves while I was at it.  This one is a more shallow arc than the one I used for the bowl.

IMG_5317

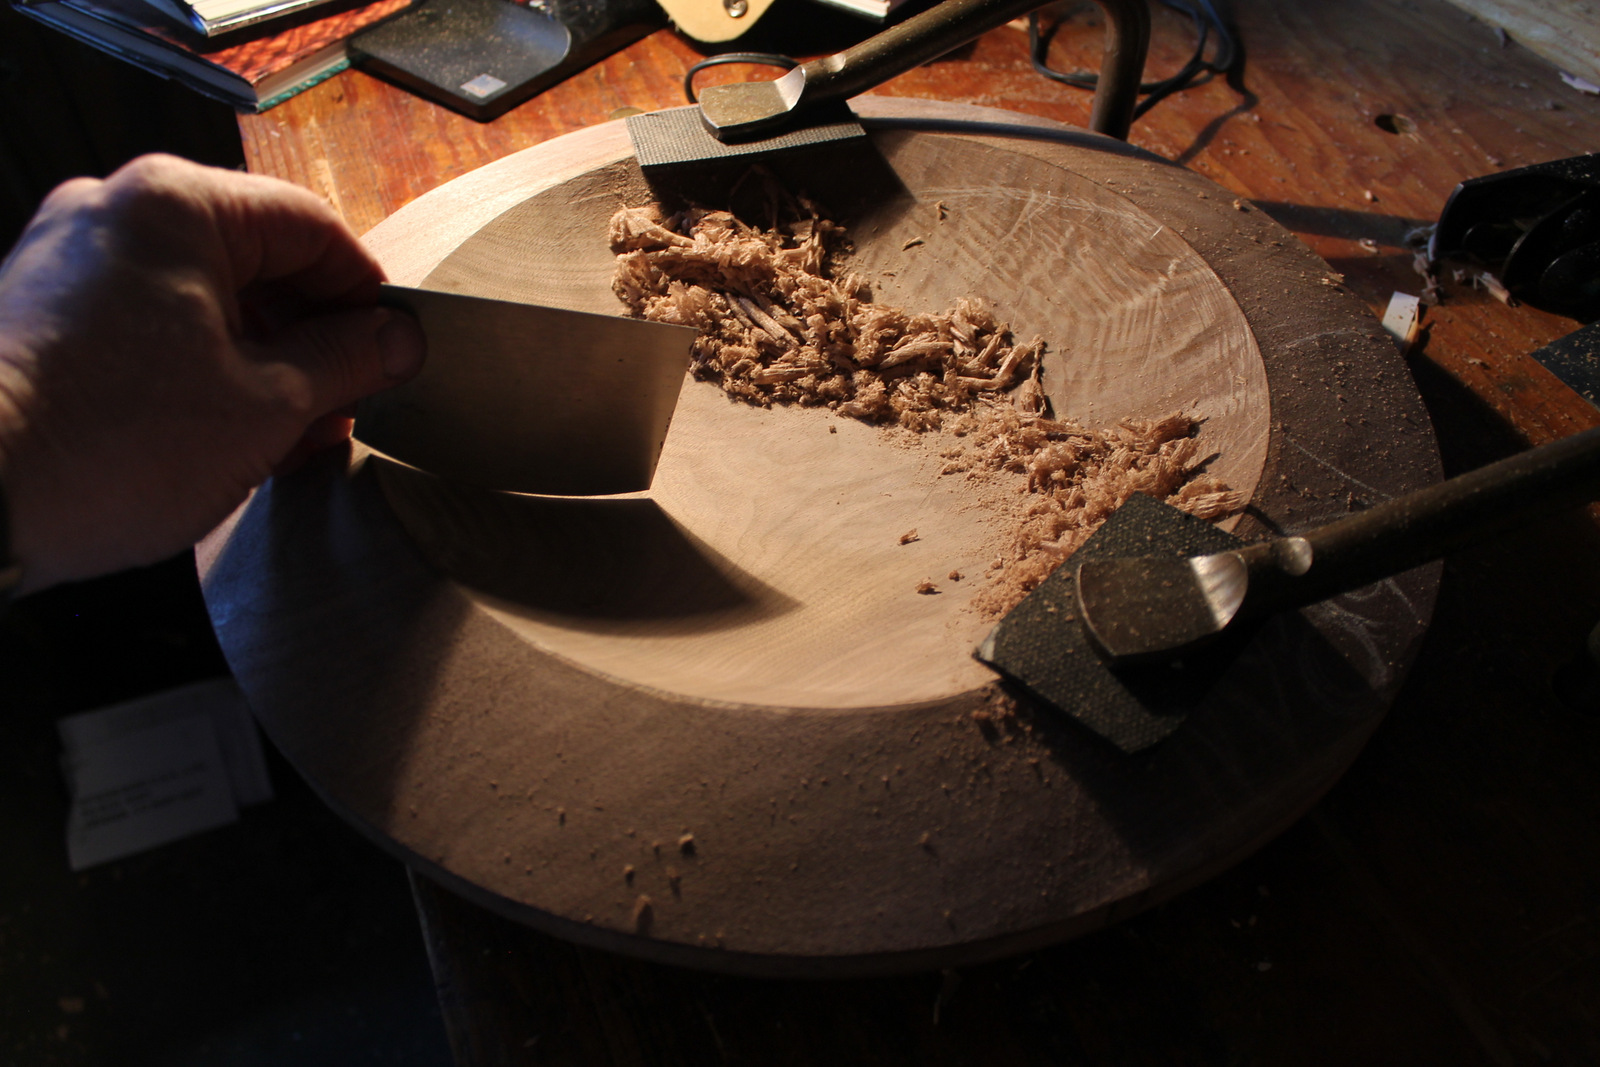
A custom card scraper refines the interior of the bowl.


After honing the edge and turning a burr, I was ready to refine the surface inside the bowl.  A sharp scraper will cut delicate shavings, and I was surprised at how well the surface took shape.  It was necessary to smooth the scraped surface with some light sanding with very high grit paper, so I submitted to that task. Thankfully, it was relatively quick, thanks to the effectiveness of the scraper.

In the photo, it is clear that the scraper is ground slightly tighter than the bowl surface.  In use, it is tilted forward a bit and flexed, resulting in a good match.

I’ve now done more work on this bowl, including the lettering.  I’ll be able to share some photos of the finished bowl soon.
Posted in adze, axe, bowls, holding, layout, Lettering, tools, Uncategorized, walnut | Tagged , , | 7 Comments