I really admire people that can play musical instruments, all the more since I’ve tried to do so myself — with poor results. For the past couple months, I’ve been playing around with a penny whistle, and you should hear my “Twinkle Twinkle Little Star.” My neighbors are forced to, after all.
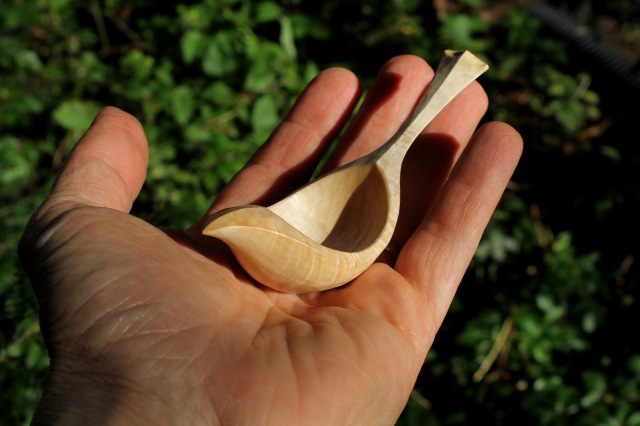
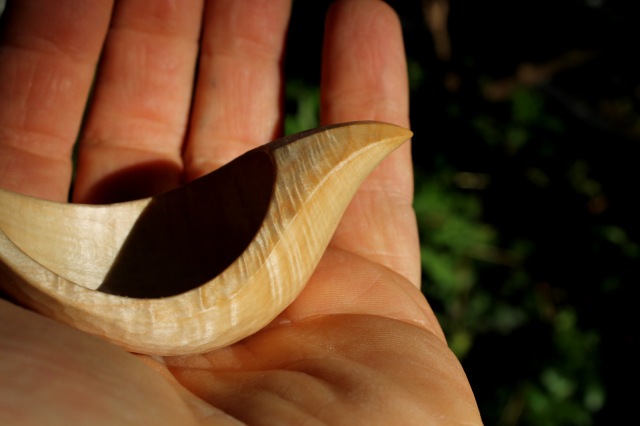
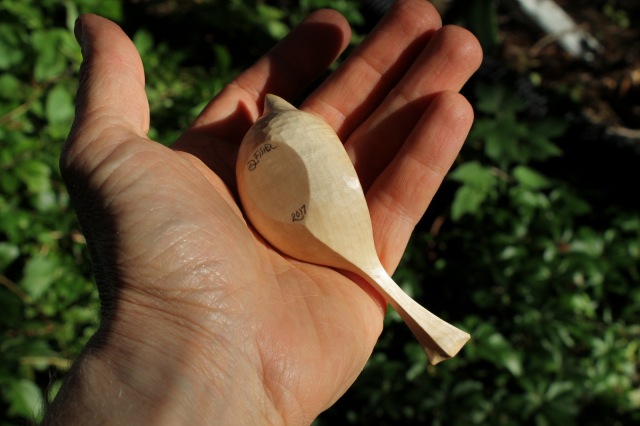
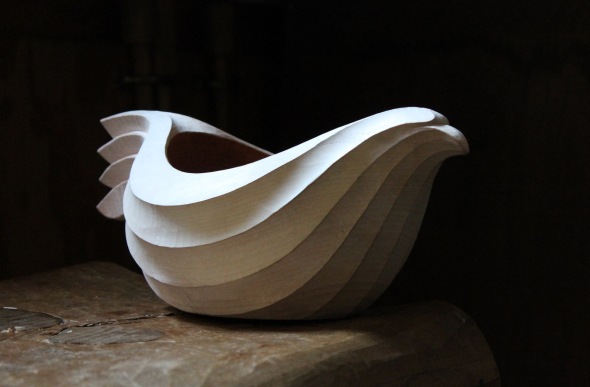
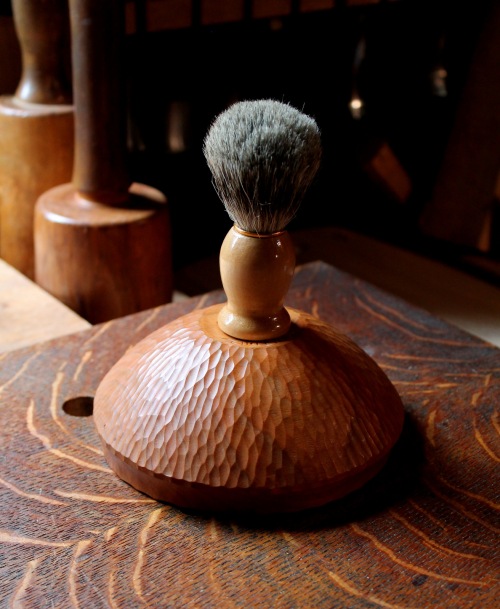
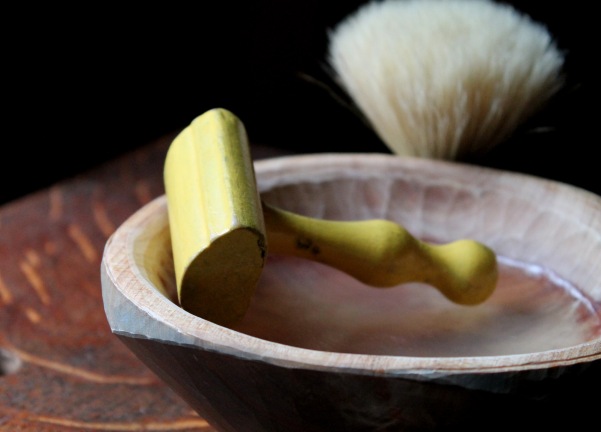
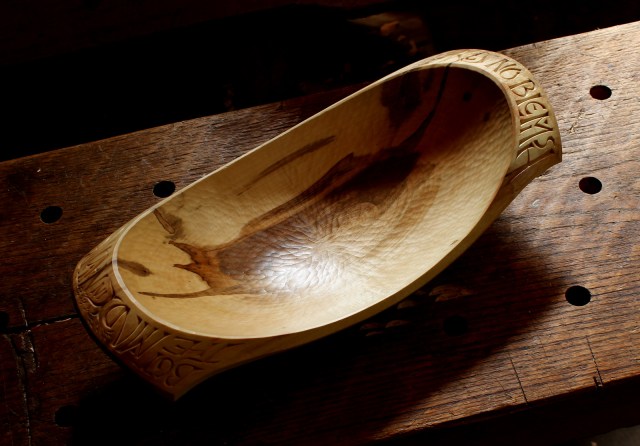
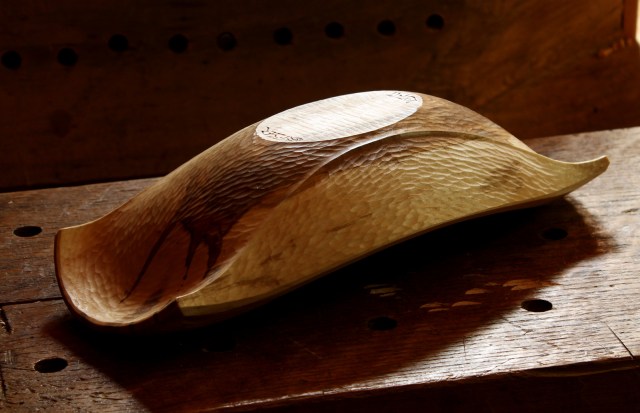
I’ve had much more practice playing with flutes of the carved variety. A pretty straightforward idea: a series of hollows separated by raised ridges. That simple idea allows for a lot of creative possibilities. The hollows can taper and curve in various ways, and I like how they can accentuate the lines and form of a piece. Various gouge sweeps and how they are wielded also provide design opportunities. This slideshow features a few examples of how I’ve used flutes on some bowls:
This slideshow requires JavaScript.
Regardless, the process is the same: make sure the surface is fair and true, draw nice ridge lines, hollow between them with control. That’s it.
I’ve tried ways to define the layout of the flutes, but I’ve found that the best way comes down to simply hand drawing by eye — and erasing, lots of erasing. A pair of dividers comes in handy for evenly dividing spaces at a spot or two, but I find the lines are poor if this is relied upon much. After all, we are dealing with sculpted surfaces that are not uniform or perfectly symmetrical. Mark a few guide points, then trust your eye.

Move the bowl around as you draw the lines, holding it in a way that allows for a natural motion of the drawing hand.
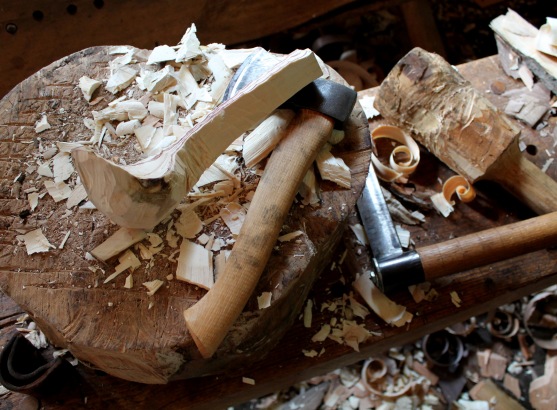
Once I’m happy with the drawn lines, I carve the flutes in two stages. On my first pass, I remove most of the material in the hollow with the gouge, but leave an eighth inch or so around the pencil line. I do this over the entire piece before moving on to the second pass.
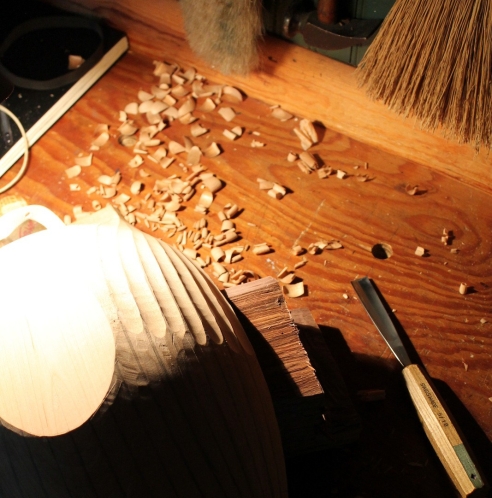
After the first pass with the gouge. Notice the flats left between the flutes at this stage.
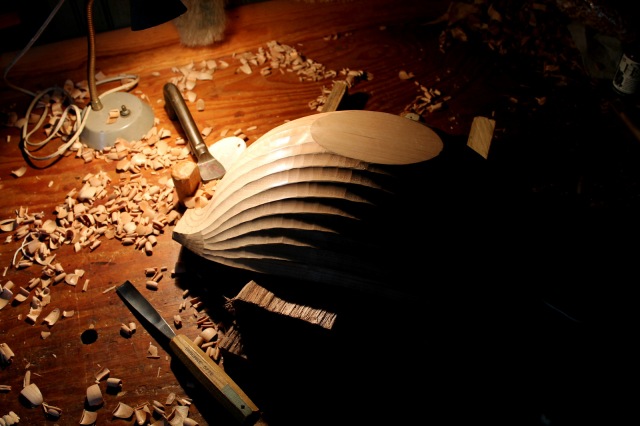
Another shot showing the bulk removal of the first pass, as well as the holding set-up which varies, depending on the bowl. In this case, an effective mix of pegs, holdfasts, wedges, and “hunks of wood”. I turn off any overhead lights and use the desk lamp to throw shadows where I need them to see things clearly.
The second pass deepens and widens each flute so that the pencil line is just removed leaving a distinct defining ridge line between adjacent hollows. If you push the line over too far, it can be brought back by working the neighboring hollow, but try to minimize that or the ridge line may end up looking true when viewed from above but be a bit of a wavy mess when viewed from the side. Take your time and enjoy the slow process.

In this photo, I’ve been working from right to left bringing the ridges between the hollows to distinct lines. Notice the difference with the flutes to the left and to the right.
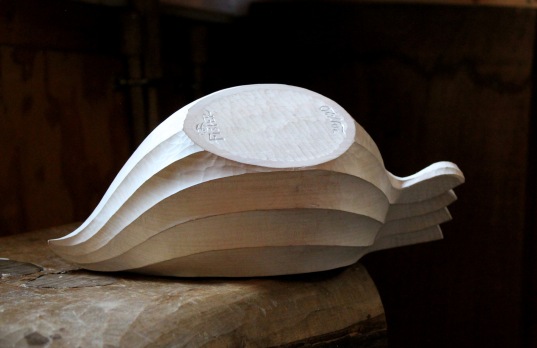
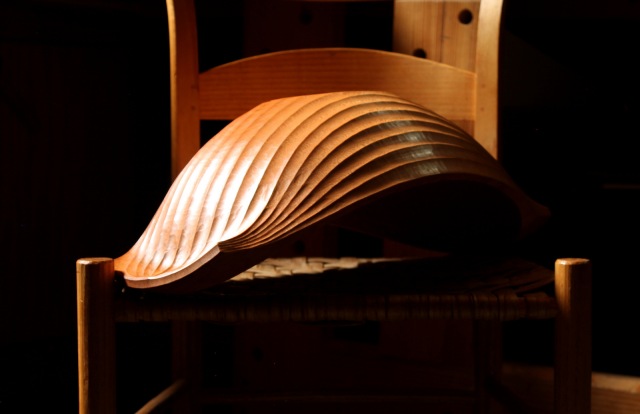
On this latest cherry bowl, I carved a pattern of flutes different from any I had done before. Several of the flutes taper and converge at the ends of the handles, while the lower flutes flow and curve under the handles. Among the challenges of executing the design is cutting the flutes under the handles, a good job for a spoon-bent gouge.

Still working with a spoon-bent gouge to shape the flutes winding under the handles.
Here’s a slideshow of some more photos of this bowl, which has already hit the road. My first Alexander chair provides some sense of scale, but the bowl is 18 1/2 inches long, 11 inches wide, and 6 1/2 inches high. Now I’ve got to get back to my other flute; “London Bridge” is next in the book. The neighbors are sure to like it more than “Twinkle Twinkle.”
This slideshow requires JavaScript.