Revisiting the Ale Duck

img_5212.jpg

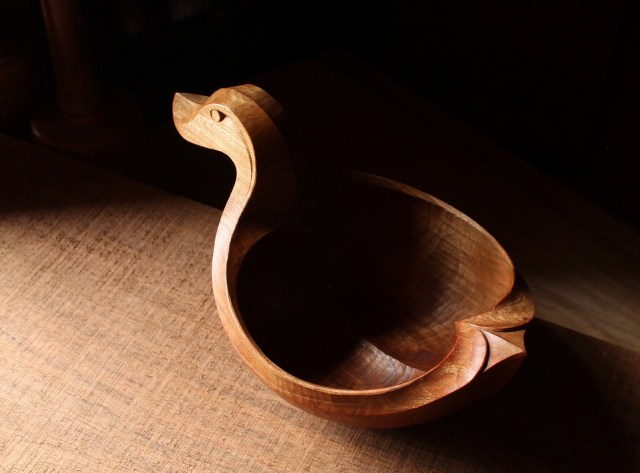
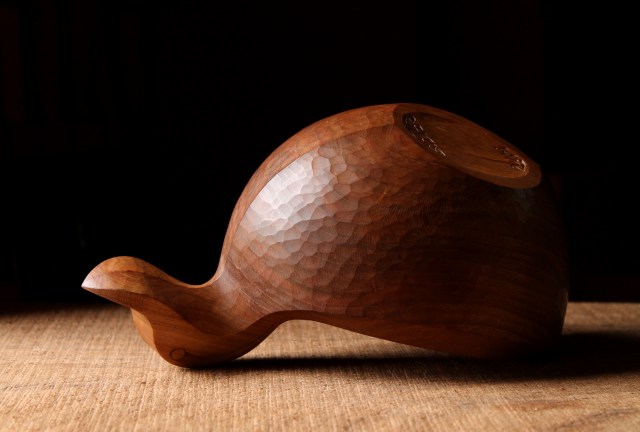
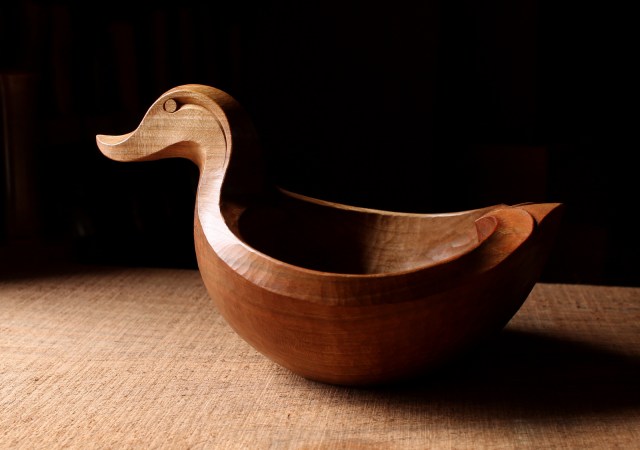
It had been a while since I carved an ale bowl, so it was fun to make another recently, in this case an ale duck.  I’ve written several posts about ale bowls, including some that go into my carving process, but  this one inspired a couple more thoughts about making these things.

IMG_5205

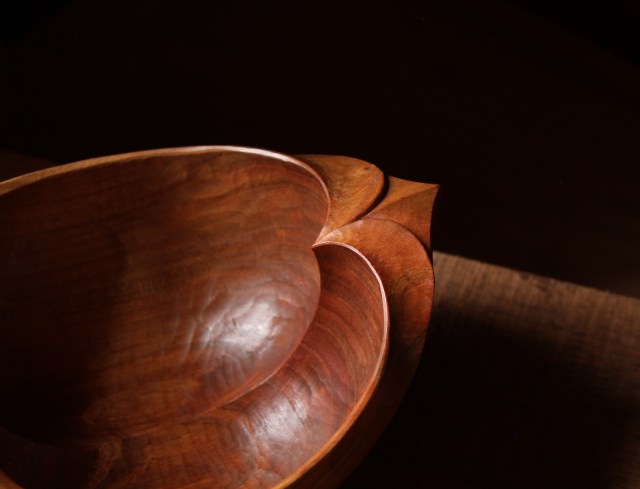
The form is complex enough that I still have to think about how it all will come together.  For example, it’s difficult to visualize the final curves around the tail in the early stages of roughing.  Then I remember not to think of such details until much later in the process; to cross certain bridges when I get to them — whether it’s a new design idea or a version of one I’ve done before.  Take care of the overall form before any details; don’t worry about where Broadway is until I’ve found my way to New York.

IMG_5186

Once the form is established and 95% of the wood to be removed is already on the shop floor, a whole new phase begins.  The wood is dry and the form itself is there, but that last handful of fine chips can make a big difference.  Time slows down a bit and I focus on the final flow of the lines and the surface cuts.  In his 1945 book How I Make Woodcuts and Wood Engravings, Hans Alexander Mueller expresses working in a “delirium of concentration.”  That describes this stage well.

IMG_5175

This one was 10 1/2 inches long and 6 1/2 inches wide, in black cherry.  Lots of fun.  One of several bowls I’ve been working on that are already spoken for, then I’m ready for some freestyling.


Posted in ale bowls, bird bowls, carving, cherry, quotes and excerpts, Uncategorized | Tagged , , , | 15 Comments

Coopering Connections

As athletes from around the world gather in Pyeongchang, I’ve been thinking about the craft of coopering.  That may seem like an odd connection, but it’ll at least result in some great video links, so hear me out.

I can’t get into medal counts and all that jazz, but there is something about the Olympics that appeals to me: the idea of people putting aside differences to share a common bond.  Sport is a powerful shared bond, and so is craft.  International connections both online and in person abound in the world of craft.  Greenwood carving is certainly a good example, but there are many others, including coopering.

Now, I’ve never made so much as a single stave, let alone a bucket or barrel, but like most crafts, I find coopering fascinating.  I stumbled upon a video this week of Australian cooper George Smithwick.  I loved it, and it reminded me of a couple old favorites.  Each cooper from a different continent, yet bound by a shared craft.

If you need a break from ice dancing, check ’em out:

Here’s the aforementioned George Smithwick from Australia.  Wonderful video, including the end parts where he discusses his decision to enter into the trade. https://www.youtube.com/watch?v=GE7QA1chUzw

This one brings back lots of memories for me.  I still have it on VHS ordered from Drew Langsner at Country Workshops years ago.  Ruedi Kohler was one of Drew’s original woodworking teachers.  The serendipitous story of them coming together in rural Switzerland ended up benefiting many people over the years.  The video is a great example of craft transcending language barriers.  https://www.youtube.com/watch?v=v4kB7JOVkqw&t=1708s.

If you like this last video featuring Alex Stewart, an incredible character and craftsman from the Appalachians of Tennessee, then I’d strongly recommend the book Alex Stewart: Portrait of a Pioneer — one of my favorites.  Here’s the video link: http://www.folkstreams.net/film-detail.php?id=224

I like to listen as I’m carving.  I’ll have some bowl photos to share next week.


Posted in books, Uncategorized, video | Tagged , | 2 Comments

Look What Arrived From Brittany

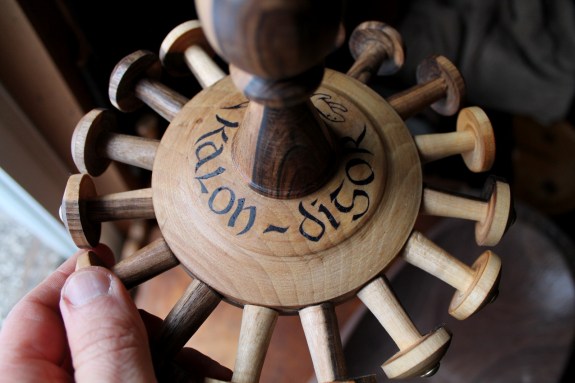
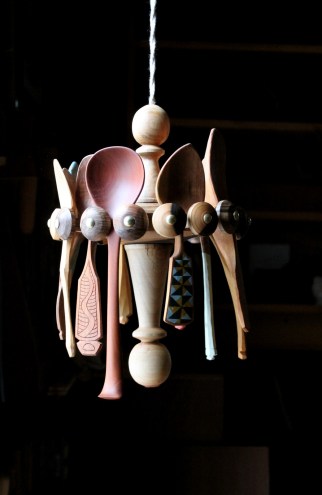
Yesterday, a package arrived from Jane Mickelborough.  After having the pleasure of getting to know Jane at Greenwood Fest 2017, I requested a porte-cuillères, a traditional Breton spoon rack that is meant to hang over the table.  It incorporates a clever arrangement of cord that allows the rack to be pulled down for access, then raised back up to clear the view.  I tested and admired the porte-cuillères in the workshop this morning.

Jane is a fascinating person and incredibly skilled in many ways.  She carves, she turns, she makes fan birds, she dances elegantly and can sing you a sea shanty.  And that’s just scratching  the surface.  She’s also deeply steeped in the craft traditions of Brittany, which you can read about more in an interview with Jane that Peter Follansbee shared in this blog post last year.

jane

Many Breton elements are featured in the details of the walnut porte-cuillères that Jane made for me, like the brass tacks:

And the intriguing and beautiful wax inlay technique that Jane used around the central hub of the porte-cuillères:

IMG_5237

Kalon digor is Breton for “bon appetit” which is French for something.  Seems to make me hungry.

IMG_5239

The ermine is a Breton symbol.

The rack will hold many spoons made by friends:

IMG_5312

Jane’s crossing the pond to be at Greenwood Fest again.  Still time to sharpen your knives and practice your sea shanties.


Posted in historical reference, spoons, Uncategorized, walnut | Tagged , , , | 11 Comments

An Encounter with a Woodworker

SAM_3834

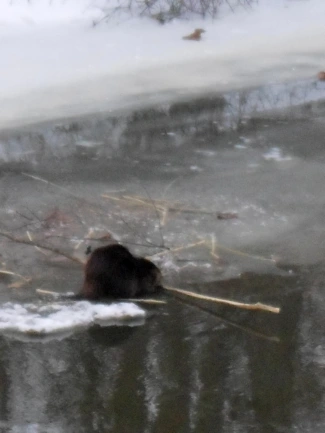
It was a balmy 35° F today, and I got out for a walk in the late afternoon as the sun was getting low.  As I was walking along the high bank above the river, I spied one of nature’s greatest woodworkers.  Drawn out by the warmer temperatures, she(?) was squatting on the ice along the edge, eating the thin bark off of the branches she had clipped.

The soft snow made for quiet walking, and beavers have poor eyesight.  I walked within 20 yards and stood watching her work the stick like a long ear of sweet corn.  I could hear each little nibble.

I just had a little point-and-shoot camera with me, and snapped the best shot I could get before moving on, grateful for another encounter with one of my favorite animals.  Most meetings have occurred while canoeing, and they usually let you get pretty close, not knowing quite what to make of it.  My son and I have even been splashed by a thrilling tail slap off the starboard bow.

IMG_0091

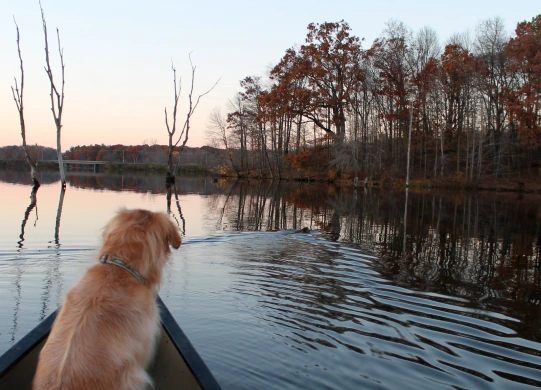
That’s not my son; that’s Sam in the bow intent on a beaver swimming out ahead.

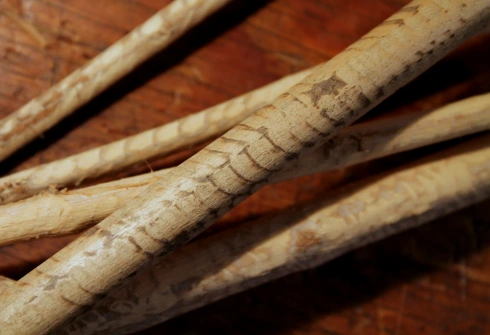
IMG_5157I keep a few beaver-chewed sticks in the shop, and I marvel at the lovely pattern left on the surface, better than the tool marks left by any gouge.  I even made a bowl once on which I left the handles and rim straight from the beaver’s teeth.

Seeing the beaver today also got me thinking about we humans that are nibbling on sticks with bits of steel.  These beaver-inspired thoughts may apply especially for those that are just beginning their carving journey, or just thinking about it.   (It’s been three years since I started this blog, so I’m bound to repeat myself.  I even included links as proof!)

Dig in.  The information available can be overwhelming, and you don’t need nearly all of it.  Read, take a class, watch videos, but mainly put steel to wood.  Savor the process and your personal progress, without asking too many devilish questions.  That beaver may be acting on pure instinct, but we humans also have our instincts.  A strong one is to create;  act on it and revel in it.  You’ll overcome problems as they arise, or at least learn where you could use a little more help.

Don’t be overwhelmed by the dizzying numbers and varieties of tools available as you get started.  Get a few good tools, then get to work.  The tools will add up over time.  At some point you’ll probably wonder where they all came from.  This can be a tough thing to balance.

I may not be qualified to judge a beaver’s intent, but I’ve seen fallen trees that sure looked to me like the toothed-one was shooting for a different outcome.  Make mistakes and take chances with design.  Have fun.  I have dumb ideas and make carving mistakes all the time, and I’ve got plenty of company.

SAM_3839When you screw up or things just aren’t going right, take a walk.  You might see a beaver while you’re out, or a sunset as you near home to help put it all in perspective.


Posted in carving, nature, tools, Uncategorized | Tagged , , , | 18 Comments

Four Spoons

IMG_5153

In between bowls, I came upon a few good branch crooks that I’ve carved into spoons — two in cherry and two in rhododendron.  They’re all straight from the knife and treated with flaxseed (pure linseed) oil.  The lettering and chip carving on all of them was done with my pen knife.  They’re all serving/cooking spoons, way too big for eating spoons.  I’ll mention each spoon’s unique characteristics with the photos below.  Rather than listing them separately on my website, I’ll offer them right here in the blog post.  If you’d like to purchase one, send me an email at dandkfish@gmail.com.  All prices include shipping in the U.S.  Orders outside of the U.S. will pay an additional shipping charge, but it’s not usually too high for small items like spoons.  I’ll get back to you to confirm, and you can pay by mailing a check or through paypal.

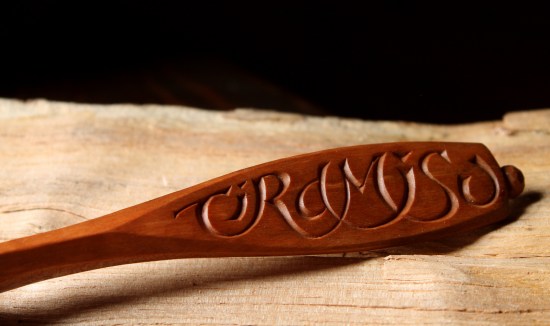
Spoon #1 (below):  I carved “Tiramisu” into the handle of this cherry spoon.  Most people know it as the name for a dessert, but I thought it also appropriate for the handle of a spoon.  Tiramisu is Italian for “pick me up” or “lift me up.”  9 1/4″ x 3″  $155 includes shipping. SOLD

IMG_5083

IMG_5128

IMG_5084


Spoon #2 (below):  “Fabas indulcet fames” is the Latin proverb meaning “Hunger sweetens the beans.”  Whether one is focused on the literal or figurative meaning, I like the reminder on a cooking and serving spoon.  After I cut the letters, I experimented with this rhododendron spoon by texturing the surface around the letters with the filed end of a small bolt.  I held the spoon in my lap and repeatedly moved around the “stamp”, hitting it with a small hammer.  13″ x 2 3/4″  $155 includes shipping. SOLD

IMG_5135

IMG_5107

IMG_5106


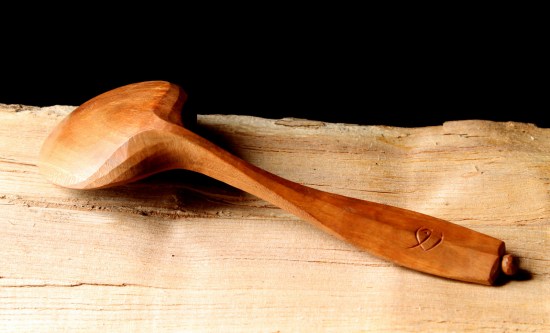
Spoon #3 (below):  This spoon comes right out with it in English: “Hold Me.”  Cherry 10″ x 2 1/2″  $155 includes shipping. SOLD

IMG_5092

IMG_5132

IMG_5095


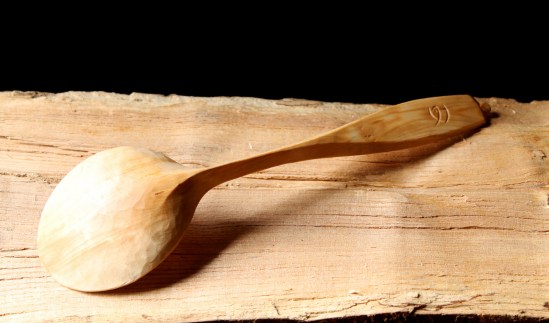
Spoon #4 (below):  This rhododendron spoon is non-verbal.  Chip-carved handle.  9 1/2″ x 2 3/4″  $90 includes shipping.  SOLD

IMG_5104

IMG_5142

IMG_5102

Posted in Lettering, spoons, Uncategorized | Tagged , , , , , | 13 Comments

Lettering Large

IMG_4940

I do have some bowls in process to share before long, but some photos from a couple recent lettering projects first.  I find myself adapting my tools and techniques according to the wood and the size and style of the lettering.  I learn something from every new opportunity.

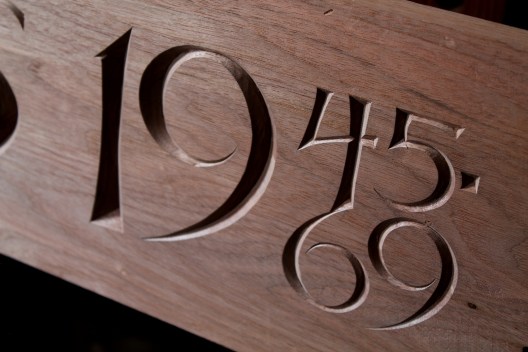
The top photo shows part of a large butternut board that will be framed in walnut by a cabinet maker for a sizeable display case for an electric train collection.  Actually, there will be two display cases as you can see from the two full-view photos below.  I was provided with some general guidelines such as including the logos/symbols and what the text should say.  Beyond that, I was given the freedom to explore.

IMG_4982IMG_5021

The boards were 50″ x 7″.  To allow for the frame, the letters ended up at about 4 inches high.  So this was not a lap-and-penknife project.  The L logo represents Lionel.

IMG_4983

The Steelmark logo goes back long before the Pittsburgh Steelers adapted and adopted it.

IMG_4916

After much thought and sketching in various sizes, eventually it’s on to the board.  I can really burn through an eraser, but time spent in this stage is important for a project like this.  Got to calm that itchy carving finger.


IMG_4907

I should mention that before the drawing took place, I put a final surface on the face of the board with a finely-set hand plane.  I could have sanded the surface, but it’s nice to avoid the grit that remains embedded in the wood, waiting to dull the edges of carving tools.

IMG_4938

It’s convenient to have access to the board from either side.  My workbench is attached to the wall, so I gave myself full access by holding the board cantilevered beyond the workbench, held firmly with holdfasts.  You can also see in the photo the main tools used.  A couple v-tools on the right to excavate much of the bulk, and a couple knives.  The larger knife to the top left is reground from a Garrett Wade marking knife I’ve had around for years.  The three successive shots in the slideshow below show me using it to pare a side of the stem of the letter T.

This slideshow requires JavaScript.

IMG_4955

In some areas, gouges are a help.  A penknife blade is still handy, even in letters this large for tidying….

IMG_5045

and for tighter curves like these numbers.

IMG_4735

Similar techniques were used for this sign done a few weeks ago, except the overall style is a little more loose and the surface of the board was textured with a gouge before carving the lettering.  The photo is a little blurry on the left side, but you can see the texture more clearly on the right.  This is my second go with the same William Morris quote.  The first one is here.

Next post should be some spoons with much smaller lettering.


Posted in Lettering, tools, Uncategorized | Tagged , , | 18 Comments

I Have One Word for You

IMG_4773

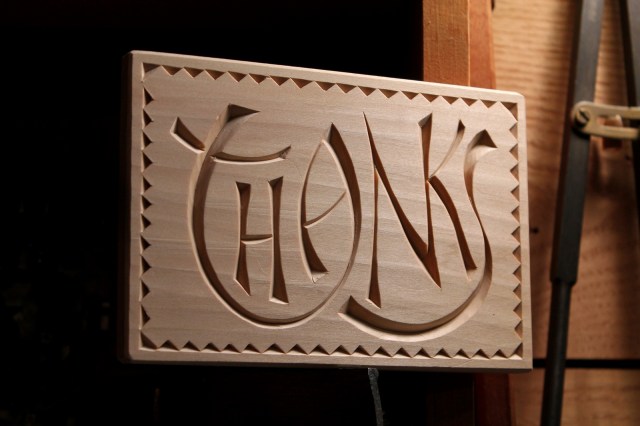
I want to end the year and begin the next with a simple note of gratitude.  Thank you all for taking the time to read the blog.  Your comments, questions, and interest in the things I make are always helpful and encouraging.  I appreciate it all very much.  Who knows what 2018 will bring, and here’s to the thrill of exploration and a very happy New Year to you!

IMG_4808

May nothing come between you and your wish for the new year!

Posted in Lettering, nature, Uncategorized | Tagged , | 27 Comments

Carving Books and Vintage Video

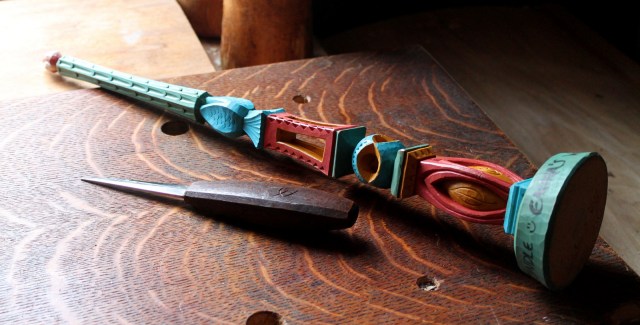
IMG_4923About a year and a half ago, at Greenwood Fest 2016, Jögge Sundquist taught a class on carving a Swedish distaff, traditionally used for holding flax or other fibers while spinning.  As Jögge explained, when a man proposed marriage to a woman, he carved an ornamental distaff as a gift for her.  The skill reflected in the carving would be a reminder of his qualities as a potential partner and mate.  If she accepted the gift, all was set, no need for words or a jumbotron proposal.

IMG_4932I had started a distaff then, but hadn’t gotten around to it since.  I’ve finally finished it as a little Christmas gift for my daughter, my wife having been fooled, I mean wooed, by me many years ago.

With the vibrant colors and whimsical bold patterns, it was a fun, if temporary, exploration into Jögge’s style, and it reminded me that Jögge’s book, Slöjda I Trä, will soon be out in English (Sloyd in Wood).

The photo at left shows Jögge’s colorful book.  My copy is in Swedish, but the photos of Jögge’s amazing work are in a universal language, as are the wonderful pen and ink illustrations.

IMG_4933Many of you know that Jögge’s biggest woodworking hero is his father, Wille.  Wille’s book, Swedish Carving Techniques is a must-have book if you’d like to carve spoons and bowls.

That book is not only an incredible resource for technique and method, but also design considerations.  Before I read that book, I thought of a wooden spoon as an object with a straight handle behind a flat oval.  Wille opened my eyes to the sculptural potential in household objects like spoons and bowls.  Objects that are a pleasure to look upon, hold, and use.

I’ve been carving some more spoons recently, and those ideas still guide the way I work.  Here’s one example recently finished that I think reflects Wille’s influence.

Back in 1982, long before my spooncarving introduction, Wille taught a spooncarving workshop at Country Workshops.  Drew Langsner informed me today that during that event, Rick Mastelli filmed Wille carving a spoon from start to finish.  The video was just posted to youtube yesterday, and it’s a must-see:  https://www.youtube.com/watch?v=yWeB_kFcZ34

I’ve already decided to pay tribute to Wille at Greenwood Fest 2018 by wearing the same outfit he wears in the video.

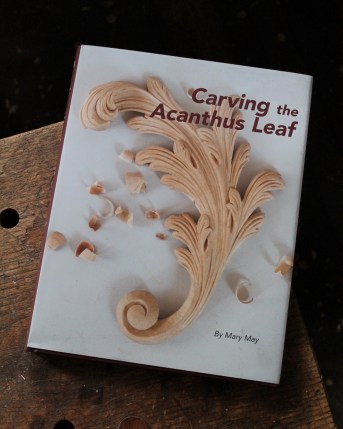
IMG_4935And before I leave the subject of carving books, I’ve got to suggest another great one, just published.  Carving the Acanthus Leaf by Mary May is a spectacular book.  I was captivated by the story of Mary May’s childhood and inspirational journey into woodcarving.  It is interwoven into an incredibly well-researched exploration of the acanthus leaf and its interpretation across many cultures.  Along with general advice on the selection of carving tools, sharpening, and such, are step-by-step instruction s for carving many different styles of acanthus, all richly photographed along with clear plans.  Truly an incredible accomplishment that will help many carvers.


Posted in books, paint, patterns, publications, spoons, Uncategorized, video | Tagged , , , | 16 Comments

Carve some Toys

IMG_4813

The days leading up to Christmas usually find me making a few gifts for loved ones.  Among them, toys have a special place.  I thought I’d share a few toys of the wood carved variety that might inspire some ideas for a future holiday gift.

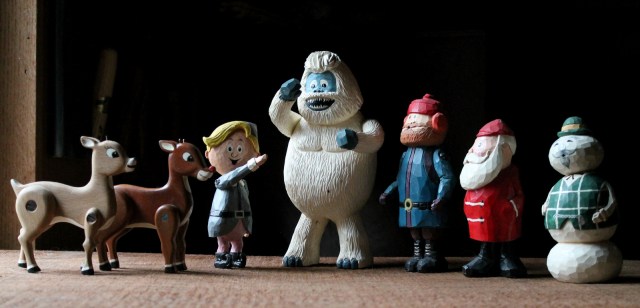
Fifteen years ago, when my children were very young, they loved the movie Rudolph the Red-Nosed Reindeer.  For a few years back then, I carved them each a character based on the movie.   As you can see in the top photo, they’re still hanging in there, although some little parts are missing.  Clarisse’s bow and Yukon’s pick might show up one day at the bottom of a drawer somewhere.  A little wear and tear is a good thing.

IMG_4822

“You’ve got to know when to hold ’em…”

The nice thing with toys is that there’s no pressure.  I’m no expert figure carver, and you don’t have to be either.  Just have fun and make something that will give a kid a thrill.  Celebrate whimsy and quirkiness and have a blast.  So what that your Abominable Snow Monster looks like Kenny Rogers with a bouffant?!  You can’t get that at Amazon.

I gave most of these very simple articulated arms or legs.  Just leave a flat area as a bearing surface where the limb joins the body.  By using a wood screw the tension can be easily adjusted.  Simple acrylic craft paints come in little bottles for less than a dollar a piece and work great for toys, and they dry very fast for that last-minute paint job.

Any subject can be carved.  Just grab a chunk of wood and start in.  Many of the carved toys still hanging around serve as reminders of our kids’ passing interests.  This brief slideshow has a few examples:

This slideshow requires JavaScript.

Roy Toys

The best thing that ever happened to television, nearly 40 years ago, is the Woodwright’s Shop with Roy Underhill.  Roy’s show and his books were, and are, incredibly inspiring to me.  And meeting him in person at last year’s Greenwood fest knocked me off my feet.  Watching him entertain with his box of handmade toys was one of the most special moments.

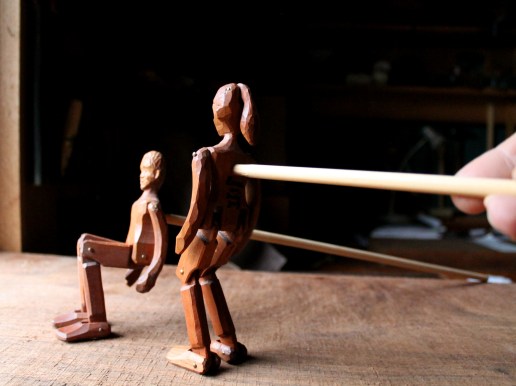
A kid at heart, Roy loves toys and has featured them in many episodes of his show.  About ten years ago, a couple episodes inspired me to make two action toys for my kids.  I don’t remember which season or episode number, but one featured a woman who made little figures called limberjacks that could be used in musical/theatrical performances.
IMG_4855

I made a couple, one representing each of my kids.  The joints are meant to be very loose, so that there’s lots of free movement when they dance or run.  I used brass escutcheon pins at the joints and just the most basic carving.  These are more about movement than details.  Although I did like the touch of the flopping ponytail on my daughter’s limberjack.  Here are a few details:

IMG_4889

The joints should be loose to allow for free action.

IMG_4890

The brass escutcheon pins are snipped and filed flush on the inside.

IMG_4891

Flicking a flexible board like this cedar shingle makes the limberjack dance a sort of Highland jig. Jiggling the stick makes the arms go round.

IMG_4827

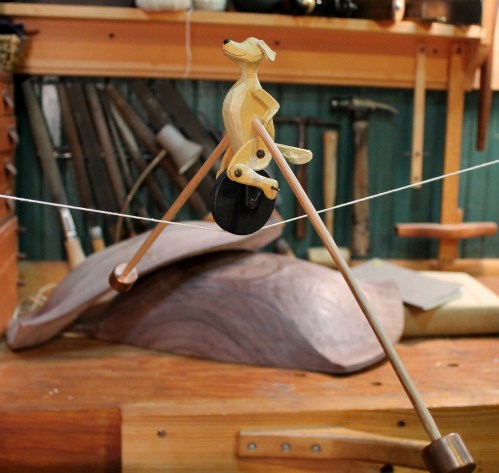
Roy had another episode that included a balancing toy that fascinated me.  A little wooden man seemed to be riding a unicycle on a tightrope, his little legs rotating faster and faster.  I made two, one inspired by our golden retriever, Sam, the other by our cat, Mavis.

IMG_4861

The concept can be adapted to different methods and materials, but here are some details about how I went about making these ones:

IMG_4831

I just used spare parts I had around. These wood screws pass through the part closest to the head, then the threads bite into the back piece, whether the other leg or the body. I filed off the point of the screw protruding through the leg.
IMG_4832

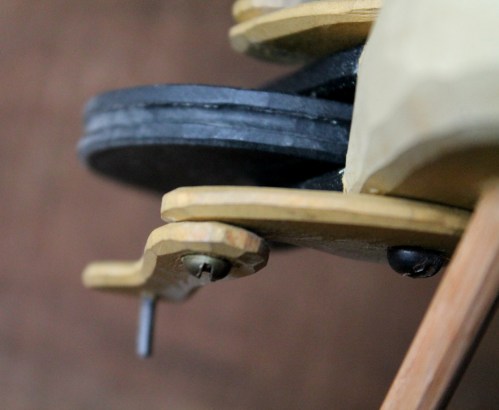
The wheel is just carved out and a gouge is used for the groove that rides on the string. The forks are part of the body. The axle and pedal crank are one piece of wire, bent as the pieces are assembled.

IMG_4833

Anything relatively heavy can be used for weight. Oddly enough, I had a round bar of copper from somewhere. I sawed it into four pieces and drilled a mortise for the balance arms. Washers, nuts, etc. would work fine as well.
IMG_4857

The balance arms are riven oak, about 1/4″ diameter.

The only thing more fun than playing with them is making them.  Peace on Earth, good will to you all.
Posted in carving, paint, Uncategorized | Tagged , , , , , | 17 Comments

Winter Walnut

IMG_4796

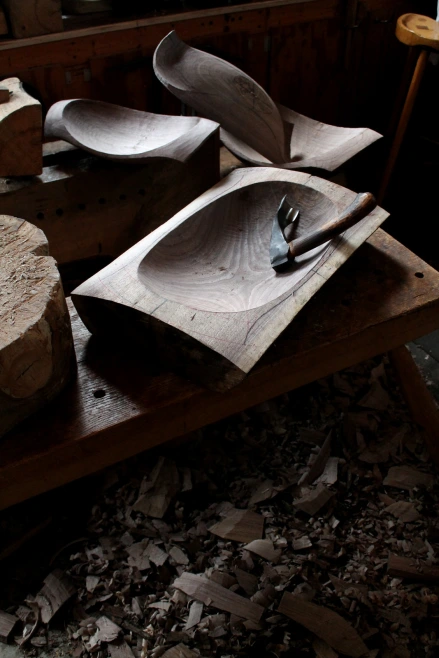
Getting my hands on a good walnut log recently, I decided to rough out a few bowls from it, then return to each one individually down the road.  Some of these will be destined for folks that have been waiting for walnut.

IMG_4774

The wait for winter is almost over, still a few more days…. but as I look out my workshop window it sure seems to have arrived.

IMG_4782

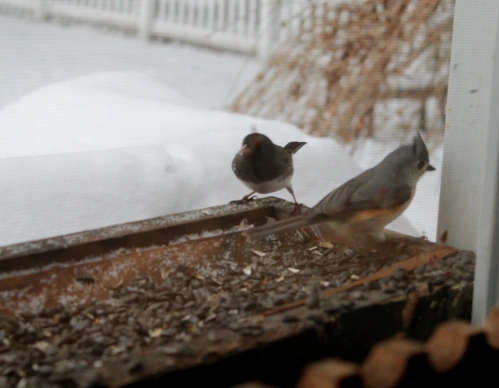
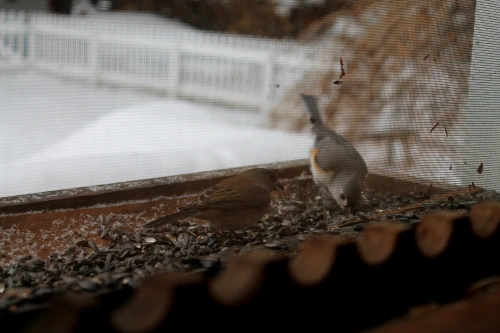
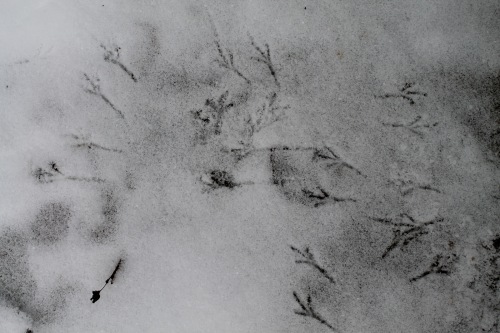
This morning, a junco and a tufted titmouse shared a sunflower seed brunch in the window box.

IMG_4800

Their footprints in the snow are a reminder to make some of my own.

SAM_3801

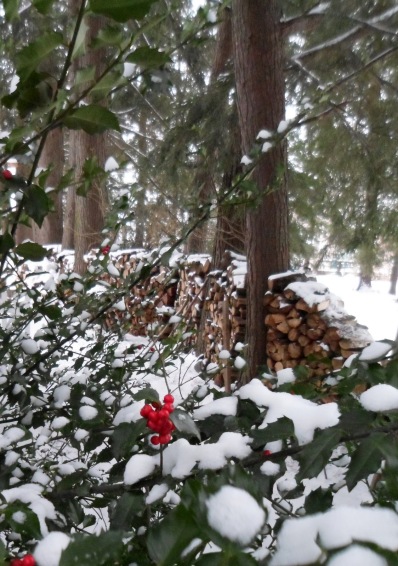
Not even out of the yard yet, the holly berries catch my eye. They’ve been there for months, but they stand out in contrast now.

SAM_3807

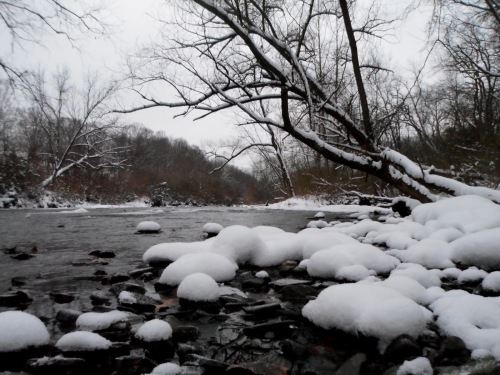
The snow rests like pillow tops on riverside rocks.

SAM_3810

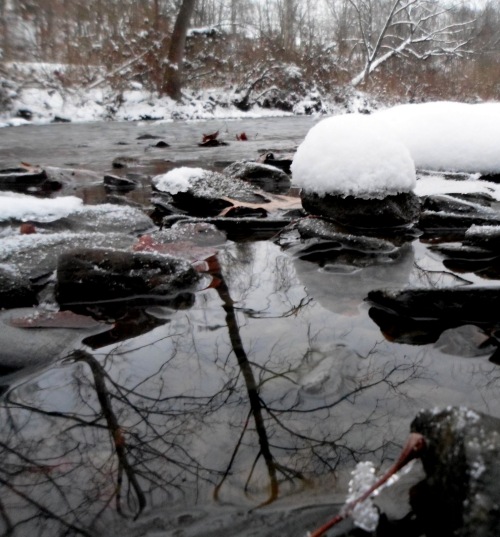
Icy pools reflect the streamside trees.

SAM_3813

And one of my favorite sycamores has donned a coat of snow.

Now it’s back to the walnut in the shop and the visiting birds.  I noticed that Ben Strano and Jeff Roos have posted the 10th installment of my bowlcarving video workshop at Fine Woodworking Magazine Online.  We’re getting there now, doing the finishing cuts on the inside of the bowl.  So far, in episodes 1-10, that makes nearly four hours of video!  Seemed to go a lot faster for me.  Lots of work for Ben and Jeff, and they’ve done an amazing job.

Posted in bowls, green woodworking, nature, publications, teaching, Uncategorized, video, walnut | Tagged , , , , | 11 Comments