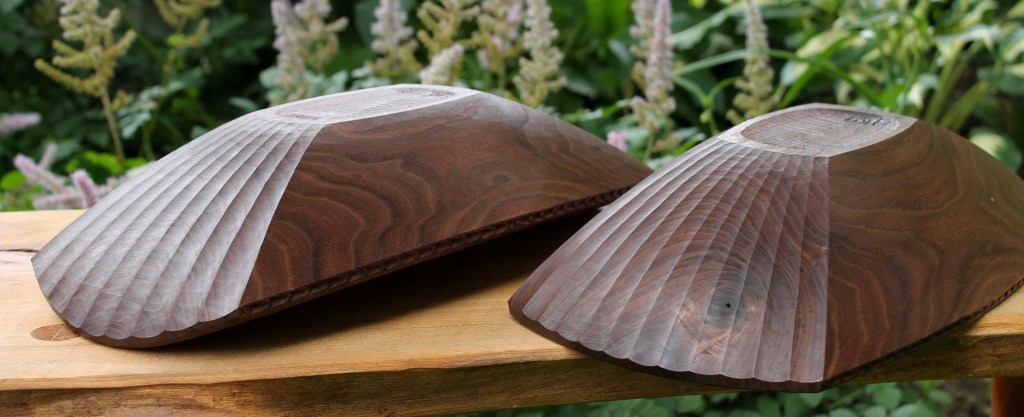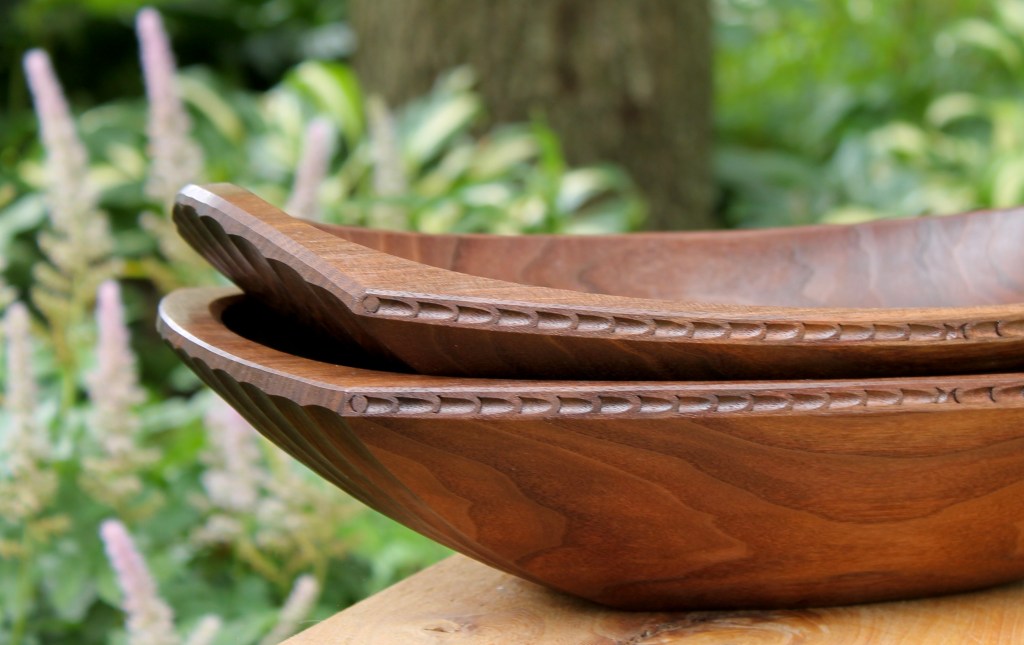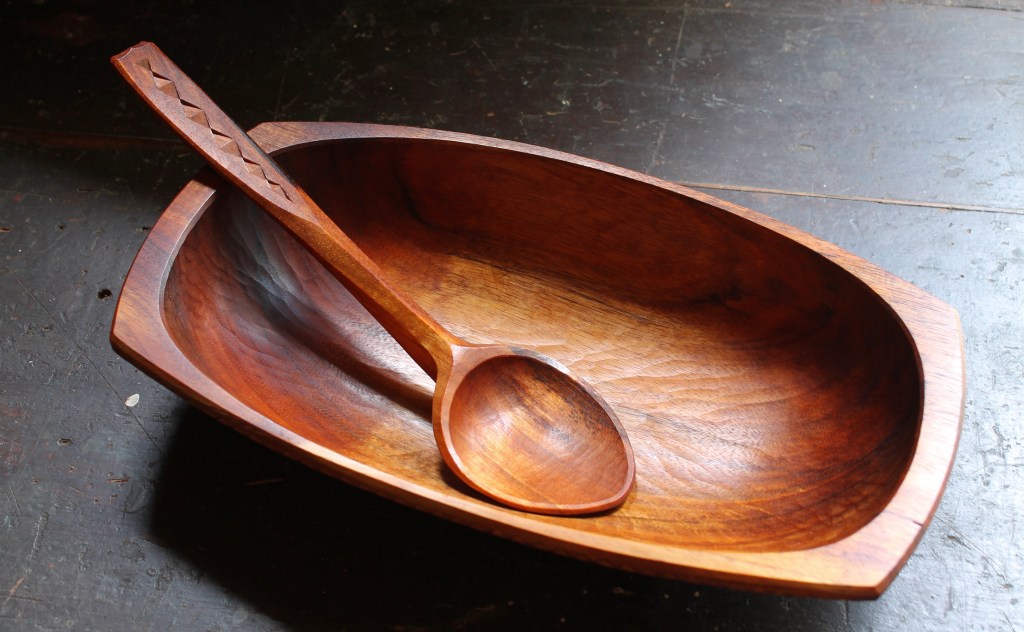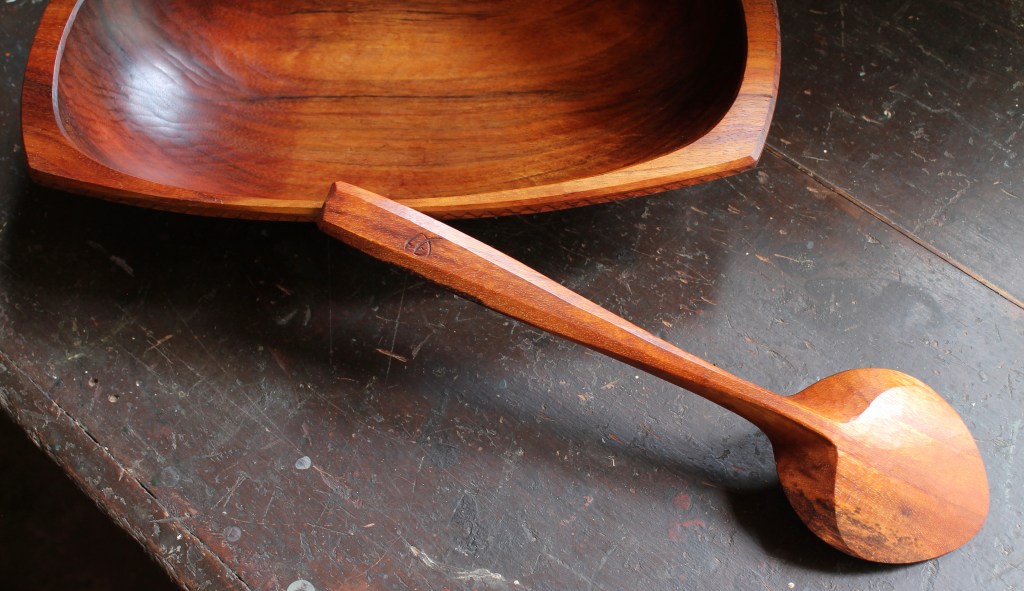
Earlier this month, I wrote a post about two walnut bowls, and there was a question in the comments about dealing with the tricky area where the grain direction merges across the middle of the hollow. I wanted to expand upon my answer with some more thoughts in this post.
I often direct all of my cuts generally toward the center of the hollow, which means cutting across, or obliquely to, the grain along the sidewalls. Another option, which I used on one of those walnut bowls, is to work directly with the grain from one end to the other. The tricky bit in that case is merging the cuts running head on into each other without going too far and lifting the grain on the other side of the divide.
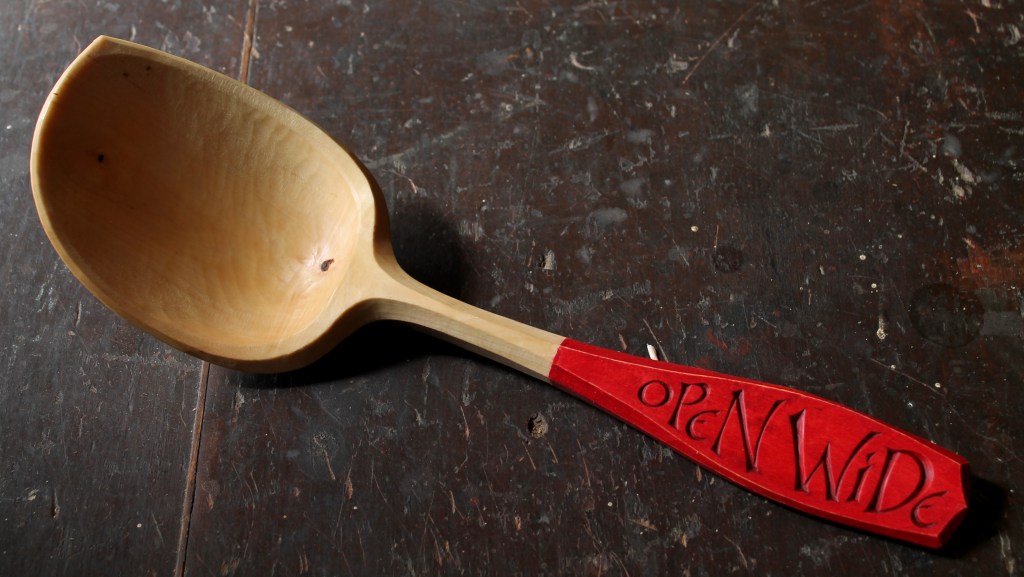
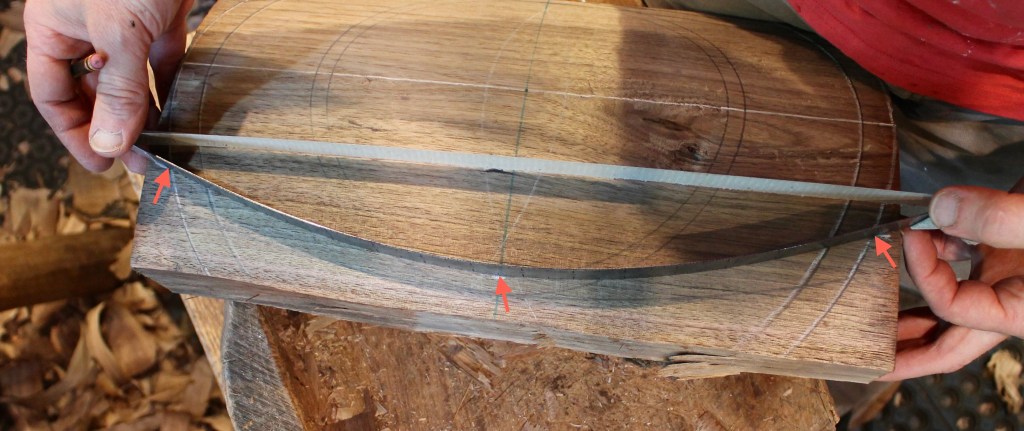
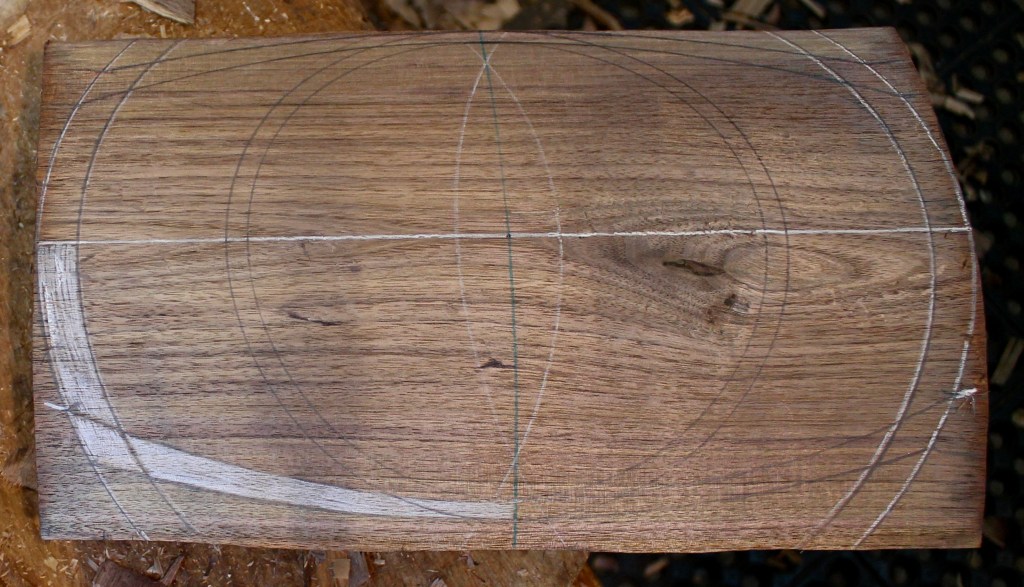
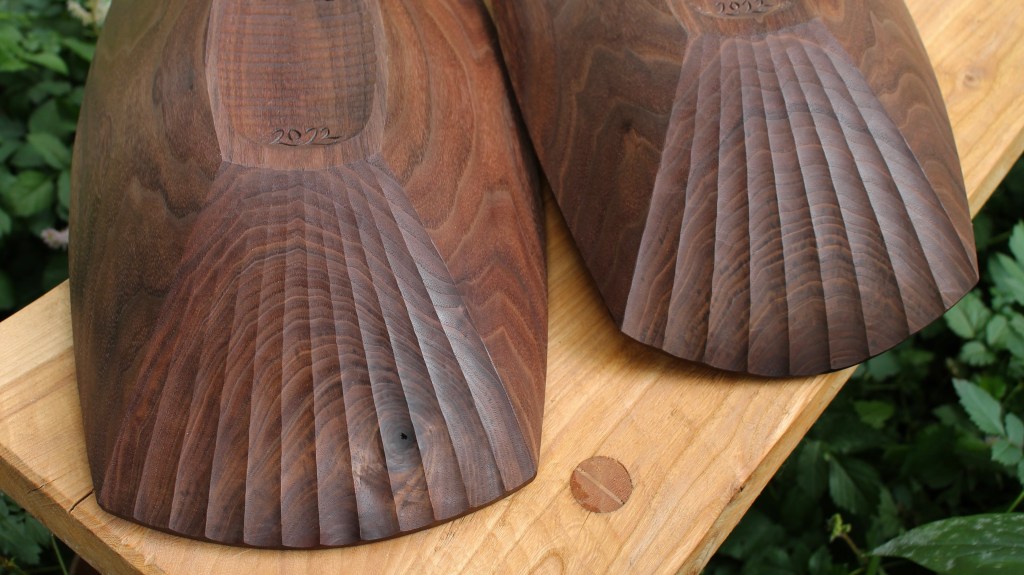
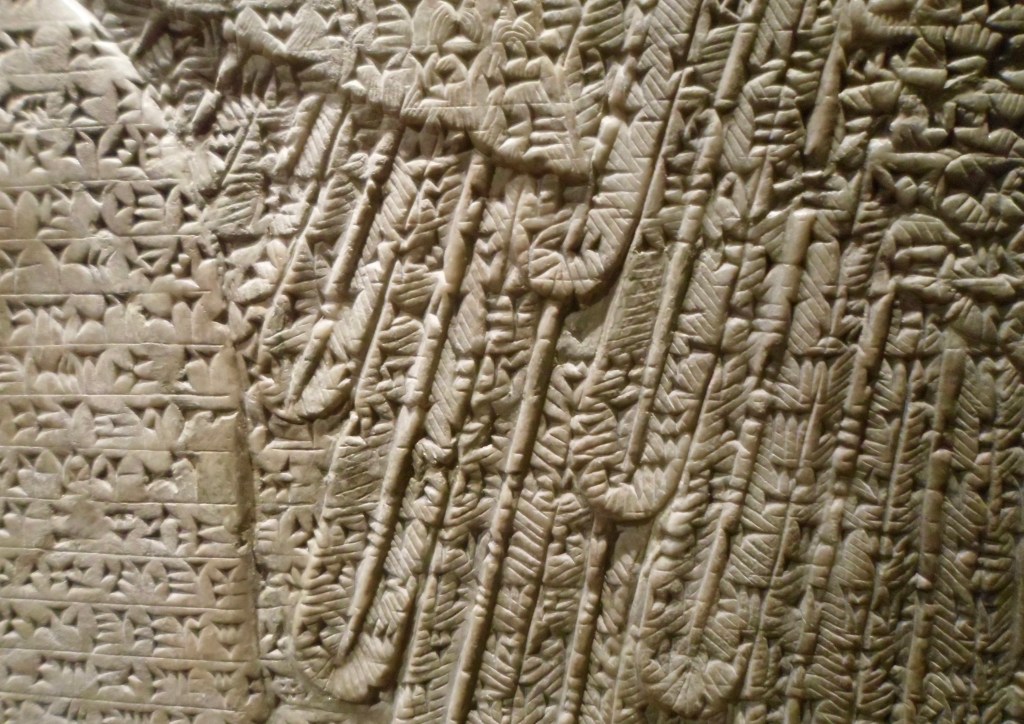
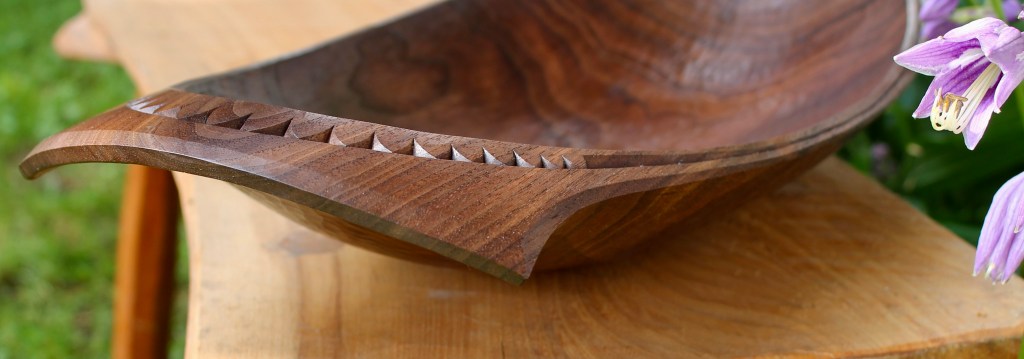
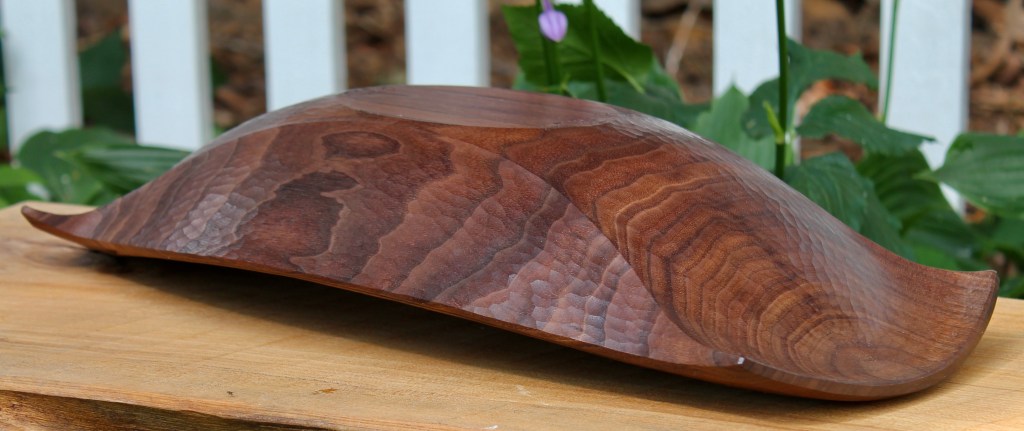
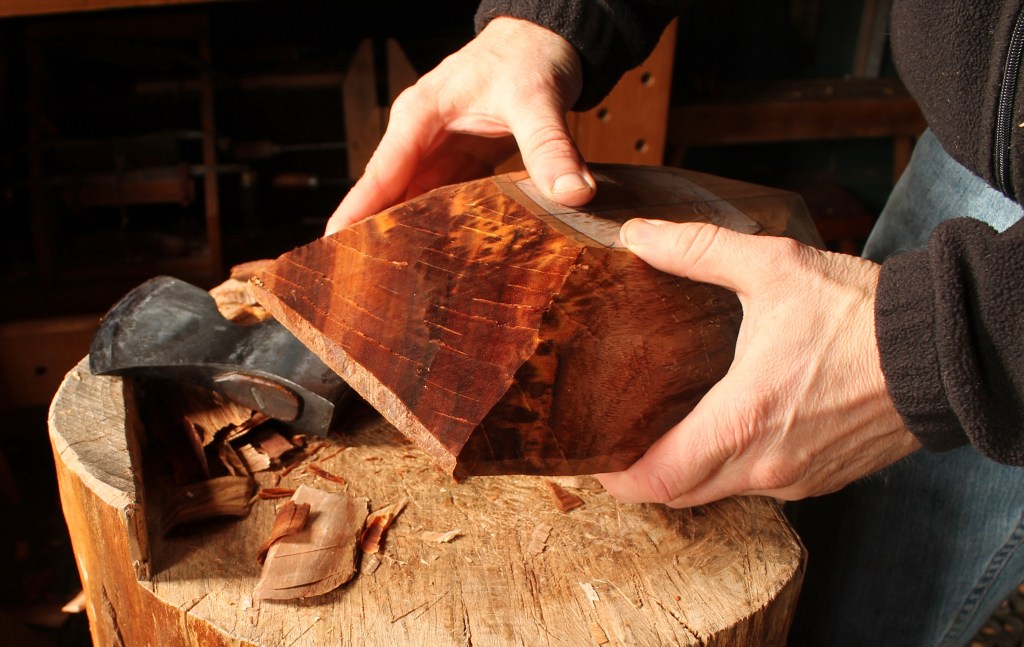
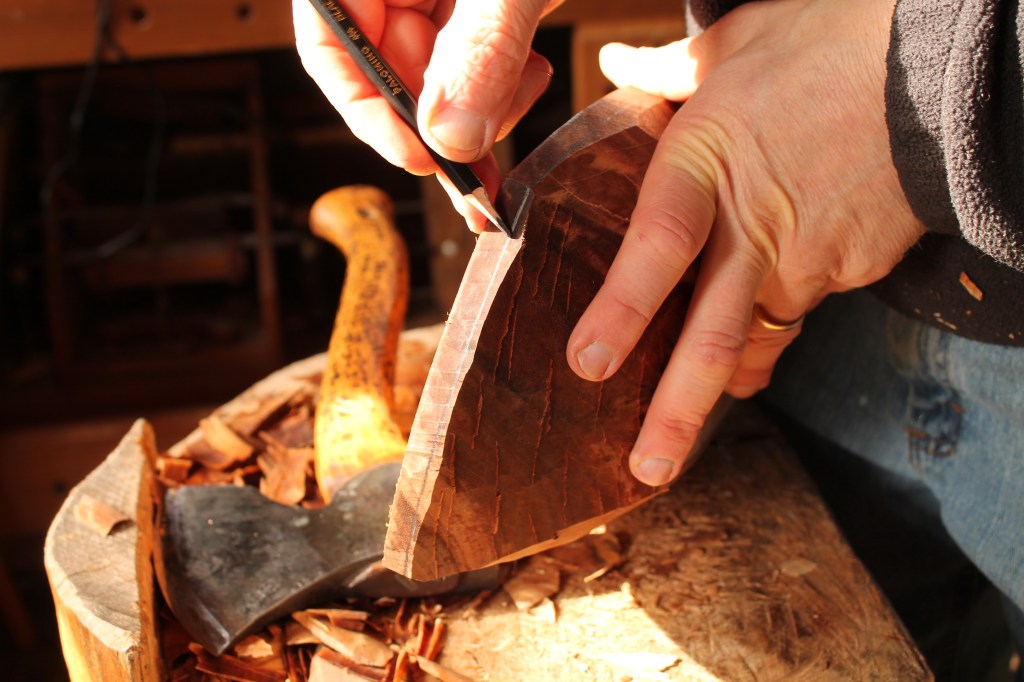
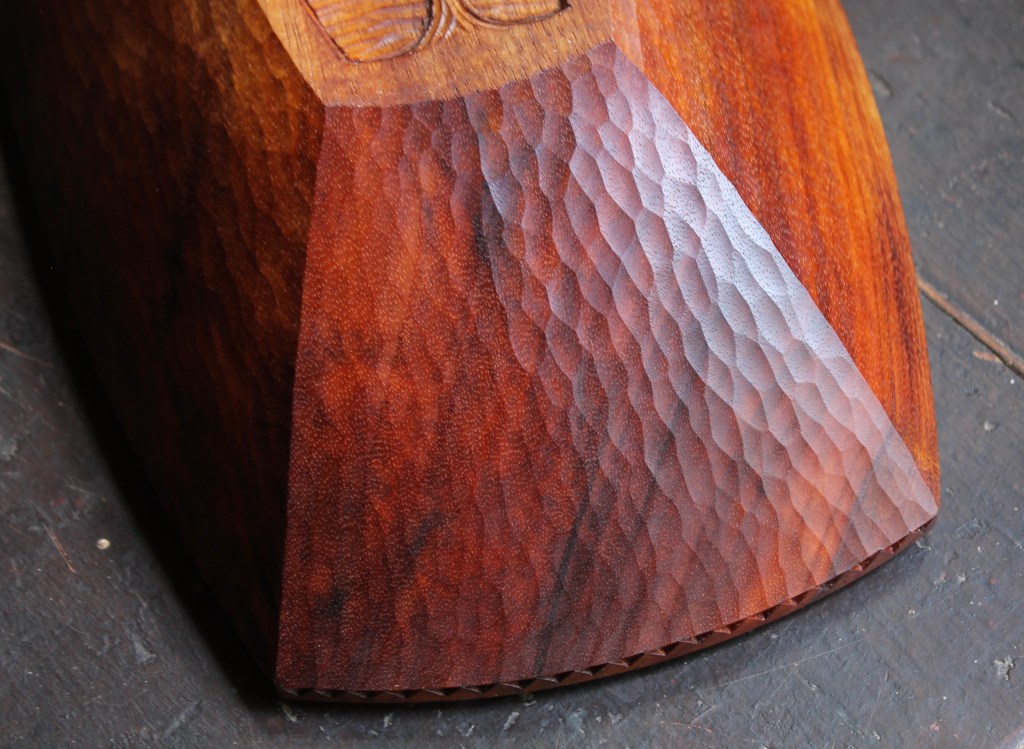
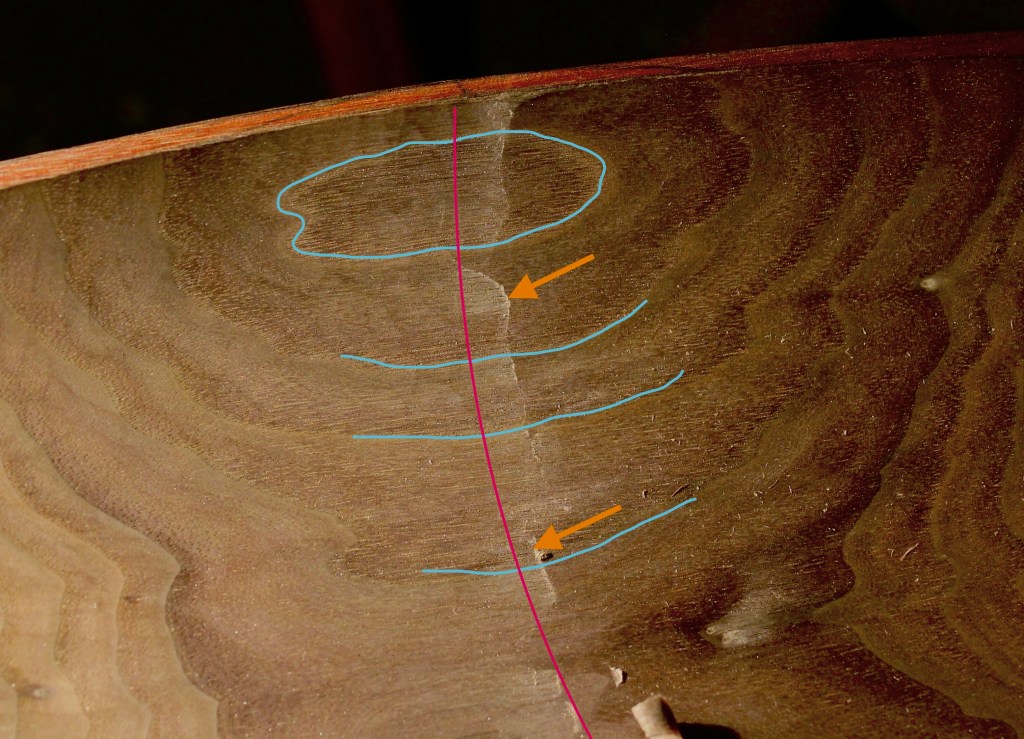
The growth ring pattern can be read to reveal the location of the dividing line. I’ve highlighted them (in part) in blue in the top photo. The center of those O’s and U’s indicates approximately where the dividing line (in red) will be. Shifting a light while you’re working will reveal areas where you’ve gone beyond it; the gold arrows point to a couple more obvious spots where I have gone a little too far after making a series of light paring cuts from the left. The light is being caught by the torn grain at the end of the cuts.

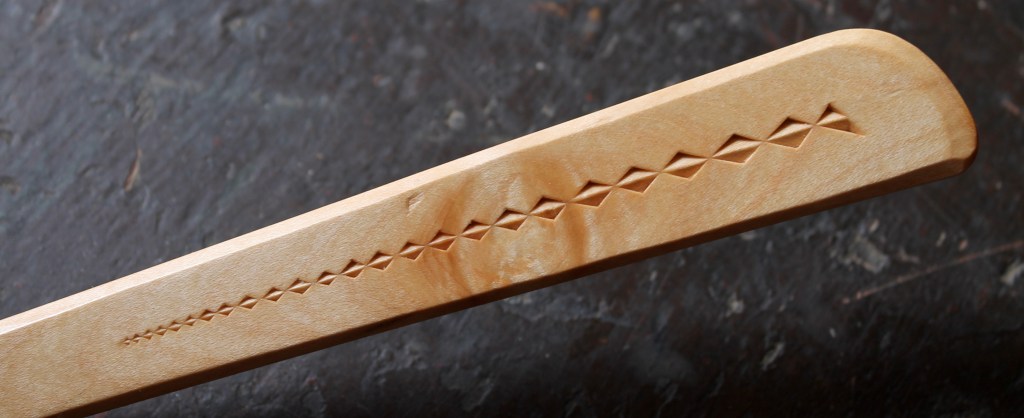
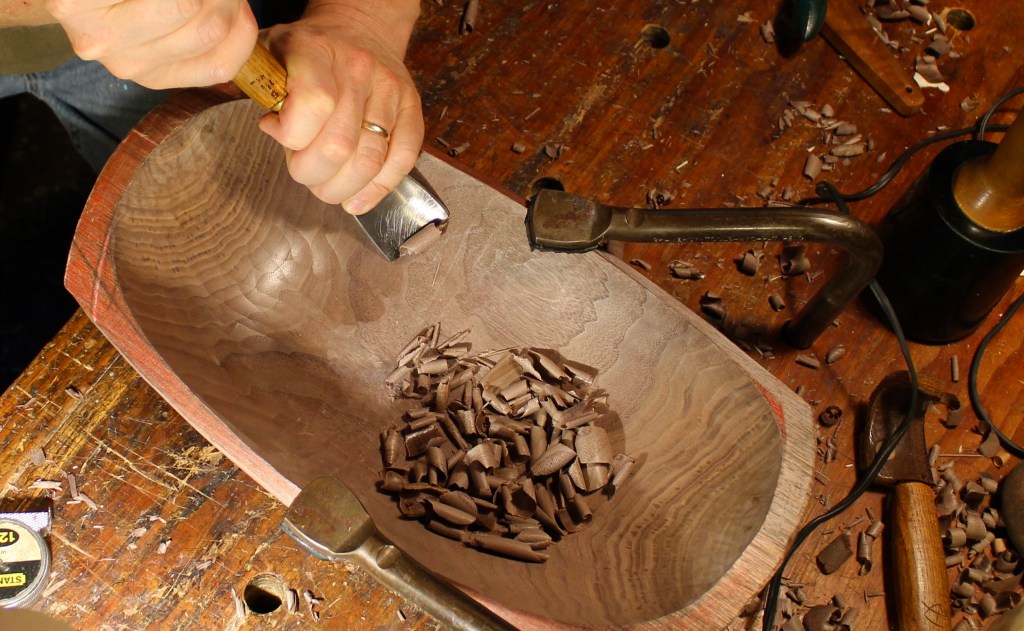
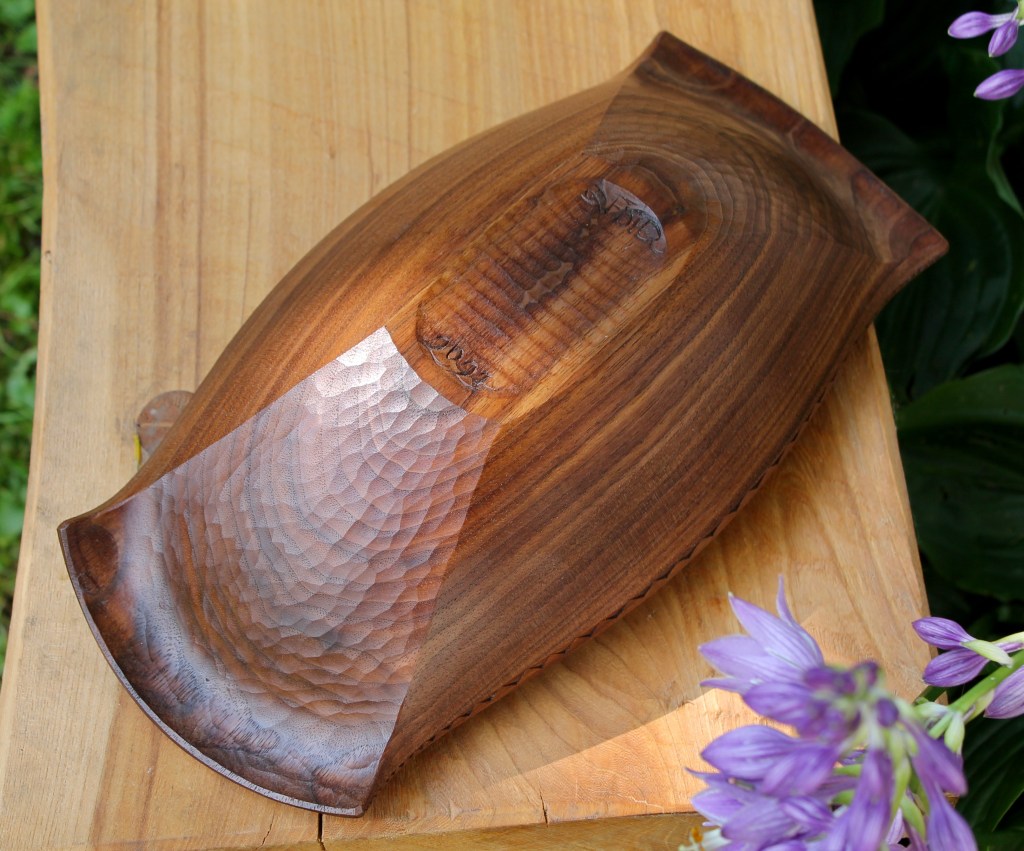
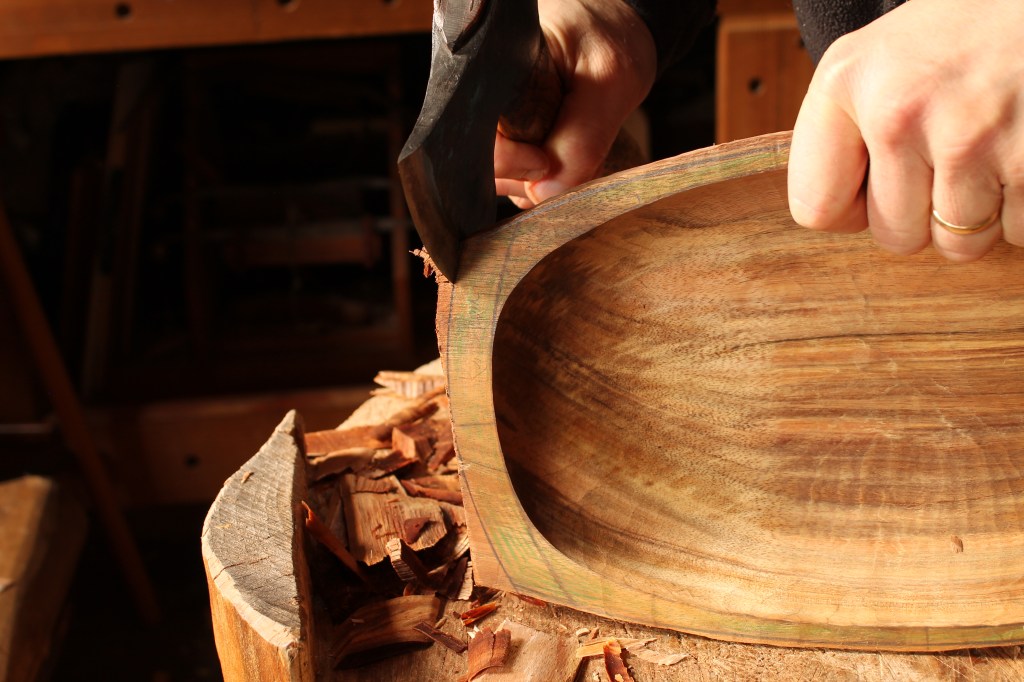
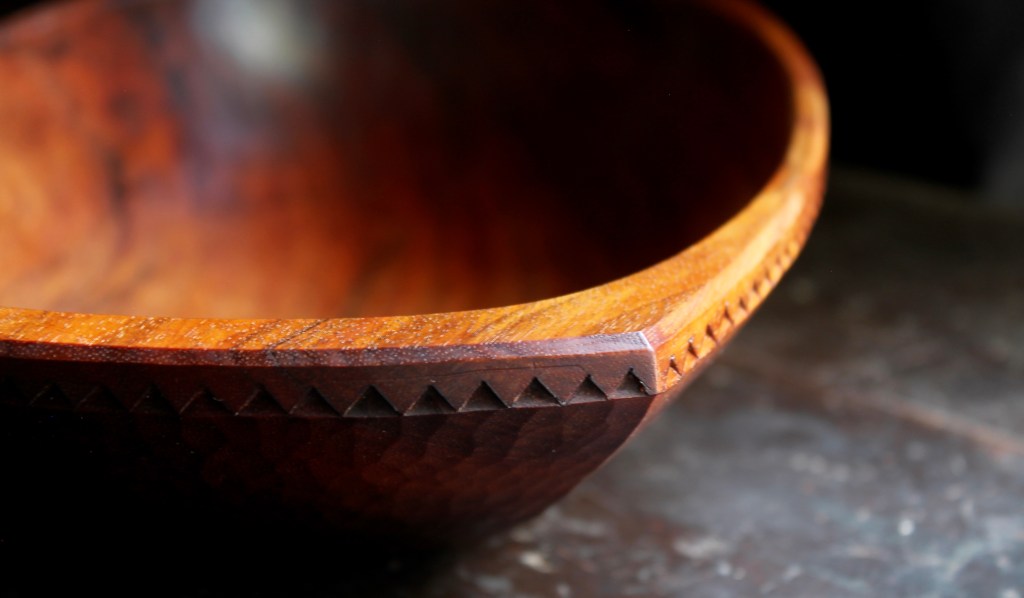
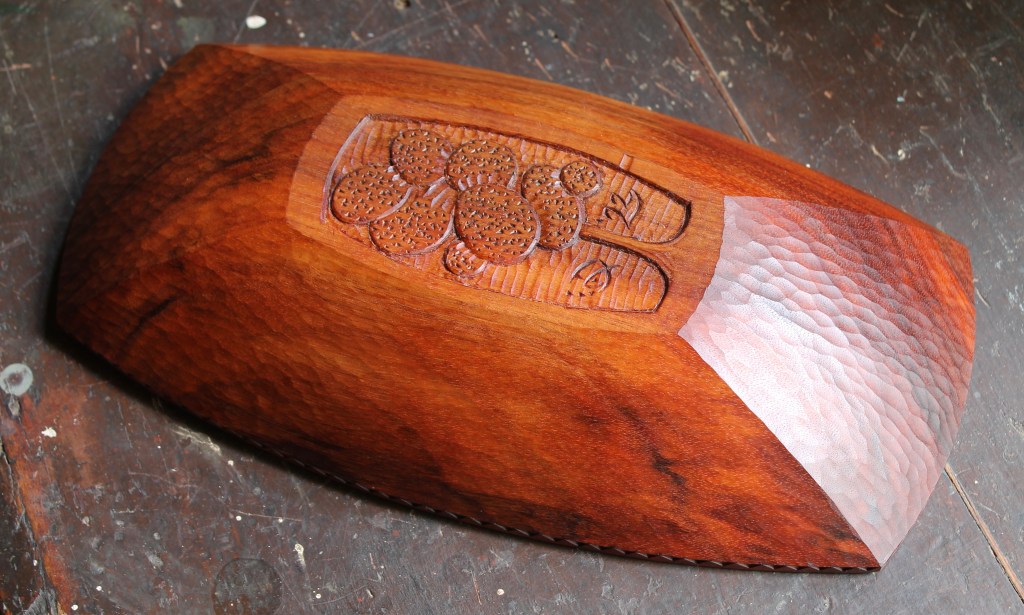
Now I can work my way down making successive wispy cuts from the right, allowing the edge to merge out of the cut before lifting fibers on the opposite side. Here I’m working with a very shallow sweep gouge for the subtle texture I wanted in this bowl. It may require a little back and forth, but you’ve also got to know when to leave well enough alone!
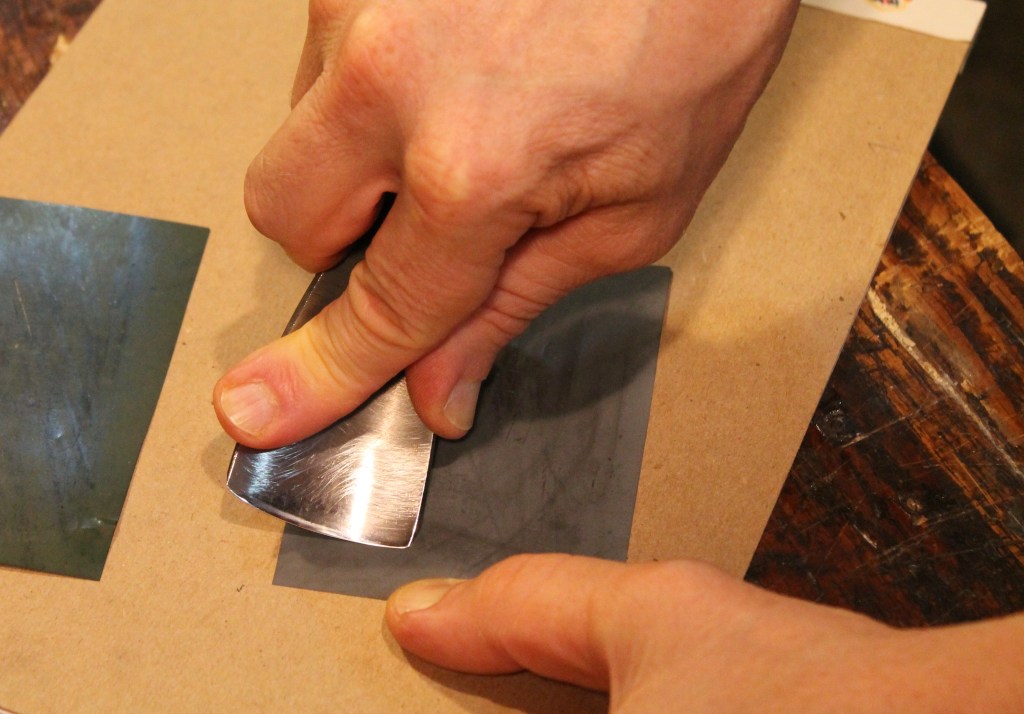
One thing’s for sure: this paring business goes a lot more smoothly if your gouge is sharp. I’ve got several posts about sharpening and there are many good ways to get sharp. I typically go from diamond stones, to a very fine ceramic, to a strop. A few months ago, I remembered I had some 3M sharpening film in a drawer. It’s another good alternative for refining the scratch pattern and polishing the edge. Essentially, it’s super fine sandpaper on a very thin strong plastic film. Looks like you can buy it lots of places, but I got mine from Lee Valley.
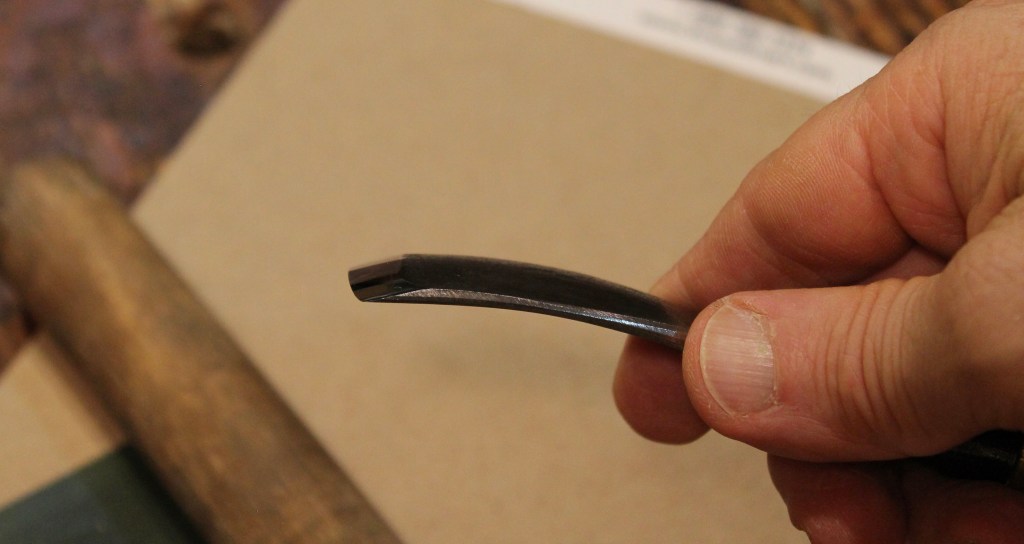
I have the 5 micron and the .5 micron. I just hold the edge of the sheet against some tablet cardboard with my left thumb, put the bevel flat on the film, then draw the gouge backward, while slowly rotating the edge.

The stroke finishes something like that. The stiff cardboard provides just a little bit of give to assure that the bevel is being polished to the edge without significant dubbing.
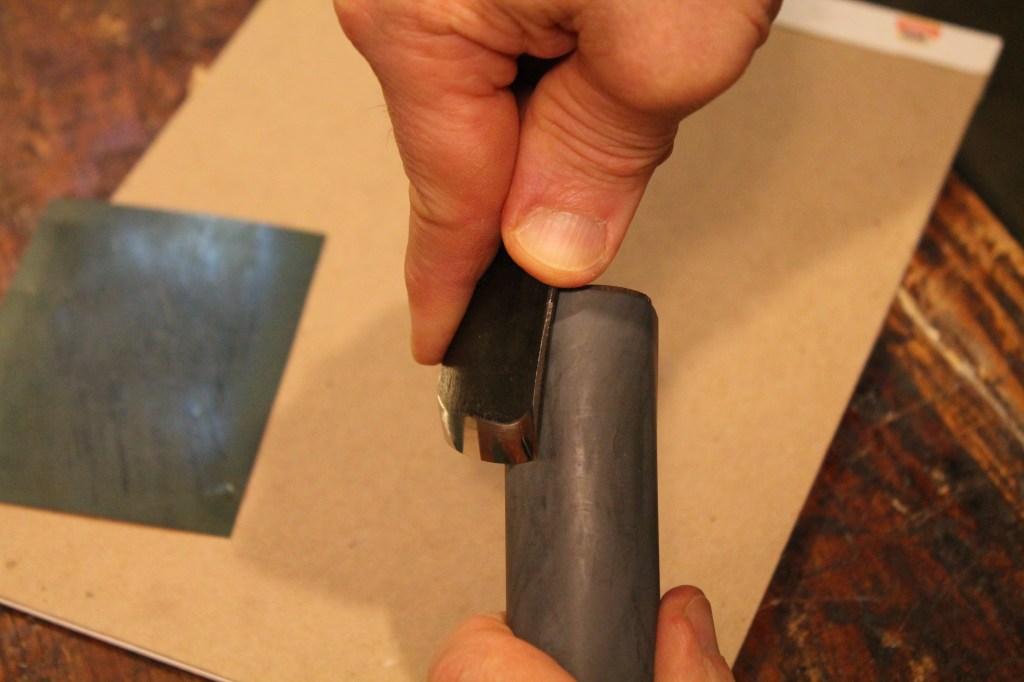
I hold the film around a dowel and rotating the edge back and across it for the inner bevel. Just a couple swipes.
And I do need an inner bevel to keep the edge strong enough while allowing for a shallow outer bevel, which provides a lower (better in this case) angle of approach.