Sand Bags

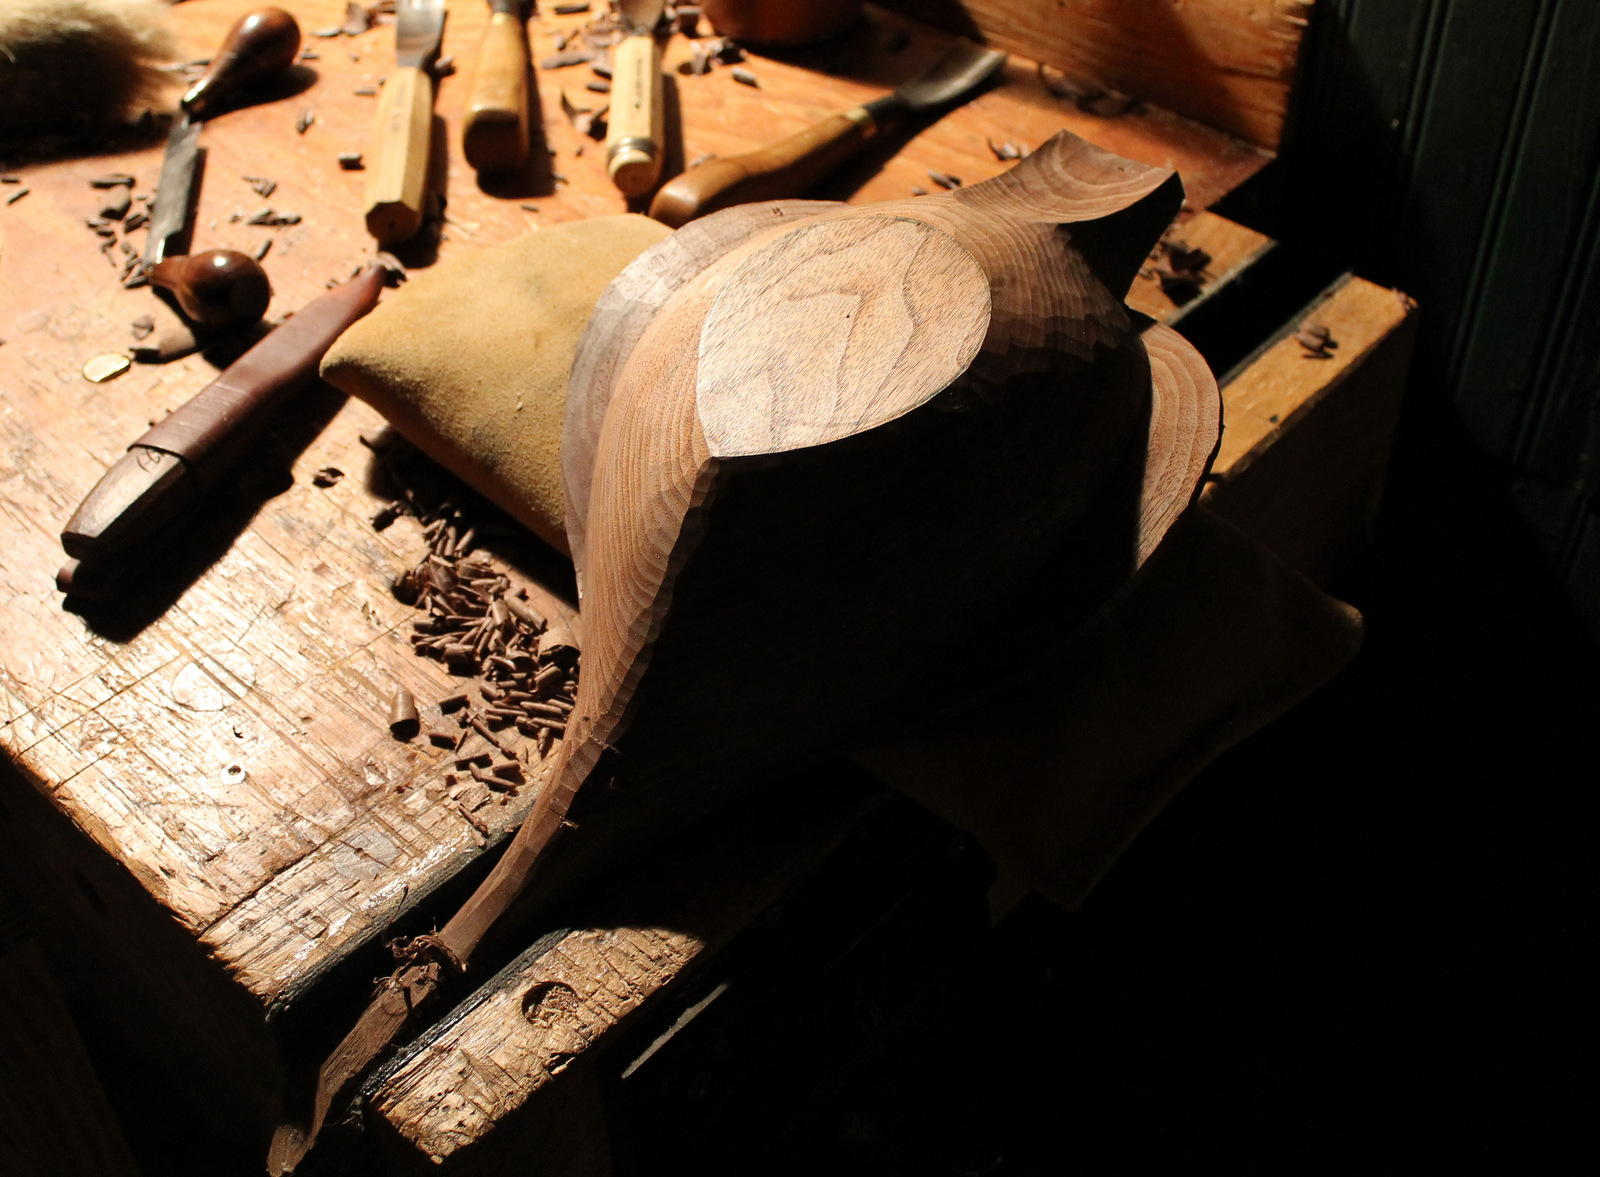
IMG_4068Sand bags are usually called upon in times of life-and-death seriousness; like for parapets and levees.  I have one in my shop that serves a less intense purpose.  The last few evenings, I have been carving and refining a walnut goose-inspired bowl that I roughed out a few weeks ago.  Especially when I am working with forms such as this, I find that a sandbag and a vise come in handy.

I suppose there are lots of ways to make a sandbag.  There might even be something commercially available.  My focus was to make sure it wouldn’t leak sand, which would be bad for the piece and the tool edges.

I re-used a heavy plastic bag of some kind that was used in a package I received (if I recall). I filled it with sand — leaving room for some give — and sealed it up tight with tape.  I put it into a bag (like a pillow case) I had stitched up from some suede leather, then stitched up the open end of the leather pouch.

It’s weight and ability to conform make it pretty versatile.  In the top picture, I am using it under the piece for support.

IMG_4080

There is enough firmness for the holdfasts to grab, but not mar the corners of the wood.

My vise is just a small, but well-made, Record vise.  Several years ago I removed the smaller wooden jaws that I originally attached to it and put on these monster oak jaws. One might think this would put some weird stresses on the vise mechanism, but I have noticed no problems.  It is a pretty simple and cheap solution compared to twin vise screw hardware.

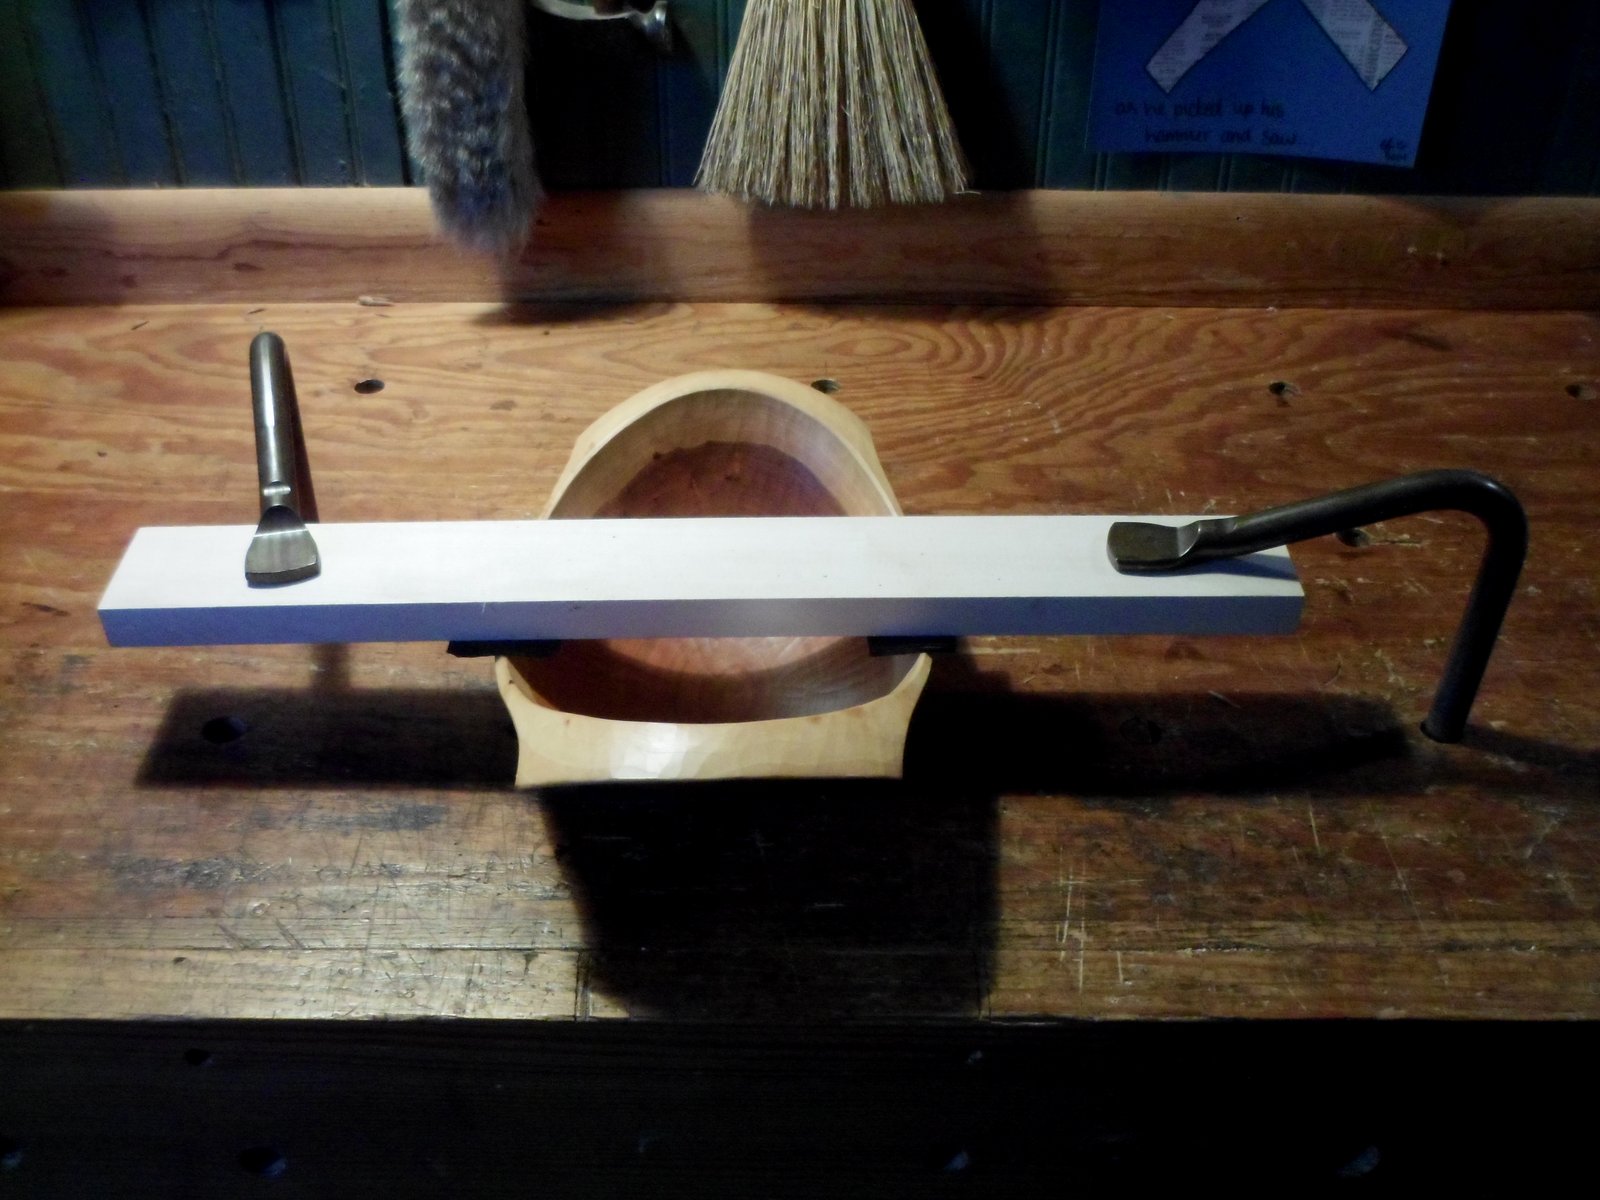
It works well for dovetailing and other woodworking operations too.  For stock that is too wide for it, a board and a couple holdfasts in holes in the front bench apron do the trick.

IMG_4073

Feeding goose.

IMG_4074

The oak board for the outer jaw had a bit of warp to it lengthwise. Perfect for grabbing at the unsupported end first where a little extra pressure is needed.
 

IMG_4083

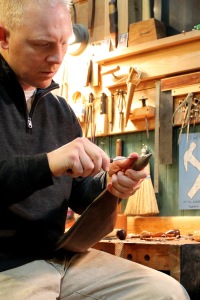
The most versatile vise (and, man, I need to relax those eyebrows!)

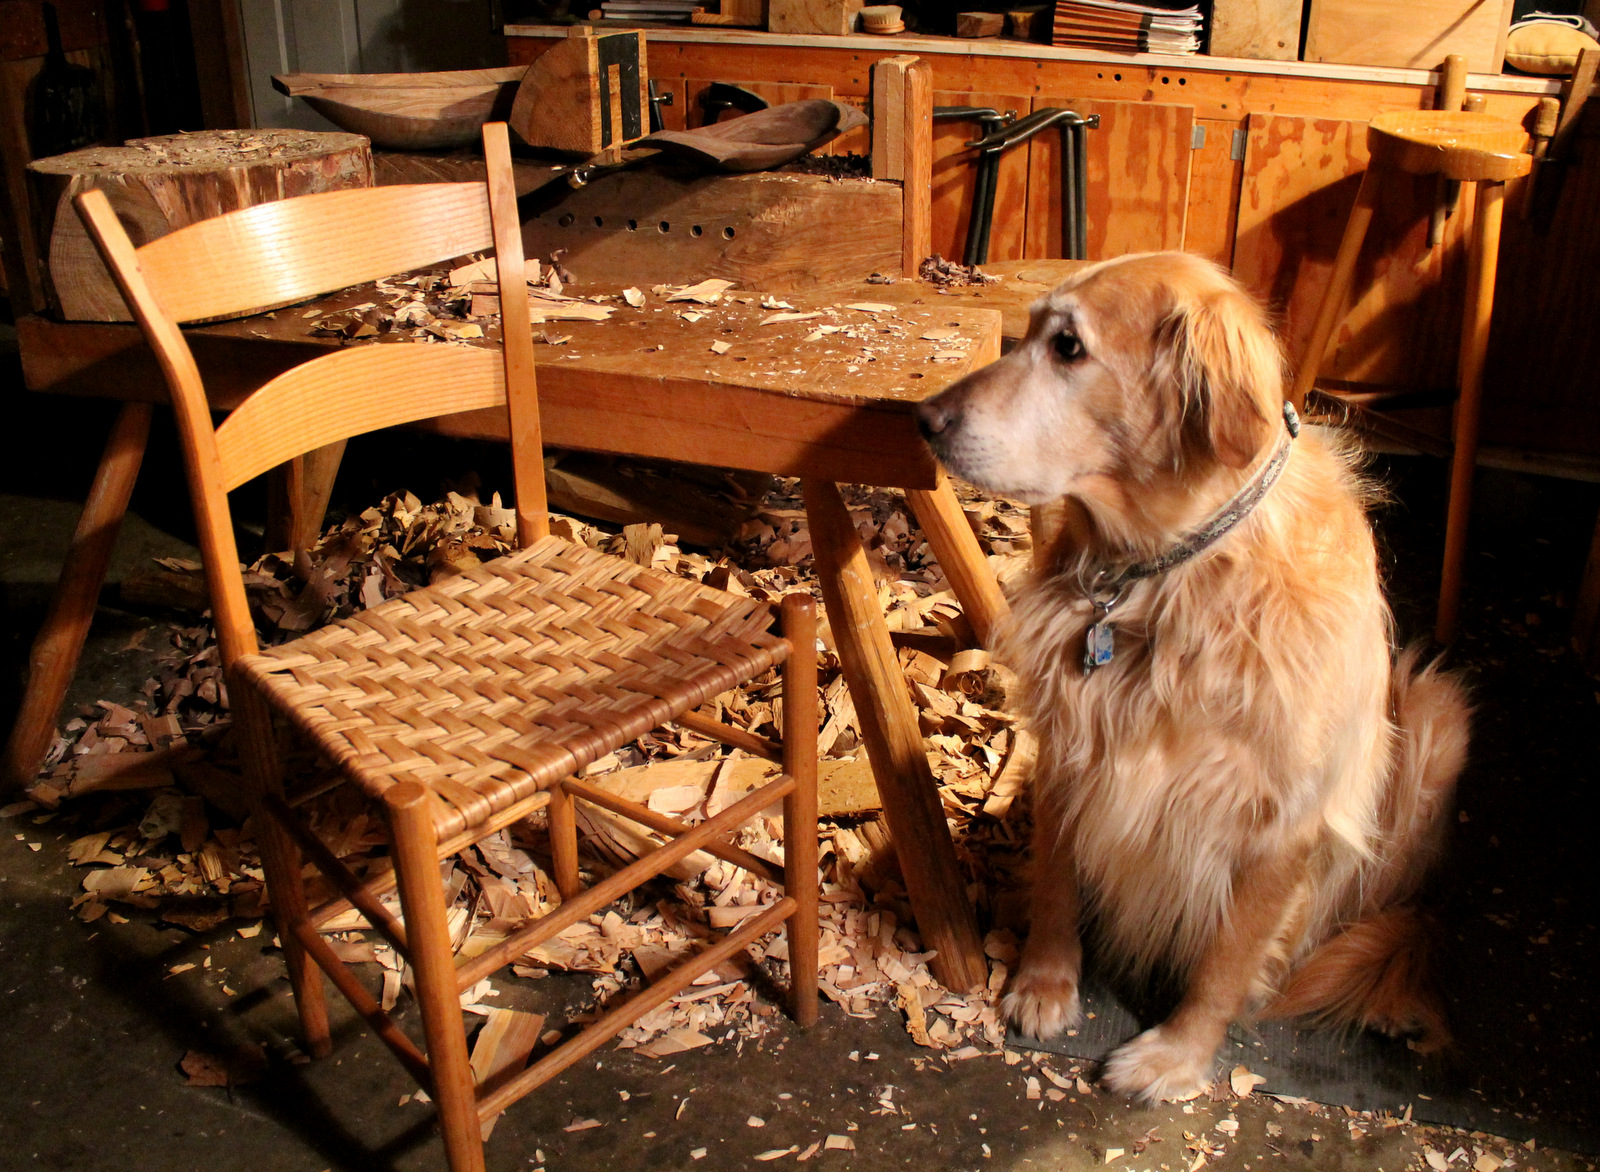
On another note, there have been posts this week on Peter Follansbee’s blog and the Lost Art Press blog about seating styles, and three-legged stools and chairs.  Chris made one with two legs in front and one in the back.  This oak stool I made about eight years ago shows another option — two in the back and one in the front.  Works great.  Around our house it is known as “the butt stool.”
IMG_4077IMG_4079

Posted in bird bowls, carving, holding, Uncategorized, walnut | Tagged , | 6 Comments

Good News about Chairs

IMG_4051

Twelve years ago, I made my first chair from a tree.  I had no idea how to do it until I watched a video called Make a Chair from a Tree by J. Alexander.  The process and the concept were explained so clearly that I felt empowered to give it a go.  That chair is still my favorite seat in the house.  As you can see, our dog, Sam, is thrilled with it.  If you build chairs like Alexander suggests, you will never have to deal with a broken or loose rung.

Not only was the video helpful, Jennie’s website included plans for a shaving horse, tapered reamer, and other ideas. I built them all and learned a lot in the process.  The low bench I use during bowl carving (just behind Sam and the chair) has legs fit into tapered mortises bored and reamed with the same process I learned at that time.   Jennie kindly answered some questions I had through email.

The book Make a Chair from a Tree has been out of print for a long time.  Old copies are expensive and difficult to find; but there is good news!  I was happy to see in a recent post on the Lost Art Press blog that an updated version is in the works, as well as an upcoming book by chairmaker Peter Galbert.  Alexander’s book inspired many, including Peter Follansbee (see his related blog post here).

In the meantime, I’d recommend the video.  You can find it at the Country Workshops online store.  While you’re there, I’d also recommend the other books and videos available.  If you’d like to make some chairs, pick up The Chairmaker’s Workshop by Drew Langsner.  Not only is the Alexander chair (essentially) in there, but all sorts of others, plus extras from sharpening to hickory bark harvesting.  Once you’re familiar with the concepts (the most important part), you can design your own, adjusting angles, heights, and other aspects to your liking.

IMG_3824

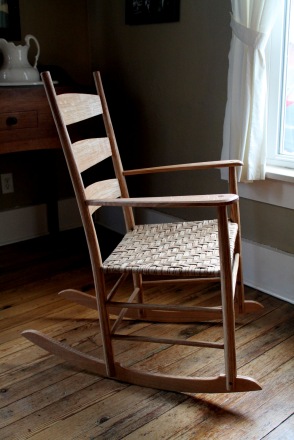
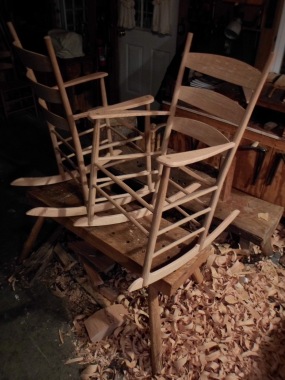
I made this white oak rocker and a matching one a couple months ago.  Although the few specifics of the design were my own, it all began years ago with the help of Jennie Alexander and Drew Langsner.  I’ve never had the pleasure of meeting either in person, but I count myself fortunate to have learned from what they have shared.

P.S.  I will leave my chair diversion with recommendations also for the books Welsh Stick Chairs by John Brown and Going with the Grain by Mike Abbott (as well as all of Mike’s earlier books).

SAM_1988

Here the both of them are before oiling and the weaving of the hickory bark seats.


Posted in green woodworking, Uncategorized | Tagged , | 6 Comments

Get a Grip

IMG_4060You may remember the “Pine Tar Game:”  On July 24, 1983, The Kansas City Royals were losing 4-3 to the New York Yankees in the top of the ninth inning.  George Brett, the Royals’ last hope, approached the plate with two outs and one runner on base. With a length of ash wood, he blasted the ball over the fence, giving the Royals the lead.
However, Yankees manager Billy Martin protested, claiming that the pine tar that Brett had rubbed onto that ash bat extended too far up the handle; a violation of league rules. The umpire agreed and called Brett out, taking away the home run and giving the Yankees the win!  Sparing the details of the legal wrangling that followed, the decision was eventually overturned, and the Royals won the game.  Here’s a video link if you’re really interested.  Even if you’re not into baseball, there is something to take away from this story:  pine tar improves your grip.

Here’s why I think that is important.  I find that undue effort put into holding on to a tool, gripping too tightly, distracts from removing wood boldly and/or precisely.  Plus it is tiring.  None of this is much of a consideration when working with carving gouges, but with tools that are swung, it can make a big difference.

Pine tar aside for a minute, the first consideration is the handle itself.  Some tools come with good ones and some don’t.  To be fair, manufacturers are put in the difficult position of making one handle that is appropriate for thousands of different hands.  Not that I think every handle has to be custom made; some turn out to be a good match.  For example, I love the factory handle on my GB carving axe.  I have found the handles supplied on some adzes to be hard for me to work with.  Some are just hammer handles, while others are so oblong in cross section, it feels like holding a yardstick that wants to turn over in your hand.

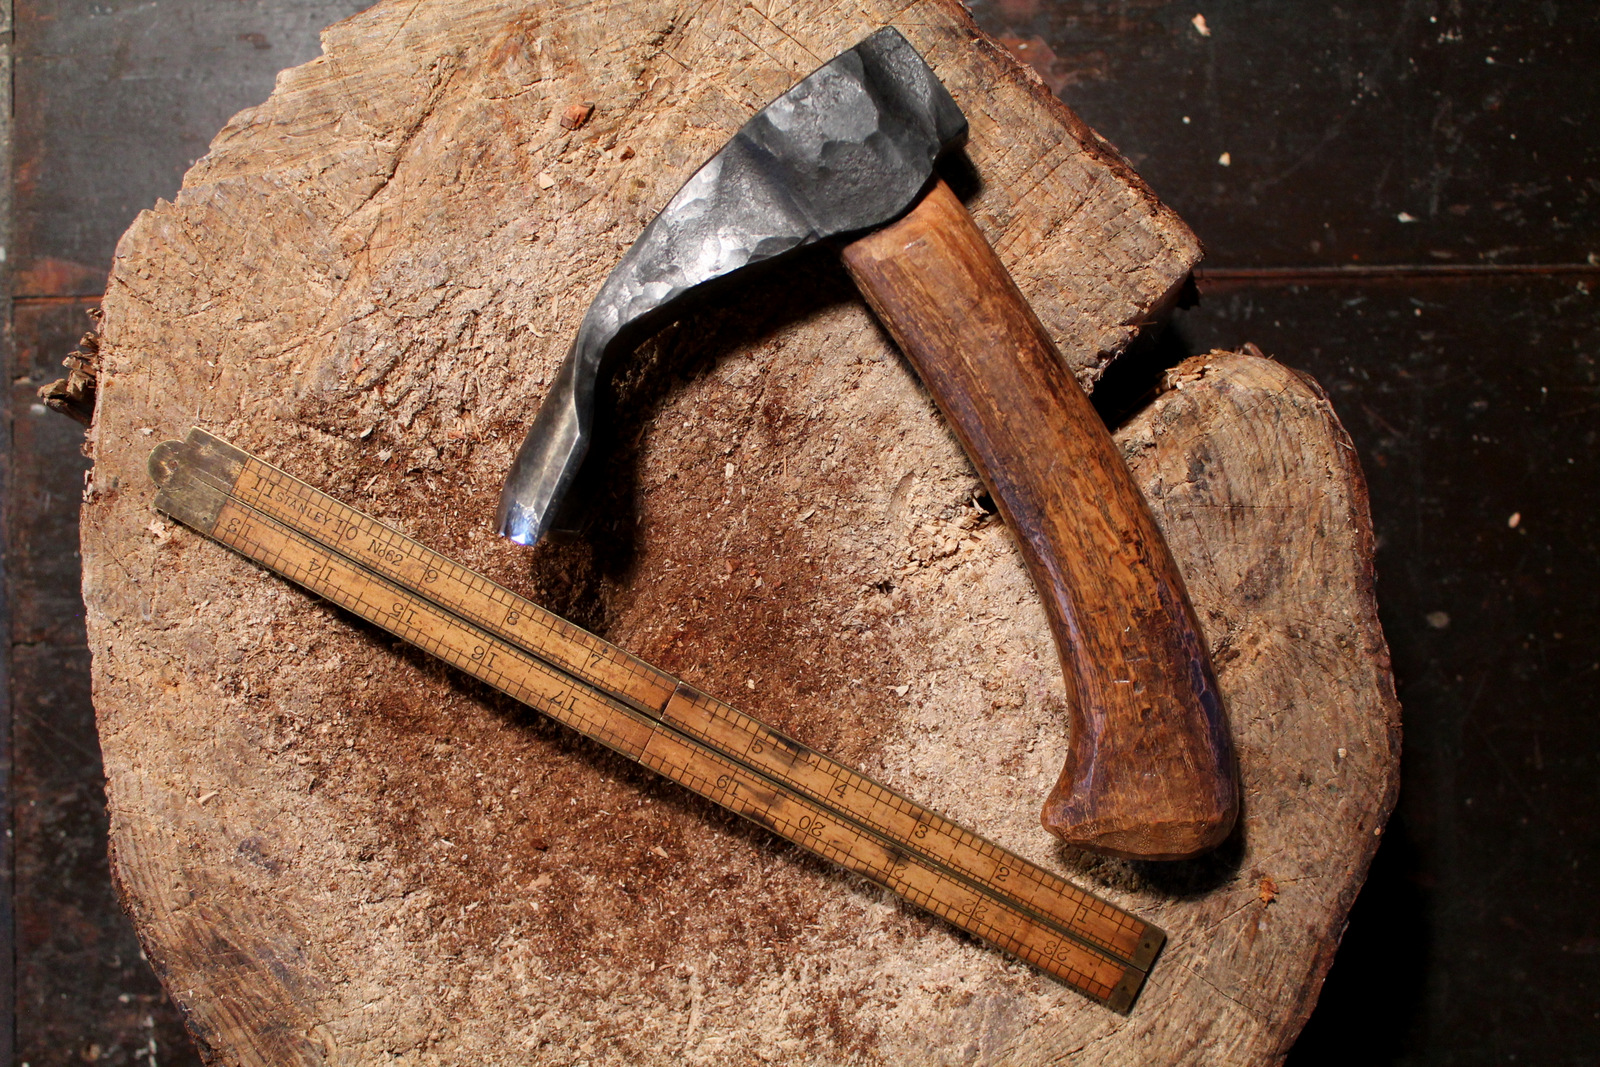
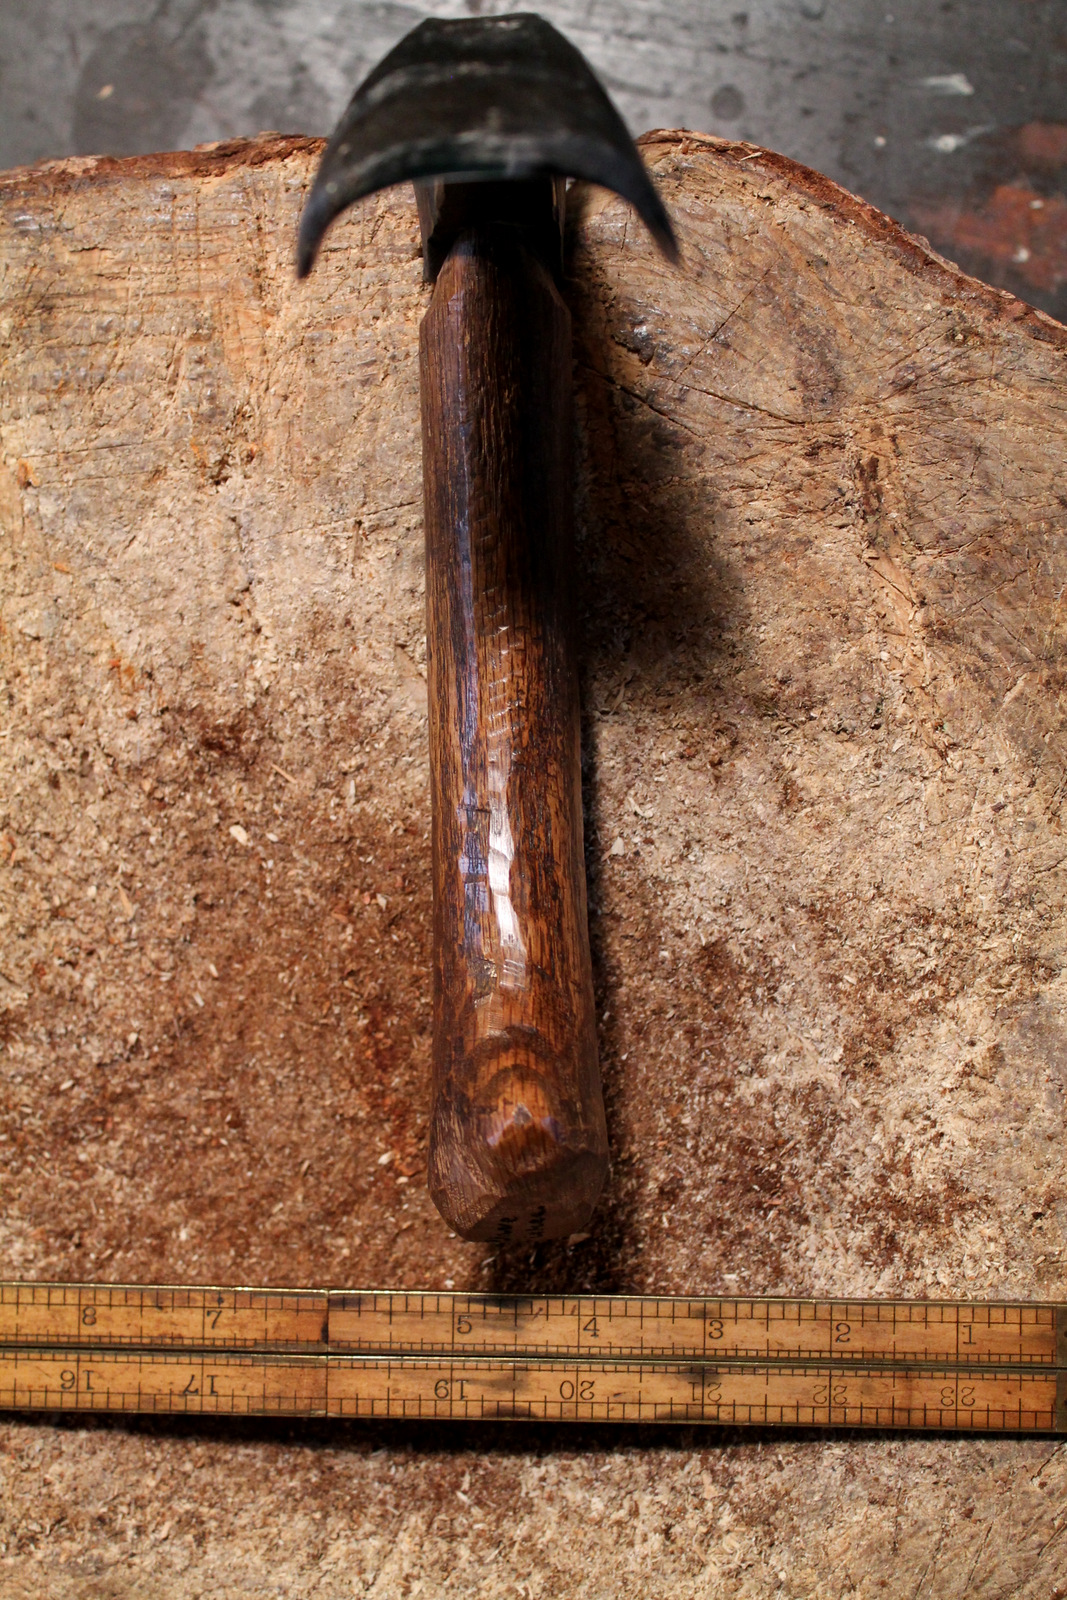
If you don’t like the handle of your adze, a new one is easy to make and attach firmly.  Here is the one I use 90% of the time.  The head is by Hans Karlsson.  I bought the head and handled it myself.  To be fair, I have never tried the handle that is supplied with this adze.  I just know that I like the way this handle feels.  I am used to it, and there is something to that too.

IMG_4055IMG_4056

IMG_4057

This is the grip I use when I am swinging with power. The head is essentially being thrown into the log, and the weight of it helps to propel it through the wood fibers. My ring finger acts as a pivot point, and the grip is tightest there; more relaxed elsewhere.

IMG_4059

When refining, I will often switch to a little higher grip. Still swinging the adze without a death grip.

I guess a real man just spits on his hands to improve his grip, and that works pretty well, but I can use all the hygiene improvement I can get.  Pine tar has been used for all sorts of things for centuries.  I found it in the baseball section of a sporting goods store.  It comes already soaked into a rag and it will last for years.  Your tool handles will not remain perpetually sticky.  It wears off.

You might also consider gloves.  Typical work gloves seem too thick to me for this work.  There needs to be more of a direct feel.  My son had these football gloves around; with a thin rubbery material on the grip side.  I tried one out one day, and they work pretty well.  Perfect if Billy Martin is watching you work.

  IMG_4062

Posted in adze, axe, tools, Uncategorized | Tagged , , , , , | 9 Comments

I hope you love birds too.

Scan
I hope you love birds too.  It is economical.  It saves going to heaven.

-Emily Dickinson

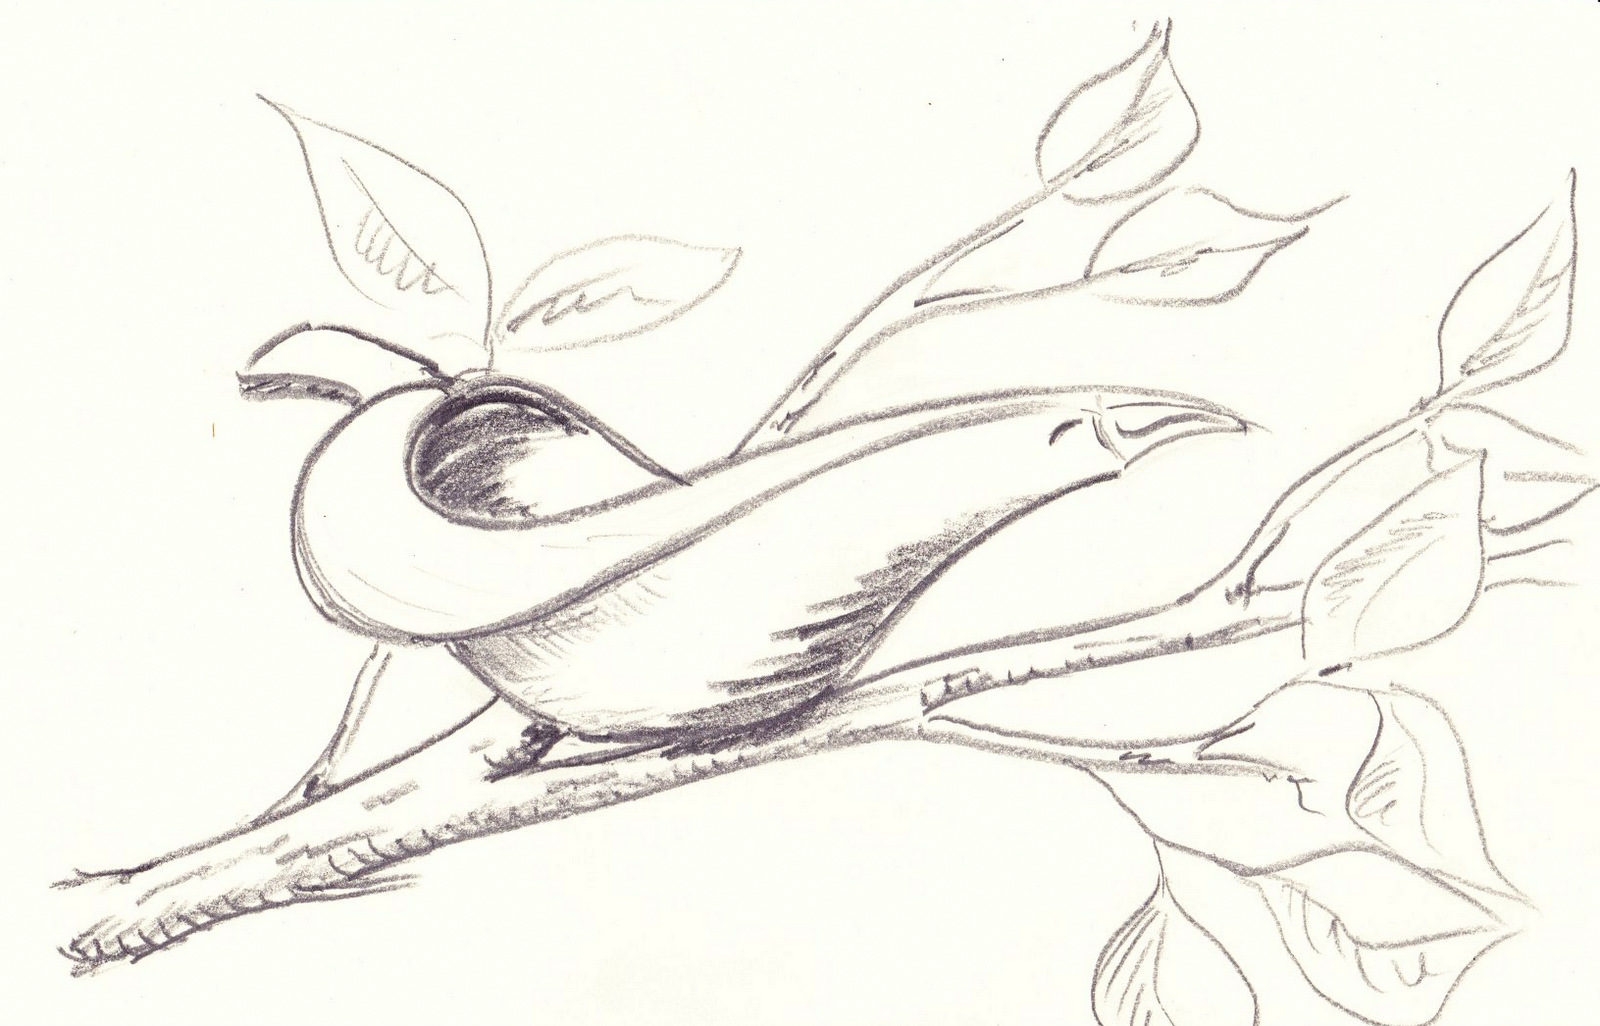
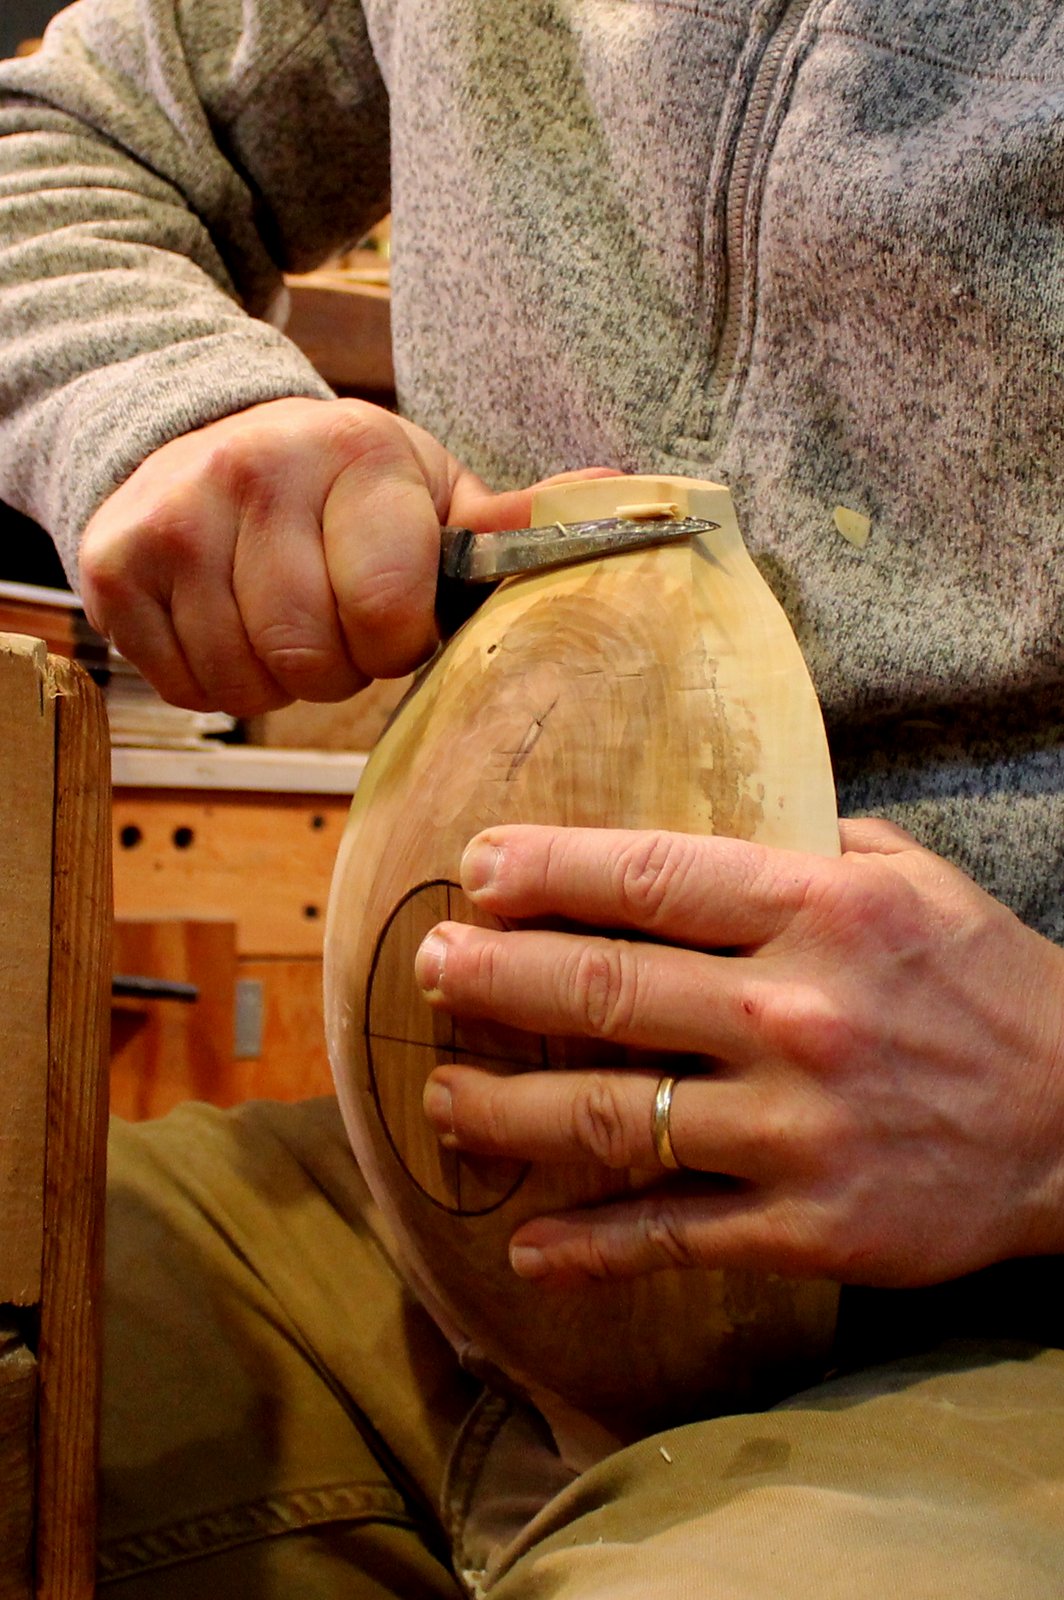
It is very pleasant work carving bird bowls.  I start with a branch and a few roughly sketched lines.  After much bulk is removed with the axe and adze, much of the carving on these small bowls is done sitting down with a couple knives and a gouge or two.

IMG_4041IMG_4016

I’ve finished a couple recently, one in birch above, and another from a curved cherry branch (below).  I’ve just posted them, as well as another cherry bowl (further below) to my available for purchase page at the website if you’d like to have a closer look.

IMG_4038IMG_3967


Posted in bird bowls, cherry, holding, Uncategorized | Tagged , , , | 4 Comments

Working for Walnut

SAM_2054

Over the weekend, it warmed up to the low 30’s.  That made it a good time to collect some black walnut from a tree that had uprooted a couple months ago on a friend’s property.  You can see it down there in the ravine in the upper center of the photo below .  Did I mention we had to pull the logs up and out of a ravine?  Anyway, there was snow to ease the moving of logs and the little creek was (mostly) frozen over.

SAM_2049

SAM_2047

It helps to have your fifteen year old son along for work like this.  Keeping that refrigerator stocked is starting to pay off.

This tree has some twists and turns, former side branches, and so on.  Not great for someone who wants long boards, but, with many short clear sections, beautiful for bowls.   We just had to work for it.  After splitting the sections (part of the design process too) into more manageable sizes, we plopped them onto a sled and pushed them over to the bottom of the ravine hillside.  After much comical pushing and pulling, we got them to the top, through the yard, and into the truck.

SAM_2056

Now, a few pieces are at my house.  The tree in the ravine still has more to give, and I’ll go back someday.  Meanwhile, I’ll be trying to make something worthy and give part of this tree a second life.

On another note, I noticed that the “follow” link that I had listed to the right was more specifically for WordPress users.  Now there is one (see the upper right corner) more easy to use, whether or not you have a WordPress account.  So if you’d like to get an email when I post something new, it is easy to sign up with your email address.

Posted in bowls, finding wood, Uncategorized, walnut | Tagged , , , | 3 Comments

Ellipse Layout

Mankind is not a circle with a single center but an ellipse with two focal points of which facts are one and ideas the other.            –Victor Hugo

An ellipse is an endlessly adaptable shape that is beautiful and easy to lay out.  It is one form that I often come back to, even though I draw many other types of outlines for bowl hollows.  You can’t go wrong with an ellipse.

There are many ways to lay out an ellipse, featuring all sorts of devices.  This one is simple and effective.  It allows you to form the perfect size ellipse for the log before you.  You decide whatever length and width you want the ellipse to be, and that ellipse will be formed with no guesswork.  Plus, it works on rounded surfaces (like the top of a bowl done “upside down” style).

This is the method I use in this video , but I’ve broken down and explained the steps more clearly in the photo sequence below.  I am demonstrating on a pine board, but imagine the surface is the top of your bowl blank.

It all starts with compasses.  These are essential and versatile layout tools, not just for this type of work.  For bowl layout, I always use the ones that can hold a pencil.  In Peter Follansbee’s historical furniture work, he uses pencil-less compasses, sometimes called dividers.  Here is one of his blog posts referencing the historical use of the compass.

IMG_3944

The two compasses on the left are from Lee Valley Tools. For larger bowls, they come in very handy. The other two are yard sale finds.

IMG_3945

Draw a lengthwise center line from end to end. Place the point of the compass just inside the end of the log at one end of the line. Open the compass a little beyond what looks to be the center and strike an arc. Repeat from the other end.


IMG_3946

With a ruler (a flexible ruler if working on a rounded surface) strike a line through the intersections of the arcs. The line formed is not only centered, but also perpendicular to the lengthwise center line.

IMG_3947

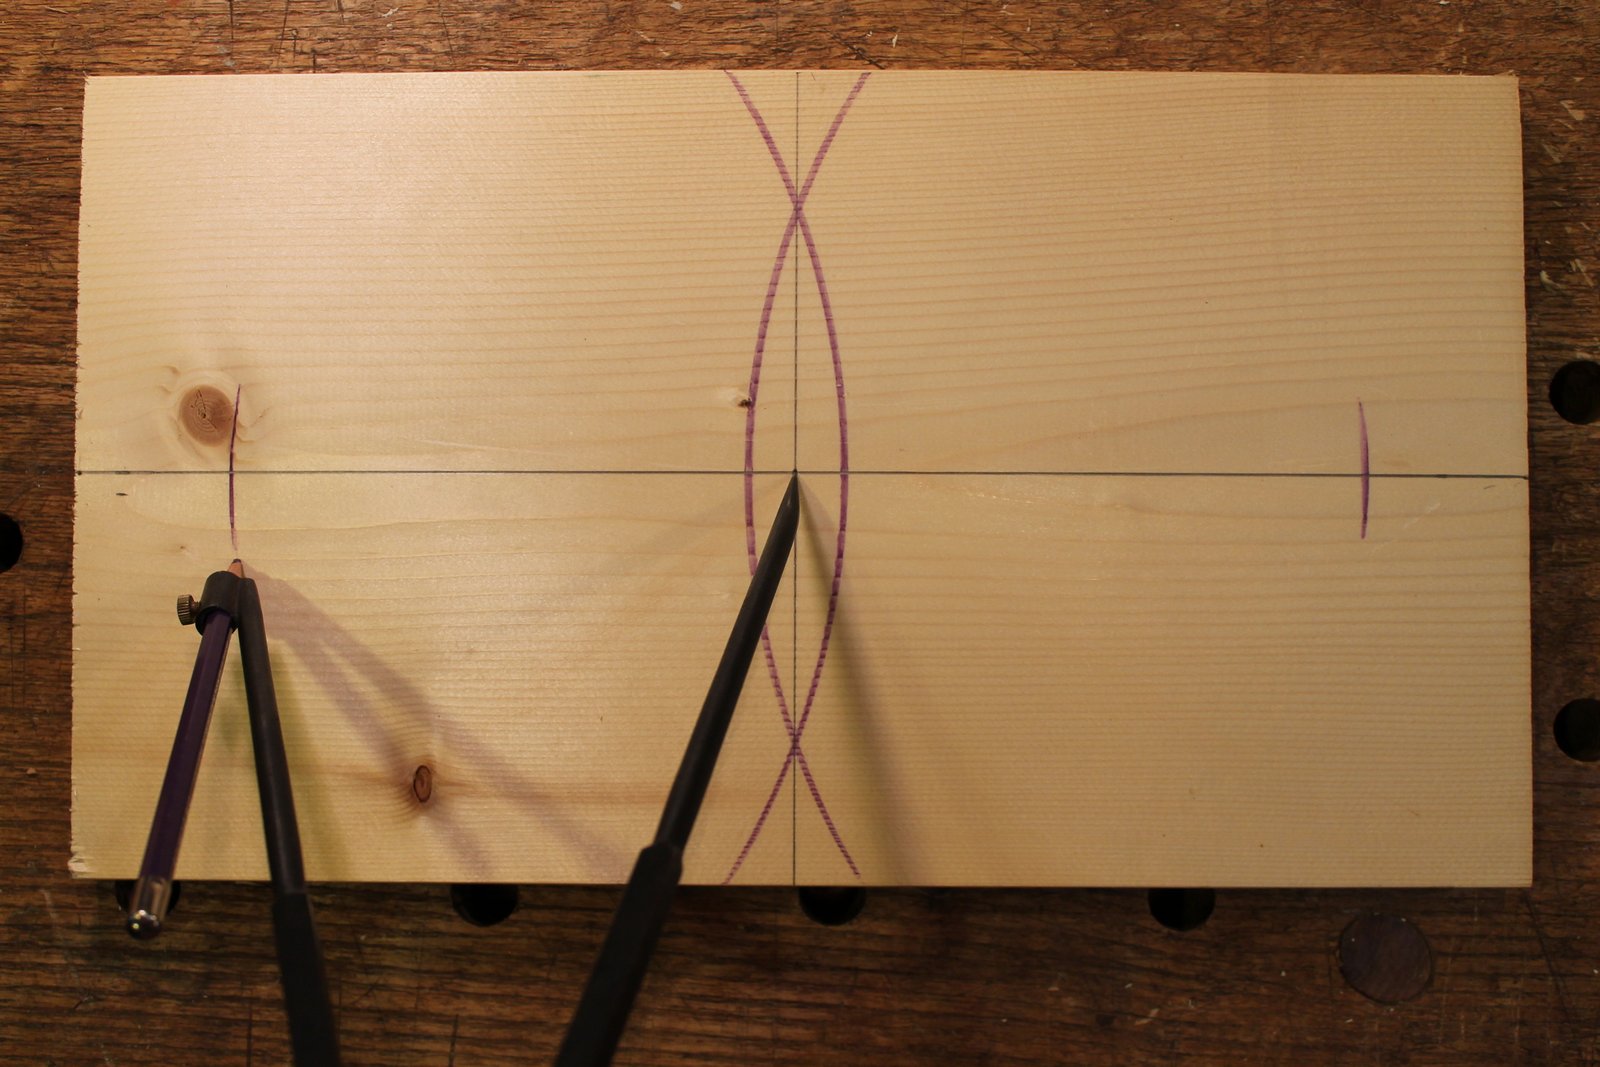
Decide (up to you, the designer) how long you would like the hollow portion of the bowl to be (i.e. how much left on the ends for handles). With the point of the compass in the center, strike a mark at that distance to both sides. They are equidistant from the center.

IMG_3948

Decide how wide you would like the hollow to be, and repeat the procedure in the previous step, this time for width.

IMG_3949

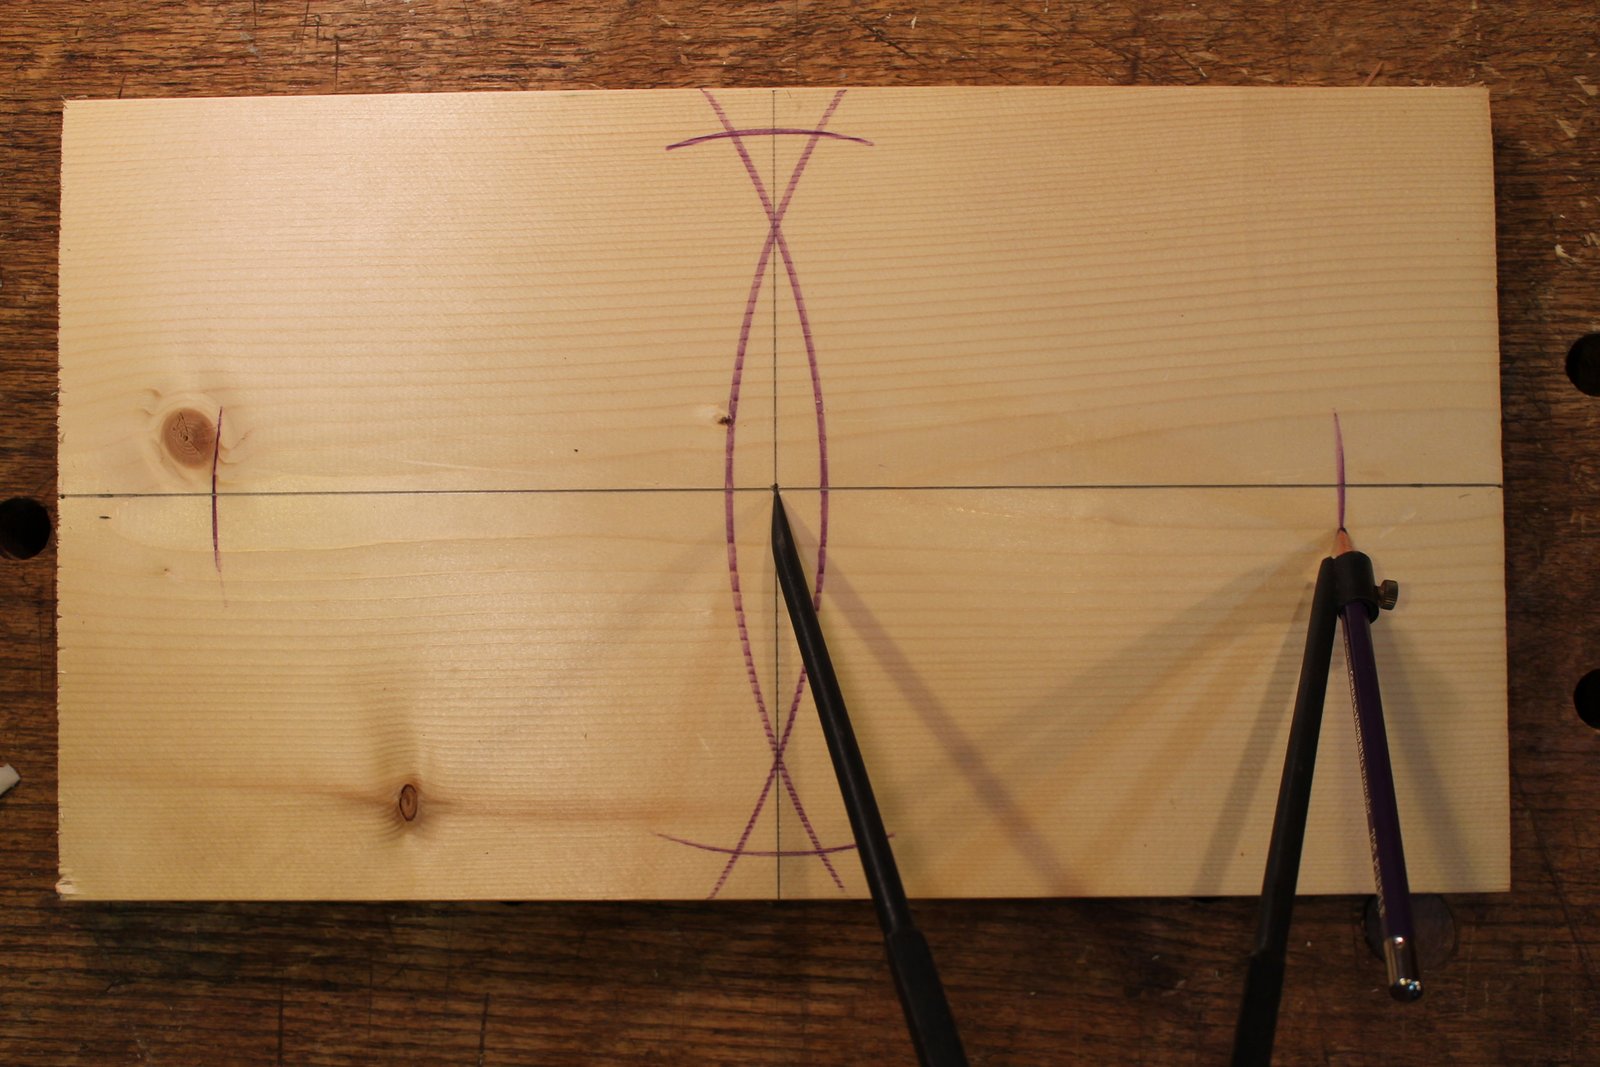
Set the compass back to one half the length. (Or I guess you could reverse the last two procedures if you prefer.)

IMG_3950

Keep that compass setting (one half of the length), place the point of the compass where the width mark intersects the vertical center line, and strike an arc at the two spots it crosses the horizontal center line. Repeat from the opposite side if you want to be sure.

IMG_3951

Drive a small brad in at at outward angle at the two focal points you have located.

IMG_3953

Wrap a string around the nails to form a triangle with its apex at the widest point of the ellipse. Form a simple overhand knot…

IMG_3954

…then secure it like this.

IMG_3955

By tugging on the strings here and there, you can adjust the knot to end up with things just right.

IMG_3956

Place a pencil within the ring of string, and, with a little outward pressure, let it guide you to form a beautiful ellipse.

IMG_3957

Now you have an ellipse that is just the right length and width.

IMG_3958

These are two books that include practical exercises for using compasses to generate all sorts of shapes and lines, plus lots of related ideas. By Hand and Eye is full of all sorts of design ideas — published by Lost Art Press.

IMG_3960

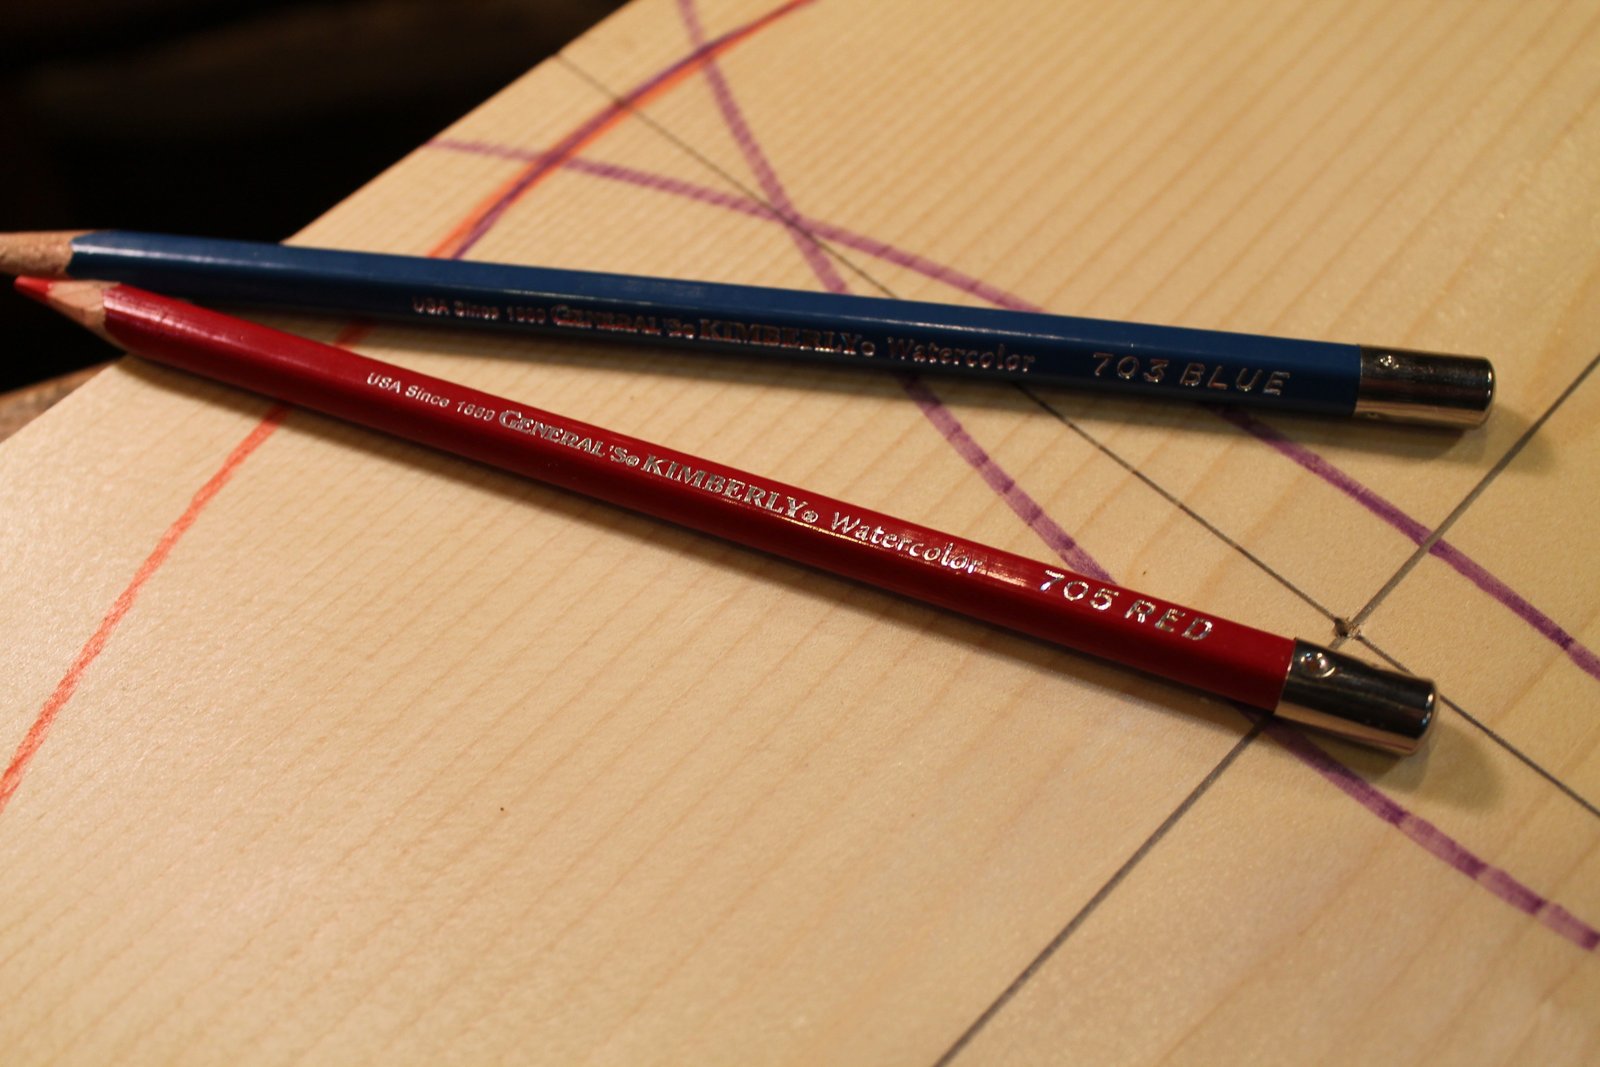
My sample board was dry, but normally I am working with green (wet) wood. I find that watercolor pencils are excellent for marking on it. There is no need to purchase the more expensive brands.

Posted in bowls, layout, Uncategorized | Tagged , , , | 6 Comments

Burl

IMG_3932Once in a long while, I will encounter an interesting and usable burl on a fallen tree or branch.  They say that burls result from stress usually in the form of some infestation or injury.  The result is a wart of convoluted grain that can be quite unusual, beautiful, and tough.

I have encountered enough of them to know that it is a bad idea to remove one from a tree or fell a tree just to get one.  Not just because of concern for the tree, but also because burls often hold disappointing surprises.  There are often voids, bark inclusions, and other issues that can render it unusable for what one had in mind.  But once in awhile, I’ll find one that is ready to be rescued, and I can see what it offers.

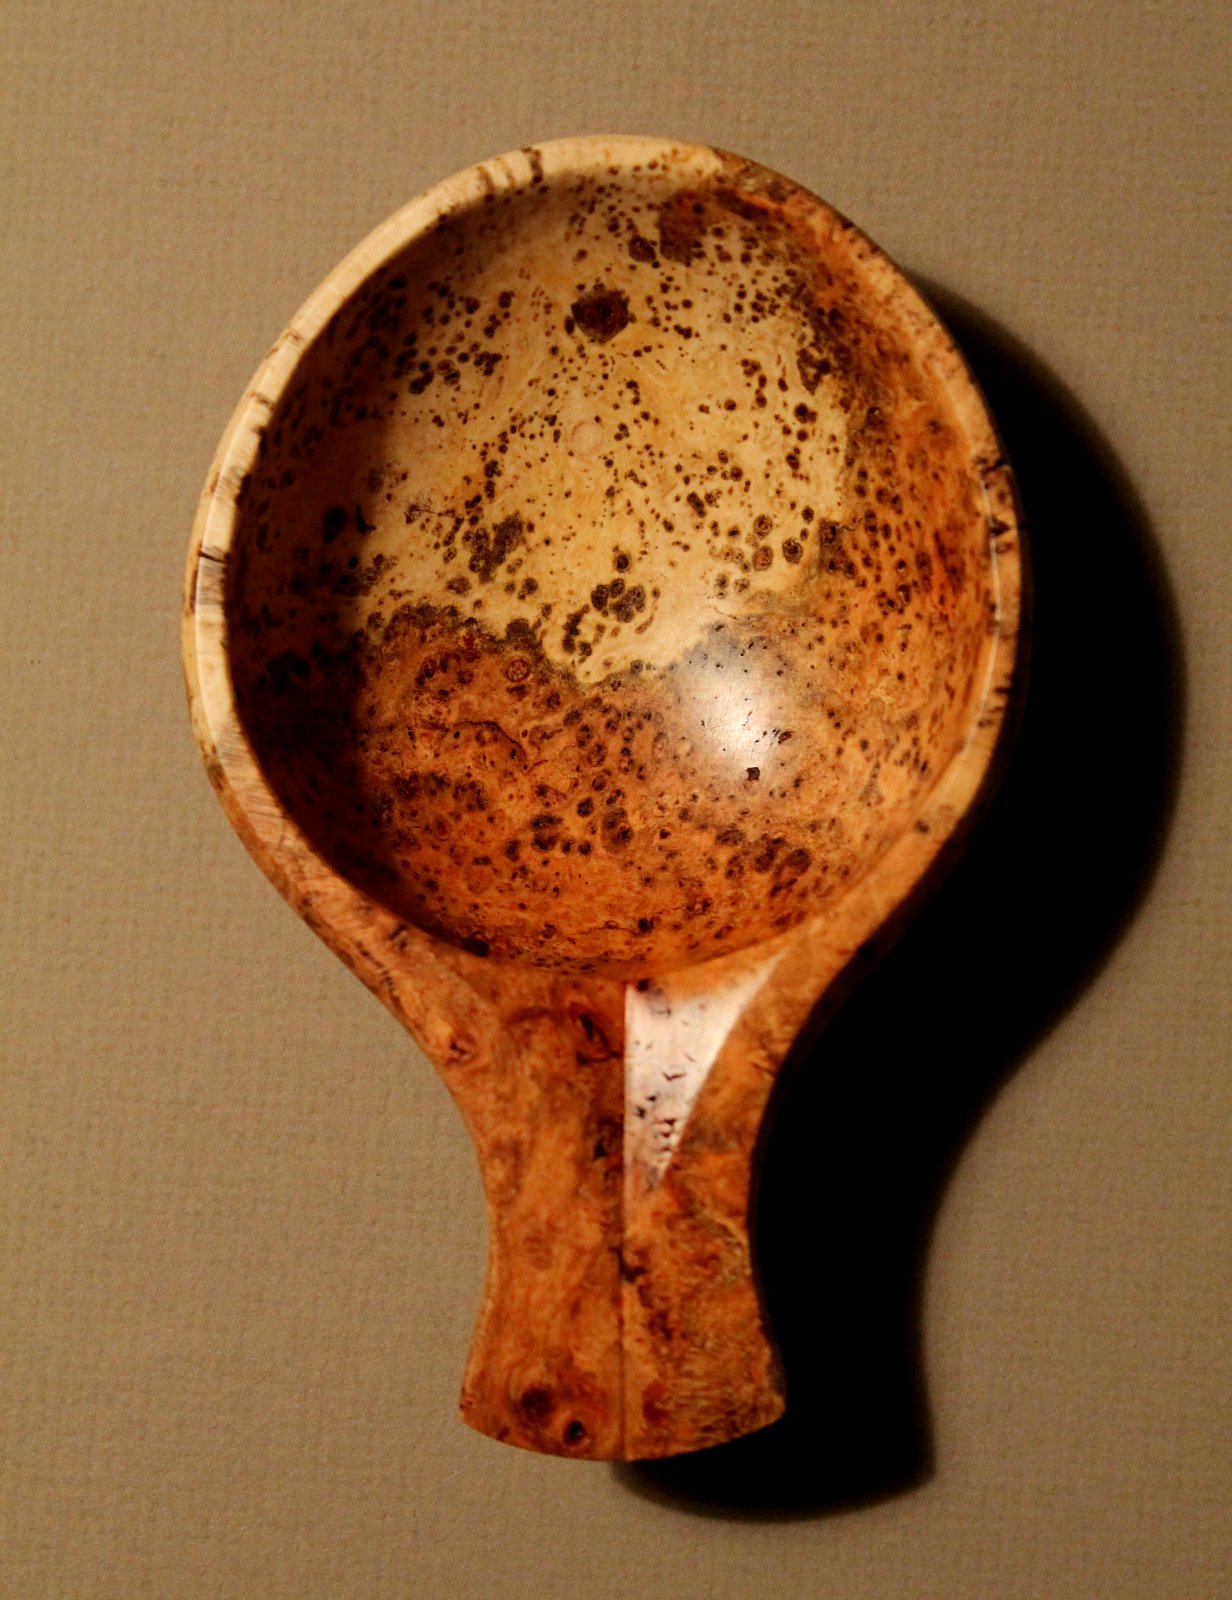
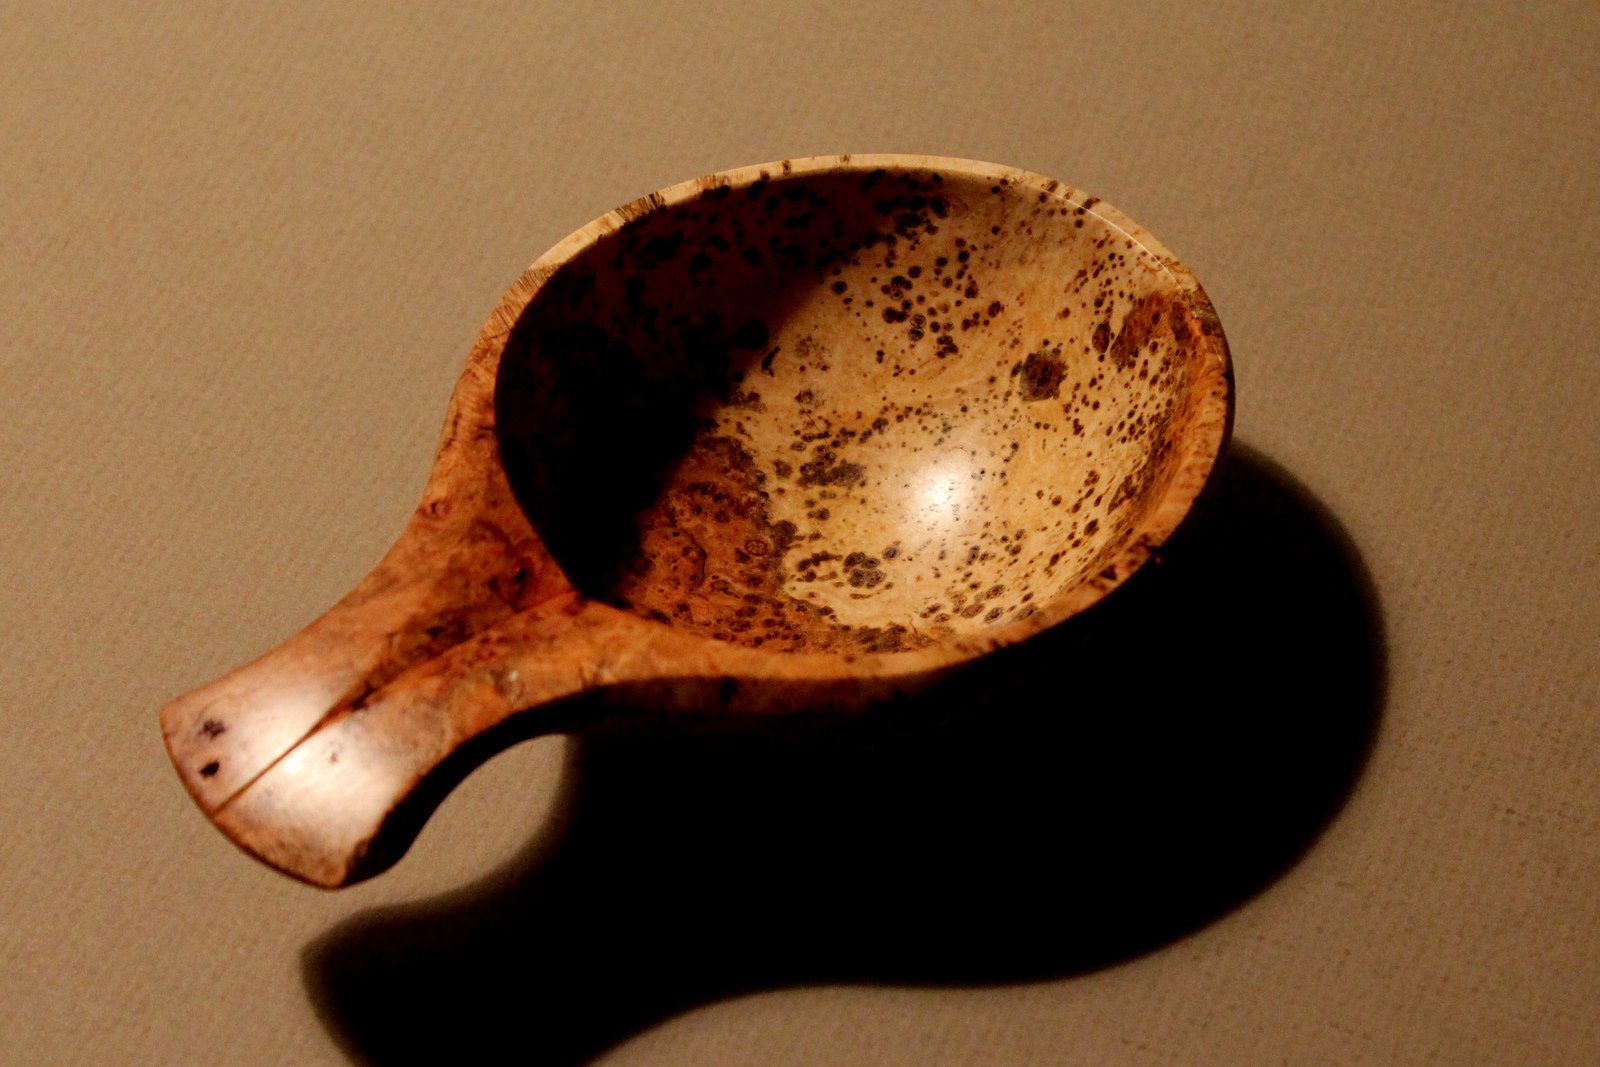
I carved the kuksa in the photo from such a piece.  I usually change my tactics when it comes to burl.  While the burl is still green, I carve as usual with axe, adze, knife, and gouges.  I leave a lot of extra material before the drying stage, because I find that burl likes to twist and turn in unpredictable ways as it dries.  After it is completely dry, I turn largely to a rasp to refine the shape.  The dry burl has a hard and brittle texture that cuts well under the rasp but not under the knife.

IMG_3925I use card scrapers, some curved, to refine further, then finish up with fine sandpaper. That is very unusual for me, as I prefer to leave my pieces straight from the cutting edge.   But for this burl, finishing with abrasives made sense.  The kuksa is 5.5 inches long, 3.5 inches wide, and 1.5 inches high.

Who knows how long it will be until I work with another burl.  If you want to see the work of a burl virtuoso, check out the work of Norm Sartorius.  You might also enjoy this video on the efforts of Norm and others to honor the work of Emil Milan.

Although the burl kuksa is already spoken for, I actually have been catching up and working on some things, some of which I hope to post for sale within a couple weeks.  I’ll post some info here when I do.

IMG_3896

One last thing: my last post focused on holding with holdfasts when working with gouges, but for many tasks I prefer hands and a knife.  I use a knife at some point on everything I make.

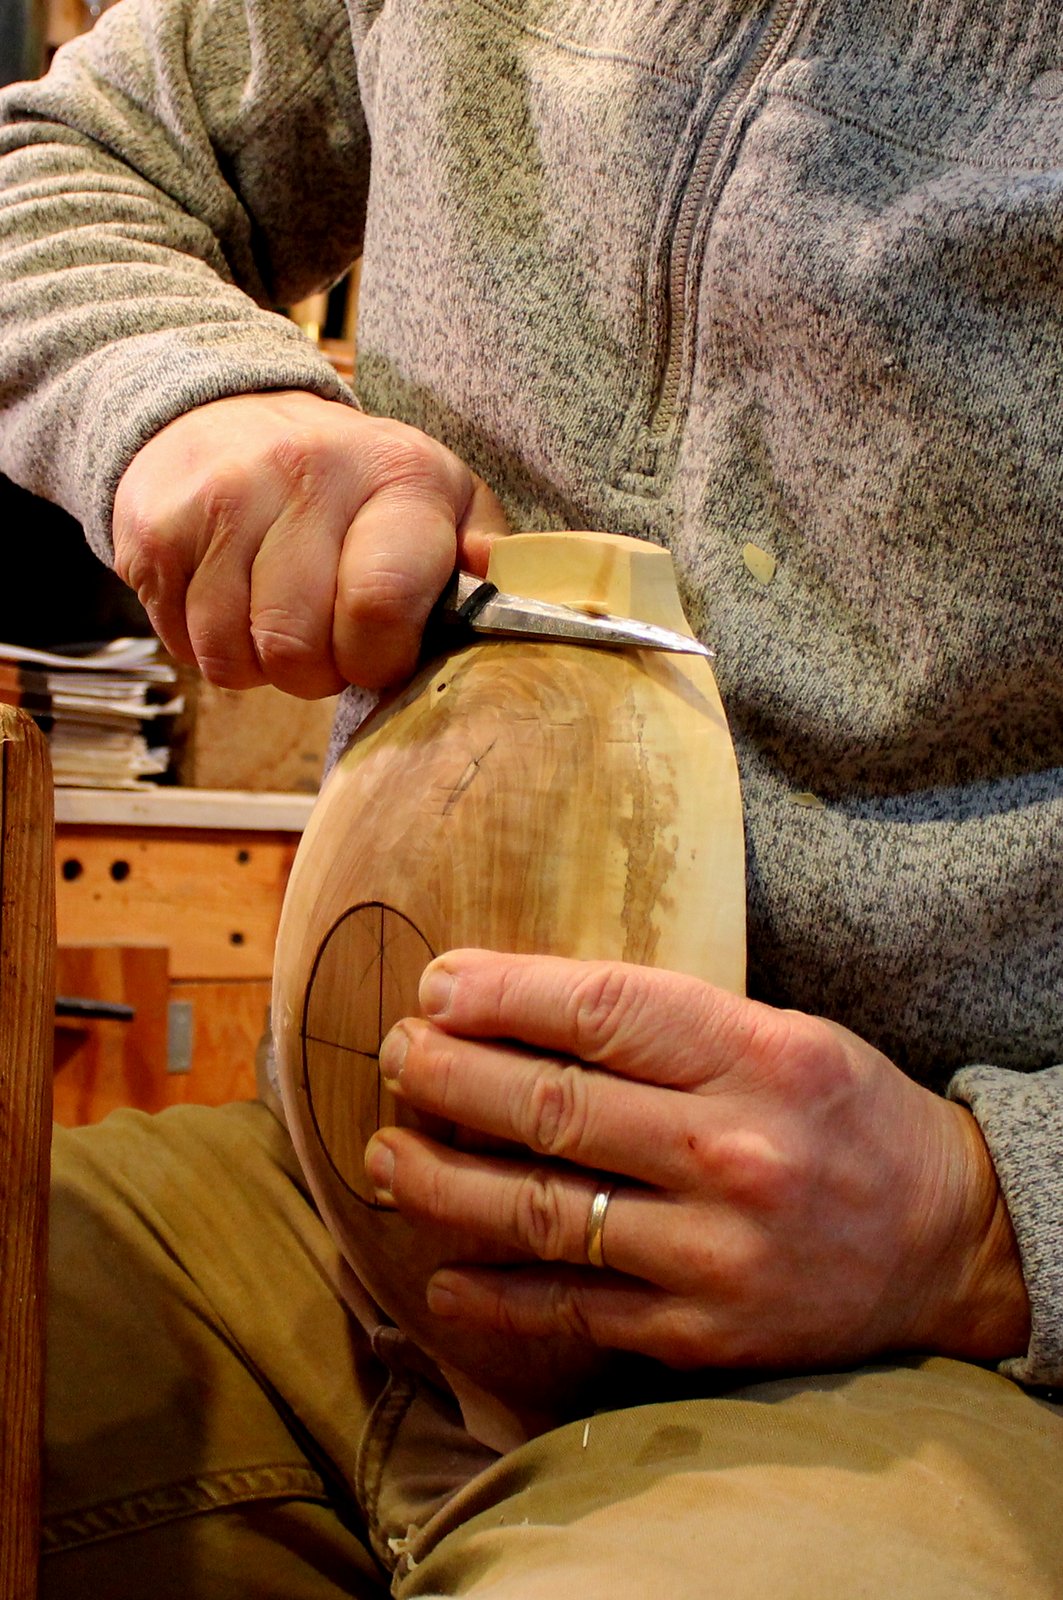
Below, I am making a slicing cut by pulling the knife along the underside of the handle of a crab apple bowl.  Great for controlled concave cuts.

IMG_3898IMG_3899

Posted in burl, cherry | Tagged , , | 6 Comments

Hold Fast!

cartoon 2014 I hate it when that happens_NEW

So you’ve sandwiched the bowl between extended bench dogs and you’re making the final paring cuts when an unfortunate series of events occurs, all within a split second.  The end on which you are working goes down suddenly, the gouge makes a nasty divot, and the other end of the bowl shoots up at an arc into your face.  Yeah, I hate it when that happens.

You need holdfasts.  Not in the early stages, but rather near the end when doing any final gouge work.  In the beginning, I don’t use any holding devices at all, other than the hand that is not holding the axe or adze.  I usually use the bowl horse for refining the shape of the outside.  But for final gouge work on the interior, under handles, and more, holdfasts live up to their name.

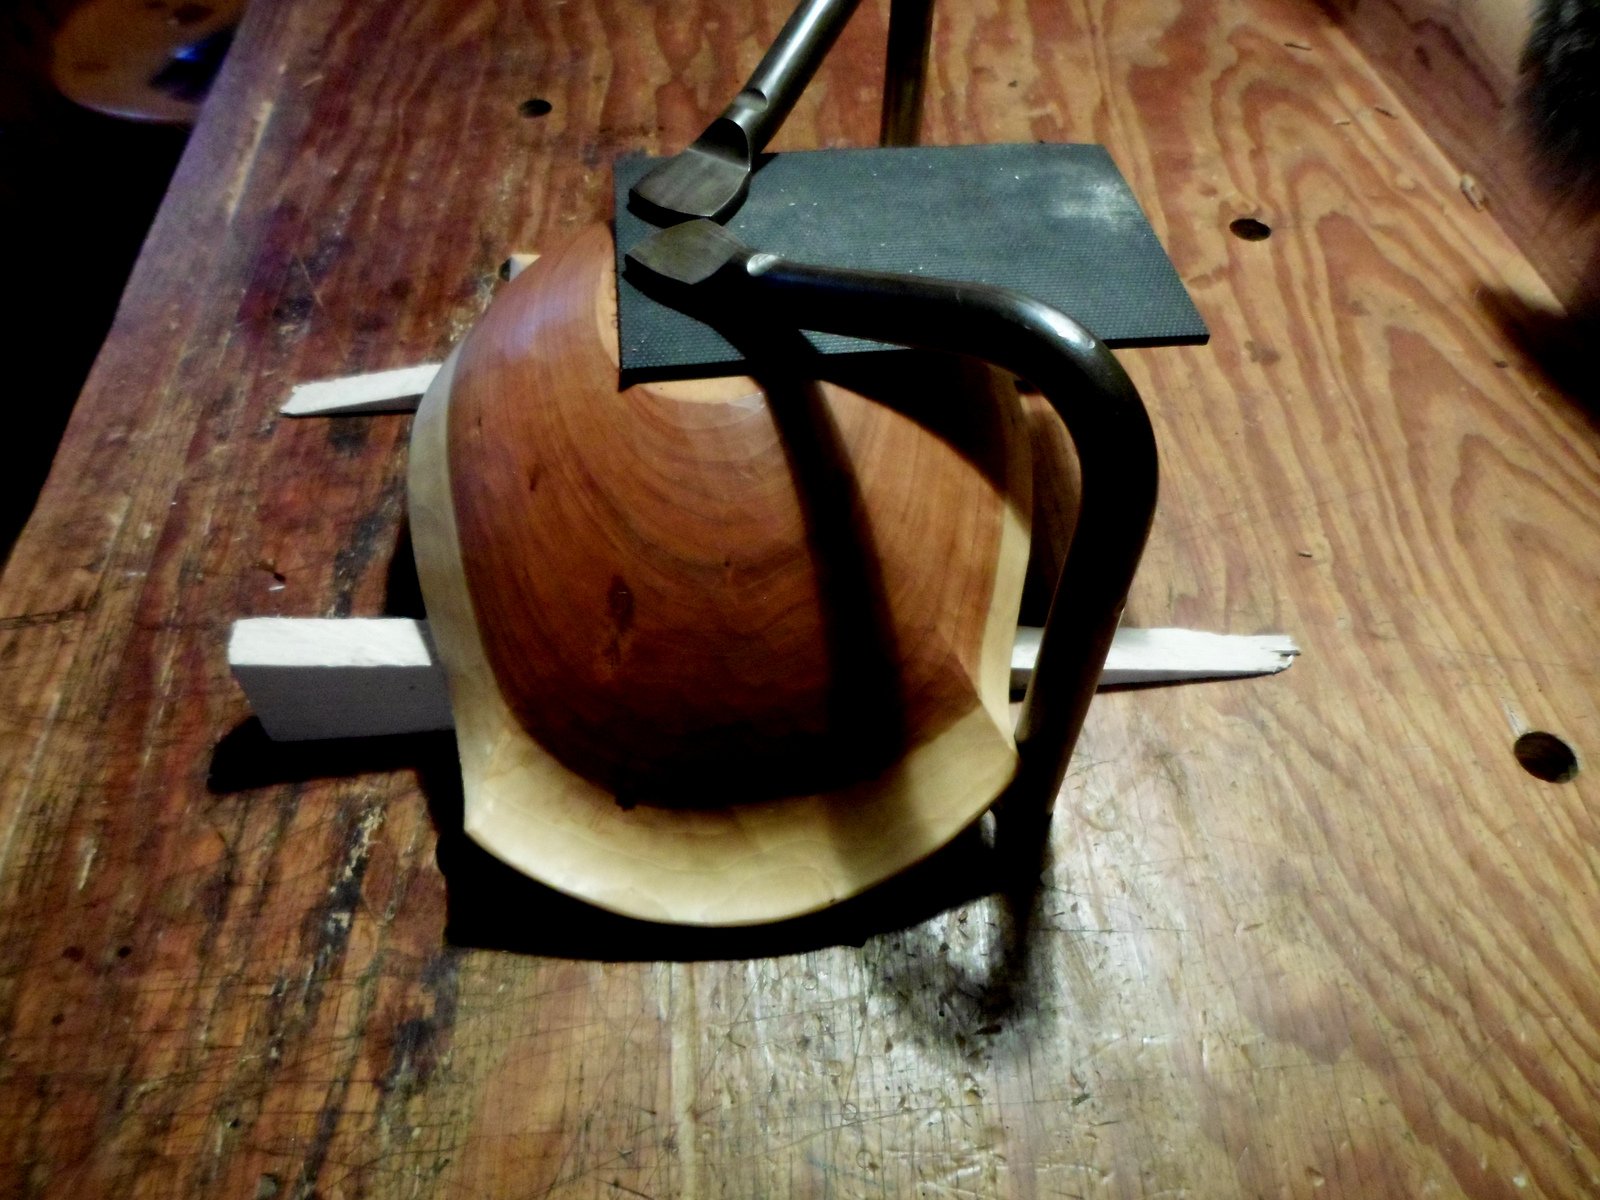
I’ve shown some typical arrangements in the photos below, but a little creativity can lead to many other solutions as well.  The bowl in the photos is a relatively small one we’ve been using in the house, but the same principles will work with bowls of different sizes and shapes.

SAM_2032

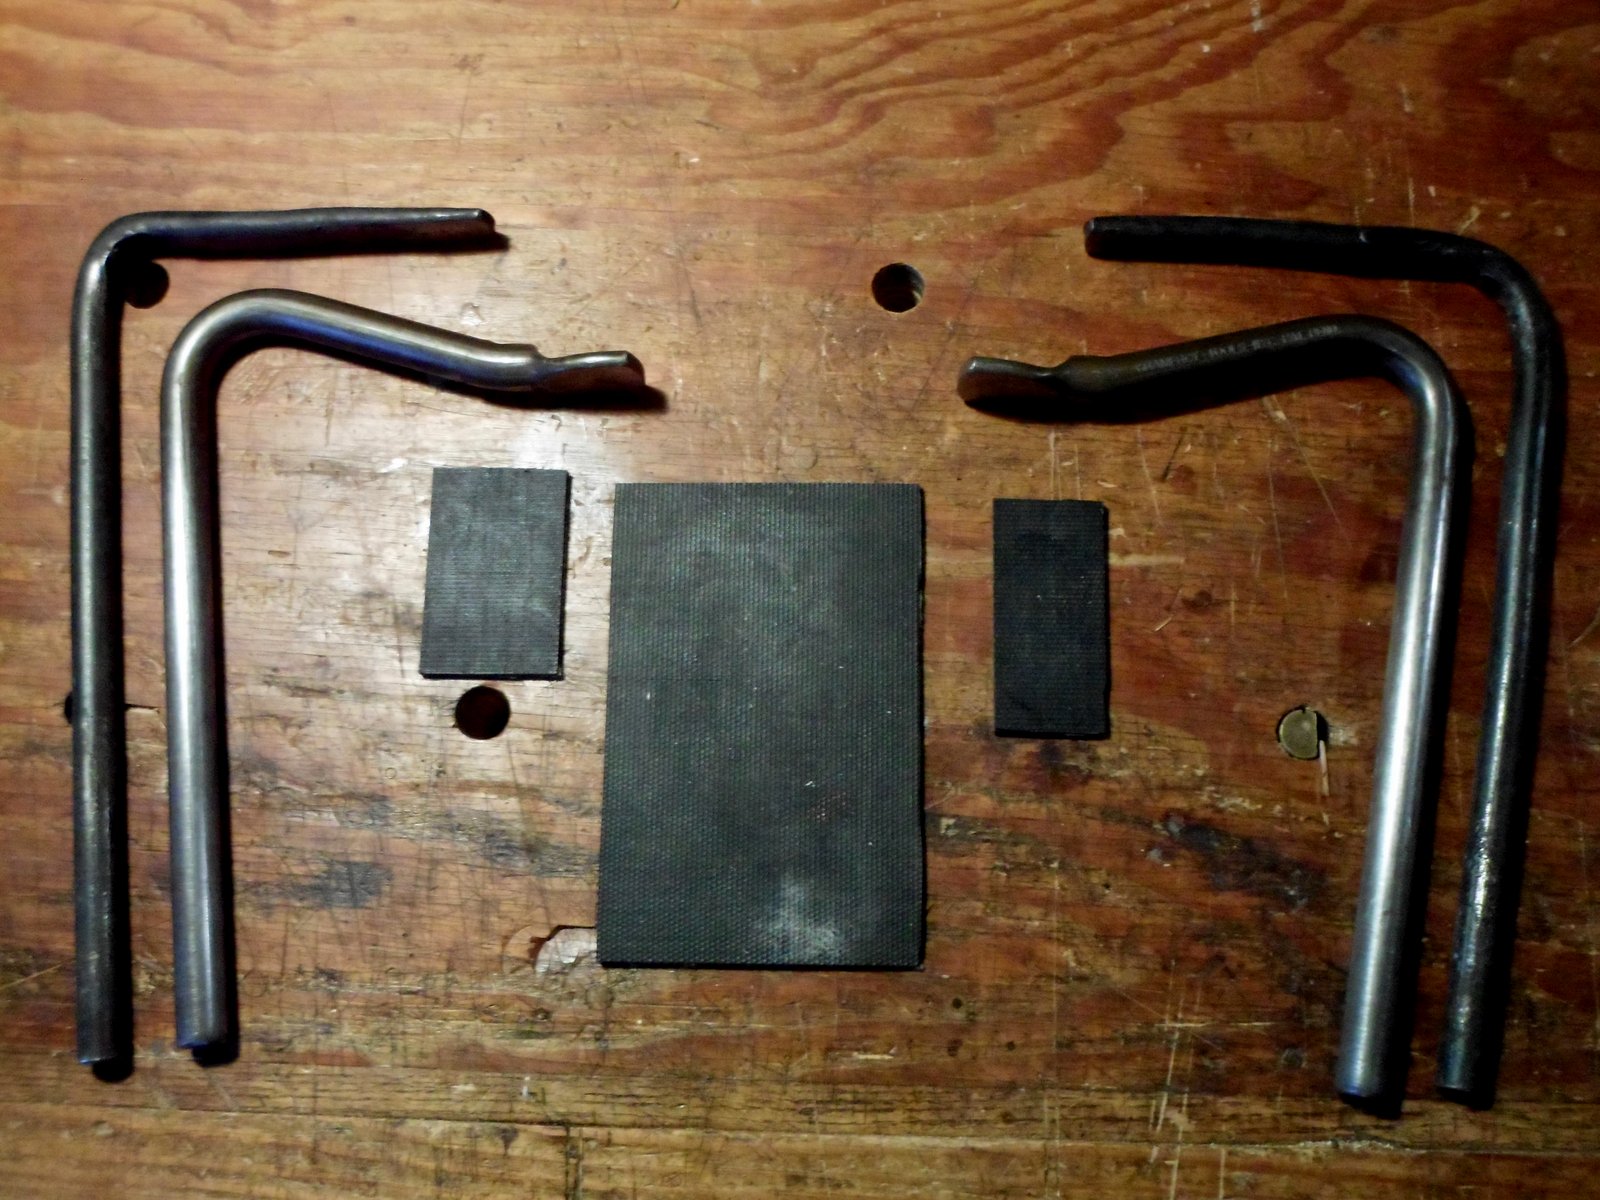
Here are the holdfasts I use.  Others work well too.  The inner ones are by Gramercy at Tools for Working Wood.  The outer ones, I made using a campfire, a double-action hand pump as a bellows, and some 5/8″ steel bar.  They look like crap, but they work well.  The angle is about 85 degrees.  The holes in my bench are 3/4″ diameter, and the bench top is three inches thick.  They work well for me in benches of 2 and 4 inch thickness too, so use whatever slab of wood you’ve got and bore some holes in it.

The other key component is some material to add friction between the bench and bowl  and the holdfasts and bowl.  You could try leather, old rubber floor mats, inner tube, etc.  I like this rubber belting material I found at Tractor Supply.  It is sold in various lengths and widths, can be cut, is very tough, and has great grip.  Great for lining vice jaws too, but it can sometimes leave some black smudges on lighter woods.

Old sailors referred to a well secured line as being “held fast”.  So now you too have a reason to get “HOLD FAST” tattooed to your fingers, just like a sailor.  You can show folks the bowl scar on your forehead as you tell them of your woodworking adventures.

Unseen is the rubber mat under the bowl.

Unseen is the rubber mat under the bowl.

SAM_2035

Softwood wedges keep the bowl from tipping.

Softwood wedges keep the bowl from tipping.

The upright of the holdfast itself can keep the bowl from sliding.

The upright of the holdfast itself can keep the bowl from sliding.

Posted in cartoons, holding | Tagged , | 15 Comments

Mellowing

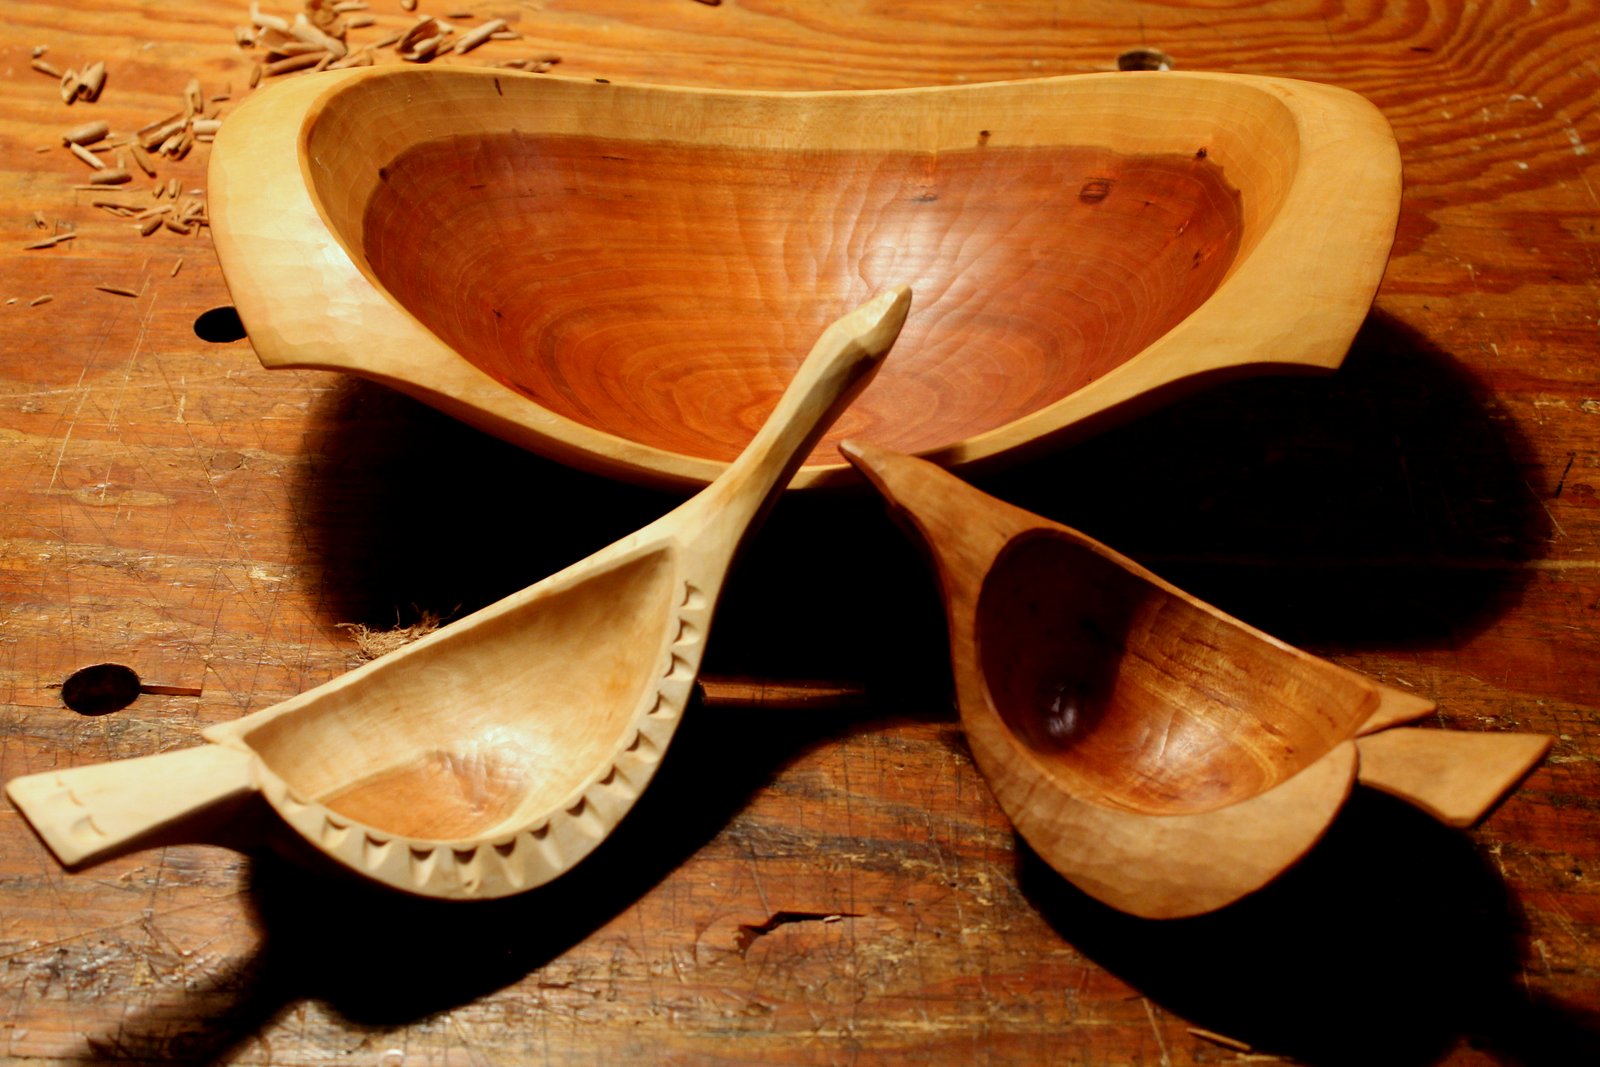
Cherry sapwood on bowls of varying age

Cherry sapwood on bowls of varying age 

As we make our official transition into another calendar year, maybe it is an appropriate time to think about mellowing.  It is reassuring to know that many things in life sweeten and become more beautiful with time.  Wood can be one of them.

I primarily work with green wood, so I can’t discount the advantages of freshness and newness.  The crisp smell and coolness of a just-split green log are wonderful sensations, and the wood is a joy to work. But the journey of a newly finished piece has only just begun.

I saw this clearly as I finished a small goose-inspired bowl this week.  Some woods, such as cherry and walnut, feature a distinct color difference between the sapwood and the heartwood.  I sometimes use sapwood as a design element or, in the case of the goose bowl, because the branch is nearly all sapwood.  At first, the color difference is quite sharp, but over time, things mellow.

The other two bowls in the photo have been part of our household; both cherry also.  The one in the background was made about a year ago.  The heartwood has deepened in color and the sapwood has begun to become more subtle.  The smaller bird bowl in the lower right was made in 2009.  The sapwood has taken on a rich brown tone, more in harmony with the heartwood.

Storing (aging) logs for some months before use, can help to mellow the wood, making it less brash and more relaxed.  At least it seems that way.  I like to think of it sort of like a ripening process.  It is not necessary, and for decay-prone species it may mean rotten wood.  But if you haven’t gotten to that log yet, it might be good news.  I have also noticed that the sapwood takes on a hint of color similar to the heartwood if in storage long enough.  Keep the moisture in the log, though.

Happy mellow new year!


Posted in bowls, carving, cherry | Tagged , | 9 Comments