Books

IMG_4258I have received some emails lately asking for book recommendations, both for bowl/spoon carving and for the decorative carving that I do on some bowls.  Bear with me, and I’ll get around to some recommendations regarding bowl carving as well as relief/decorative carving.

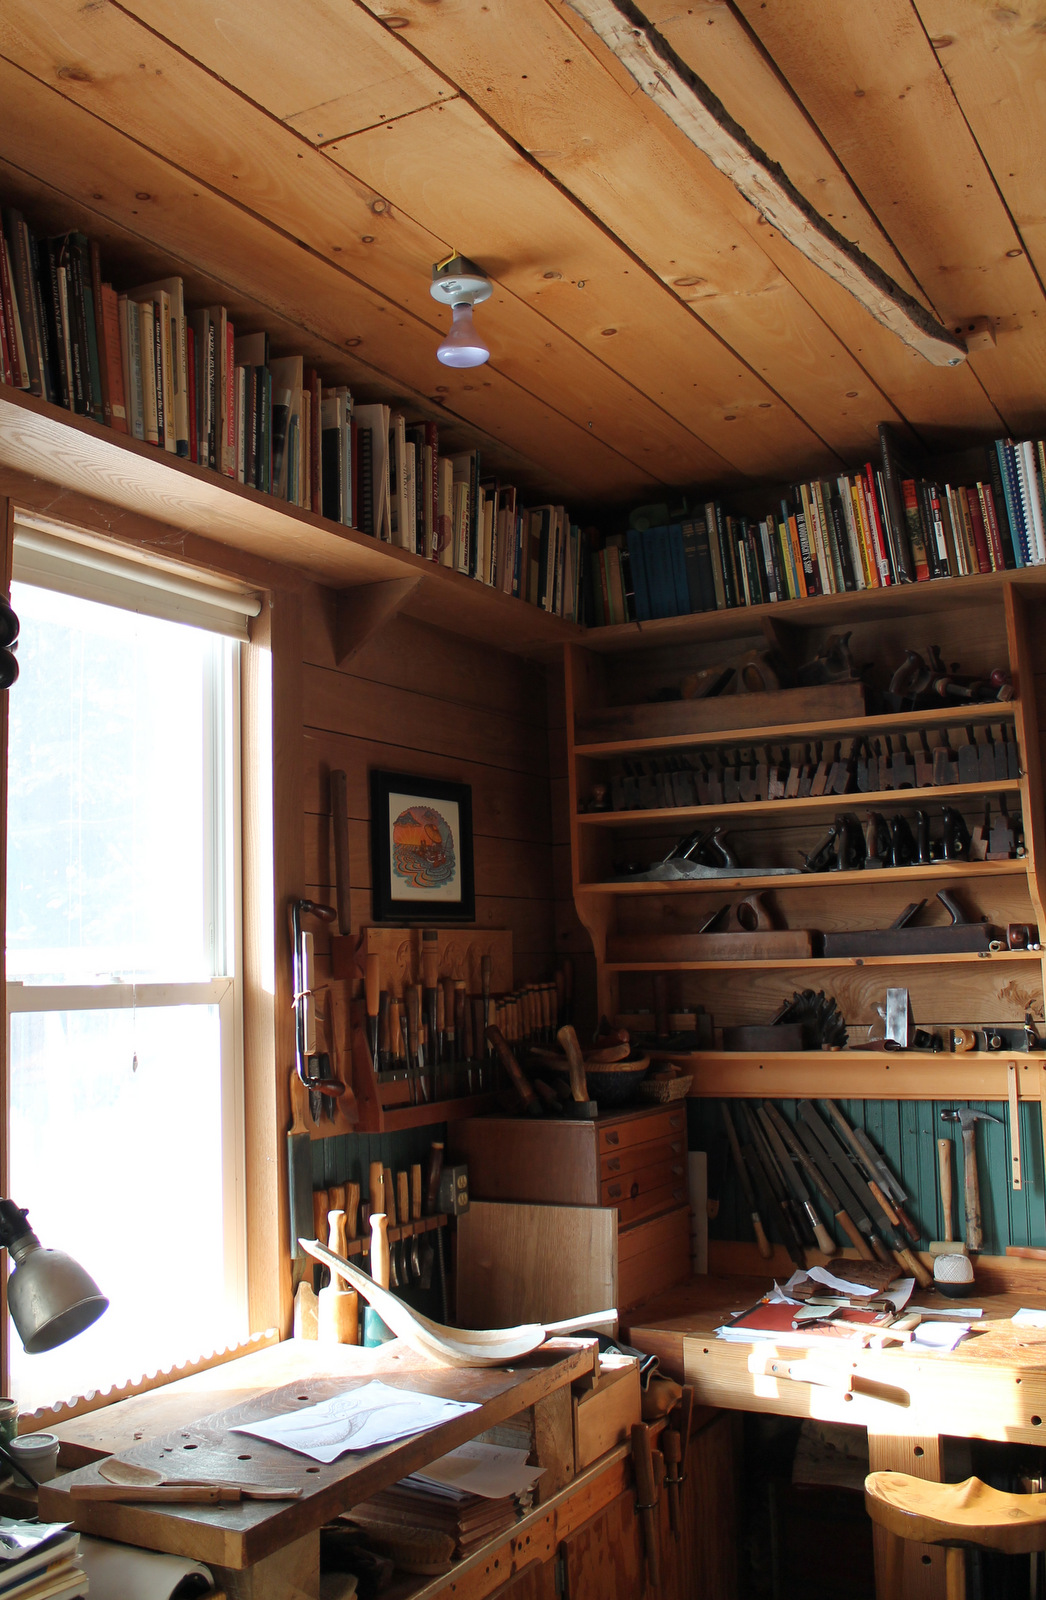
As the years have gone by, I’ve gathered together quite a few books related to various arts, crafts, and other subjects that interest me.  You can see some of them in the photo — up near the nine-foot ceiling.  There’s stuff up there on everything from timber framing to making woodcut prints.  Not exactly a convenient location, but the house is small and the shop is smaller, so it is a good use of space.  By the way, my workshop is a one-car attached garage that hasn’t had a car in it since we bought the old place nearly twenty years ago.

Part of my remodeling of the old garage was installing that upper shelf around much of the perimeter.  When I want a book, I climb up and teeter around on the workbench or the sink like a drunk mountain goat; and I won’t find many books on bowl carving there.  The books available about bowl and spoon carving are few and far between, especially when compared to the number of titles dedicated to other aspects of woodworking.

Robin Wood wrote a good, thorough book about the history of the traditional turned wooden bowl several years back, but there is no book that I know of that does a great overview of the history of bowl carving, especially across cultures.  Most of what is available now seems to be centered around the Scandinavian tradition.  A book that explored bowl carving across time and traditions would be fascinating.  Until we see that,  I’ll list a few, most of which many folks are already aware:

Swedish Carving Techniques by Wille Sundqvist — in print again and a must-read for anyone wishing to carve spoons and bowls.

Carving and Whittling: The Swedish Style by Gert Ljungberg — this one is definitely worth having.  Some good history and design ideas.

Green Woodworking by Drew Langsner — great overall, and a section on bowls

Celebrating Birch by North House Folk School — lots of good craft ideas with birch, includes a chapter on bowl carving

Boxes and Bowls; Smithsonian Institution Press  — a beautiful collection of images with some text.  Work is in the Northwest Coast Indian tradition of North America.

If you’ve got any other good recommendations, post a comment and share with others.

Most of the decorative carving on bowls is one form or another of relief carving.  I was buying books on that before I got into bowls.  When I got my first job and first apartment (no more easy access to Dad’s basement workshop) over twenty years ago, I bought a couple books on beginning carving and five Pfeil Swiss Made tools.  I carved at the coffee table in the evenings and just kept going.  There are hundreds of books available on carving.  Many are very good, but I’ll keep this simple and recommend the books that, in my experience, are the best out there for general carving instruction.  They are by Chris Pye.

oc fish high reliefHere is a link to Chris’ books at his website. He also has a video series that one can subscribe too.  Tools for Working Wood also sells some of Chris’ stuff.

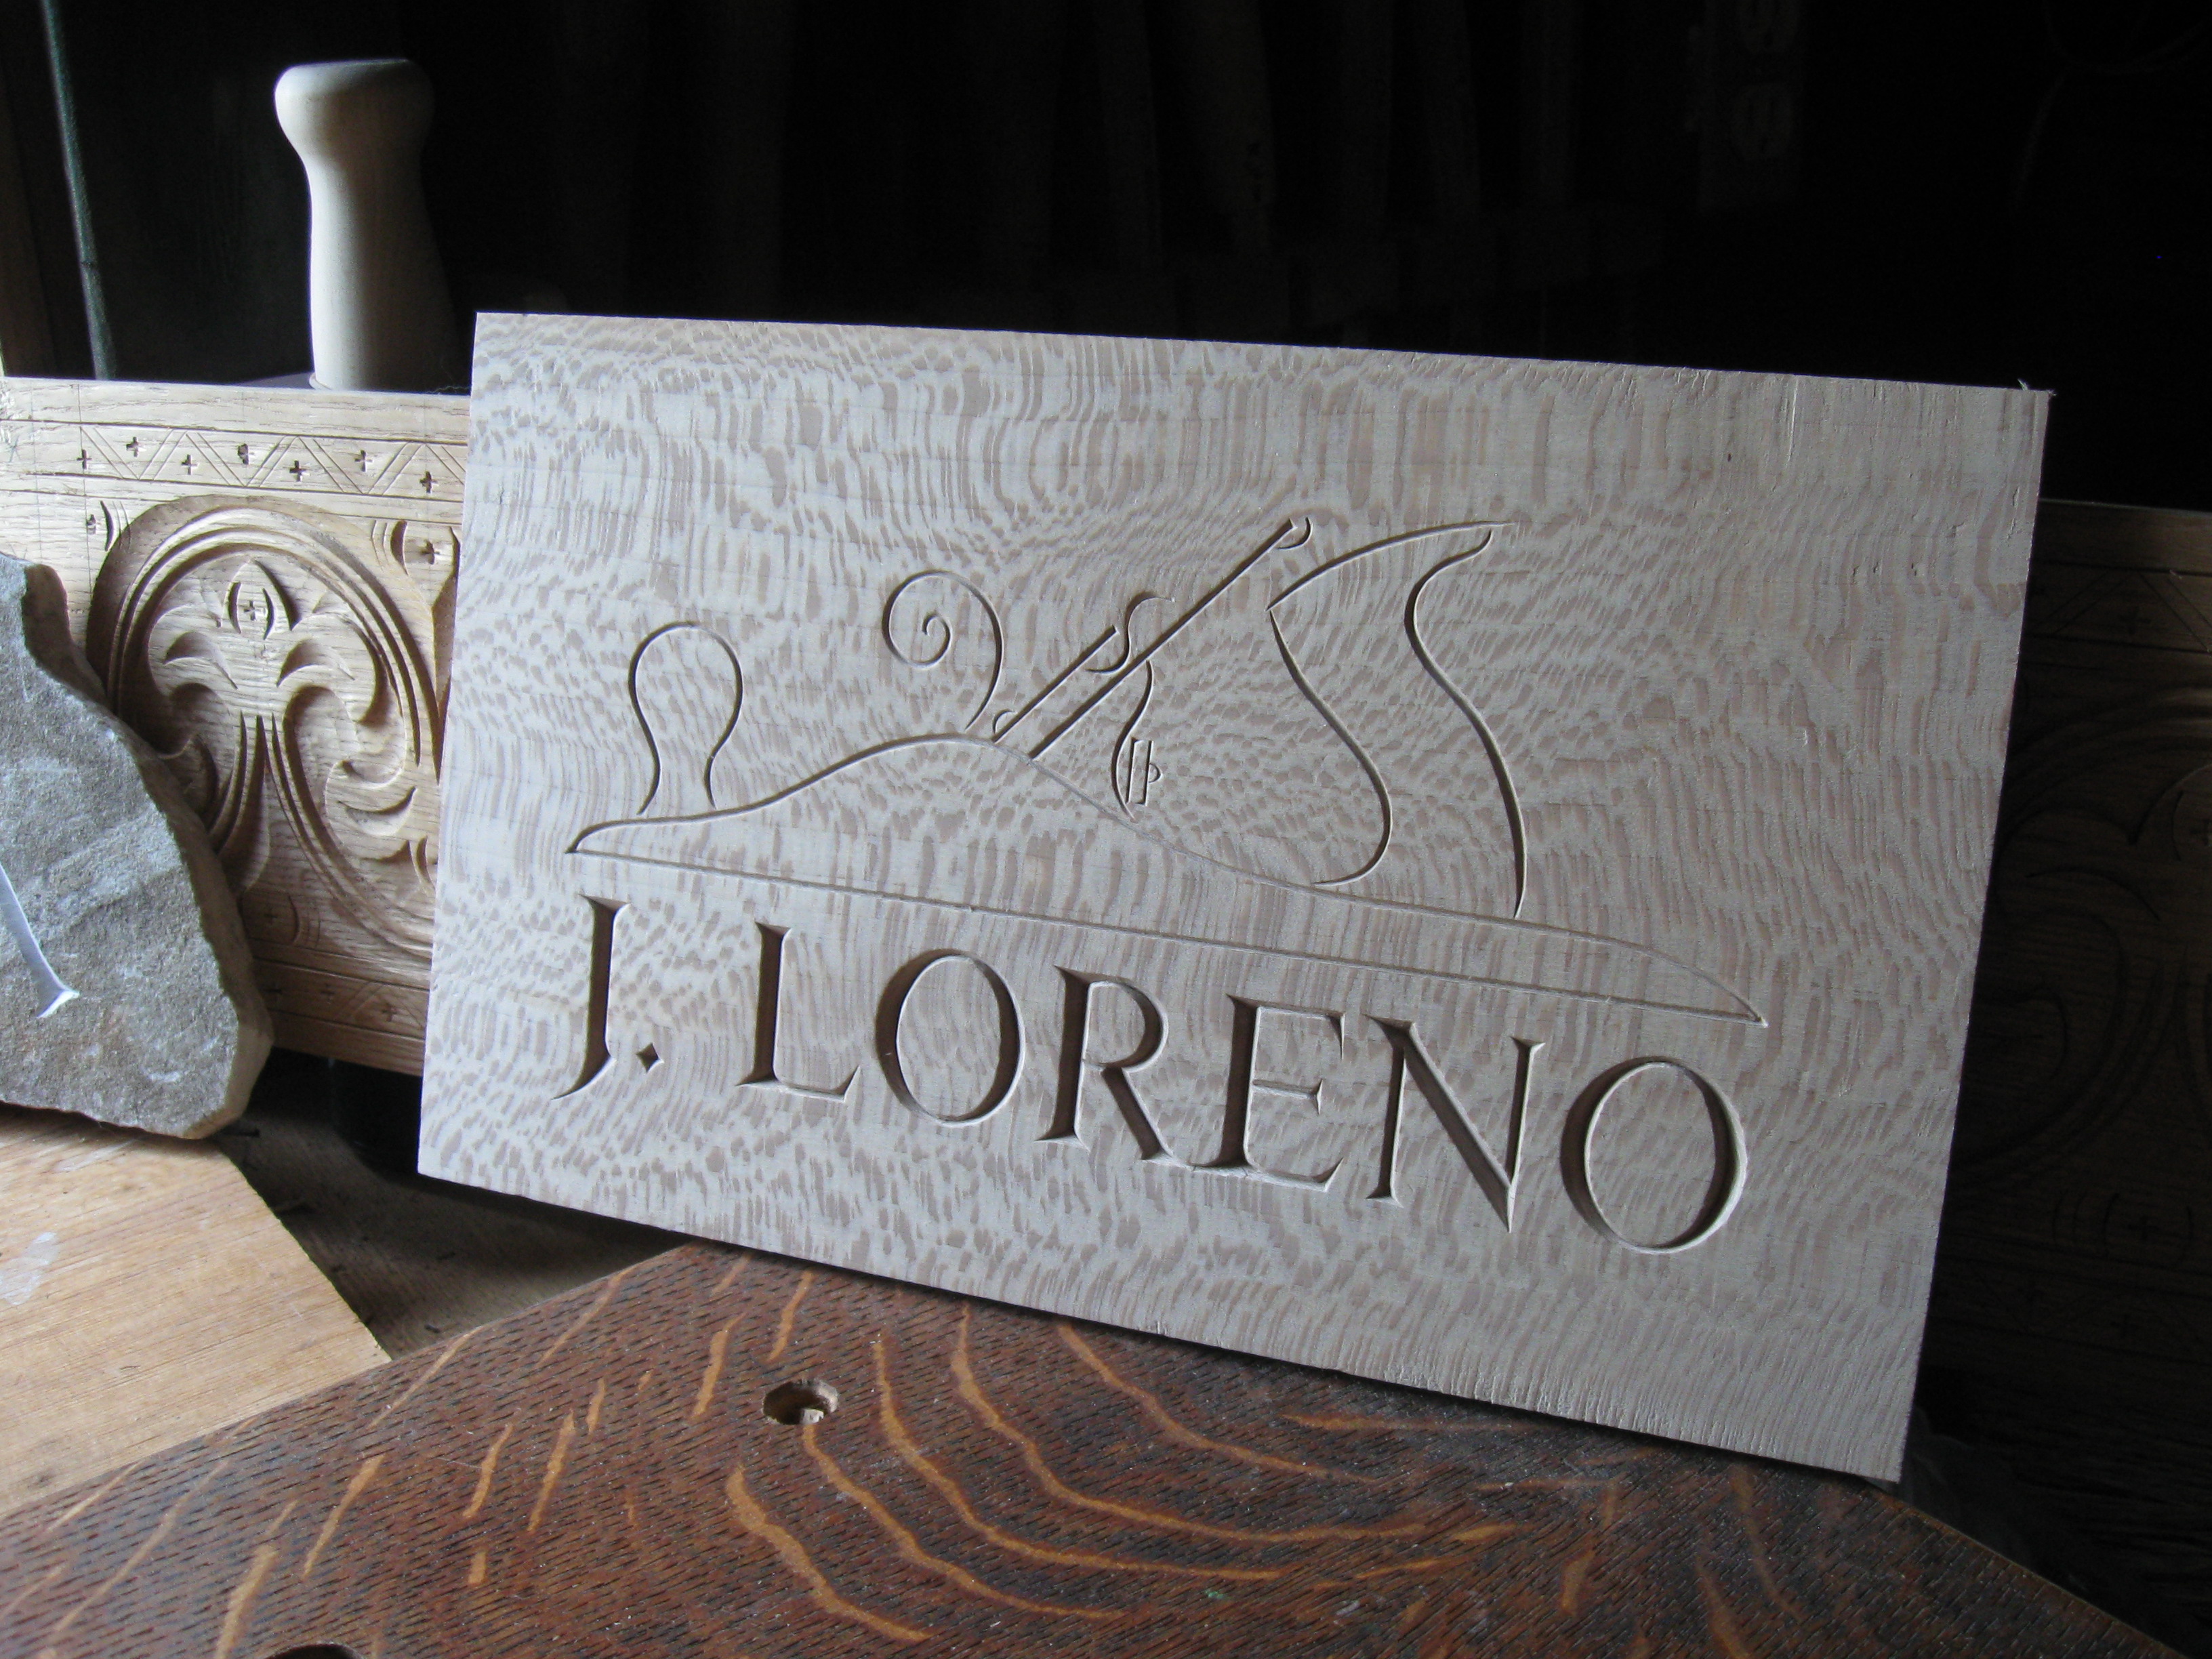
Chris is extremely thorough in explaining why he does things in a certain way.  Everything from sharpening to certain grips.  There are also specific exercises.  I carved this high-relief fish years ago based on one exercise in Chris’ relief carving book.  One can learn a lot from one fish.  Chris also has a great book on carved lettering.
oc loreno sign

Another great source is Peter Follansbee’s blog, books, and videos. When I saw Peter’s carvings for the first time, I was blown away.  The boldness, the geometric nature, the logic of the layout, the sharp contrast of shadow and light — well, I loved it all.   Peter has provided a golden resource of technique and patterns through his blog, books, and videos. It is a different, wonderful approach to carving, and Peter has done more than anyone to keep it going.  These are ideas that can be adapted to bowl decoration as well.

If it is pattern books you’re looking for, there are lots out there, depending on what style you’re seeking.  You could start by searching the thin books published by Dover with lots of images.

I like sculpting the bowls themselves best, so I’ll grab my axe…


Posted in books, carving, Uncategorized | Tagged , | 4 Comments

The Axe: Your Personal Instrument

IMG_4262

In the days when the forests were falling the axe was a personal instrument, a man took pride in its temper and keenness.  Men would say, “That fellow Anderson,–he’s got a wonderful axe.” And somebody else would agree, “Yeah, I reckon Anderson’s got one of th’ best axes on Conewango Creek today.”

                — Old Time Tales of Warren County (Pennsylvania) by Arch Bristow (1932)

If you want to be like Anderson, the good news is there are many fine axes being made today that can become your personal instrument. I like my Granfors Bruks carving axe, and I discuss it a bit here.  I like its weight, but others find it heavy.  It’s personal.

Robin Wood has some new videos available on his blog that compare axes and demonstrate sharpening of axes and other tools with simple materials and techniques.  If you’re searching for keenness, check them out.  One place to take a quick look at some options available in quality carving axes is at this page at Country Workshops.

SAM_1722

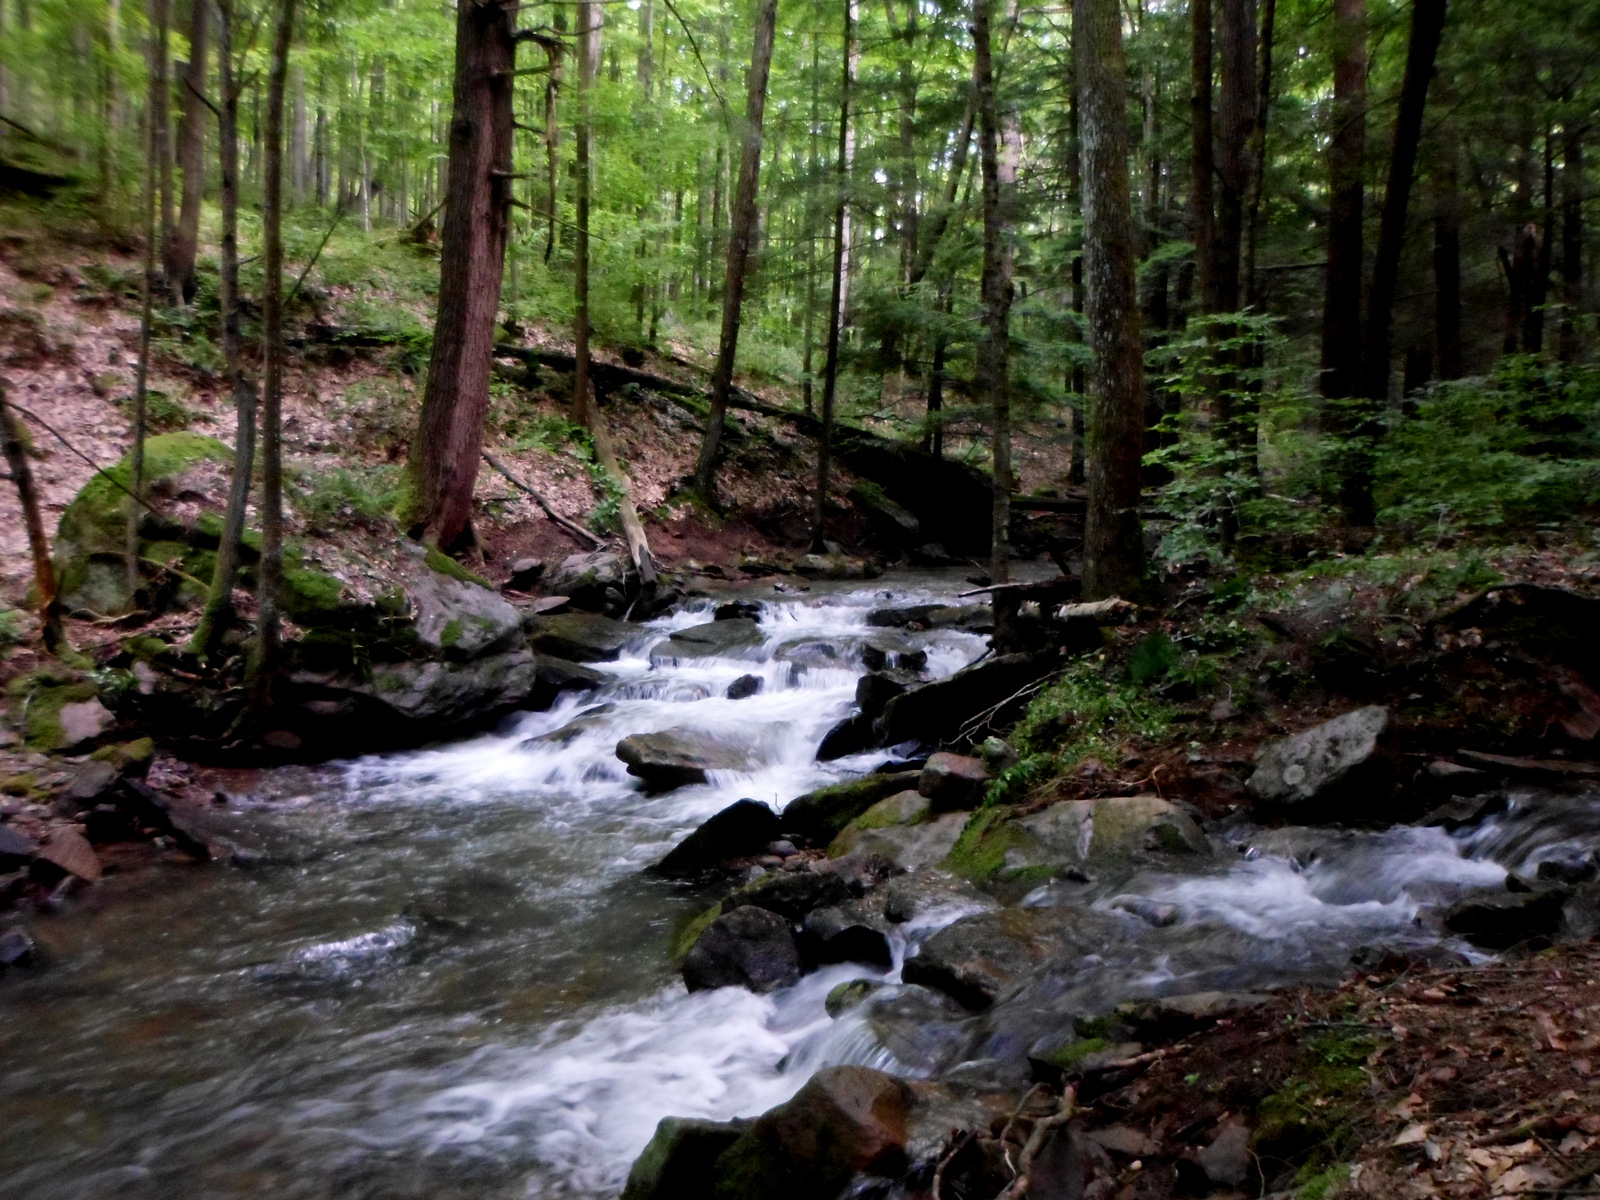
A June day in the Allegheny National Forest

By the way, today the trees are doing well in the Warren County that Arch Bristow wrote about.  Whenever I head up there, a couple hours northeast, I slip into the Allegheny National Forest.  It is a special treat to hike along these mountain steams and, for a moment, wonder at the beauty of a native brook trout.

Posted in axe, quotes and excerpts, Uncategorized | Tagged , , , | 2 Comments

Basking in the Sunshine

IMG_4223

The plus side of the cold temperatures lately has been beautiful clear sunny skies.  I propped up this cherry bowl in the window to bask in the sunshine and help along the curing of the flax oil.  I do this twist carving with a couple knives and a gouge or two.  The constant narrowing of the field toward the handles means that the curves and dimensions of the pattern are constantly changing, and the knife is free to adjust.

SAM_1892 IMG_4211

The two knives I use for this are pretty commonplace.  One is just a standard utility knife blade that I have ground to a gentle curve.  The other is the pen blade of my pocket knife. It requires some pressure in cherry; softer woods would be ideal.

IMG_4205This is how I hold the bowl against the front apron of my work bench.

Last year, I carved this same style of twist pattern on a similar style of cherry bowl and made a short video of the process. You can check it out below.  This pattern is an example of just one of the many variations of the guilloche design.  In this case, the pattern tapers; on furniture pieces it is often laid out between parallel lines.  There are a lot of possibilities to check out at Peter Follansbee’s blog.  Here is a great post by Peter about the possibilities of the guilloche and other patterns.

Posted in carving, cherry, holding, layout, patterns, tools, Uncategorized, video | Tagged , , , , | 1 Comment

Hollowing with an Adze

IMG_6511

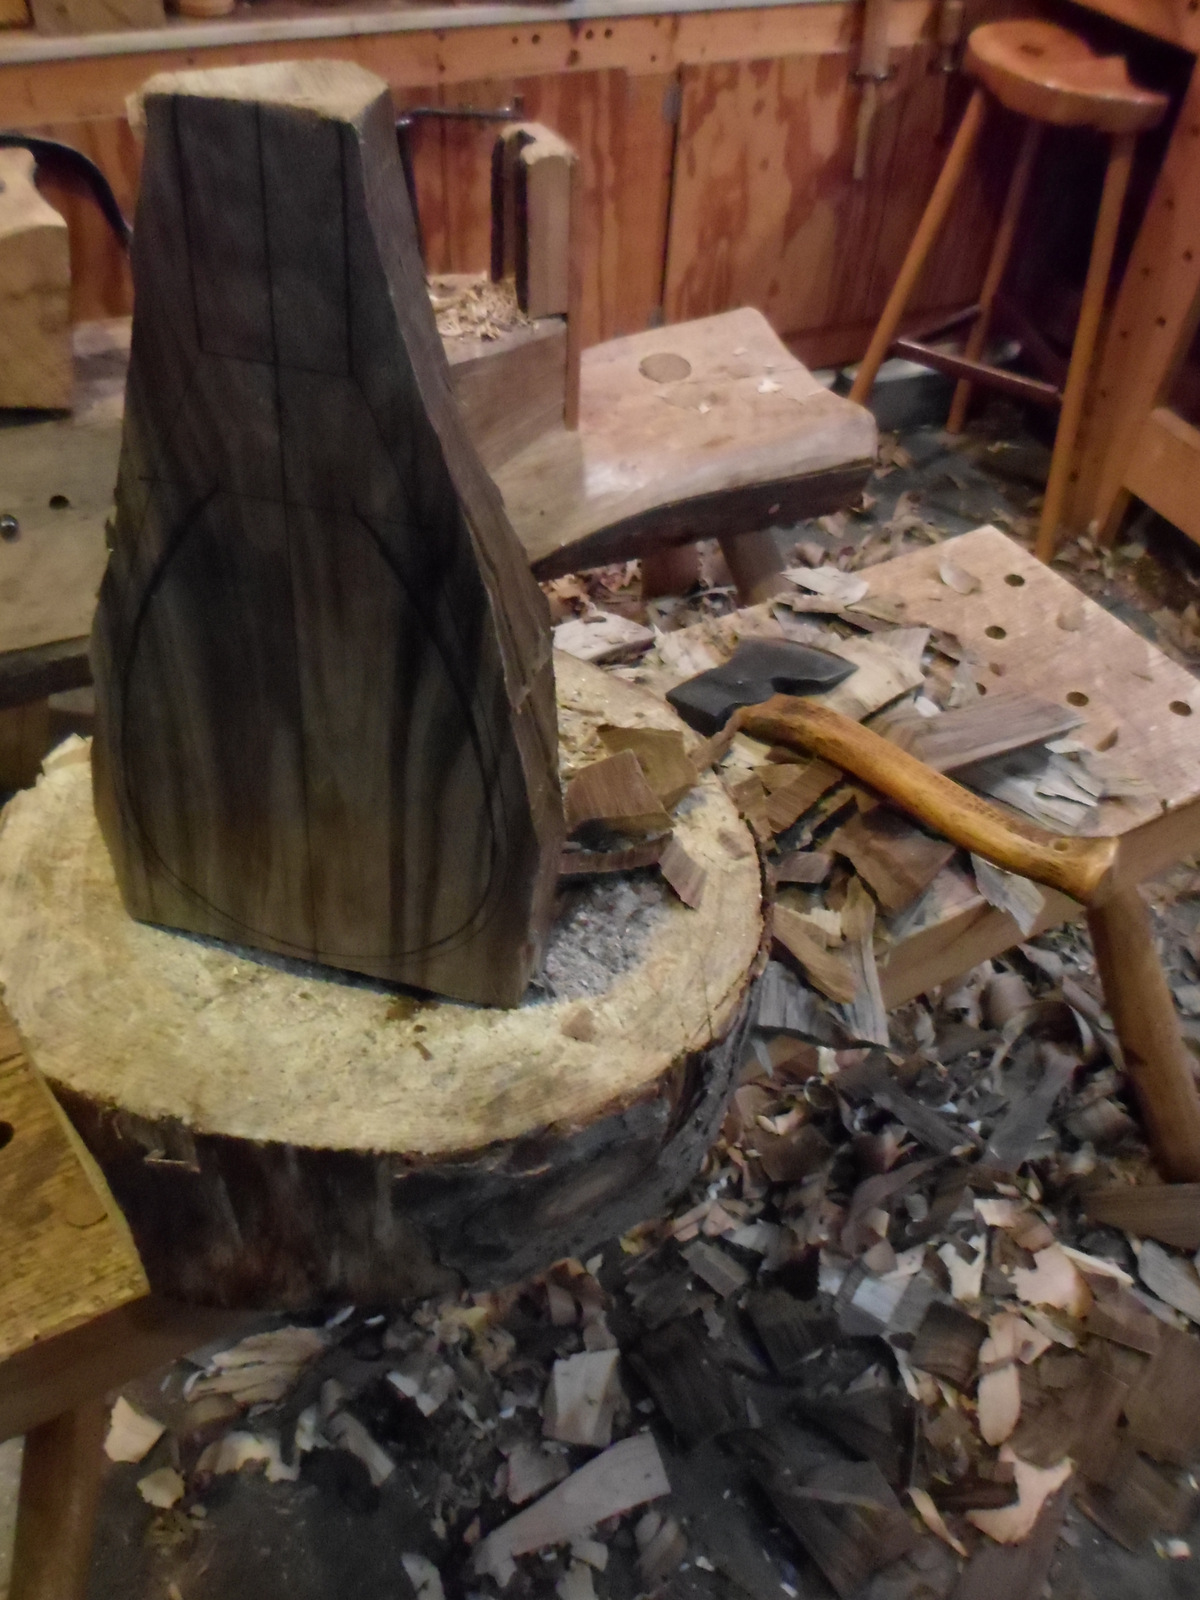
Following up on my last post about adze design, I wanted to share a series of photos that show the procedure for my adze work.  At the stage of the first photo (above), I’ve hewn and hand planed the upper and lower surface of the future bowl from a half of a walnut log.  I have laid out the line of the inner hollow and the outer perimeter of the rim and handles.  This one is around 21 inches long and 12 1/2 inches wide.  I’ve hogged out much of the bulk of the hollow with the adze.  The rough adze work to this point goes pretty quickly — maybe twenty to thirty minutes.  Lots of fun and chunks of wood flying all over the shop.  Then things ease up and slow down as I get closer to the line.

Once I am within an inch or so of the sides and bottom, I use the adze (often my smaller adze) to cut across the grain along the short axis of the bowl.  This establishes an even curve across the width of the bowl and establishes the final depth (see photo below).  It also lessens the possibility of having a split or cut run into the opposite side of the bowl as the far side is hollowed.  This trench now becomes the landing zone for the final strokes of the adze as it cuts from upper rim to the trench.  The rest of the adze work will be done in a direction generally perpendicular to the trench — cutting “downhill” with the grain.

At this stage, I usually try to leave about 1/2 inch bottom thickness.
Along the long axis, I cut a channel from the rim to the trench, then continue that procedure to the left side rim.
Now on to the right side.
When working the right quadrant, I like to tip up the log to allow for a more natural swing.
Running a hand along the  surface can reveal areas to address further.
Running a hand along the surface can reveal areas to address further.
Adze work done on one half.
Adze work complete.  The bottom of the trench is still visible here and there.  All will be cleaned up with gouge paring after hewing the outside and drying.
Adze work complete. The bottom of the trench is still visible here and there. All will be cleaned up with gouge paring after hewing the outside and drying.


Posted in adze, bowls, holding, layout, Uncategorized, walnut | Tagged , , , , , | 13 Comments

Do You have an Outie or an Innie?

Illustration, Adze Bevels_NEW

I have some general information on tool selection at my website, but I’d like to focus more specifically on the adze in this post.  It is probably the single most expensive tool used for this work, so it pays to choose wisely. After all, your grandchildren might be using it someday.  I only know two adzes well, but they’ve taught me some things about adze design.

SAM_0667

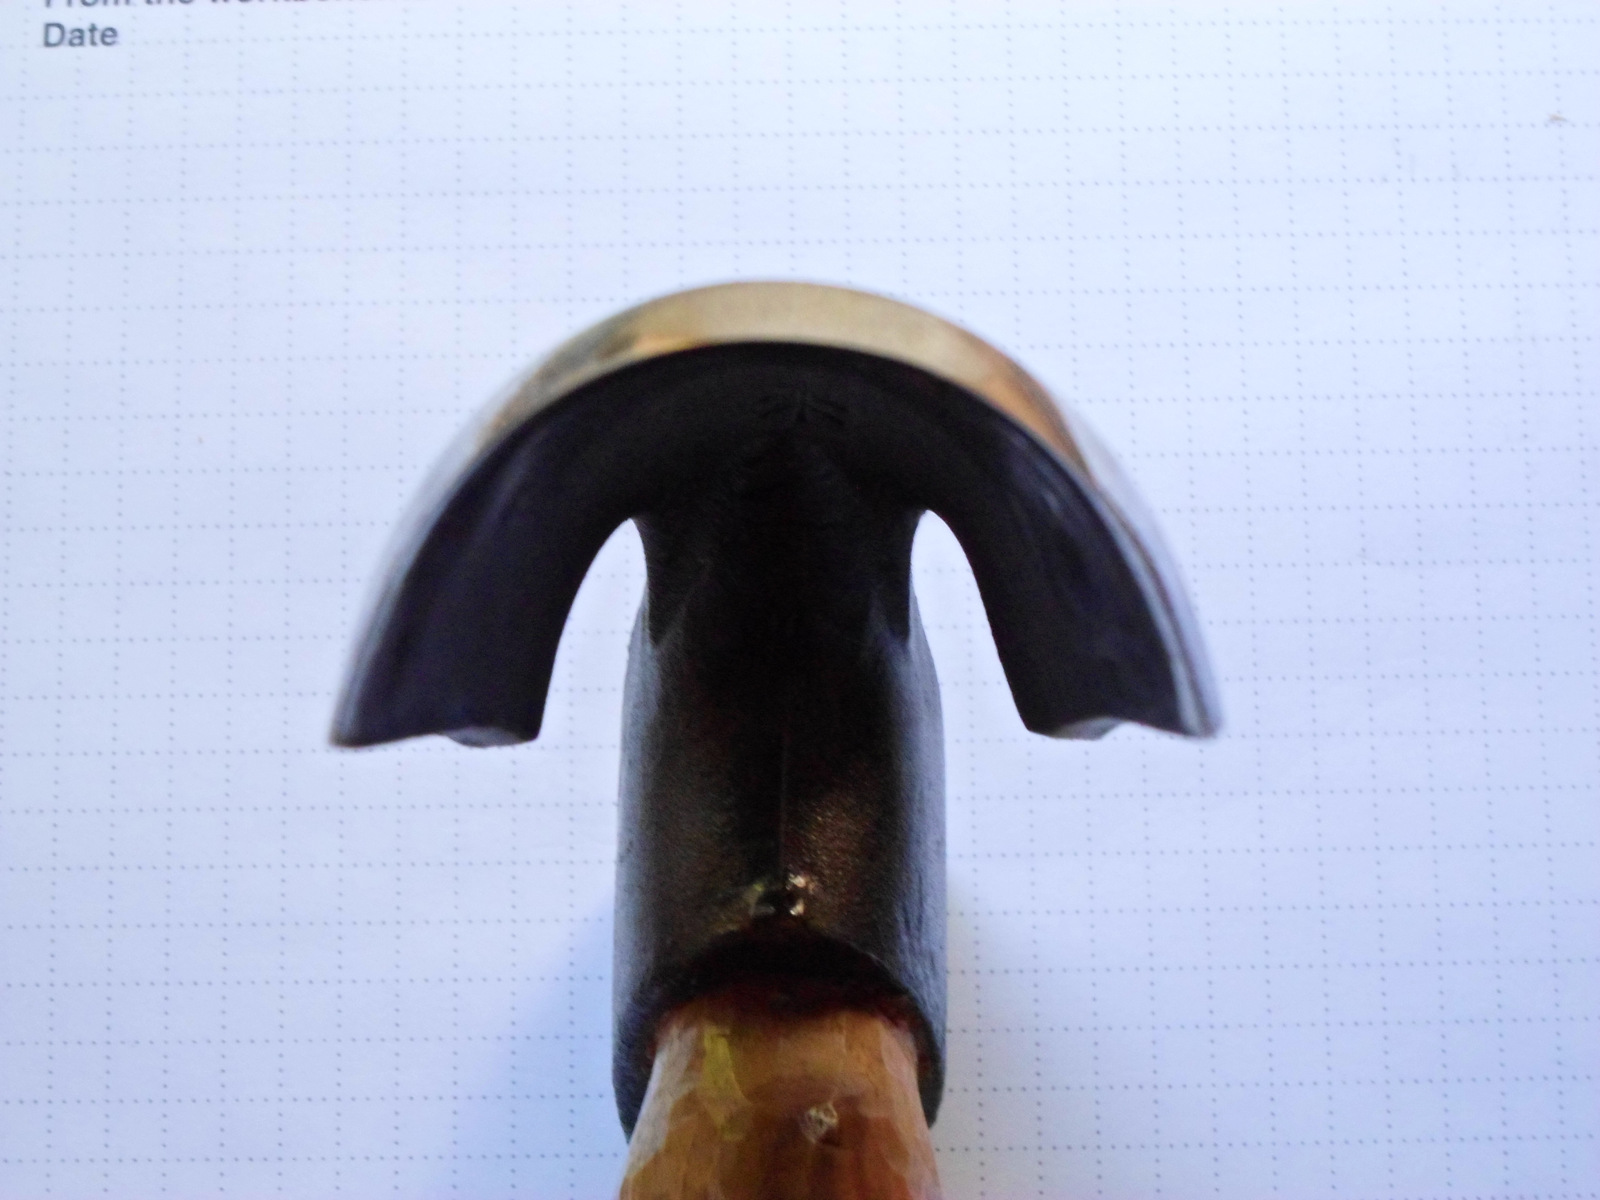
My Hans Karlsson Adze head with custom handle

SAM_0672

Edge-on view of my Hans Karlsson adze

I’ll start by showing some photos of the adze I use the majority of the time.  The adze head is made by Hans Karlsson in Sweden.  The Karlsson’s have a small family forge in Sweden that makes excellent tools.  They are designed well, with much consideration for how they will be used.  Mine was purchased years ago through Drew Langsner’s online Country Workshops store.  It is marked H-161 there.  As far as I can tell, it is the same one available from these suppliers based in the U.K.: Woodsmith and  Woodland Craft Supplies.  They have other adzes there of various sizes made by HK and other good makers.

My HK adze arrived sharp and ready to go (except for the lack of a handle, but that was my choice).  It has an outer bevel that is maybe declined eight to ten degrees from the line of the head.  A shorter inner bevel strengthens the edge by making the total edge angle around thirty degrees.  It enters the wood easily and the weight of the tool propels the edge through.  The steel holds an edge under heavy blows, and sharpens easily.  All I have done through many sharpening is to maintain it as it came.

My other adze is a good example of how much work will be involved if you buy something poorly designed for bowl carving (even if the product description says “perfect for making bowls”).  Before I had any idea what to buy, I purchased this adze made by Pfeil Swiss Made.  Their carving gouges are excellent, but they missed the mark on the design of this tool.
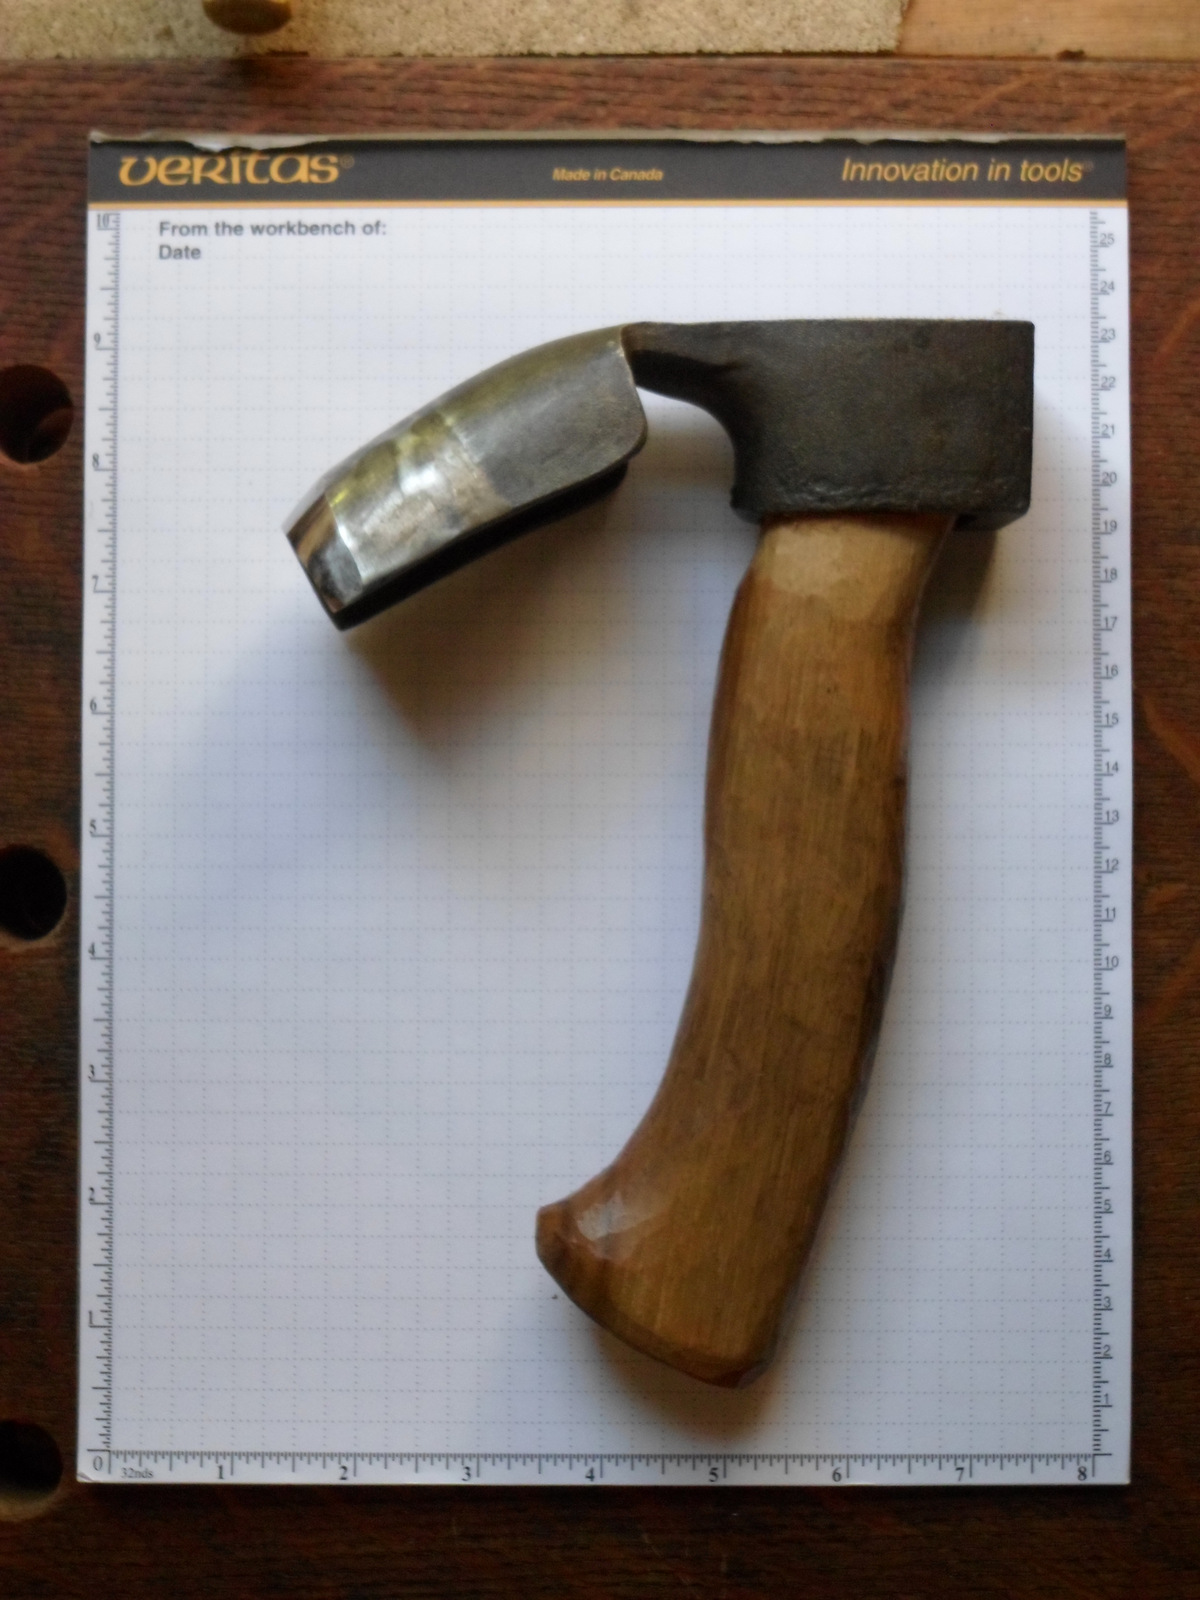
The handle is poorly designed in relation to the geometry of the head, and there is no outside bevel at all.  It lacks the concentrated weight of the HK that helps propel the edge through the wood.  It doesn’t arrive very sharp. In spite of all that, it will indeed remove wood from the hollow of a bowl; I carved some bowls with it.  It took lots of tweaking to get it to work better.

After grinding away a lot of steel (carefully avoiding overheating) and adding a new handle, I now have a nice little adze perfect for tight hollows due to a combination of three factors:  a tight sweep of the edge, a tight curve along the top of the adze, and a pronounced outer bevel (now).  I guess you could say it has a tighter turning radius than the HK, but the HK provides a much smoother ride.

SAM_0669SAM_0670

There may be some uses for which an adze with an outer bevel is undesirable.  For hollowing bowls, you want some degree of outer bevel.  I hope my drawing at the top offers some explanation as to why.  Another way to think about it is like this: an adze is like a carving gouge on a stick.  When used for carving work, gouges have outer bevels.  They provide the carver with the freedom to control the course of the tool and come into, and out of, a hollow.

For bowl carving, outies are the best.

One last thought.  If you can’t afford a good adze, but you want to start bowl carving, consider buying a gouge instead.  Better to buy a good gouge than a bad adze.  You’ll still need that gouge after you save enough for a good adze anyway.  You can hog away wood pretty quickly with a large gouge and a mallet.  I’d suggest something like a #8 sweep bent gouge (long bent) 25-35 mm wide.  It might also be a good option if you don’t feel safe swinging an adze.

Posted in adze, tools | Tagged , , , | 55 Comments

Paring….continued

Scan

I was reminded of this sketch I had done awhile back in response to an emailed question. I thought I’d post it up here as a follow up to last weekend’s post “Prepare to Pare.”  It should be easy to print out after clicking on it.

Posted in Uncategorized | 9 Comments

What’s a saz?

That was my first thought when I was asked recently to make one; well, the bowl part of one.  Turns out that a saz is a long necked Turkish lute (I found the photo of the one above — I had nothing to do with making it).  The most notable feature is a deep teardrop shaped bowl-like resonator.  They can be various shapes and sizes.  The earliest ones were carved from one piece of wood, but today most are formed from thin strips of wood bent over a form and joined together.  Walnut and mulberry are traditional woods for this.

SAM_2078

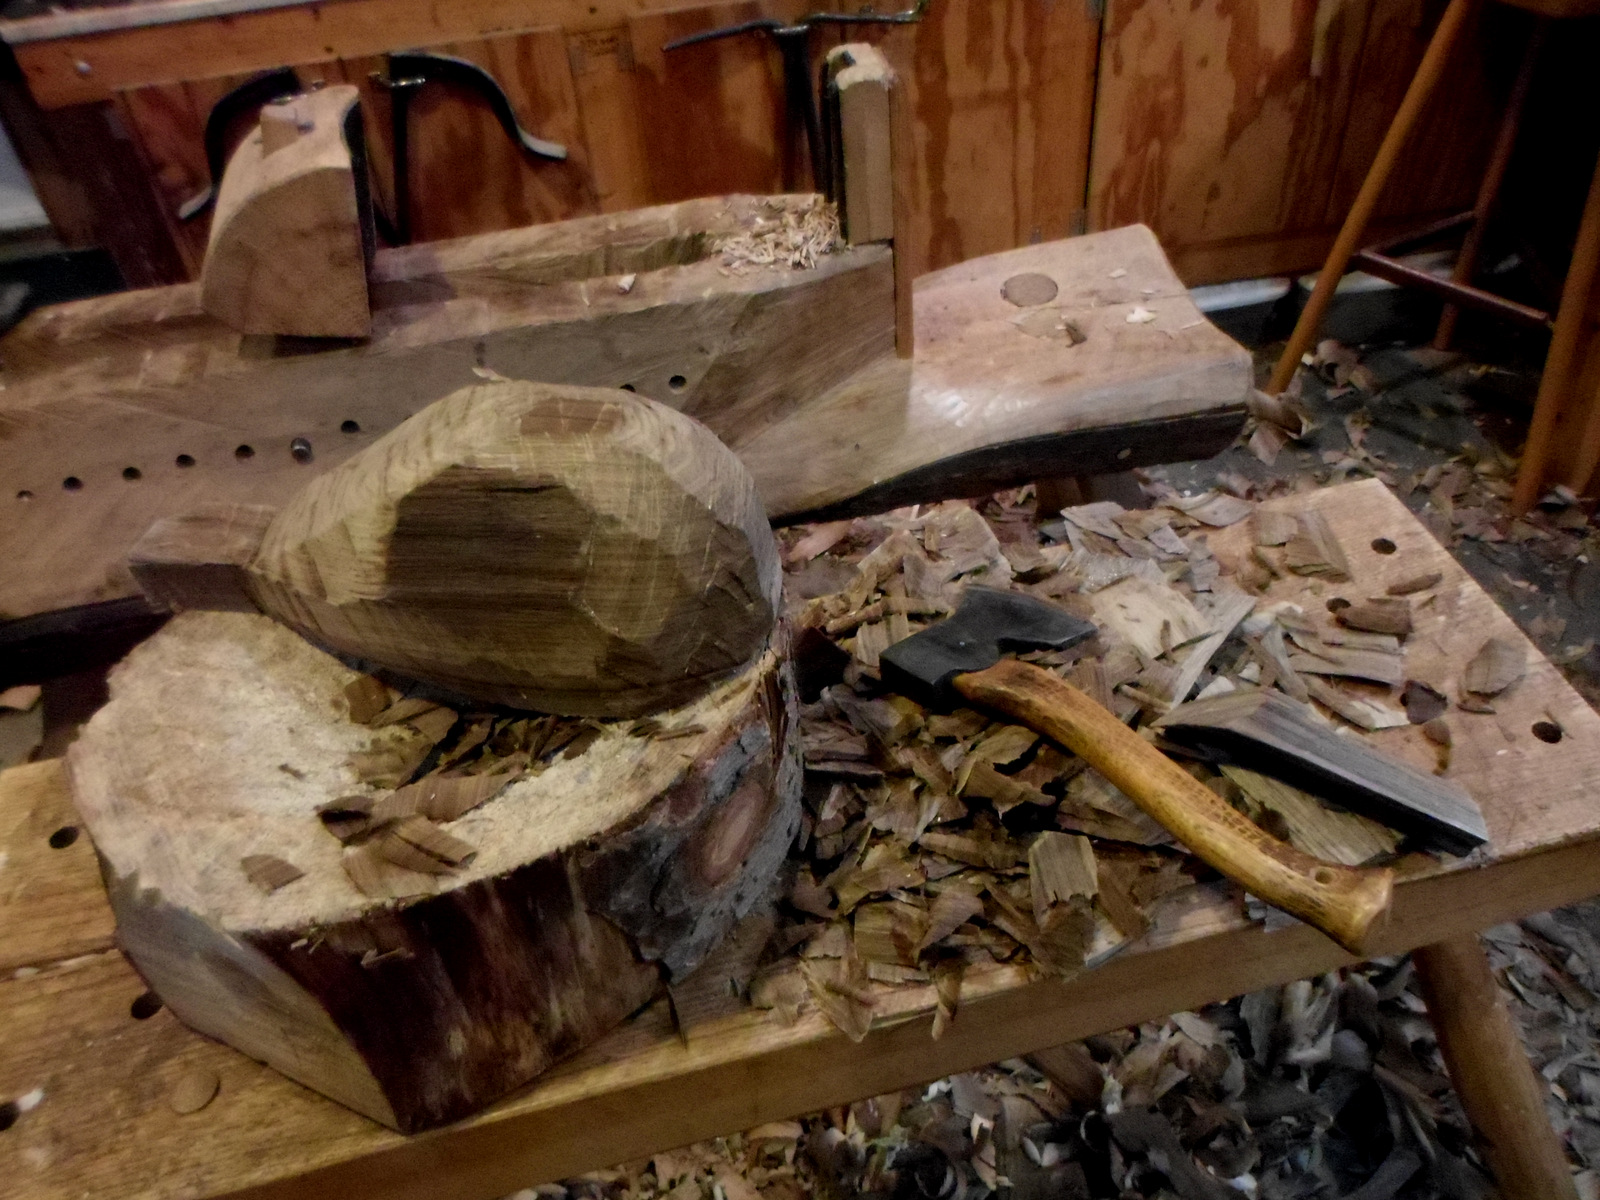
Hewing has just begun.

SAM_2079

Further along…


My brief learning process began when I was asked to carve a traditional resonator bowl for a saz from walnut.  This video of Turkish master Bekir Tekeli was a big help and a lot of fun to watch.  Wait ’til you see his adze, a cool vise concept, and more.

So I began with a walnut log, flattened the upper surface, and laid out the outline.  As far as saz size goes, I think this is on the smaller side.  The hollow is seven inches wide, 5 inches deep, and about 12 inches long.  I broke my usual sequence by shaping the outside before hollowing the inside.  I was concerned about hatchet blows near the delicate and vertical end grain, if the bowl had already been hollowed.

SAM_2084

After refining with a spokeshave.

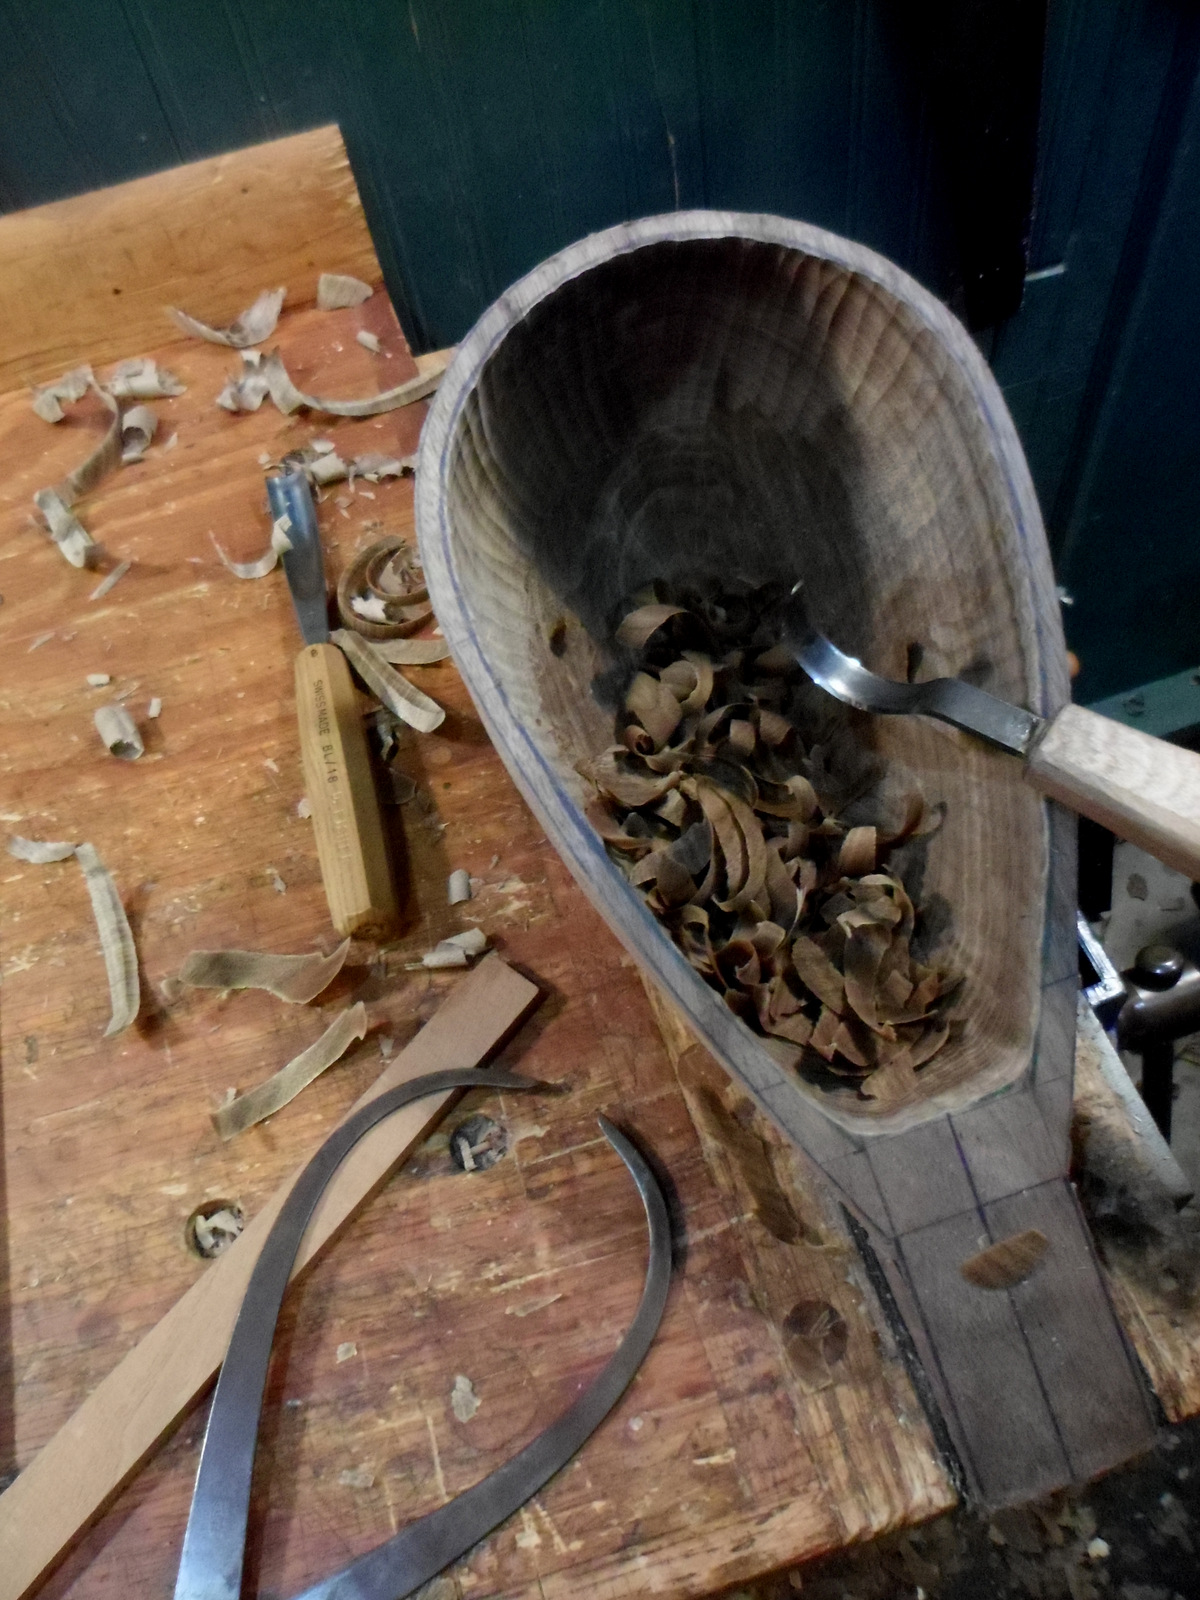
For the hollowing, I roughed out the cavity as much as possible with an adze, then turned to bent gouges.  But what saved the day for me for a hollow this narrow and deep was a SAM_2089twca cam.  I bought a twca cam blade from blacksmith Nic Westermann a while back, and this was the first time I had really put it through its paces.  What a pleasure to use.  I can’t say enough about how it performed.  Nic’s blade was perfect, and the long handle provides a lot of leverage, reach, and control.

SAM_2092Now it has been carved green to a pretty consistent wall thickness of 1/4 inch.  I’ve got it wrapped like a mummy in an old sheet to control the drying a bit.  I’ll keep my eye on it.  If all goes well, I’ll refine things all over after it’s dry.  The extension on the neck will allow the luthier to make his own adjustments and connections.

These few paragraphs have just revealed the sum total of my direct experience with luthiery.  But this woodworking world has given me the good fortune to be in contact with a few that really know what they are doing like Scott Kinsey, Otis Tomas, and, locally, Vern Swartz.  Check out Otis’ book The Fiddletree; quite a testament to the life of a tree and the connection between craftsmanship and music.  It even comes with tunes!


Posted in adze, carving, tools, Uncategorized, video, walnut | Tagged , , , , , | 6 Comments

Prepare to Pare

IMG_4193

“Not that I loved cherry wood less …”

I was paring the interior of a cherry bowl recently.  Whenever I perform this operation, I hold the gouge in an unorthodox carving grip, reminiscent of a scene from Psycho or Julius Caesar.

IMG_4160

At the beginning of the stroke, I raise up high….

IMG_4162

…then drop my knees, allowing my upper body to drop toward the bowl. It is, essentially, controlled falling.

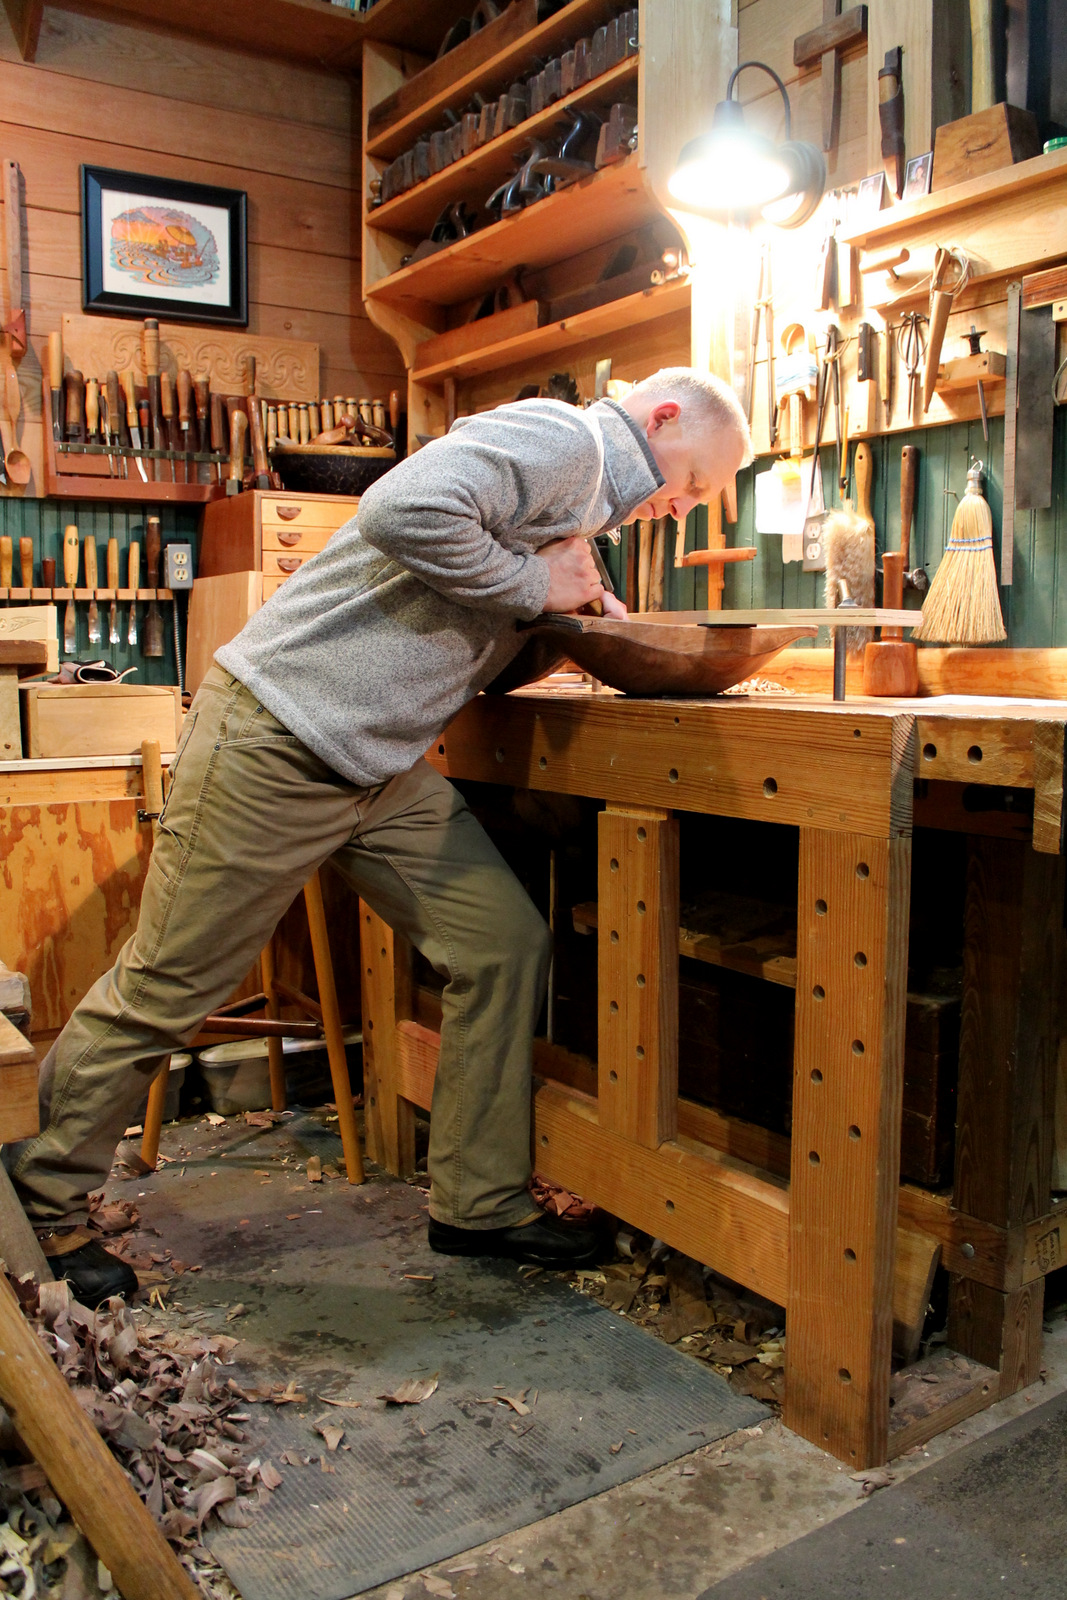
This allows me to register my thumb against my upper chest, just below the shoulder.  I use my body weight to propel the gouge forward, maneuvering my hands and wrists slightly to control the path of the cutting edge.  I adjust the positioning of my feet and body to work around one entire half of the bowl.

Raising yourself up on some boards, or working on a lower bench may help, also.  I’m used to mine.  I’m 5’11” and my bench top is 35 1/2″ high.  Another possibility is working at a low bench.  By sitting behind the bowl, you can lower the weight of your upper body over the gouge.

IMG_4192

You can see a bit of my usual paring at about the 7:25 mark in this video.

The cuts don’t always go that smoothly; especially when paring hard dry cherry end grain right along the central long axis of the bowl.  Regardless of the length of each cut, I aim for nice transitions between each stroke.  I try to avoid the ridges (or divots) that result if the gouge stops rather than making a clean exit from the cut.  For particularly hard areas, I don’t propel the gouge slowly.  Once the edge is just engaged, I let my torso fall downward sharply, punching the edge forward and making a clean exit from the wood in one quick motion.  Many such cuts, overlapping, can tame hard end grain.

In addition to the use of one’s body, there are a few other things I try to remember:

  • Sharp.  There is no substitute.  If the thought passes through my mind that maybe the gouge could use a touch-up, it has needed a touch-up.  I often amaze myself at my ability to ignore that thought.  One test that has proven reliable to me is to try to skate the gouge edge very lightly across the surface of my thumbnail (heading toward the end of my thumb).  If it is sharp enough, there will be no skating.  Even with no pressure, it engages and will not move forward.  Invariably this test fails first in the central portion of a gouge, while the outer portions still bite.
  • Softer woods will not require as much force.  It will be easier to control and propel the gouge.  However, the tools have to be just as sharp to get nice, clean cuts.
  • I’m supposed to be enjoying this.  There is no perfect cut.
  • It is easier to push a little steel through wood than a lot of steel.  Gouges that are narrower and/or have a higher sweep are easier to propel and control.  In the photos below, the flat, wide gouge to the far right will leave a subtle surface, but is much more difficult to push through hard wood fibers.  The gouges to the left will glide through the wood more easily.  Clean cuts with any of these gouges will result in different, pleasing surfaces.

IMG_4198 IMG_4199


Posted in carving, cherry, holding, tools, Uncategorized | Tagged , , , , | 8 Comments

The Compass Goose


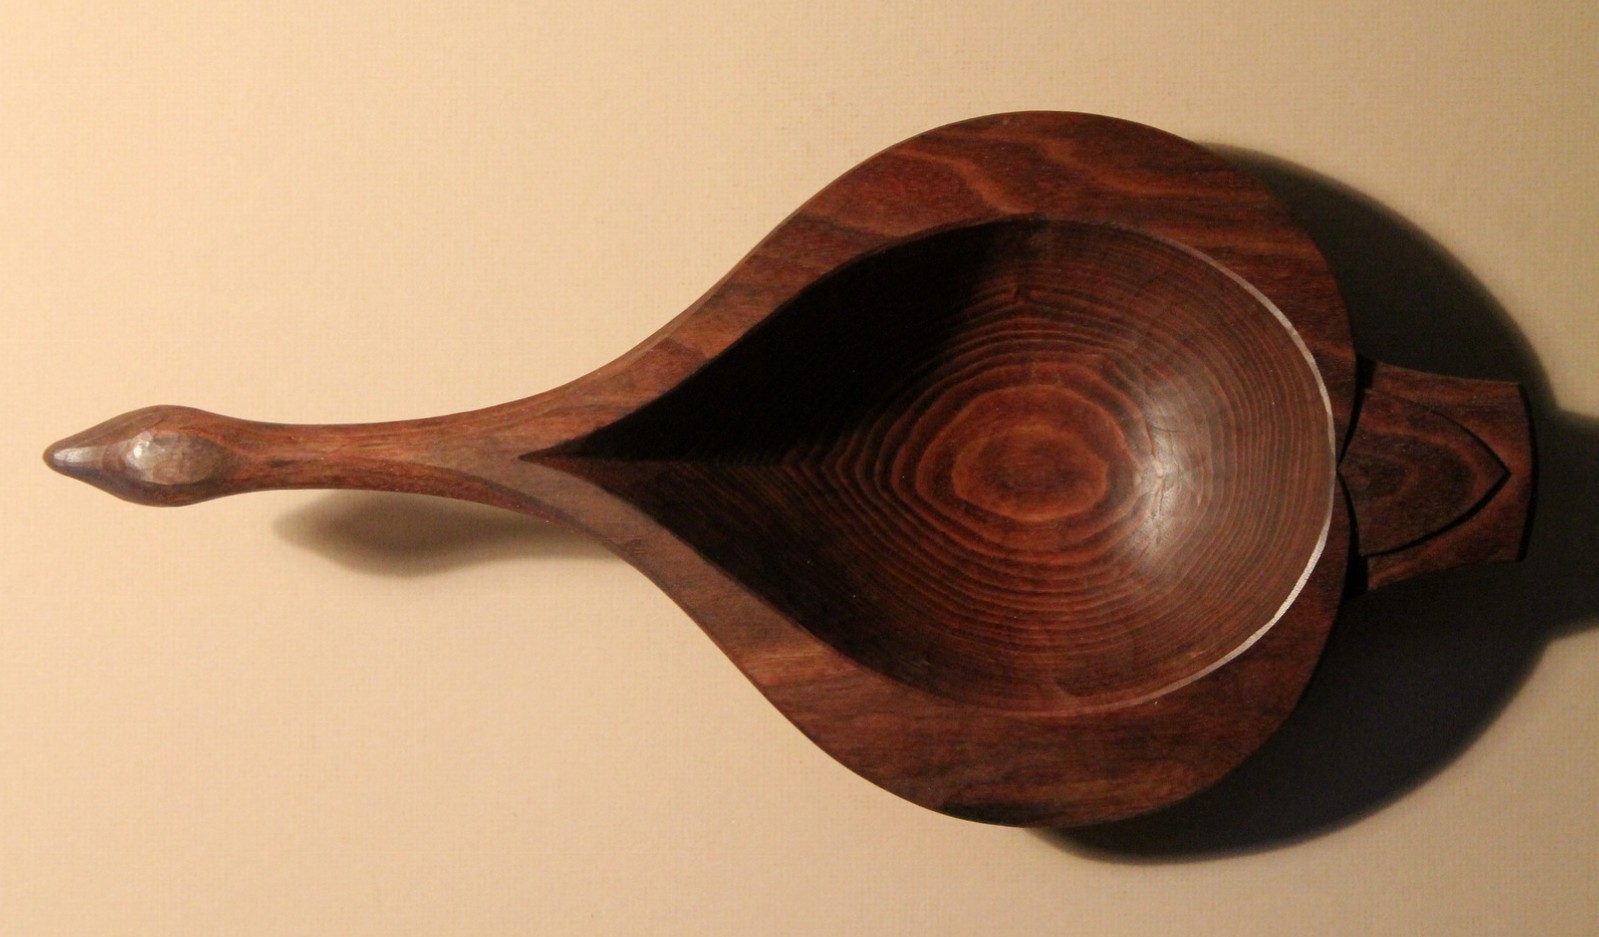
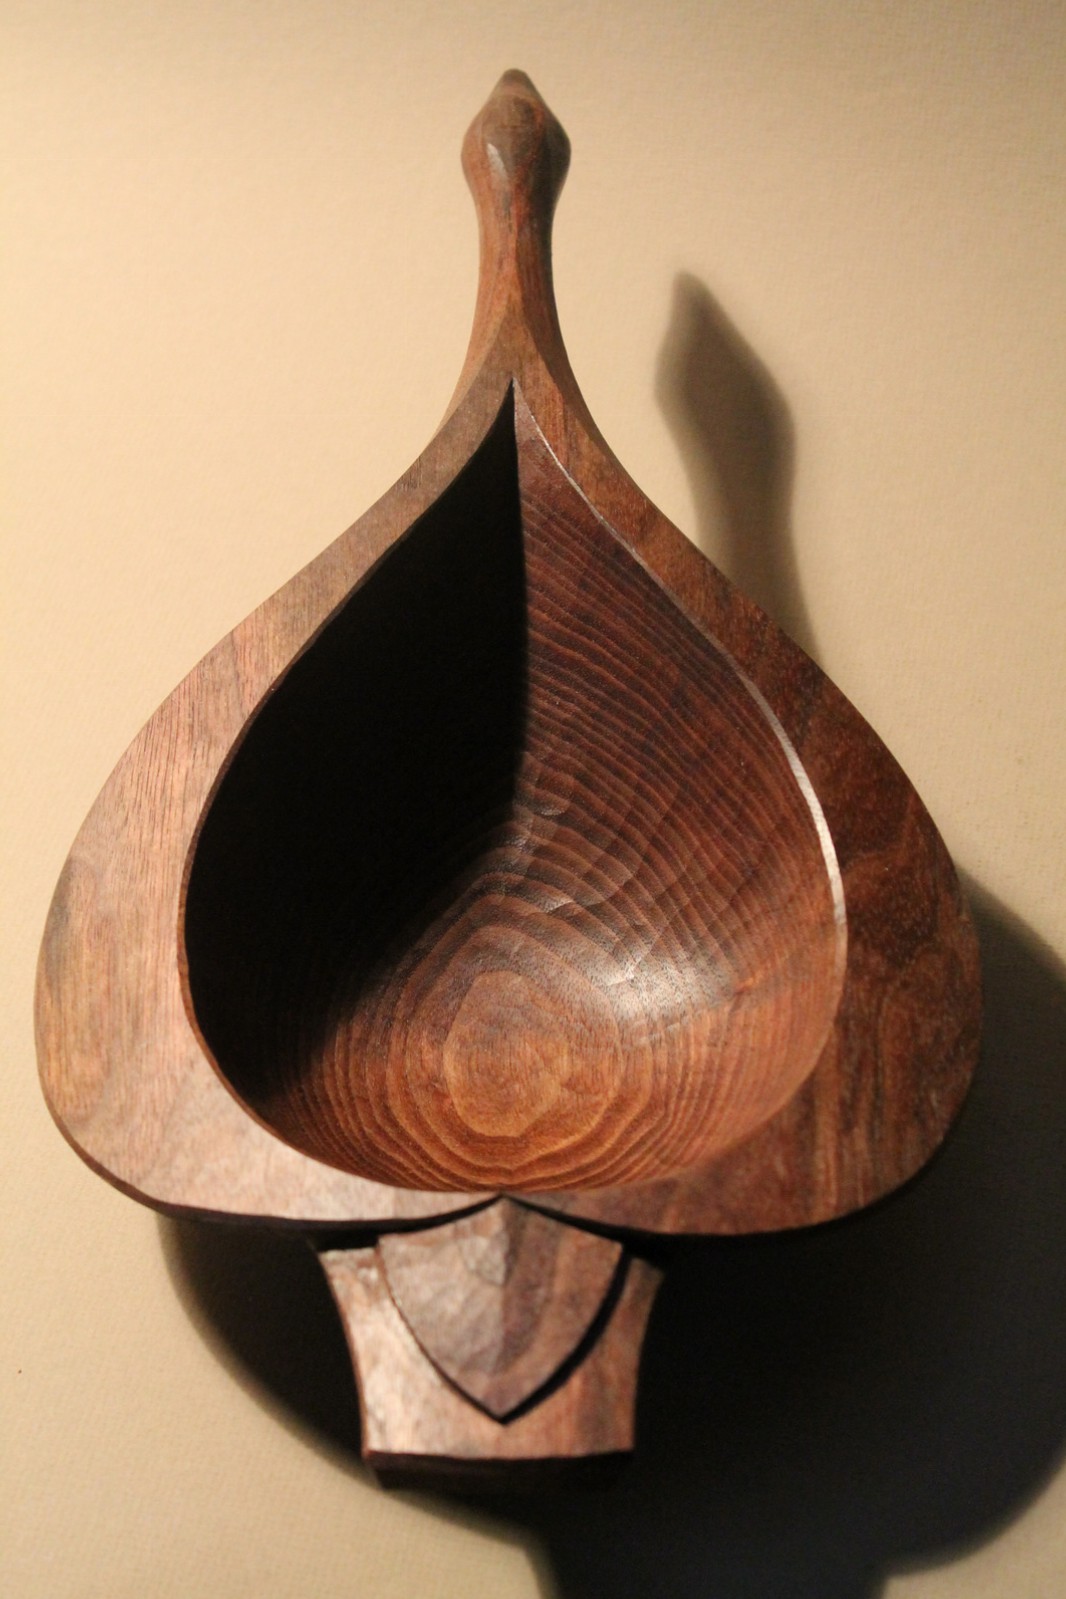
IMG_4140I recently completed this commission for a goose-inspired bowl in walnut.  In some ways it may seem to be quite a departure from a “regular” bowl form, but the process is essentially the same.  As is typical, I work with a basic layout on top of the log indicating the interior edge of the hollow and the line of the outside edge (also on the bottom).  Then I hew and carve away the material between the outer lines of the top and bottom by hand and eye.

To establish a symmetrical form, I usually rely on a compass.  Even a form like this stylized goose begins with a few compass arcs.  Playing around with a compass reveals all sorts of possibilities.  If nothing else, it helps guide some freehand layout.

In the photo below, you can see the basic idea.  This is not the exact layout for the bowl in the photos.  Every log is different, so each bowl gets laid out directly onto the log.  I’ve only drawn it on paper as a demonstration.  The black lines are compass-struck; red are drawn. The same concept can be used to layout any bowl form if you are seeking symmetry.

IMG_4124
IMG_4136
   IMG_4148IMG_4142

Posted in bird bowls, bowls, layout, Uncategorized, walnut | Tagged , , , | 4 Comments

Workbench and Photo Studio in One


IMG_4105

When it comes to photography, I have no idea what I’m doing.  But then my goal is not to create amazing photographs, but rather to simply take a photograph that captures the true sense of a piece;  I want the bowl in the photograph to look like the real bowl.  Sounds simple.

This  can be difficult to do with sculptural pieces.  With so many potential viewpoints, which ones best define a piece?  Plus, much of the character can only be revealed by moving over the surface with one’s hands.  Photos come up short there.

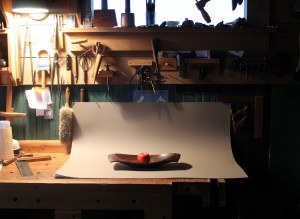
My approach is pretty simple (and I don’t even know how to complicate it).  I never use the flash.  Especially for curving forms like this, the form of a piece is revealed in a photograph by the contrast between shadow and light.  The flash wipes them out. Sometimes I’ll take some shots by placing a piece near a window, using natural light. Most of the time, I go to the setup you see in the top photo.

The typical procedure:  Clear all the tools and chips off of the workbench.  Run upstairs to get the piece of grayish/brown mat board (purchased in the framing supply section of a craft shop) stored behind the dresser.  Push the back up against two nails in the wall above the workbench and hold the front with a small brad hammered into the workbench.  Turn off the glaring overhead lights in the shop which leaves the wall sconce over the bench (a bit to the side of the “stage”).  No fancy bulb, just a regular incandescent. Hold the camera steady on auto mode and take some shots; some will look okay.

National Geographic has not called for my advice.

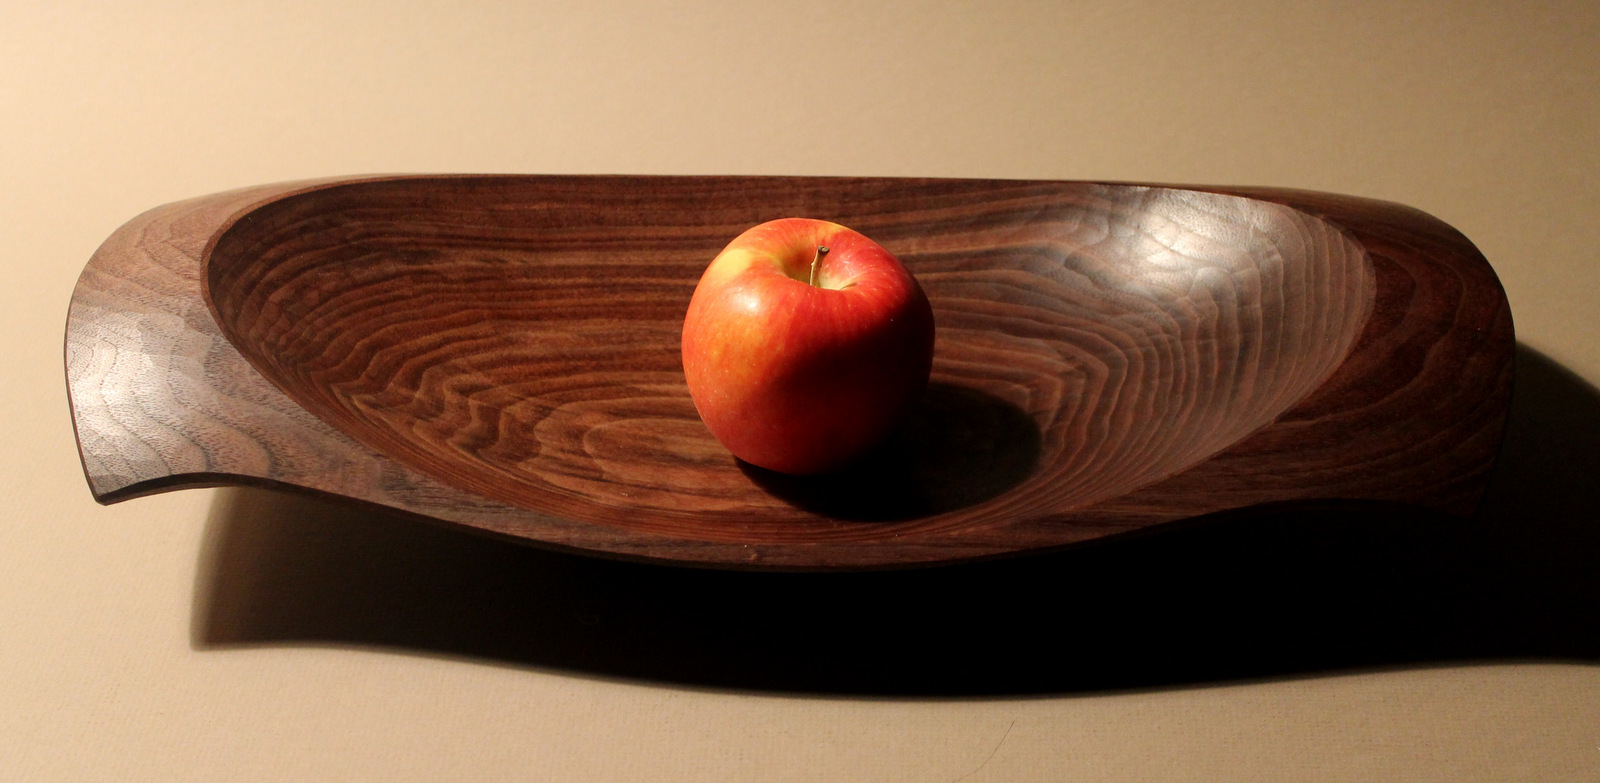
I shot some photos of a recently finished walnut bowl tonight.  I included the apple for a sense of scale.  This is a shallower bowl than usual, but it still allows room for some dimension and interesting curves.  I’ve just posted it on the website, too.

IMG_4104 IMG_4092IMG_4095IMG_4093

Posted in bowls, photography, walnut | Tagged , , | 5 Comments