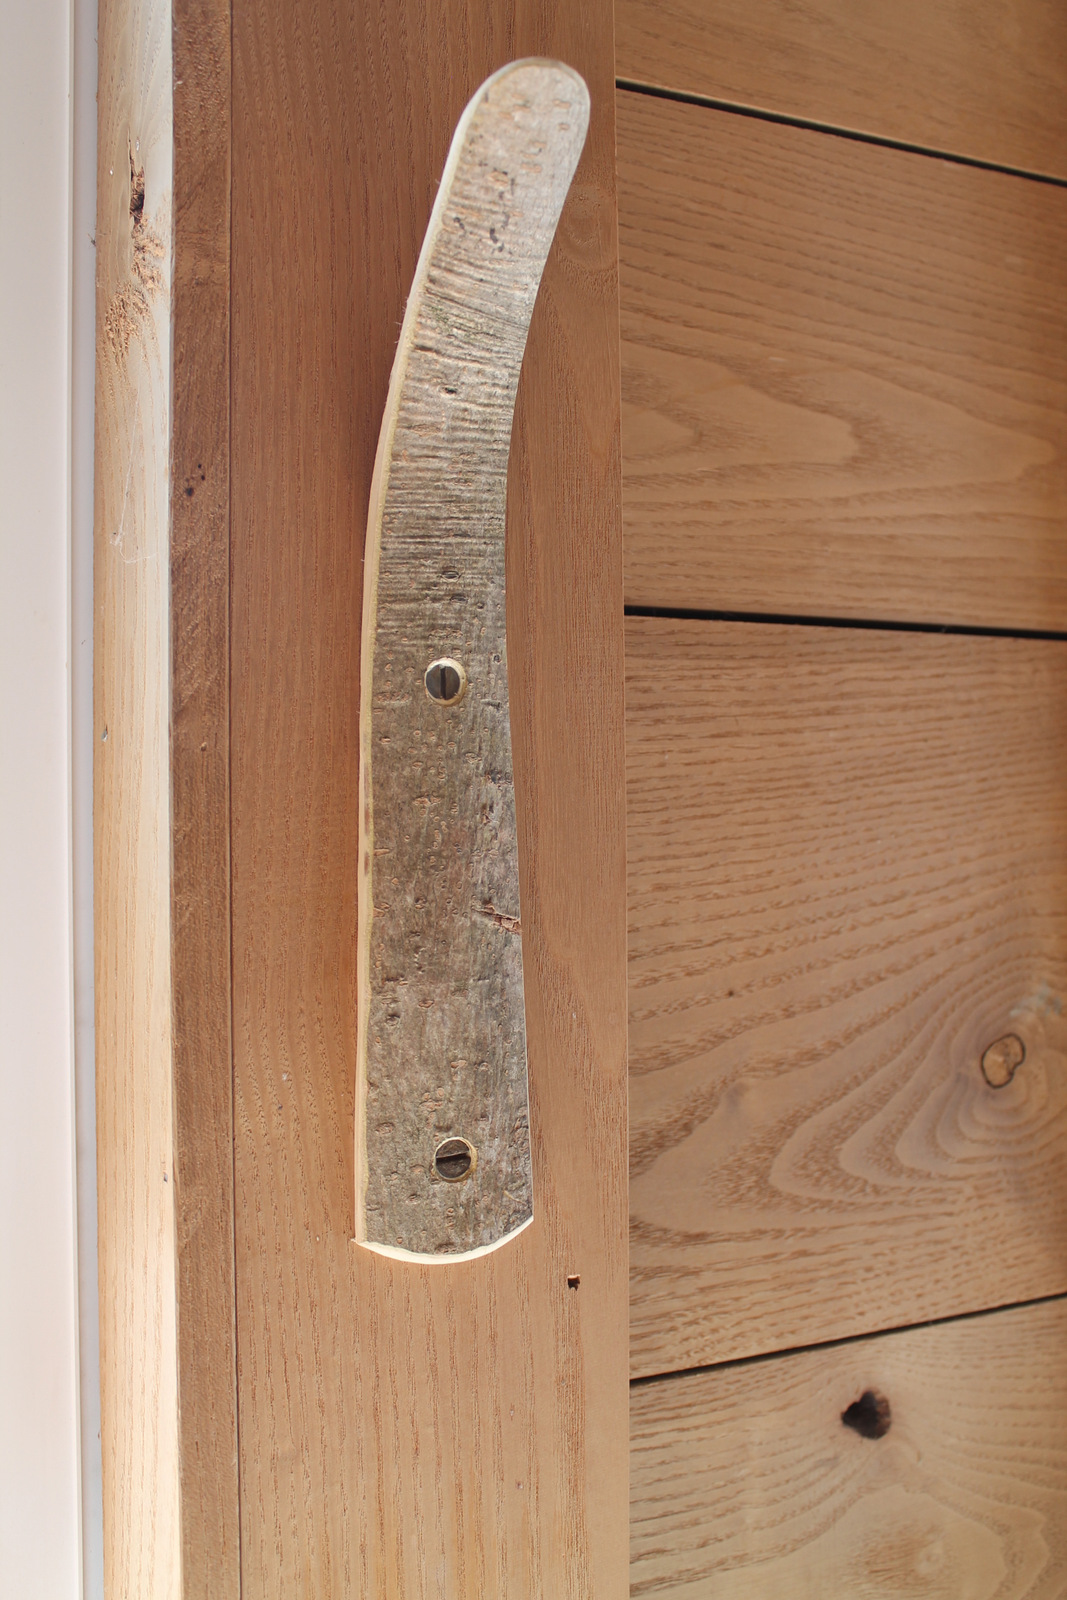
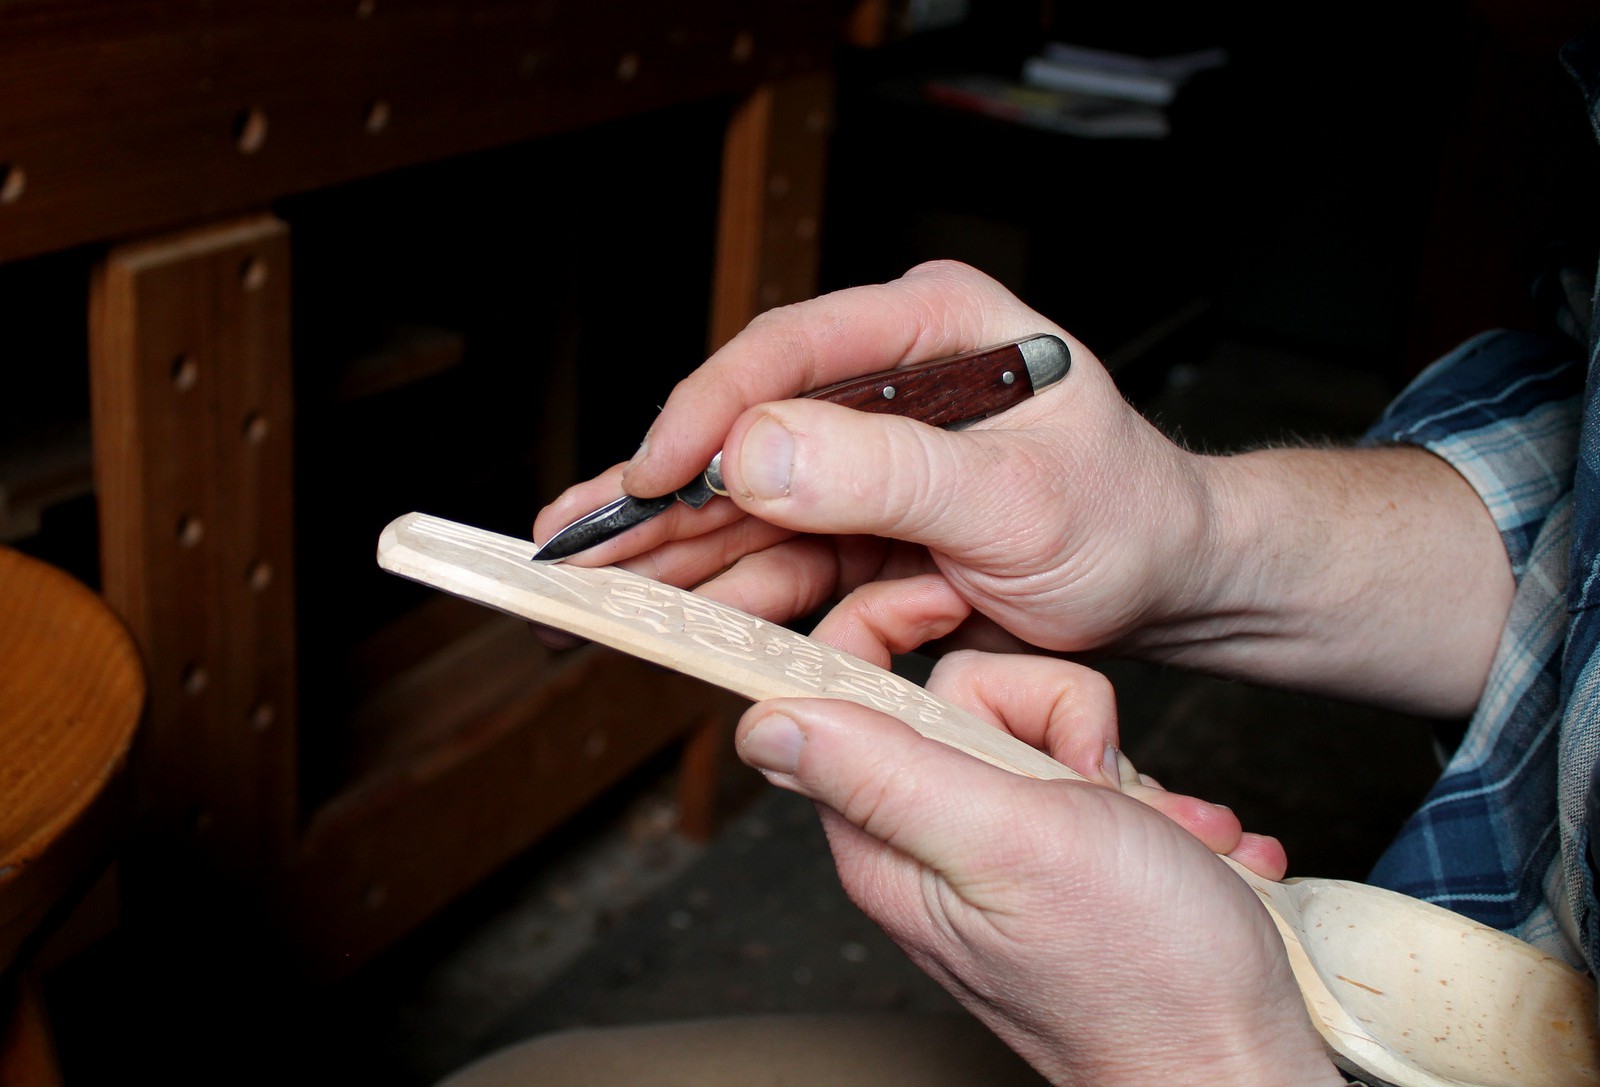
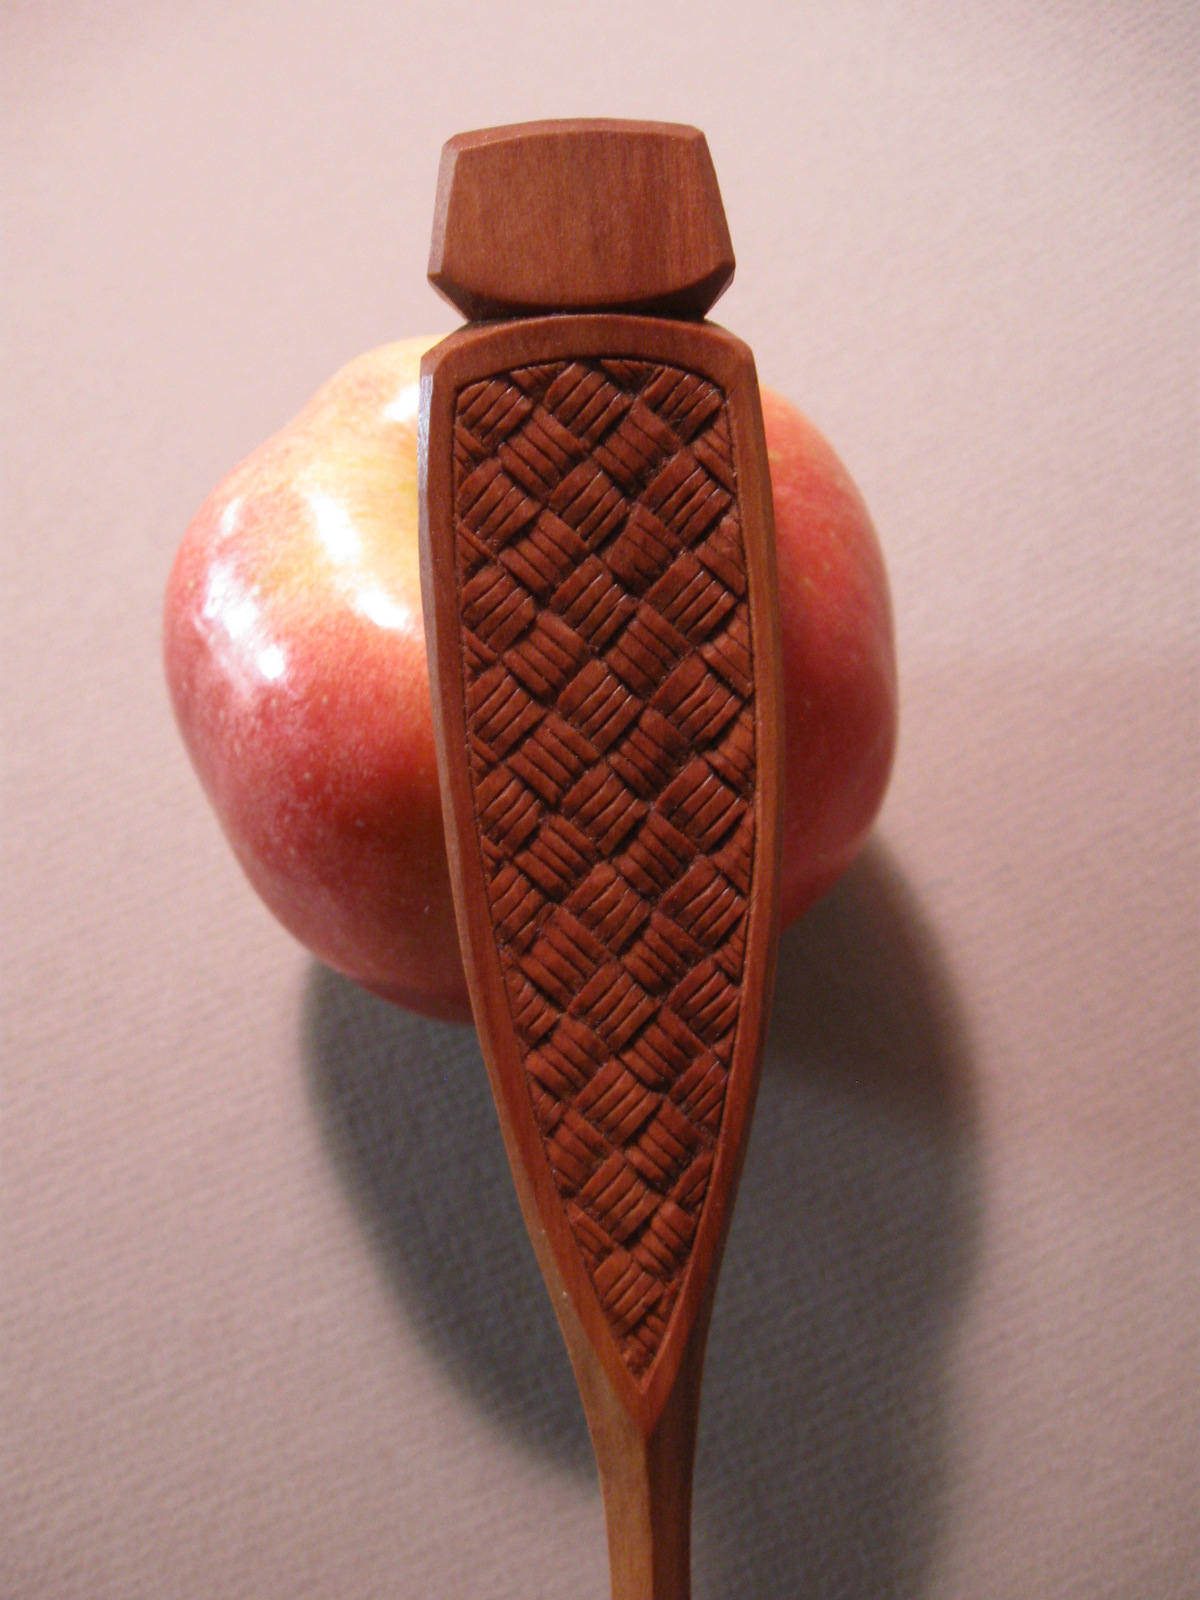
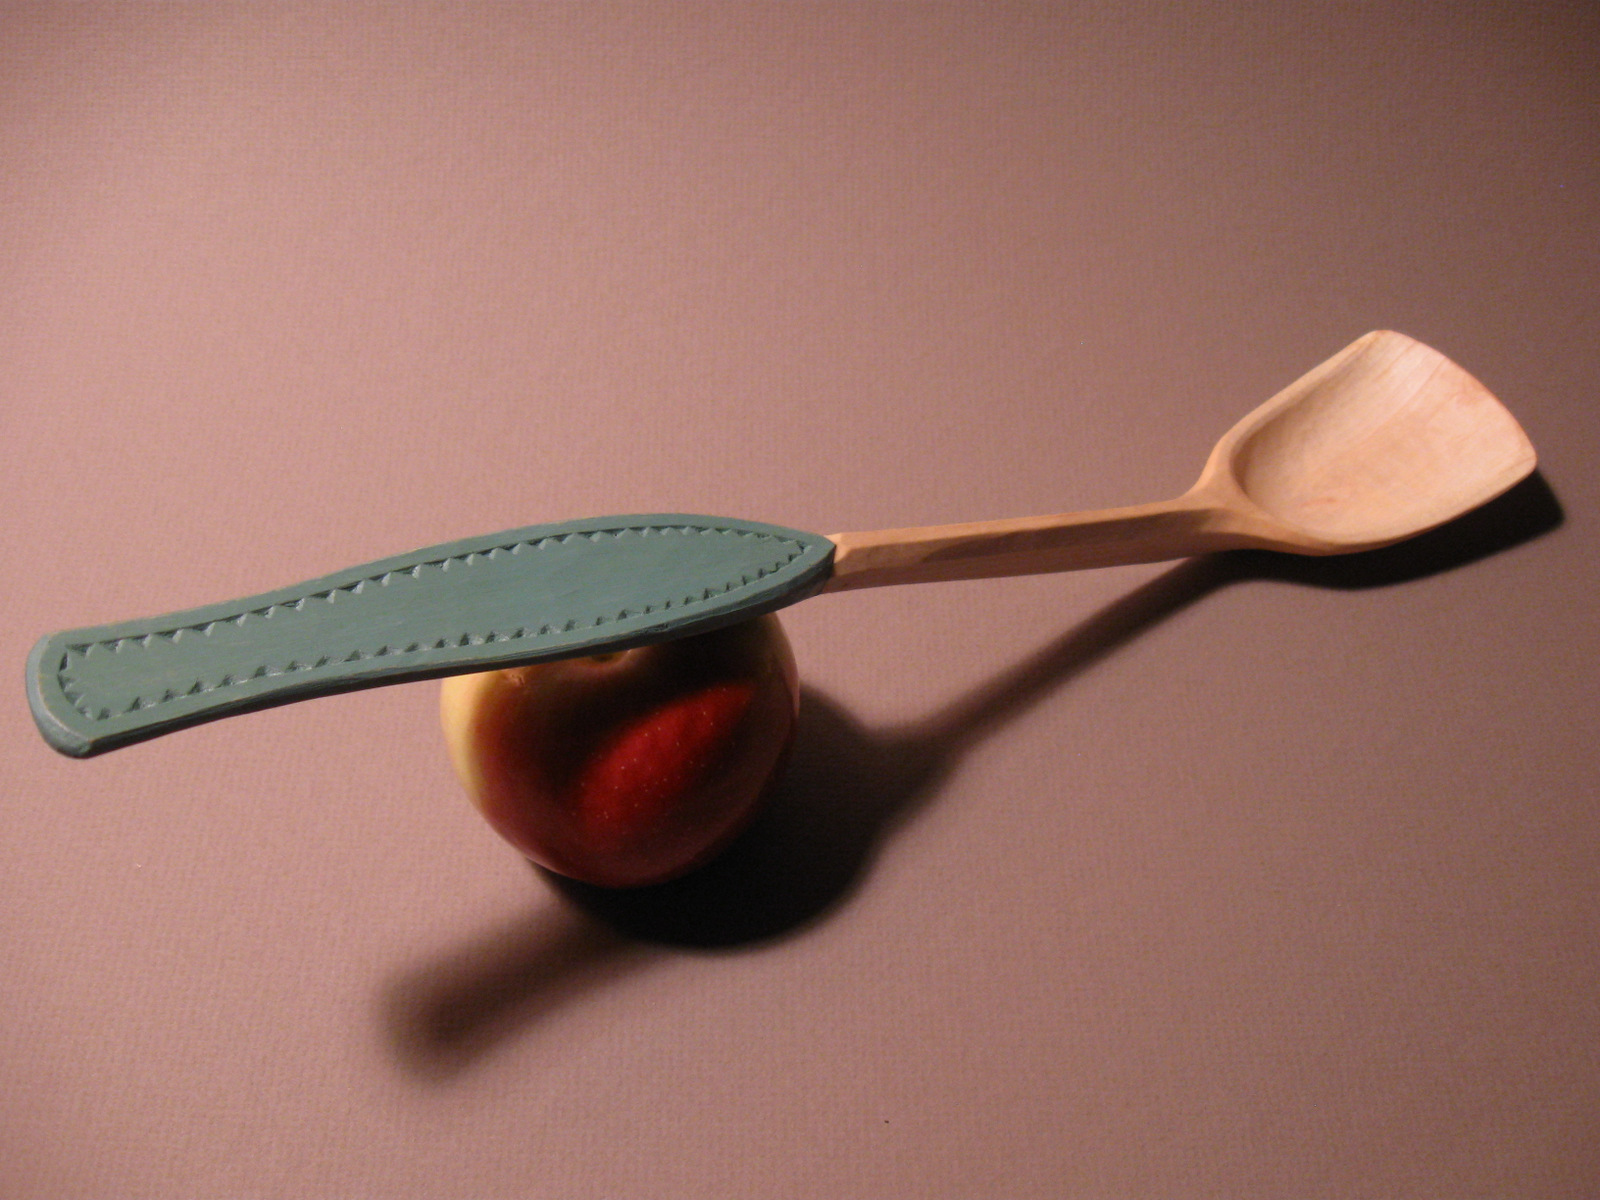
When splitting branch crooks for spoons, I often end up with a thin split from the upper portion of the crook. Sometimes such a piece may have potential for a smaller eating spoon, but I also like to use them for wall hooks. It is a quick and simple project; a fun diversion and also a great idea for working with kids.
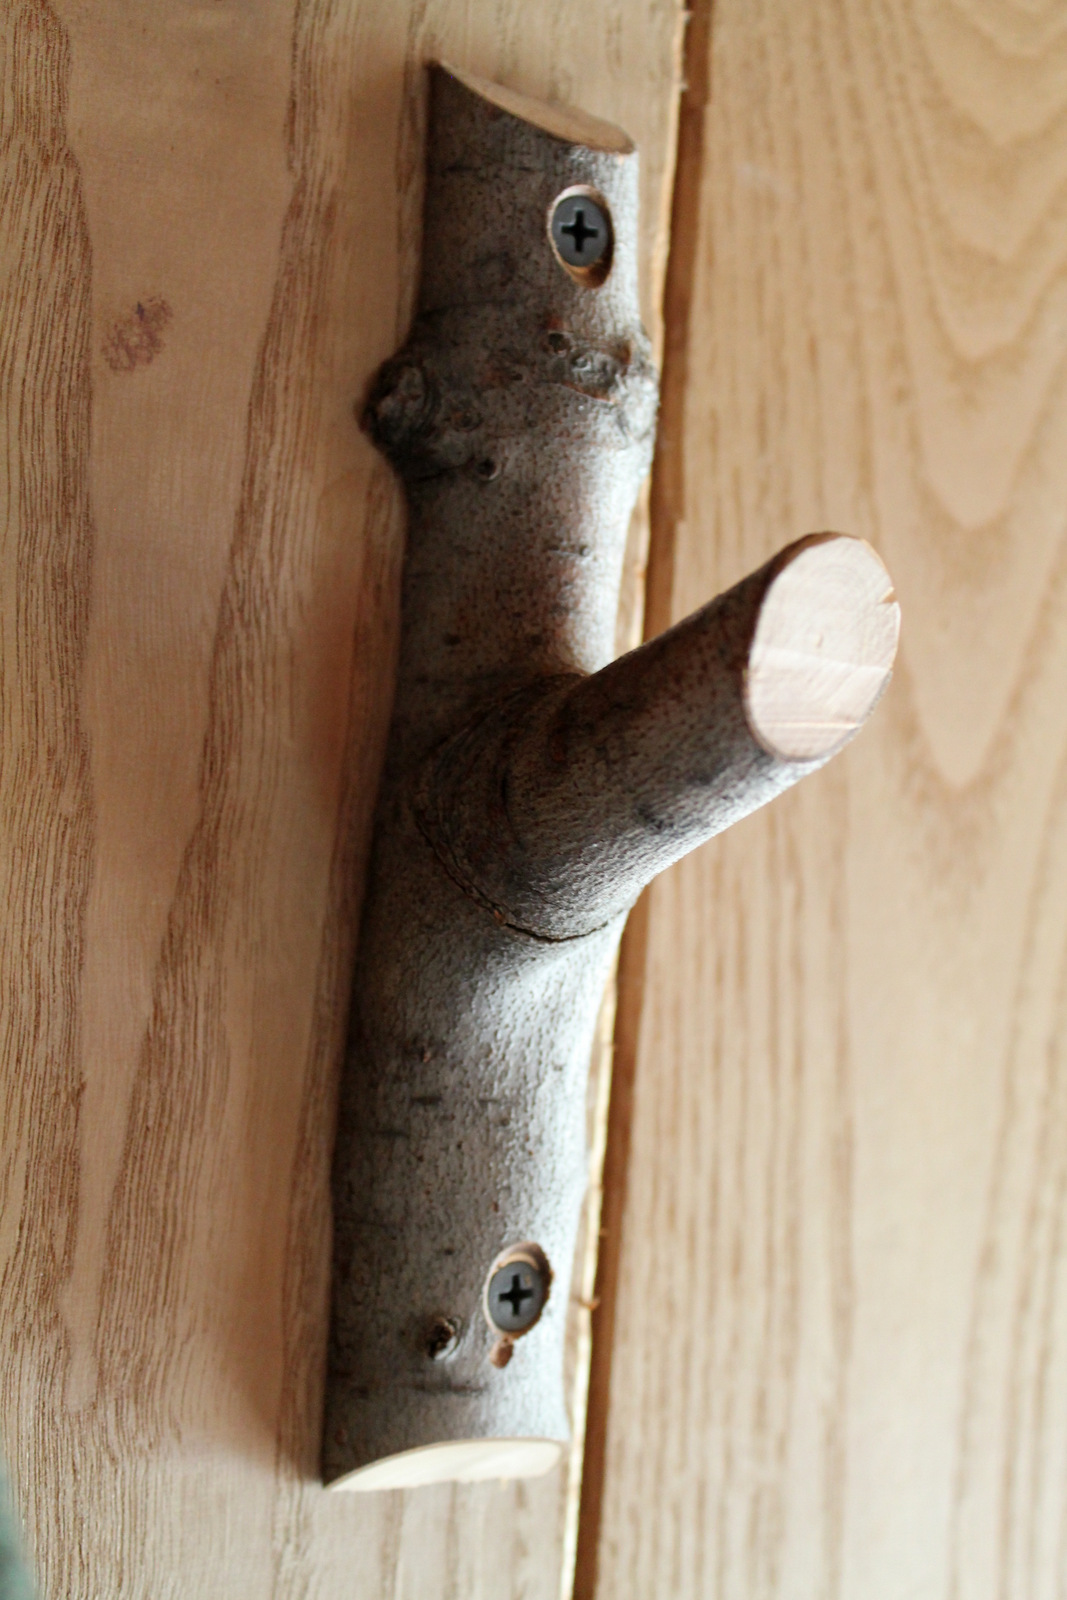
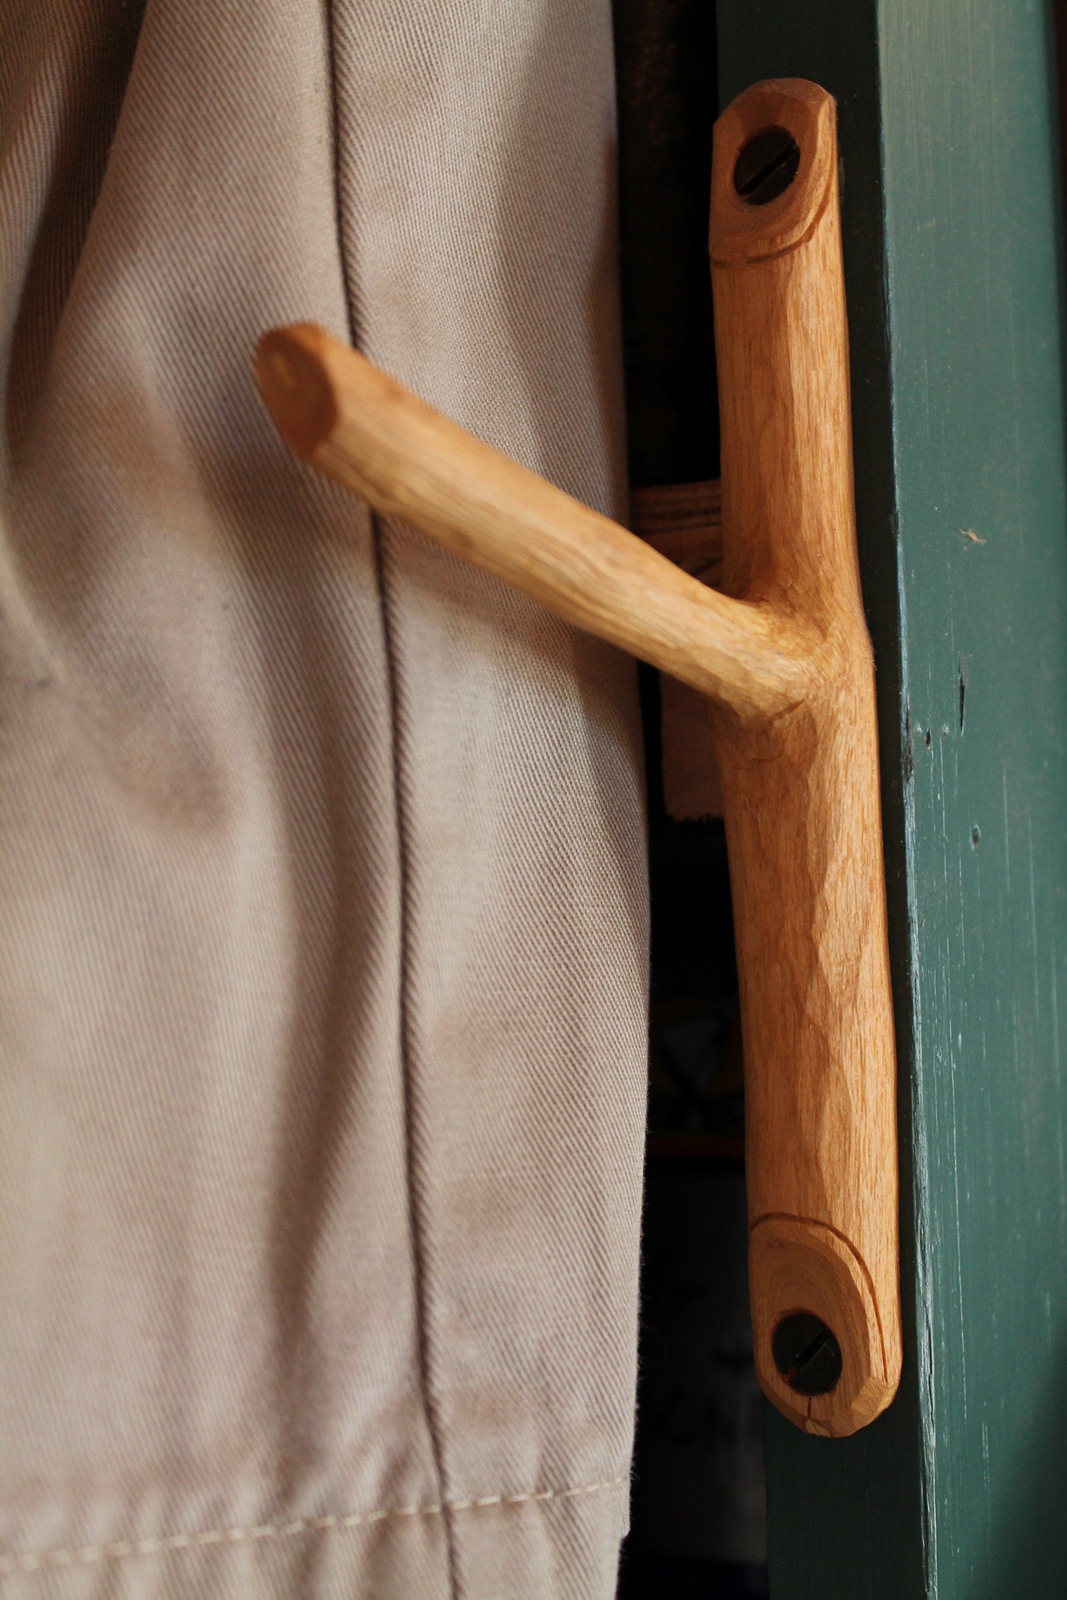
Of course, a natural branch junction makes a good hook also. Below are a couple examples from my shop walls. The one holding my braces is an extreme natural curve. You can’t pass that up in a brush pile. I’ve seen photos of branch hooks folks have made with lots of funky shapes and painted colors. Lots of creative possibilities.
Making a hook from a spoon crook goes something like this:
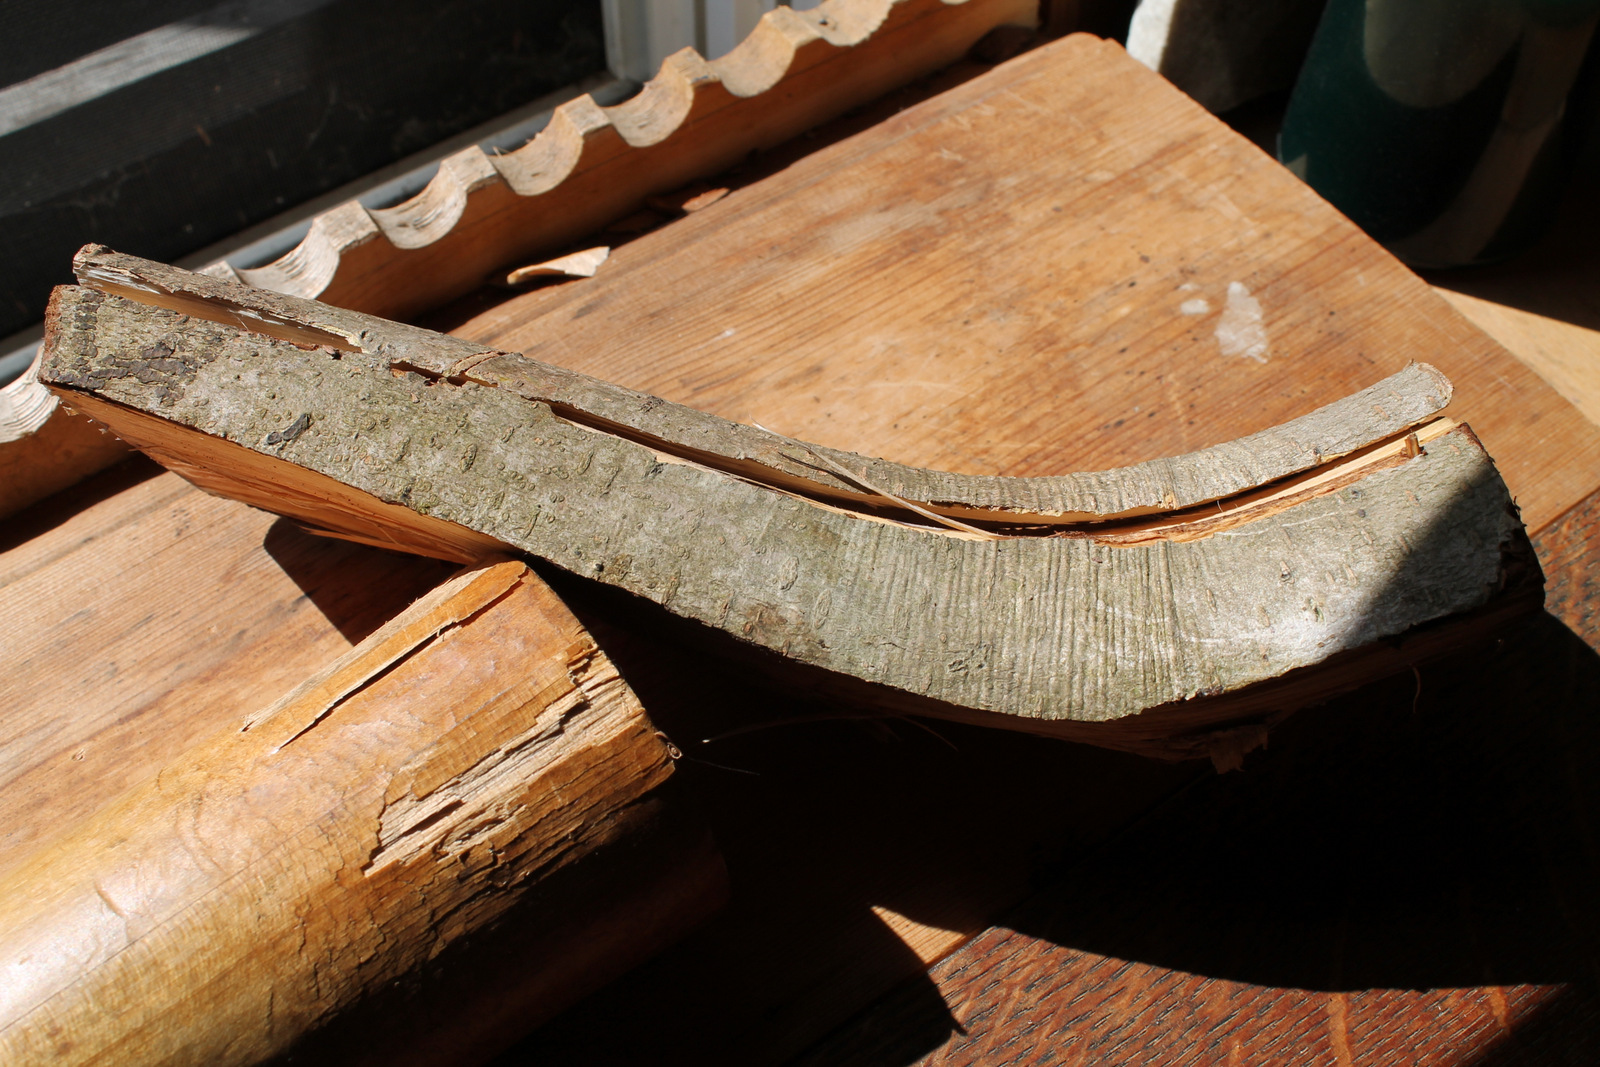
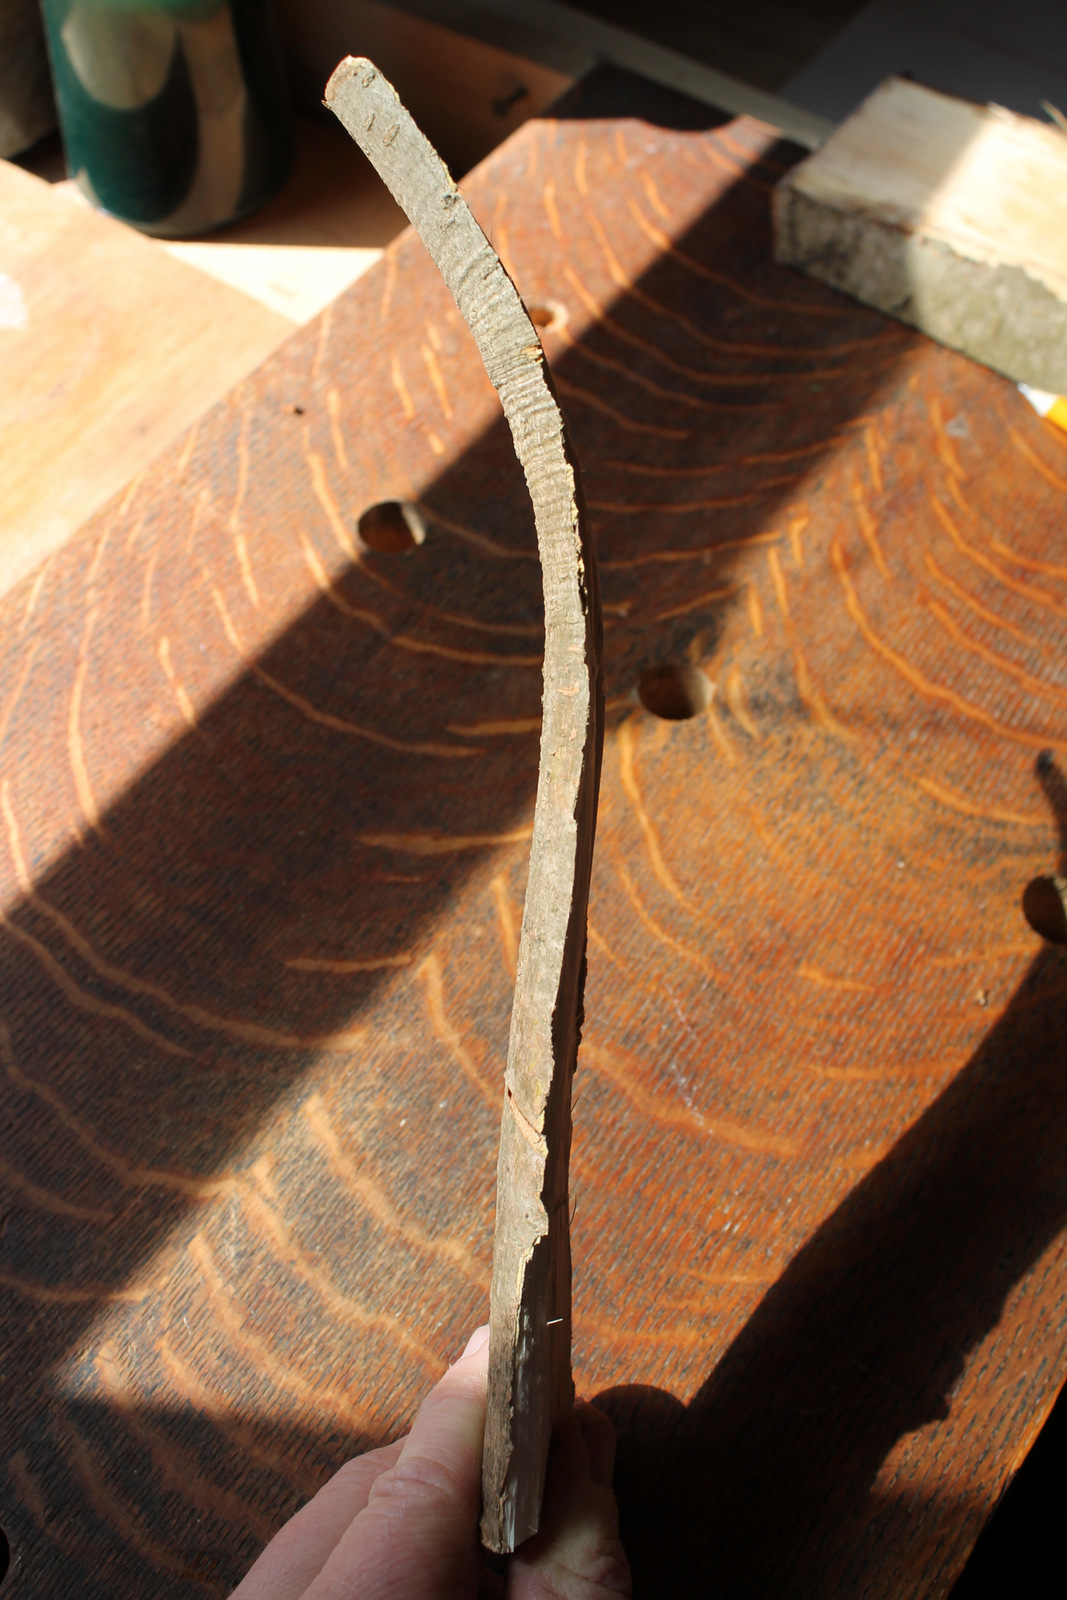
The crook has already been split along the pith (the bottom of the piece in this photo). Before further carving of the piece into a spoon, I split a thin crook from the upper portion.
The flat lower portion will go against the wall. I flatten the back further with a knife. A block plane could be used as well.
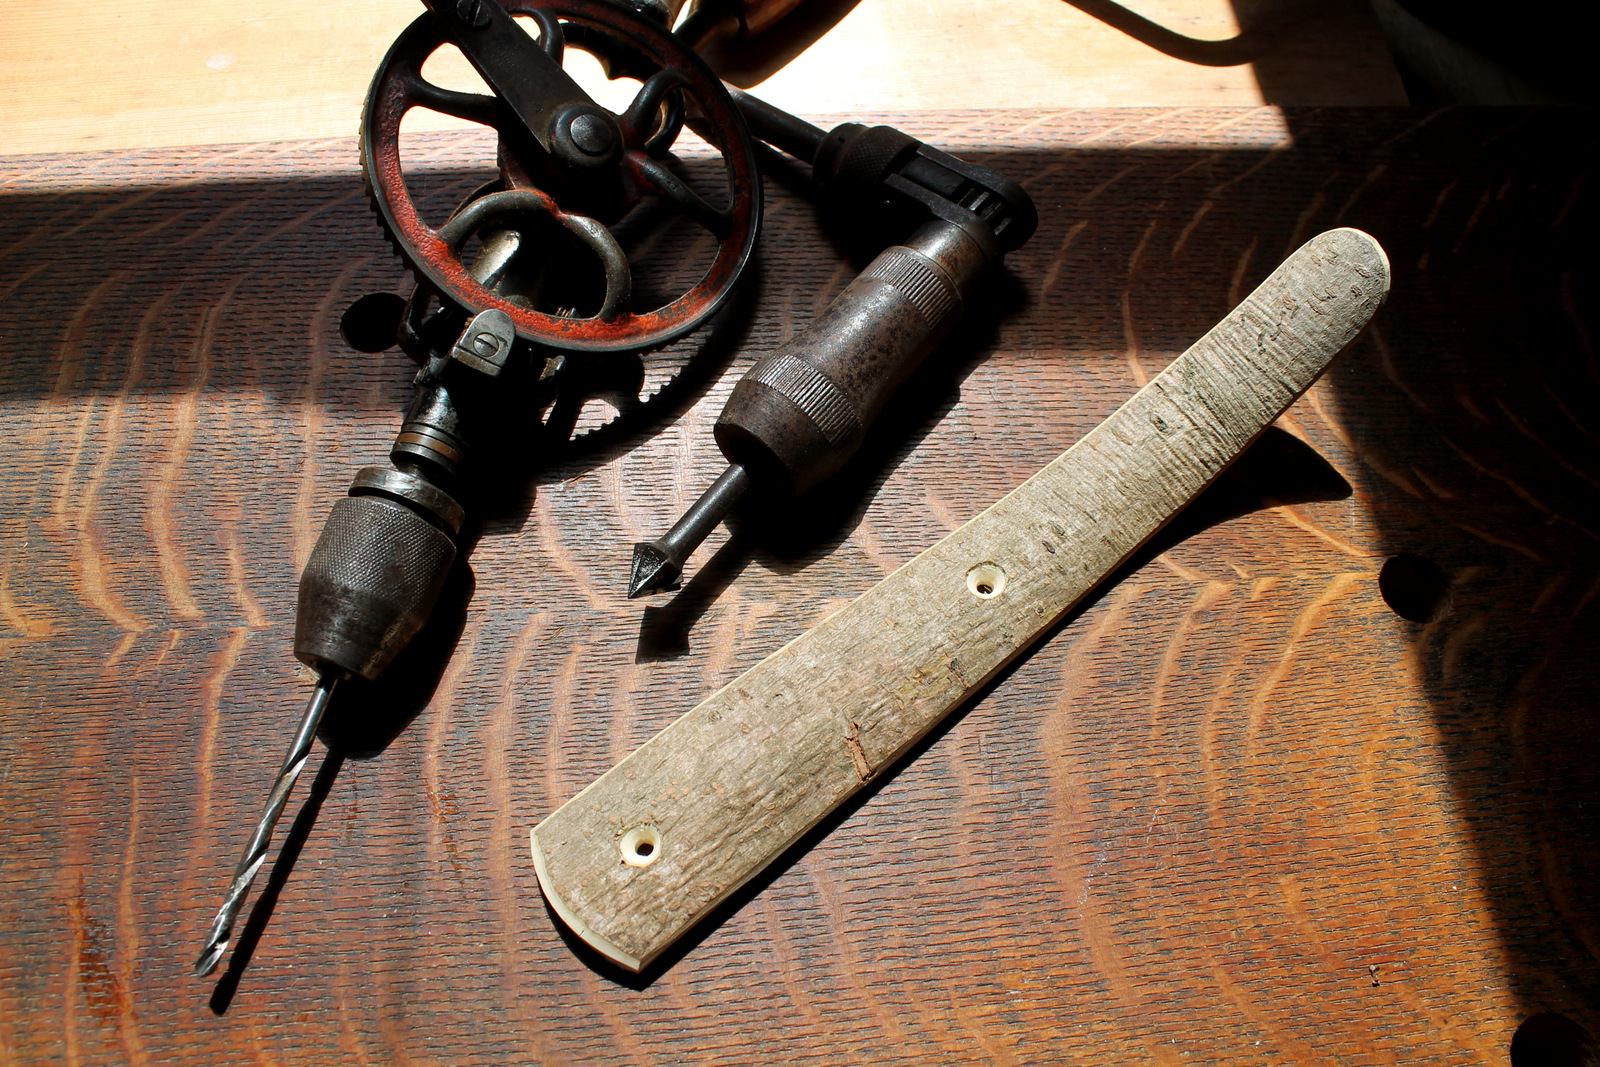
After a little shaping with a knife, I drill a couple holes as wide as the screw shank, then countersink for the screw heads.
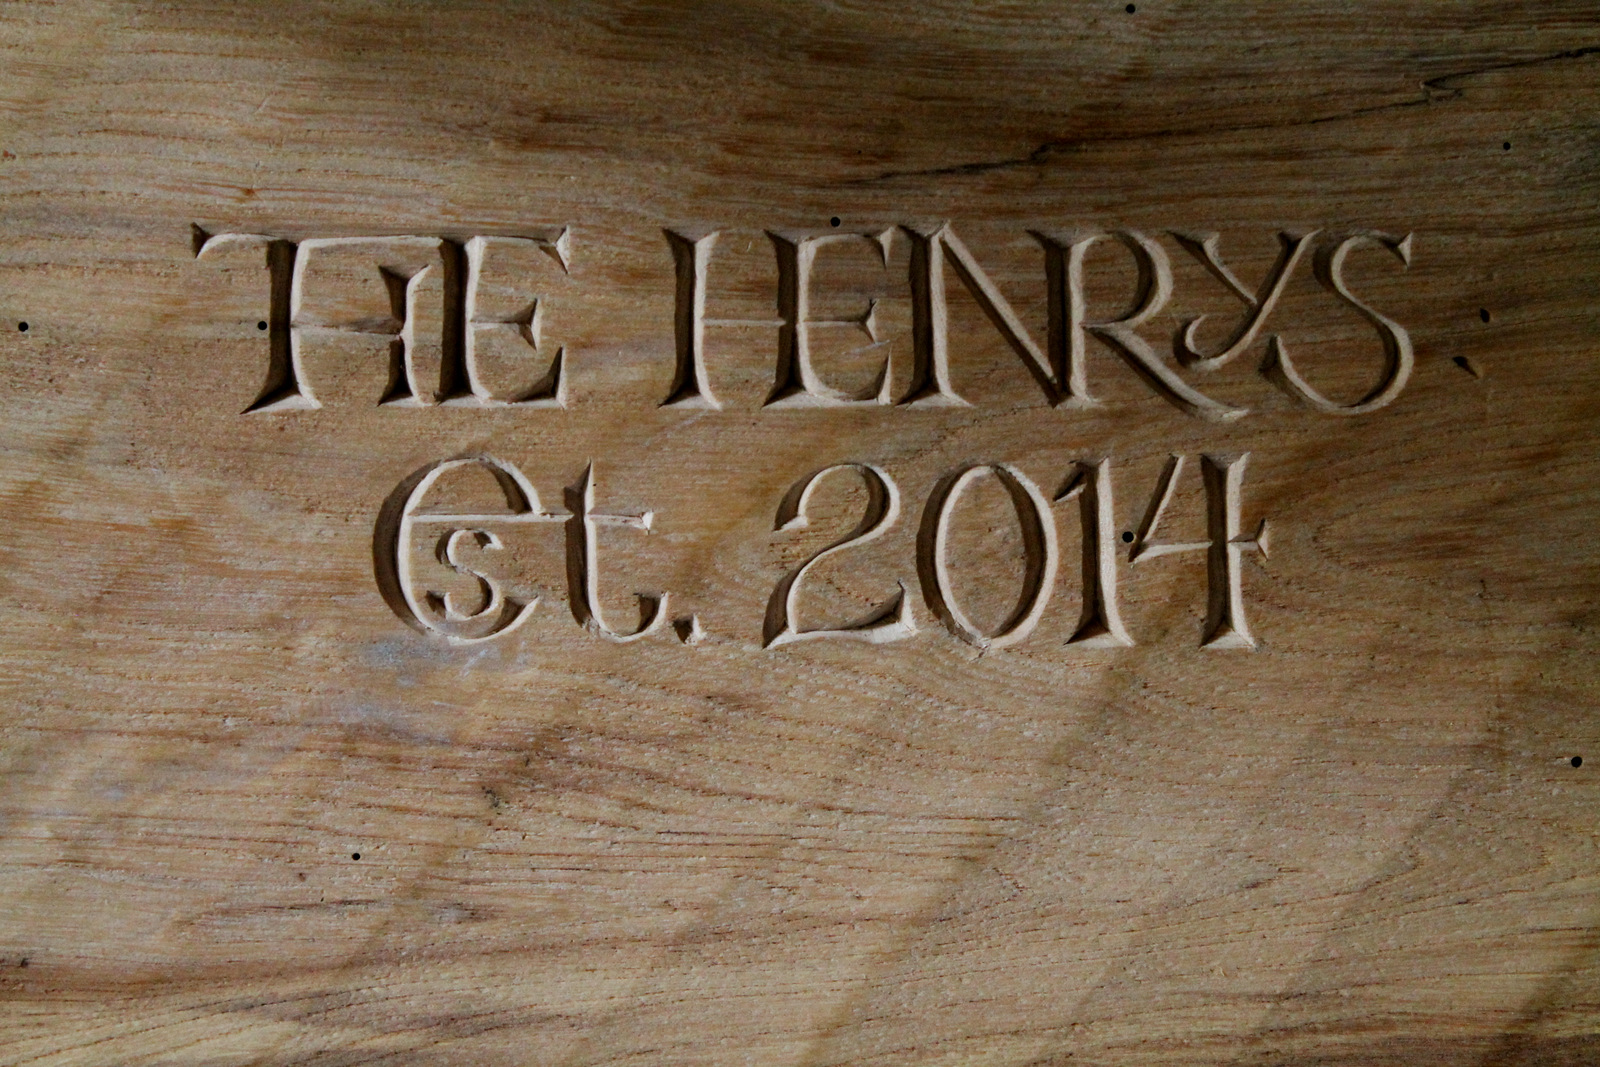
With my “Bottoms Up” post a couple weeks ago, there was a comment/question about what I use to do the lettering and date. I thought I’d elaborate more on the answer in this post.
In the photo above, I’m using the grip and knife with which I do just about all small lettering and incised decoration, especially on spoon handles and bowl bottoms. Whether for the lines of a letter or a tree branch, the method consists of making two slanted cuts that meet at the bottom to form a v-cut. Sometimes I will vary the grip a little, raising the blade more for tighter curves. Regardless, I always pull the blade rather than push it. I use the movement of my shoulders rather than fingers to do the work, and the spoon moves as much as the knife. They are like dance partners.
Other knives will work as well, pocket or otherwise. I think the key is the slight curve at the tip of the cutting edge. This allows the blade to track more smoothly and ease out of cuts. I like the pocketknife because it fits right in to the outer web of my thumb and forefinger. My knife is 3 1/2″ long closed and 5 1/4″ long with the pen blade open. Plus, it is always right there in my pocket. The blade will not be sharp enough new. I reduce the bevel angle to a very fine edge, and strop it.
Here are a few examples of incised decoration and lettering I’ve done with that same knife. Click on the photos for an enlarged view.
For lettering that is a bit larger, I’ve been messing around with an adjusted blade in a utility knife. I ground a shallow curve into the thin blade then sharpened it (see the photo to the left). I can put more “oomph” behind this blade. I’ve included photos of a bench (elm seat, oak legs) that I made last year with the incised carving on the bottom done with the adapted utility knife.
For larger and/or more formal lettering, I usual use traditional carving chisels. Chris Pye wrote an excellent book on such lettercarving in wood.
The more I learn the more I realize how little I know. In our age of computer generated, machine cut inscriptions, artful lettering is often overlooked. This short video of a true letter artist, Martin Wenham, asks us to pause and reconsider.
Hewing a bowl with an axe and an adze certainly qualifies for what David Pye called “the workmanship of risk.” The risk doesn’t end when the axe is laid down. Anyone who is going to carve many bowls is sure to have some crack, but with a little foresight it shouldn’t occur often at all. I’ve got another one ready to dry…
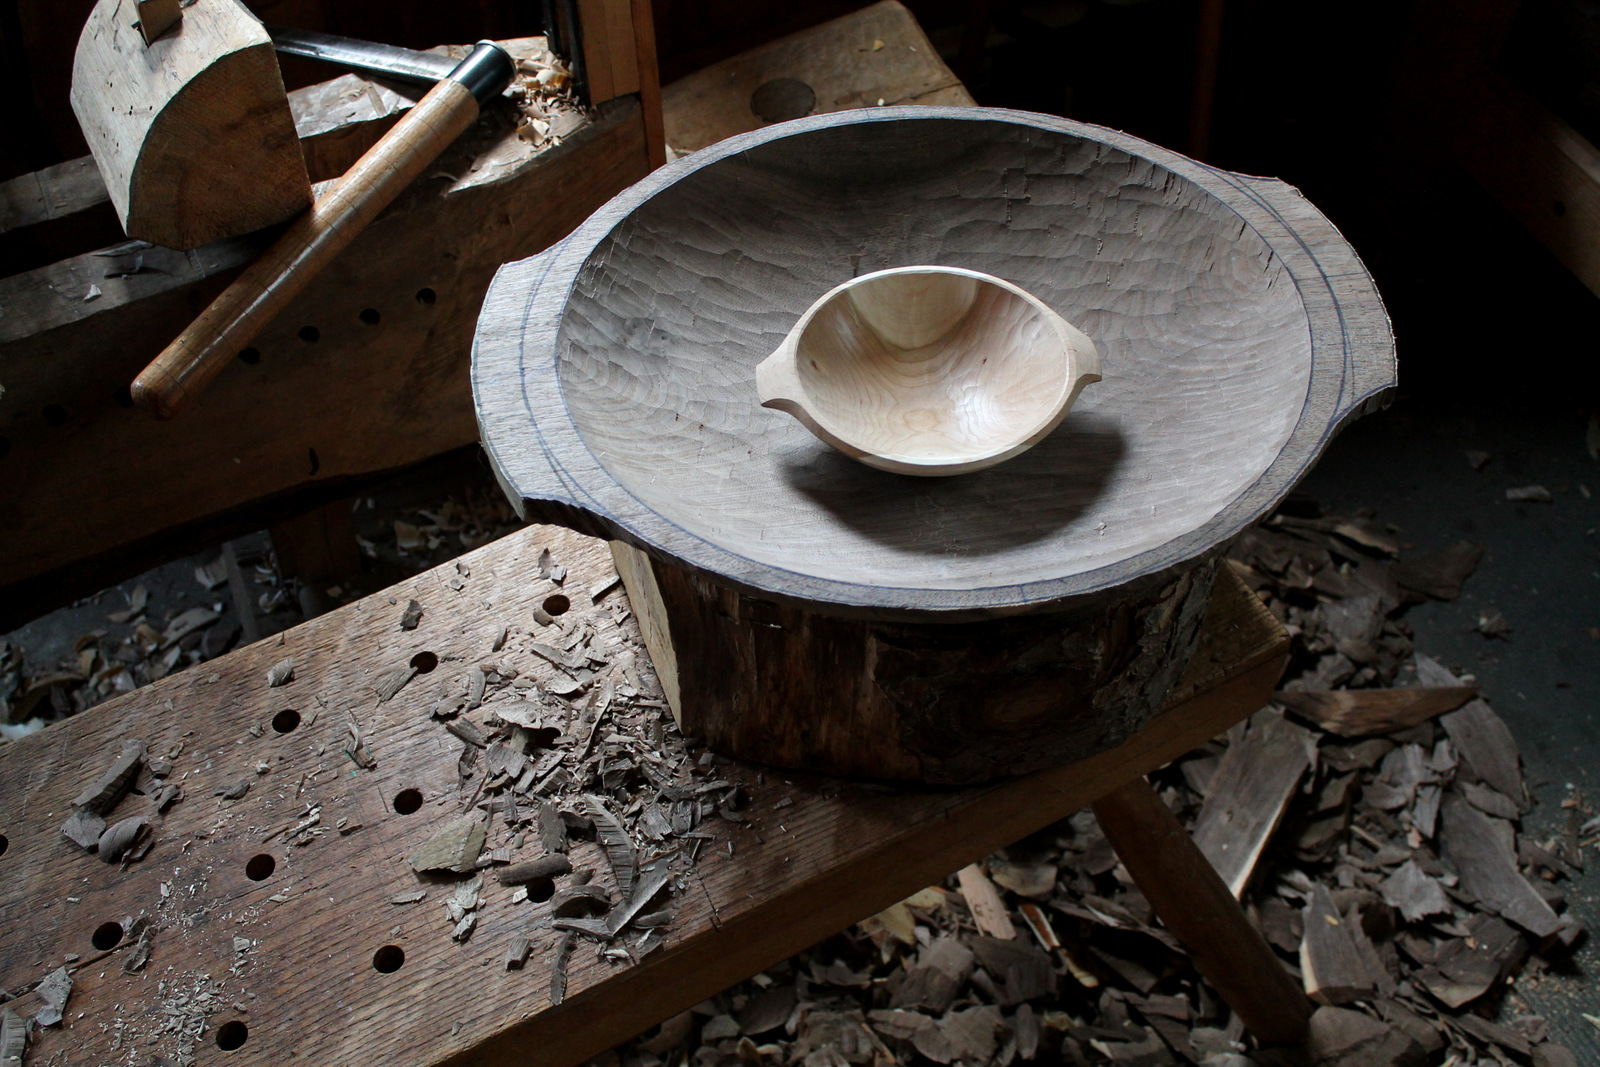
A couple days ago, I got around to hewing the 22″ x 17″ walnut bowl that I had laid out a while back. In the photo above, it sits drying after the adze and axe work. Inside it is a 7″ wide cherry bowl I just finished carving that gives a sense of scale. I have found that the most important steps to prevent cracking take place long before the carving begins. Here’s my crack (and crying) prevention procedure.
Before carving:
If I can’t use a log right away, I try to store it whole with the bark intact. Then you’ll want to seal the end grain to prevent moisture loss. You can do this with a product designed for that purpose, like Anchor Seal. Alternatively, you can use yellow woodworker’s glue or paint all of the end grain with two heavy (slopped on) coats of leftover latex paint. I keep the logs in the shade. I’ve used them over a year later in some cases.
When I’m ready to use a log, I start by cutting off a couple inches or so (depending on how bad the end checks might be) of the length from each end. I study the end grain intently. Any major checks may determine along what line I split the log in half. Even the tightest, smallest checks have to be identified because the bowl will crack along these lines of weakness as it dries. Sometimes small checks can be avoided without cutting away more log length by orienting the bowl in such a way that that area of the log will be carved away later.
Once I am happy with the check situation, I split the log to make sure the pith, or center, of the tree will not be in the bowl. Due to the differential between the amount wood shrinks along the growth rings compared to perpendicular to them (it shrinks much more along the growth rings, cracks usually project out from the pith.
Due to this differential shrinkage, a bowl that is oriented in the traditional fashion (bark down) will develop some degree of crown across it’s top as it dries and the top width will increase slightly. A bowl that is oriented bark-up will get slightly less arched and the sides will get a little closer to each other. For us carvers, this is no problem at all — let it move, and our tools freely follow the new shape (still symmetrical usually) as we make our final cuts after drying.
Some woods and conditions are more prone to cracking. There are lots of charts available that show the percent of shrinkage of various wood species, but there are many other factors such as the moisture content when harvested or a tree growing under tension on a hillside. I’ve learned a lot just by trying lots of woods and scenarios, but I still get surprised, and not always pleasantly.
During Carving:
If I have to pause midway during the green carving stage (whether for 10 minutes or a couple days), I always keep the piece in a plastic bag. I don’t want any drying to occur until enough mass has been removed from the log so that it can move as it dries without cracking.
Bulky areas are prone to problems. I think of it this way: even with the pith gone, a half-log will still crack on the ends because the ends are losing moisture much faster than the interior. When we carve a bowl, we reduce this differential greatly. If we get rid of enough bulk, then the moisture can escape more evenly and the bowl can move freely as it dries.
I try to make sure the thickness of various parts of the bowl are symmetrical, so that both sides move in the same way and dry at the same rate. Hands and eyes do the job.
After Carving:
I am in no hurry to dry a bowl, but I have found that drying too slowly (buried in wet chips, plastic bag rotation, etc.) can often result in mold or stains that go too deep to be removed in the final carving stage.
I will sometimes rub a bar of paraffin wax across the handle ends before setting the bowl aside for drying. This prevents moisture from escaping from the end grain of the handles as quickly.
I consider weather, humidity, and other conditions that might impact drying. If I lived in Arizona, I might have to adjust my procedures! Absolutely, I keep a drying bowl away from wind.
Typically, as soon as I’m done with the green-stage of carving, I wrap the bowl in some textiles, like an old towel or bedsheets. This acts as a partial moisture barrier, slowing the evaporation of water. The thicker the textile, or the more wrap, the slower it will be.
You can check if a bowl has dried completely by weighing it on a kitchen scale over successive days. When it stops losing weight, that’s as far as it will go under those conditions. I usually just go by feel to know when I will do the final carving. Sometimes this is after two weeks of drying, often longer. I’ll definitely wait longer before hand planing the bottom flat.
A couple weeks in with no cracks and you’re home free. No worries after that.
Although I rarely have a bowl crack during drying now, it is the nature of this workmanship of risk. And besides, it may be an opportunity to try something creative:
(Apologies to Buck Owens and Ray Charles for the title of this post!)
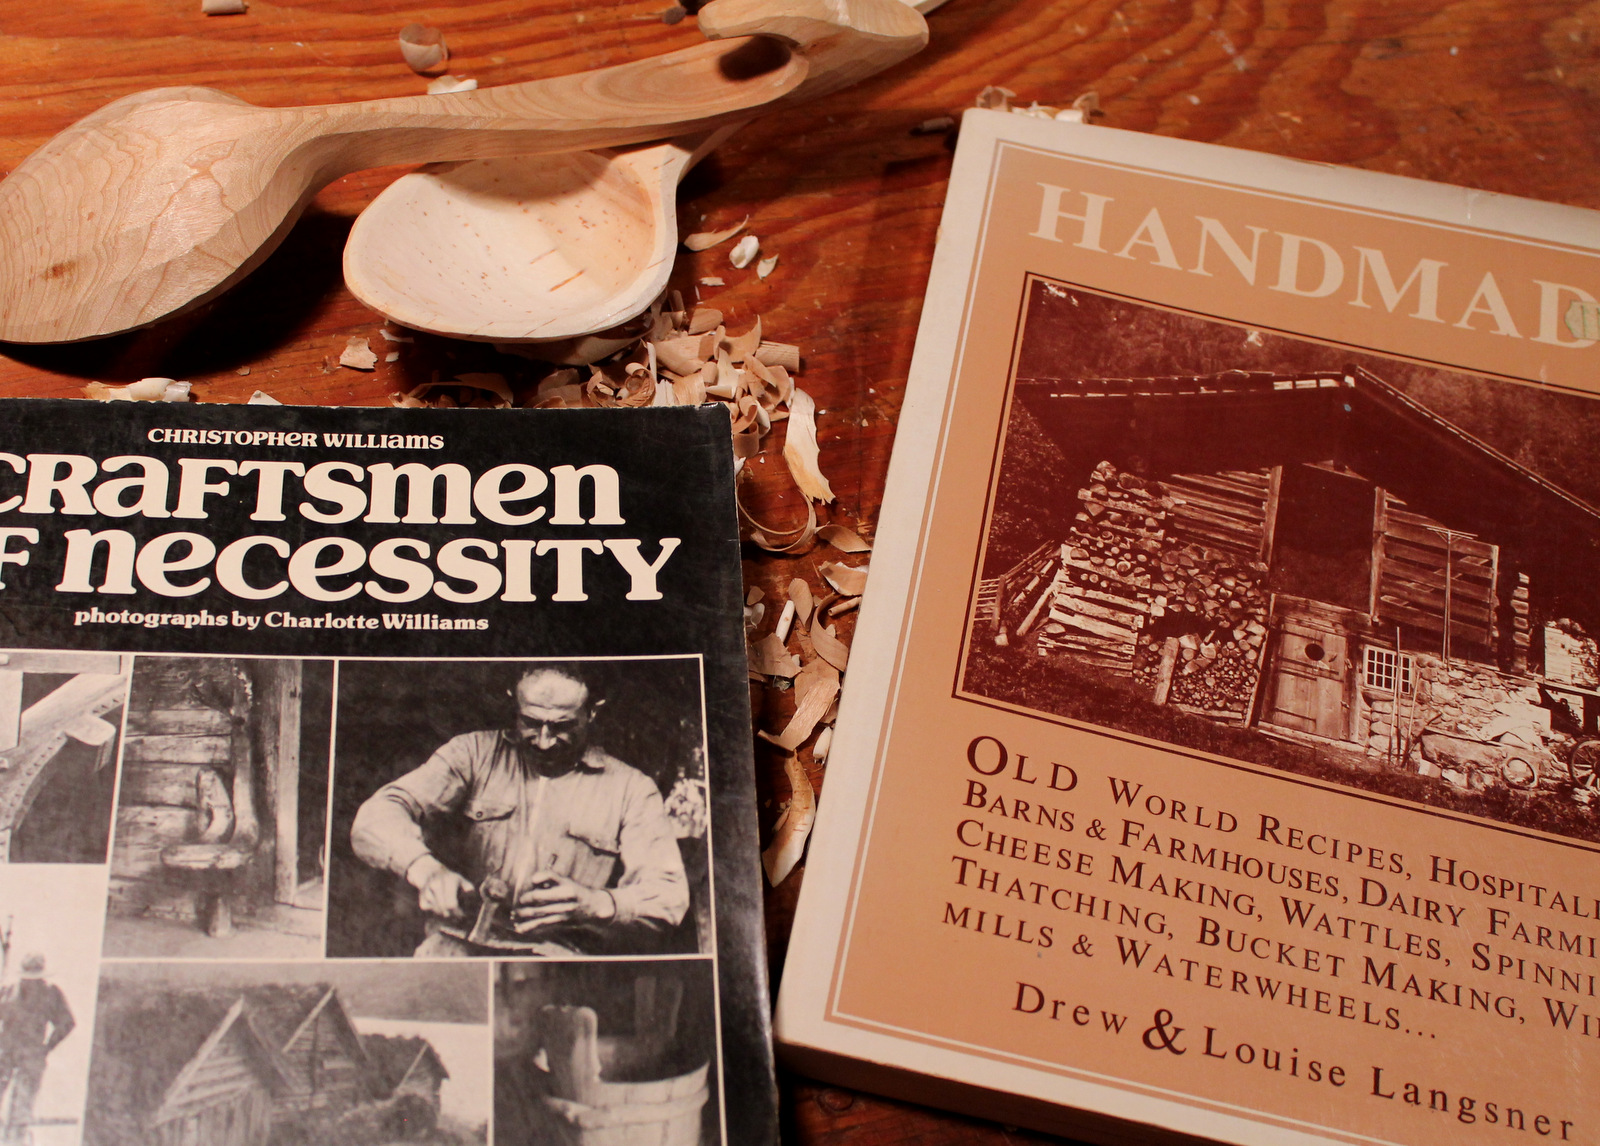
In 1974, I hadn’t yet learned to read. I didn’t know what I was missing. Two books with a similar theme were published in that year, and they are both gems. Both involve married couples traveling thousands of miles to explore the crafts and daily lives of vanishing cultures. They documented, through words and beautiful photographs, the way in which natural materials were used to sustain and enrich the lives of the people they met. These are books that inspire not only with their display of craft, but also with their deep respect for cultures around the world.
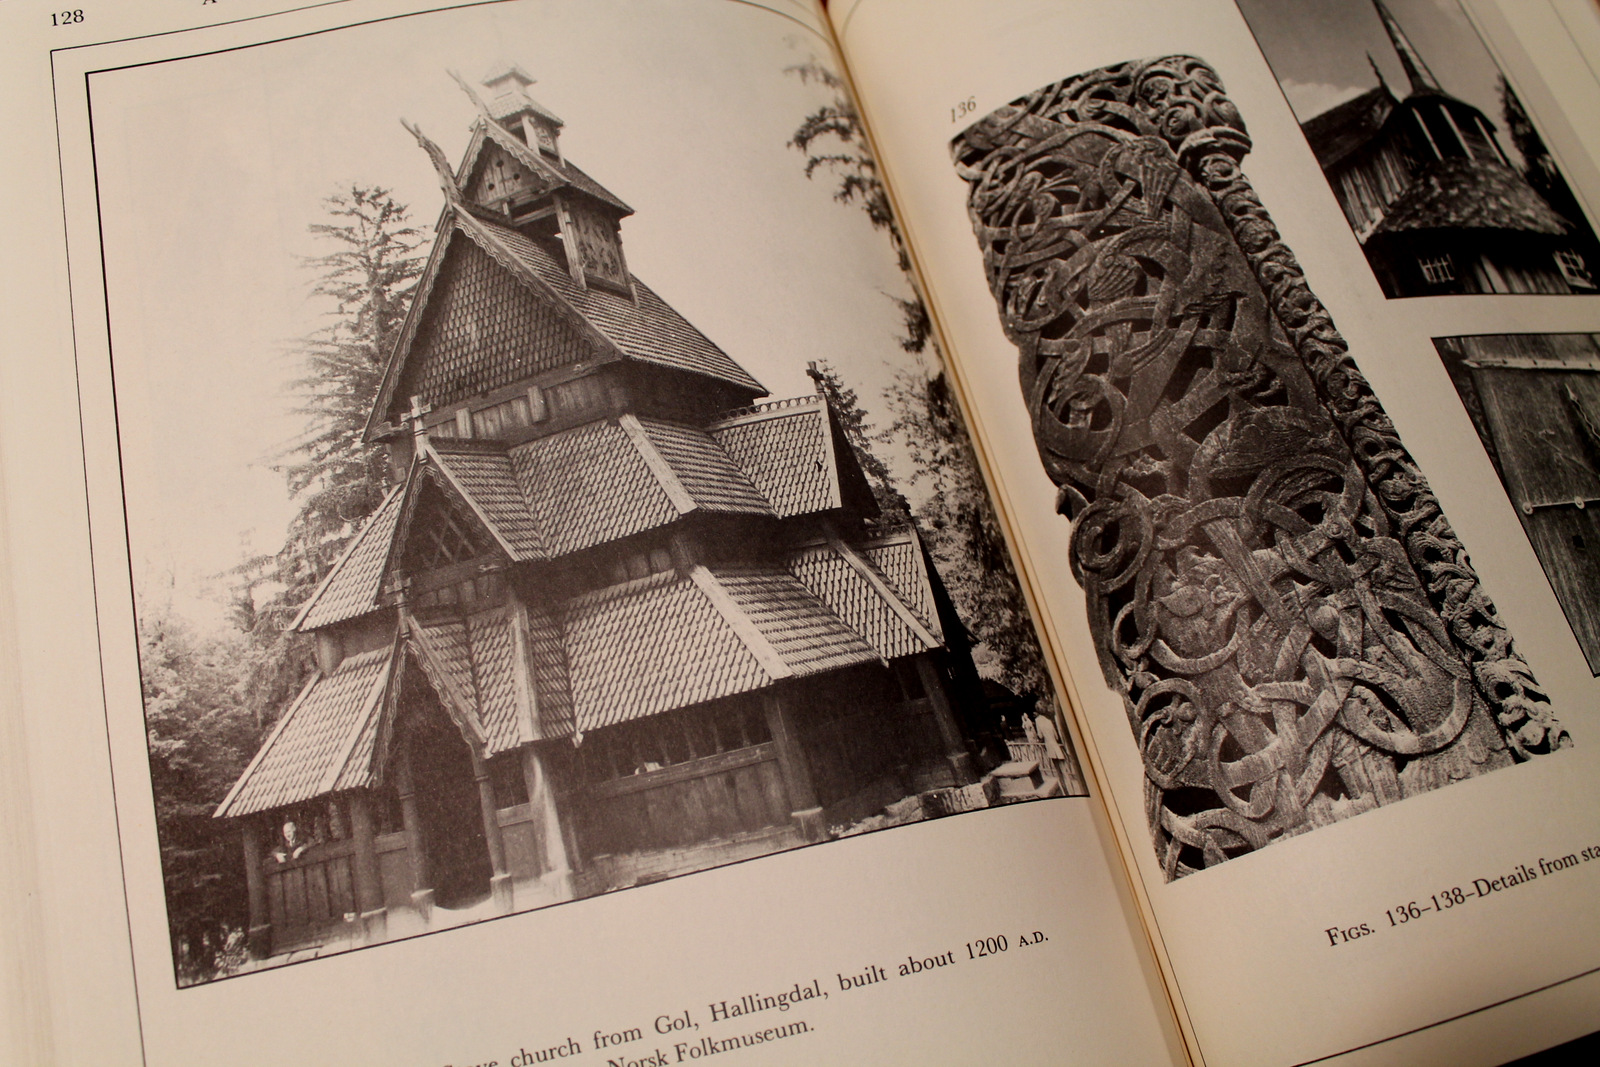
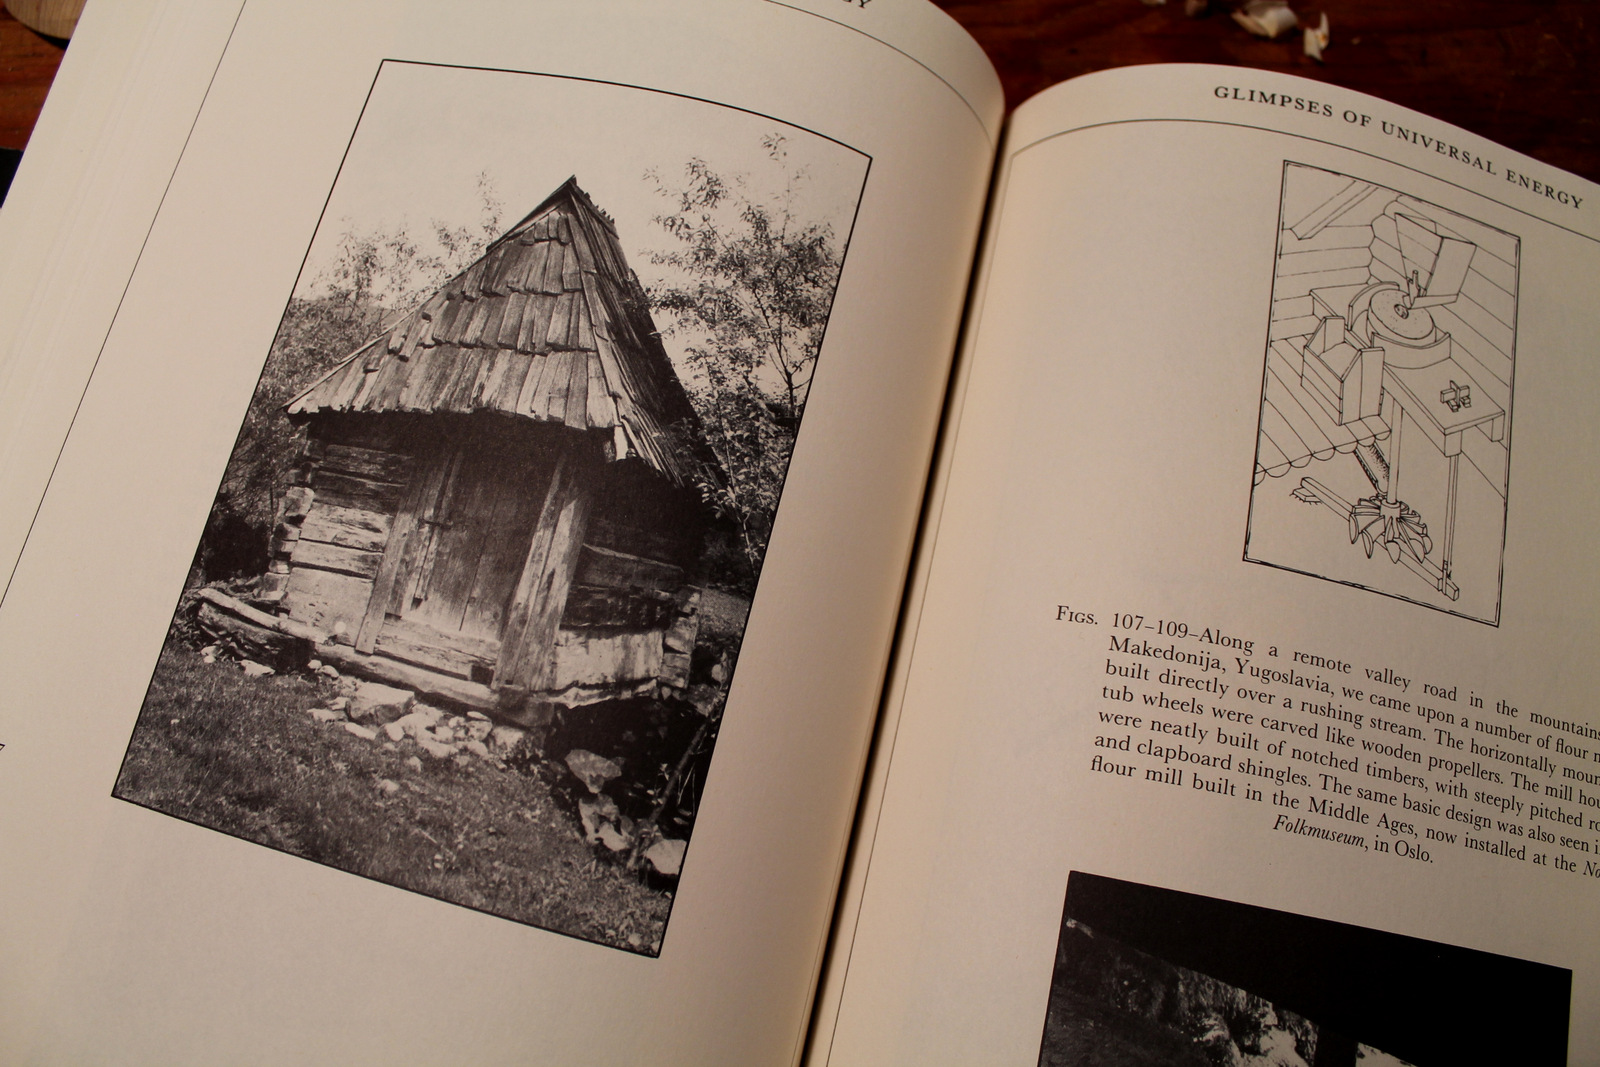
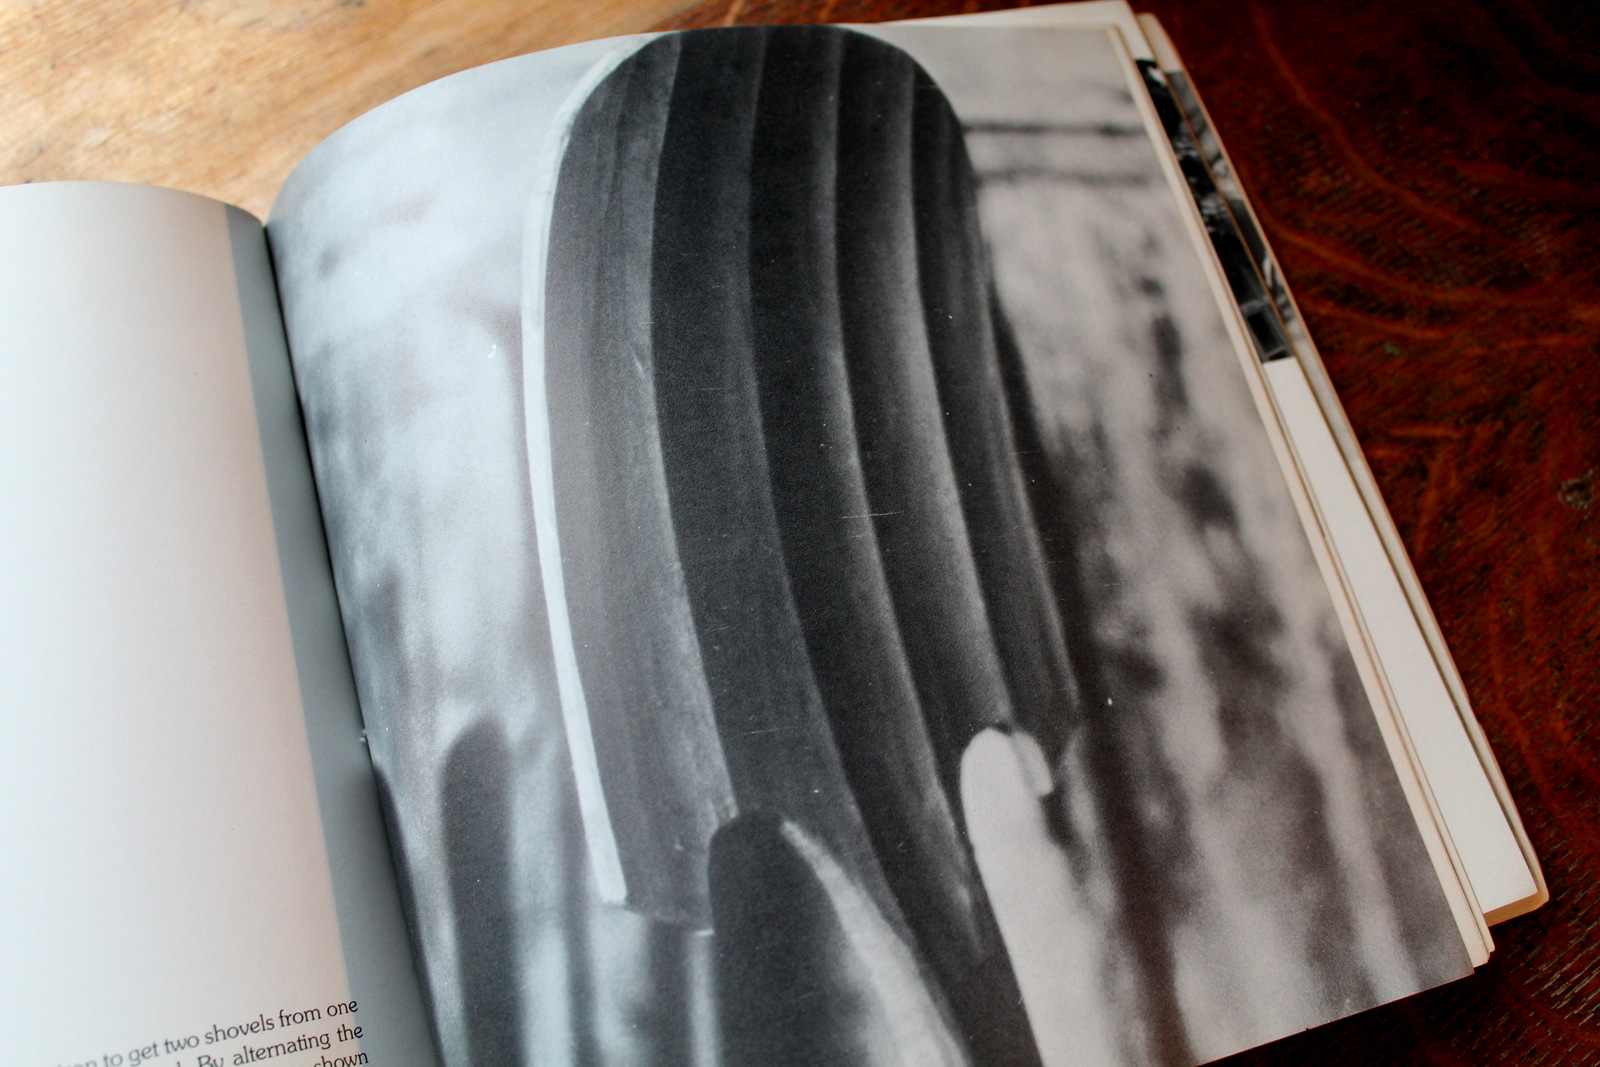
If I haven’t convinced you to consider finding an old copy, here are a few samples from each to entice you:
This is a journey to rural villages and farmlands, down dirt roads and up mountainsides, into houses of stone, adobe or wood that are the homes of the people of the land. Most important, it is a journey into their lives — we want to know how they live, what grows in their fields and gardens, about their barns and kitchens.
— Drew and Louise Langsner, Handmade (1974 – Harmony Books)
The work of most artisans is a total involvement of mind and body. Many have found that two hands alone are not enough. They use as much of their bodies as possible.
— Christopher Williams, The Craftsmen of Necessity (1974 – Vintage Books)
So….time for me to put on some Jim Croce and revisit these books.
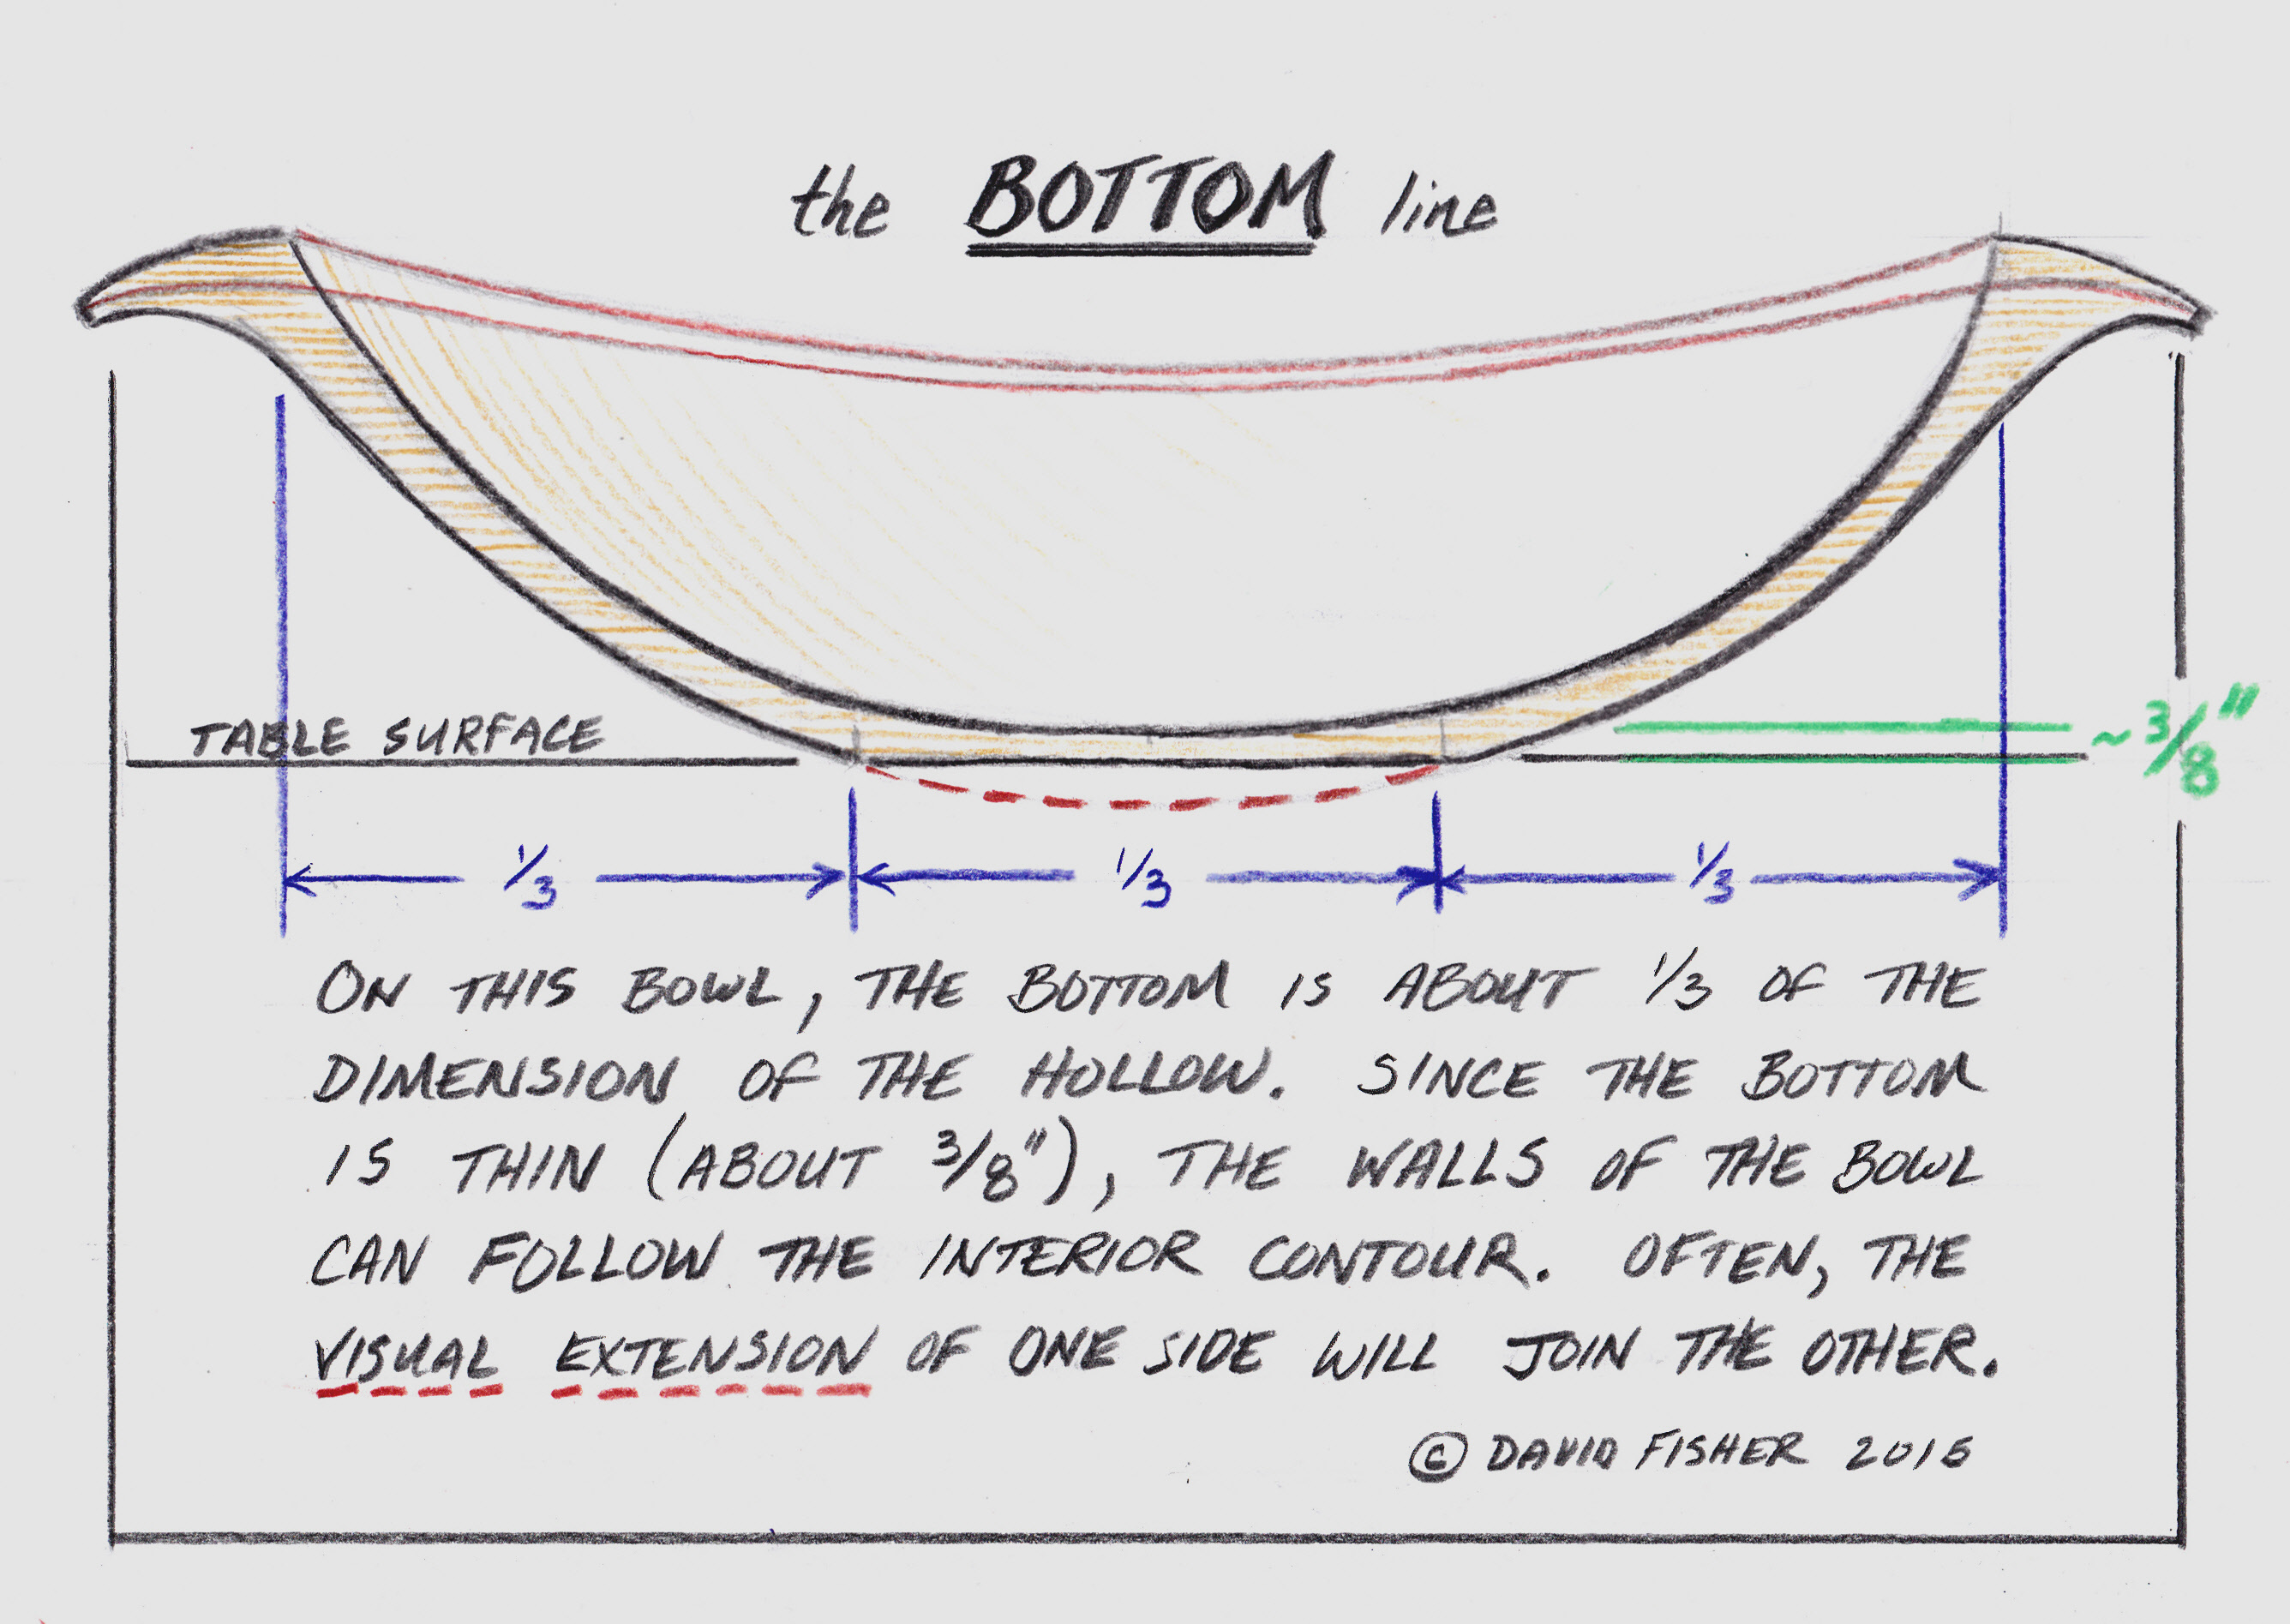
It’s time to think about bottoms. After all, your bowl is going to spend most of it’s life resting on it, and it is an important design consideration. You can even add some fun designs. Folks might even smile when they look at your bottom.
I’ve done a little drawing to express some thoughts on “the bottom line.”
I adjust these guidelines depending on the situation, but one constant is a relatively thin bottom. The long grain on the bottom allows for this, and it can be thinner yet on small bowls. Of course, too thin and you have a strainer, so there is no need to push it. If I plan on carving a design of some sort on the bottom, then I leave a little extra.
The flipped-over cherry bowl in the top photo is my most recently completed bowl. Here it is in profile. I just posted it and another bowl to my website. I made a short YouTube video of carving the leaf design on the bottom. Just enough to get the idea, but really a pretty simple carving.
I didn’t film the rounding over of the outer lobes of the leaves. It is done with just a straight carving chisel to form a convex shape. The inner lobes are concave.
The question of measuring beauty — that is objective assessment beyond “Very nice,” “Exquisite,” “This appeals to me” — has troubled scholars and other laymen at least from the time of the Greeks. And, beginning with the Greek philosophers, there has been widespread disagreement.
— The Golden Mean: Mathematics and the Fine Arts by Charles F. Linn (1974)
The golden mean, the divine proportion, the golden rectangle; whatever one calls it, the argument goes that the ancients discovered a ratio that was a key to beauty. Simply put, it describes the ratio between two components (e.g. width and length) so that the shorter is to the longer as the longer is to the sum of the two (S:L=L:S+L). This works out to a ratio of 1:1.618. Of course, they had to get over the fact that it is not a whole number. Neither is pi, but irrational as it is, it comes in pretty handy.
Today it is still used to varying degrees by architects, designers, even plastic surgeons. Heck, even Donald Duck knows about it:
If you’d like to dig way deeper into the golden mean, the Fibonacci sequence, mathematics in music, patterns, and more, pick up a copy of Mr. Linn’s little book (quoted to open this post). He shows a great sense of humor and makes a potentially dry subject pretty interesting. To the left is a page that he uses in an experiment, asking people which building proportion they prefer.
Linn says the majority pick the bottom one, 5:3 (or 1.6:1), the closest of the four to the golden proportion. Still, he is skeptical of folks that want to, in hindsight, find the divine proportion lurking in everything the ancients built. In fact, he presents a rebuttal of such an argument regarding the pyramids.
So how does all of this apply to bowls, and what is that thing with the bowl in the opening photo? The walnut bowl in that photo is one I just made, an ellipse with a length and width purposely laid out according to the golden proportion — the first time I’ve consciously done so with a bowl. I got so caught up in the idea that I even made a simple proportional divider — two sticks of equal length with a pivot point connecting them. In this case, the pivot point is positioned at a point that divides the length into a 1:1.618 ratio. Whatever width they are opened to, the golden proportion exists between the wider end and the narrower end. The same can be done for any ratio by placing the pivot point at the appropriate spot.
So…the bowl is nice. However, to be honest, it doesn’t seem to me to have a magical attraction. It is not glowing with a golden radiance. Besides, the only way to view it from a perspective that reveals this special proportion is to position one’s head directly over the center of the bowl. How often are we viewing any building or cabinet from the perspective that indicates it’s perfect proportions? Or maybe things with good proportions look good from any vantage point. And, with a bowl, do the handles count?
In this photo, the walnut bowl is on the right (not yet complete) and a nearly finished cherry bowl is on the left. The outside of the walnut bowl is done to the golden proportion, while the outer dimensions of the cherry bowl are in a 2:1 ratio (which occurred by accident). However, that includes the handles while the hollow form seems to grab the eye’s attention more. And the hollows are different shapes, colors, etc.
Proportion is just one element in the design of any piece — bowl, furniture, figure, or other. With bowls, the lines of a piece are as important, probably more. I have made bowls of all sorts of proportions from round (1:1) to another 40 inches long and 10 inches wide (4:1) and all sorts of proportions in between. I just laid out a bowl on a walnut log over the weekend. It will be 22 inches long and 17 inches wide. Why? Width: because it grew that wide and I won’t waste any of that wide dark heartwood. Length: because there were branches above and below, plus any longer and I might not have been able to carry it! It is up to me to come up with a good design within those dimensions. In that way, designing greenwood bowls is different from designing furniture.
I think the golden proportion, or any proportion, can be a useful guide. I realized after making many bowls, that the size of the bottoms I laid out by eye tended to be at a 1:3 ratio to the size of the top hollow. So now I know I like bottoms with a certain ratio (I think there is a song about that). In some cases proportions might even be essential or at least very important — as in painting a realistic human being.
Rather than suggest that there is one ideal proportion, George Walker and Jim Tolpin focus on methods of finding pleasing proportions using simple, whole number ratios. Their book By Hand and Eye is a fascinating and enlightening look into all of this stuff and more. They explain how to put proportions to work!
So, how important is the golden proportion? How heavily was it relied on in the past? Do all pretty faces display it? I don’t know, but I find it interesting. More important, I think, is to trust intuition. Trust your eye. A knowledge of proportions can help one to recognize why he finds something beautiful, but I think, I hope, that it is unrealistic to discover a conclusive formula for beauty. And a little mystery is nice too. I’m not about to approach a wooden canoe, a songbird, or my wife with calipers. Besides, only the canoe would cooperate.
When I was beginning to make things out of green wood, I purchased a couple VHS tapes from Country Workshops. One, filmed in the Swiss mountains, follows Ruedi Kohler as his skillful hands make a coopered bucket. The other takes the viewer to Sweden and into the workshop of Bengt Lidstrom as he carves fantastic bowls from log. Few words were spoken; even fewer in English. No problem.
There was no language barrier, because words weren’t necessary. These craftsmen spoke volumes with the movements of their tools and the sound of sharp steel slicing wood. There is something about learning from simple observation. Maybe it’s the satisfaction of interpreting part of the story for oneself, solving the puzzle. Maybe it’s the beauty of the process, unbroken by words. Whatever it is, you’ll see it in the videos below. Drew made them available on YouTube awhile back and they are also available at his store at Country Workshops.
Meanwhile, I’ve been thinking about proportions, golden and otherwise. I’ve got a post in mind about that. Maybe this weekend.
A visit to the Folkstreams website can provide a person with some healthy perspective. It is a rich collection of films of varying length on a wide spectrum of traditions, including handcrafts. There’s much more to see, but to begin with I’d recommend these:
They are enlightening, inspiring, and thought-provoking. Even better than the Alex Stewart film is the Book Alex Stewart: Portrait of a Pioneer by John Rice Irwin. It was recommended to me a few years ago by a friend. It is a special book.
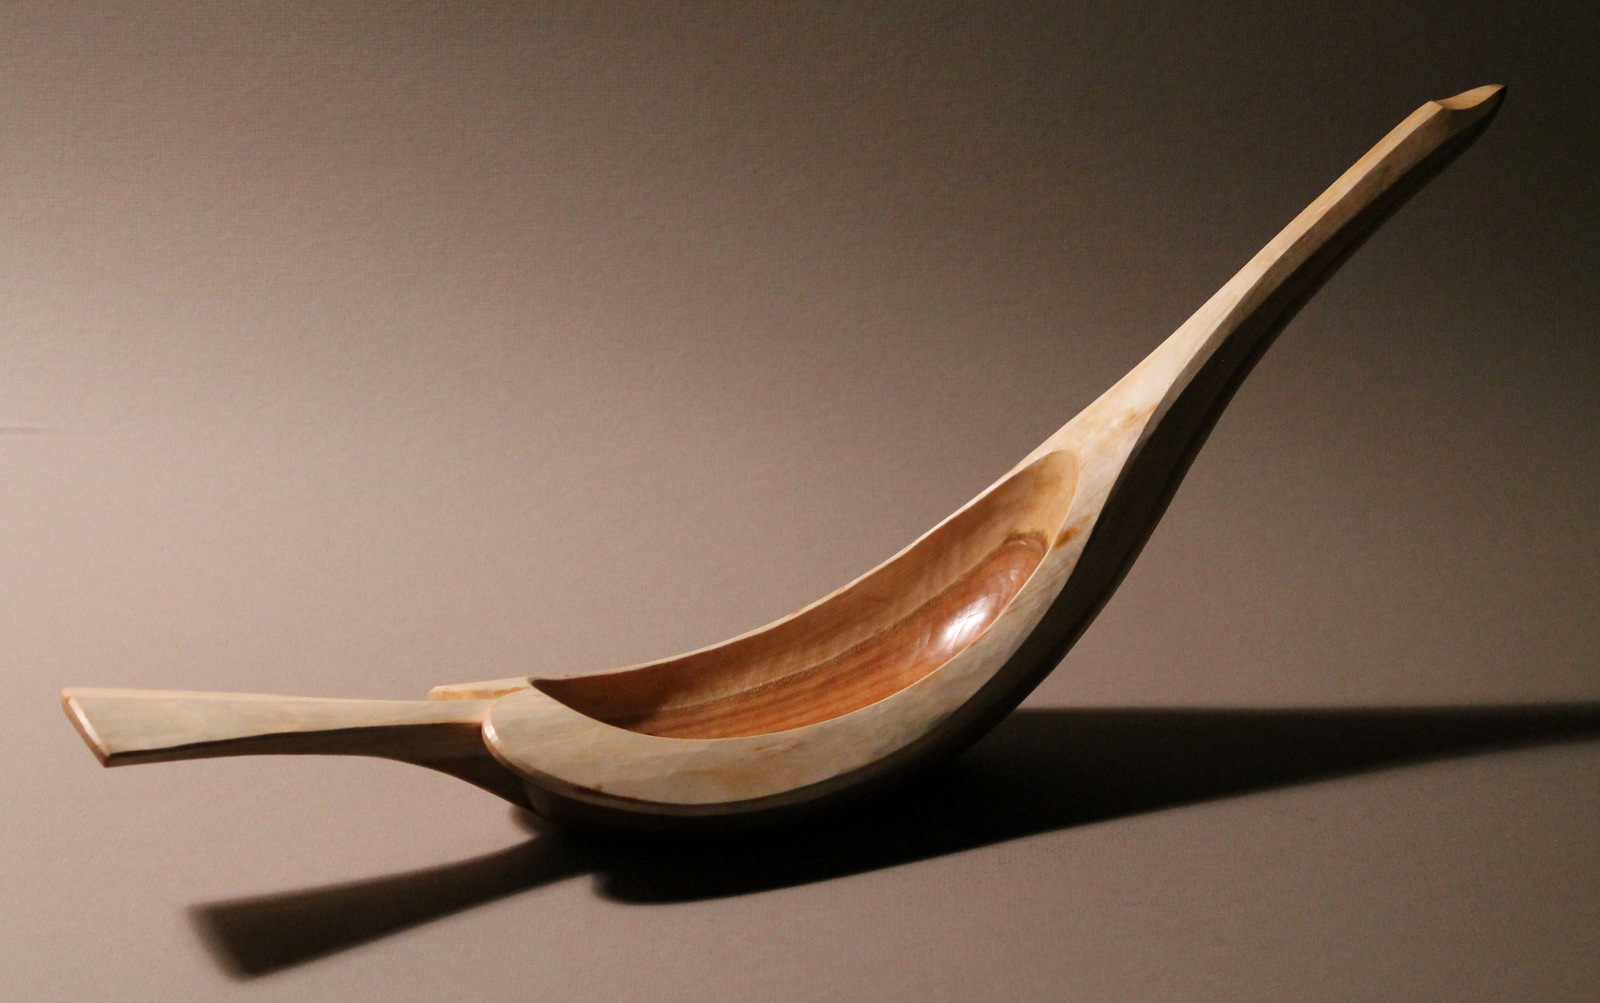
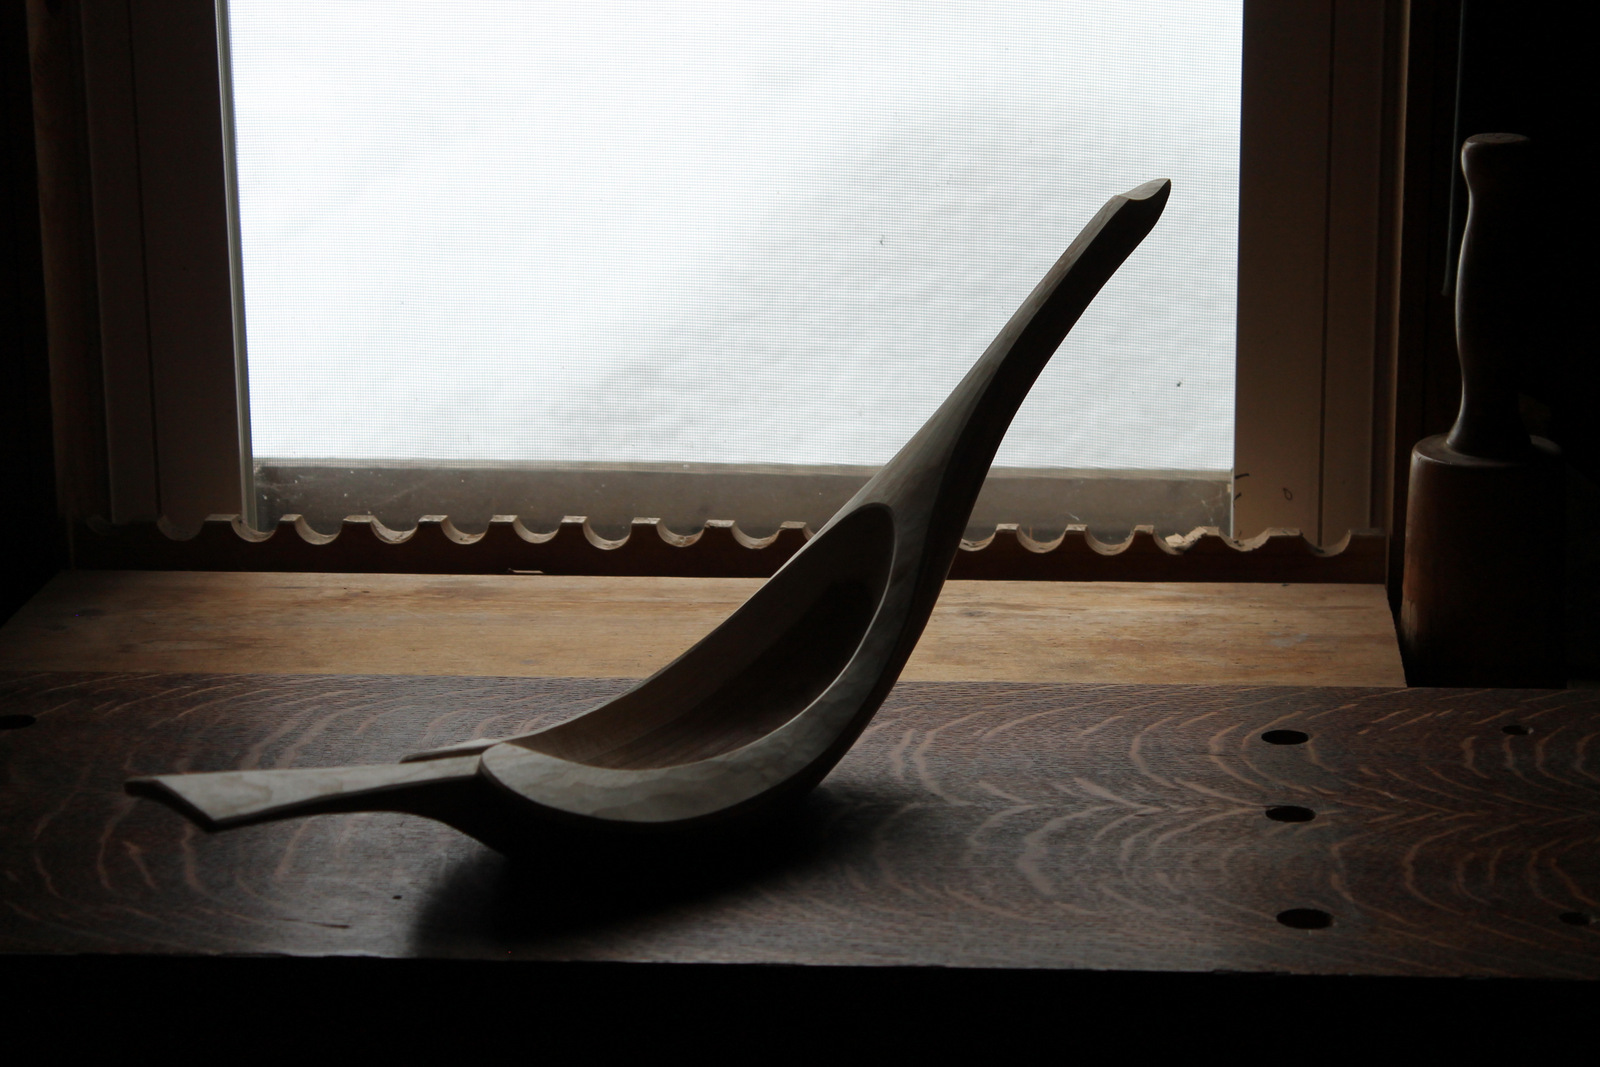
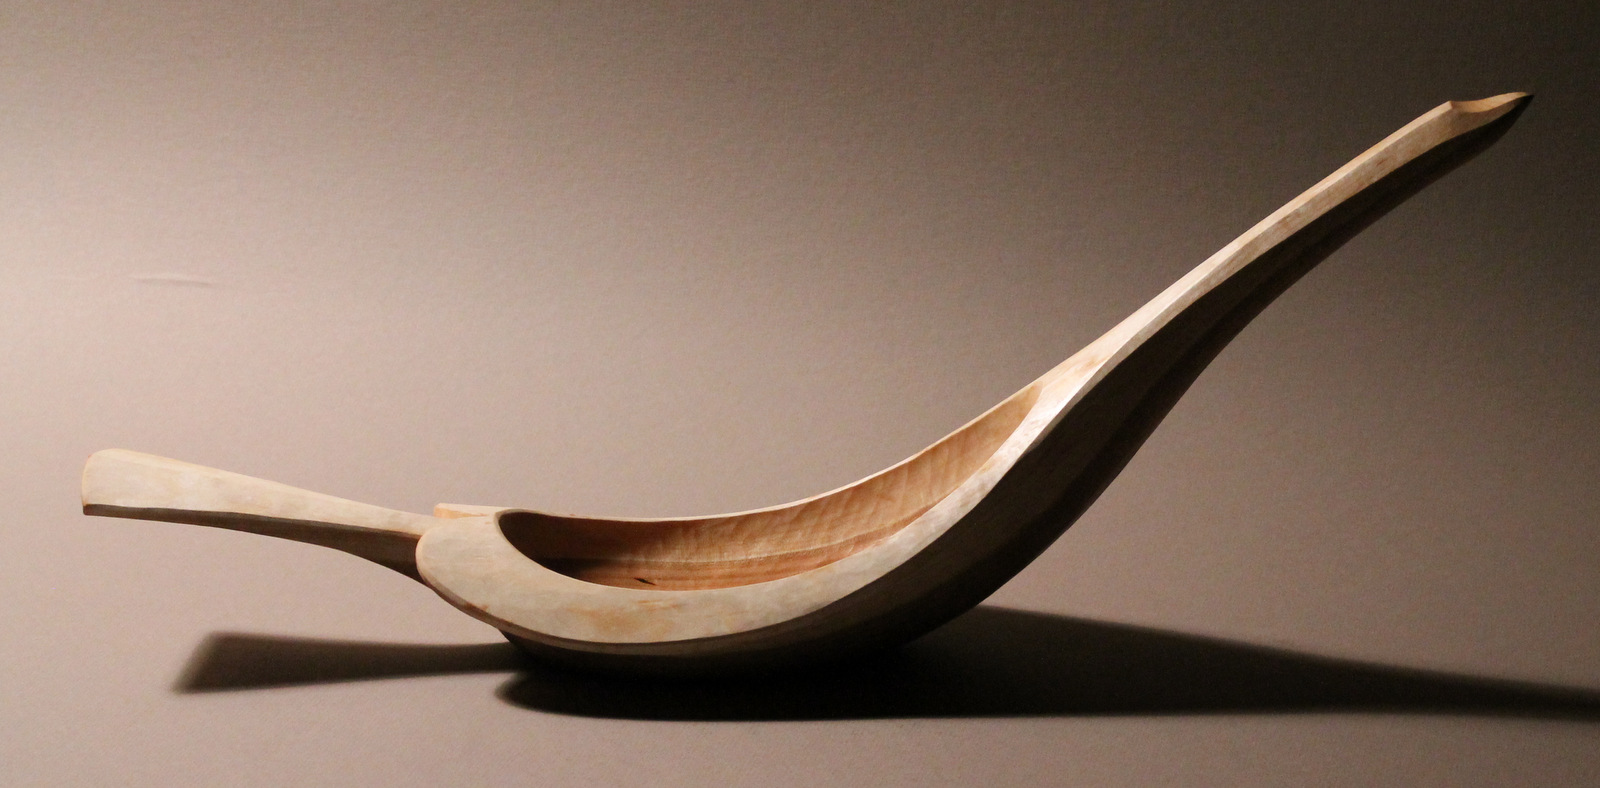
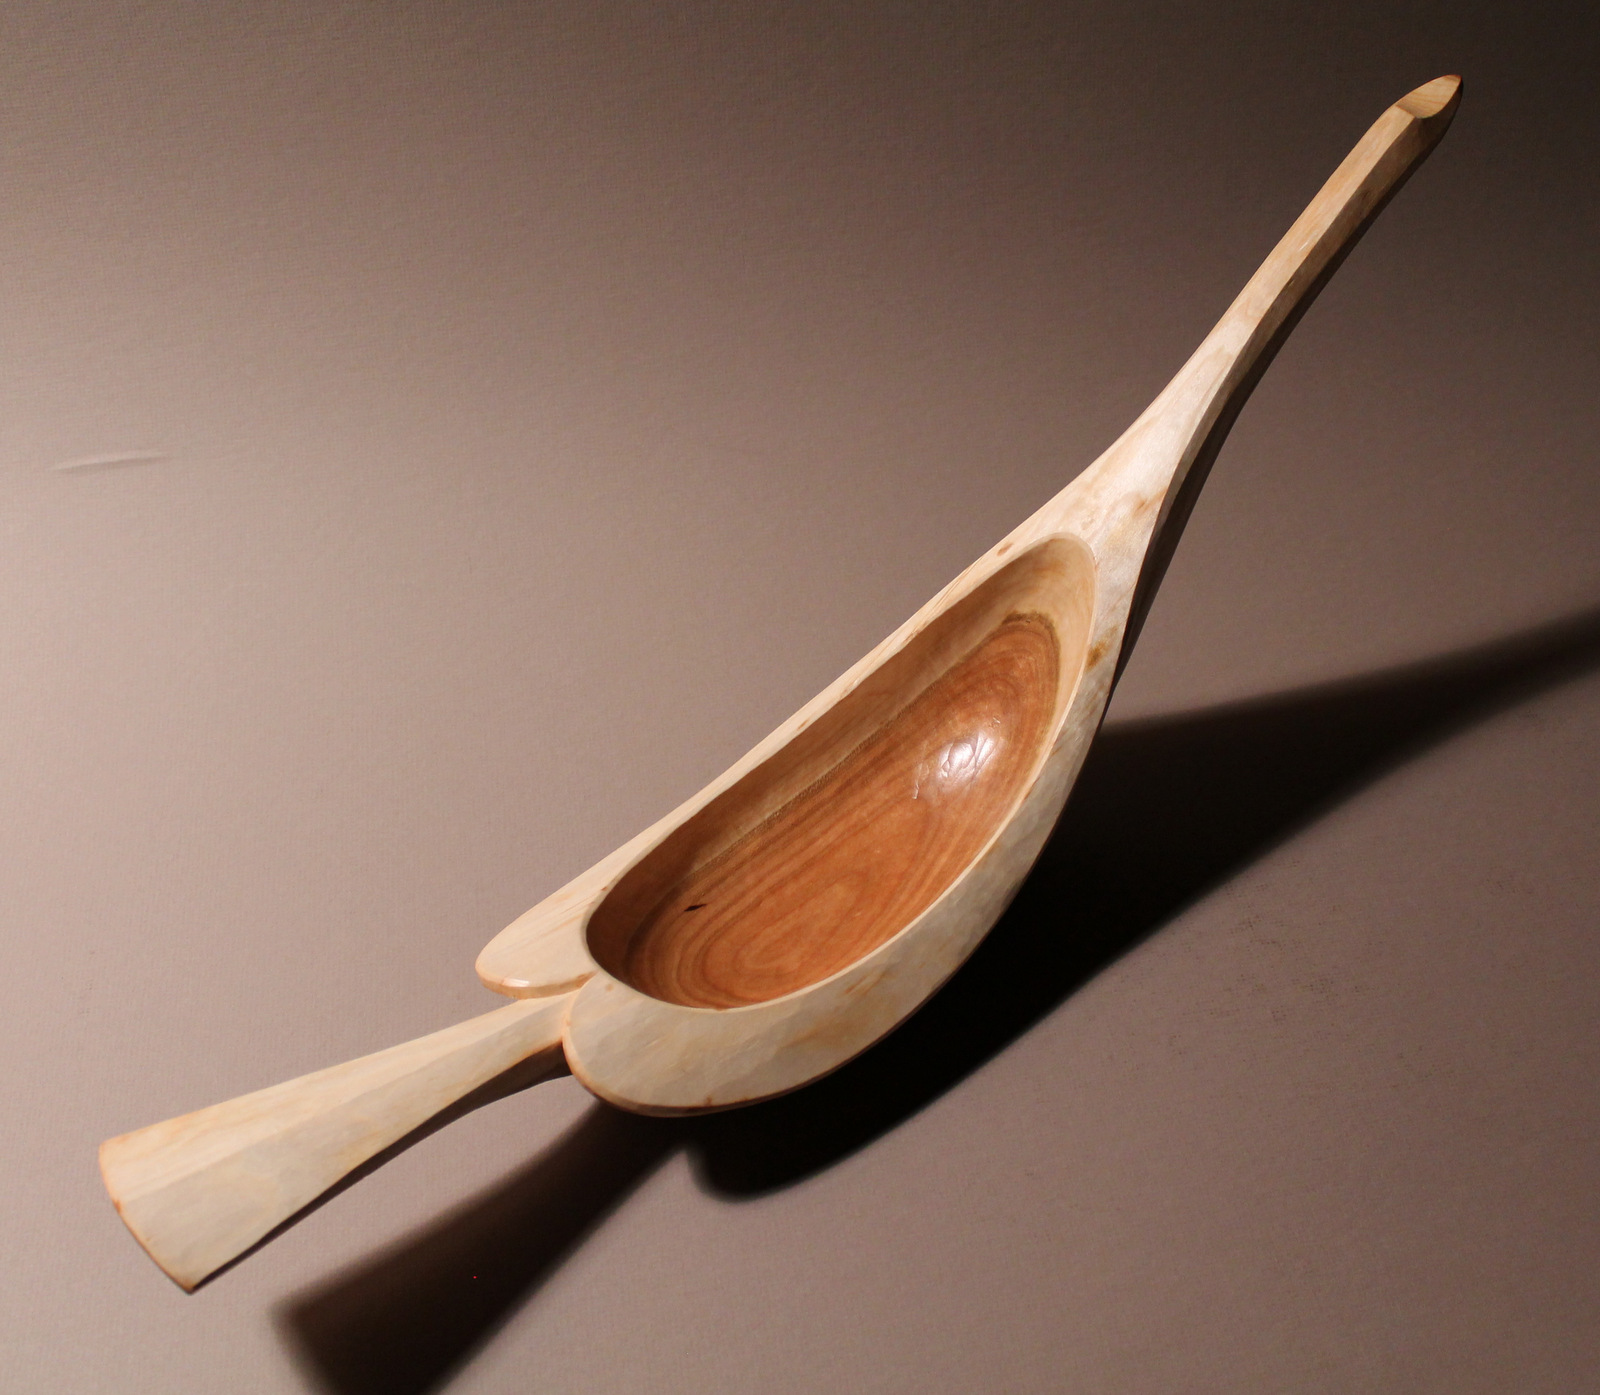
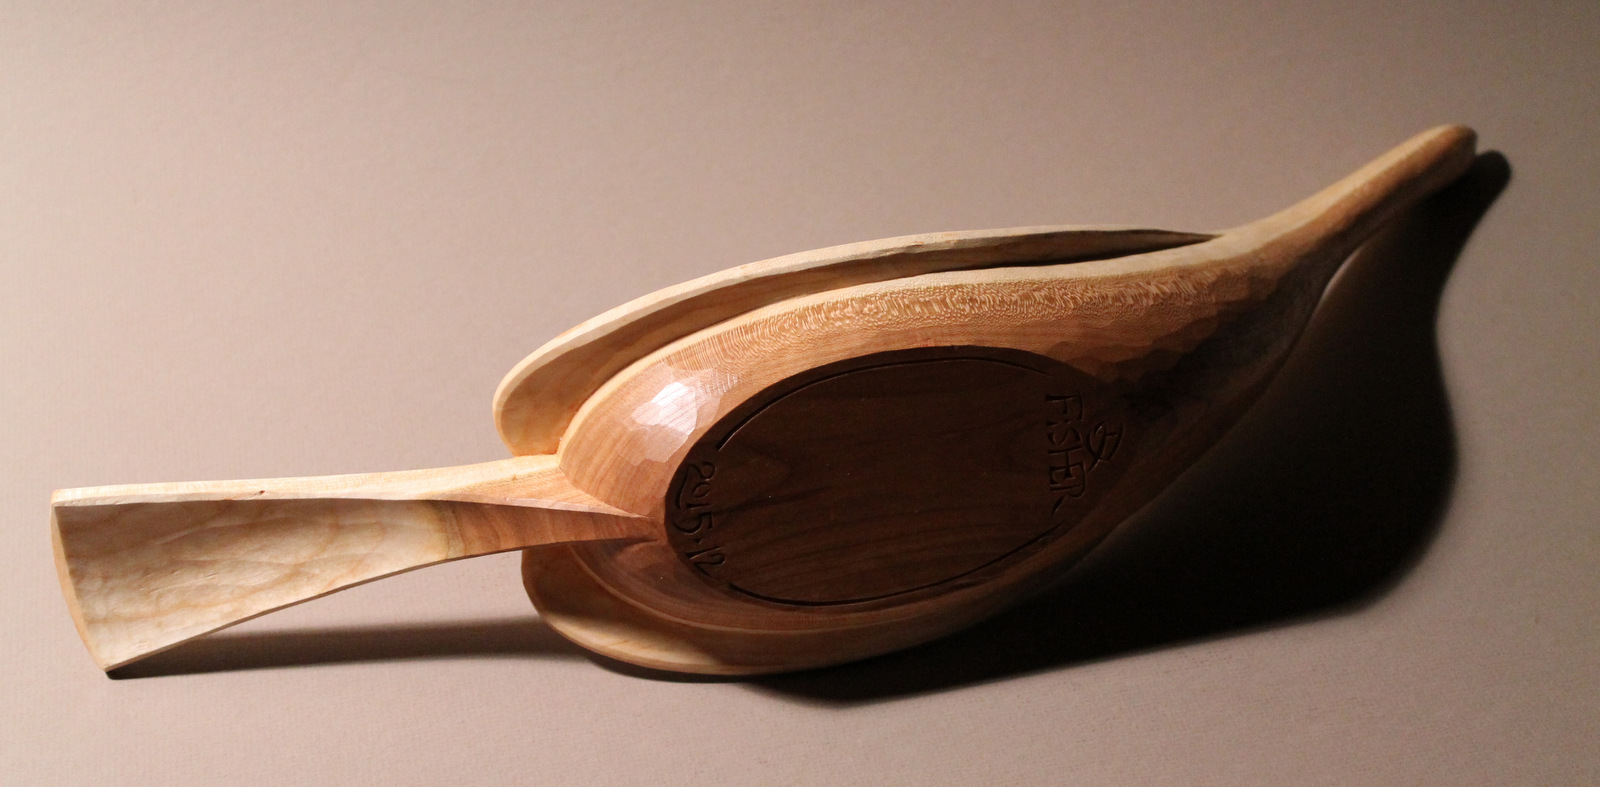
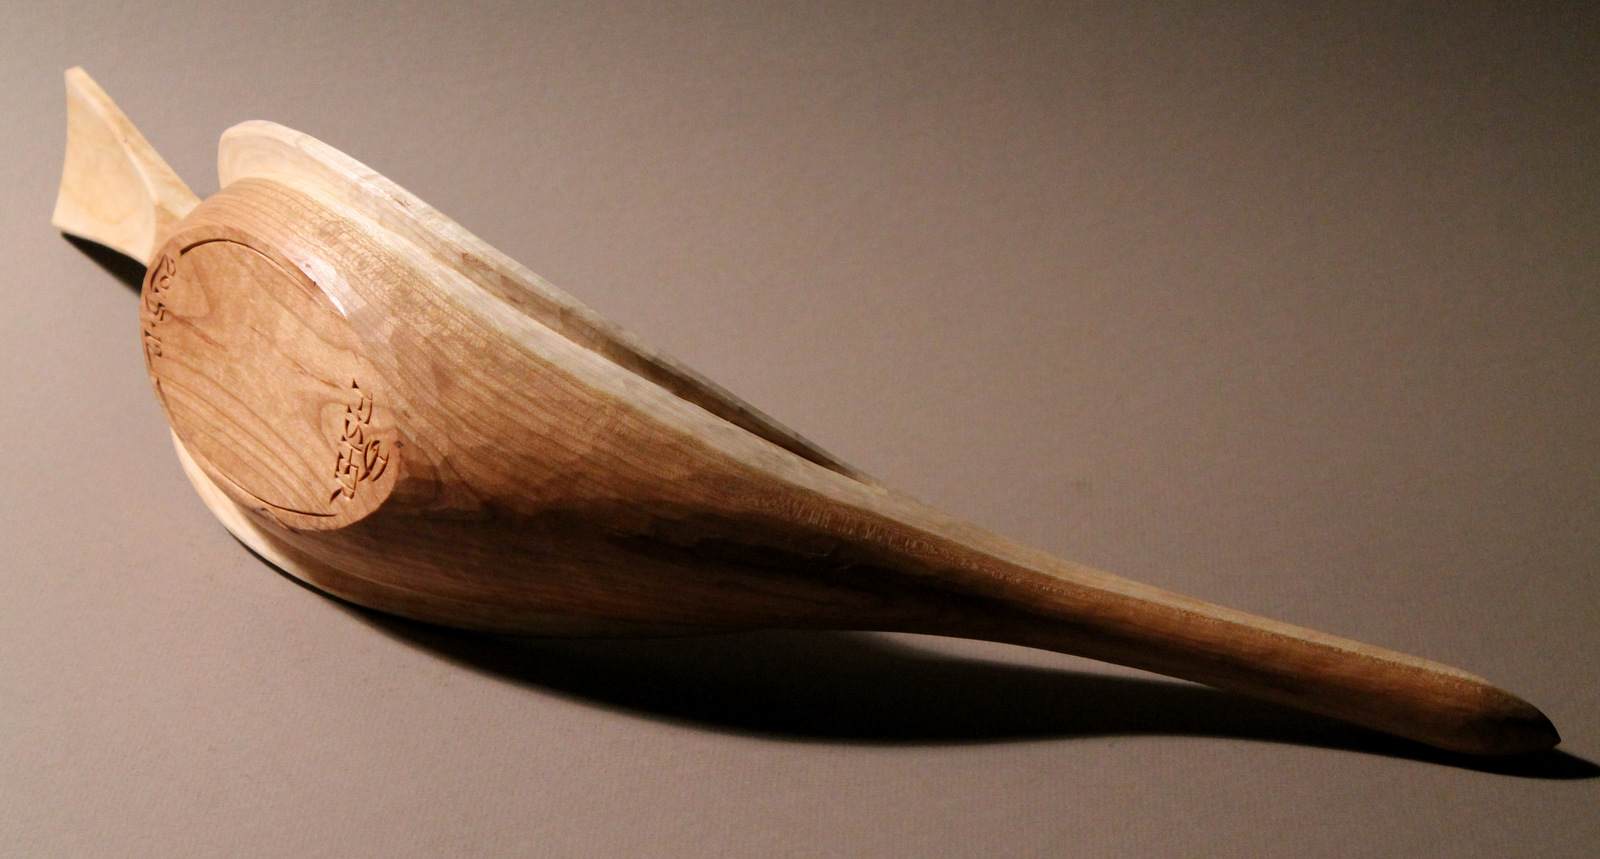
I found this stylized goose bowl in the curve of a wind-fallen cherry tree. Usually, we think of “finding” spoons in the crooks of tree branches, but I occasionally find bowls as well. Grain flowing through the form allows for lightness, and the line between the sapwood and heartwood flows right along the piece from the tail through the neck. The tree has done much of the designing.
Below are some photos showing a few stages along the journey of this piece.
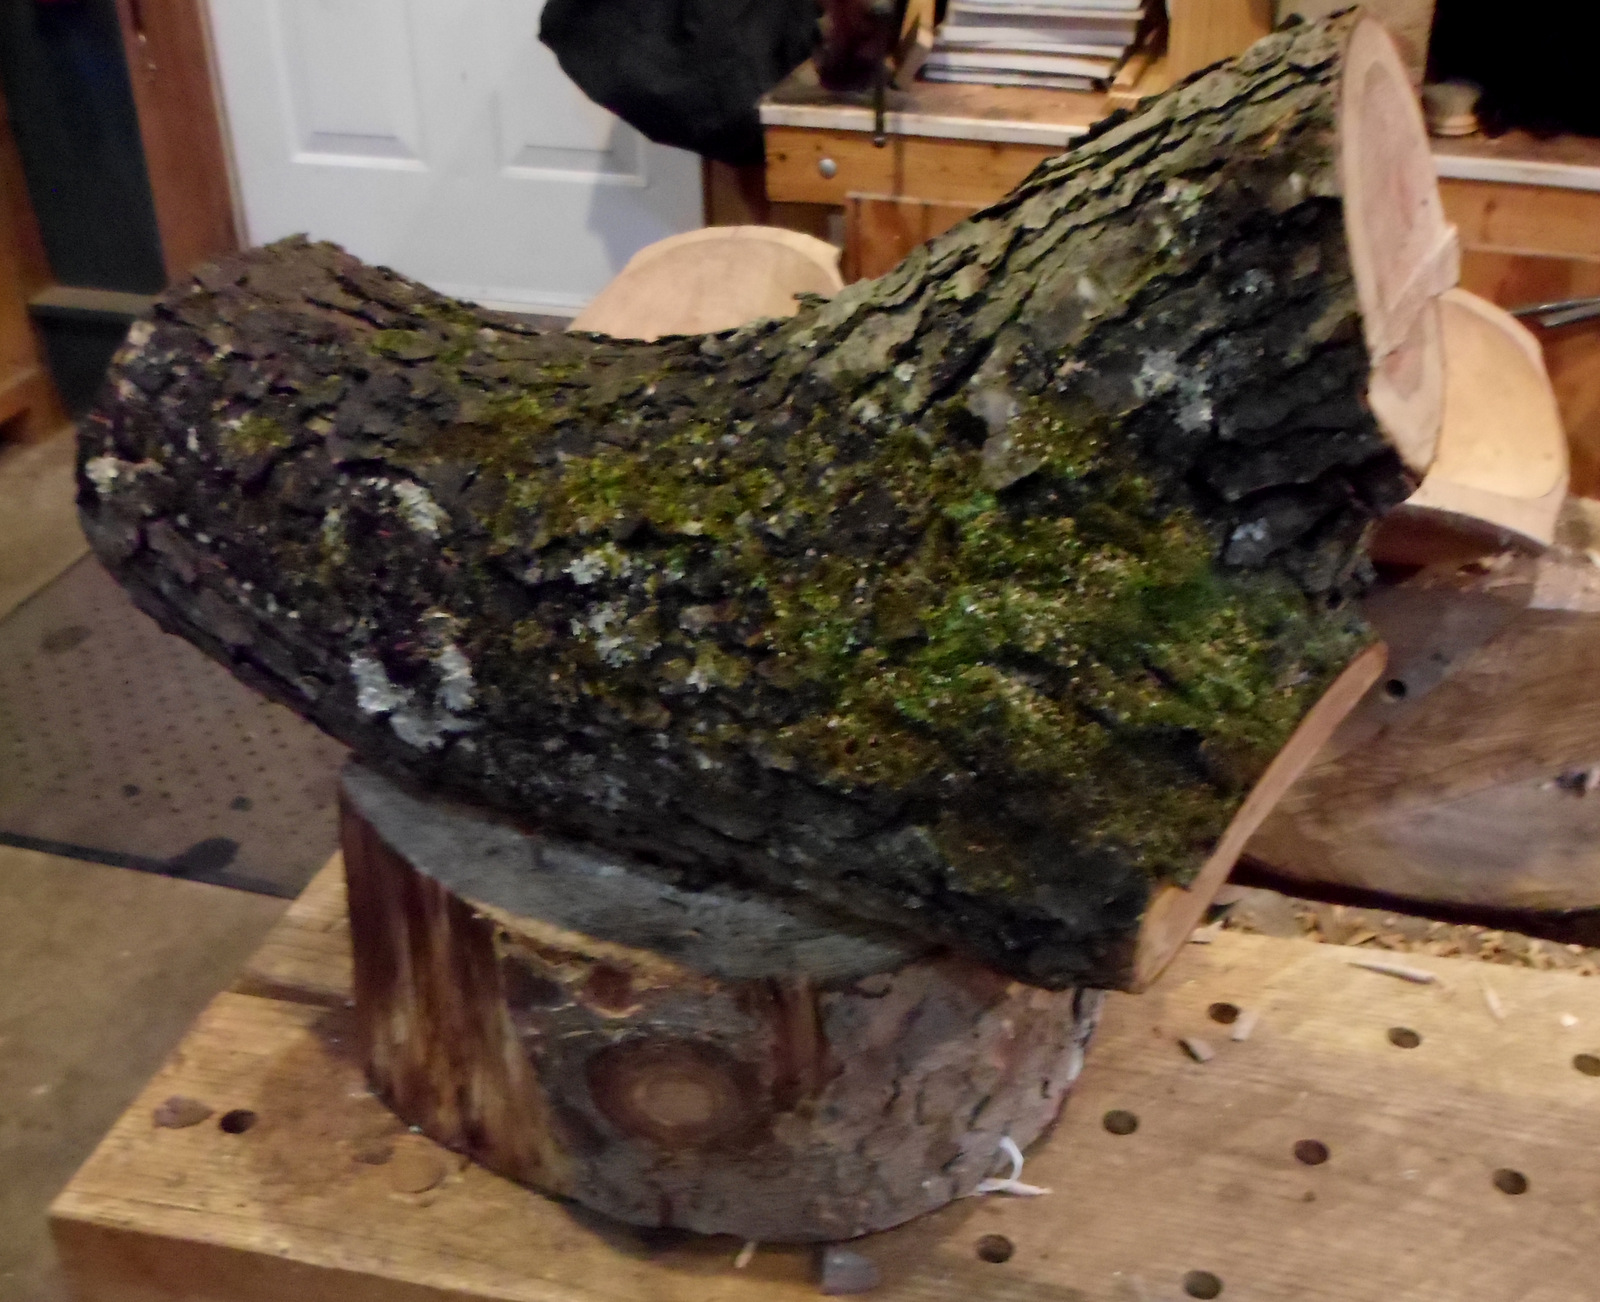
I discovered the wind-fallen tree on a walk near the river. The cutting with a folding saw and the carry back home is all part of the fun. The bowl is in the upper portion of the log in this shot; tail to the left, head to the right. As for scale; the log is about two feet long and the branches about 9 or 10 inches in diameter.
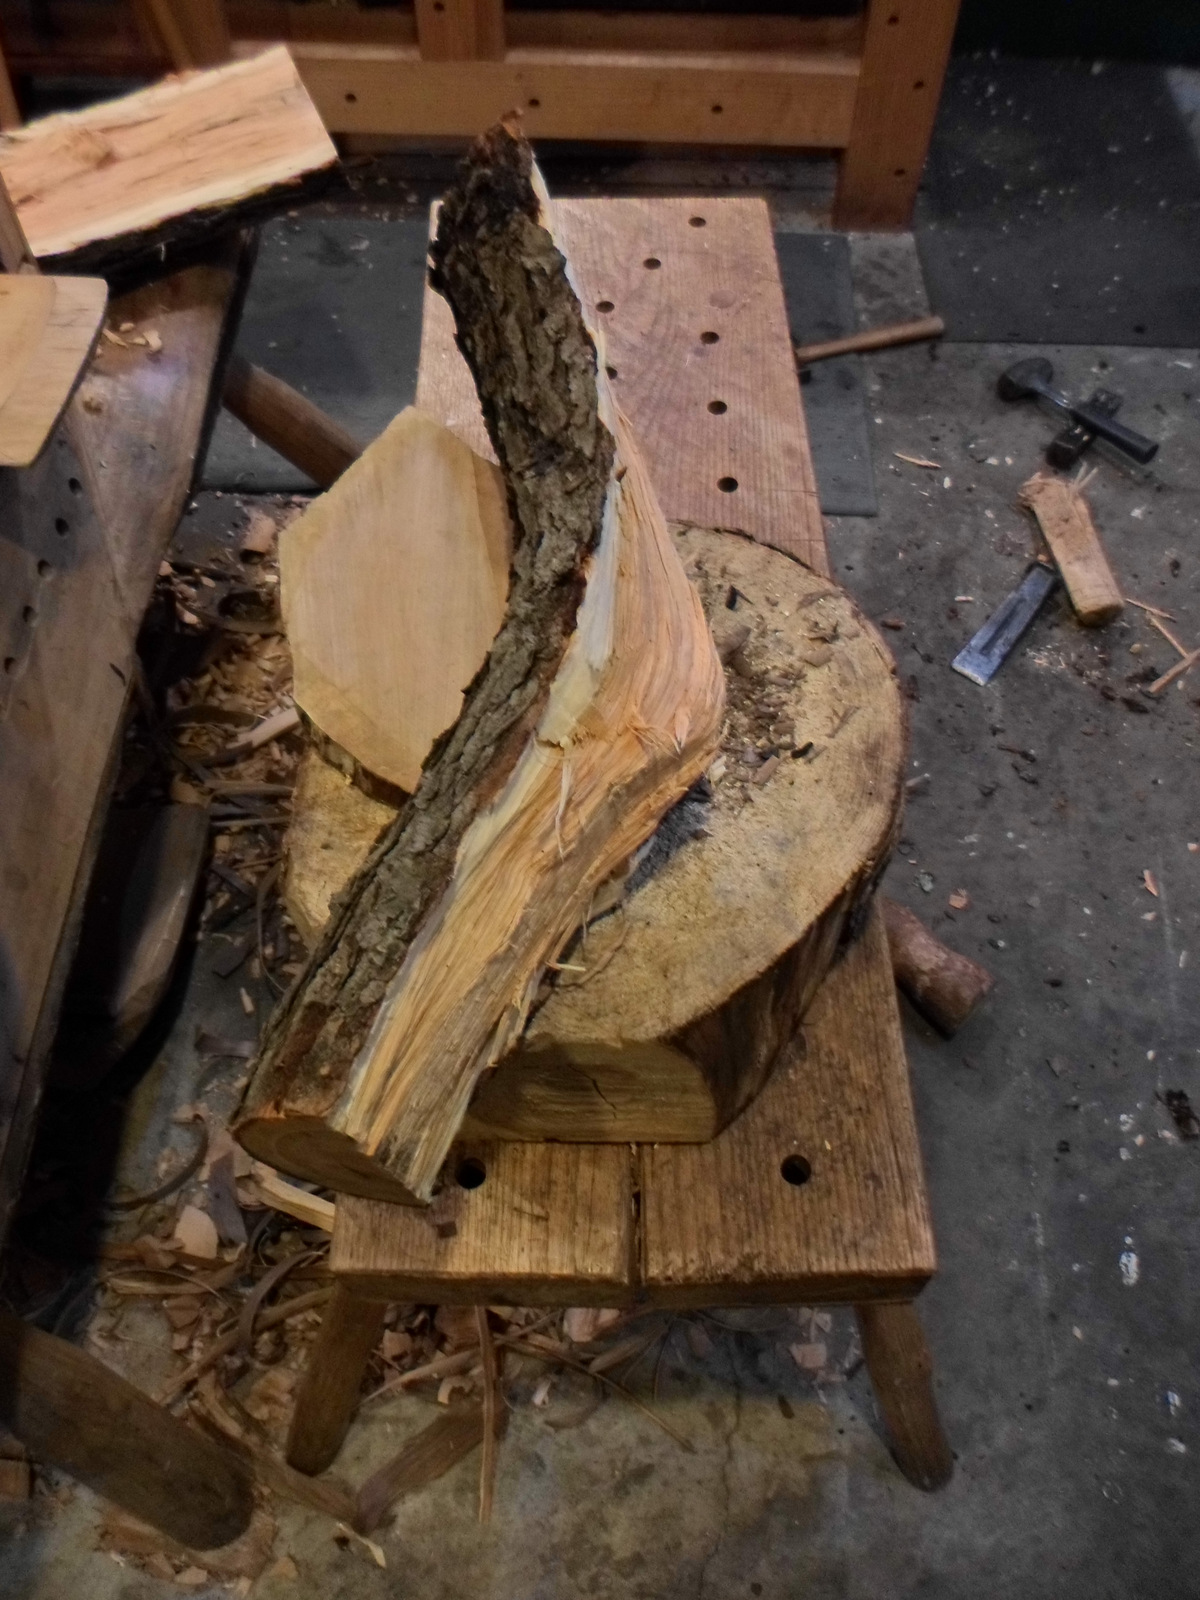
The upper portion has been split away from the rest of the Y. The pith (center) of the branch runs along the right edge in this shot. The pith can’t remain in the middle of a piece. The tail is to the rear and the head is in the foreground.
I have just shaved off the bark with a drawknife and hewn the sides a bit. Layout on a piece like this is basically freehand. I sketch on a rough center line from end to end and then a general sketch of the bowl cavity and outline on the upper surface. Then on to the sculpting with axe, adze, knives, and gouges.
Out of the log and admiring the snow.
Finished, it is 22.75 inches long, 5.25 inches wide, and 8.75 inches high.
Here are a few more thumbnails.
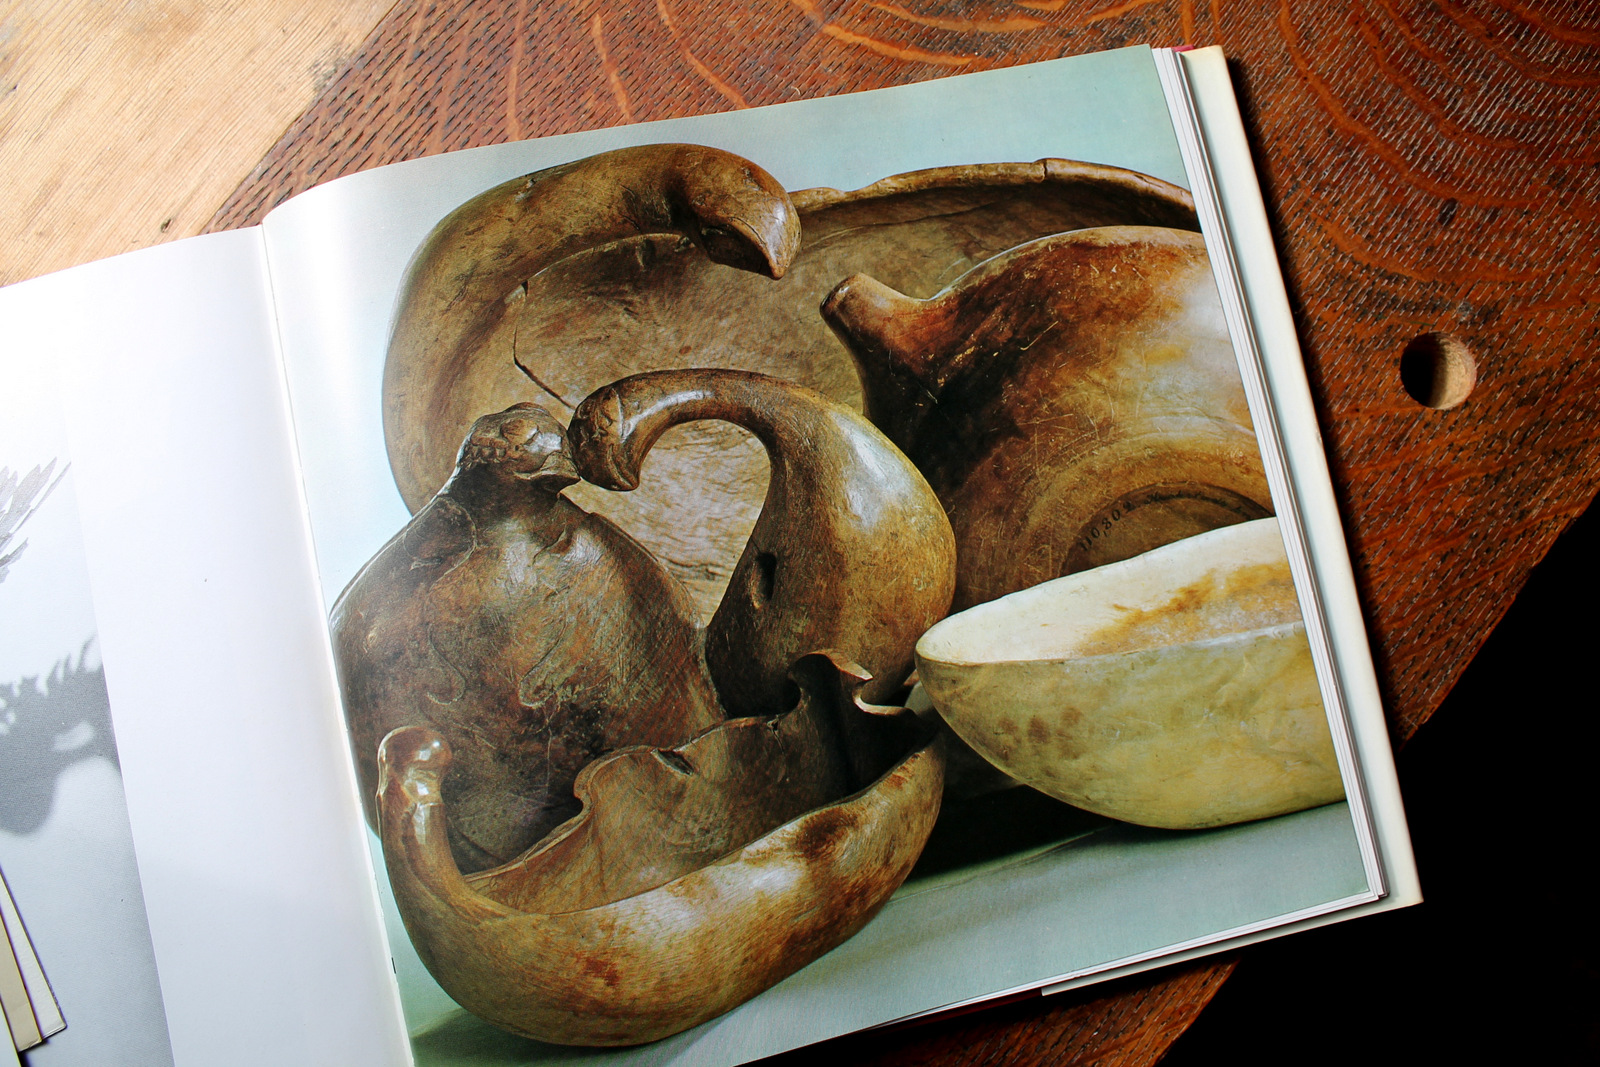
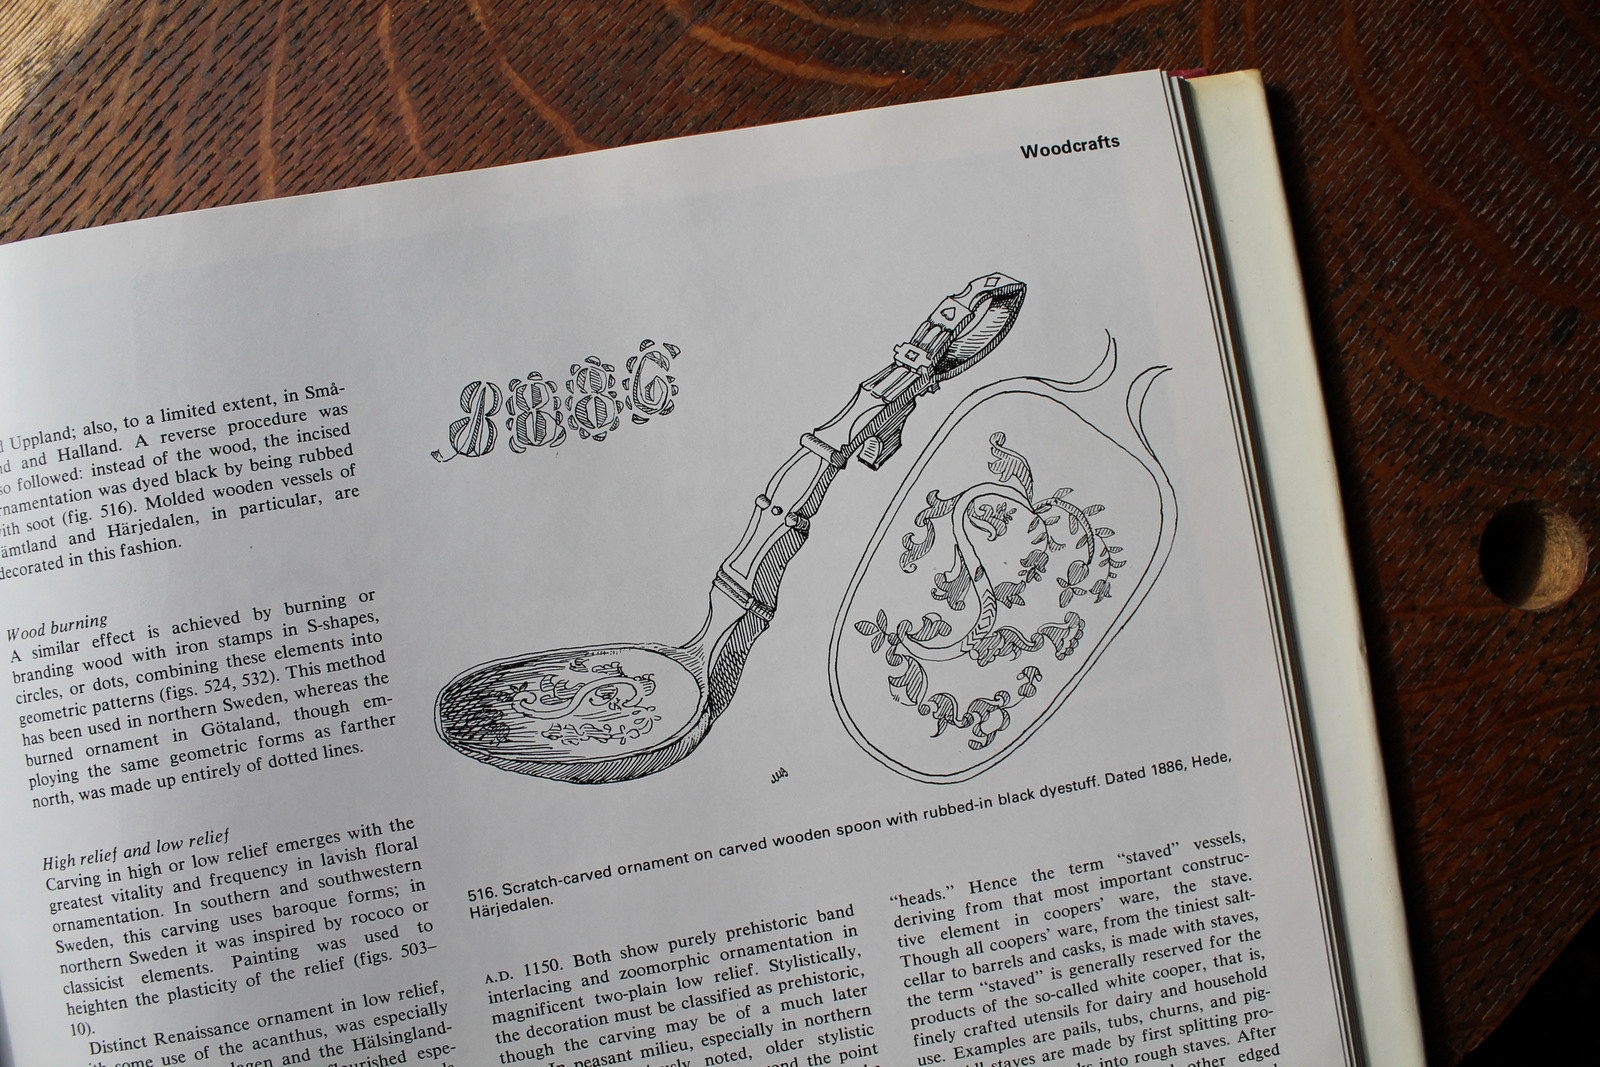
In the encyclopedic book Swedish Handcraft by Anna-Maja Nylen (1976), there is a wonderful chapter on woodcrafts. Much of the book is dedicated to fiber arts. Here are a couple photos from my copy. I’ve included the caption for the first, which applies to this post. If you’d like to get a copy, this link might be helpful.
“Bowls carved out of wood. The shape of each bowl has been determined by the natural properties of the wood, whereby animal and human forms have been “found” in nature’s own forms. Lima and Mora, Dalarna, dated 1806; Offerdal, Jamtland; Hede, Harjedalen, with the incised date 1816; and Krokstad, Bohuslan.”
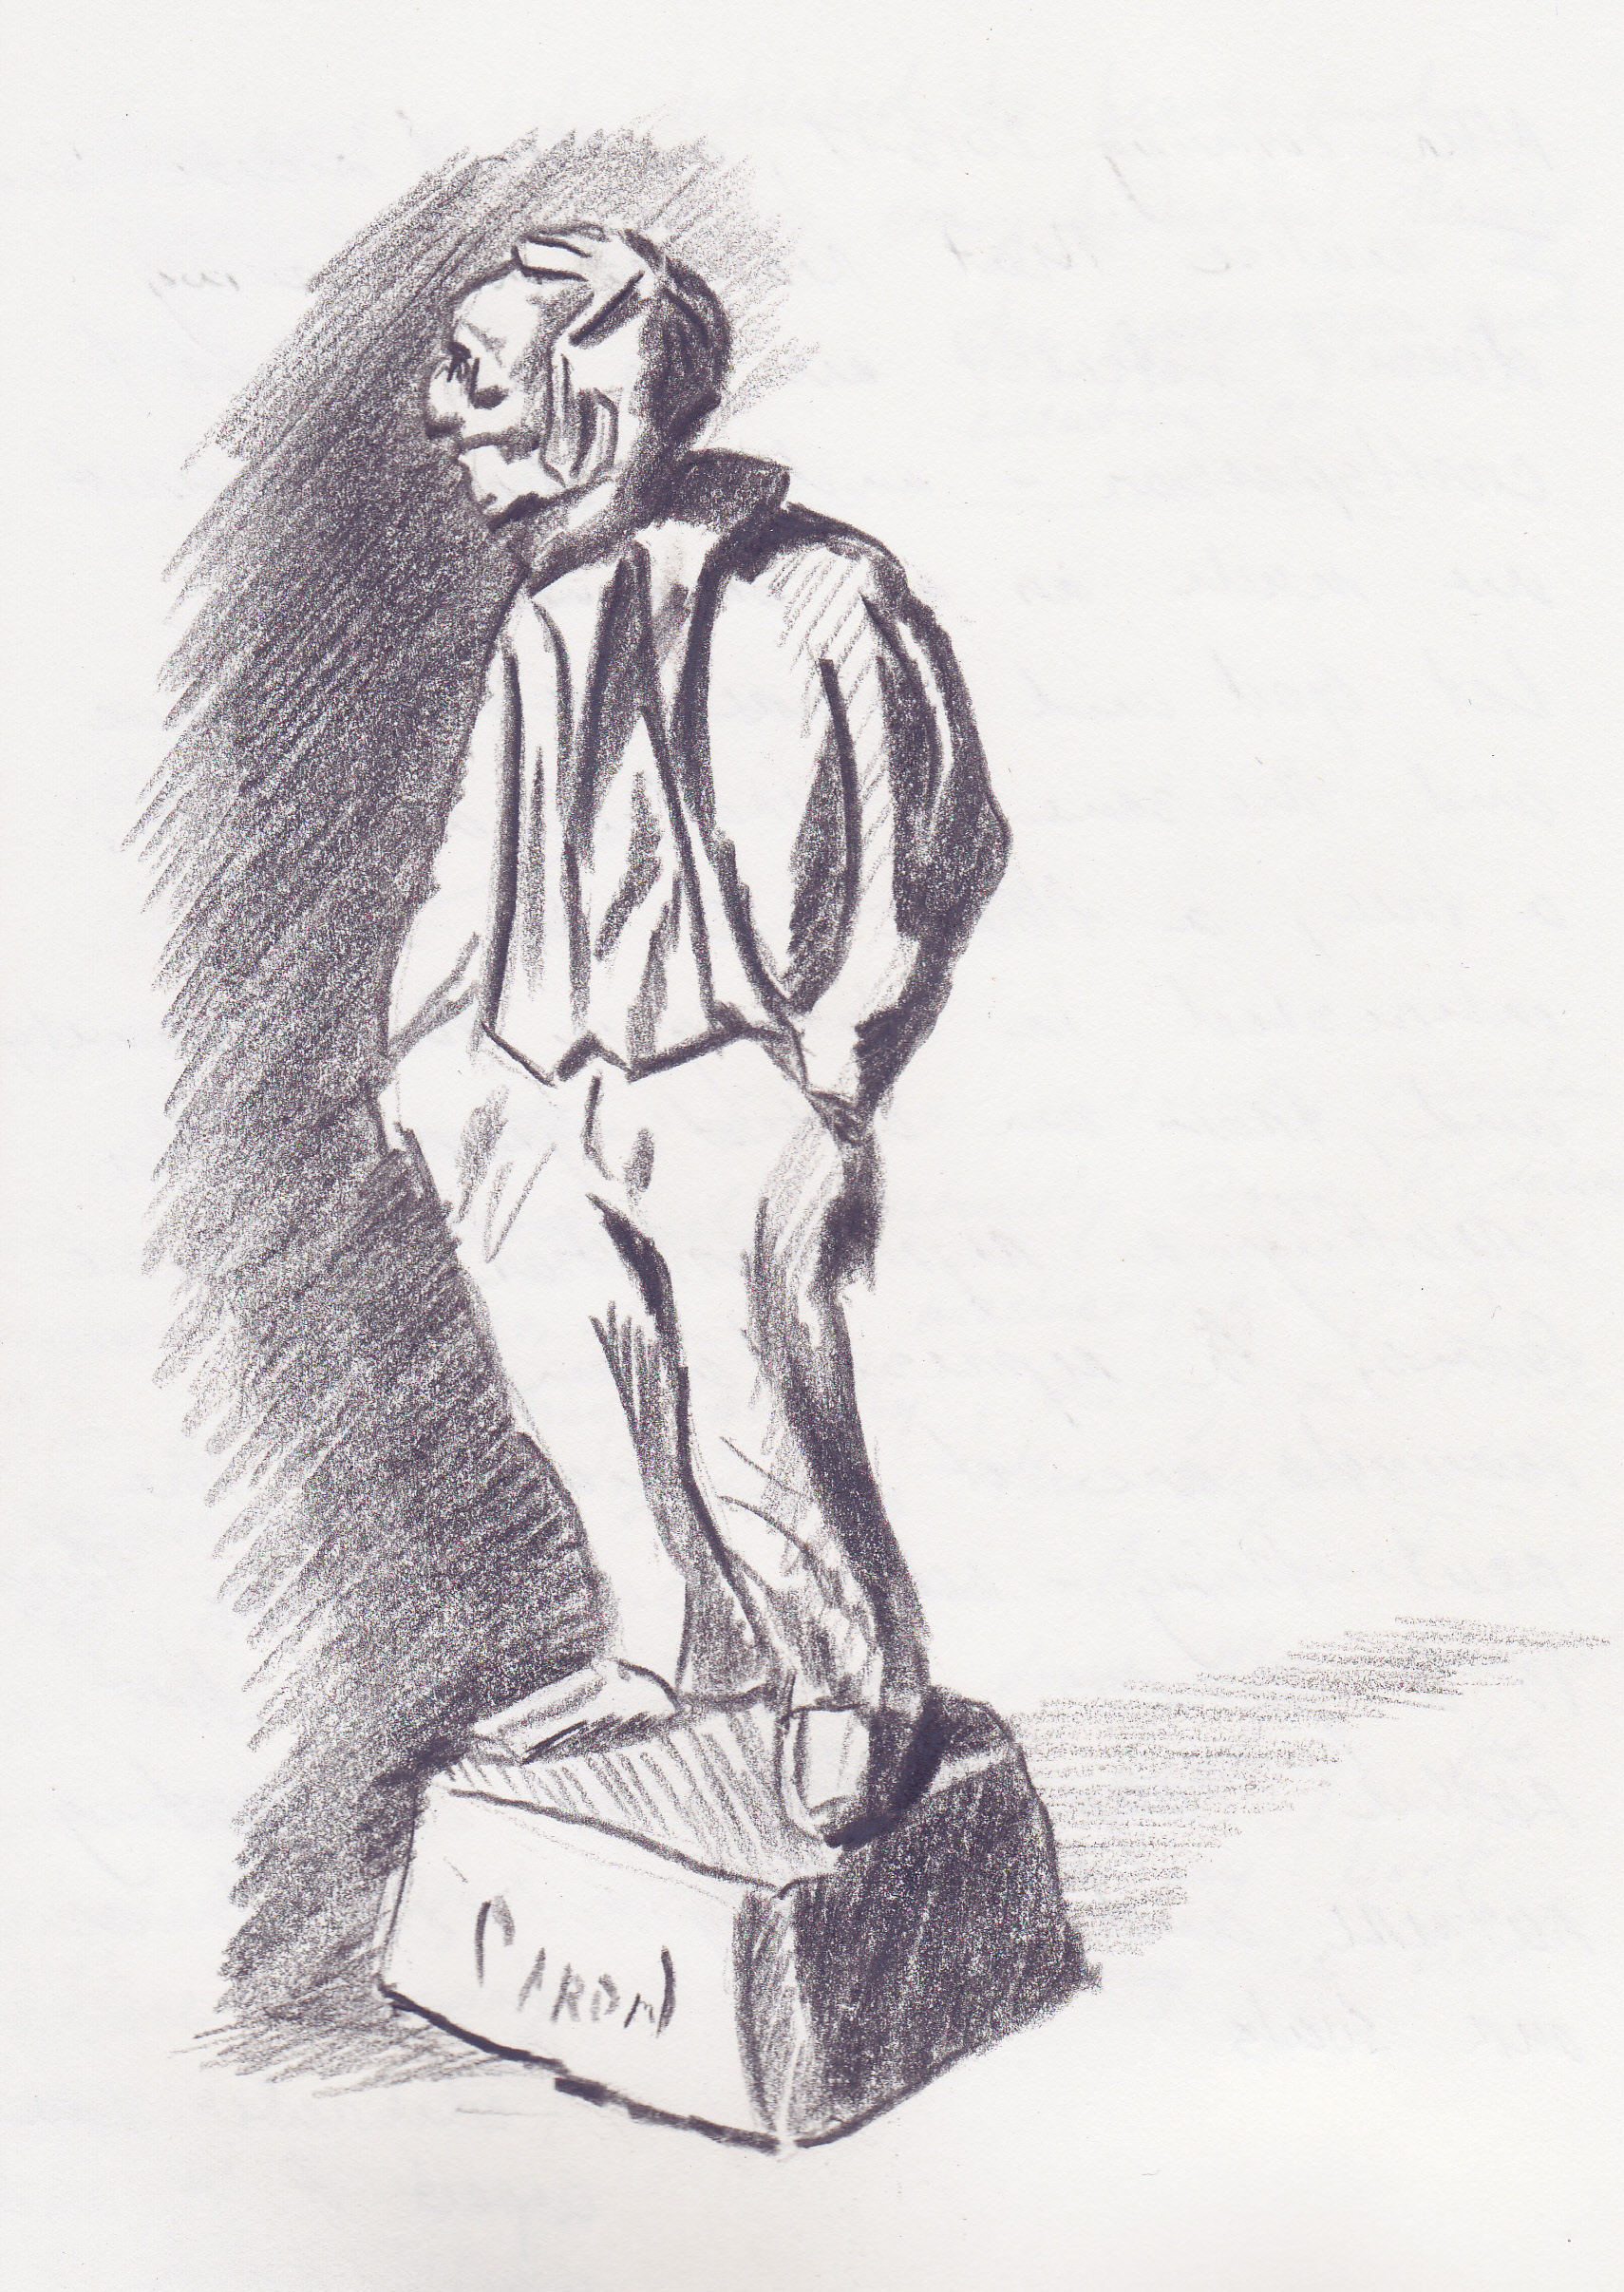
Two old men, radiating contentment… Their trade seemed to have been a refuge for them. Perhaps their serenity came from making things that gave pleasure to others. Or making things they knew would outlast them, give them a little power over the grave. Leaving behind physical evidence that they had lived and were creative agents in the world. Maybe it was that they had spent a lifetime swimming in a sea of harmonious form, that this had osmosed into them, and then as the years went on it began phosphorescing out in a cloud of benign tranquility. Or was it something in the activity of woodcarving itself that gave them, at last, their moral radiance?
— David Esterly, The Lost Carving: A Journey to the Heart of Making, Viking 2012
Also by David Esterly: Grinling Gibbons & the Art of Carving, V&A 1998