The Apple of His Eye

IMG_4698

Near the end of March 1845, I borrowed an axe and went down to the woods by Walden Pond nearest to where I intended to build my house…. The owner of the axe, as he released his hold on it, said that it was the apple of his eye; but I returned it sharper than I received it.

— Henry David Thoreau, Walden

Lending your ax is asking for trouble unless you also trust the borrower to sharpen it as well as you would….If a man wants to borrow your ax, tell him “No.”  If you will not do that, then you do his chopping for him, or buy him an ax, or even give him your wood.  But whatever you do, keep your own ax for your own use.

— Dudley Cook, The Axe Book

Walden might have been a little different if Thoreau had asked to borrow Cook’s axe: “Near the end of March 1845, I asked to borrow the axe of Dudley Cook.  He built my cabin instead.”  Borrowing and lending aside, the quotes of both men speak to the usefulness of an axe, and the importance of keeping it sharp.  I’d like to share a bit about how I sharpen my carving axe and why I use it.
IMG_4694

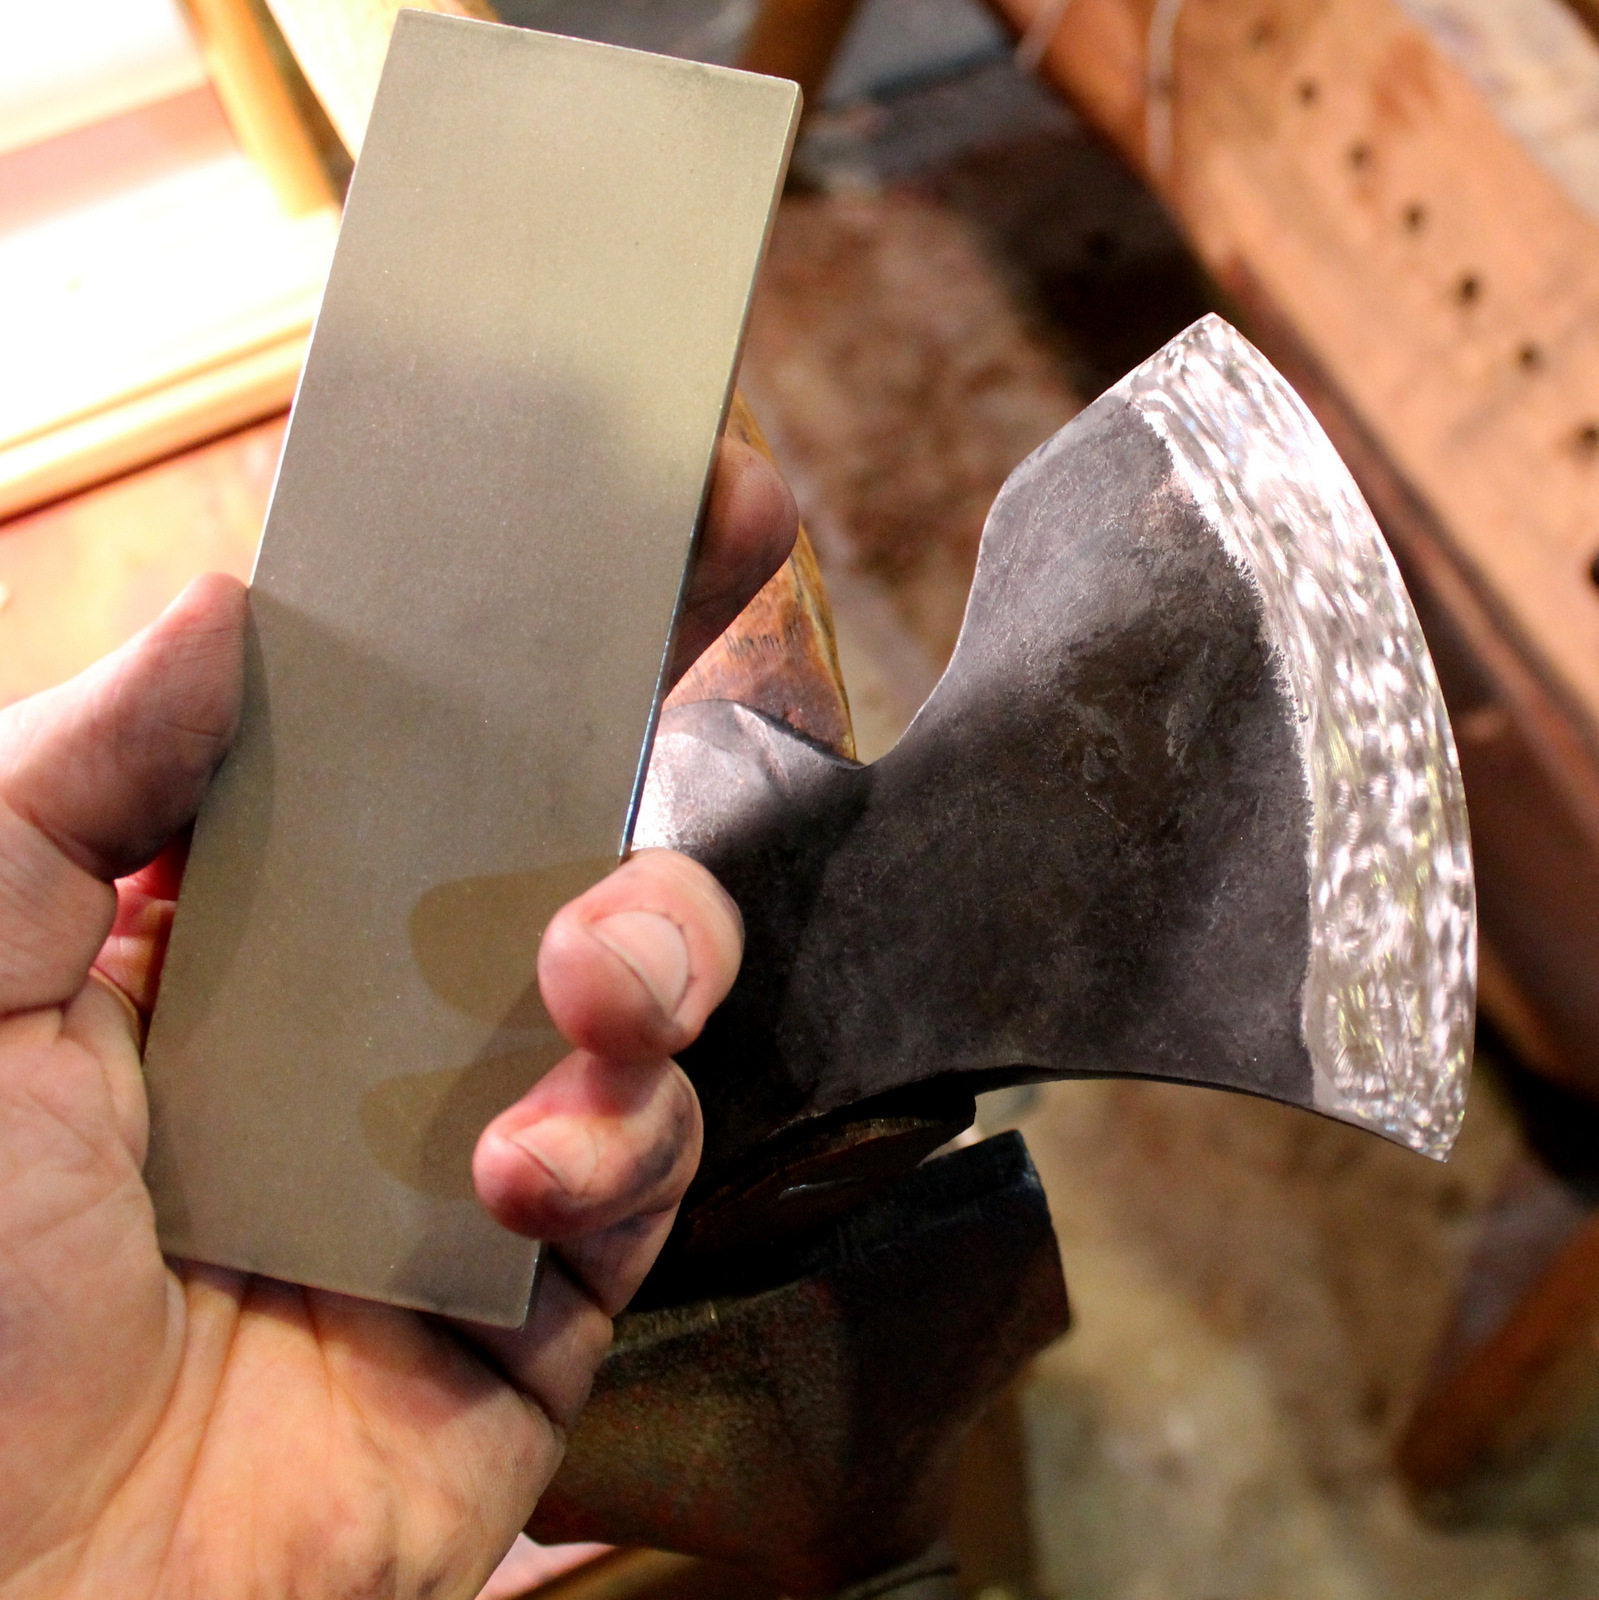
A 2×6 dia-sharp “stone”. This view shows the left bevel of the carving axe.

The sharpening process is pretty straightforward.  I tend to use DMT’s dia-sharp stones for the majority of the process, but oil stones, wet-dry paper, and so on work just as well.  For sharpening beyond a little touch-up, I like to hold the axe in a vise that secures it steadily and allows me to use two hands on the stone if I wish.

I lay the stone flat on the bevel and use one of two motions: little circles with one hand while I move the stone along the edge of the axe, or sliding parallel to the edge of the axe while holding the ends of the stone with both hands.  In either case, I make sure to keep my hands away from the sharp edge.  These different movements create two distinct scratch patterns that make progress more clear as one pattern removes the former.  Marking across the bevel with a Sharpie marker can also make progress more clear and help to make sure the bevel is staying relatively flat.
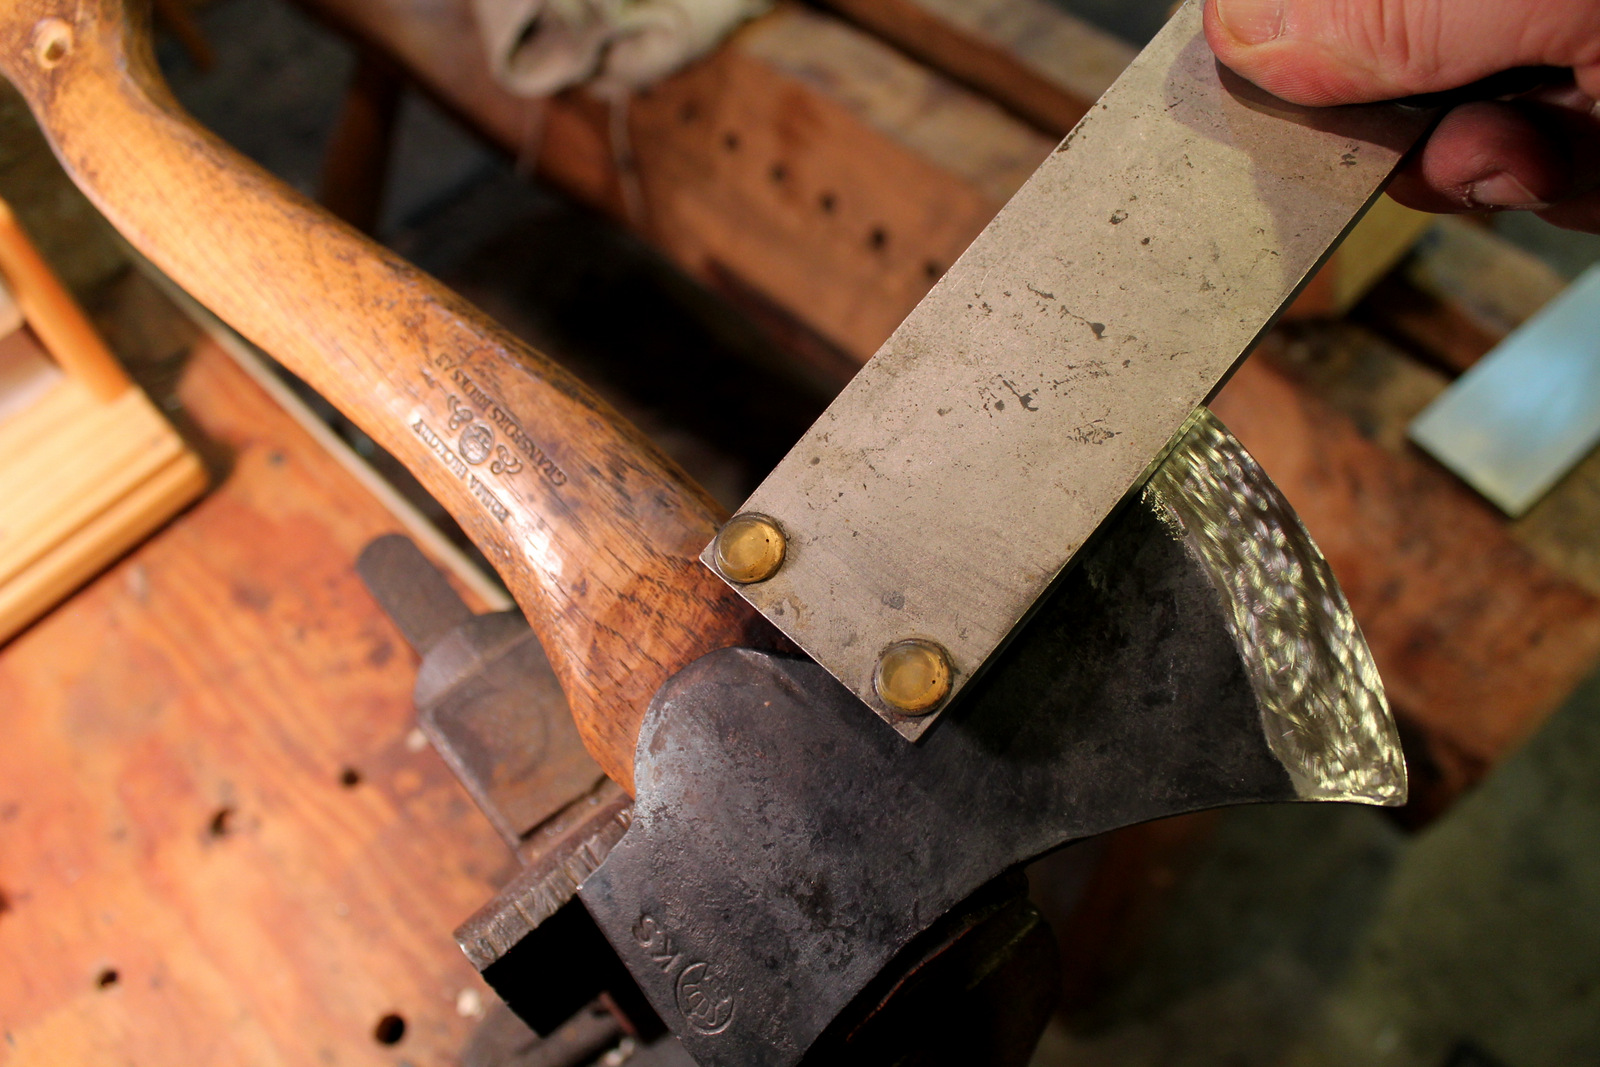
My left hand is holding the camera, but I would normally have it on the left end of the stone and move it....

My left hand is holding the camera, but I would normally have it on the left end of the stone and move it….

...along the edge.  This movement will remove the underlying swirl pattern made by the alternative little-circles movement (done with one hand).

…along the edge. This movement will remove the underlying swirl pattern made by the alternative little-circles movement (done with one hand).

Once a small bur can be felt along the entire length of the edge opposite the side being stoned, I flip over the axe and work that bevel, progressing to finer stones.  On my carving axe, there are bevels on both sides, but the left bevel is longer and shallower than the bevel on the right which is shorter and more steep.  Together, it is something like thirty degrees.  By the way, I don’t worry about a bit of overall rounding of the bevel (not abrupt rounding near the edge) — especially on the right side that simply pushes the chips away.

Stone touching the back of the bevel....

Stone touching the back of the bevel….

I usually finish with a very smooth white ceramic stone to polish the edge and remove the fine wire edge.  For this, I remove the axe from the vise, holding it in my left hand so that I can see when the stone is flat on the bevel.  I begin with the stone contacting the back of the bevel, then lower it until it just touches the edge.
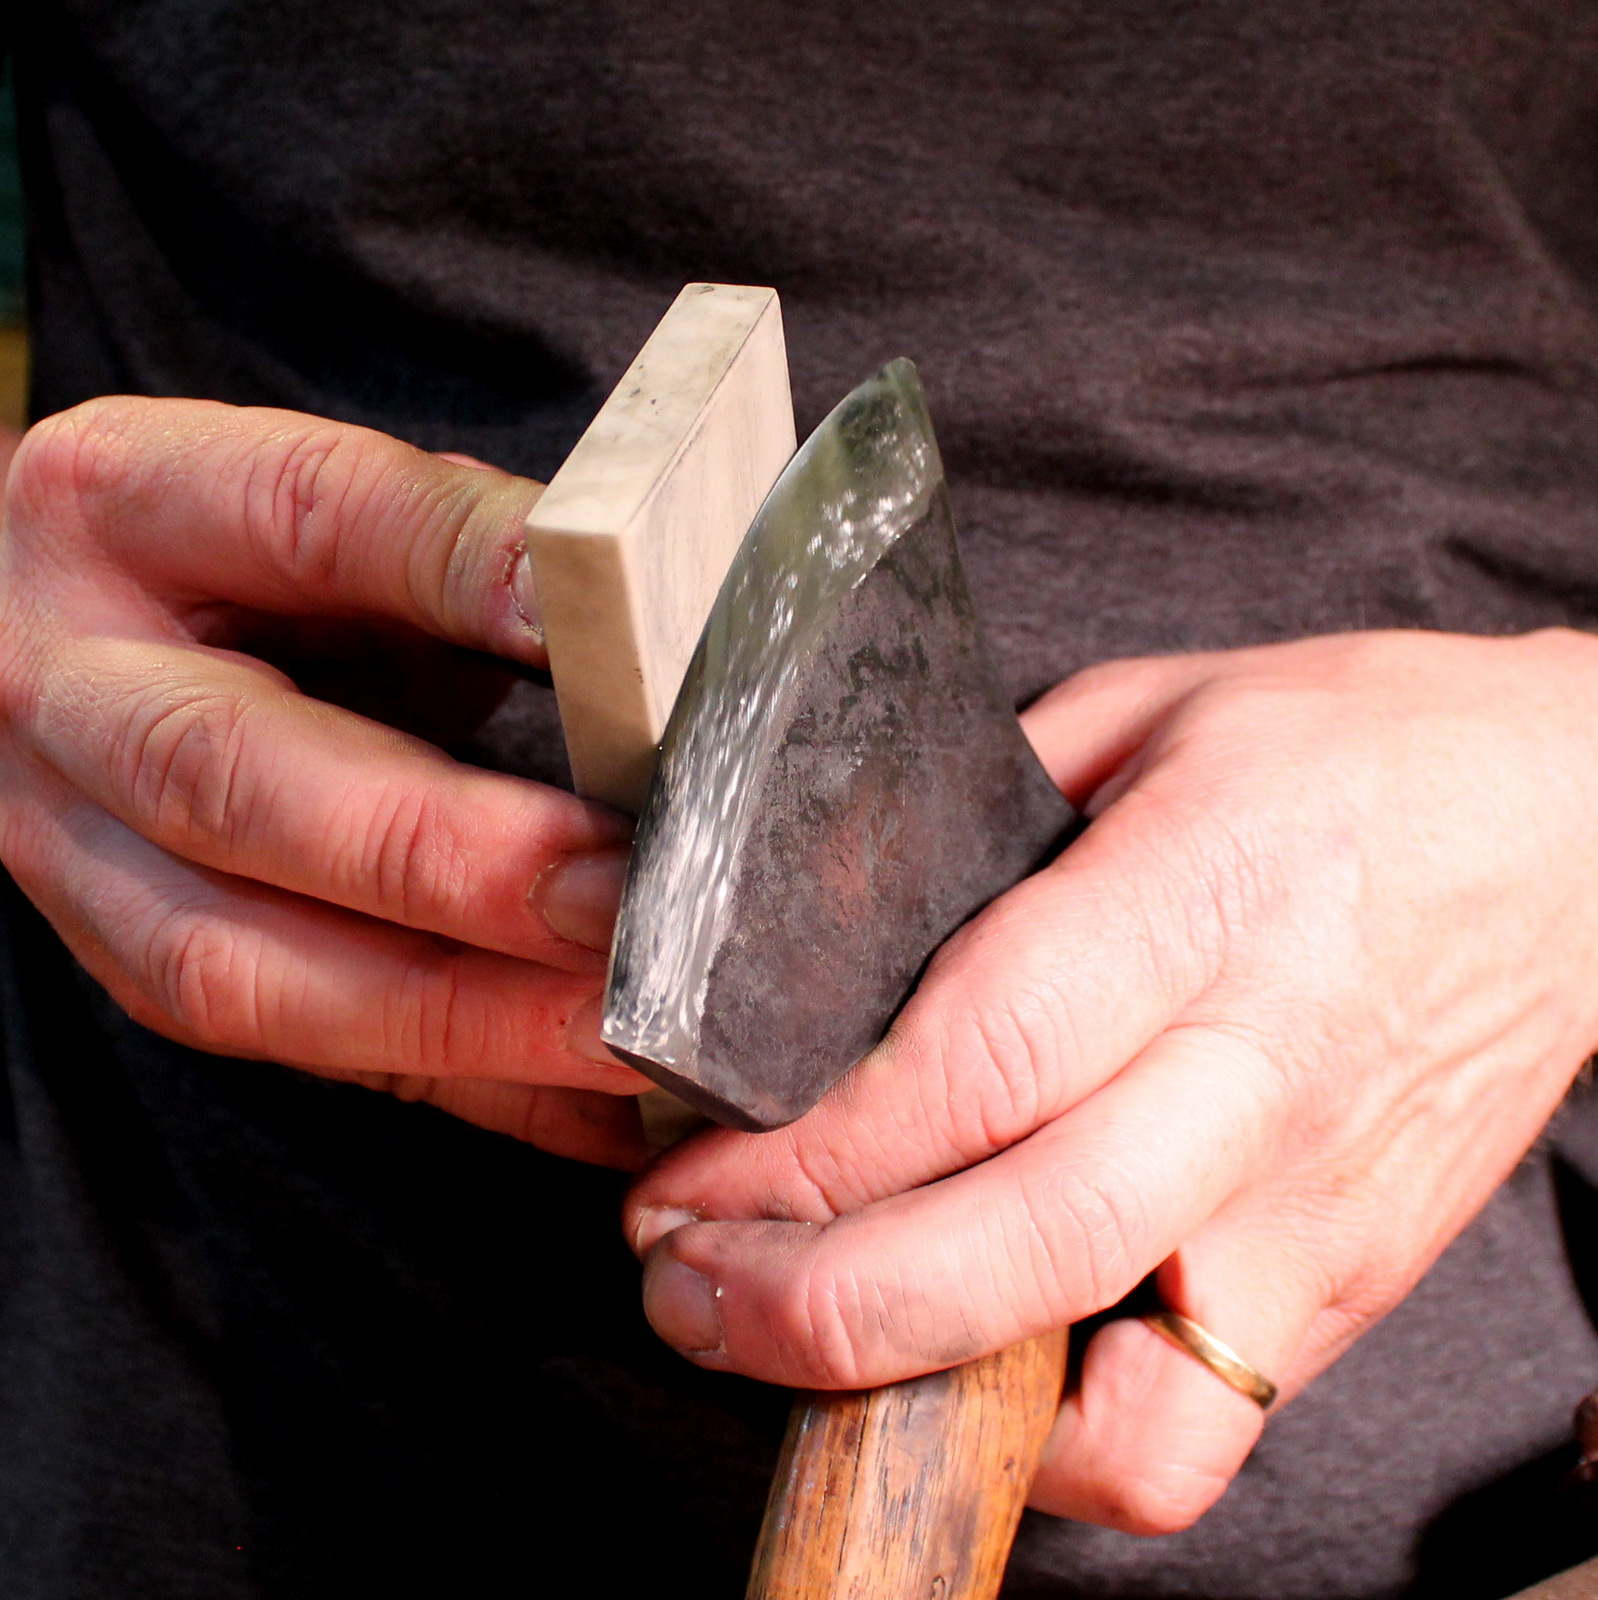
...then tilted forward until it just touches the sharp edge.

…then tilted forward until it just touches the sharp edge.I move the stone along the edge, flipping the axe around to work both bevels alternately until the wire edge is gone.  I strop the edge, and give it a test.


IMG_4698

A shameless “man”icure


I usually can’t resist the arm hair shave test, but the one that might mean more involves my thumbnail.  With very light pressure, I attempt to slide the edge forward along my thumbnail at generally the same angle I would engage it in the wood.  If it slides forward at all, the edge needs to be touched up.  Dullness or rounding at the edge is causing the edge to slide instead of bite.  It should bite immediately with the lightest pressure.  If so, the axe will bite where I wish in the workpiece, rather than glancing off annoyingly and dangerously.

“It’s your father’s lightsaber. This is the weapon of a Jedi Knight. Not as clumsy or as random as a blaster, but a more elegant weapon for a more civilized age.”

But why do I use the axe at all for sculpting bowls?  Why not remove most of the material from the outside with a band saw or some other tool?  For me, right now, it is the best, most effective, tool for the job.

First of all, it is fast and versatile.  A sharp carving axe can remove a lot of material quickly, big chunks falling away.  Removing the bulk of a green log is no problem with an axe and an adze.    Then I can ease up, continuing to sneak up on the form, literally feeling things as I go.  I can remove another quarter inch here, a sliver there, with this same tool.  I don’t know exactly where I’ll stop until I get there.

Plus, it is satisfying and enjoyable to swing an axe and feel the wood give way, to see the fresh new surface revealed.  It feels good, like hitting a baseball sweetly or, I completely suppose, certain dance movements.  While I won’t be doing any graceful ballet leaps, I plan to continue to enjoy the swing of the axe.


Posted in axe, carving, quotes and excerpts, sharpening, Uncategorized | Tagged , , , , , | 2 Comments

We Shall Not Cease From Exploration

IMG_4609

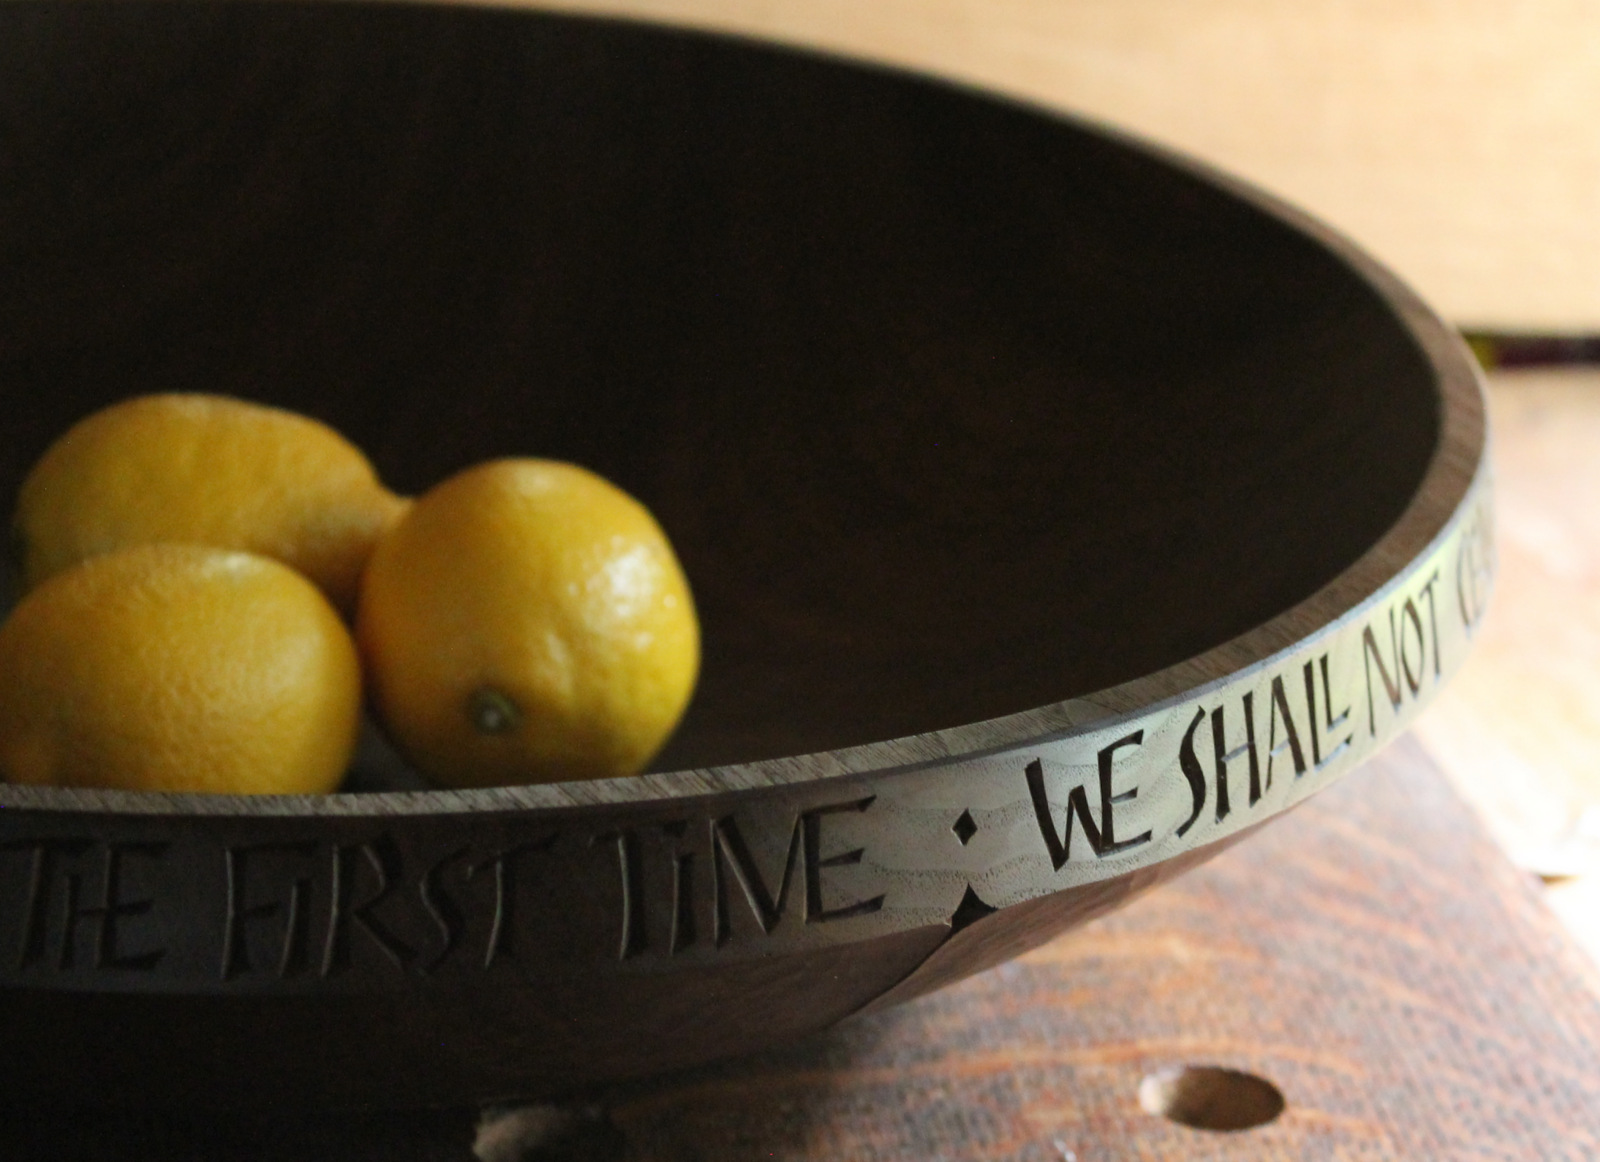
We shall not cease from exploration

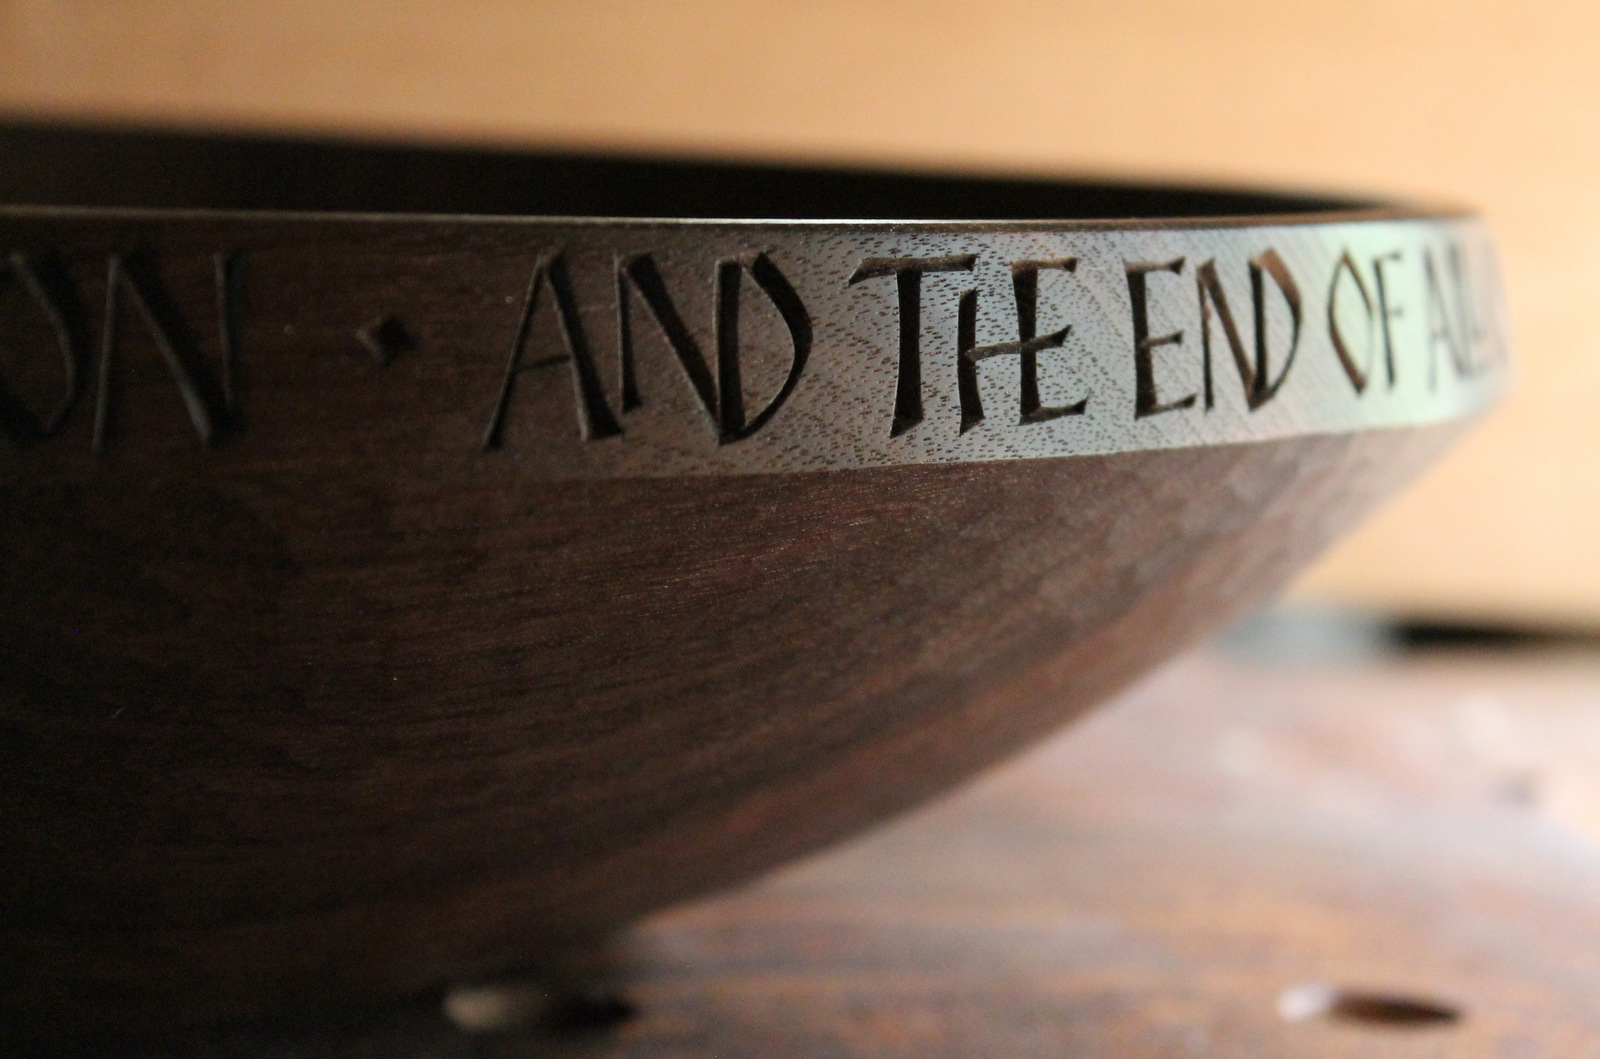
And the end of all our exploring

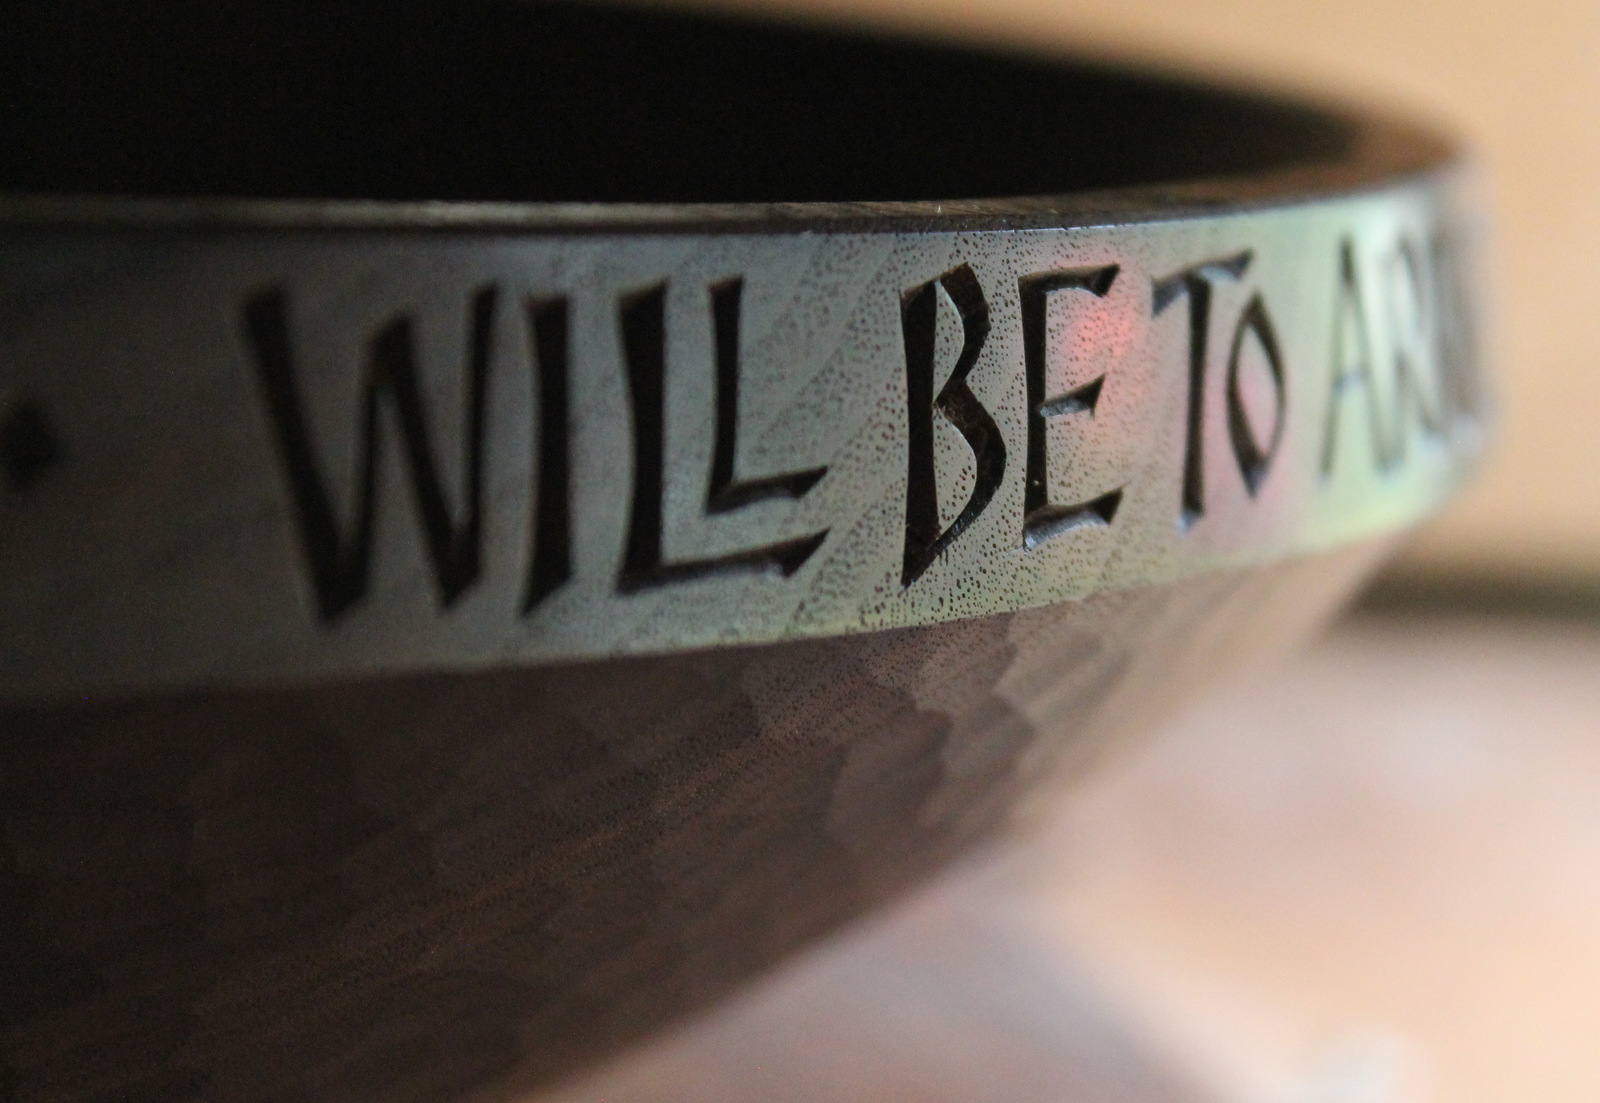
Will be to arrive where we started

And know the place for the first time.
— T. S. Eliot, “Little Gidding”
As one might guess from the title of my blog, I like the idea of exploration.  As children, we naturally see possibilities and opportunities in every tree and creek.  Bill Watterson reminded us of this notion in his final Calvin and Hobbes strip.  In it, is the feeling that all shall be well, a sentiment also found within “Little Gidding” by T. S. Eliot.

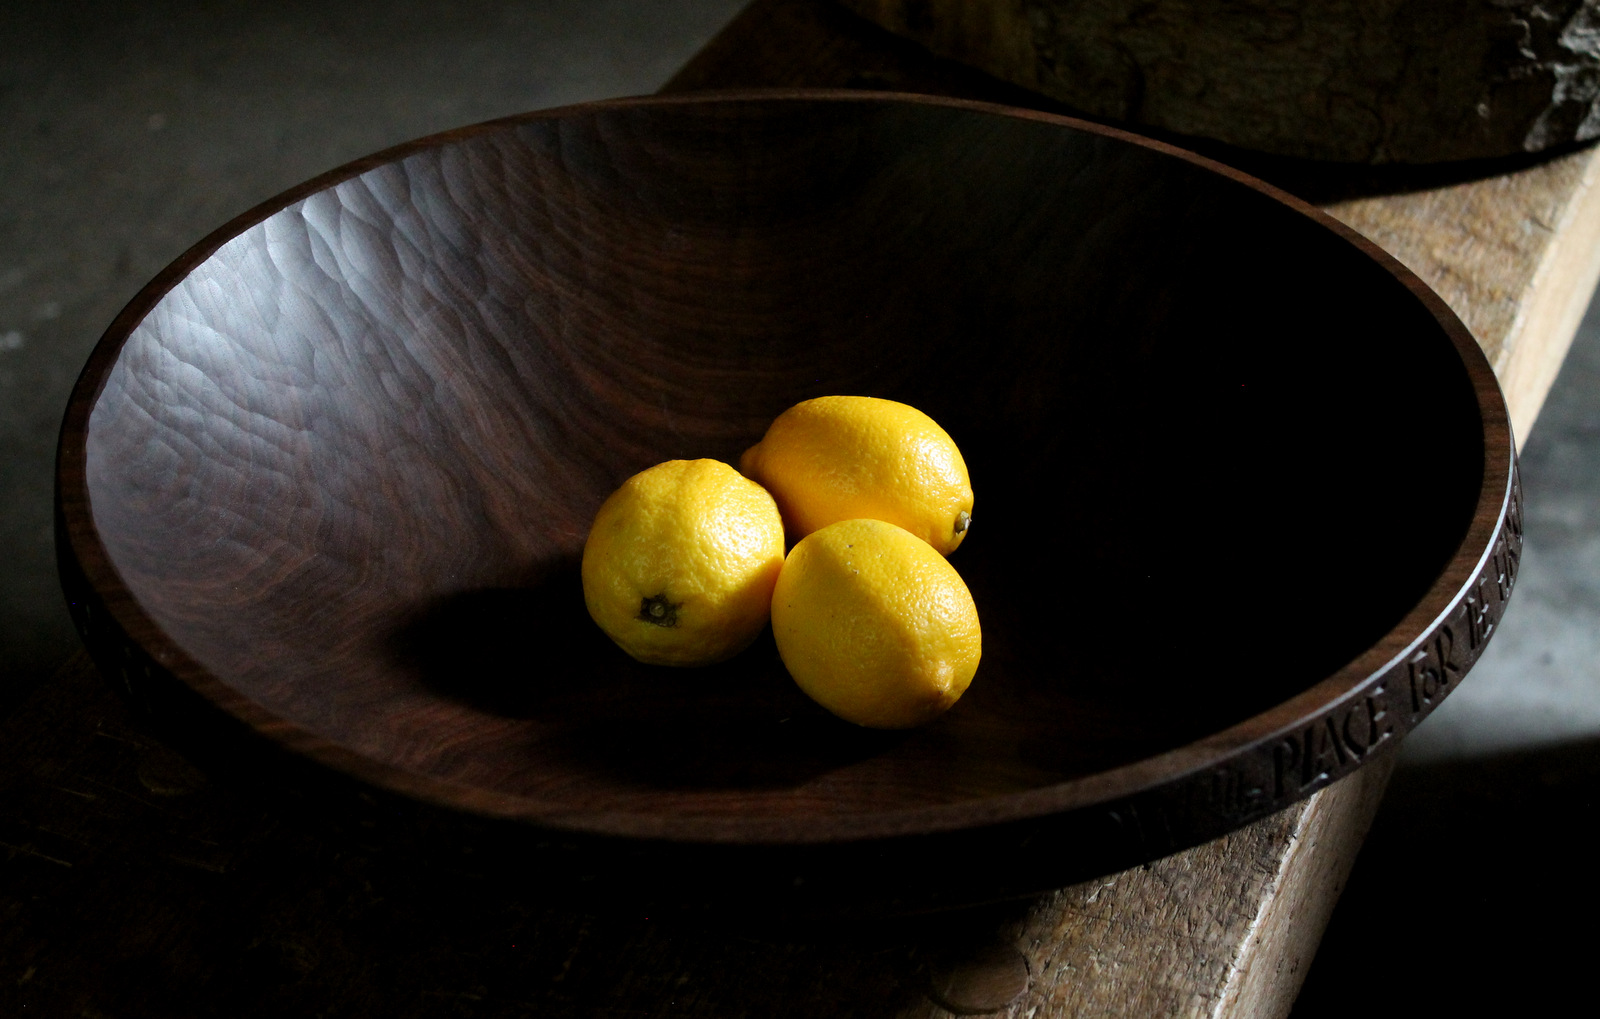
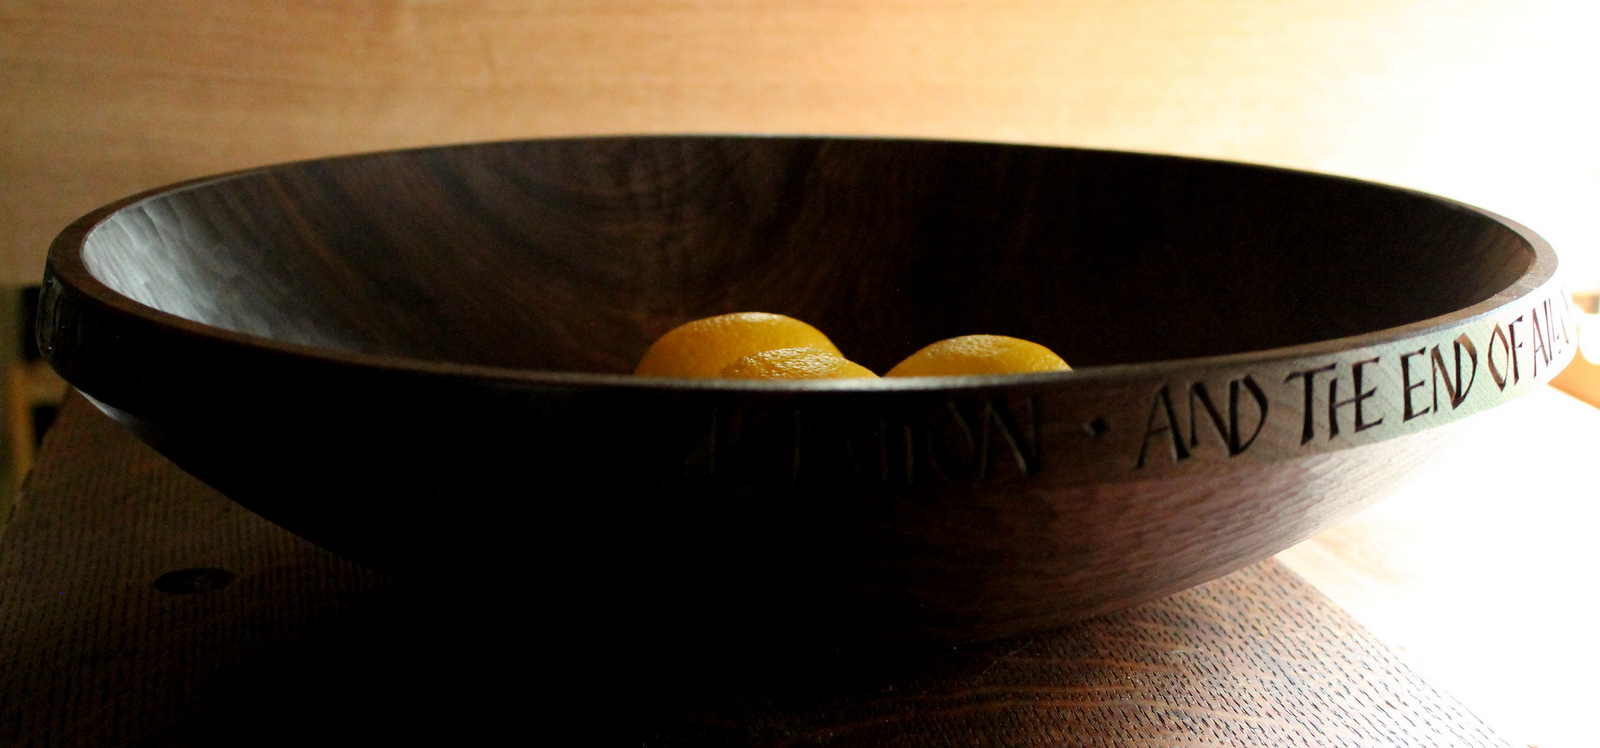
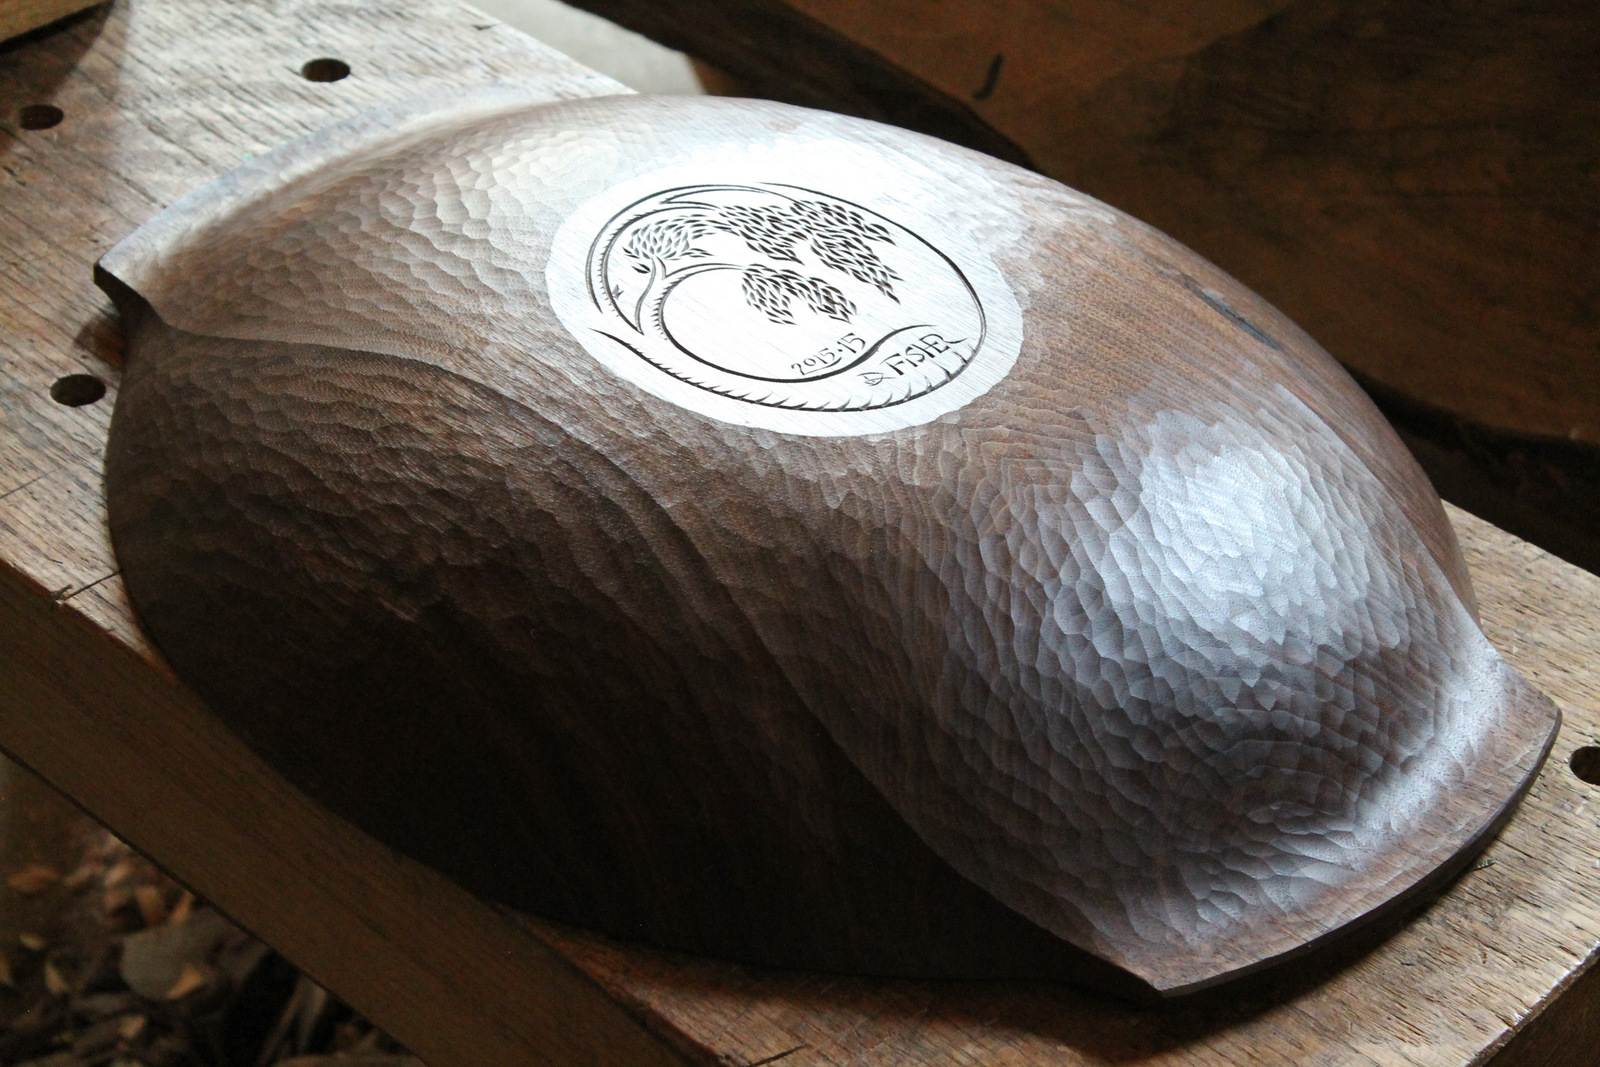
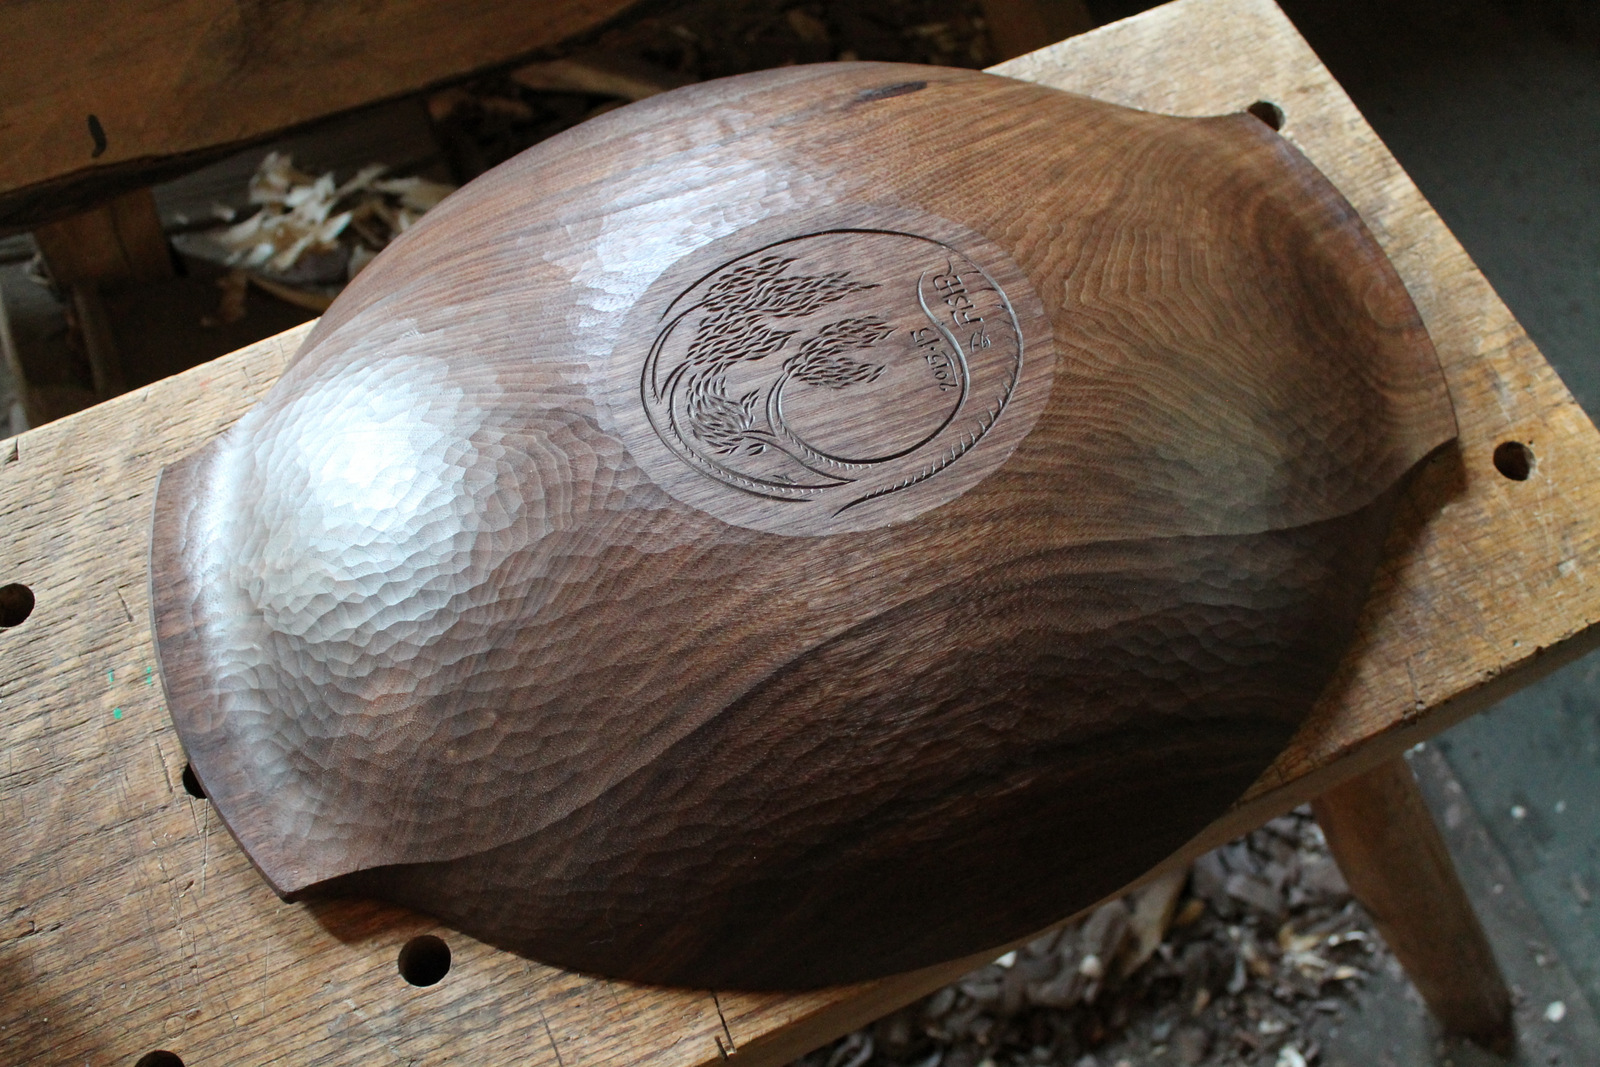
IMG_4604As I wondered over Eliot’s writing (the wheels in my head turn slowly), I kept returning to the four lines above, and I designed this walnut bowl as a fitting setting for his words.  Through the layout of the words themselves, the path of the raised ridge along the underside of the bowl, and even the tree on the bottom, I hope the piece reflects return and renewal.

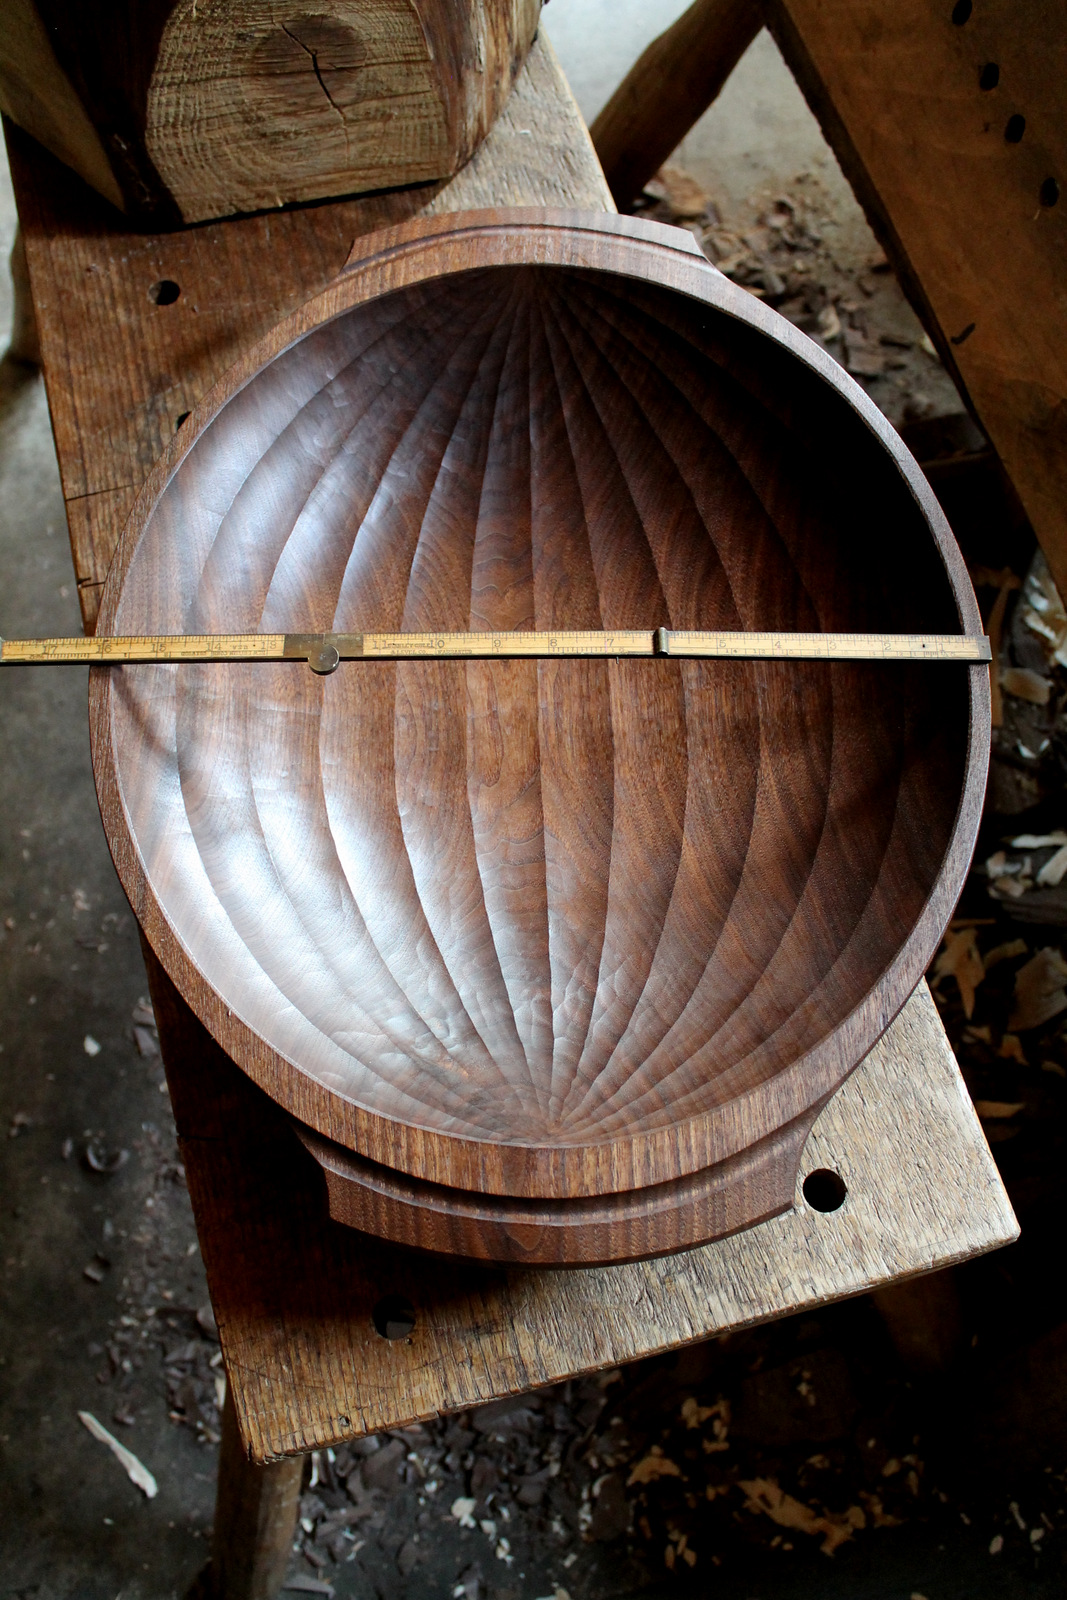
IMG_4644The bowl itself is large and round.  It is from the walnut tree that fell this winter, deep in a ravine not far from my house.  The photo to the left with the lemons may provide a sense of scale.  The diameter of the bowl is 15 1/2 inches and it is 3 3/4 inches high.  If life hands you a lot of lemons, you’ll have room for them.

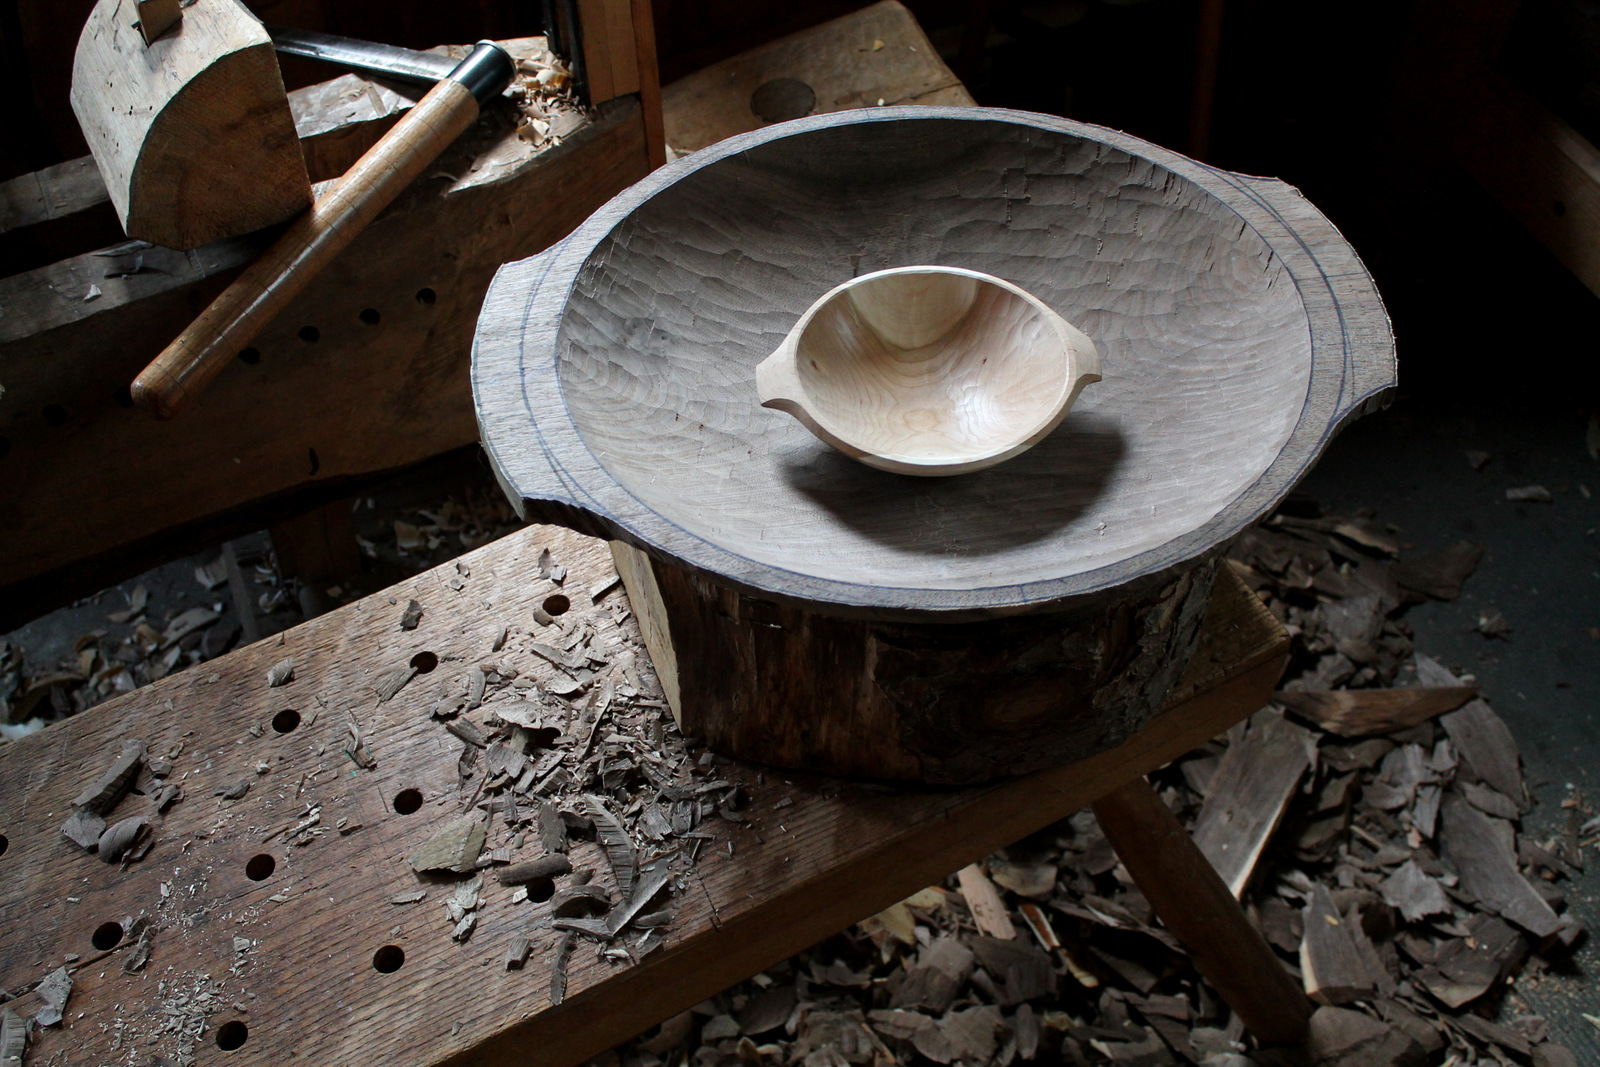
Carving a round bowl is essentially the same process as carving a long trough-style bowl.  Laying out circles is much easier, in fact.  Then all that’s left to do is hew away with axe and adze. I just make sure to take extra care on the end grain areas near the rim.  I sharpen my axe and emphasize a slicing motion.

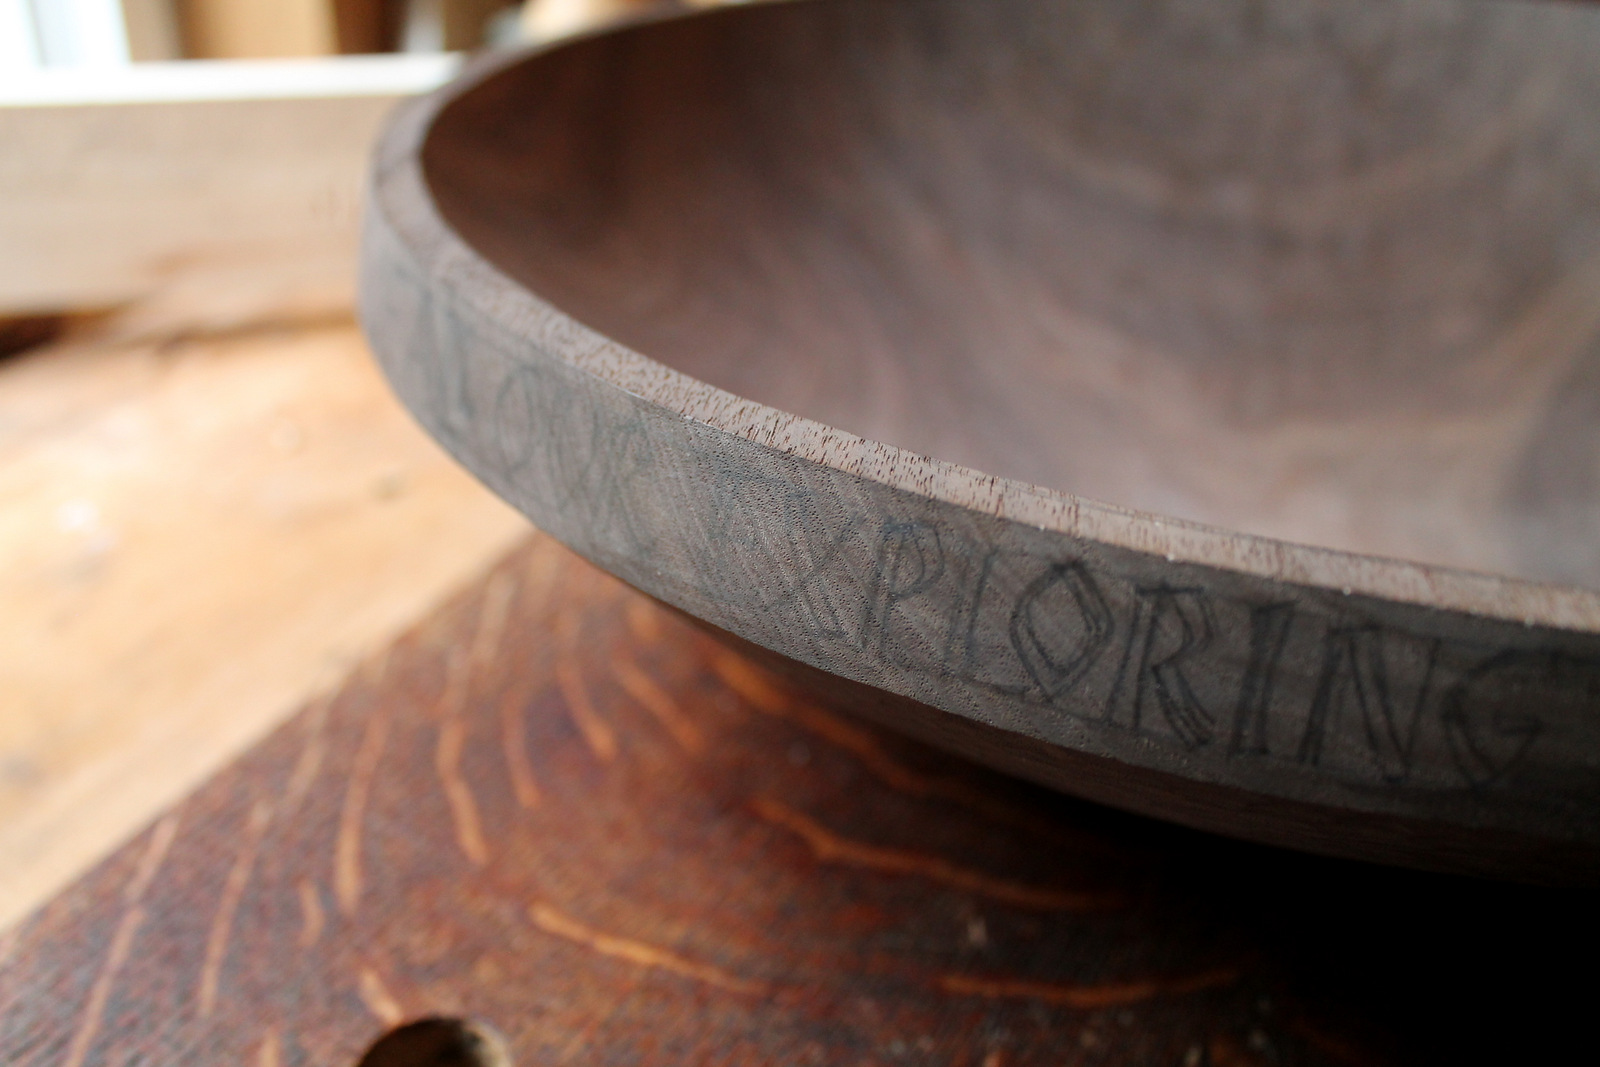
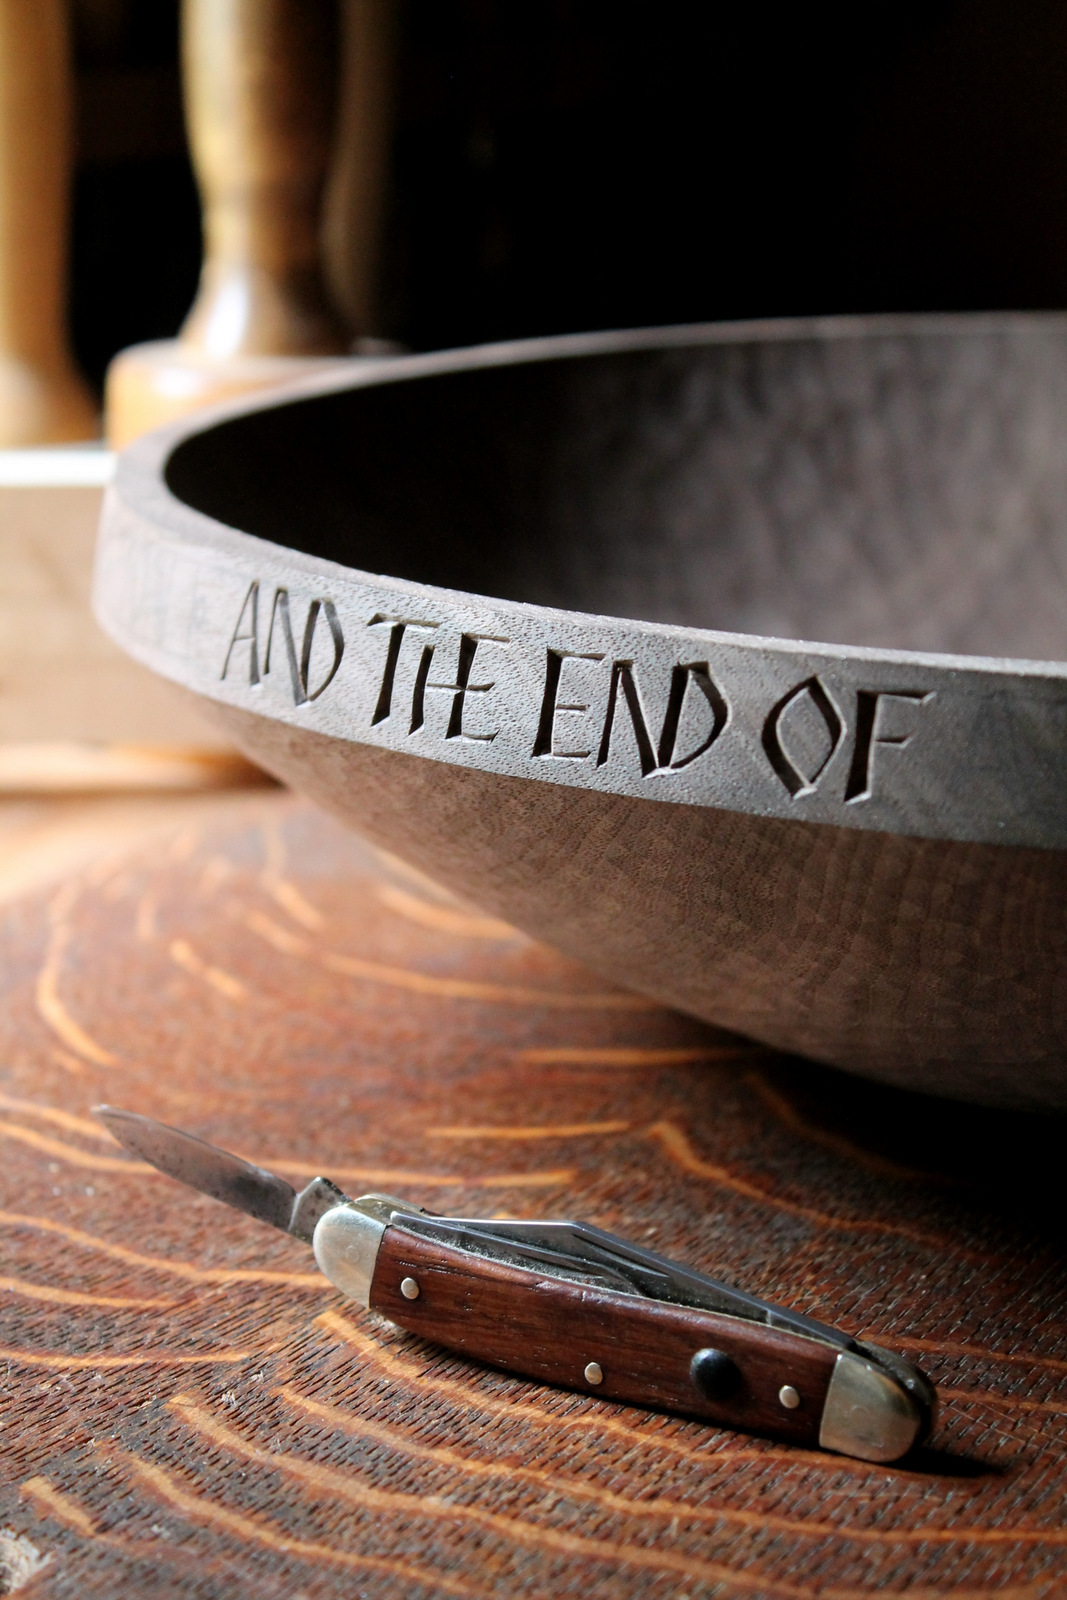
IMG_4582The lettering itself was an interesting challenge.  I drew many sketches of various potential letter forms, then, still on paper, worked out the spacing generally so that the verse would finish where it began along four feet of circumference.  I then sketched the inscription onto the wood and began the painstaking process of carving the letters.

IMG_4589 I experimented with different techniques for these letters and found that my finely sharpened pen knife blade worked best.  Slicing with the knife proved to be the best strategy for dealing with the constantly changing grain around the bowl.  It required cutting straight into end grain at times, as well as side grain and transitional areas.

I’ll put a few more photos below if you’d like to see some more shots.  I’ve also just listed it for sale at my website which can be reached by clicking here. (update: sold 6/11)

 IMG_4663IMG_4649

IMG_4636IMG_4634     

Posted in bowls, Lettering, quotes and excerpts, Uncategorized | Tagged , , , | 15 Comments

Chairmaker’s Notebook

IMG_4581

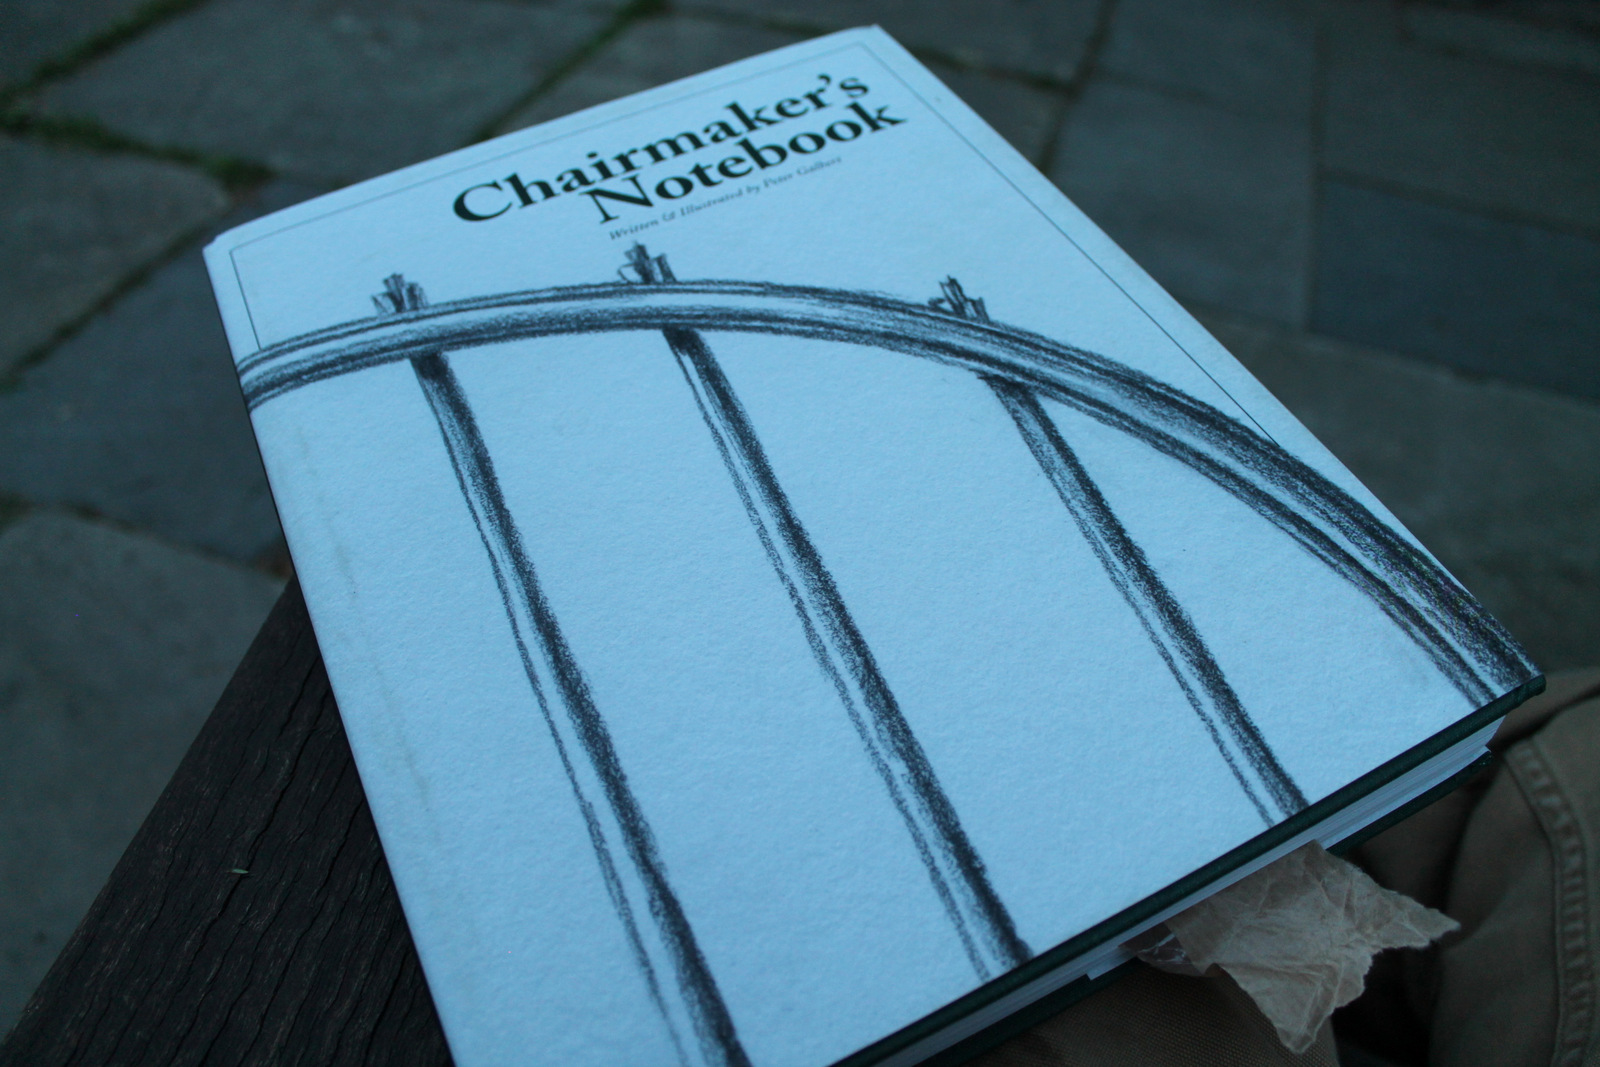
Some of my favorite books have beautifully drawn illustrations.  Books by Eric Sloane and Edwin Tunis come immediately to mind.  I can now add another to that list: Chairmaker’s Notebook by Peter Galbert.

One difference is that, while Sloane and Tunis were primarily illustrators who researched their topics, Galbert is an experienced and gifted chairmaker who can also draw beautifully and instructively.   In this book, he presents an incredibly thorough treatise on the method of chairmaking accompanied by hundreds of drawings.  The drawings are so well conceived, so well done, that one could get the message without reading the text!  But that would be a shame, because, the author has a wonderful writing style.  It is as if he is standing beside you in the shop having a conversation.  He anticipates what potential misunderstandings may occur — what may trip you up — and provides advice to avoid them.

Some of the drawings can be viewed here.

Even if one has no plans to build a Windsor Chair, the book is worth considering.  Galbert includes amazingly detailed and very practical advice on so many things: sharpening, riving, storing green wood, shaving horse design, and on and on.  Although the chapters are organized around the journey, from start to finish, of building a chair, this is not simply or primarily a book of chair plans.  It focuses on the concepts that empower a maker to work closely with wood and make what he or she wishes.  Consider the similarities in the processes of sculpting a chair seat and sculpting a bowl.

No, I don’t know Peter Galbert or Chris Schwarz.  I simply felt it was worth tipping my hat to Peter Galbert for a job incredibly well done.

Meanwhile, I hear some walnut calling me…


Posted in books, green woodworking, sketch, Uncategorized | Tagged , , | 7 Comments

Round Top

IMG_4544

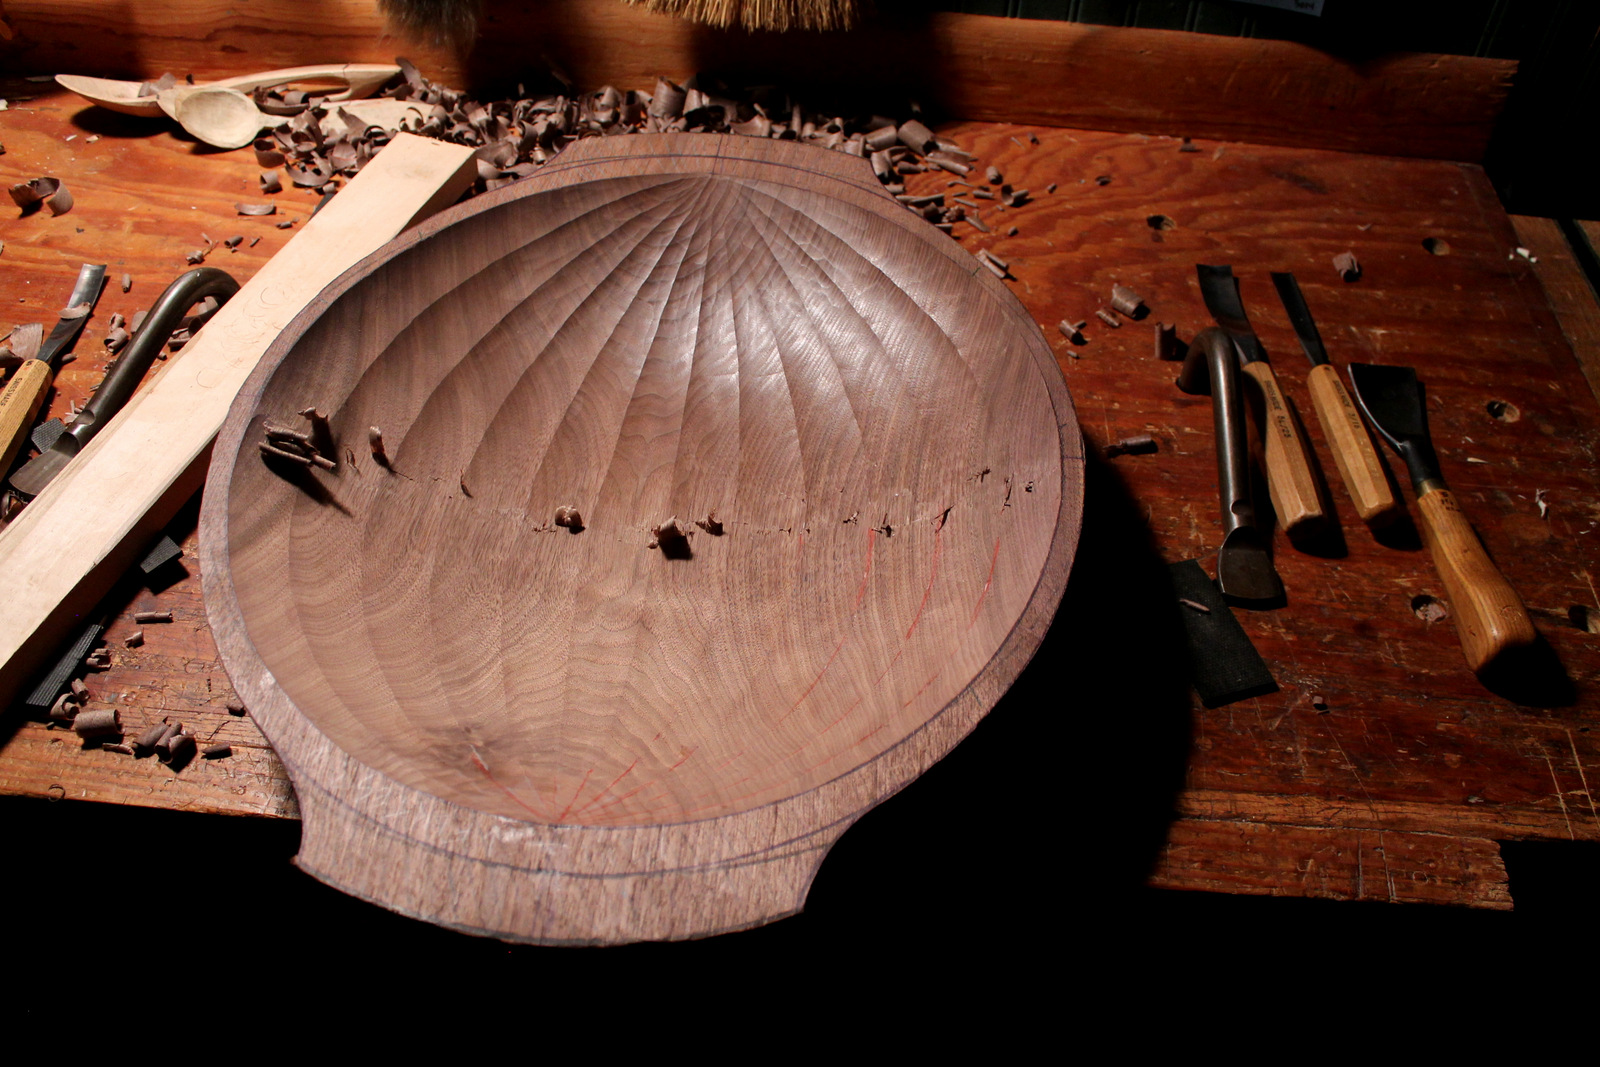
I recently completed the green-carving stage of a walnut bowl.  This log was twenty-seven inches long with heartwood about fifteen inches wide.  I wanted the rim of the bowl to sweep gently downward from the handles to the middle. When working with a log “upside down” or “bark-side up,” this occurs naturally as the hollow is carved into the curved outer surface of the tree.  In this situation, I simply laid out a gentle arc on the upper surface (split side) of the log.

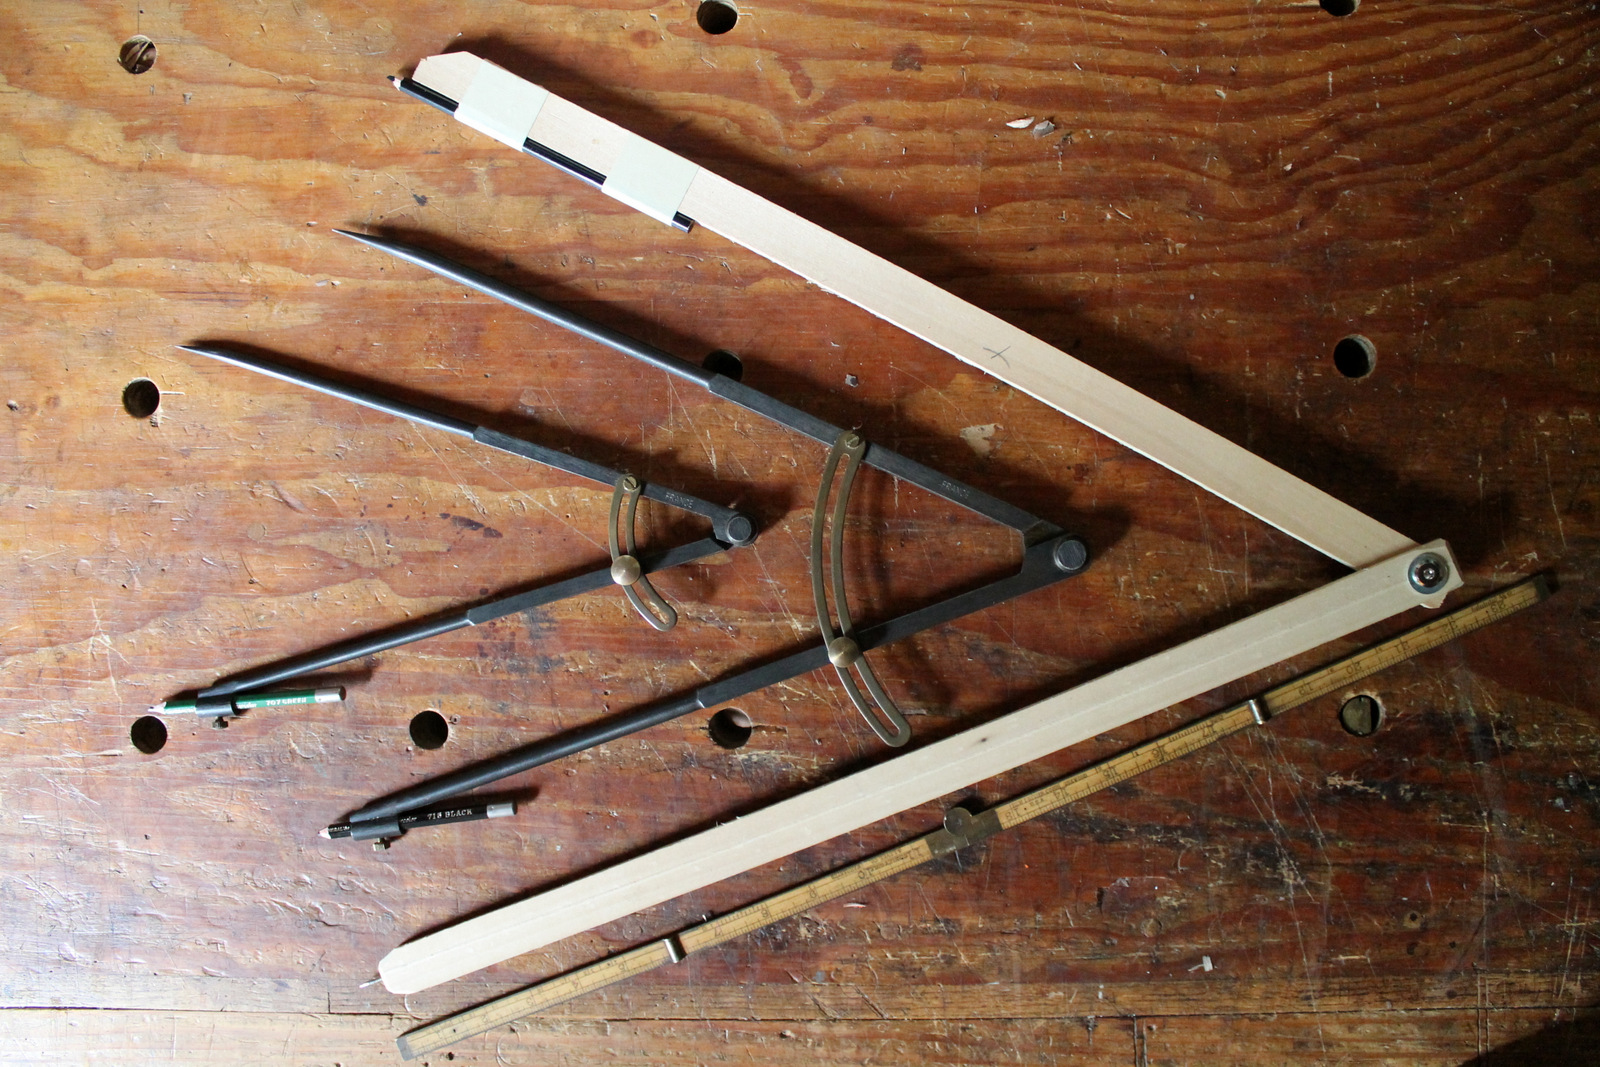
IMG_4577To lay out such an arc, I first hew and plane flat the bottom surface of the bowl.  After marking a vertical center line on each end with a square registered on the top of the workbench, I move the log to the edge of the bench.  The center line on the end of the bowl is lined up with a line on the face of the workbench (even extending down the face of the sliding deadman).  I can now experiment with various arcs by adjusting the compass.  Once I find the one I like, I mark the end grain clearly with a sweep of the compass pencil.  Then, keeping the compass set the same, I flip the log around and mark the other end the same way.  This layout is visible in the top photo.  In the photo to the left, the bowl is already roughed out, but I am showing how the setup would be during layout.

IMG_4575On this bowl, my largest compass wouldn’t open wide enough to create the arc I wanted.  I have fiddled around with strings and trammel points before, but I decided to just throw together a quick compass for occasional use with some scraps and a bolt.  It really only took about ten minutes, and works fine.

2014-1 butternut bowl sideA steeper arc during layout creates a more dramatic sweep along the handles and rim.


IMG_4339A shallower arc creates a more gentle sweep along the handles and rim.

Once the arc is laid out, then I hew the excess away before the final refinement with a drawknife.  For this big bowl, I got to the final upper surface with a scrub plane (which, in my case, is just an old Stanley jack plane with the iron shaped to a heavy camber) and then a longer plane.  Then I lay out the plan-view outline of the bowl onto the arched surface (which also involves compasses) then grab my adze.

IMG_4569This bowl is so big, that after hollowing with the adze, I tried evening the surface of the hollow with a travisher I’ve used in the past for working chair seats.  Worked pretty well.  Not a critical tool or step, but it was an interesting experiment.  The outer surface has been hewn, and now it’s drying time.  After a couple weeks, I’ll revisit it and make some finer chips.


Posted in layout, proportions, Uncategorized, walnut | Tagged , , | 5 Comments

Quiet Green Places

IMG_4558

Industrial progress may be likened to a wide road of modern design, along the centre of which traffic is speeding at tremendous and dangerous velocity.  At the sides there are footpaths where old people may saunter and children may loiter; there are many who are not made for the speed track, but for the quiet by-roads.  We have to find a way for the slow and quick to live together.  Might there not be more bridges from the centre to the stiles and grassy lanes that lead into quiet, green places where, like children, we have time to live and think and grow wiser?

— K.S. Woods, Rural Crafts of England (1949)

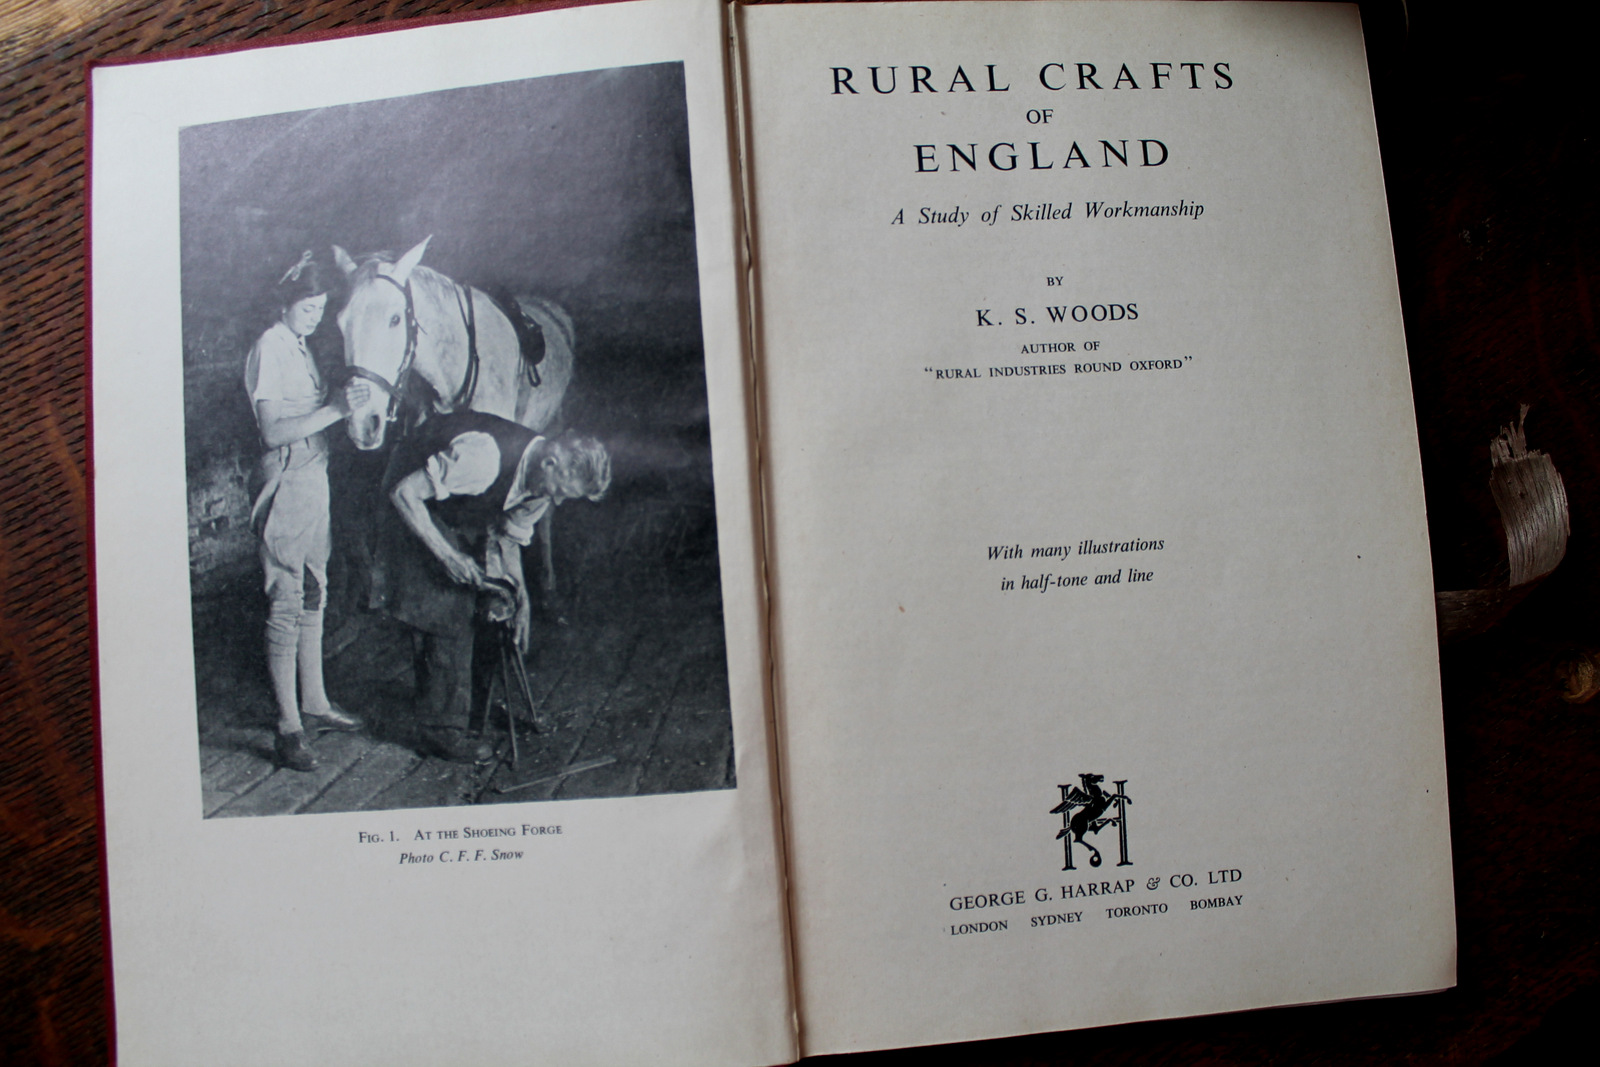
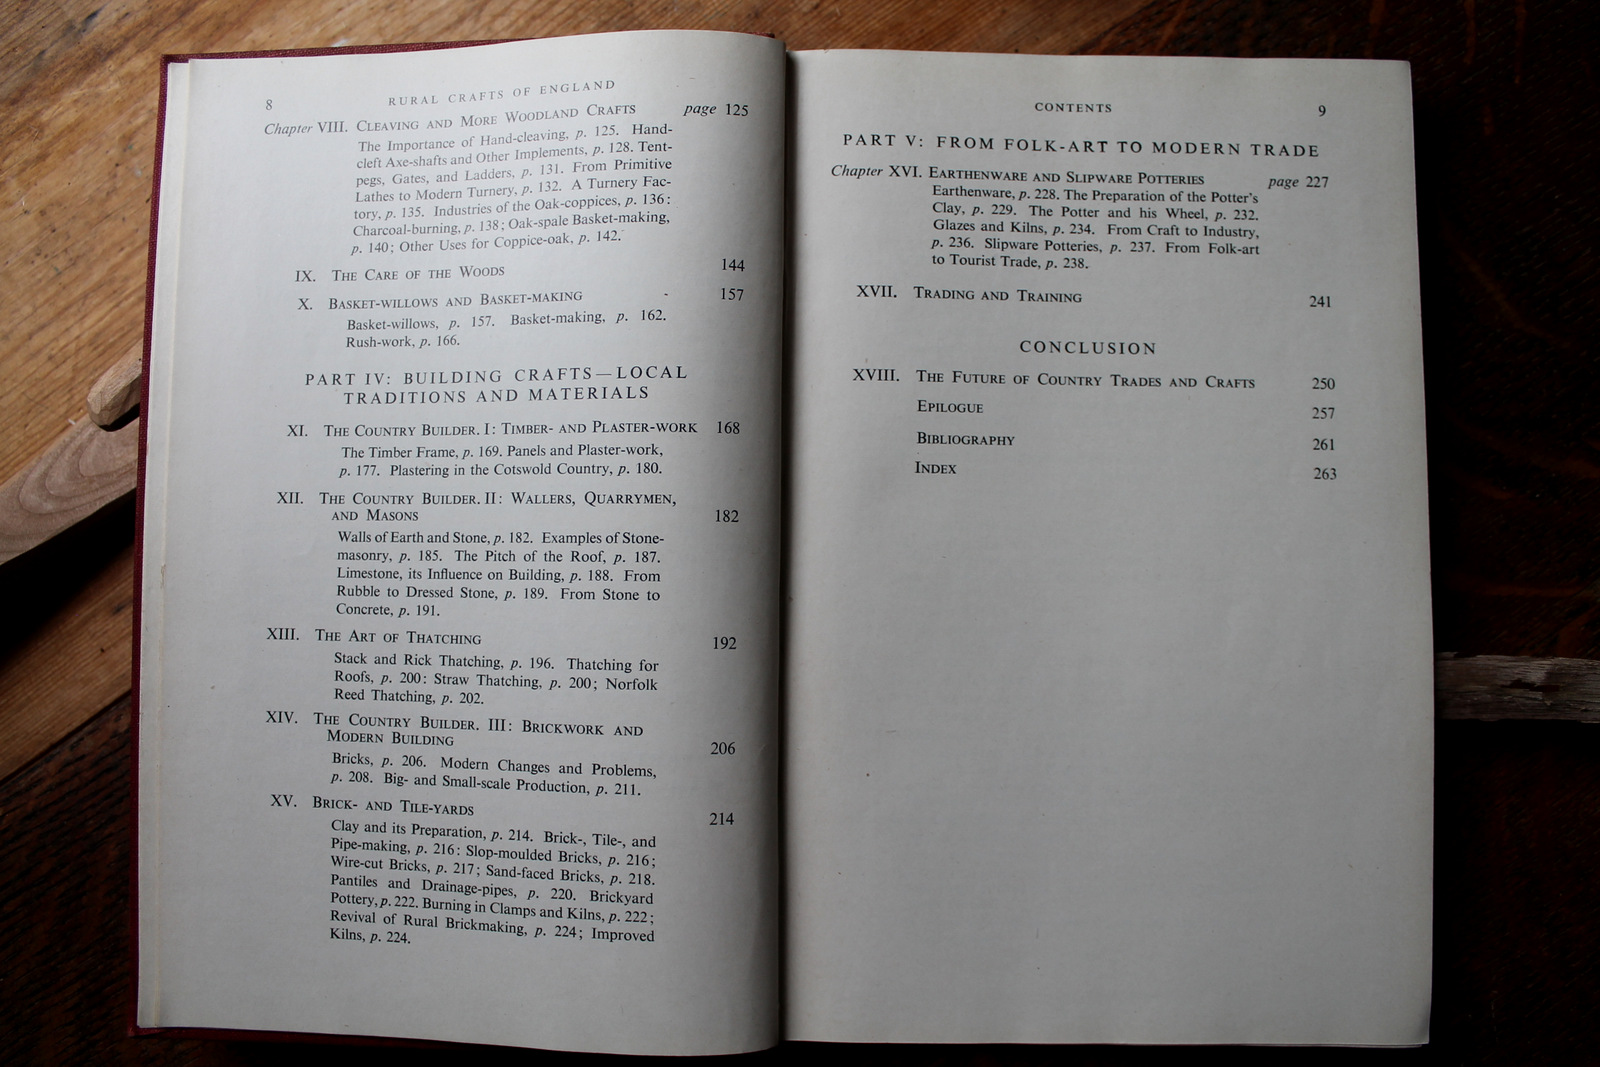
Not long ago, I received a thoughtful email from Glen Campbell with a book suggestion:  Rural Crafts of England by K. S. (Katharine Seymour) Woods.  I found an original, published in London in 1949.  It is a charming and insightful book, with thoughts that still resonate today.  In the preface, Woods herself describes her experience and hopeful vision: “The author has had the opportunities of paying many visits to craftsmen, both after the First World War and again in recent years.  She has been privileged to watch two generations at their work, and to hear them talk about the things that are their life…. The craftsmen have greatly enriched her experience of life in a field which she believes may shelter, deep beneath the scars and furrows of a troubled period, the seeds of a new growth that can be brought to fruition for generations yet unborn.”

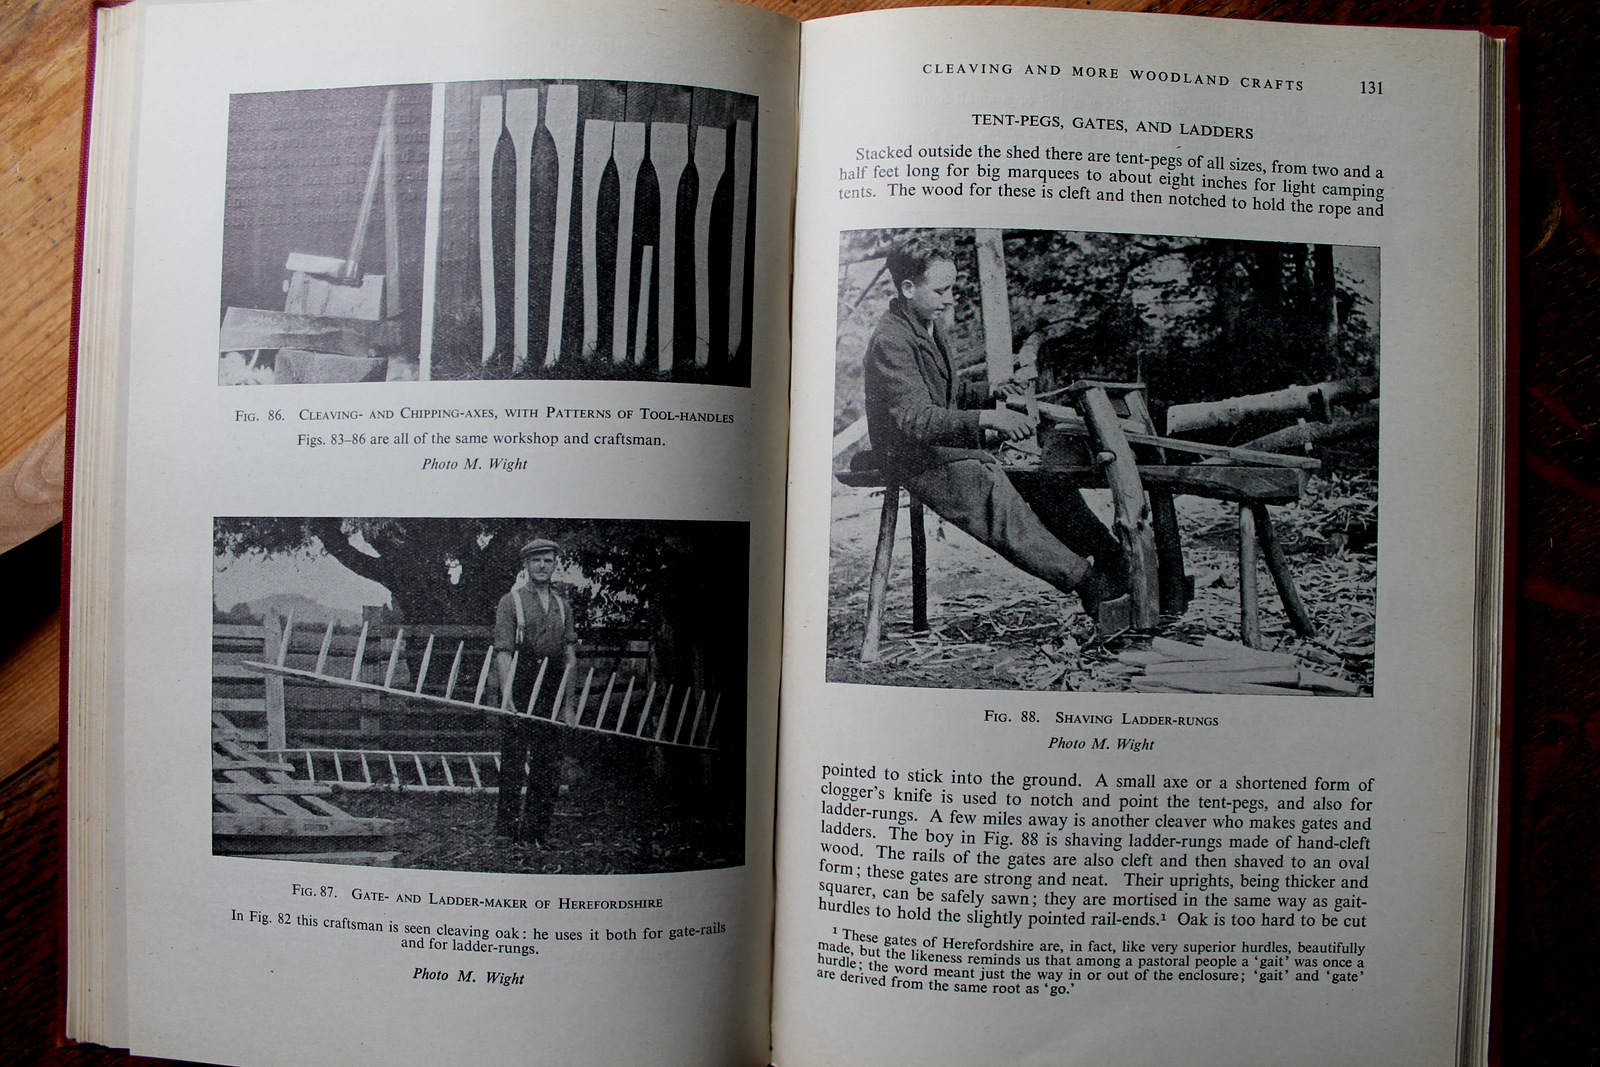
IMG_4562Her philosophical insights are sprinkled throughout the reader’s journey through the workshops, fields, and rooftops of England.  There is practical information for the craftsman and revelations into changing preferences:  “In skilled hands the cleaving-axe works with astonishing speed.  The older axemen, accustomed in the past to making their own handles, prefer English hand-cleft ash, which is springier than American hickory and does not sting the hands.  Hickory is hard and smooth and is increasingly popular with the younger woodmen.”

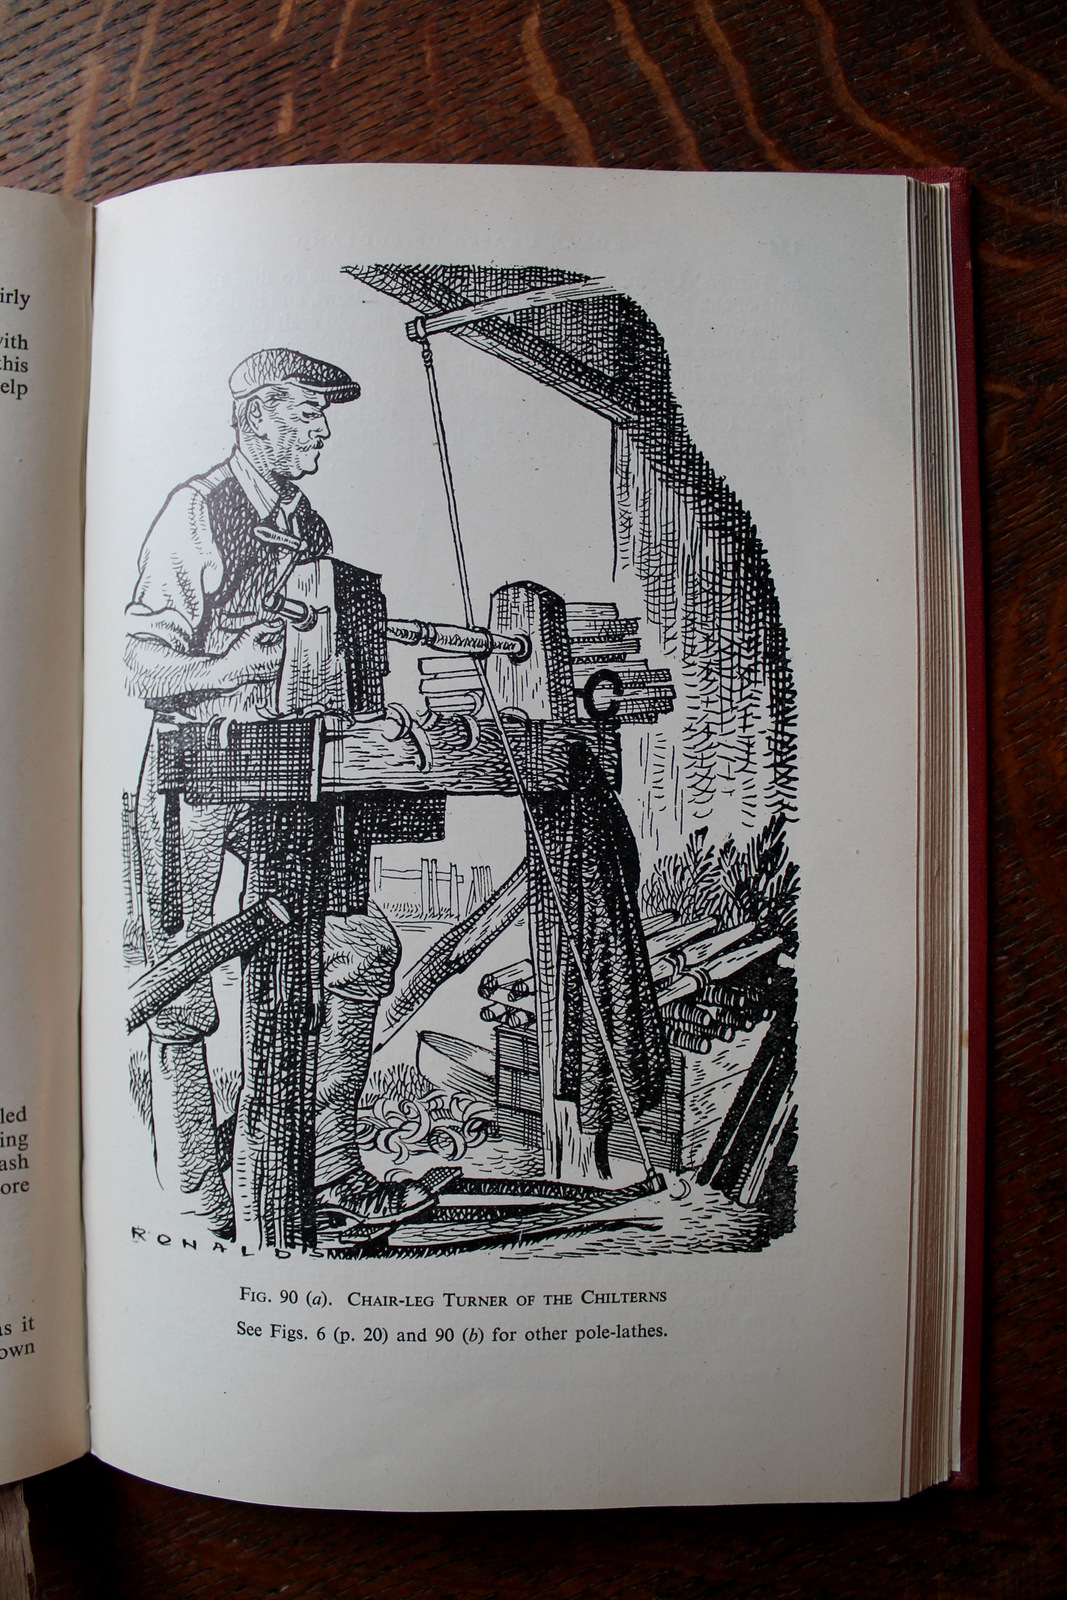
Below are some additional photos showing the contents and some examples of the illustrations and photographs within the book.

IMG_4563  IMG_4568  IMG_4565  IMG_4567

Woods was writing this book shortly after the Second World War.  While there was a call for modernization, efficiency and production, it was also a time when shortages and sacrifices necessitated a renewed reliance on traditional crafts and skills.  These  adaptations were encouraged and guided by the Rural Industries Bureau, a division of the ever-watchful Ministry of Agriculture.  Woods refers to the Rural Industries Bureau many times.  One way to step back into that period of time, and revisit many of the skills that Woods discusses in her book, is to view the BBC eight-part series Wartime Farm.  I’ve put a link below to the first episode, but the other seven are on YouTube as well.

Posted in books, quotes and excerpts, Uncategorized, video | Tagged , , | Leave a comment

New Walnut Bowl

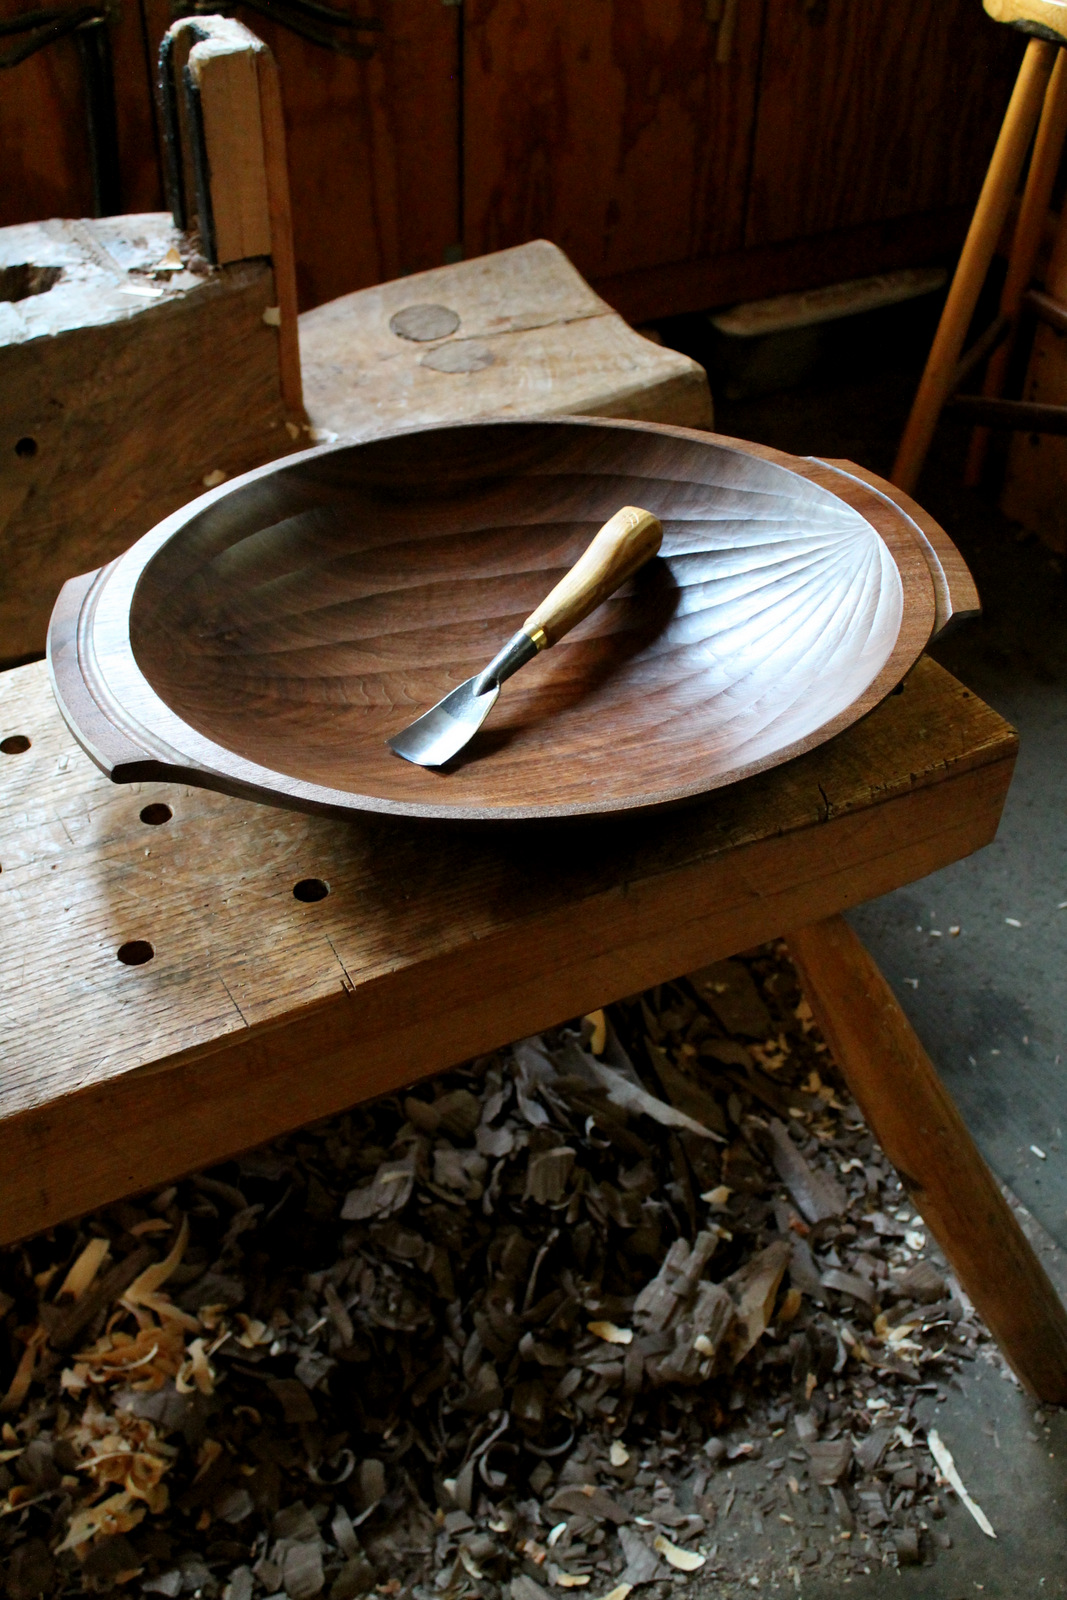
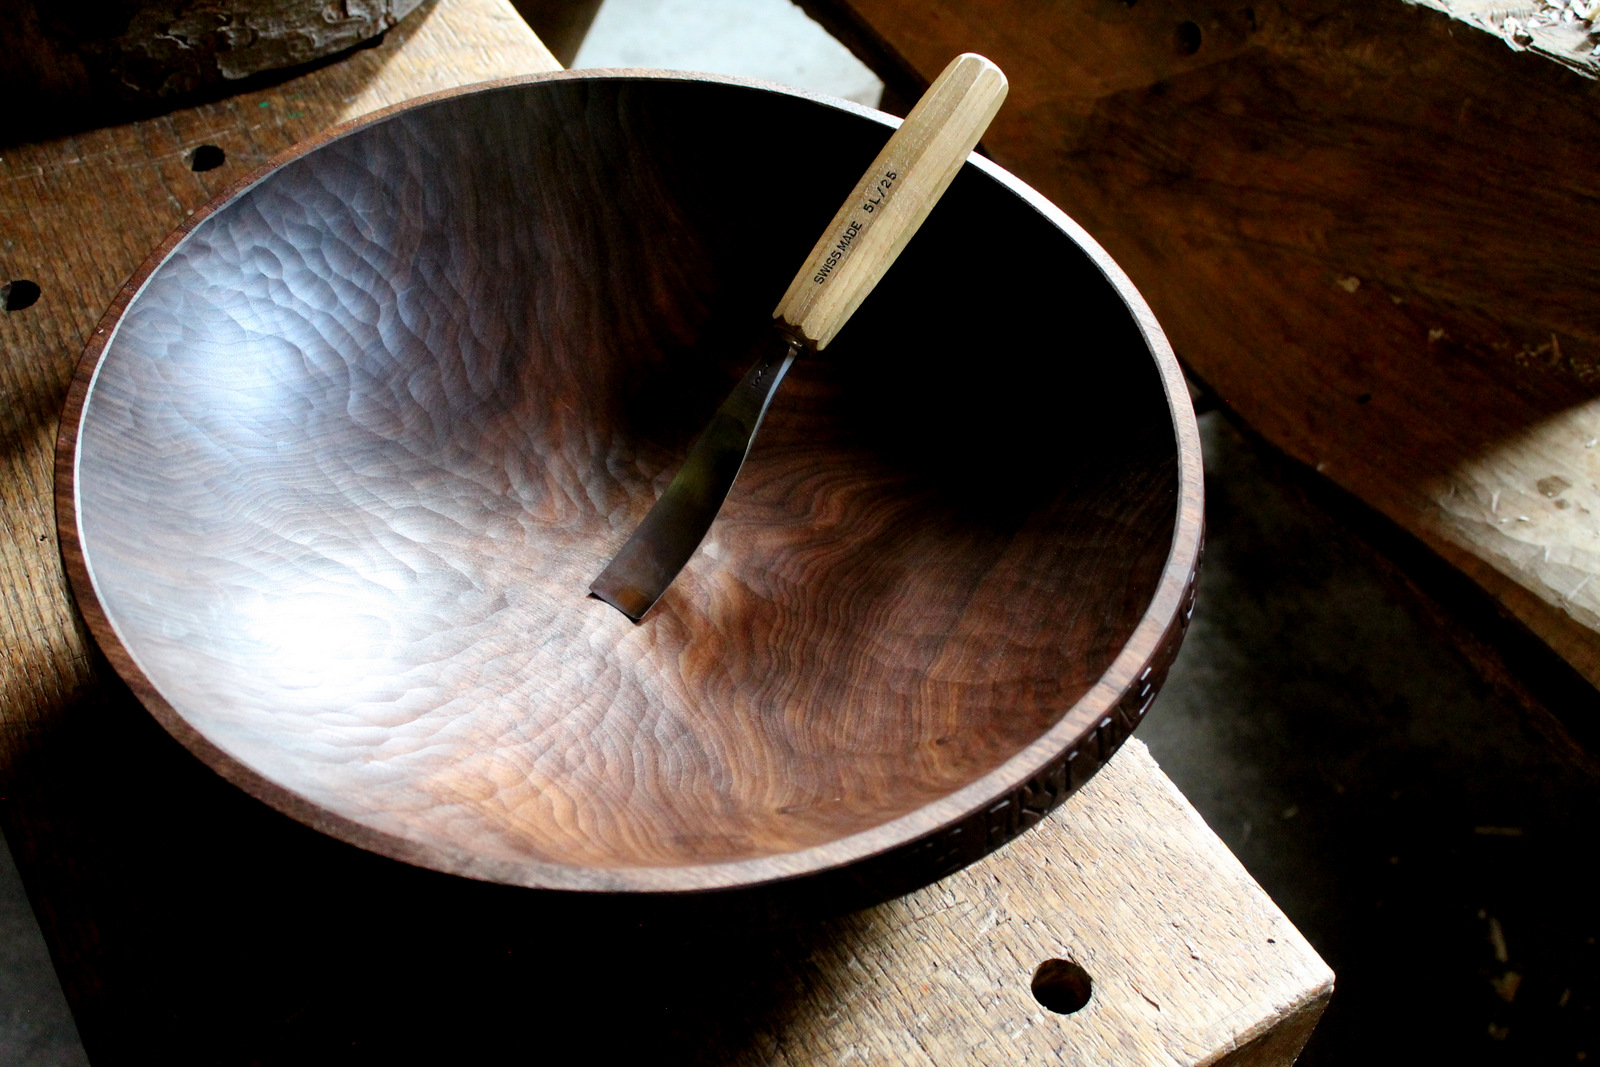
IMG_4525IMG_4516I have finished this fluted walnut bowl. While the flutes are nice, I tried to make the other, more hidden, side of the bowl interesting as well.  I hope it is like a pleasant surprise when somebody picks it up.

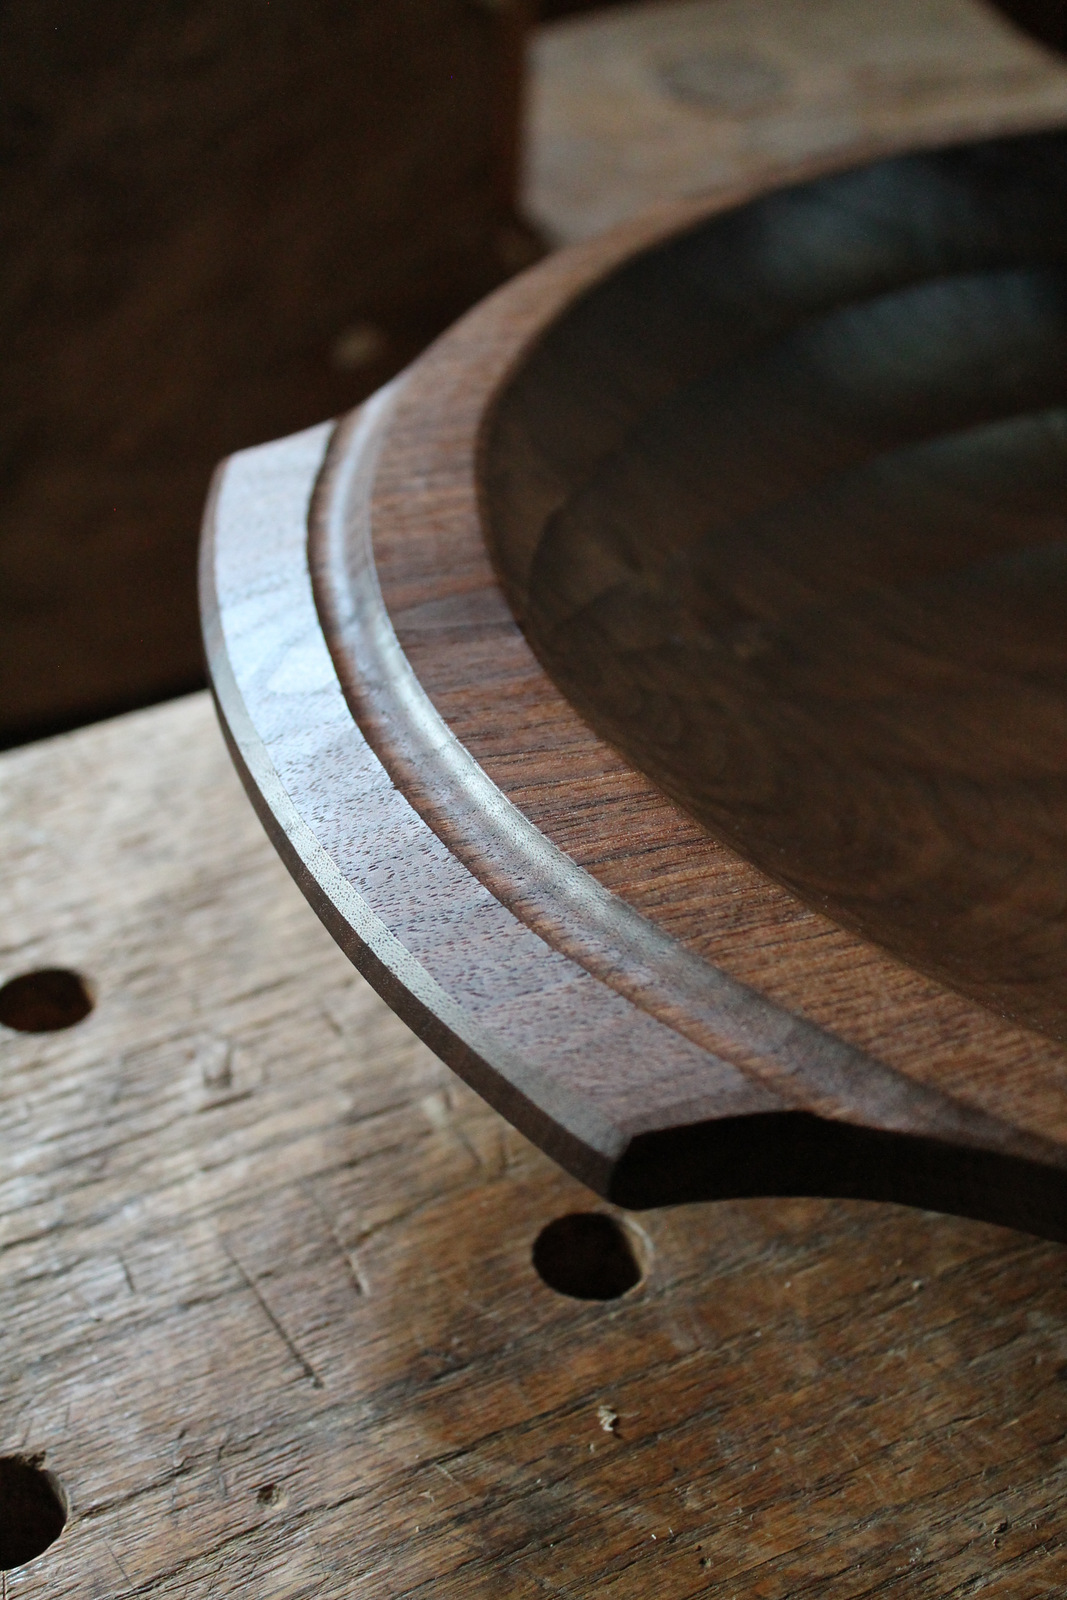
As can be seen in the top photo, the junction of the side and the lower surface of the handle continues on, subtly, across the outer surface of the bowl.  I also like the way the outer texture feels against the fingertips.

The flutes themselves are carved with a shallow gouge, so the raised ridge lines between them are strong and durable.  At 21 3/4 inches long, 16 3/8 inches wide, and 3 1/2 inches high, it should hold a couple dozen dinner rolls.  If you’ve got a small dog, it might even work as a coracle.

IMG_4522On the upper surface, the handles sit a little below the level of the rim and are set apart from it by a carved flute.  On this bowl I wanted the line of the outer rim to flow completely around, and this flute, or gutter, defines the outer rim at the handles.  Below are some additional photos.

IMG_4524

IMG_4540       IMG_4520


Posted in bowls, patterns, Uncategorized, walnut | Tagged , , | 12 Comments

Spring Inspiration

IMG_4475The Grass so little has to do –
A Sphere of simple Green –
With only Butterflies to brood
And Bees to entertain –
And stir all day to pretty Tunes
The Breezes fetch along –
And hold the Sunshine in its lap
And bow to everything –

–Emily Dickinson, The Grass so Little has to do (1862)

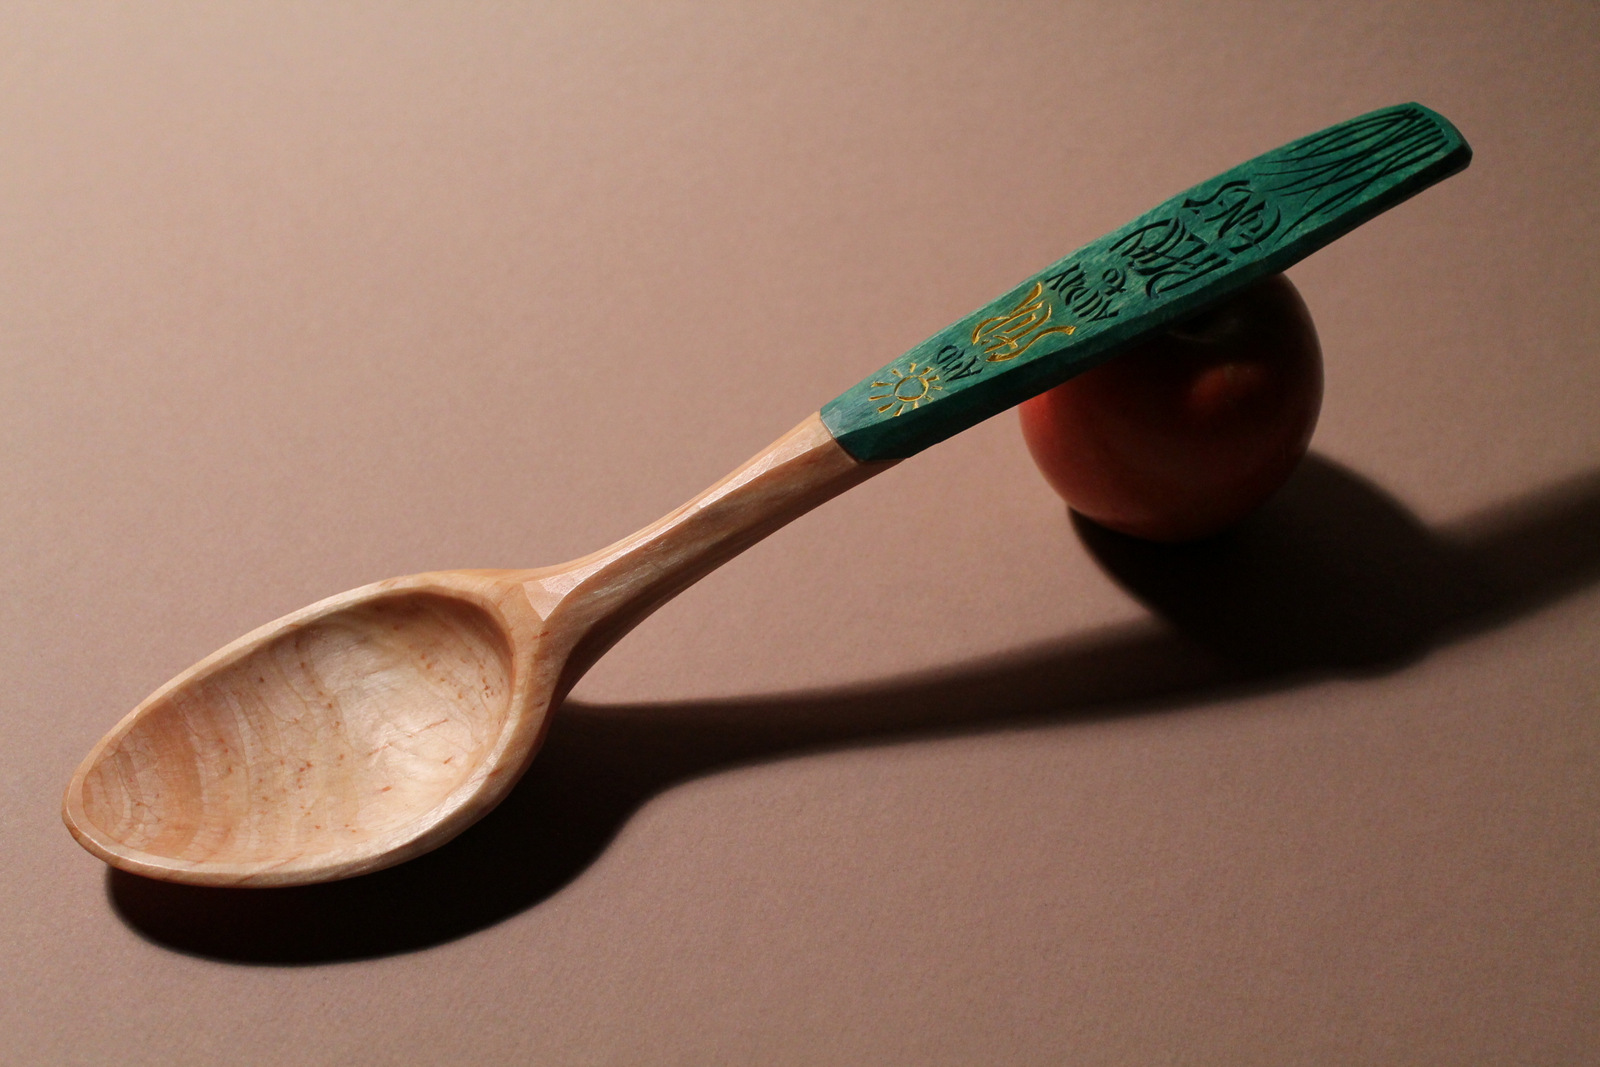
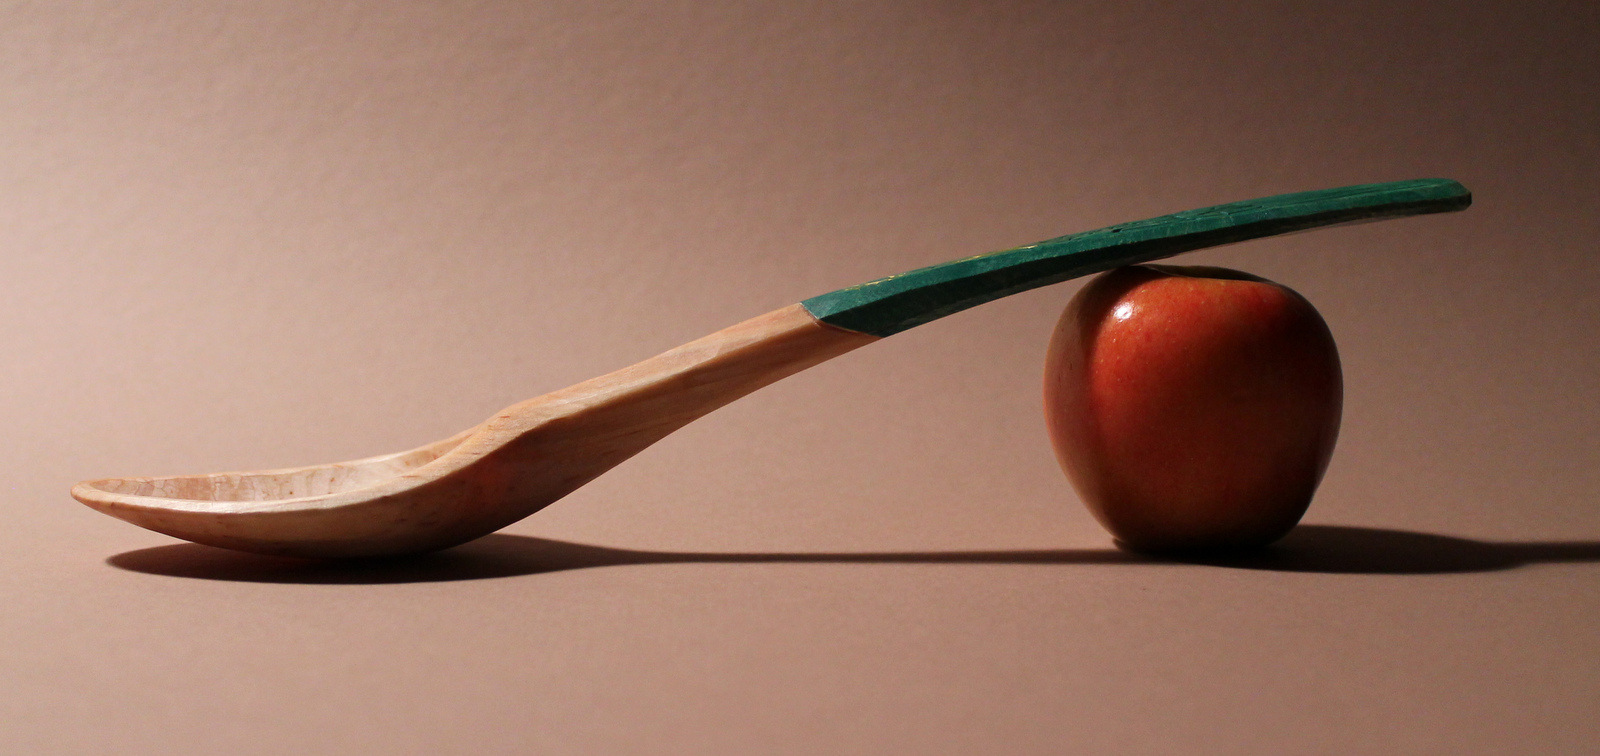
IMG_4477Spring has inspired me to be a little colorful, like with this birch spoon I’ve just finished.  After carving the words, I diluted some mixed artist’s oil paints with a little citrus thinner and applied it to the handle like a stain.  The letters naturally appear darker.  After that dried, I painted the sun and “stir” with a golden color.  Once dry, the entire spoon was soaked in flax oil for a couple days.

IMG_4470I’ve experimented with different types of paint.  There is something unique and versatile about oil colors, and they hold up well in use.  I’m not concerned with any potential toxicity in some pigments, as I only use them on surfaces not really in contact with food.  A beginners set of small tubes is reasonably priced and will go a long way.  Any color can be created through mixing.  Thinning allows the wood grain to show through and increases penetration into the wood.

Lighter, neutral-color woods like birch and maple, offer interesting possibilities for paint.  Below you can see some more examples, including some in which I carved through the painted surface to reveal the natural wood color beneath.  Mix it up and have some fun this spring.

web shrink box  web painted bowl  oc idea box  IMG_5812  IMG_6652

Posted in Lettering, paint, patterns, quotes and excerpts, spoons, Uncategorized | Tagged , , , , , | 1 Comment

Warmer Weather Walnut

IMG_4455

Back in the bone chilling days of January, my son and I warmed up a bit by collecting some walnut logs from a fallen tree at a friend’s house (and I posted about it here).  Now, the snow is gone, the birds are singing, and I’m nearly finished with a bowl from that walnut tree.

IMG_4408The shot at the top of this post was taken midway through the process of carving the flutes on the interior.  I’ve carved similar flutes on a few bowls now.  It is a bit painstaking, and, on dry hard walnut like this, painful at times!  You can see this same bowl following the green carving stage to the left.  It was close to 17″ wide at that point, and now it is around 16 3/8″ (x 22″ long).

The general procedure for the fluting starts with dividers.  I use them to pace off equal divisions along the lateral center line inside the bowl.  Then I sketch a series of longitudinal lines until they look right.  I use a shallow gouge to create a flute between the lines, leaving a raised ridge line between them.  In the top photo, remnants of the drawn guidelines still remain; I continue to pare away within the flutes until the pencil lines just disappear. The nature of the hand work provides texture and slight variations along the line and within the flutes.

If it gets warm enough over the next week or two, I might be able to set the finished bowl outside and let the sunshine help the oil cure.  I’ll post some pics when it’s finished.


Posted in bowls, layout, patterns, Uncategorized, walnut | Tagged , , | 3 Comments

Devilish Questions

IMG_4469When the flush of a newborn sun fell first on Eden’s green and gold,                         Our father Adam sat under the Tree and scratched with a stick in the mold;           And the first rude sketch that the world had seen was joy to his mighty heart,       Till the Devil whispered behind the leaves: “It’s pretty, but is it Art?”

— Rudyard Kipling, The Conundrum of the Workshops 

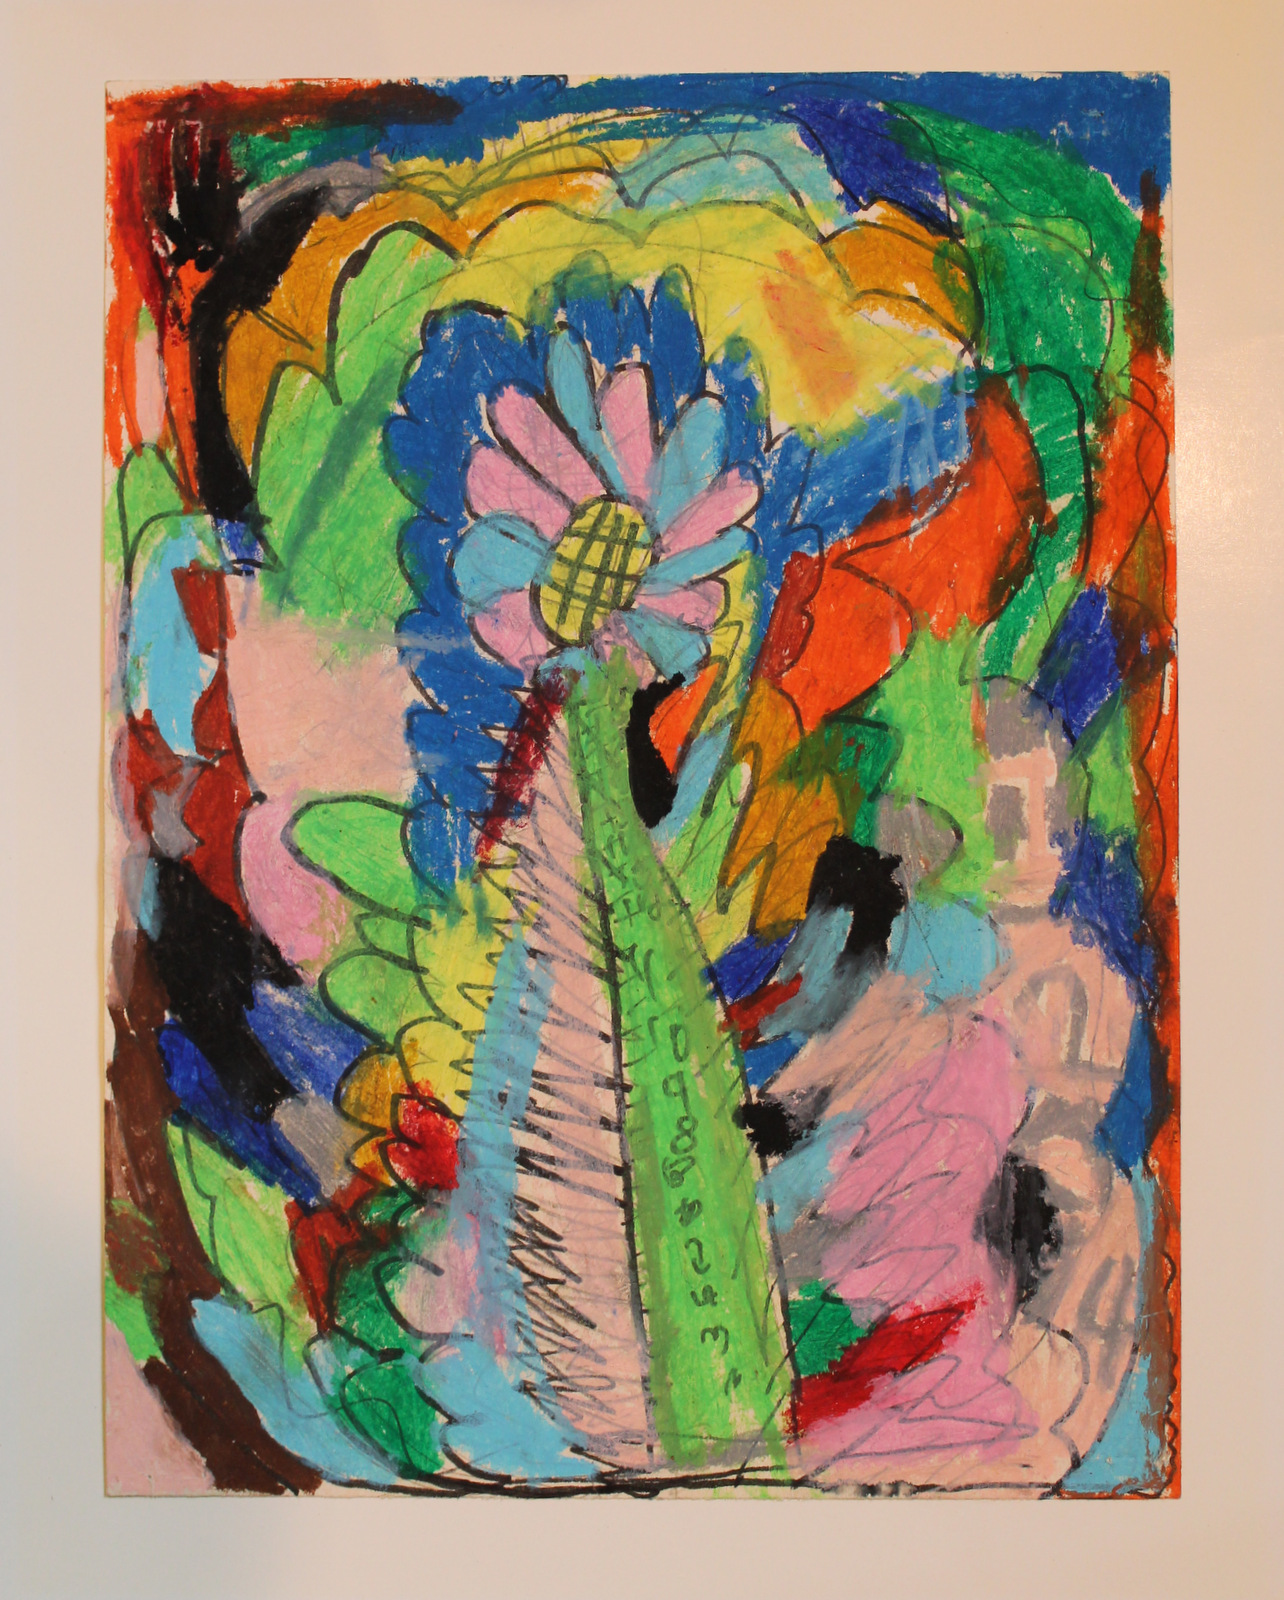
When my children were small, I loved to watch them draw; minds and bodies completely focused on the magic unfolding before them.  My daughter, especially, would often pause after adding a new line to a drawing, her face beaming with overwhelming joy.  She heard no whispering behind the leaves.

I keep a picture (above) that she did many years ago on the wall in my shop.  It is a reminder to revel in the creative experience.  Savor the moment and the joy. Listen to the music of the gouge slicing through the wood, deaf to devilish questions.

Posted in quotes and excerpts, sketch, Uncategorized | Tagged , | 4 Comments

Coracles

IMG_2214

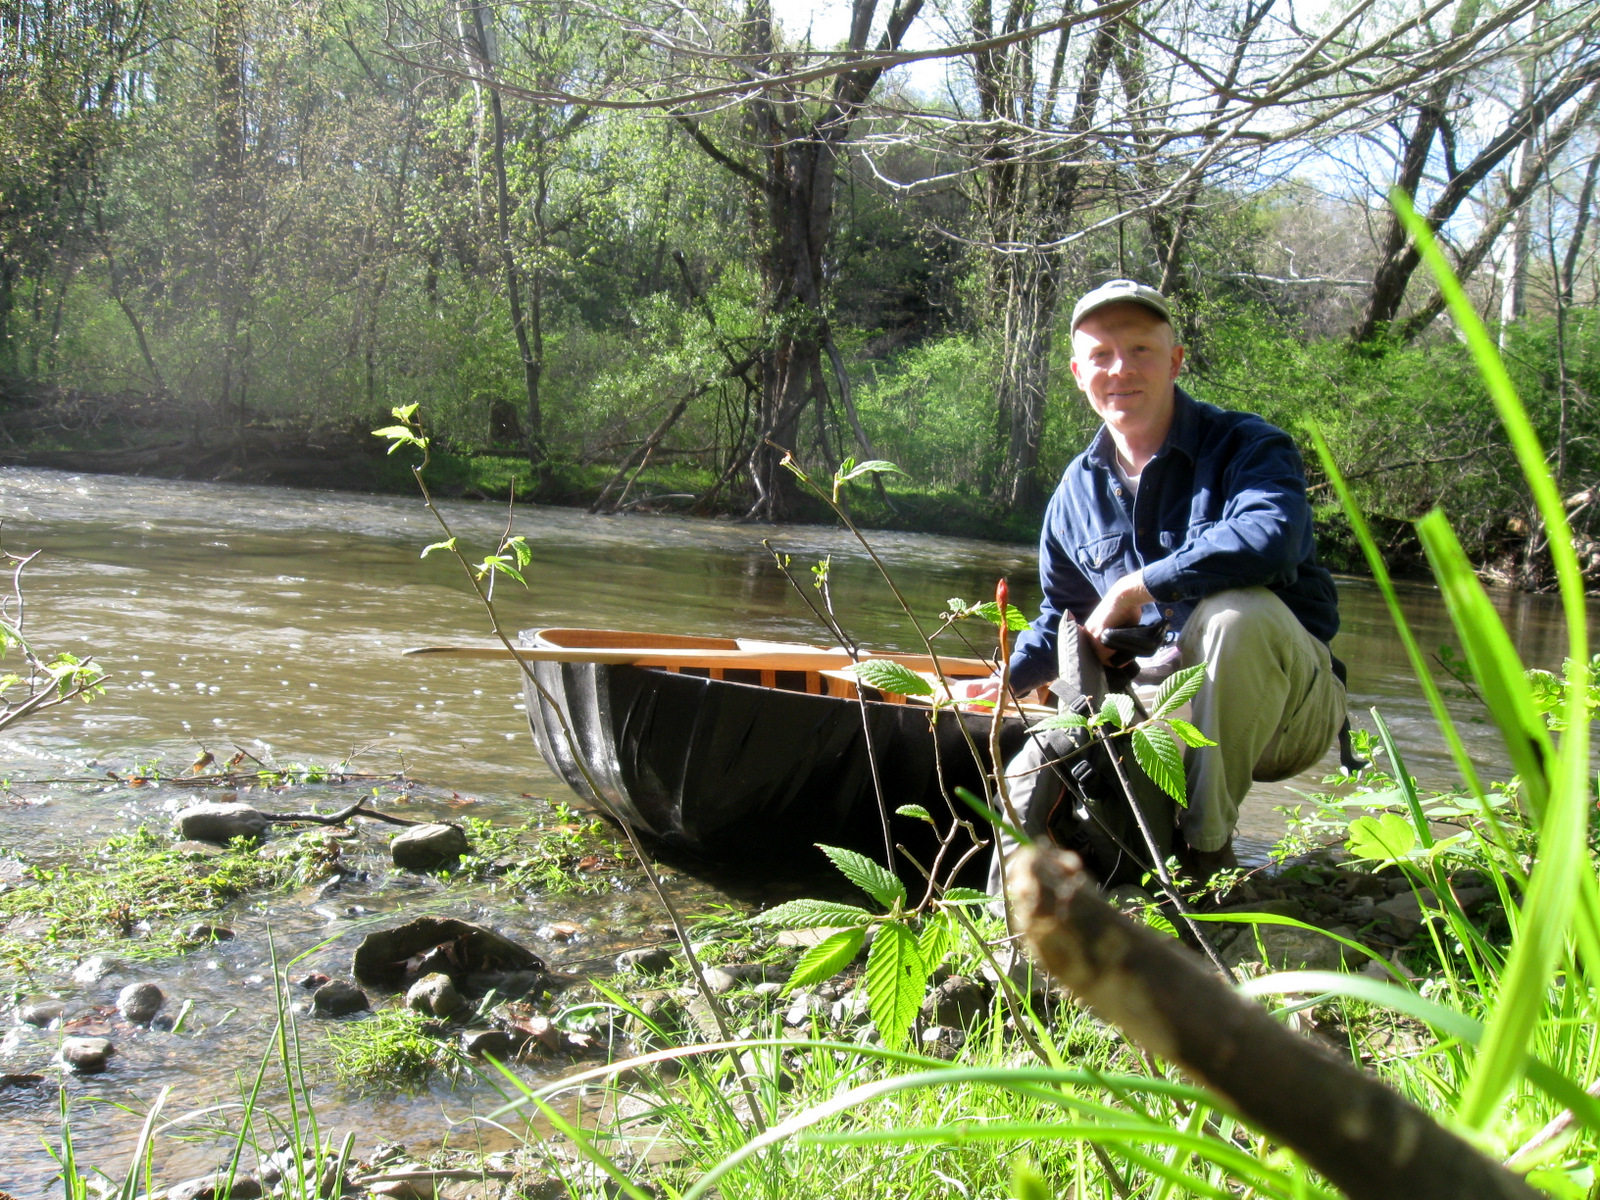
I’ve never been cool.  My natural tendencies, interests, even hair, just wouldn’t allow for it.  I’ve never been into fast cars or fast boats.  For a couple years, I even drove a bright blue-green Ford Aspire — and I still found a girlfriend (now my wife)!  So, if you see me walking to the river with a coracle on my back, there’s no need to say it; I know.  I’m not cool — but I’ll be smiling.

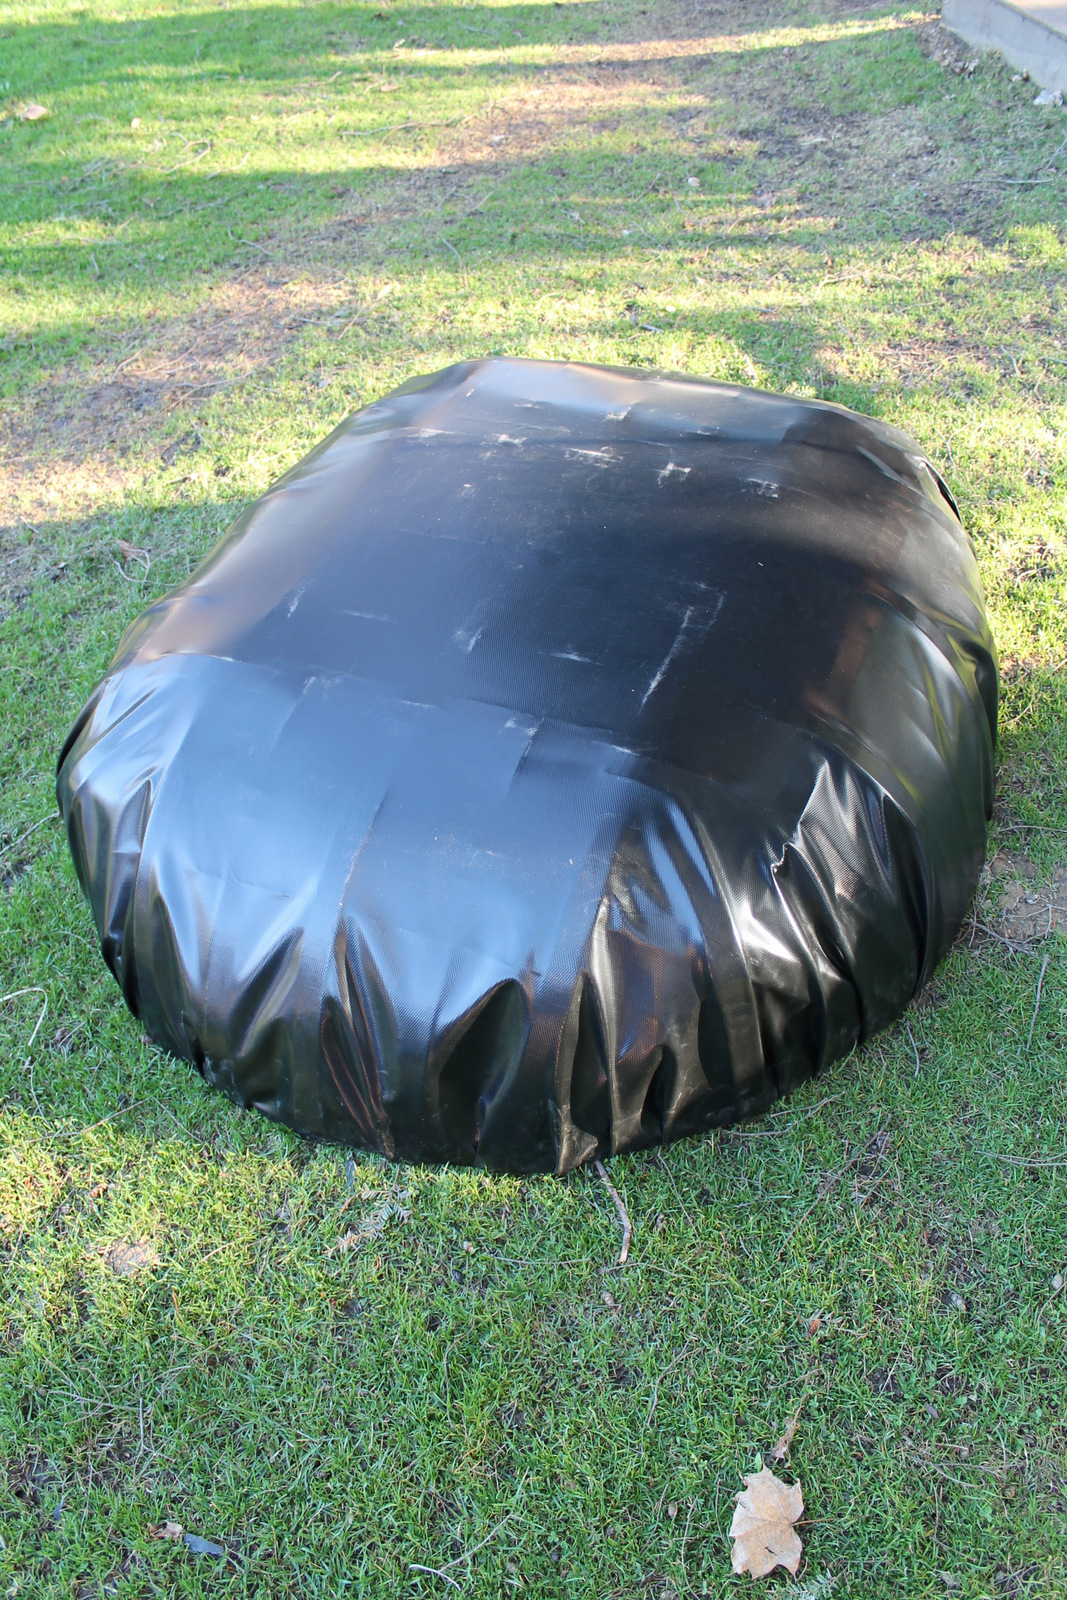
That’s because coracles are such fun — to build and to use.  I built a couple nearly ten years ago, one for me, and one for my kids to have some fun with.  After many duct tape repairs, it was finally time to “re-skin” it.  This time, rather than tar coated canvas, I used pvc coated polyester fabric.  It’s obviously not a natural fabric, but I gave in this time.  It is incredibly strong and should hold up very well against sharp rocks.

coracles2 SAM_2158 IMG_4424 IMG_4425

The sequence above shows the two coracles when I first made them, then the larger one right before I decided to re-skin it.  The third photo shows the sawn hickory laths re-exposed (hickory was probably overkill), and finally the new skin.

I am 185 pounds, and my coracle is plenty stable at 5 feet long and 4 feet wide.  I forget where I saw the general plan years ago, but here is a site with plans plus some great information in general about coracles.

There are many styles.  In this video clip from the BBC Edwardian Farm series, you can watch Sean Hellman build one with willow wands.  As you’ll see, they also try it out, but don’t let that deter you.  By the way, the entire BBC Farm Series shows are wonderful.  Most episodes are on YouTube in their entirety.  A quick search on You Tube will get you started.  Robin Wood is turning bowls in one of the Medieval episodes.

And this short video from 1934 should give you an idea of how stable they really can be:

A coracle is a little sluggish on open water, but a joy on a river.  It goes with the flow and spins around on command (or on a whim, sometimes) for a change of view.  And you don’t have to chance looking cool.

Posted in green woodworking, Uncategorized | Tagged | 6 Comments