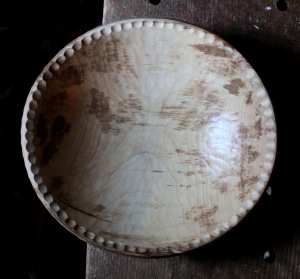
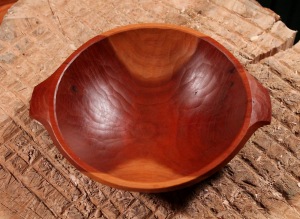
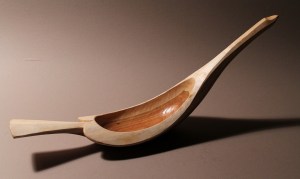
There may be no project in green woodworking as magical as the making of a shrink box. The magic happens slowly, but you still want to find somebody to ask, “Did you see that?!” Maybe that’s why I can’t resist a diversion once in awhile to make some more.
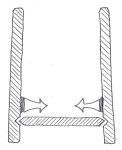 Many of those reading this will already be familiar with the general idea: Hollow out a green branch, cut a groove around the interior near the bottom, and the cylinder will shrink around the bottom board, locking it in the groove. Just below is a link to a pdf file of a brief description with photos of the process that I created for a demonstration at a local festival a few years ago:
Making a Shrink Box
 Although often called shrink boxes, you’ll also here “shrink pots” and of course many names in other languages. In Jogge Sundqvist’s book in the left photo, completely in Swedish, they are “Krympburk.” In fact, I think I made my first shrink box about ten years ago after reading Jogge’s book — well, I can’t exactly “read” it, but the pictures are so good that the procedure is clear. Here is a German version for sale — same pictures though! There are many tools and methods you could use to make one, but here are a few photos showing how I go about it.
No power drill compares to the amount of torque that can be applied with a T-handle auger. The lead screw of this 2″ antique pulls the auger through the wood and the sharp cutting lips shear the end grain. This tool is a blast to use. It does take some torque, but it is invigorating and rewarding exercise.
Depending on the size of shrink box you are making and the size of the hole bored, there may still be a significant amount of material to remove from the inside. One method I sometimes use to hog away some of the bulk is seen above right. I use a gouge (with a deep sweep) and mallet, proceeding around the interior perimeter. This removes long sections of wood following the grain.
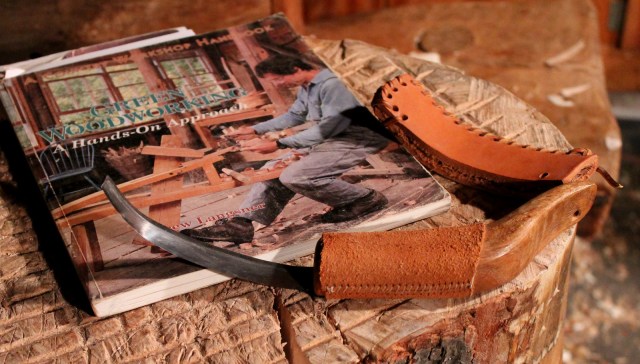 Any one of a variety of slicing tools can be used to remove excess wood and shape the interior: sloyd knife, hook knife, twca cam, etc. Wonderful cross-grain shavings roll out of the box as it and the knife are rotated opposite one another. One tool that I particularly enjoy using for this job is a crooked knife that I made from an old file several years ago, based on directions in Drew Langsner’s essential book Green Woodworking: A Hands-on Approach. As you’ll see through the link, Drew still sells the book, and it is a special one. It is a pleasure for me every time I refer back to my old copy full of underlines and page markers. I learned so much because of the thoughtful way that Drew organized and wrote this overview of green woodworking. He introduces the reader to the fundamentals and focuses on the skills and concepts that can be applied to a variety of tasks and projects, from spoons to chairs. It would be difficult to find anybody with a more comprehensive understanding of green woodworking than Drew Langsner, and here is much of it in one package that never needs to be plugged in. It’s a classic.

Marking gauge converted to a croze.
The one part of making a shrink box that was always the trickiest for me, was cutting the groove with a knife. Then I had an idea that has worked well. I borrowed the v-cutter out of a wood threader. This is the part of the tool that cuts the v-grooves in the male threads. I cut a mortise for it in the end of an old marking gauge and secured it with pressure from a screw from above. The marking gauge fence rides on the bottom of the shrink box, and the cutter cuts a groove parallel to the bottom.

Flexcut v-scorp
If you don’t have a wood threader from which to pilfer the cutter, one could easily be filed from a small length of tool steel, using a triangular file for the main channel. I also noticed that Flexcut makes a small v-scorp that looks ideal for cutting the groove. I have never seen one in person, but based on the photo and description, I can’t imagine why it wouldn’t work.
A few days after the dry bottom board has been put in place, it will be locked in due to the drying and shrinking of the cylinder. Now there are many creative options: lids, decorative carving, and so on. You can do it right away, but there is no rush at this point. Like the bunch in the opening photo, they can wait for further work. That will also provide time for some new ideas to simmer that I have for some of them.
And, finally, I’ll finish with a few photos of some I’ve made over the years. There are many potential uses (how about holding wooden spoons) and endless design possibilities. Have fun playing with magic.

 Nearly all of my work is left from the sharp edge of a paring gouge. I discussed the process and tools in some detail in



 To all spoon makers, past or present and known or unknown, throughout the world for providing us with basic utensils that may feed our body but are also often beautiful small sculptures that feed our mind and soul. You bring beauty to our lives.