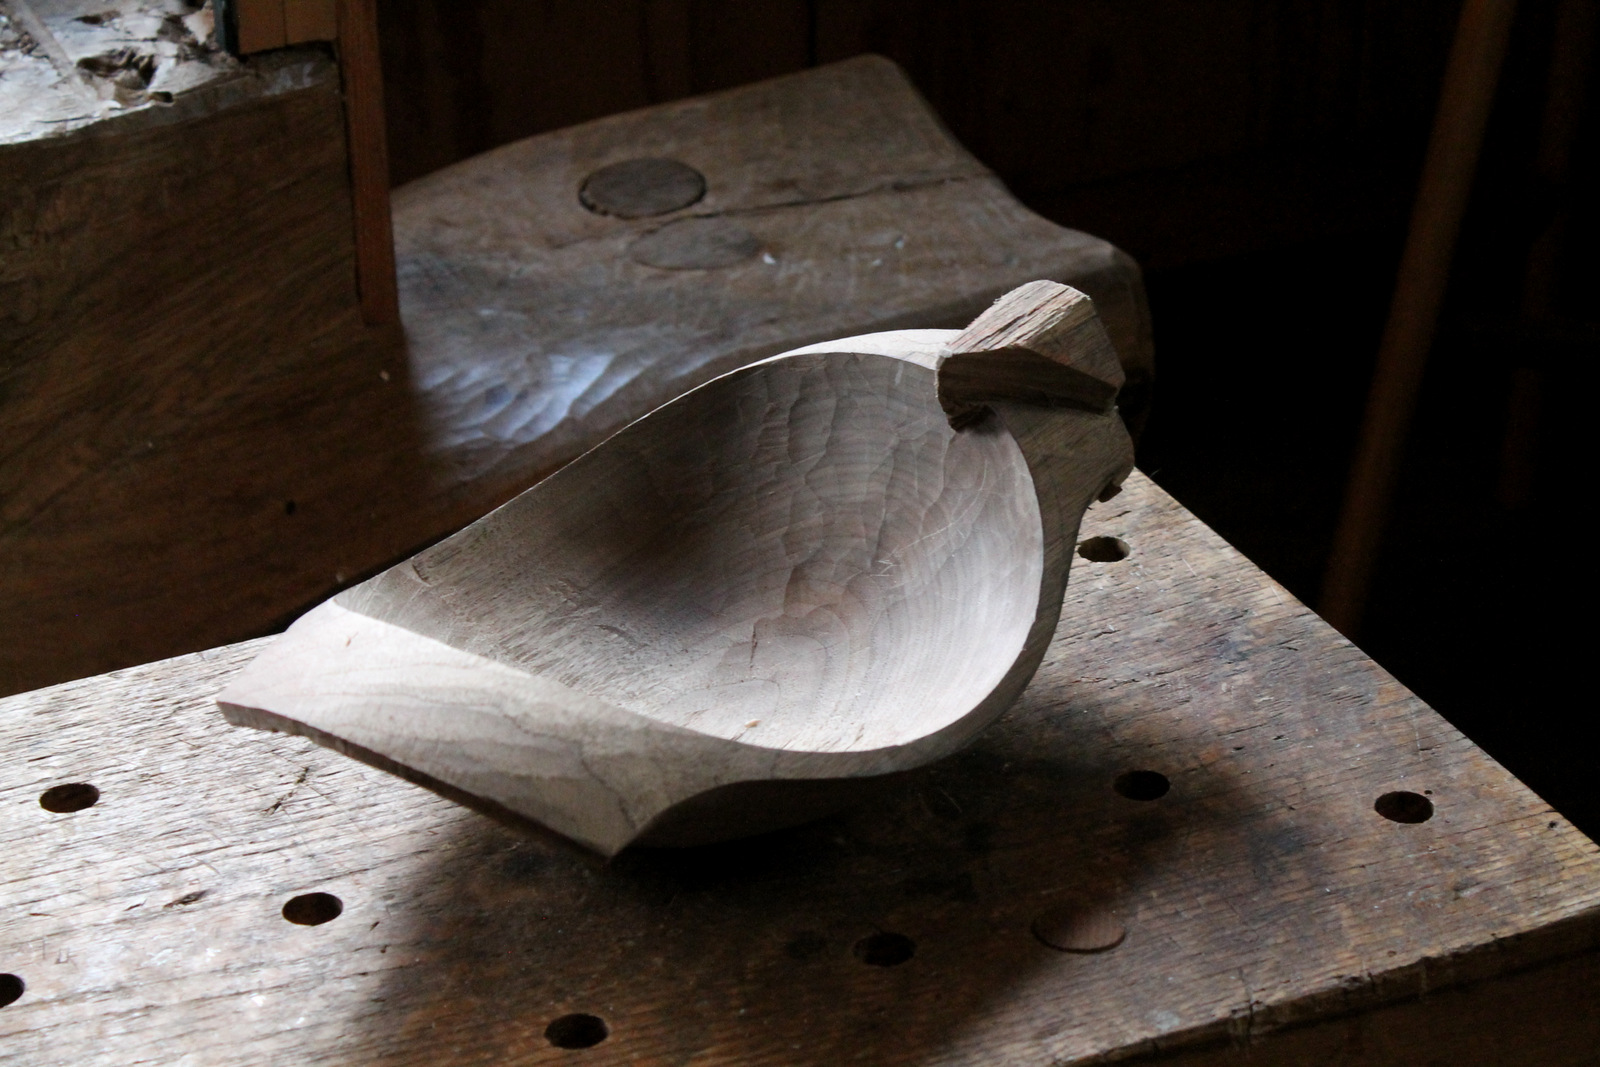
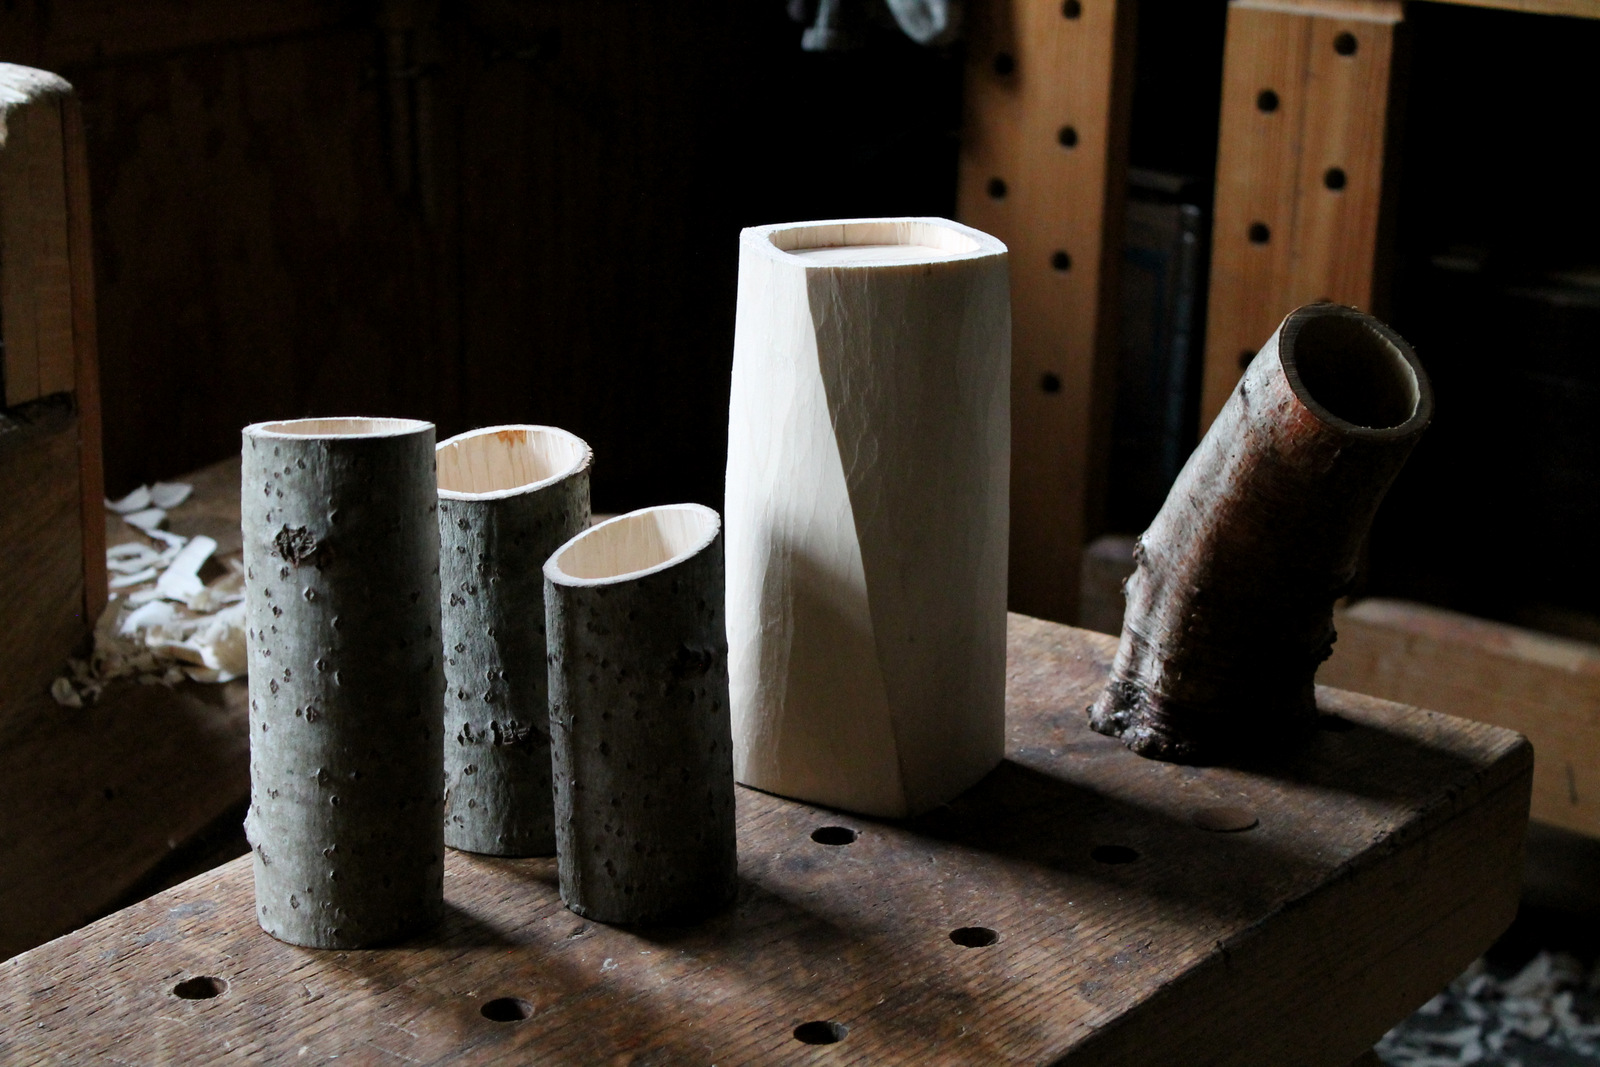
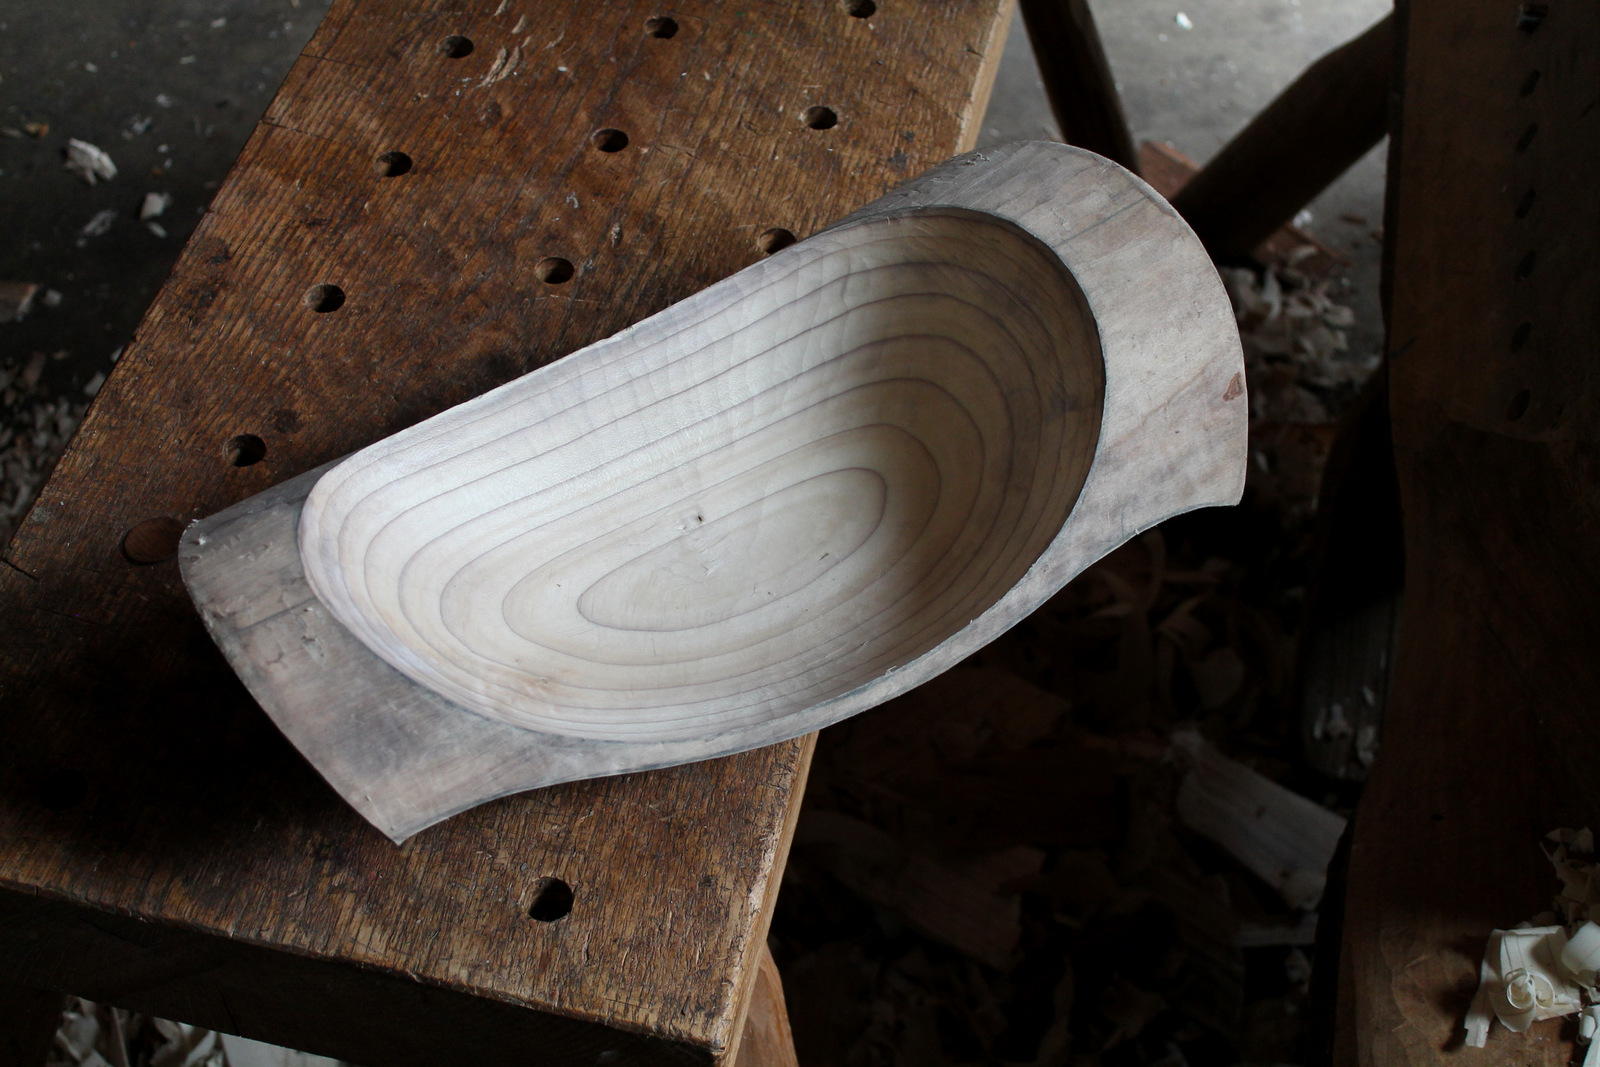
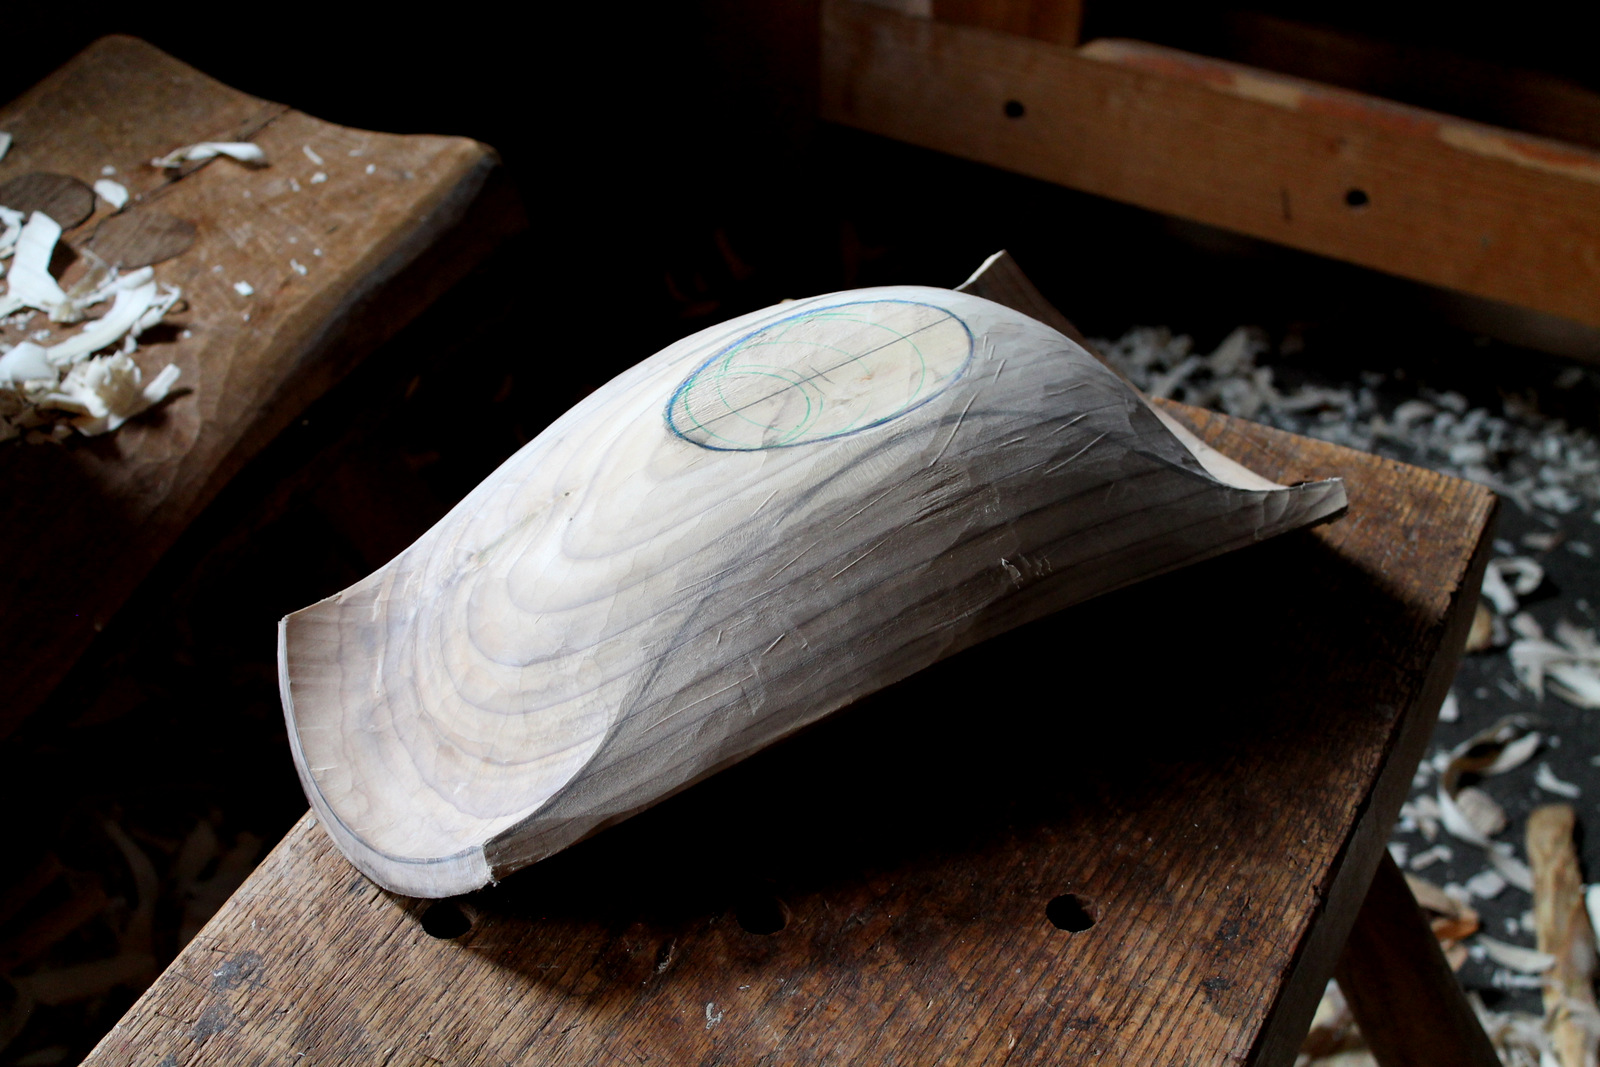
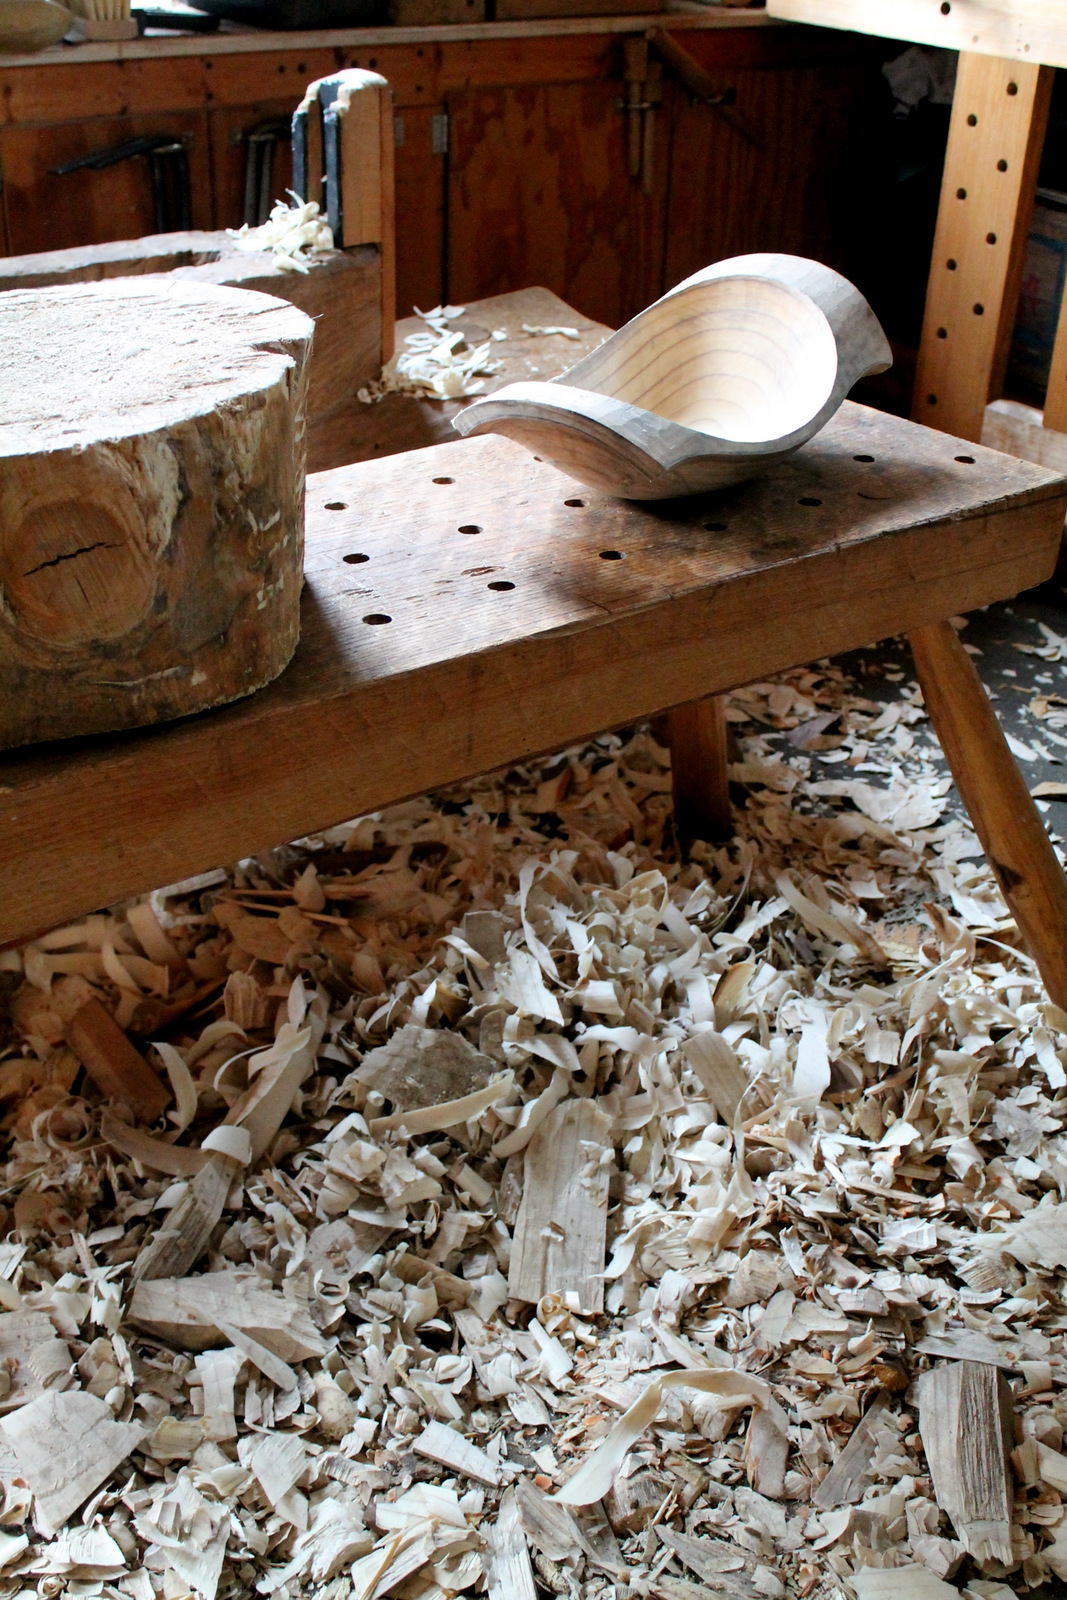
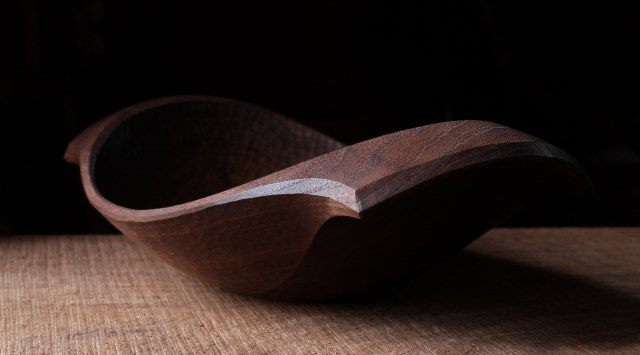
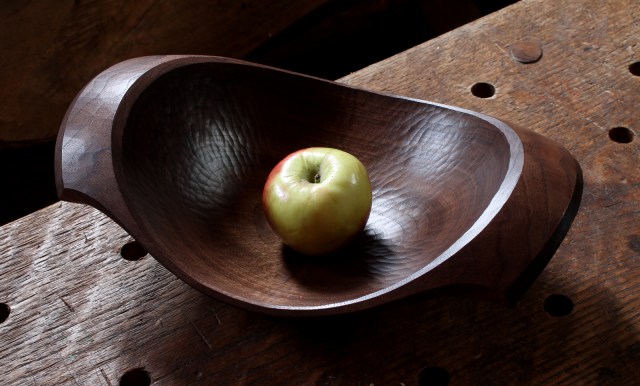
I’m preparing a couple blanks for my program at Fine Woodworking Live in two weeks. I noticed I had walnut bowls sitting around in three stages, so I’ll call them Larry, Curly, and Mo. Larry is a log section — a bowl in waiting. Curly was roughed out from a green log a couple months ago and is in limbo. Mo has been through the dry-carving stage, oiled and ready for action.
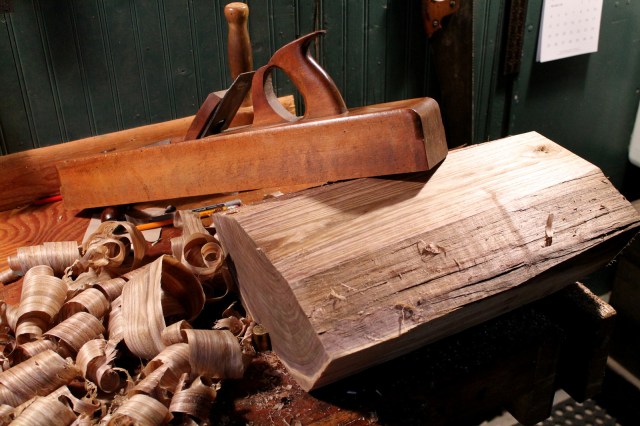
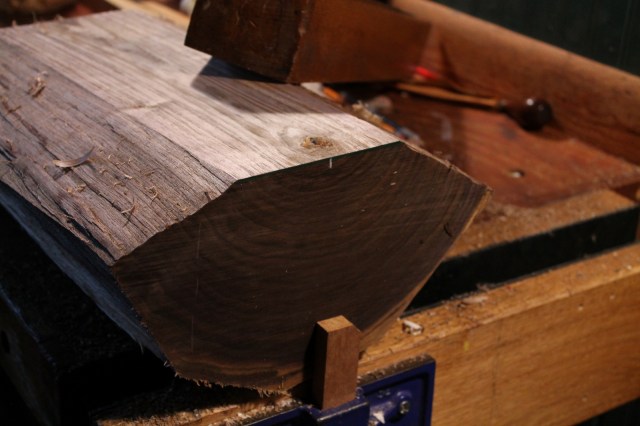
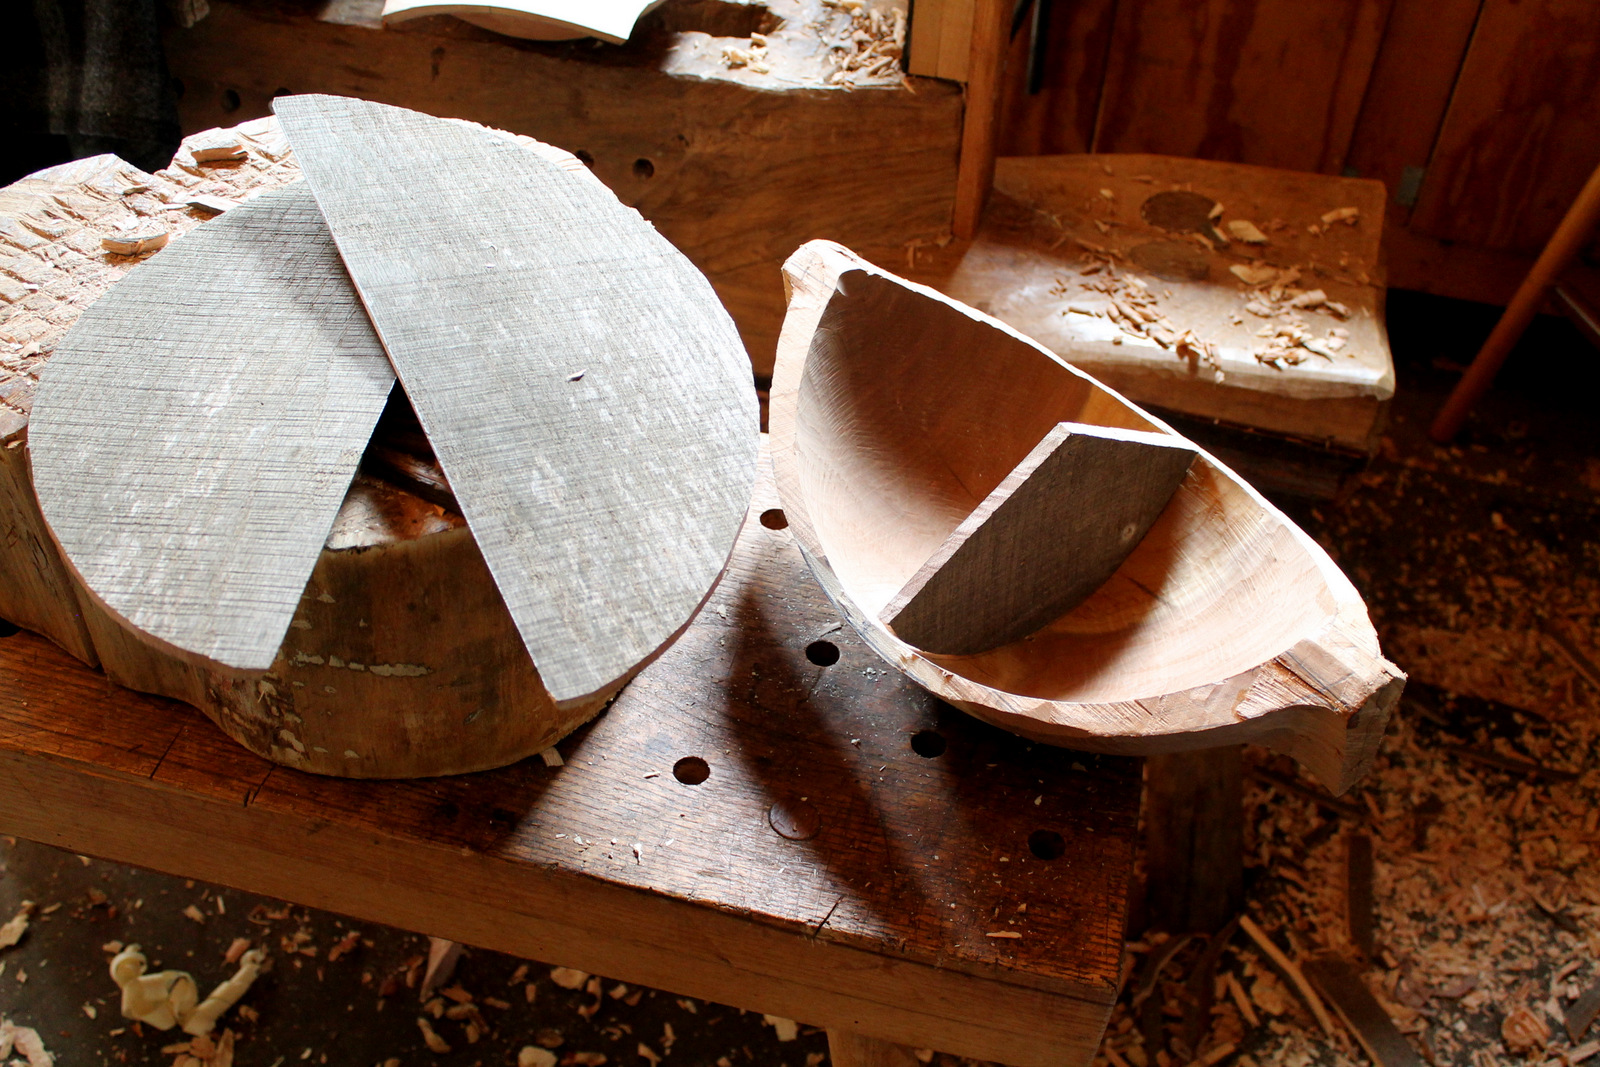
Here’s Larry after I split off the white sapwood and the angle near the pith with a froe. I cleaned up what will be the bottom surface with a plane.
Especially on a relatively wide blank for an “upside-down” bowl, it’s not necessary to start with a complete half log and flatten the entire width. The foot of the bowl won’t be that wide anyway.
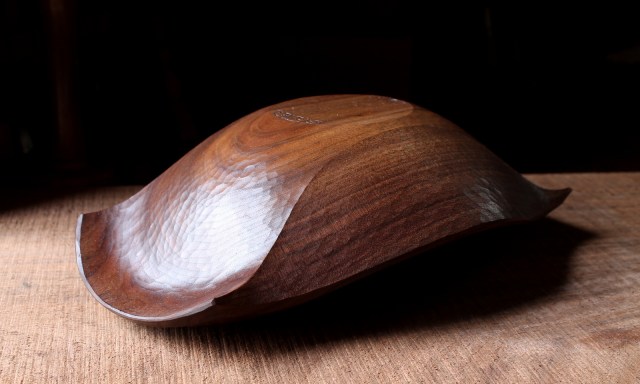
Mo’s relatively modest in size and soft-spoken. 13 1/4″ long, 8 3/4″ wide, 4″ high. I used a subtle texture and no bling on this one.
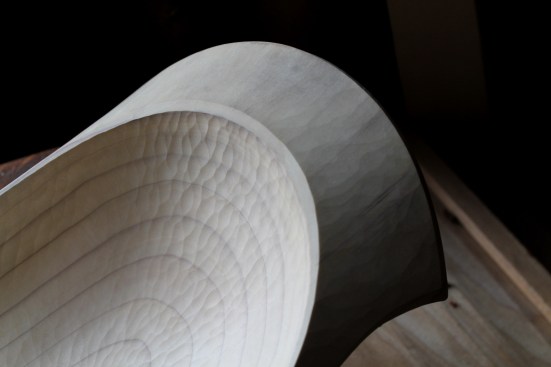
This tulip poplar log came to me with a history. John’s son-in-law explained to me that John watched this tree grow and would often comment on its simple beauty and growth when they were together. A couple years ago, John passed on. Since then, John’s humble but special tulip poplar had to come down and I was asked to make a bowl as a reminder that both would be missed.
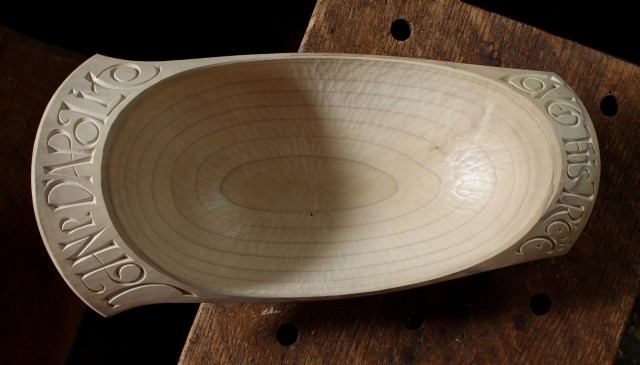
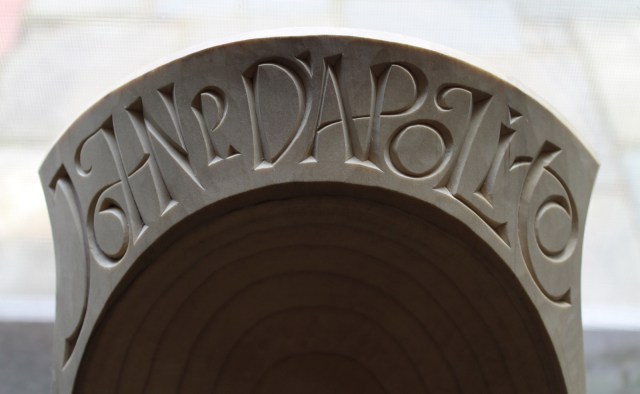
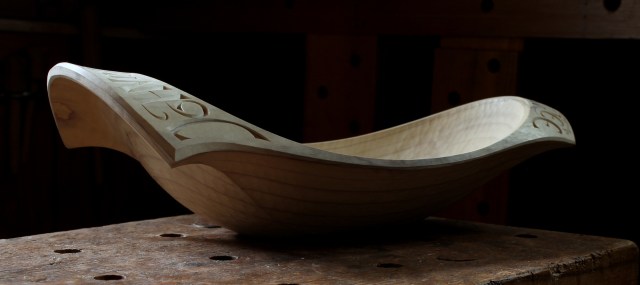
After some thought, I decided on an asymmetric form that followed the flare of this butt log and the simple meaningful message “John P. D’Apolito loved this tree.” I never knew John, but I think this short message reveals something of him and mankind’s relationship to nature, and it feels good to know that it will be in his daughter’s home.
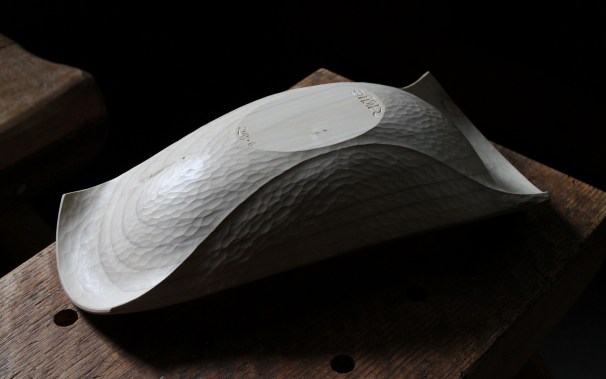
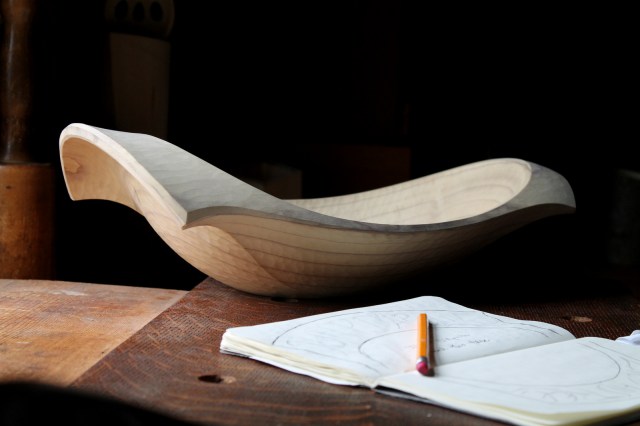
I shared the early progress on this bowl at the end of this post. Here are a couple photos following the post-drying carving stage, but before the lettering.
Interior from the gouge, handle from the drawknife.
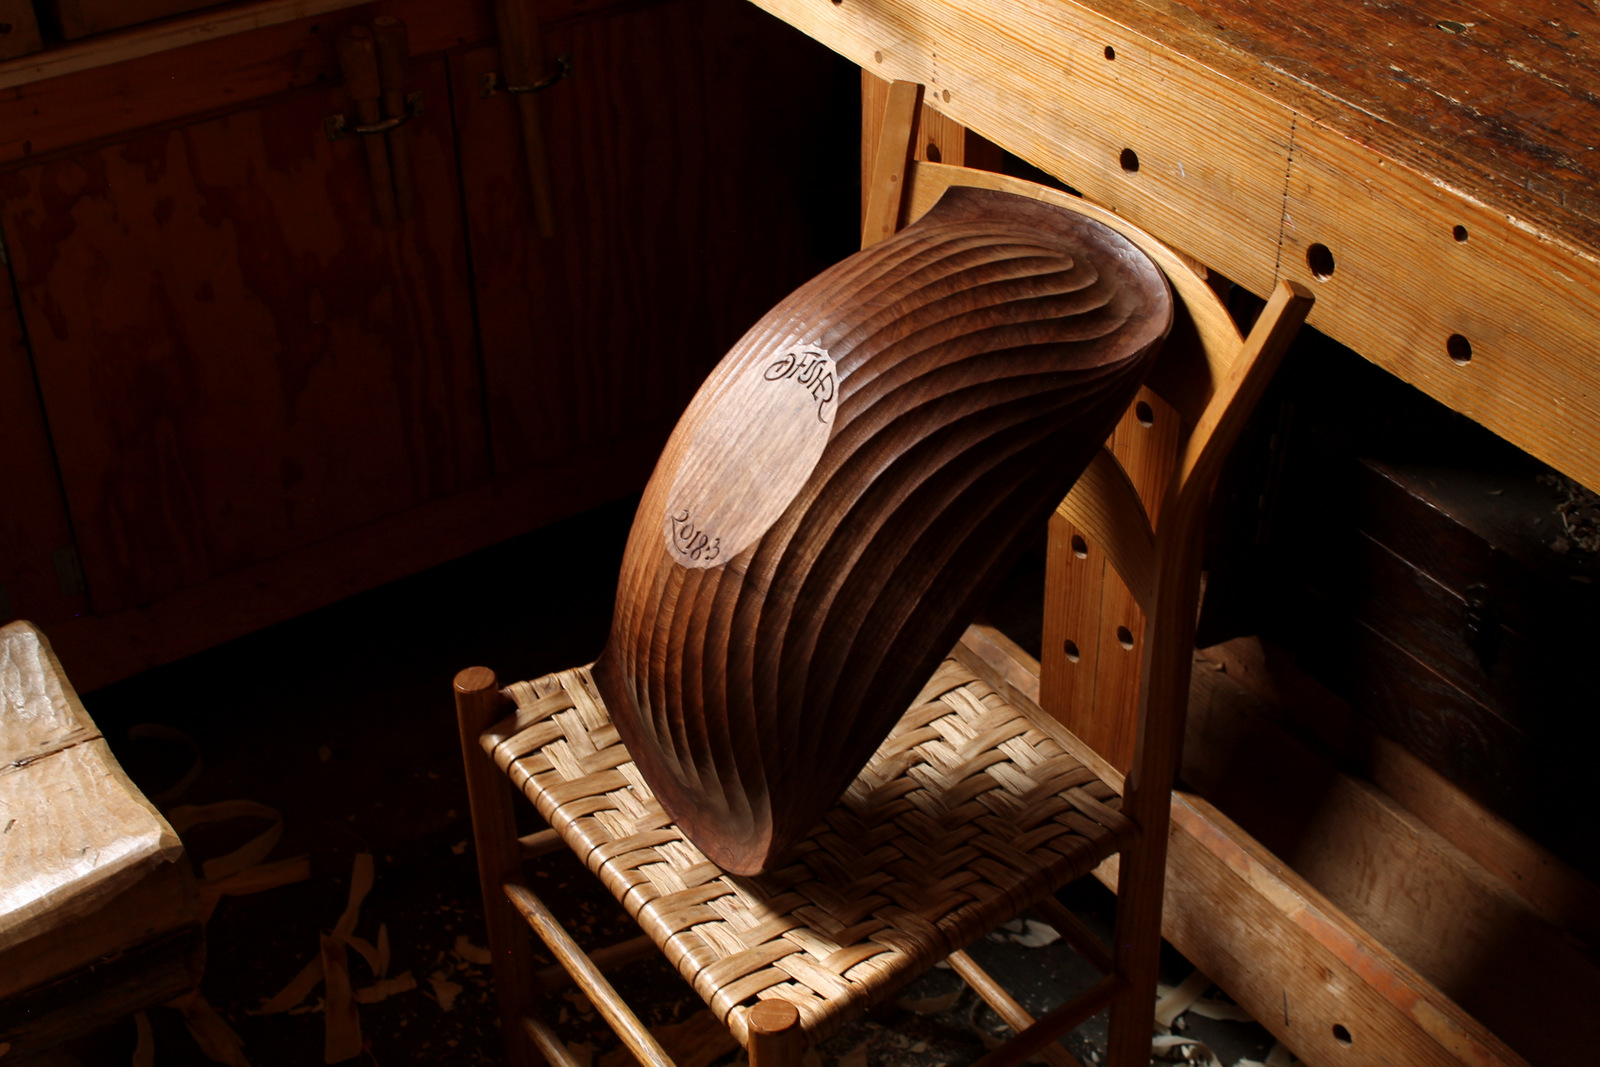
Upside down
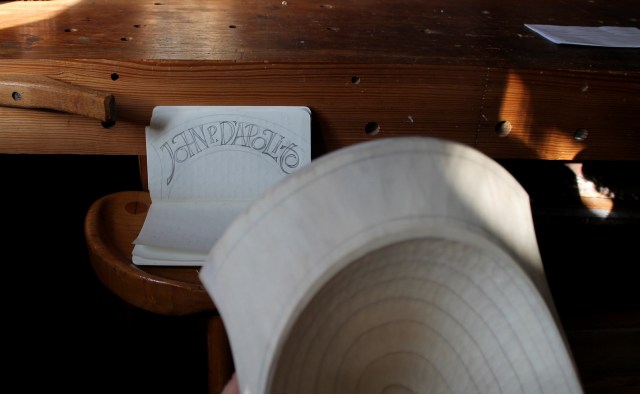
I worked out the lettering design on paper before drawing on the bowl itself. I sketched the general shape of the handles in ink, then played around with the lettering in pencil.
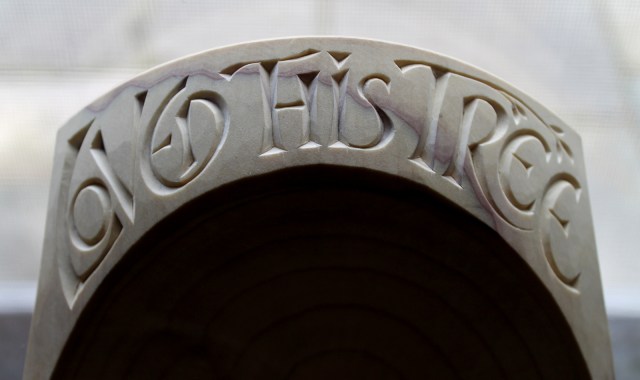
Once I liked it, I propped up the sketchbook and drew the idea fresh onto the handle. Same thing for the “loved this tree” handle.
Even then, they’re only pencil lines — strong suggestions. The knife has the final word.
When bowls are attacked.
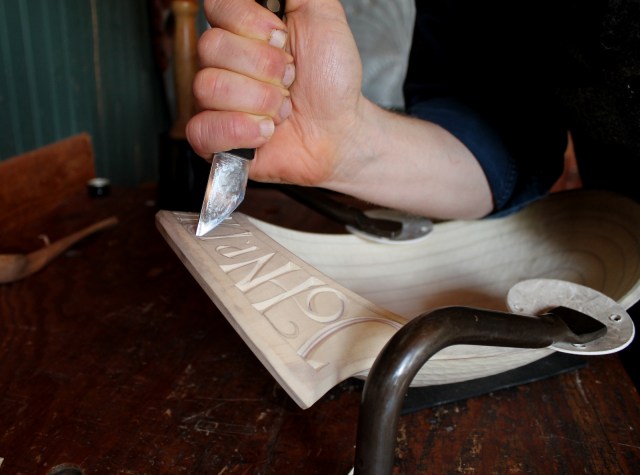
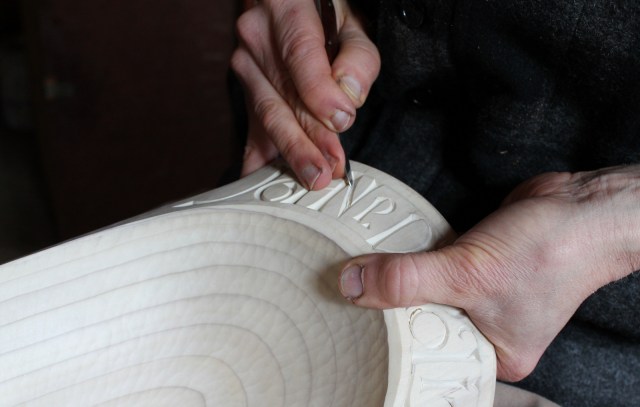
My specific tools and techniques vary depending on the hardness of the wood, size of the letters, and other variables. For this tulip poplar, I hogged away much of the material with a larger knife. My left hand would normally be involved as well for control. I made refinements with the penknife blade. Slow and steady.
Phew. Here is one handle finished…
…and the other
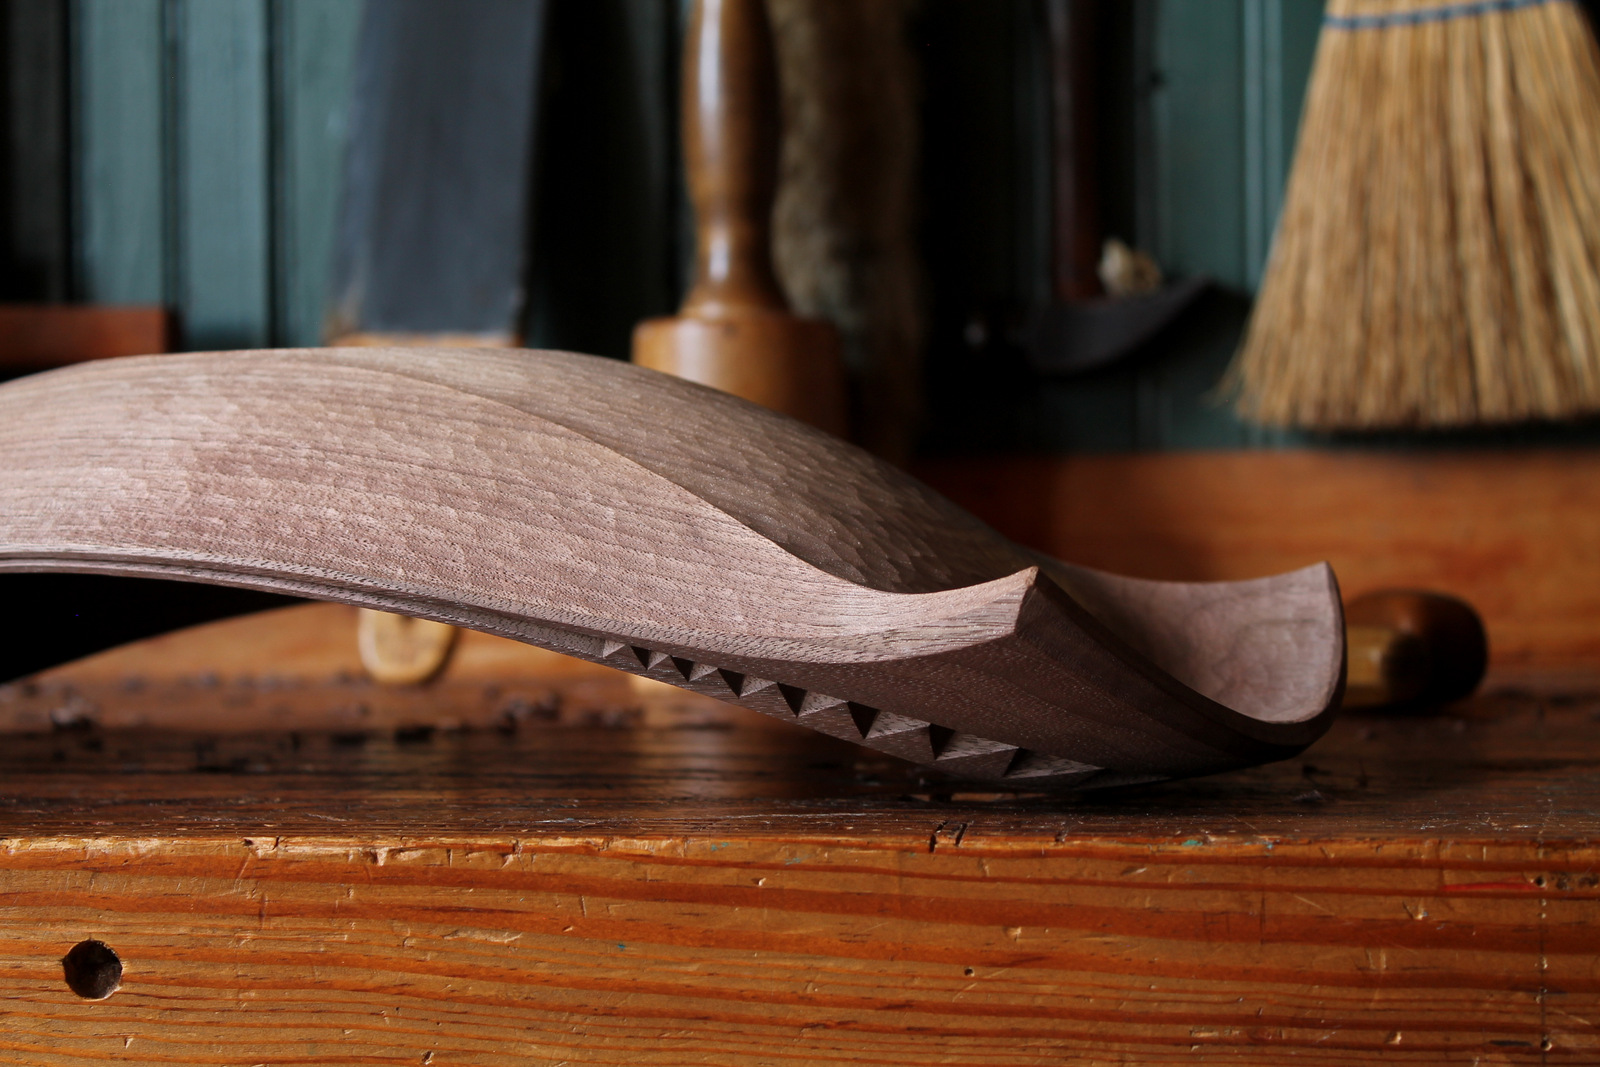
I’m always fascinated by how the appearance of v-incised lettering, and a bowl for that matter, changes with the angle of light and point of view:
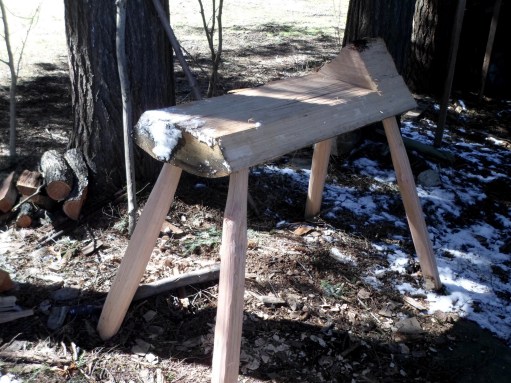
Last week I was splitting up a white oak log. I used some of the pieces to throw together a low bench to be left outside. I was ready to shave the ends of the legs down to two inch round tenons and stumbled onto this arrangement with the picket fence and gate that happened to be right beside where I was riving the oak.
With the gate opened all the way, I set the oak piece on the rails, between the pickets. Opening the gate changes the angles of the pickets relative to the stock, effectively gripping the wood. The pulling motion of the drawknife only makes the grip tighter as it tends to pull on the gate. Might come in handy out there on occasion.
Backing up a bit, here’s the first split of the white oak log. If you know just where to hit it, it will pop open like that with just one blow of a small axe.
Not really, of course. Wedges are needed in the early stages.
Once the bolts are smaller, I can rive off some of the more gnarly stuff near the pith.
I continued to split some nice straight-grained bolts into thinner boards. I have a project lined up for one of these boards, so we’ll be seeing it again someday.
Here are the four legs, tenons shaved. I just roughly cleaned up the rest of the riven length.
These legs aren’t going all the way through, so no tapered mortises. I just eyeballed the angles and bored four 2″ holes into the body of the bench.
I drove the legs in and popped it upright. The body of the bench is simply a quarter section of the log with a portion of the center split away to create a rough flat. Sometime, I’ll flatten the top a little more and bore some holes for holdfasts and pegs. The triangle on the end will have its peak knocked off, leaving a raised lip. I’ll cut off the legs to lower the bench and get it all sitting level.
Won’t be long until I’m carving bowls under the hemlock trees.
A book that I return to often is The Heart of Thoreau’s Journals edited by Odell Shepard. One interesting aspect is comparing Thoreau’s notes for a particular time of year to my own observances; his March to my March.
Thoreau writes often about birds and bird-song; geese, thrushes, tanagers, and nighthawks all within a few pages. In spite of our wintry March this year, the birds still sing the hope of spring. A couple weeks ago, I heard the message from a chorus of red-winged blackbirds that had returned to the tall grasses at the edge of a pond along my walk. Flocks of puffed-up robins and cedar waxwings were gulping down the remnants of berries on our backyard trees.
With snow covering our ground now, the peepers have remained quiet, but Thoreau wrote about hearing a tree frog on March 21, 1853:
“Ah! then, as I was rising this crowning road, just beyond the old lime-kiln, there leaked into my open ear the faint peep of a hyla from some far pool. One little hyla somewhere in the fens….If the hyla has revived again, may not I?”
A week later, on March 28, Thoreau makes a funny reference to his frog-listening:
Grey Tree Frog, Hyla versicolor (Credit: Mark Roth, USGS UMESC. Public domain.)
“My Aunt Maria asked me to read the life of Dr. Chalmers, which however, I did not promise to do. Yesterday, Sunday, she was heard through the partition shouting to my Aunt Jane, who is deaf, “Think of it! He stood half an hour today to hear the frogs croak, and he wouldn’t read the life of Chalmers.”
Spring also means an end to easy wood storage for me, as winter’s gift of a free extra large freezer comes to an end. The question of how to keep greenwood green has many answers. Here are my thoughts.
The obvious solution is to just carve it rather than store it. Of course, that is easier said than done, but one strategy is to rough out several pieces rather than finishing one before moving on to the next. That allows you to move through the wood supply, while leaving the after-drying stages for later.
To store green wood it is simply a matter of retaining the moisture. The bark does a good job of this if it’s intact, and I paint the ends of the log with a couple coats of latex paint. Alternatively, and for pieces that are already split, I put them in a garbage bag and seal it tight.
For species that are light-colored and/or are not decay resistant, the moisture combined with warm temperatures can lead to staining and relatively rapid decay. So, if I need to store such wood longer term, I reduce the bulk as much as possible first. I split the rounds in half and have a good look. No need to store the rejected pieces, other than in the firewood stack. Then I reduce unnecessary bulk from the good pieces, bag them, and beg for some space in the freezer or fridge. This is much more realistic for spoon blanks than bowl blanks. Pull out pieces as needed to carve.
You can get more creative with underwater storage and that sort of thing. Whatever works for you.
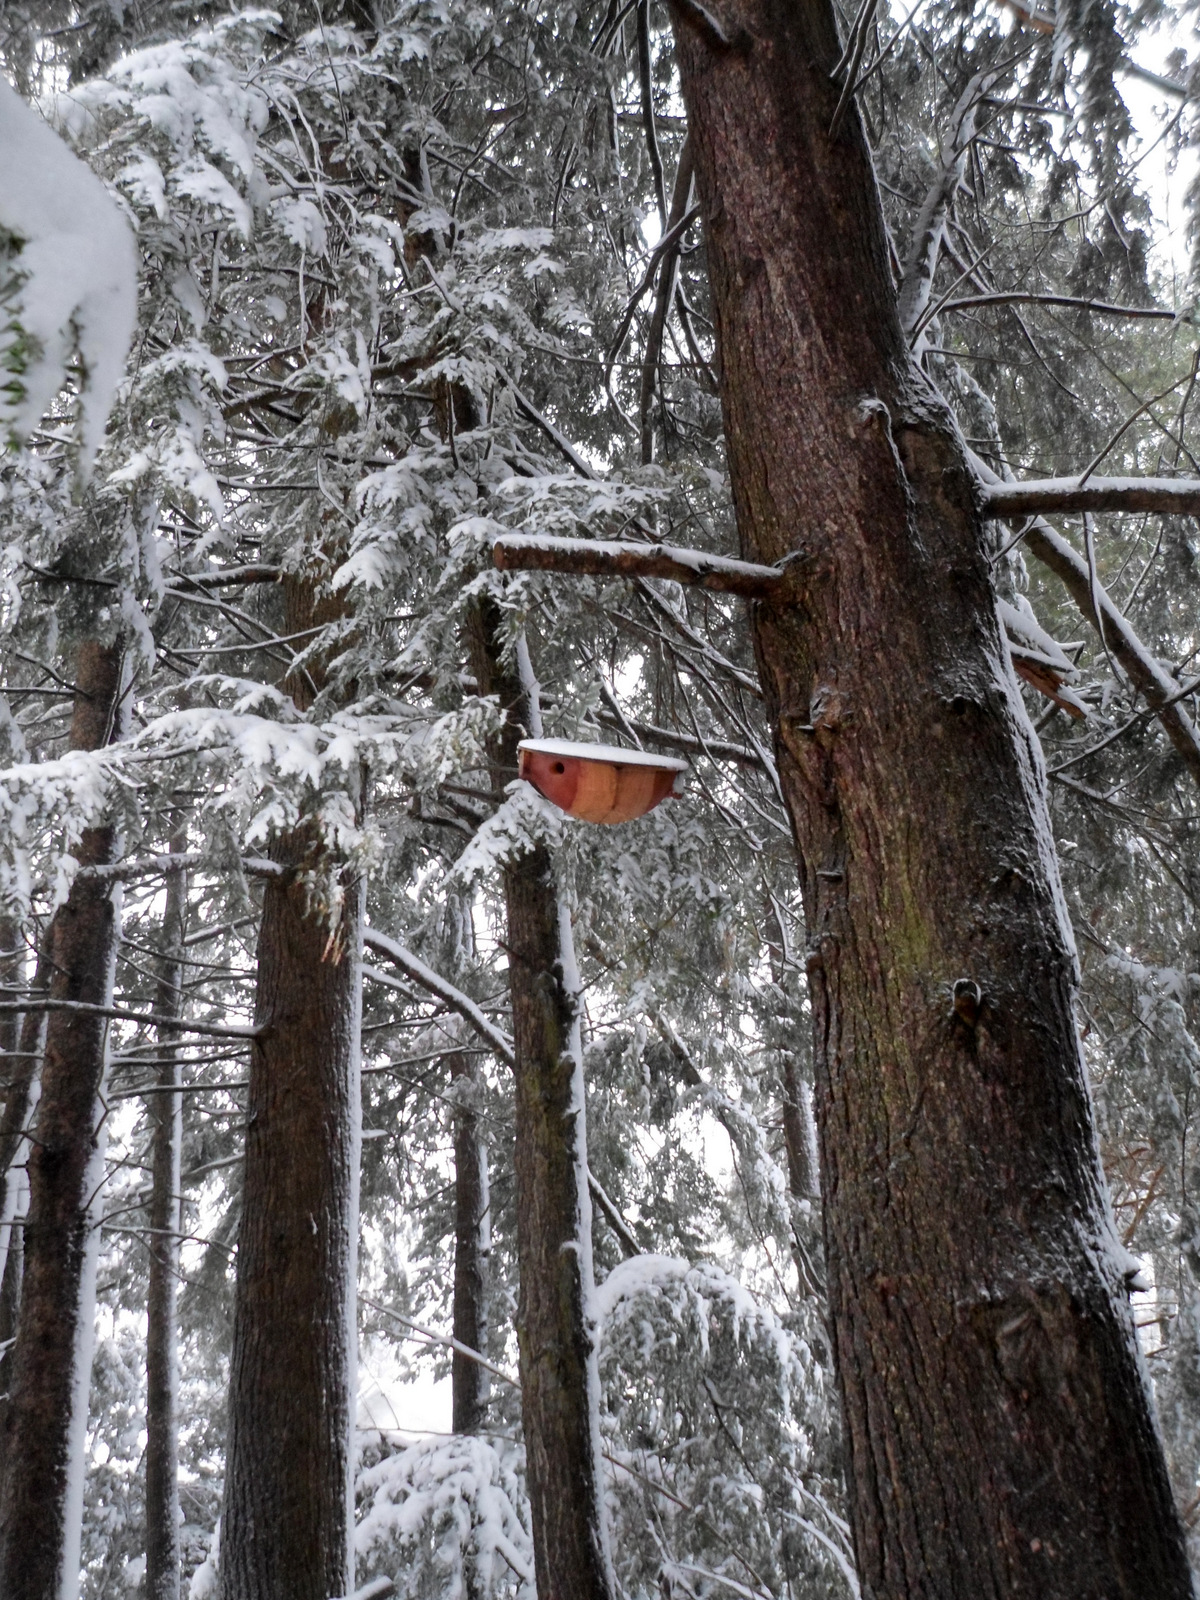
These early spring snows set off the hemlock trees as well as my rejected cherry bowl that I converted into a duplex birdhouse. Still waiting for tenants; it was worth a shot!
This was last summer. I think the heat got to me.
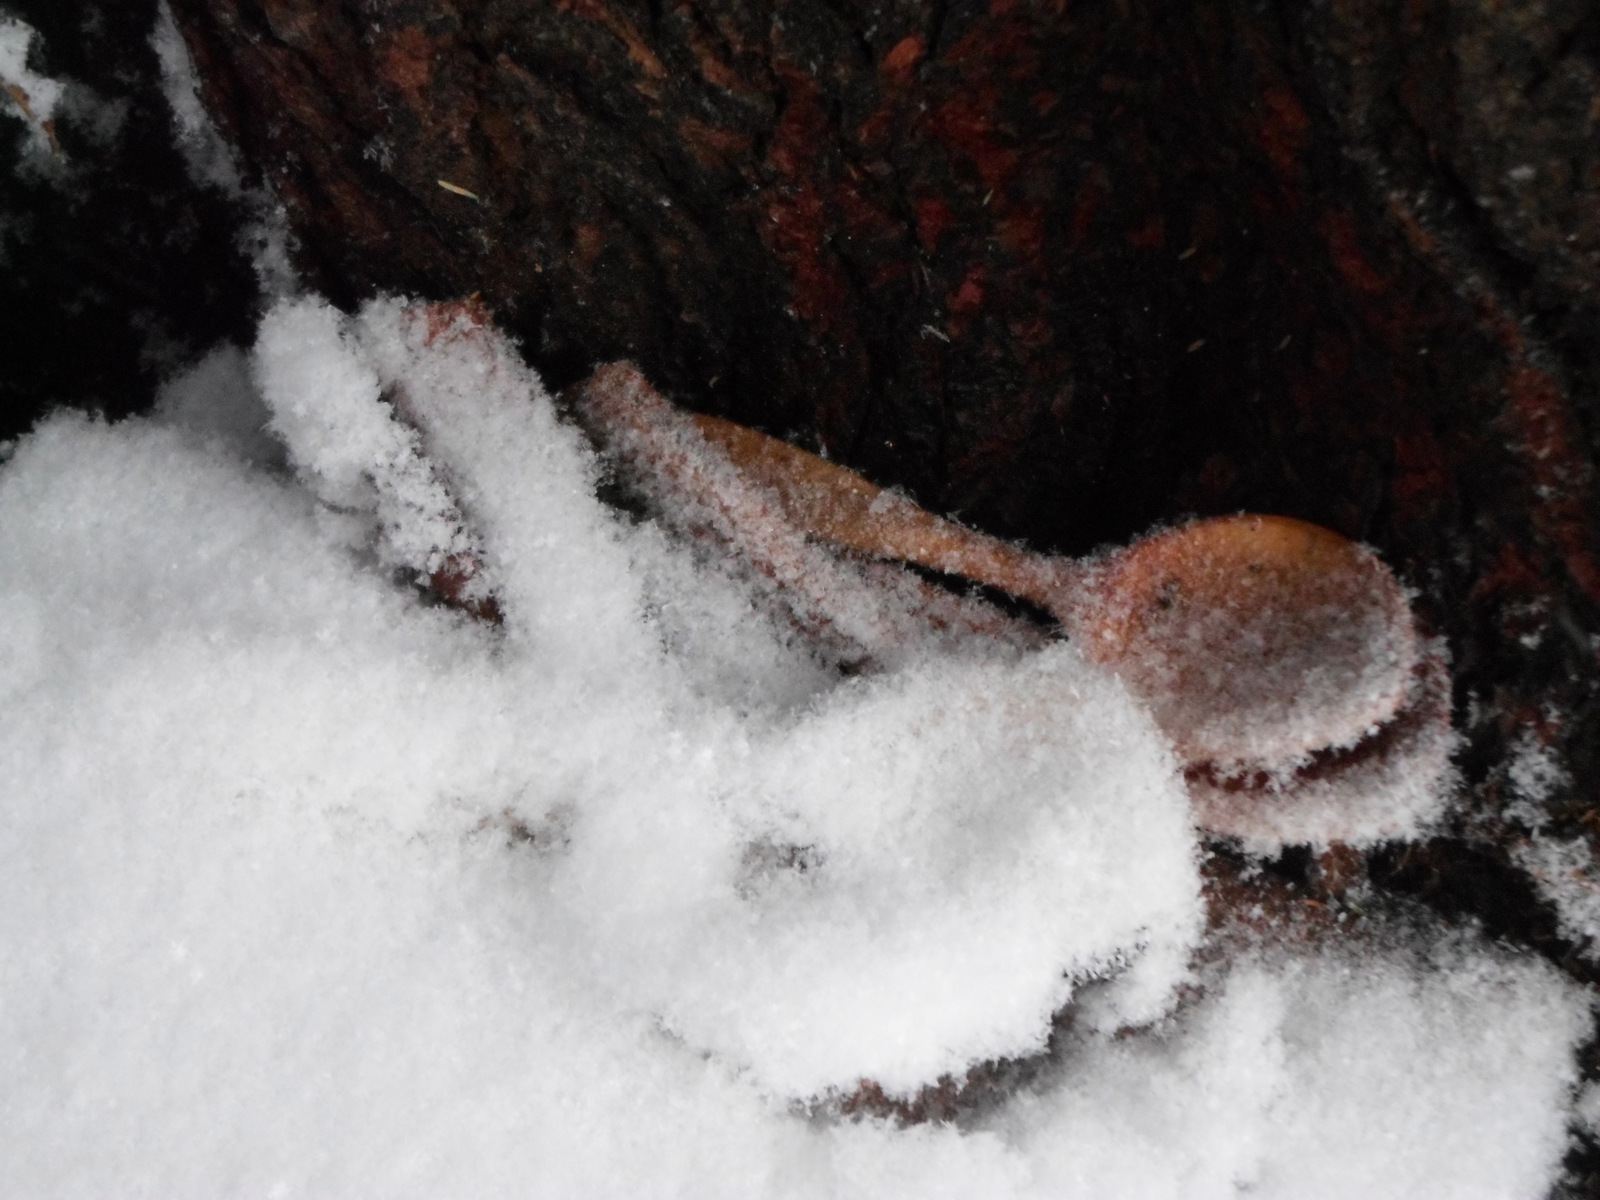
A pile of spoons that didn’t work out will thaw out soon and be ready to fuel some marshmallow roasting.
And I finished a bowl today that I’ll post about soon…
Digital media has it’s place, but there’s just something about a book. Much of that something is a book’s appeal to our senses: the smell of a book, the heft of a book, the feel of the paper against the fingertips and the soft swishing sound of turning the page. A book is more than the ideas or the story inside.
When I pick up and open a book that we read to our kids, a flood of warm memories rushes out of it. When I take down a woodworking book from the high shelf in my shop and notice the bits of wood shavings lodged inside and my notes written in the margins, it’s a reminder of an exciting journey.
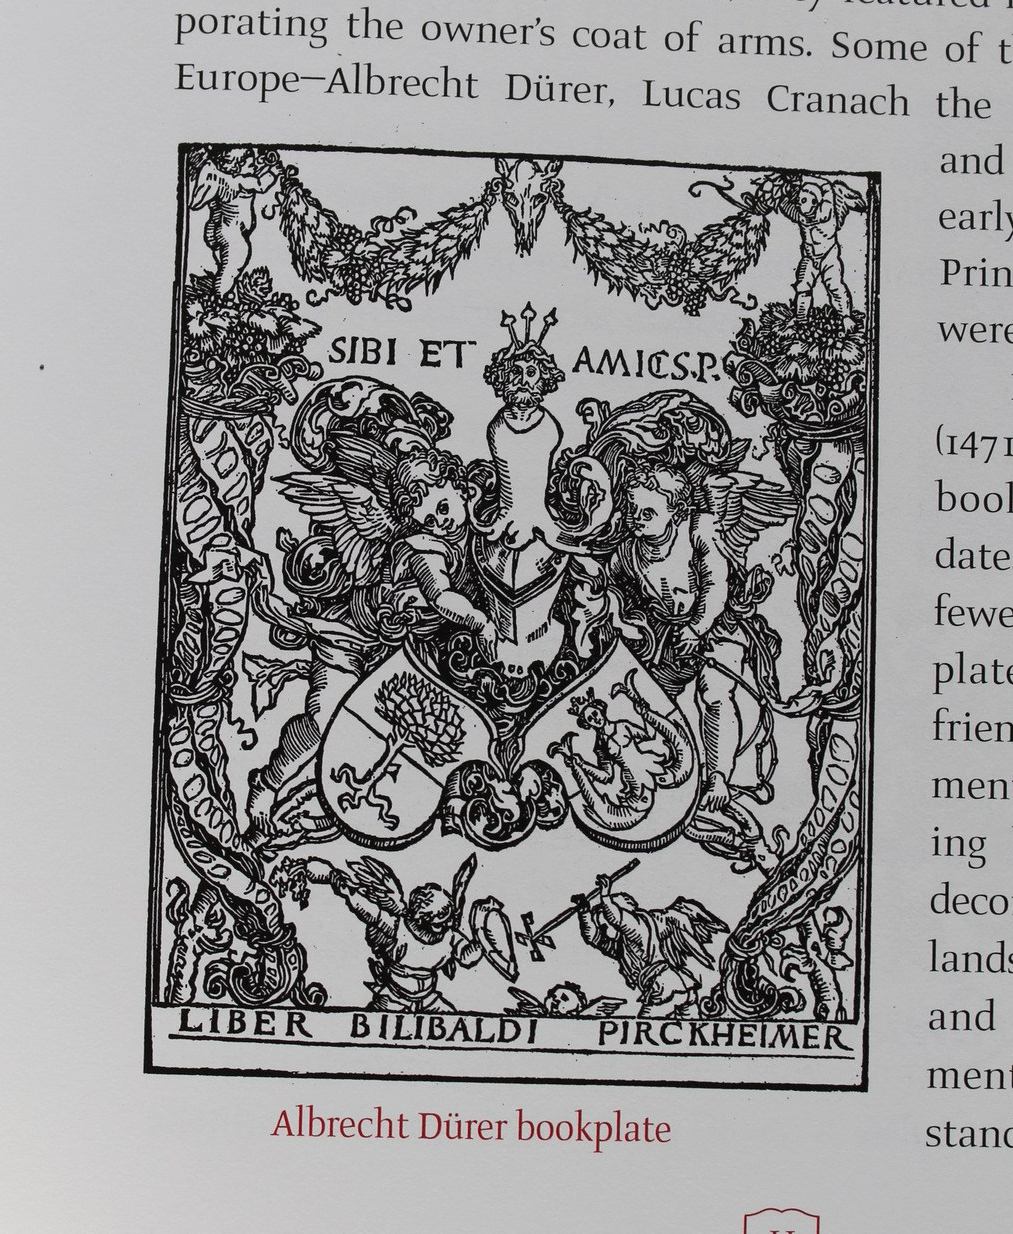
People have felt this way about books for a long time. Beginning in the fifteenth century, book owners began commissioning bookplates to be pasted inside the covers of their treasures. These early bookplates were most often coats of arms and highly decorative. Albrecht Dürer created at least twenty bookplate designs.
Bookplate by Albrecht Dürer from the The Art of the Bookplate by James P. Keenan
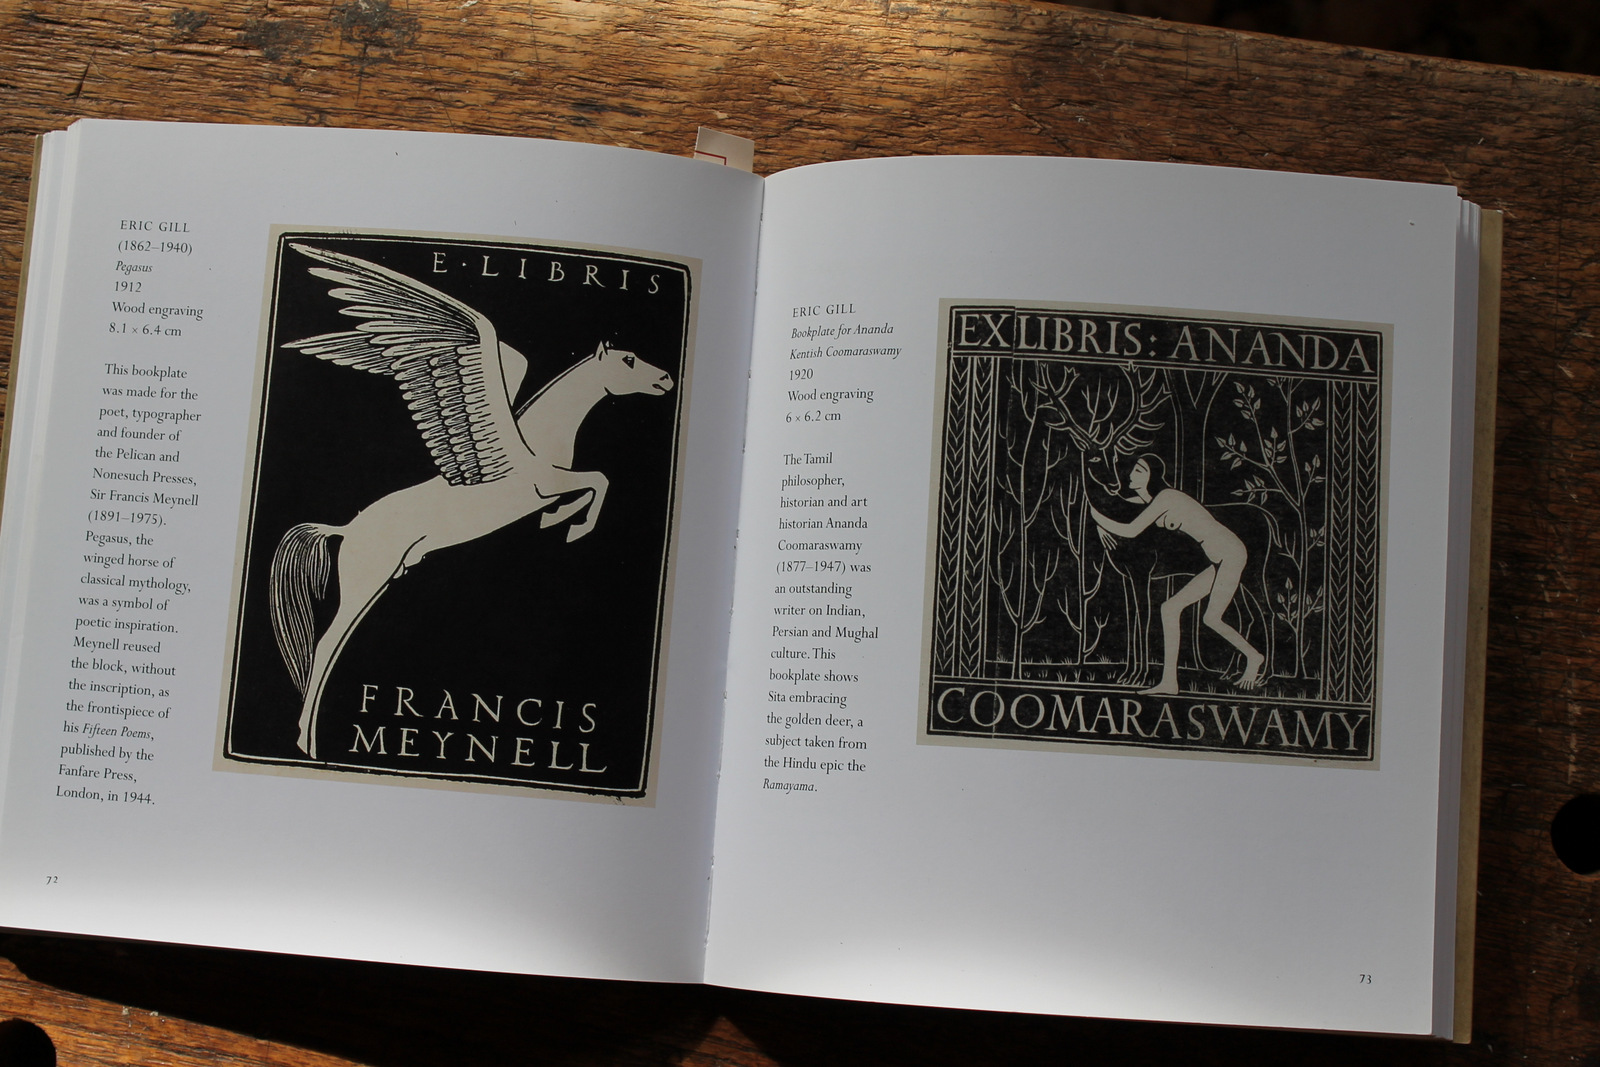
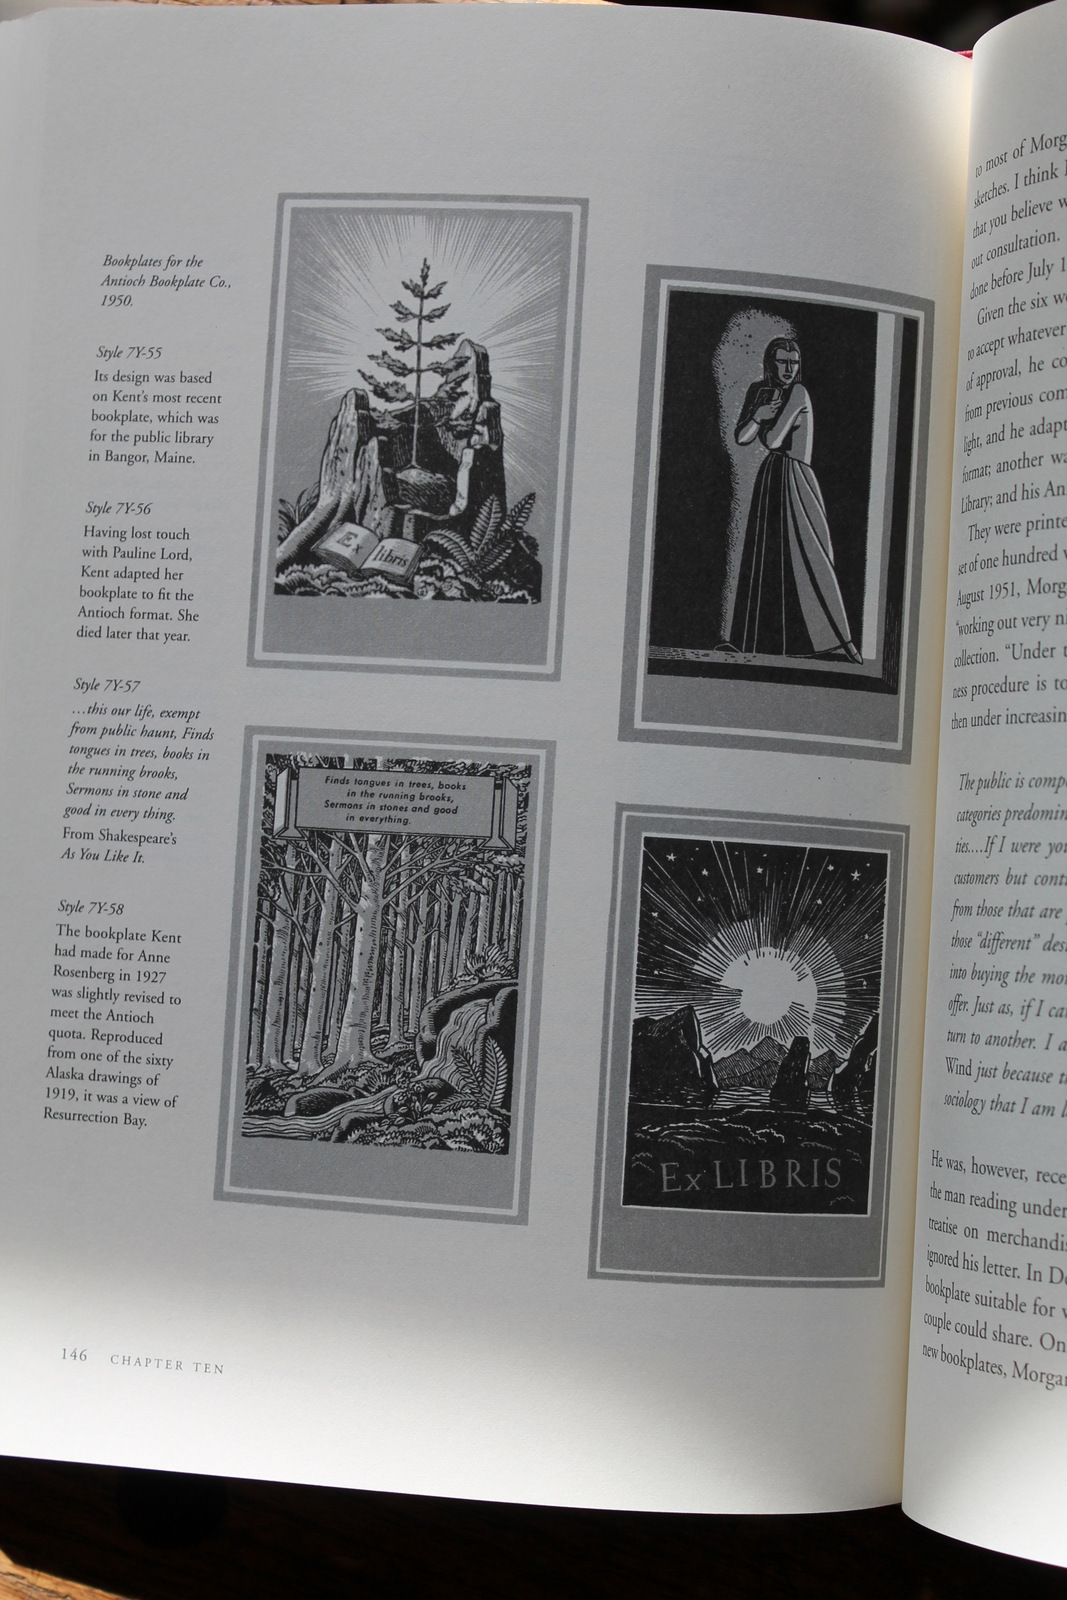
By the mid nineteenth century, books had become widely available to the middle classes and many began commissioning bookplates that reflected their lives, character, and/or passions. This interest continued into the twentieth century, and artists such as Eric Gill and Rockwell Kent designed many bookplates. Ex libris is Latin for “from the books of” or “from the library of.”
Bookplates by Eric Gill from Ex Libris: The Art of Bookplates by Martin Hopkinson.
In addition to custom designs for individuals, book lovers could select one of the many general designs, often with a space for the owner’s signature.
Bookplates by Rockwell Kent from Rockwell Kent: The Art of the Bookplate by Don Roberts.
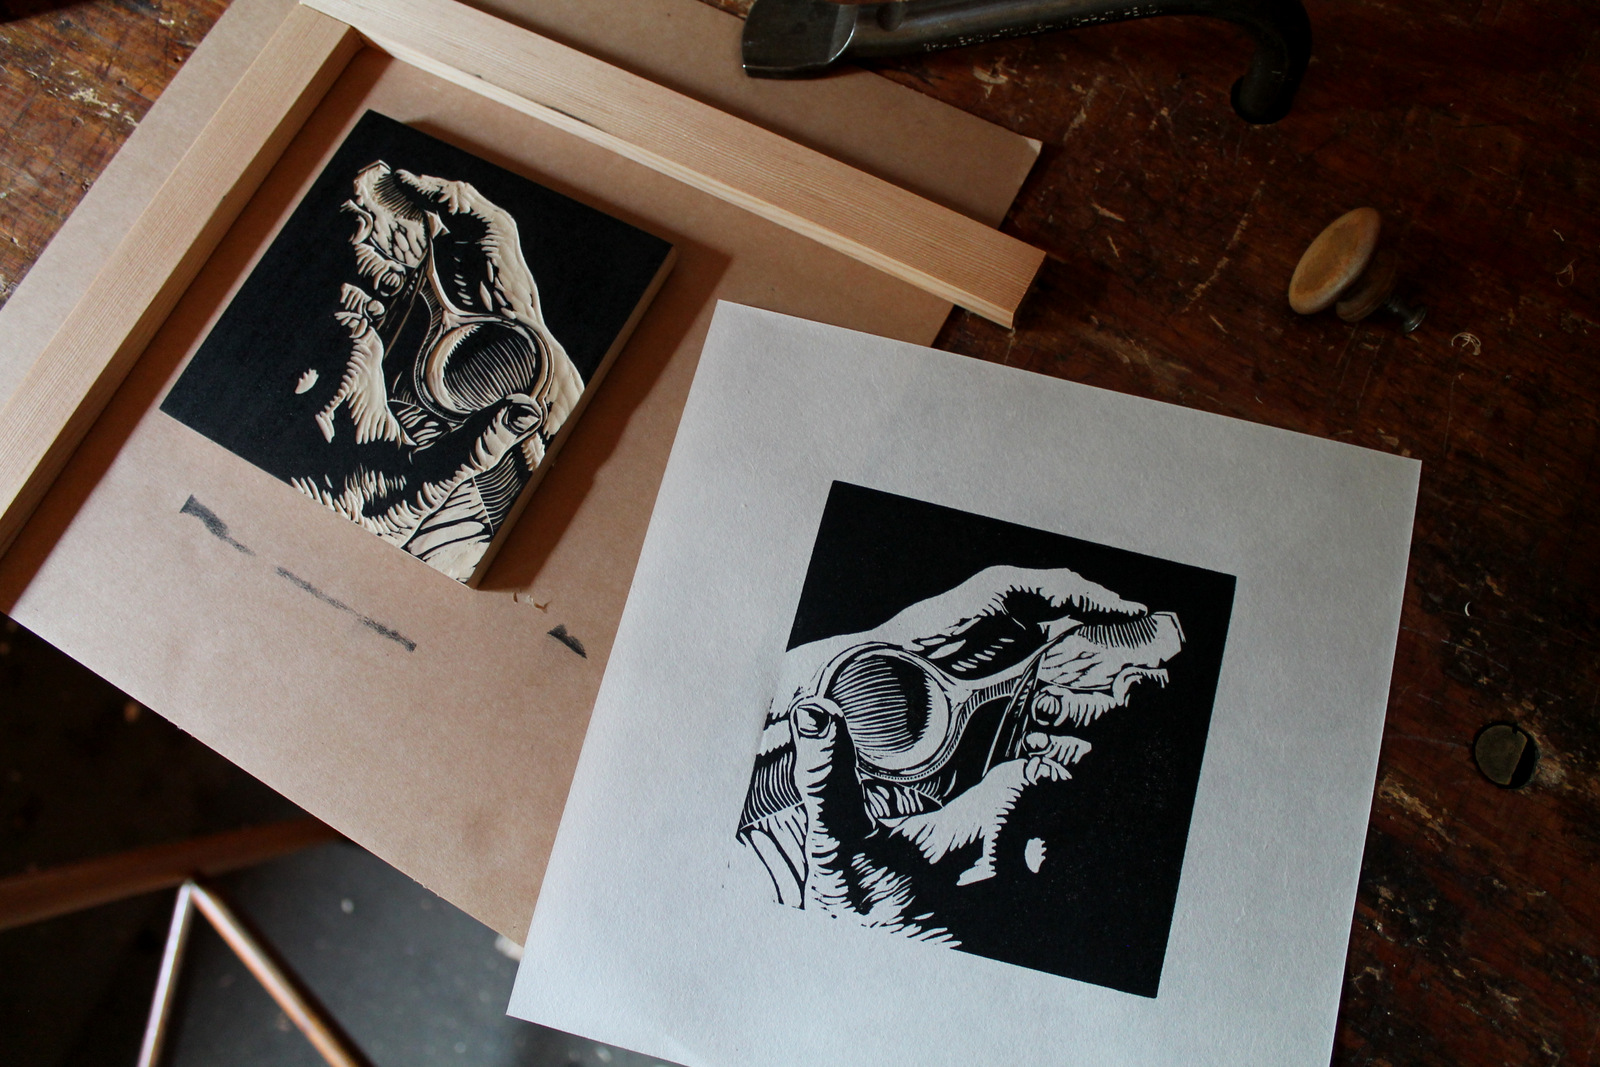
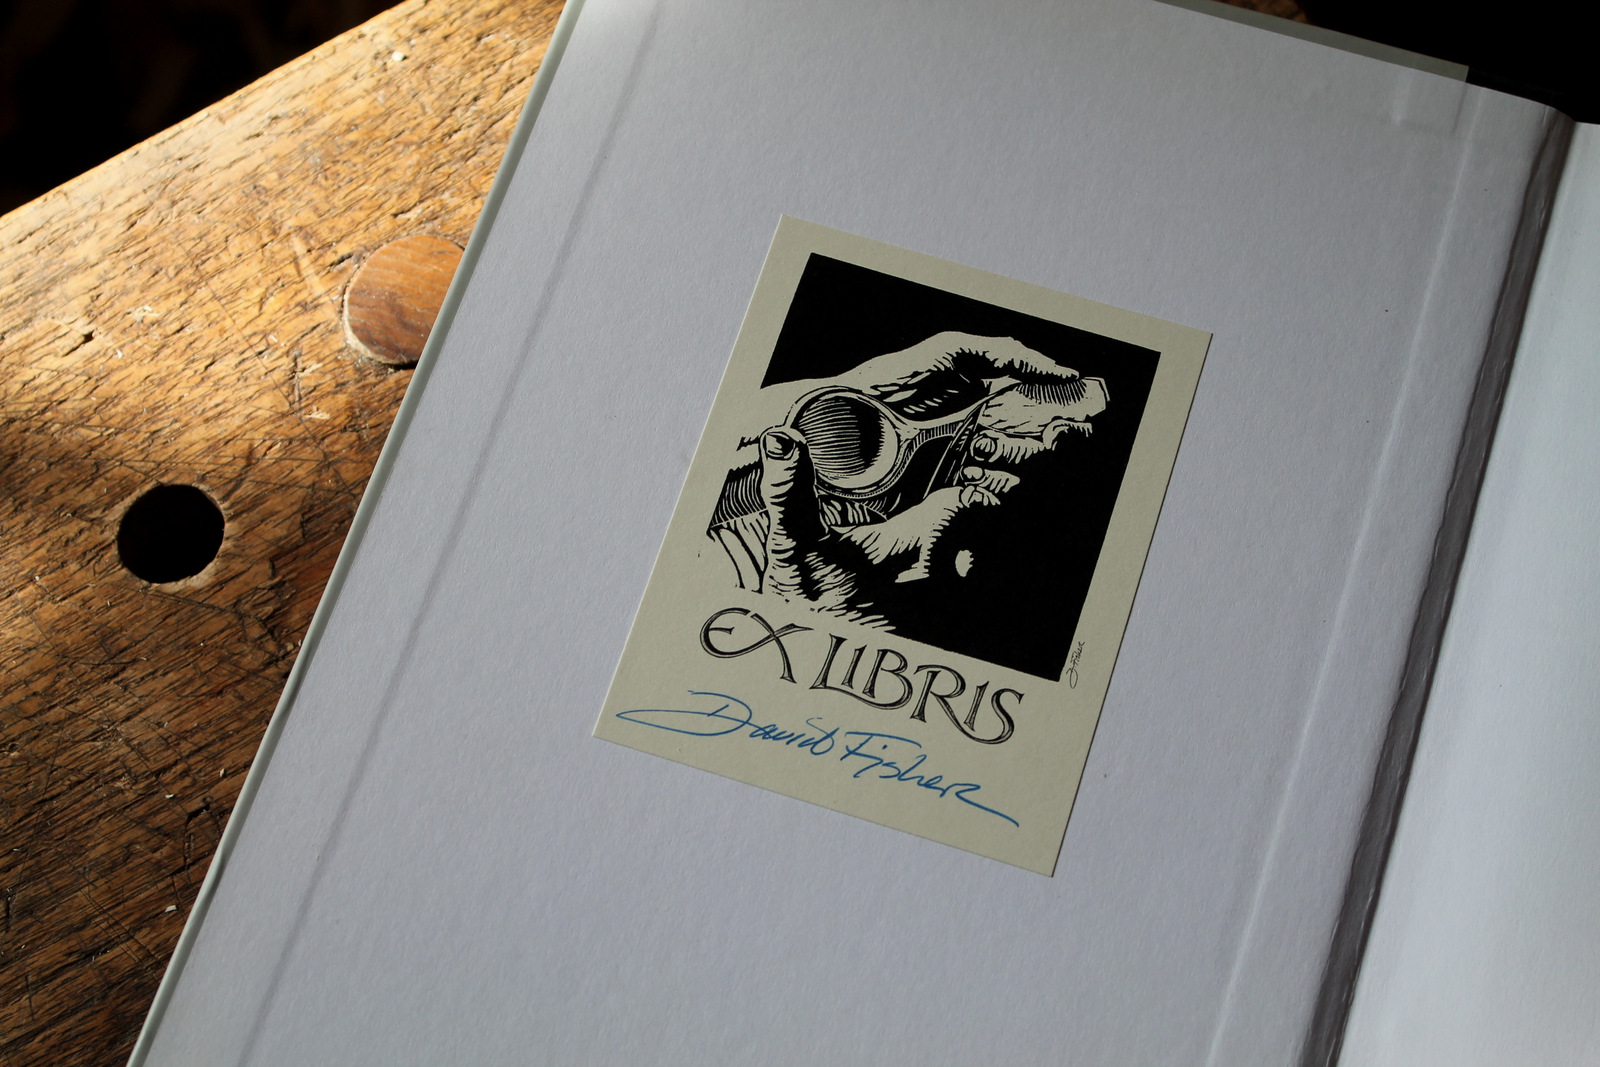
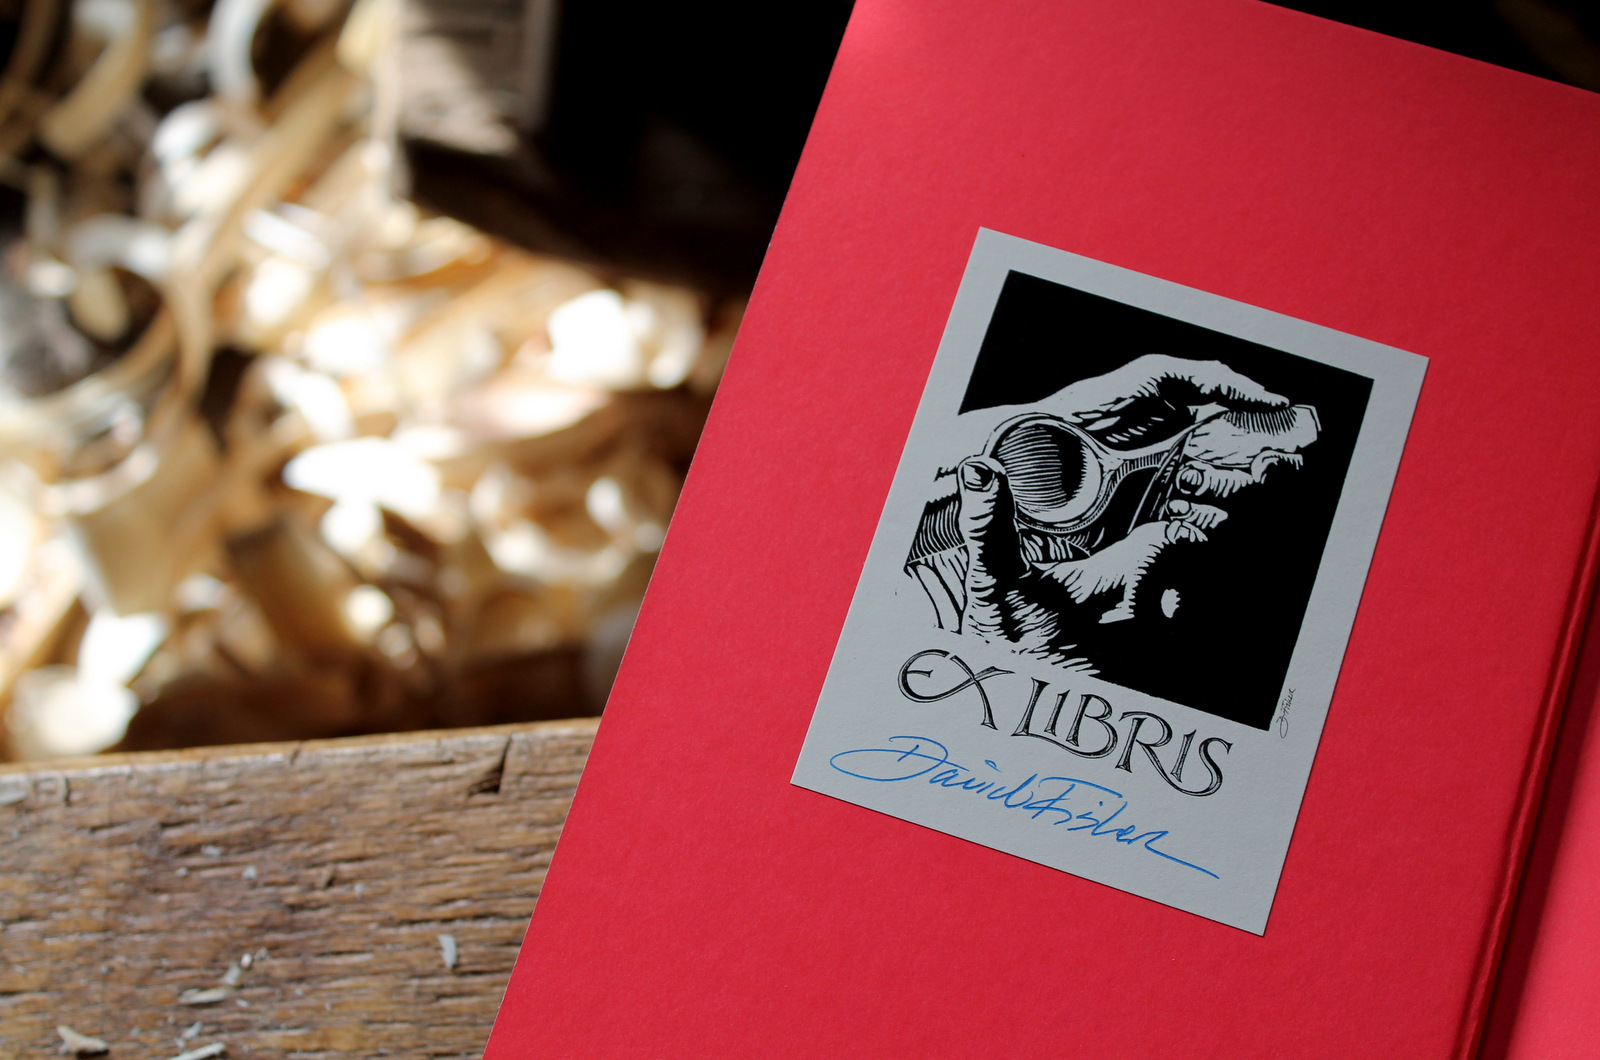
Inspired by the tradition, I designed a bookplate for those of us who have a love of greenwood carving. The heart of the design is the woodcut that I did last year and wrote about in this post. All of the prints in that limited edition are gone, but now I have the bookplates.
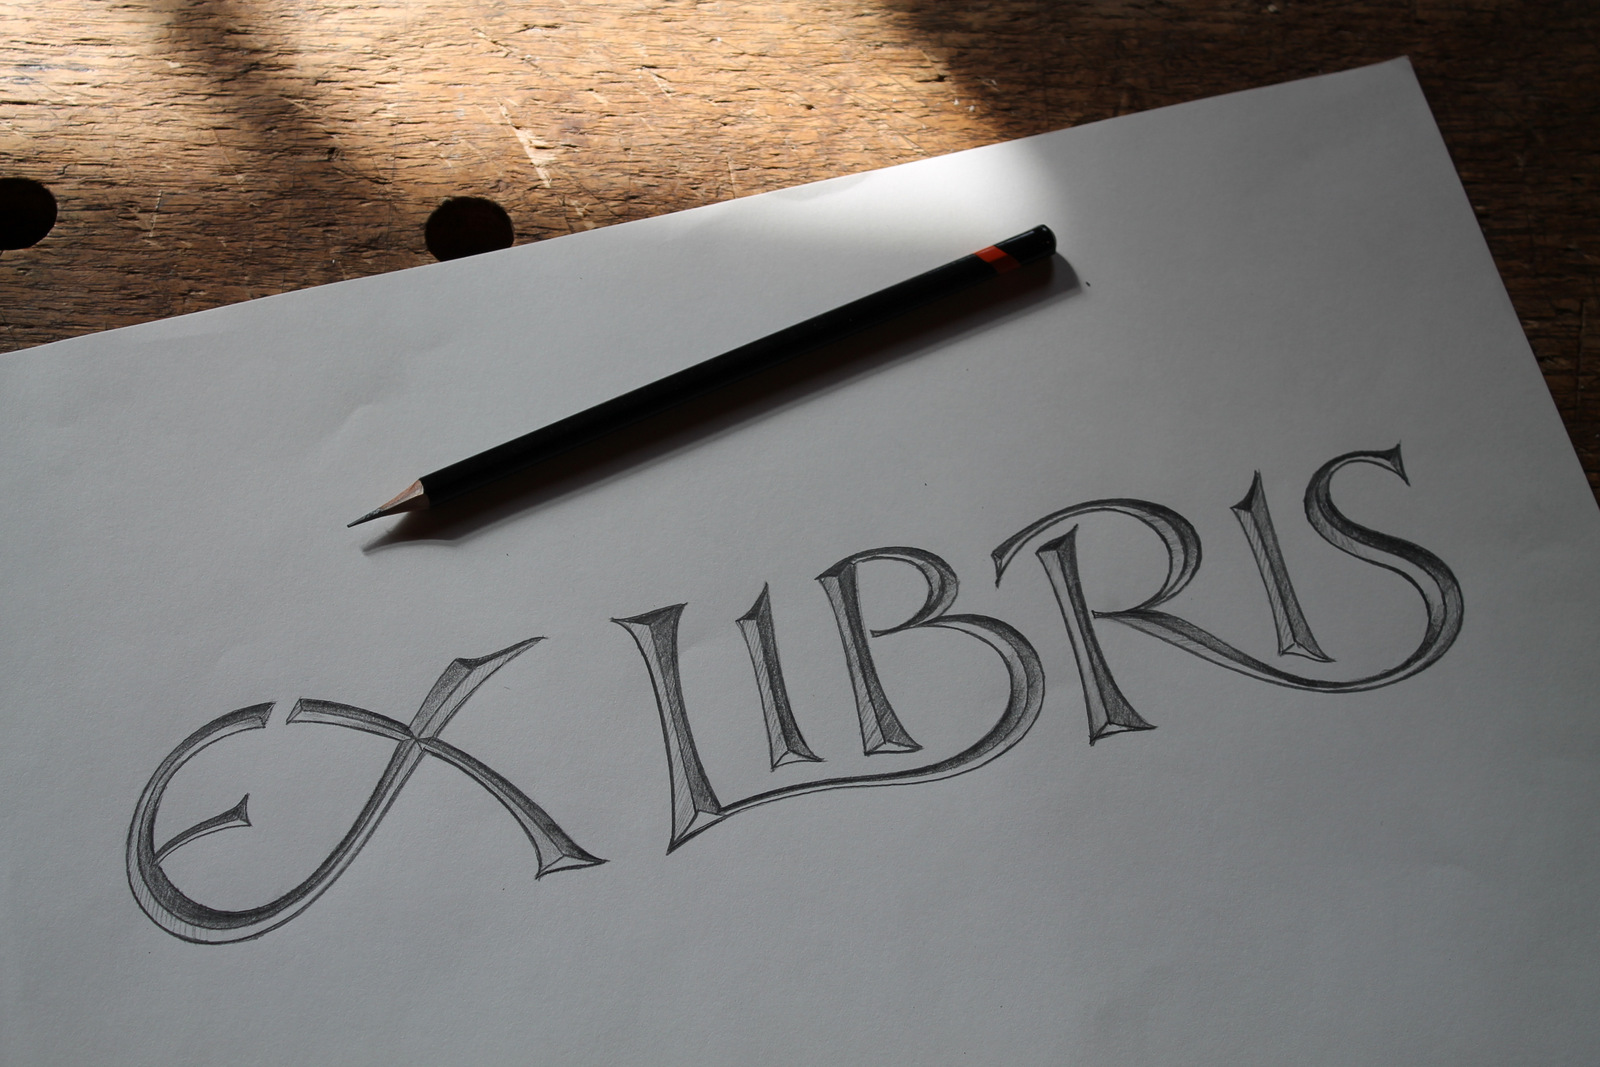
I found a really nice self-adhesive paper made in Ohio in a natural cream color. The paper, the adhesive, and the ink are all acid-free. To go along with the image, I drew ex libris in the style of incised carved lettering.
I took the special paper, the print, and the lettering drawing to the independently-owned print shop about 1/2 mile down the road. Their printing expert, Ben, and I sorted out all of the details, and now I have the bookplates, ready to mail. They are 4″ x 3″. If you don’t want to use it for a bookplate, just snip off the ex libris part.
If you’d like to purchase some, here’s how to go about it. I want to keep the logistics on this as simple as possible, for my wife, Kristin, especially, since she’ll be handling a lot of this.
Bookplates are $1 each. Minimum order 10, but beyond that you can request as many as you wish, no particular increments.
Pop an envelope in the mail with a check or cash. If you send a check for $17, we’ll send you 17 bookplates. No need for order forms or invoices. Just make sure you include your address on the outside or within the envelope. No need to send a return envelope; you’ll receive your bookplates in a clear protective sleeve inside a padded envelope. Shipping is free.
My address is: Dave Fisher, 395 S Main St, Greenville, PA 16125
We will take international orders, but that involves extra fiddling and fees; add $5 per order. For international requests, we’ll use Paypal for payment. Email me with how many bookplates you’d like and your address, and we’ll go from there.
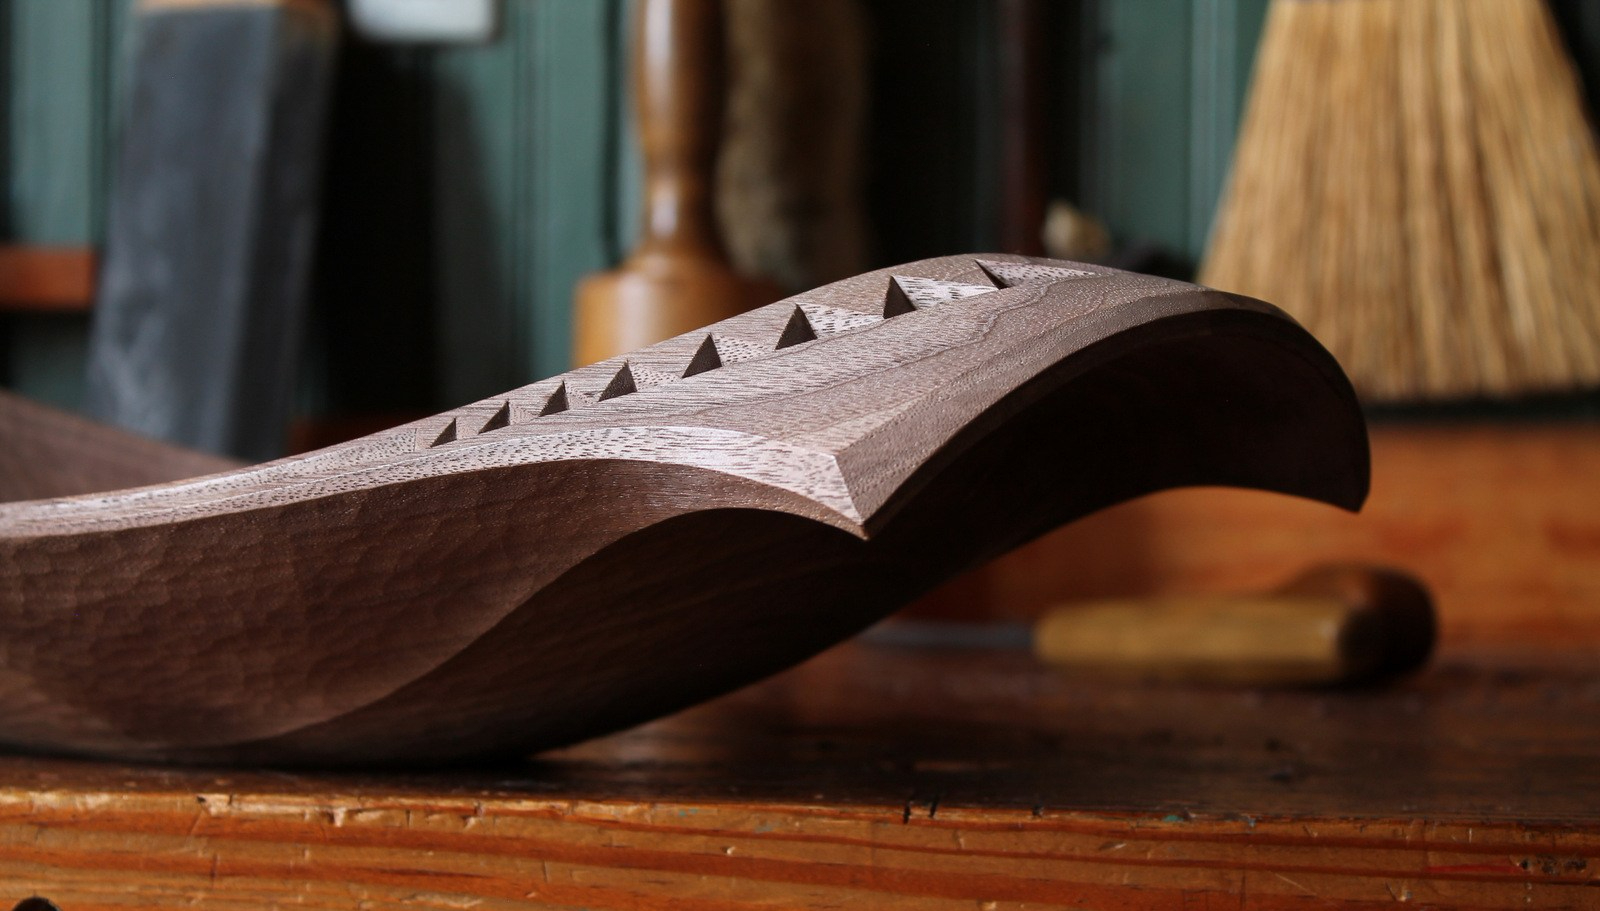
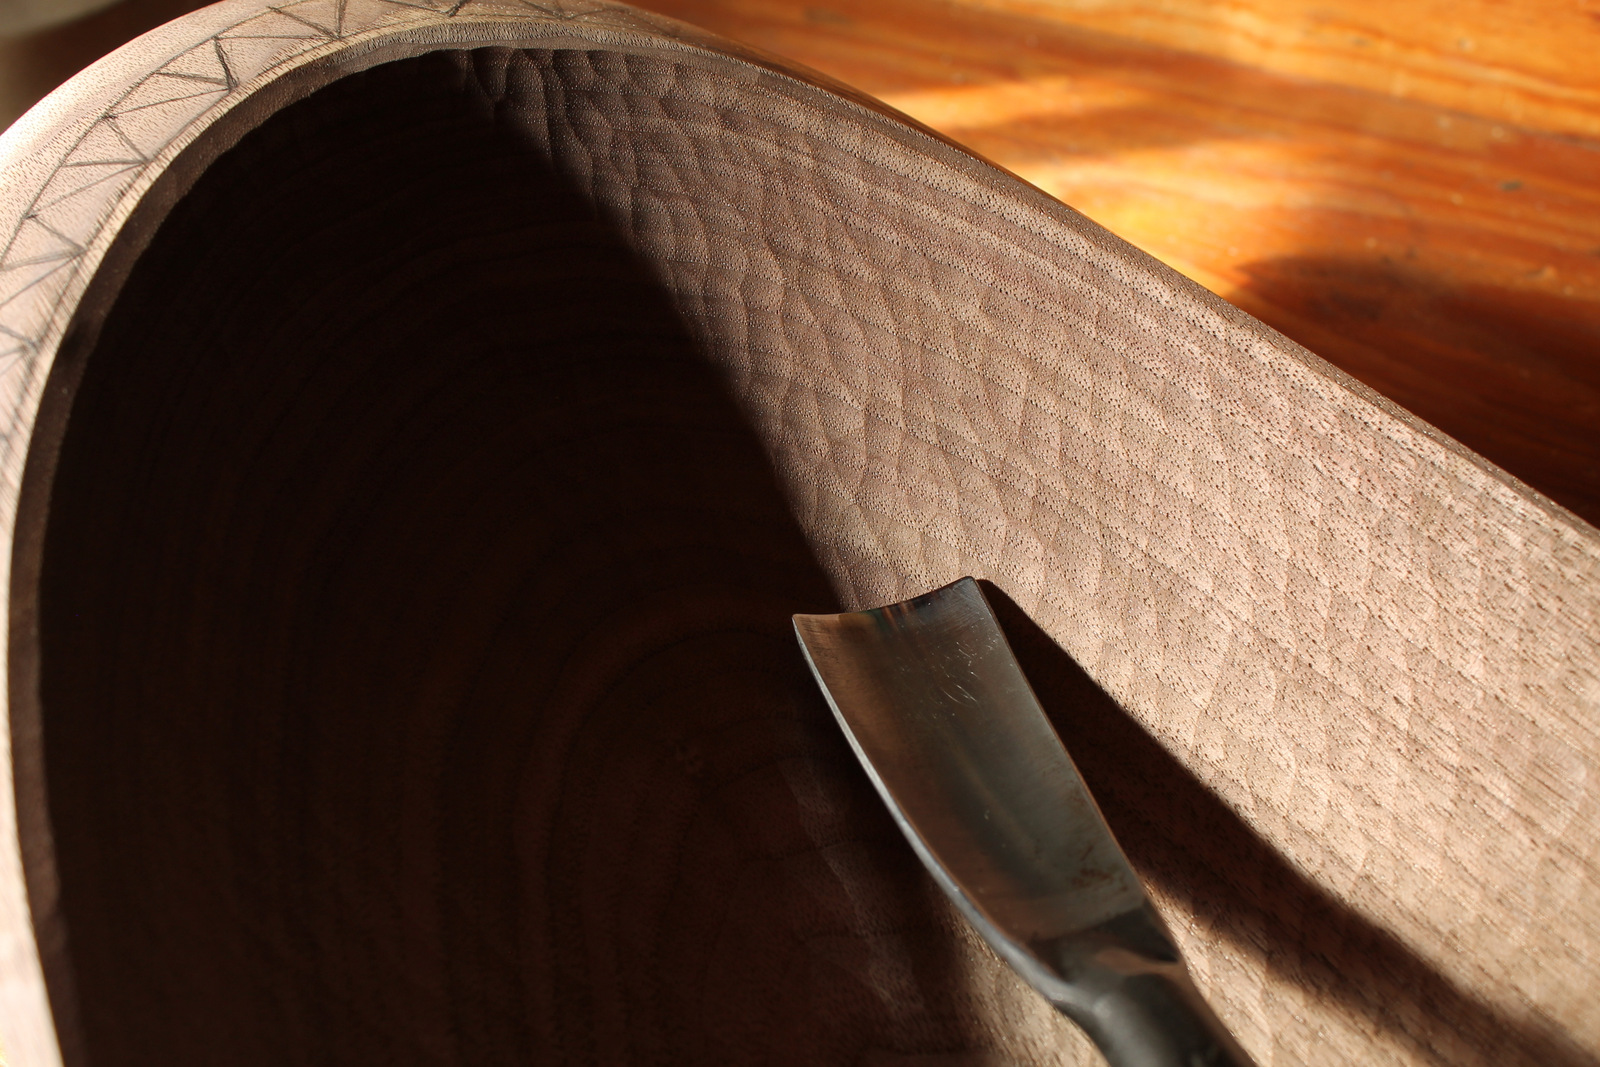
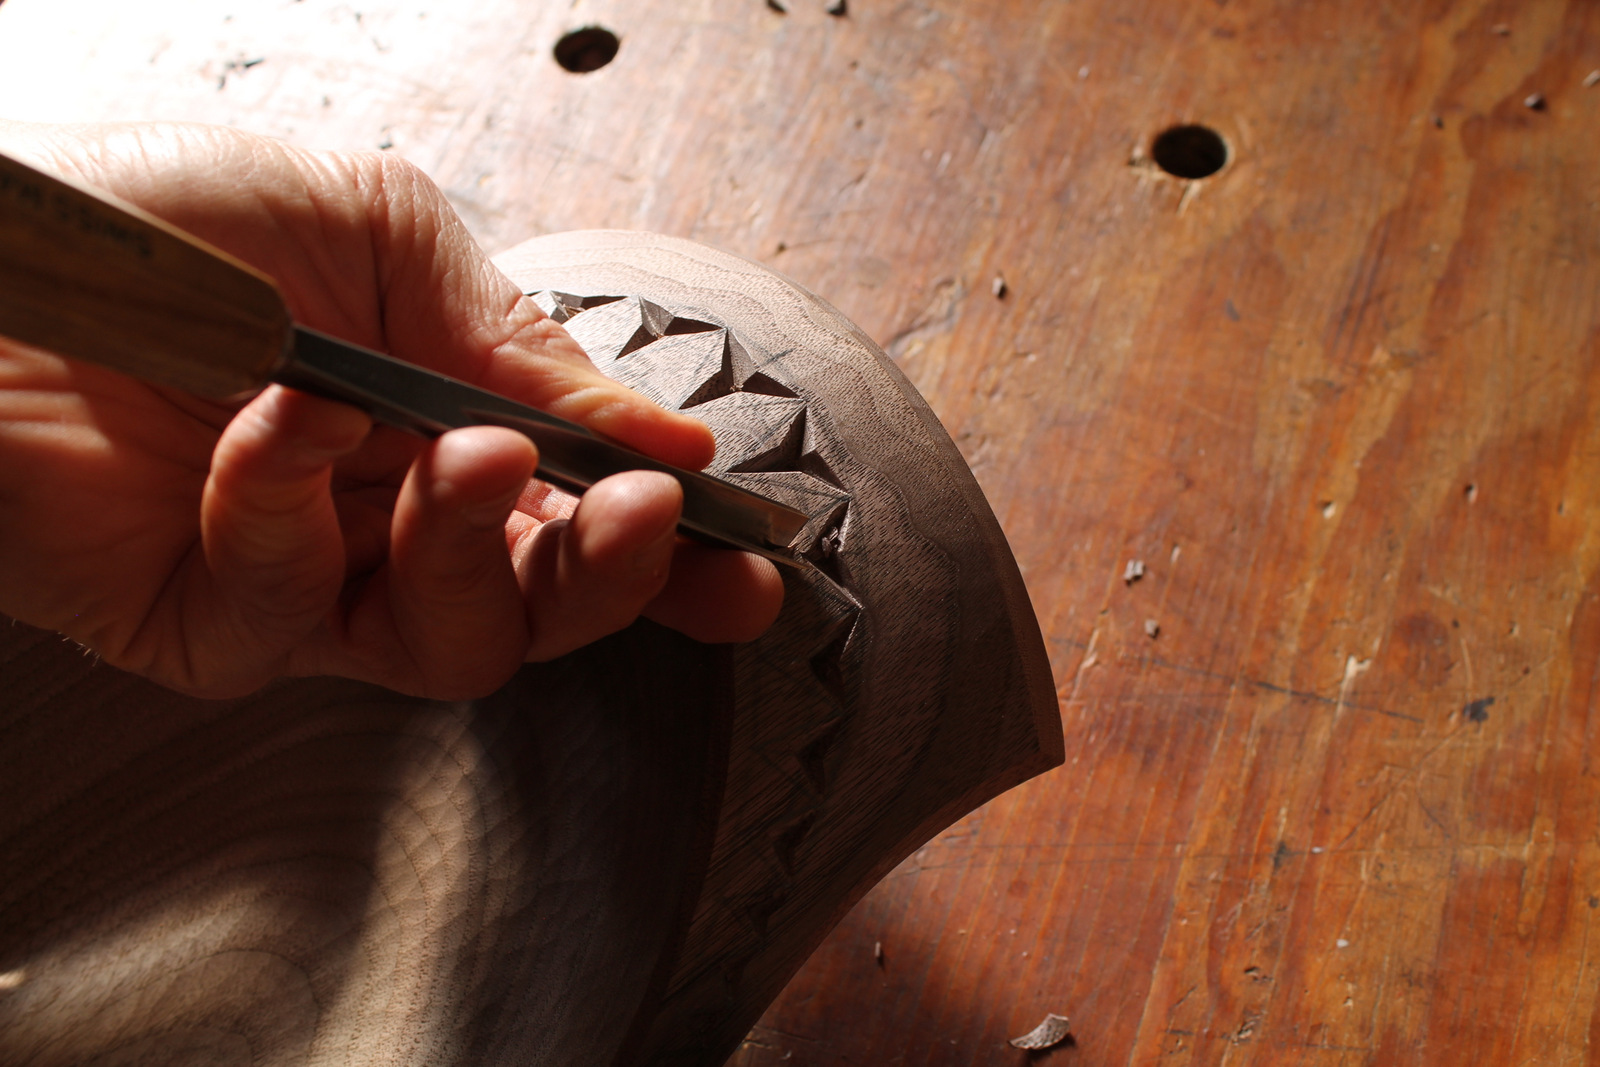
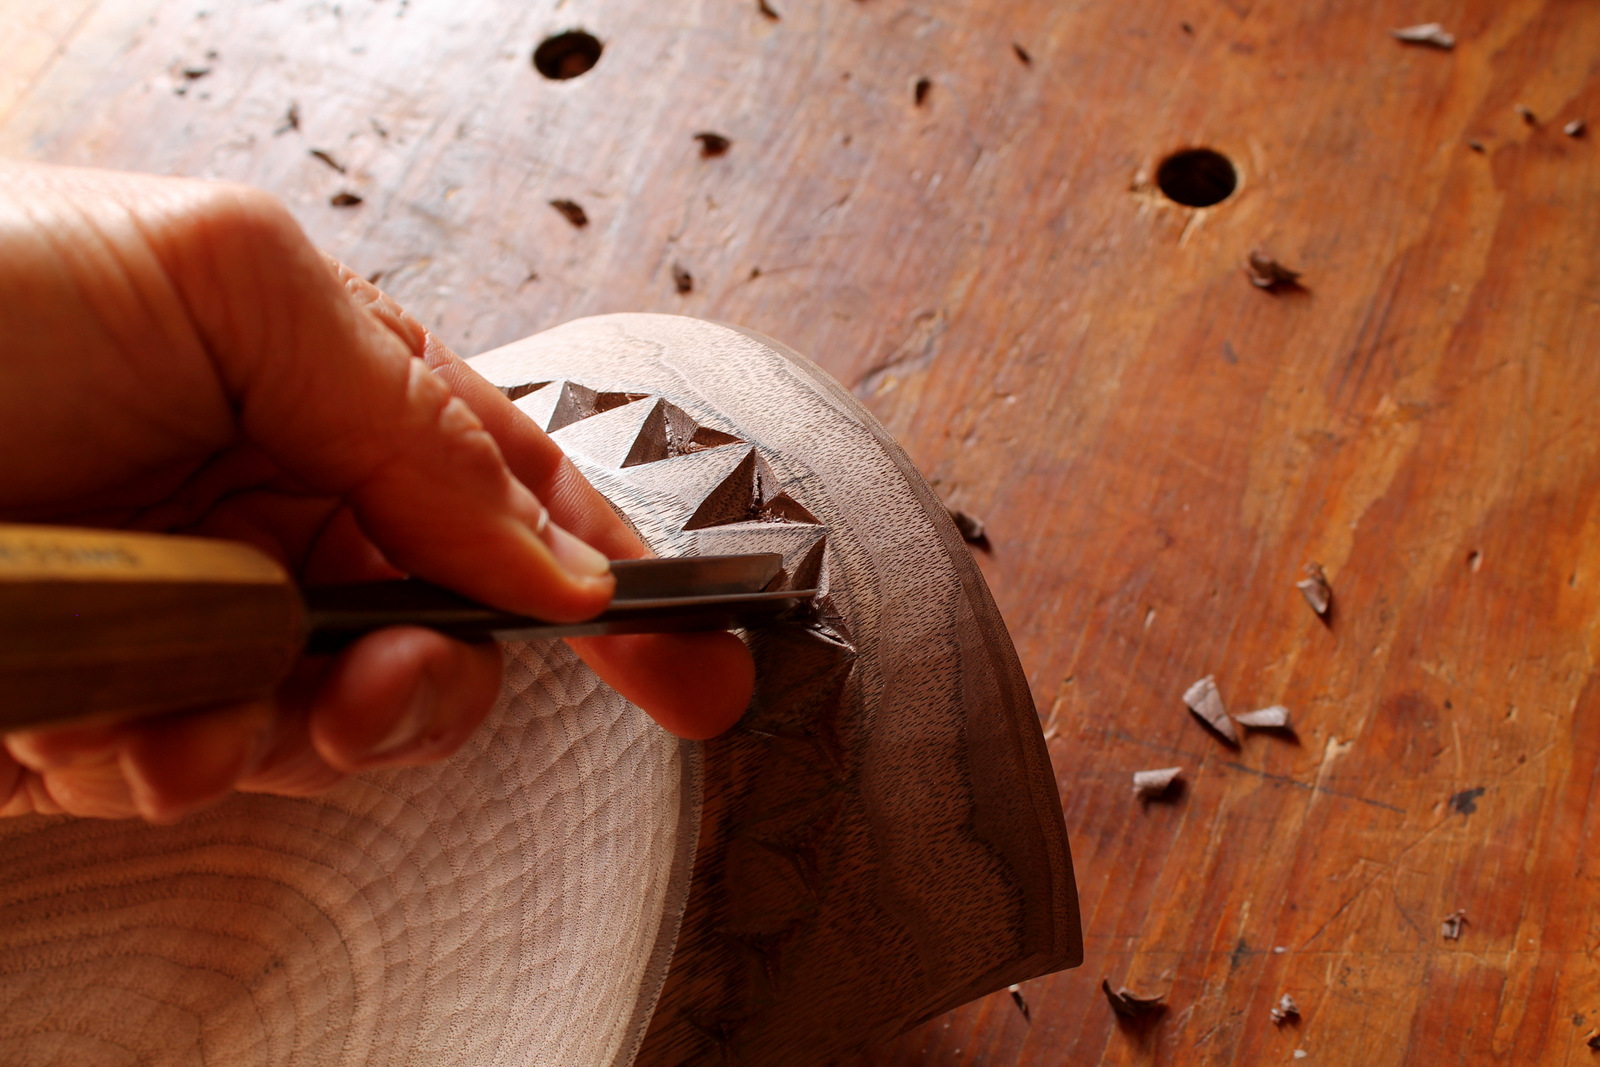
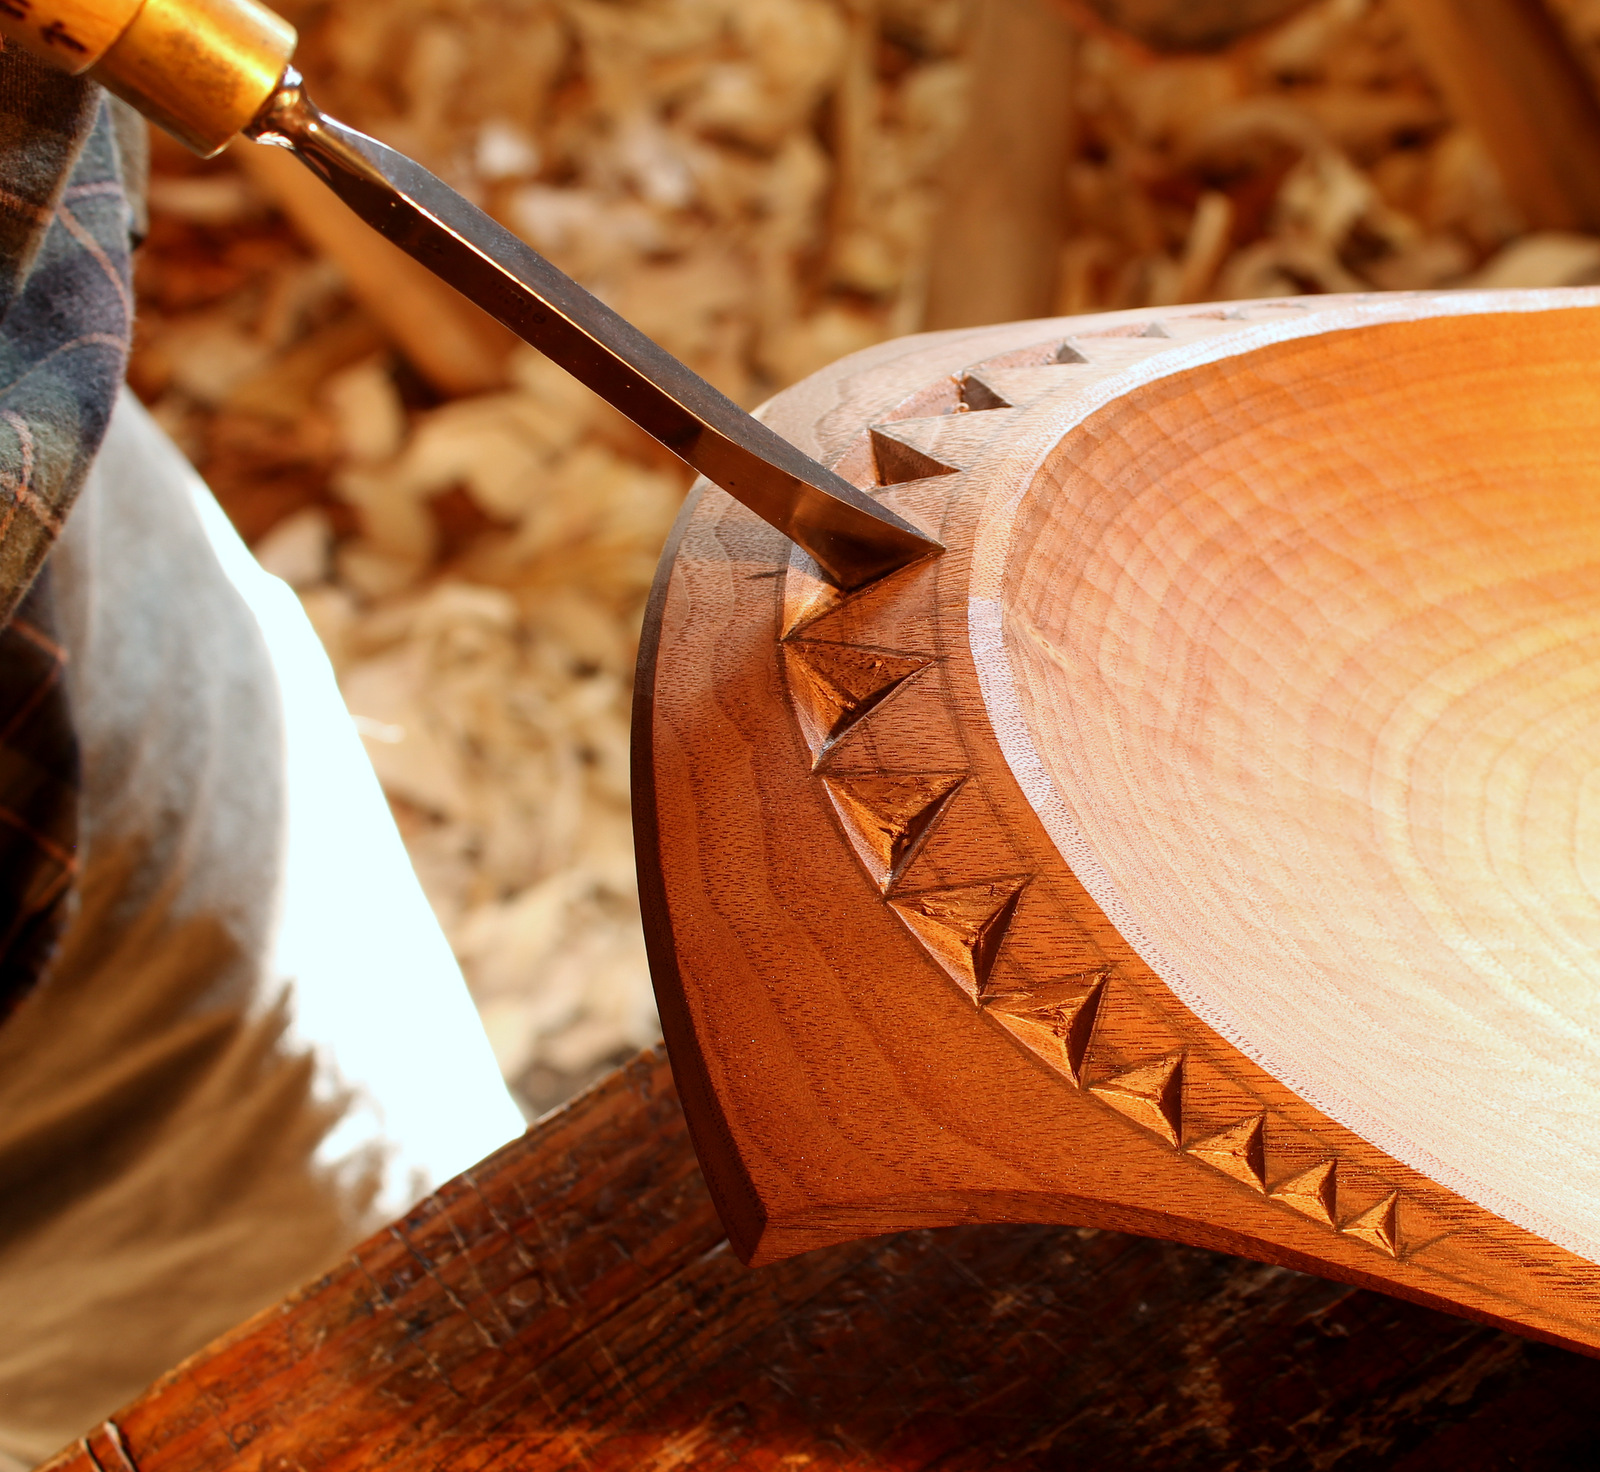
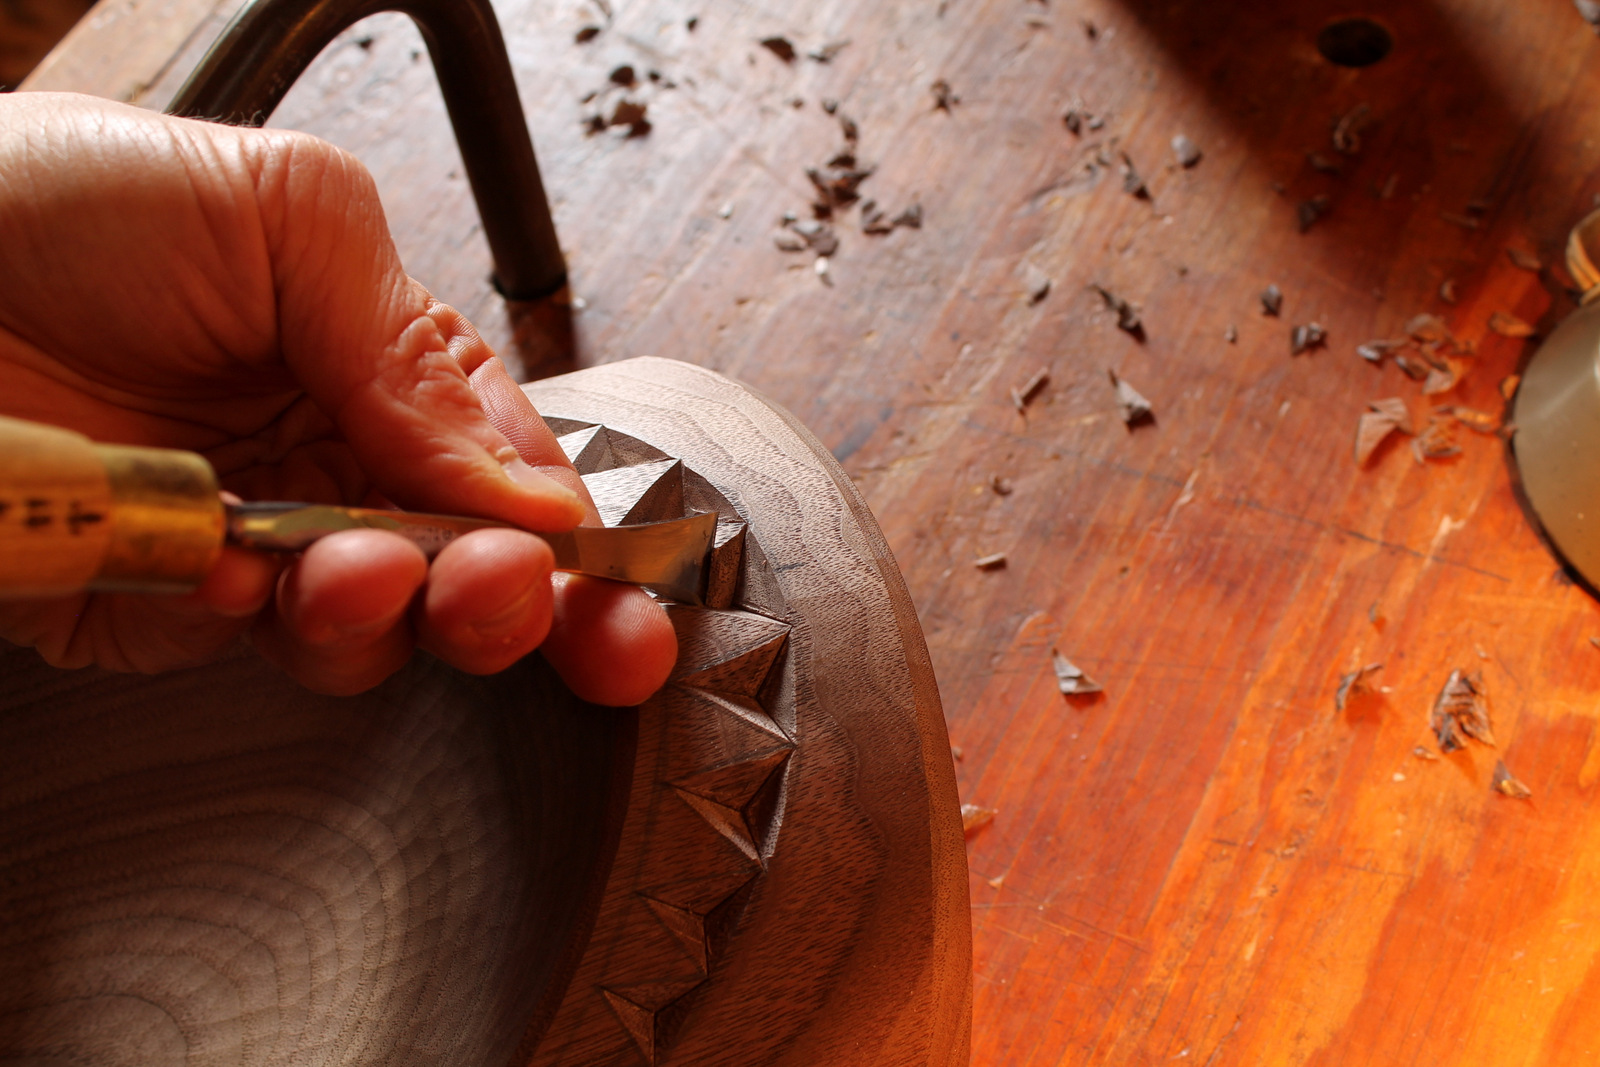
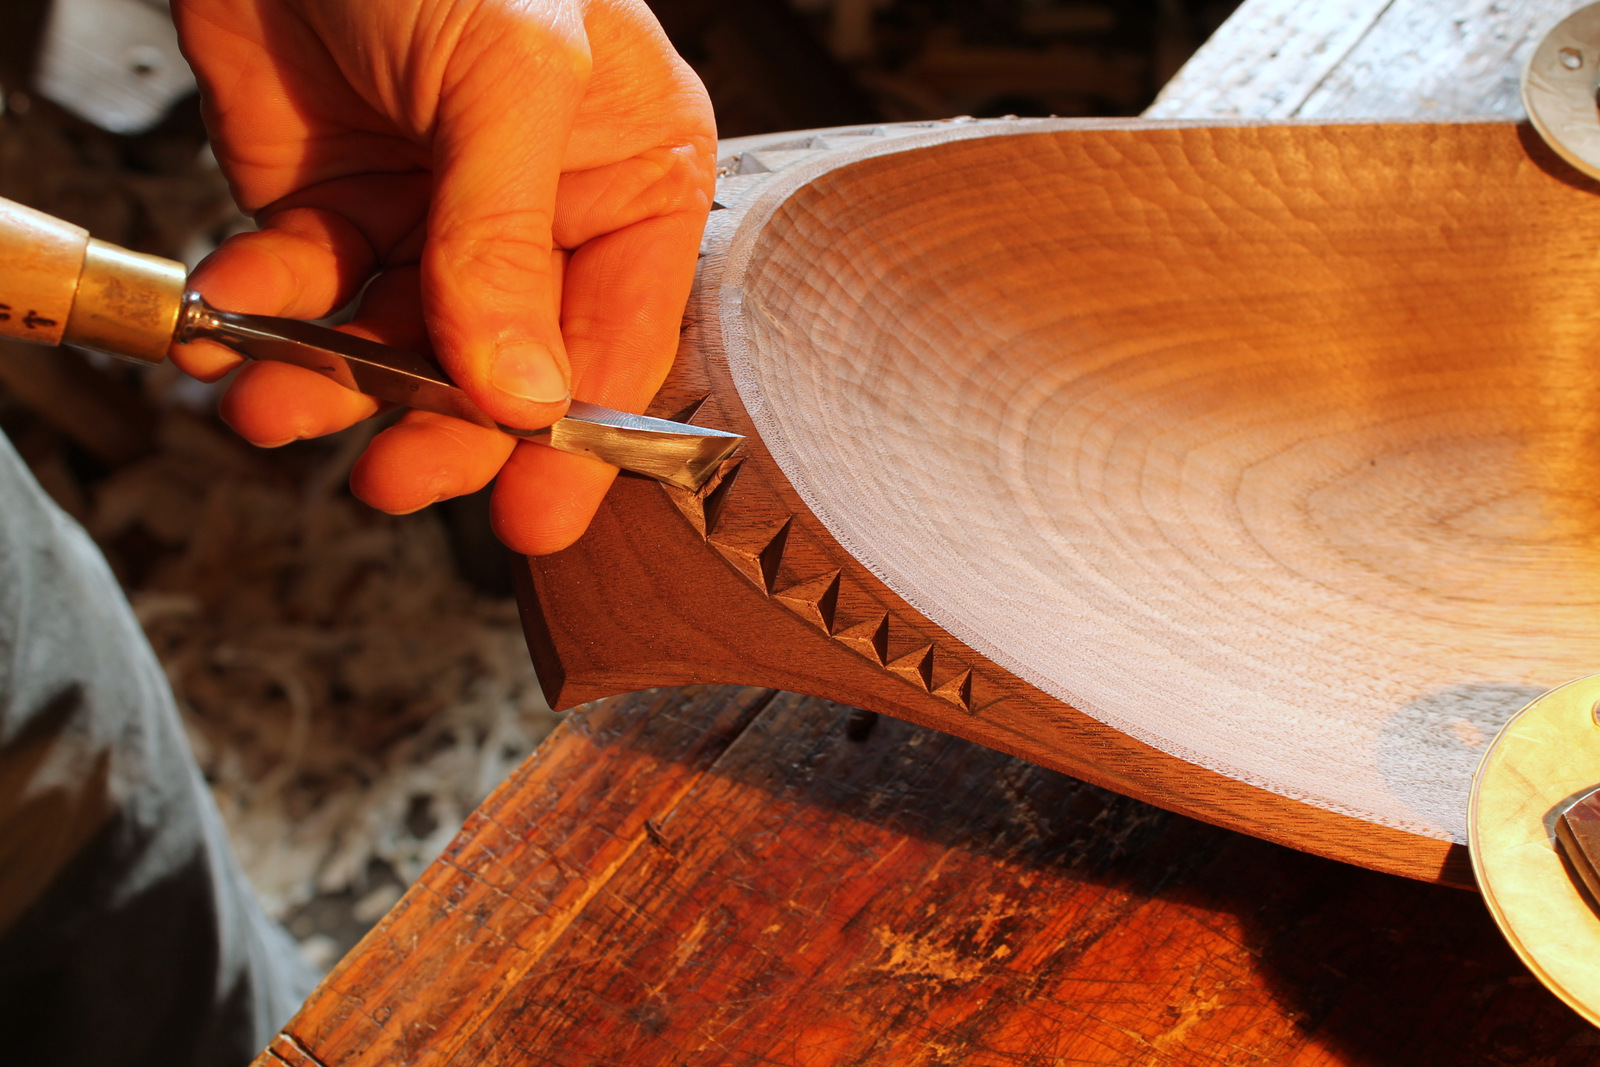
I just finished the carving on this walnut bowl. I snapped a few photos while carving the “necklace” around the rim. But first, a point about gouges:
One gouge can be pretty versatile, depending on how you use it. You can vary textures by changing the length or width of cuts. This gouge is 30mm wide with about a #6 sweep. But this relatively subtle texture was created with it by only using a small portion of the edge with each cut. Another way to think about it is to remember that in the standard system, gouge sweep is relative to the width of the gouge, so, for example, using a small portion of a #8 25 mm gouge will result in the same cuts as a #3 8mm gouge; they are based on the same radius of curvature and will inscribe approximately the same circle.
This series of photos follows the necklace carving, but this time rather than arched side walls, the side walls are straight.
After layout, I get some material out of the way by coming in to the center from each corner with a v-tool.
Then I continue to use the v-tool, tipping it over to remove more excess closer to the edges.
I stab into each junction with a skew chisel.
Working on the side walls first, I pare with the skew chisel.
Once I get further around the rim, I need to switch directions to work with the grain for clean cutting.
The end walls are sliced in a continuous movement that follows the curvature of the outer sweep of the necklace.
Tidy up the junctions as necessary. Take your time. The outer wall of the chips should appear to be continuous.
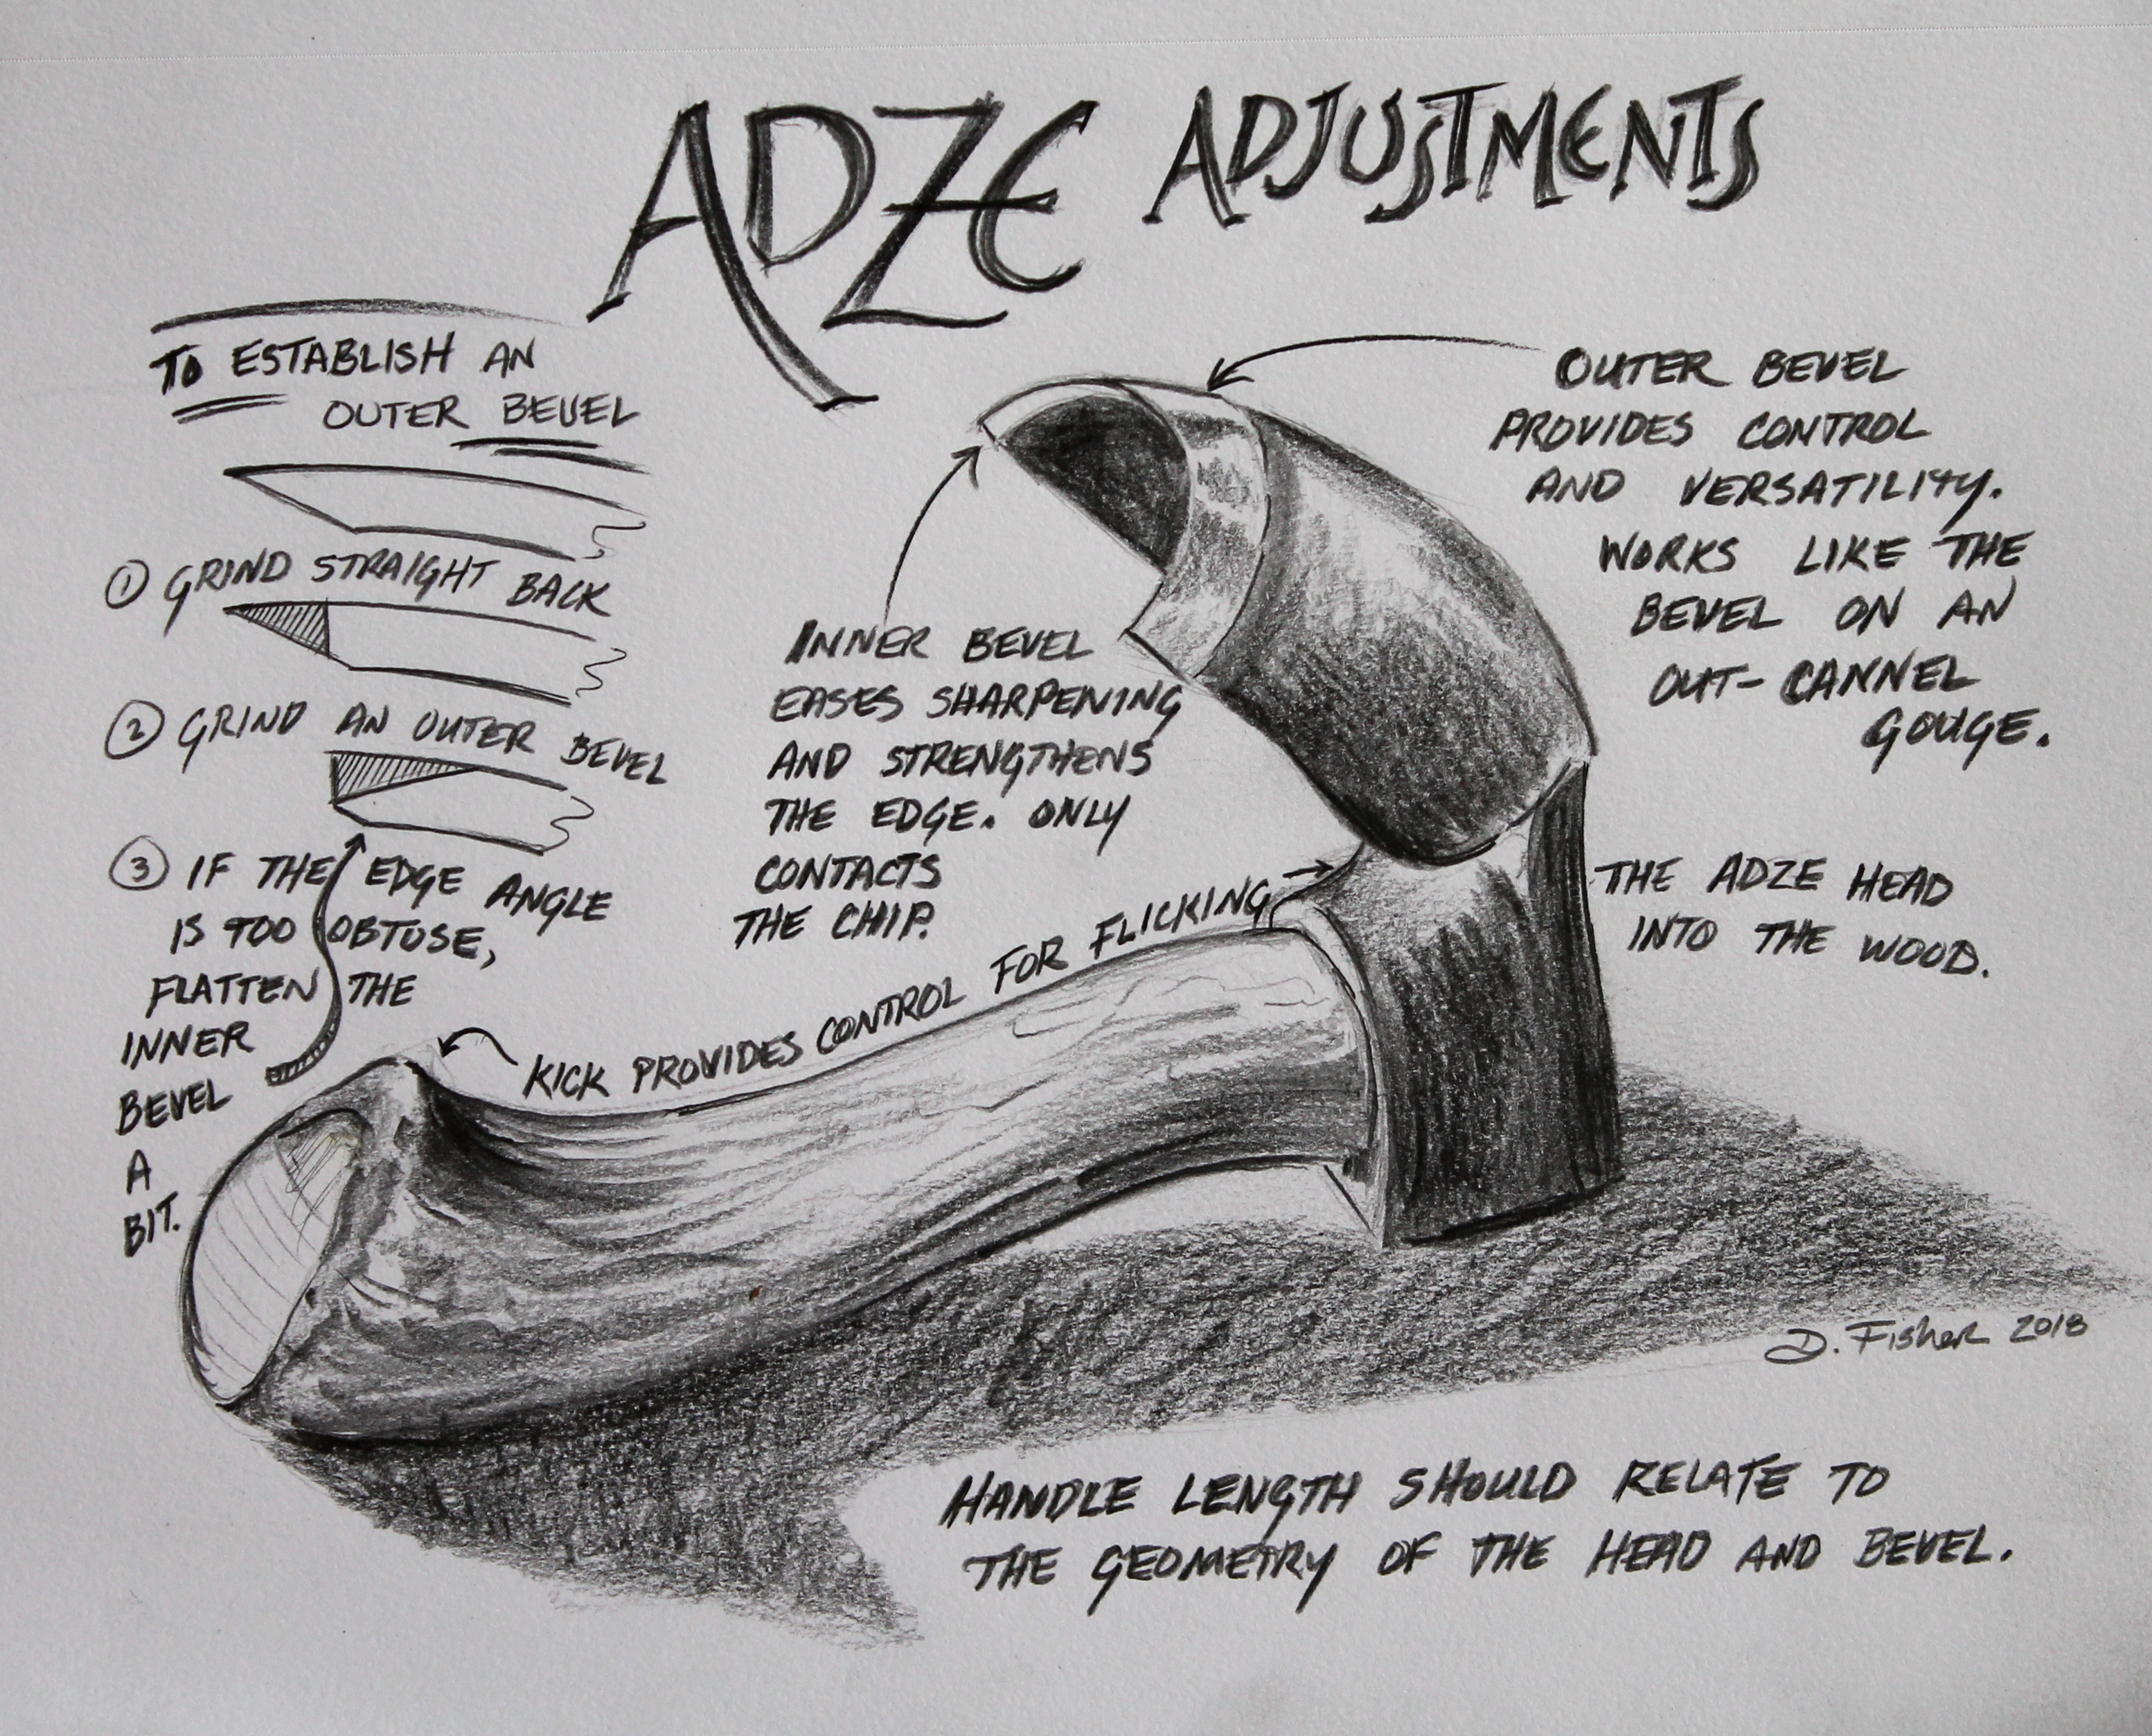
I’ve been getting a lot of good questions from people that, unable to find a good bowl adze, wish to make the most out of a less-than-ideal adze or refurbish an antique adze head. I’ve written about adzes in several posts, but I thought it would be helpful to pull some ideas together here in this post. With that in mind, I sketched some ideas above based on the first adze I bought over fifteen years ago, made by Pfeil, that I’ve reworked.
Here are some references that might also help if you’re looking to adjust or tune your adze:
Although one adze is versatile enough to many different things, there is no one perfect adze head shape, inner/outer bevel relationship, or set of angles. Having a general understanding of how adze geometry and bevels work allows you to determine what will work best for you. Although far from comprehensive, This post should help, and there is a lot of good information in the comment section as well.
In the sketch above, I have a simple diagram on grinding a new bevel. It can involve a lot of work, which requires patience and frequent cooling of the edge. To grind the outer bevel, I would essentially use the same technique for grinding a gouge bevel described in this post. And once the grinding is done, this post shows how I go about honing the edge of an adze.
Some more good news: Blacksmith Jason Lonon plans to focus on lots of adze production this year, so hang in there.
There’s other stuff about adzes on the blog here. Check under the “adze” category to the right.
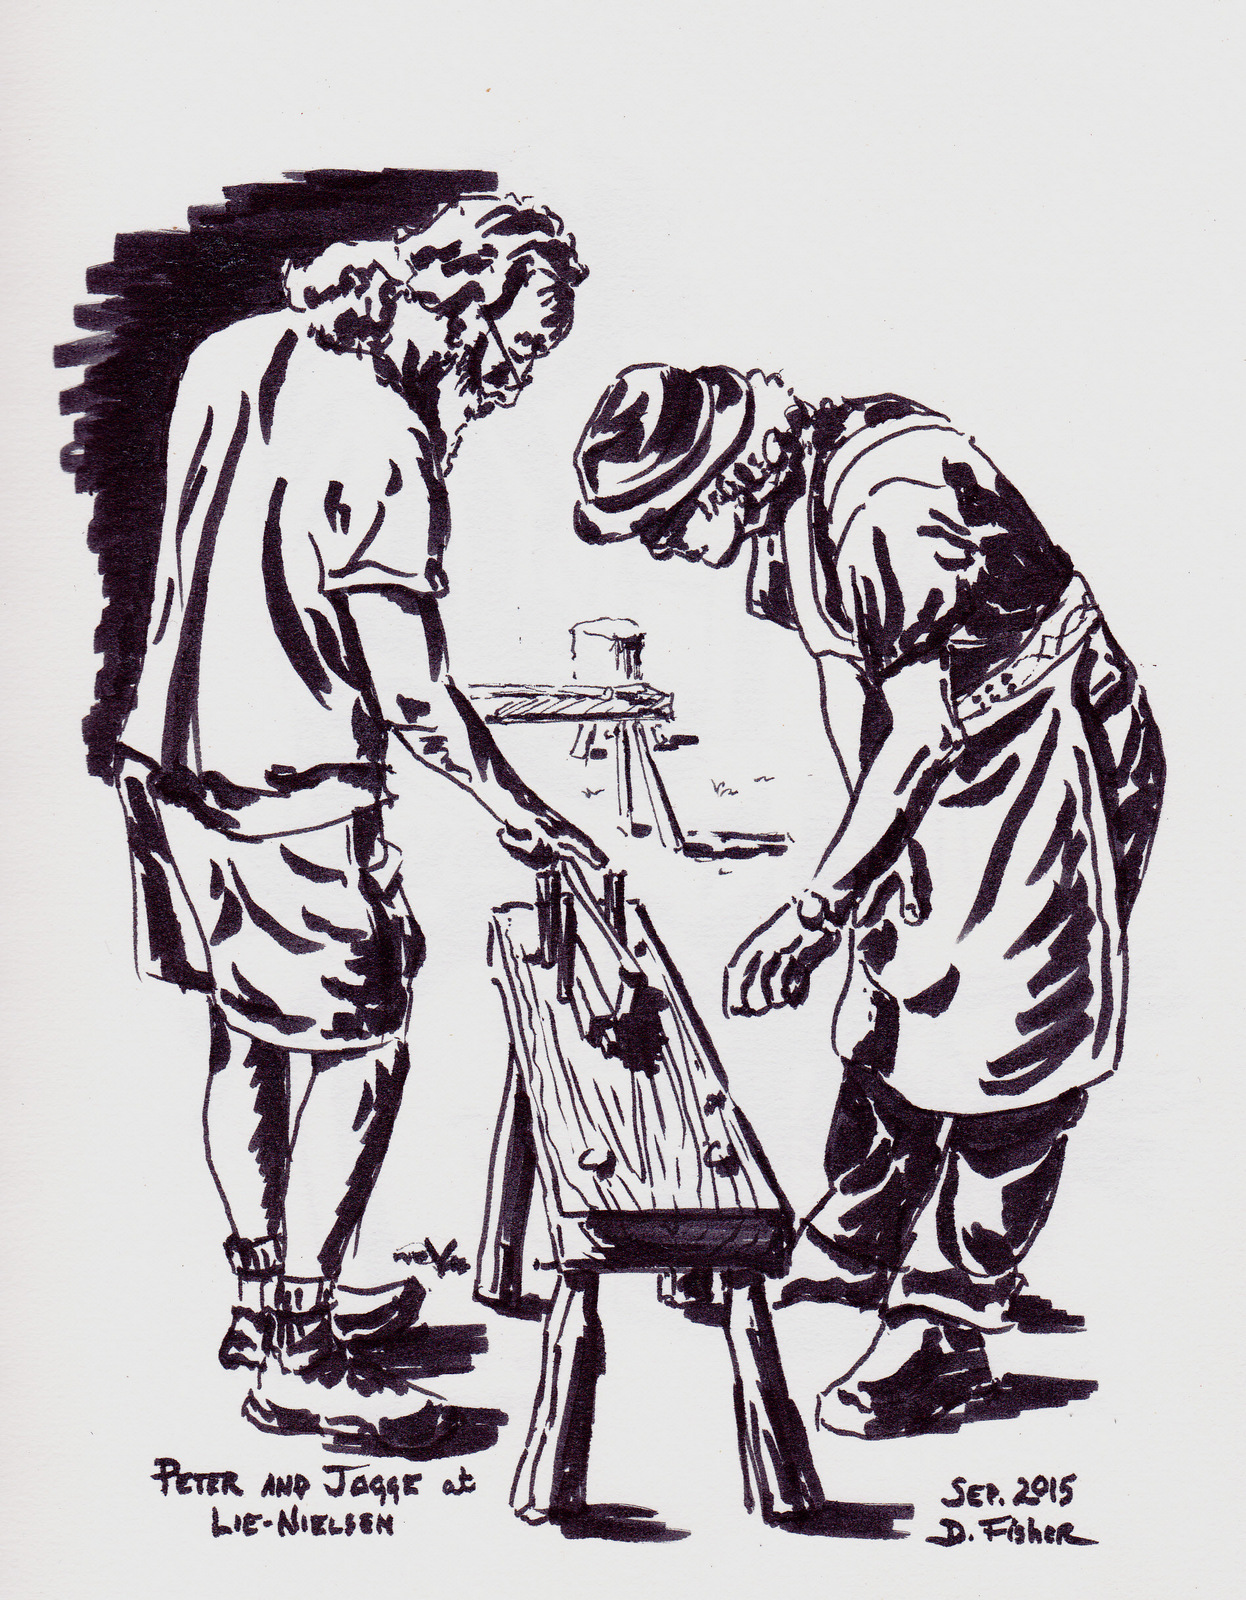
Less than two months until the Fine Woodworking Live event in Southbridge, Mass. I’ll have the axe and adze swinging in a couple demonstrations, and I’ll probably have a chance to throw the drawknife in there as well. But I’ll start off assisting Peter Follansbee in a hands-on spoon carving class. I’m really looking forward to catching up with Peter again. They don’t make ’em any better. If you haven’t seen his blog post today featuring a beautiful video by Jögge Sundqvist, check it out here. Pure poetic inspiration as only Jögge can deliver.
They’ll be together again at Greenwood Fest in June.
One of the things I enjoy most about greenwood carving is the challenge of making the most out of the wood that becomes available. The individual characteristics of the log or branch drive the design, while I navigate among the possible directions and destinations.
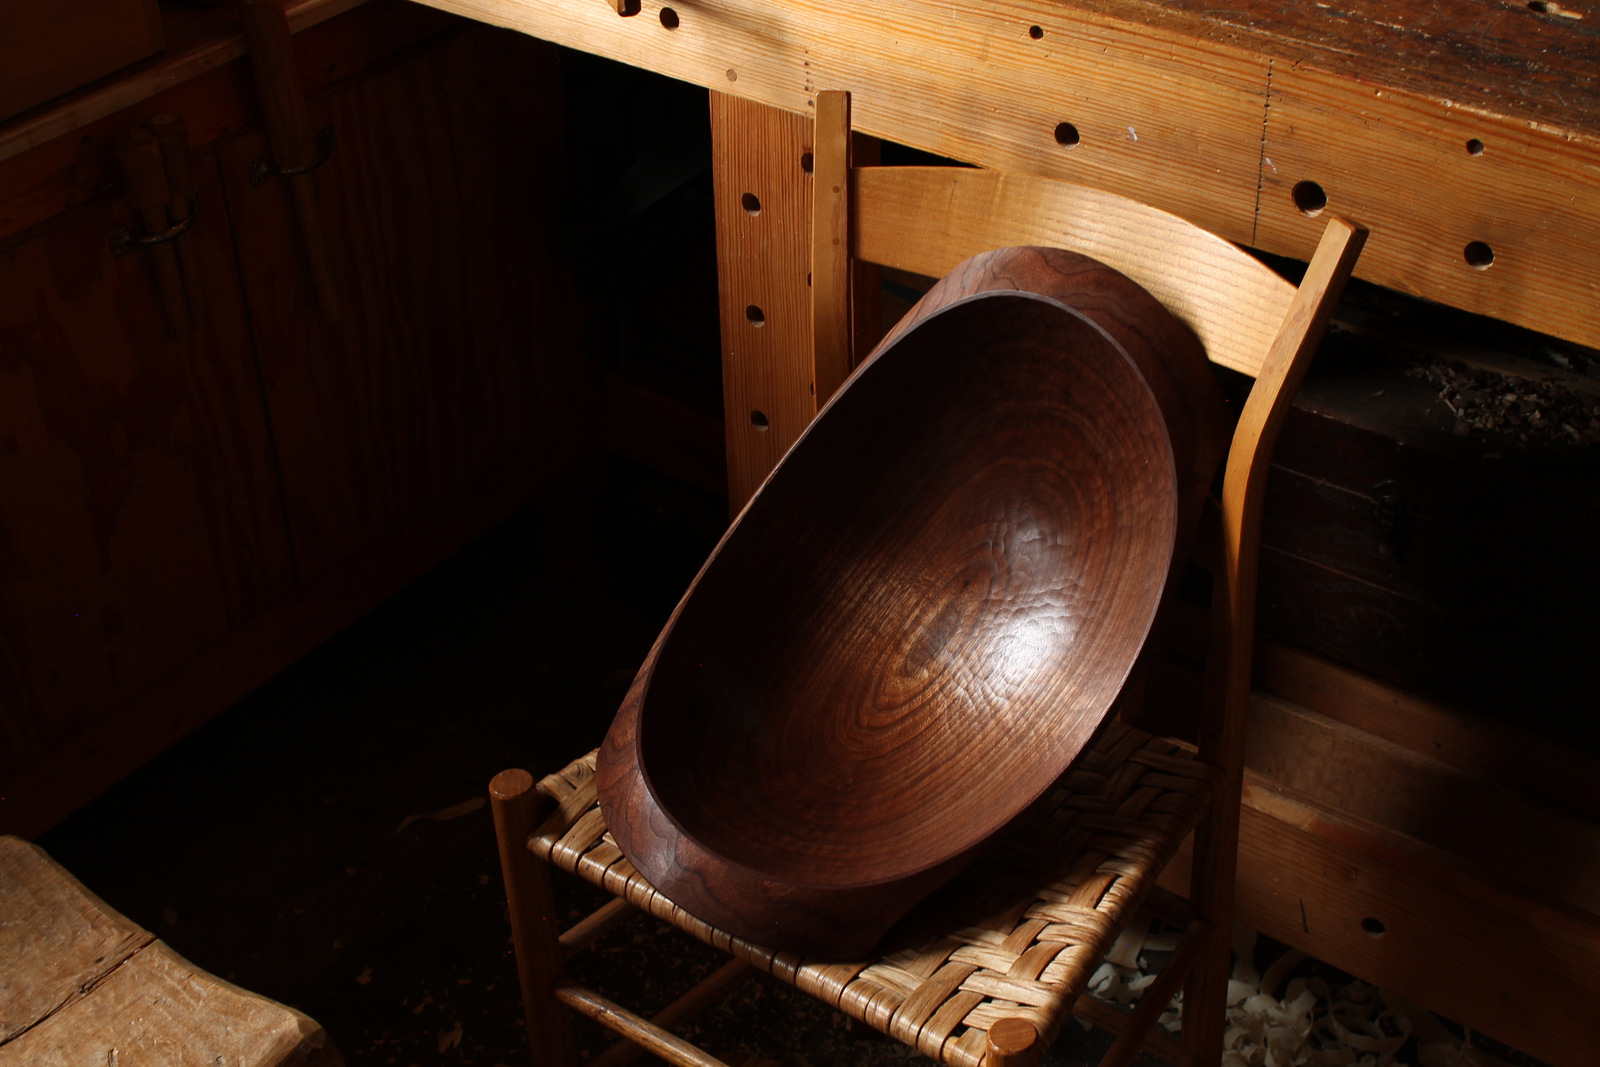
Even for pieces that don’t require a special crook or bend, the position of the growth rings and the shape of the log enter the equation. This big walnut bowl (20 inches long, 13 inches wide, and almost 7 inches high) I just finished is a good example. I don’t come across ideal logs for that design every day; a very big clear one with nice regular features.
Once I’ve busted up a log for a bowl blank, I often try to get other usable blanks within the log roughed out for drying as well. Then they can be set aside for as long as it takes to get back to them for the after-drying carving stages. A lot easier than storing a wet log in some ways, and it eliminates any storage time constraints altogether. The bowl above is one of the walnut ones waiting in the wings.
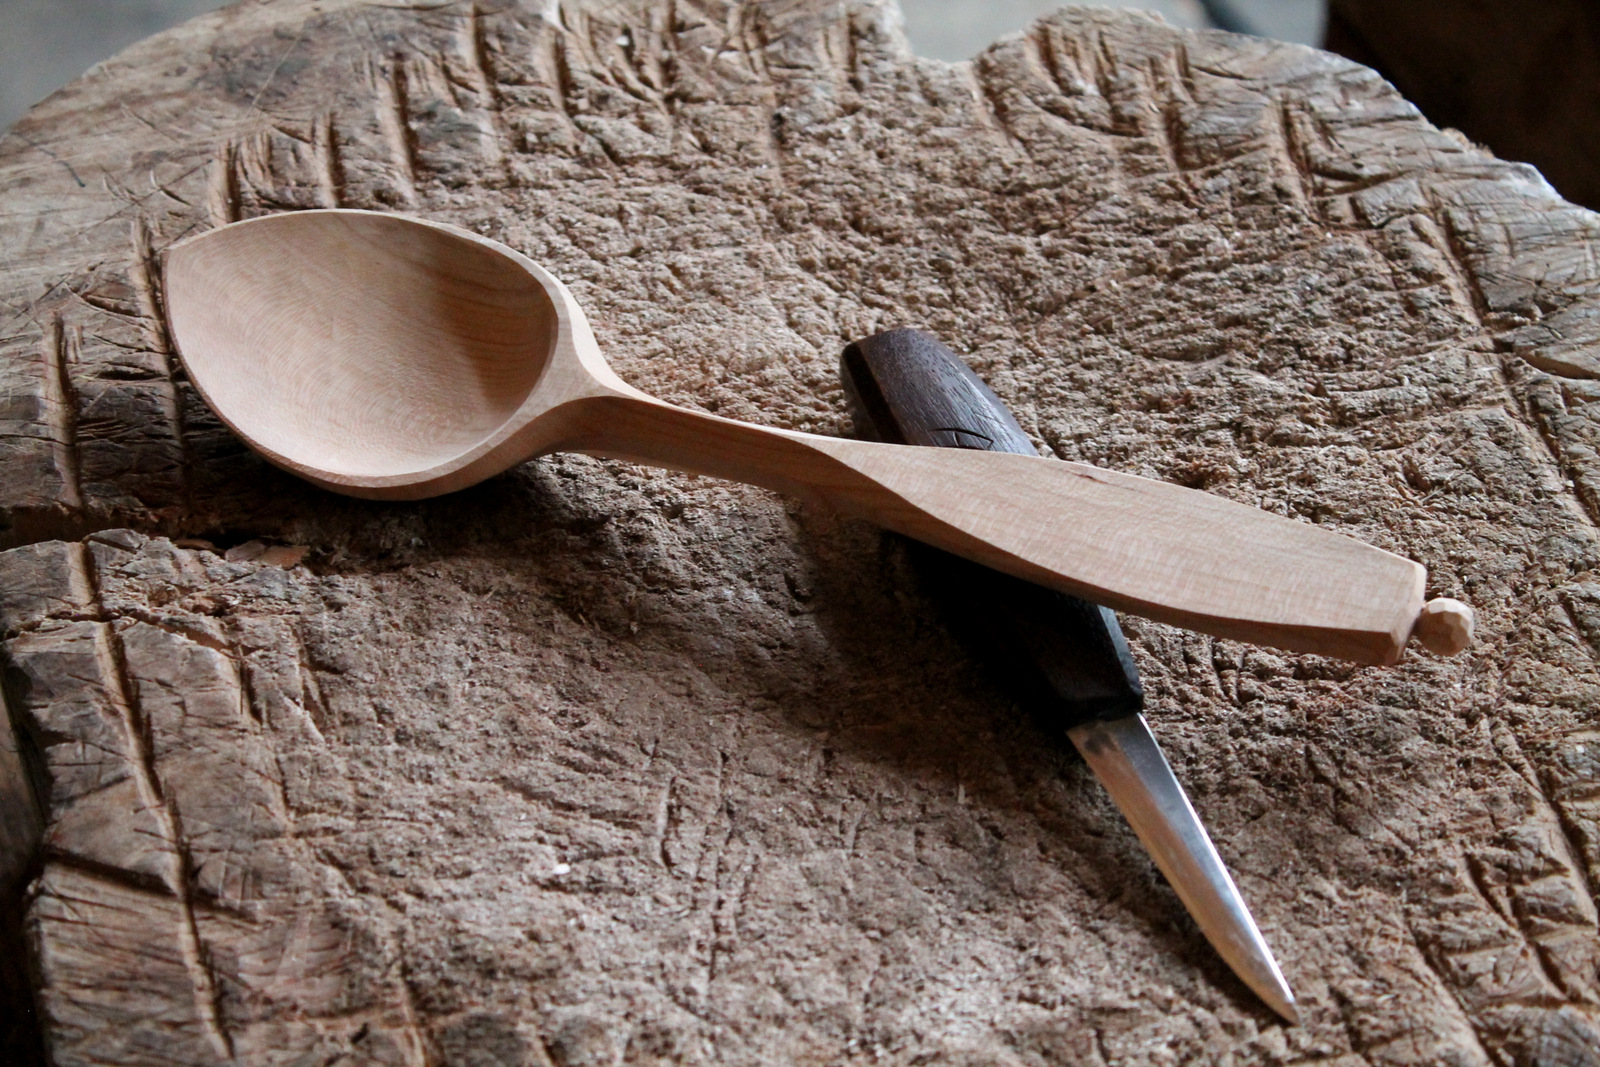
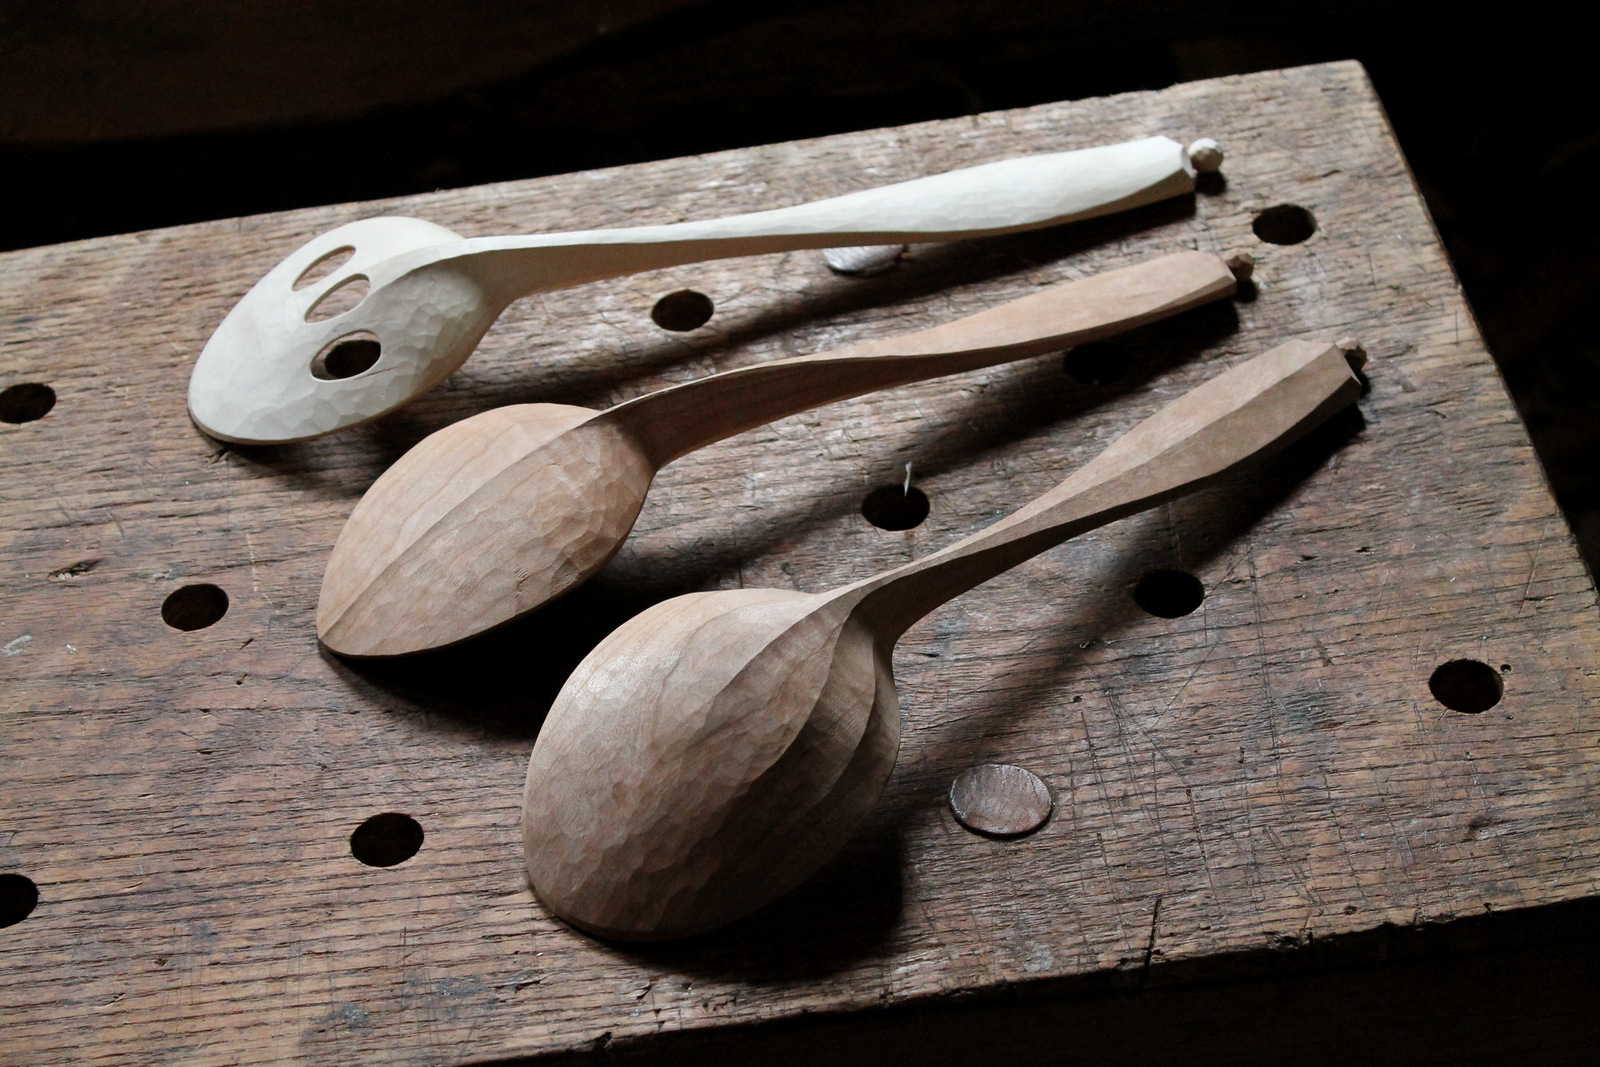
Normally, I make spoons from crooks, but with a deadline that was looming and no crooks handy, I used this straight-grained radially-split cherry blank, adapting the design to the attributes of the wood.
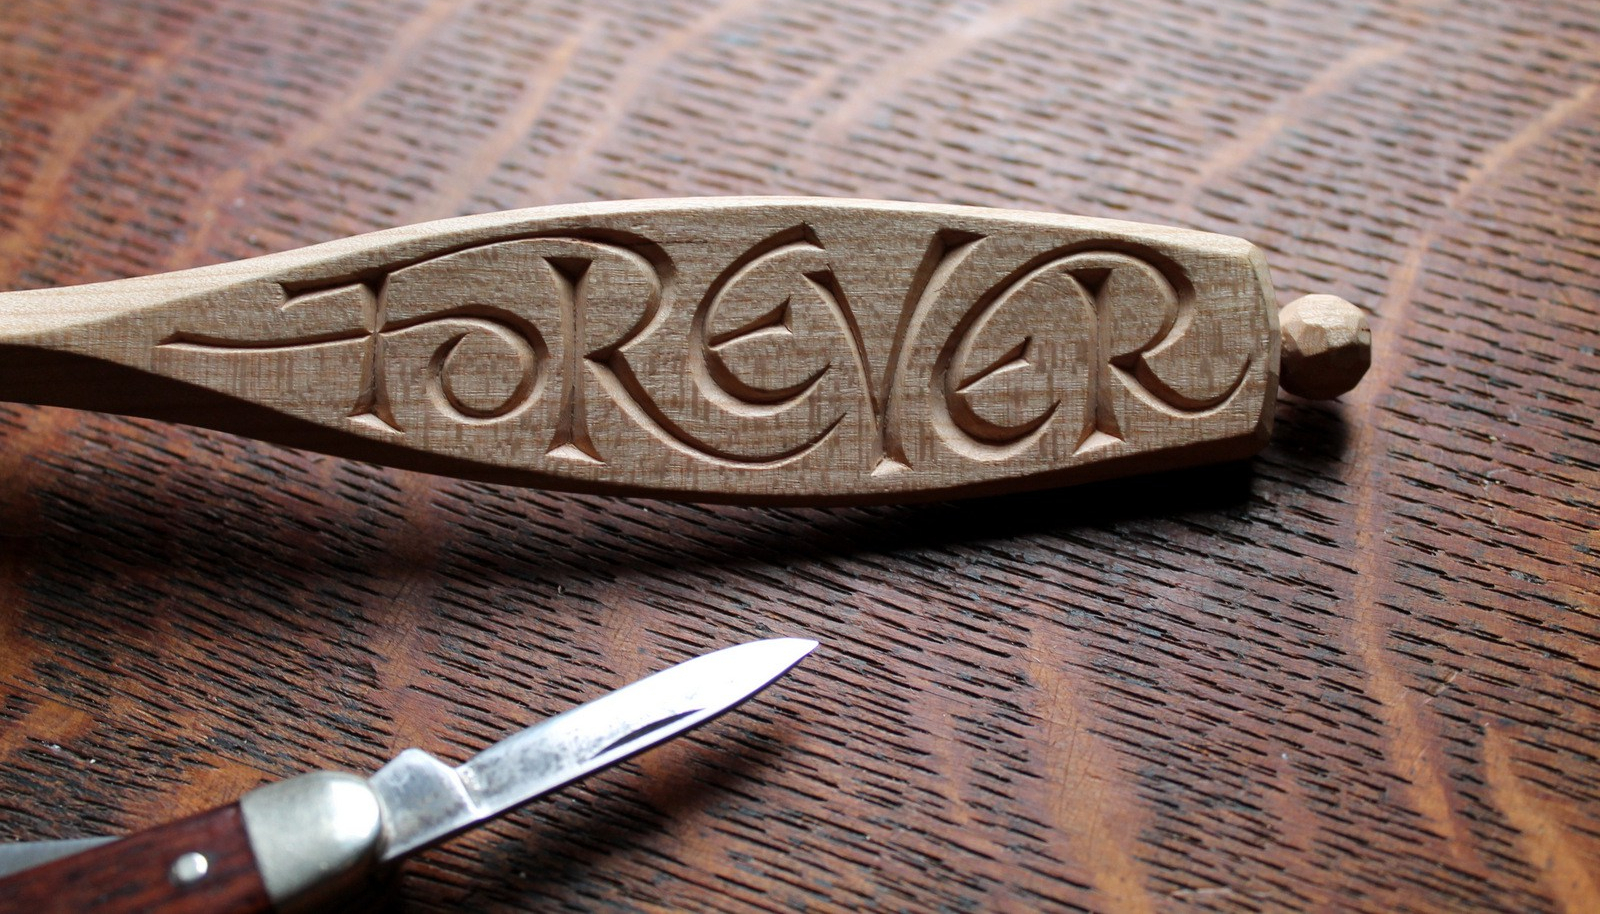
Here’s the handle after carving some lettering.
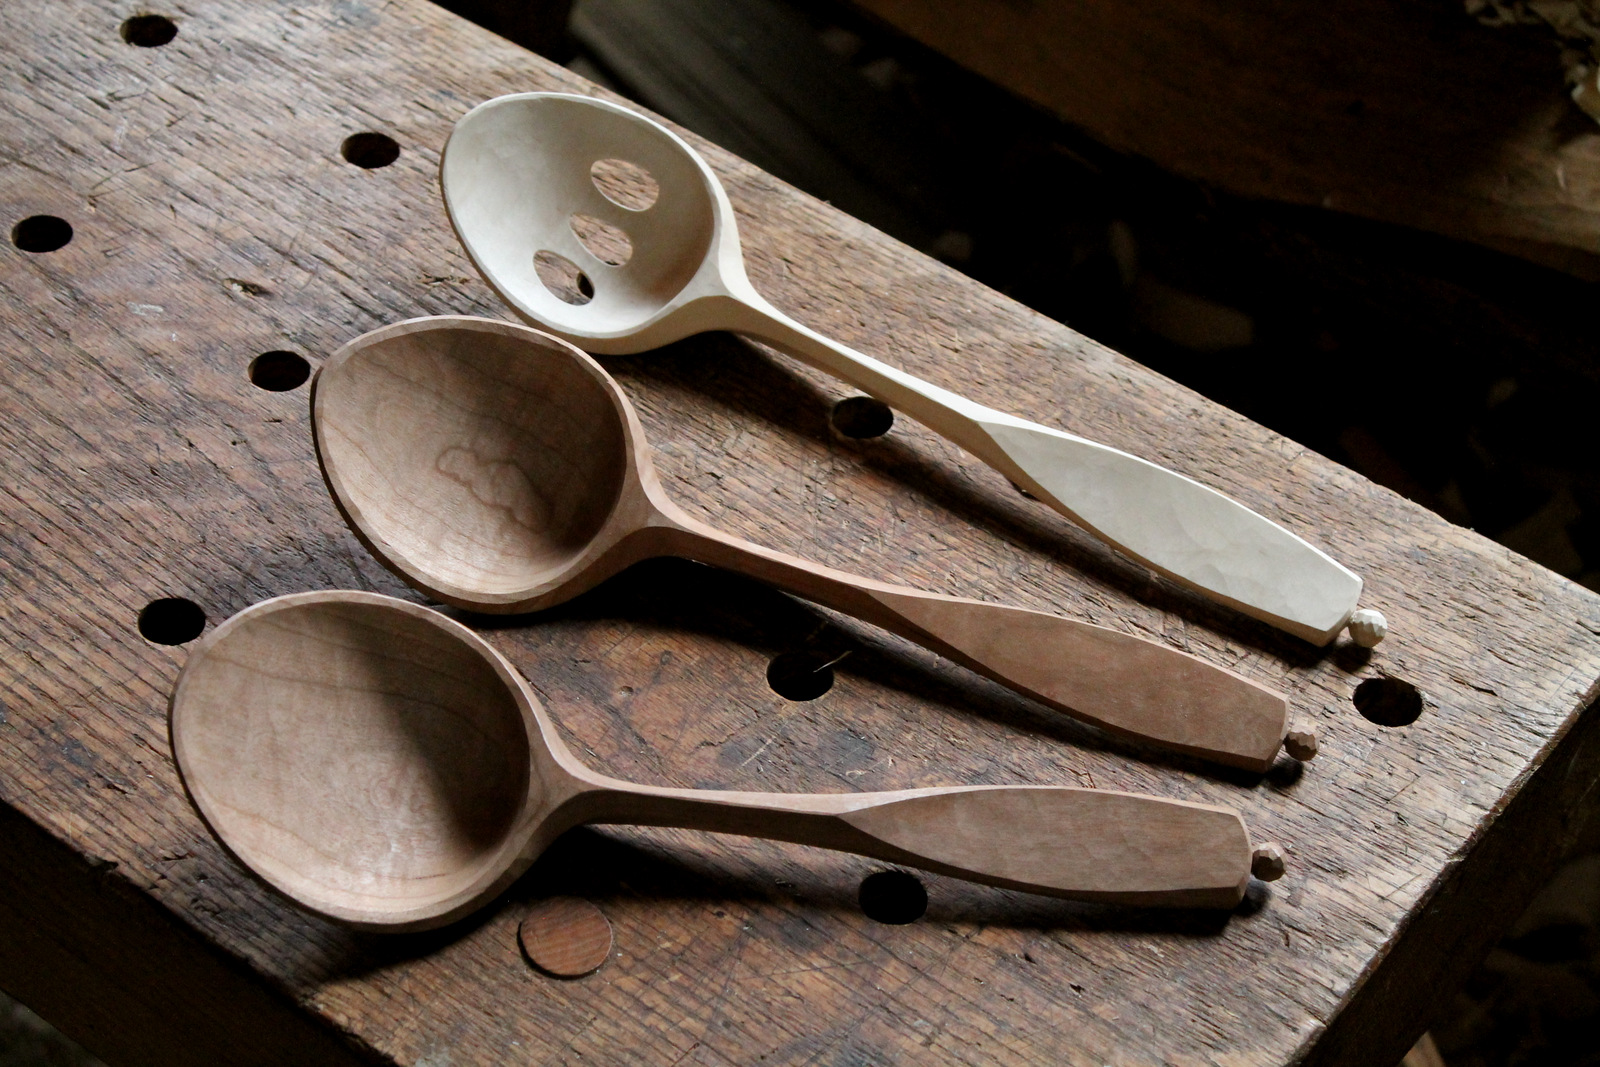
Then some great crooks in cherry and maple came my way. Crooks allow for different curves and thicknesses, while still maintaining strength following the fibers.
These three still need a little work and oil. Some even bigger crooks are outside in bags waiting to be bird bowls. With spring around the corner, I can hear them singing.
Some pieces of tree get me thinking about shrink pots. I get them hollowed out, and a bottom fitted, then I can get back to them eventually after drying. More on these and others down the road.
Tulip poplar or the tulip tree (Liriodendron tulipifera) is a very traditional wood for bowl carving, and it’s not uncommon in my neck of the woods. Somehow, I don’t think I’ve made a single bowl out of it until now. I guess I wasn’t seeking it out much if cherry and other woods were available, but I was pleasantly surprised when I dug into this tulip tree log.
In board-form, some of the best characteristics of this species are lost, I think. It grows at a rapid rate, thus the widely spaced distinct growth rings that stand out purplish against the creamy light green in between. For better or worse, this distinction will mellow to an extent over time.
The strong pattern of the growth rings in this log was just one thing to consider. It was from the butt of the tree, so the lower end of the log flared out more widely as it transitioned into the root buttress. Going with the flow, I decided on an asymmetrical bowl with one broader, taller, and steeper end.
Roughed out for now, and I’ll return to it some day after drying. Anyone got a shovel?





 Digital media has it’s place, but there’s just something about a book. Much of that something is a book’s appeal to our senses: the smell of a book, the heft of a book, the feel of the paper against the fingertips and the soft swishing sound of turning the page. A book is more than the ideas or the story inside.