
It’s been a couple years since I wrote this post about a bowl orientation I call a rooftop bowl. In it, I discussed working with this type of blank and suggested experimenting with quarter-log splits and other angles. Of course, the acuteness of angle will affect the overall design, but there are no magic numbers. All else being equal, a more obtuse angle will result in a bowl with higher and wider outer edges, while a bowl cut from a more acute angle will have a more dramatic sweep along the rim when viewed at eye level. This is comparable to the differences resulting from varying the radii of archtop bowls.

This view may make the roof-top angle more clear.
A friend has been spurring me on to experiment more with the rooftop orientation. In the case of this hen bowl, the angle is 90°, so 1/4 of a walnut log. In roofing terms, that would be a 12/12 pitch since there’s 45° to both sides of vertical. The 1/3 log (120° overall) would be about a 7/12 pitch, in the spirit of the “rooftop” terminology. Here’s the blank after some rough hollowing with the adze.

Notice that I’d already chunked away some material under the tail. Normally I wouldn’t bother with that before hollowing, but removing that bit of wood actually preceded the layout. As I was shaving the underside of the blank a couple dark pin knots appeared.

A couple more strokes and a nicked drawknife later, I realized what they really were:
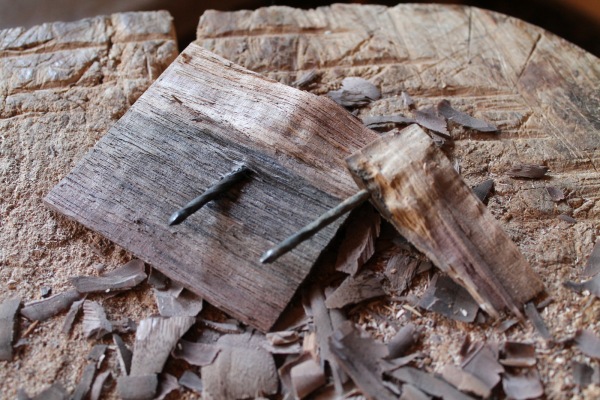
I was able to saw beyond them then split the chunks away. You’ve often got to be flexible with your designs, working with what the piece of tree brings to you. I love that aspect. Thus, I diverted from my first thoughts of a non-bird bowl toward the design of this hen with the tail lifted above where the nails had been.

The bowl after some rough hewing of the exterior with an axe.
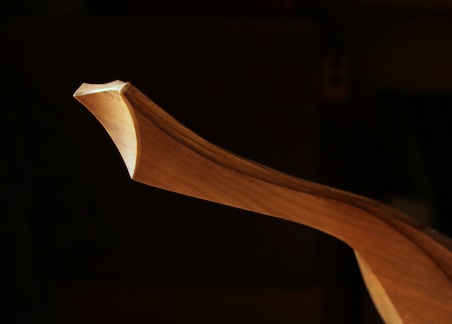
There were a number of new elements to this piece, including the shape of the tail and its hollowed underside. In the photo below, things are starting to take shape.

This shot was taken after some more carving. One angle of the top rests on the bench, while the other will butt up against the clamped block as the piece is pushed forward between it and the wood peg. There’s always a way.

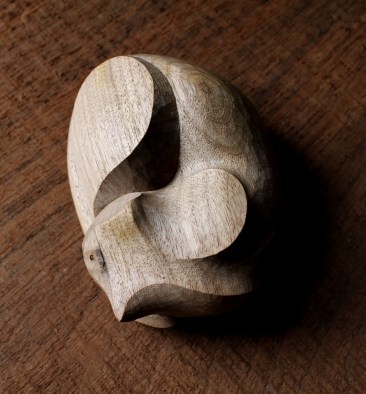
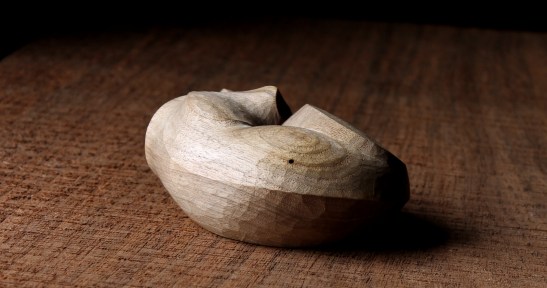
The bowl is 18 inches long, 9 1/2 wide, and 6 3/4 inches high. I’m going to hold on to this one for a bit while I do some exploring with related designs. Here are a few more photos taken after some oil:


Happy carving!
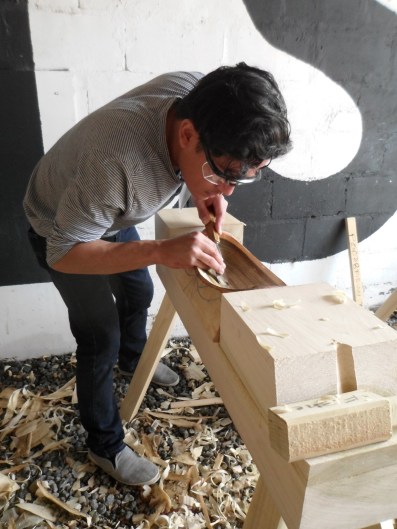
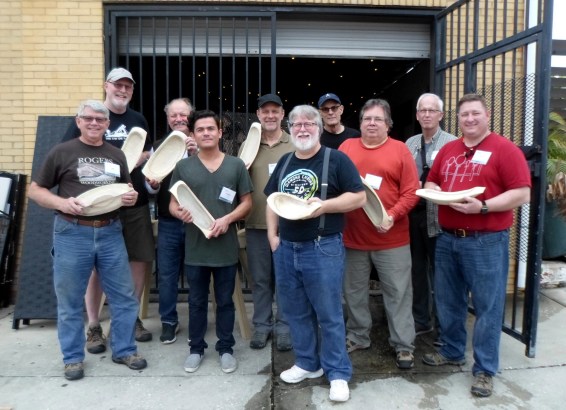
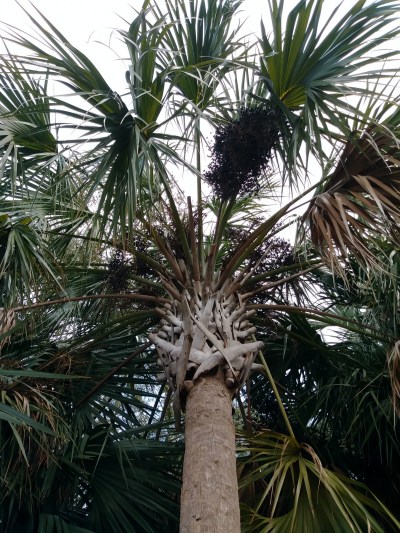


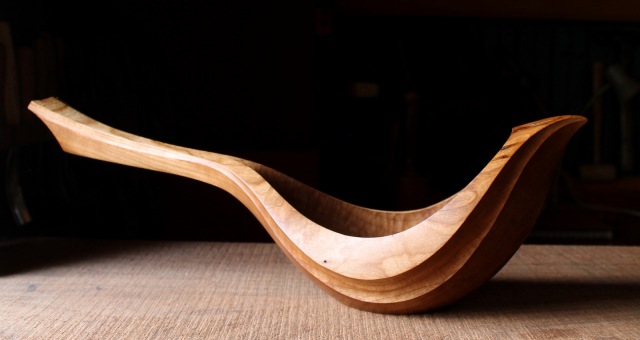
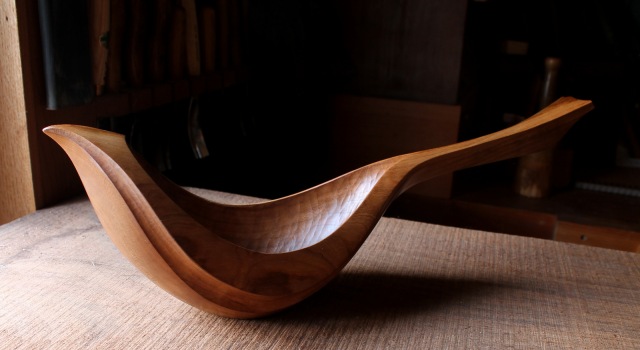
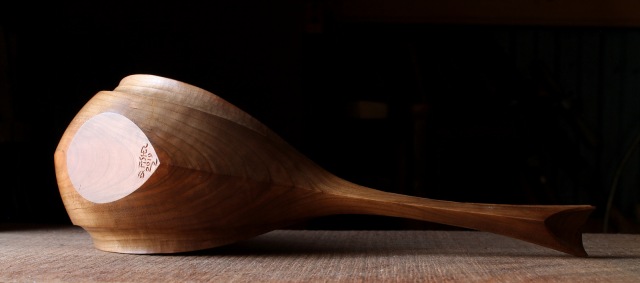 17″ long, 5″ wide, 5 3/4″ high.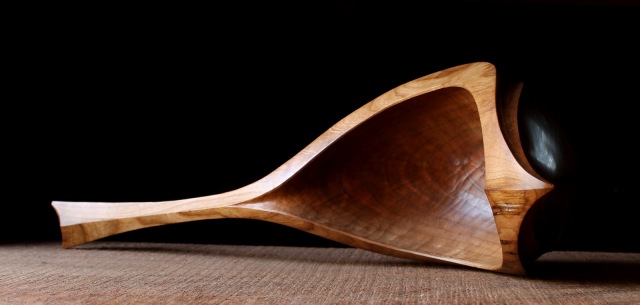











 The photos were taken after the bowl had dried in the open for over a week and had lost nearly half of its weight through water loss. Now Noah will have to decide if he wants to go over all of the surfaces again with fresh cuts to refine the form and leave a more burnished surface, as I do. But he really took the time to leave nice cuts during the green stage and there was really no discoloration or anything during drying, so maybe he’ll just flatten the bottom with a hand plane and oil it.
 Wishing you all a 2019 filled with memorable moments in and out of the workshop.