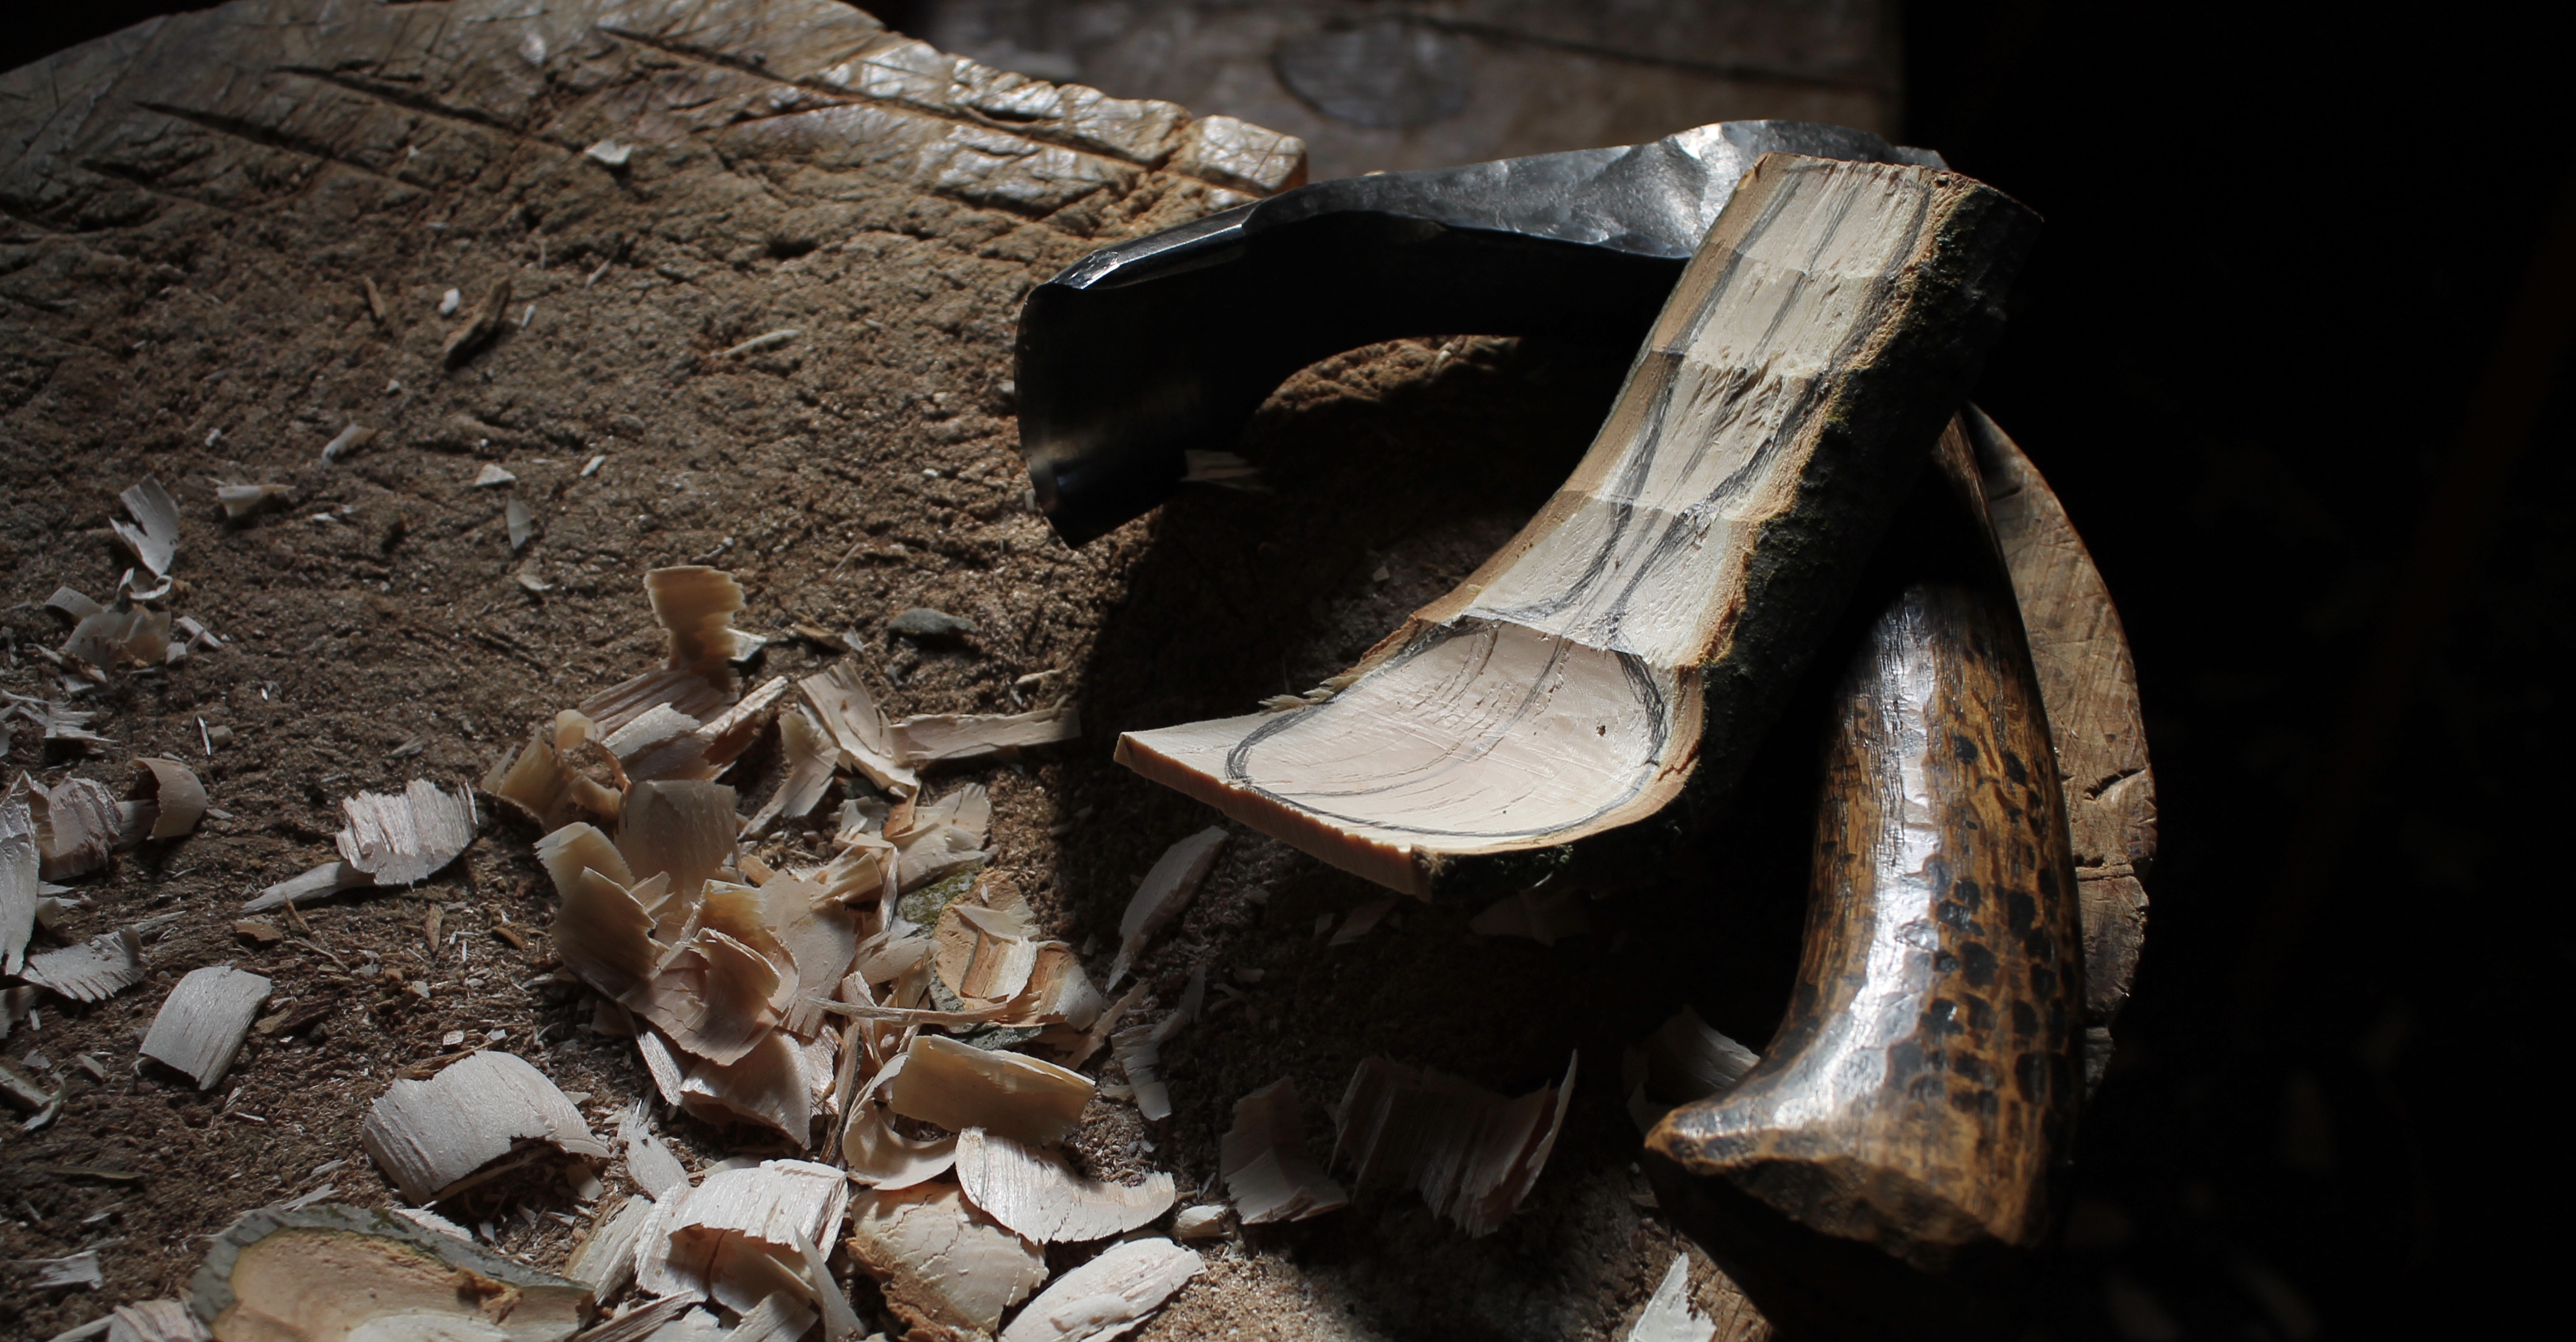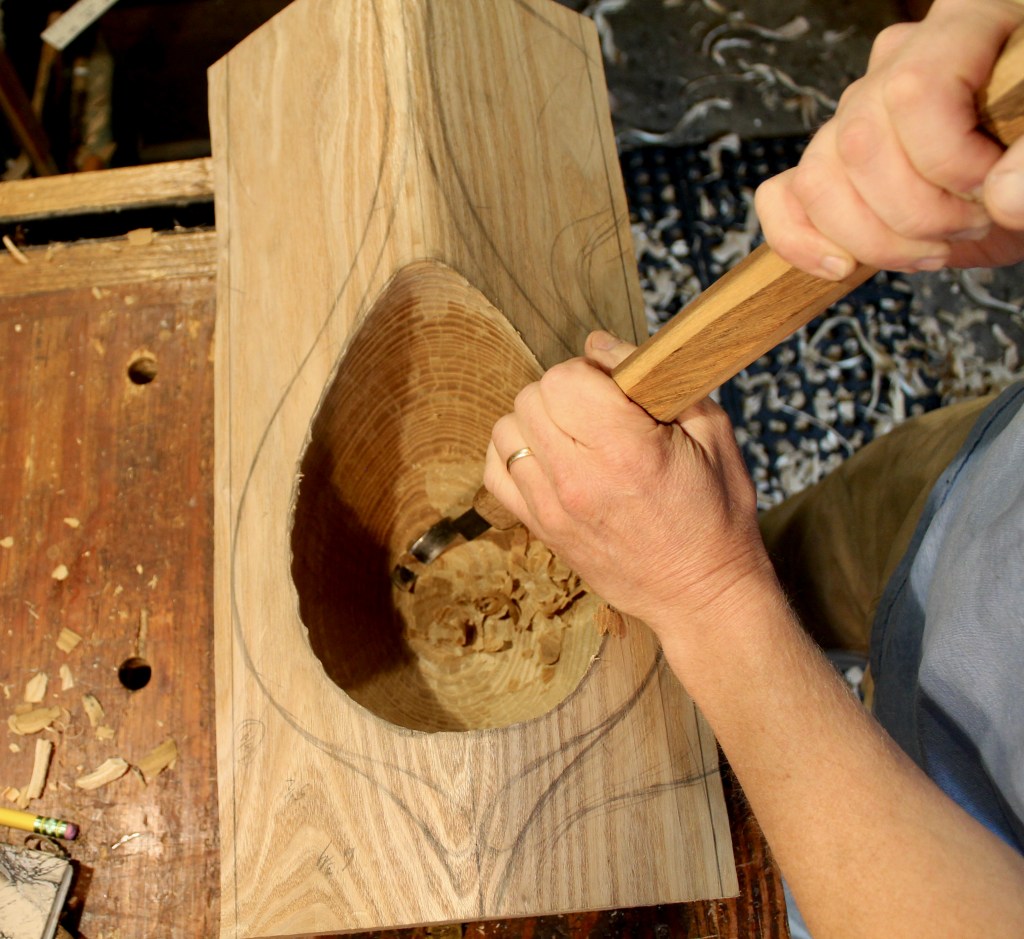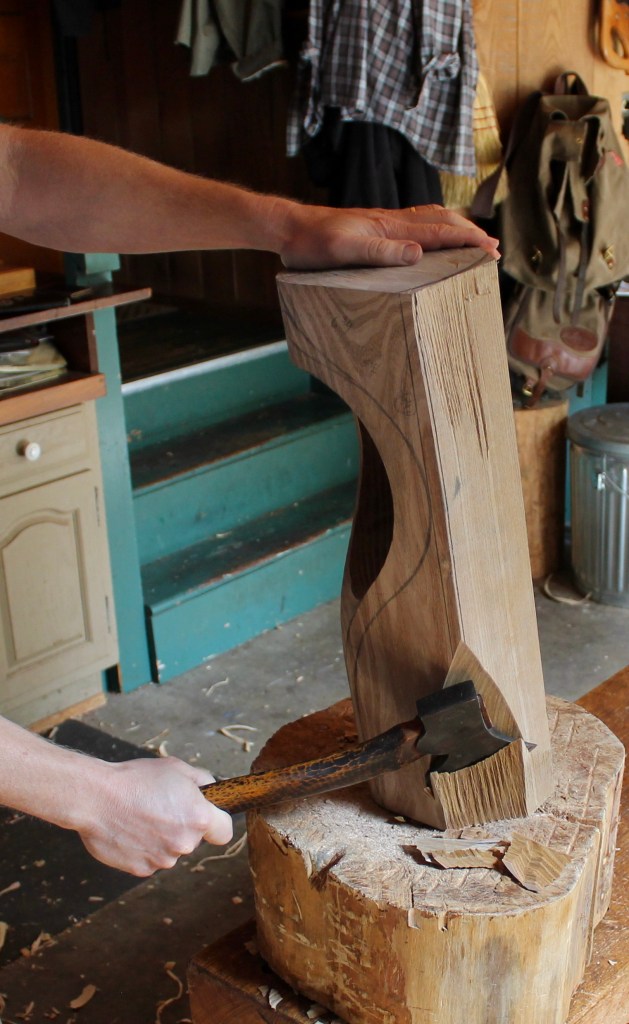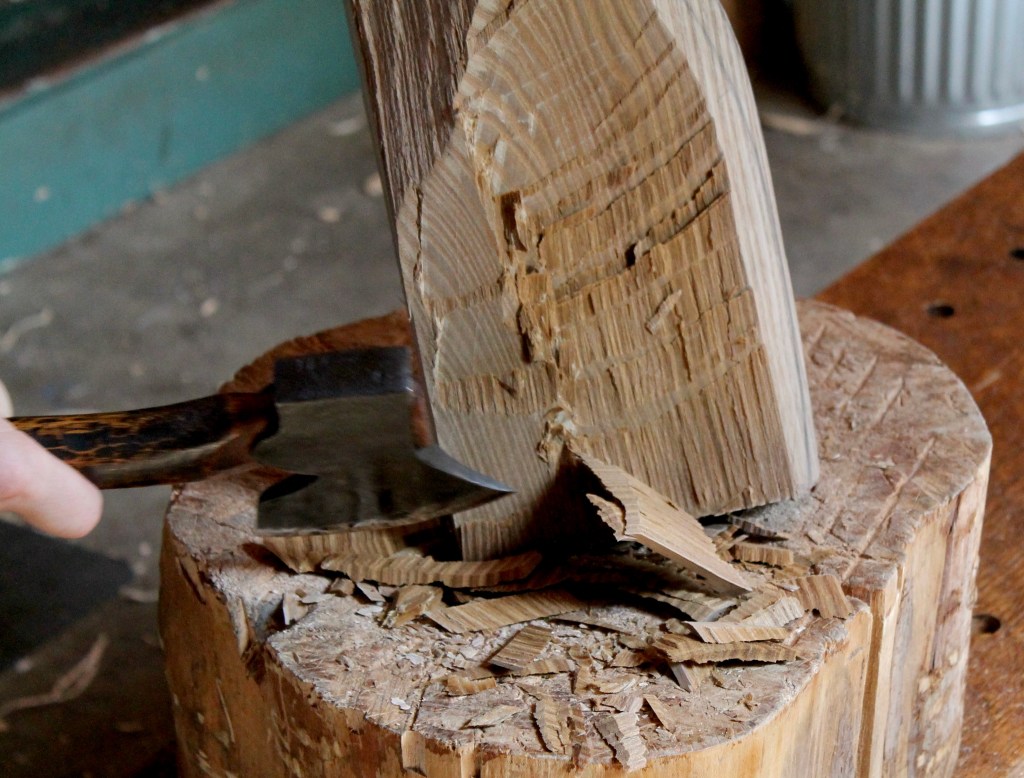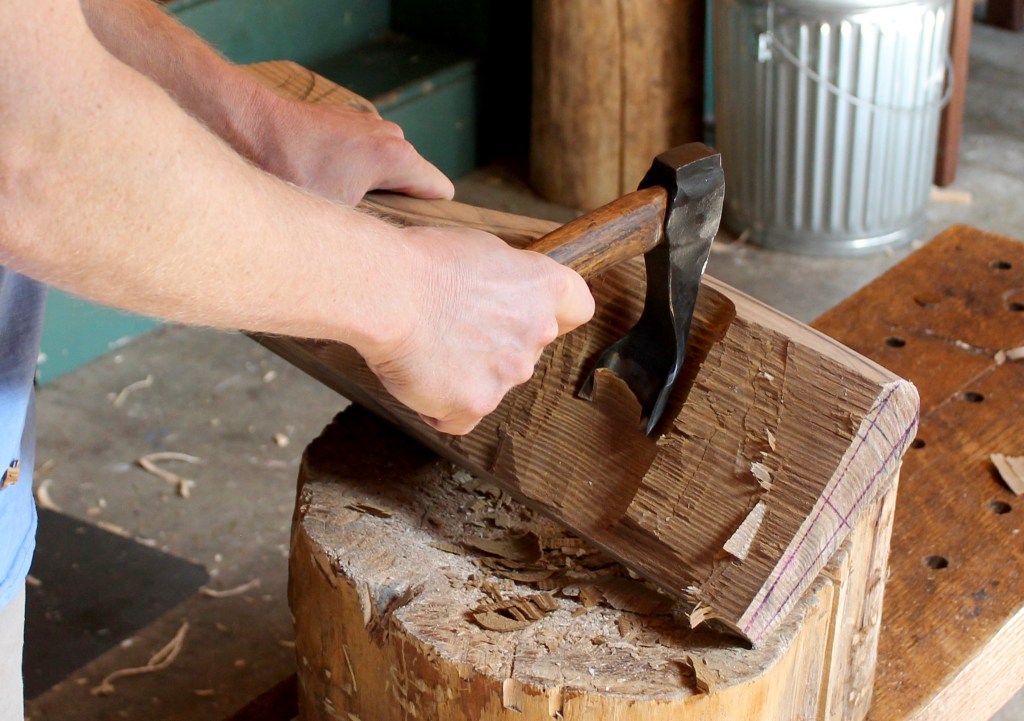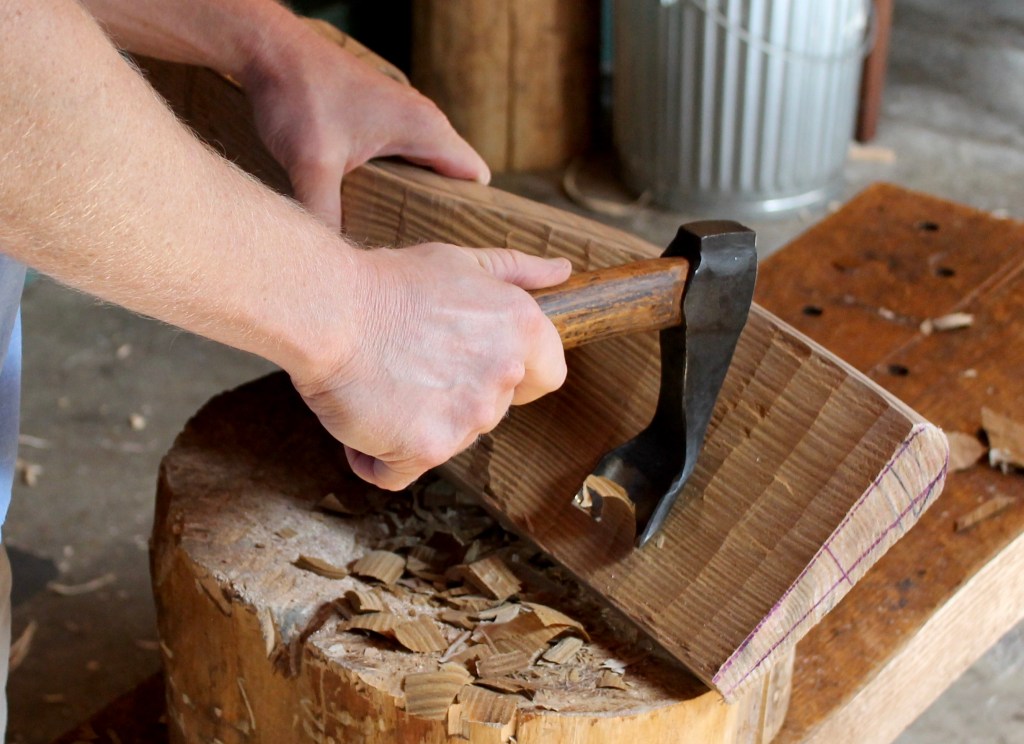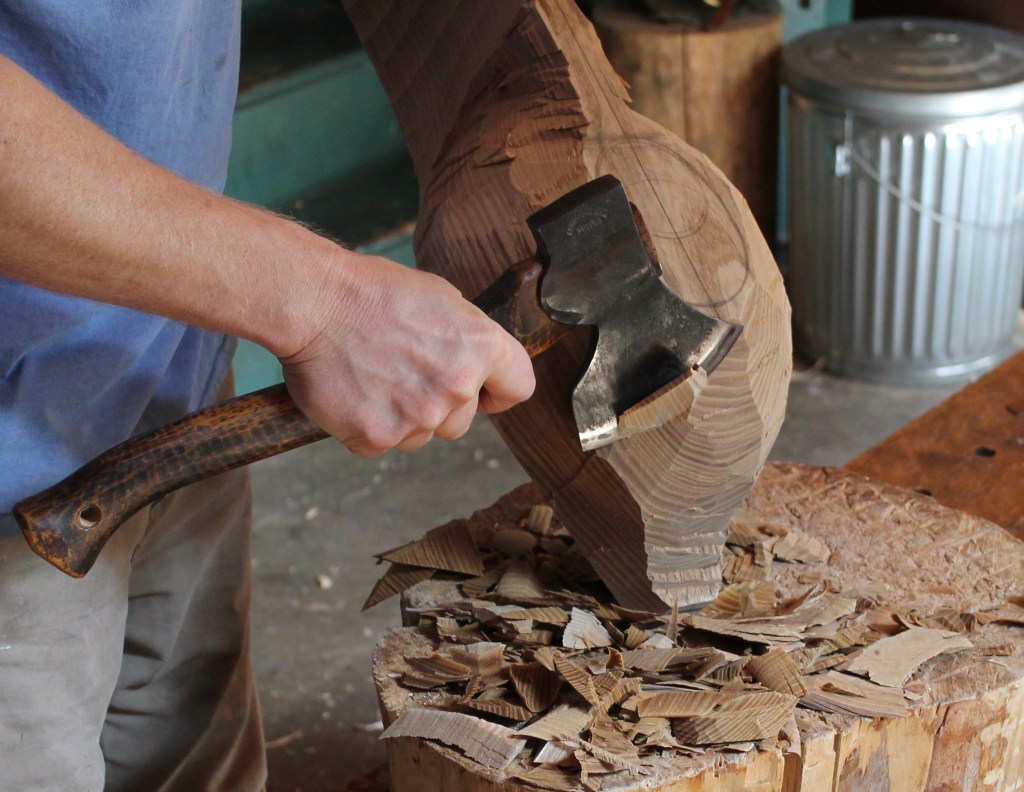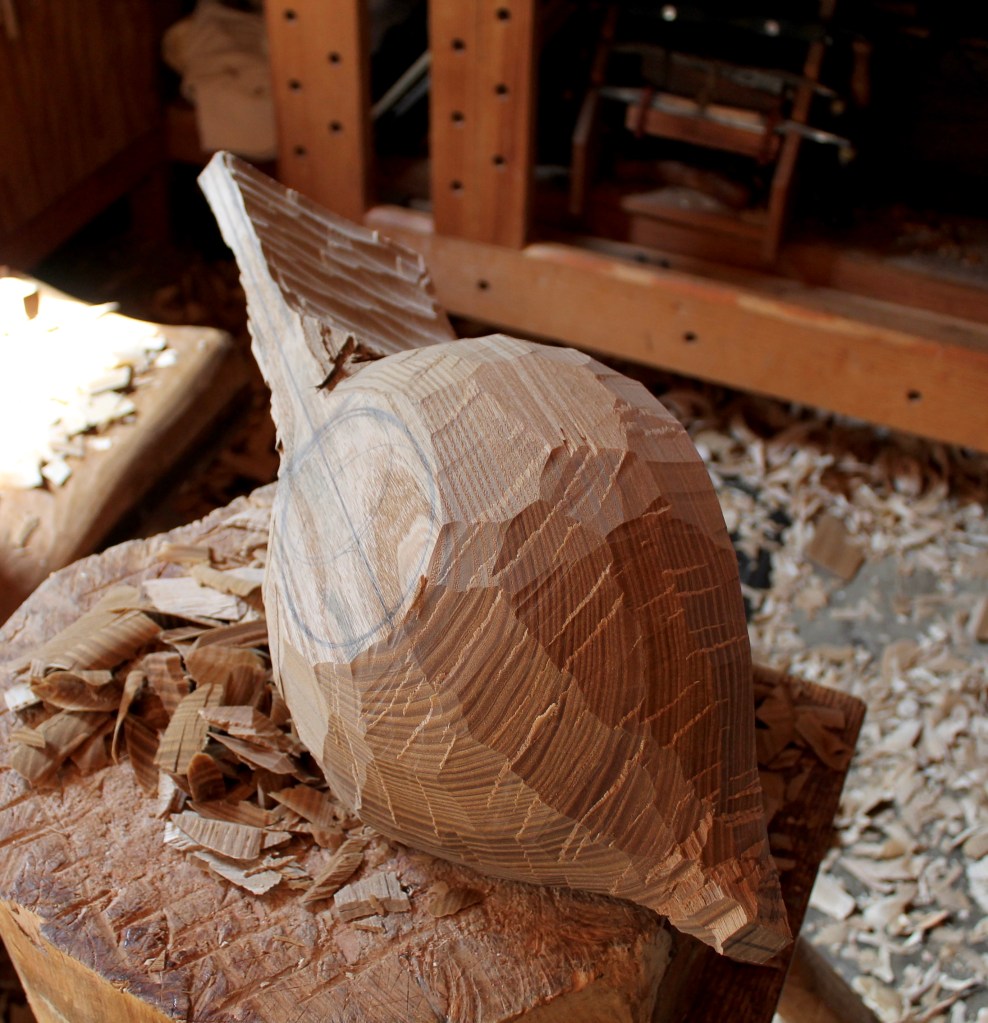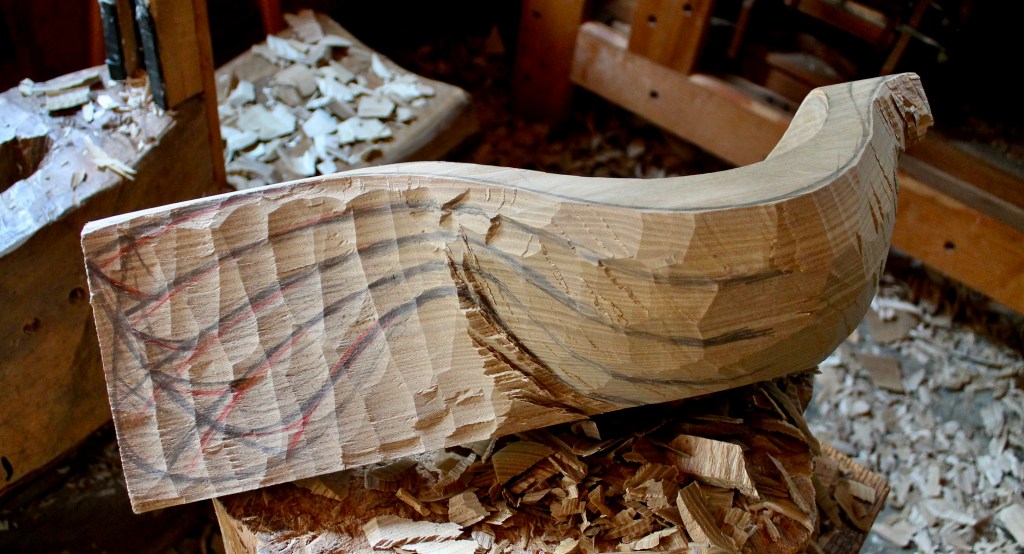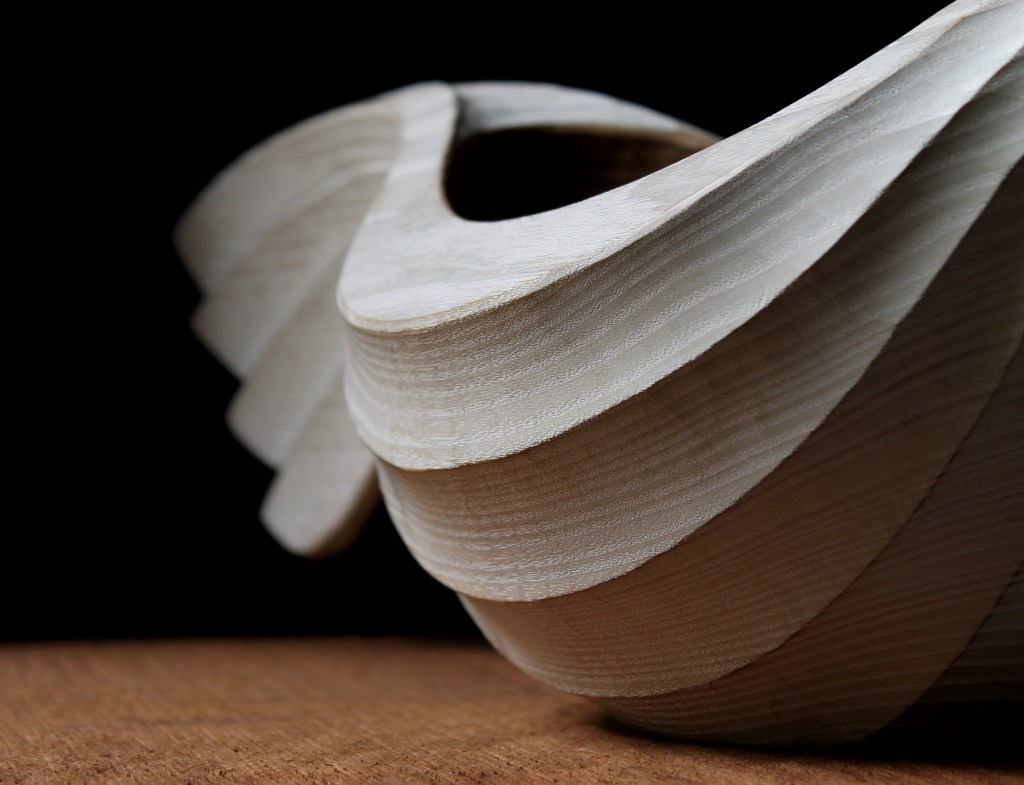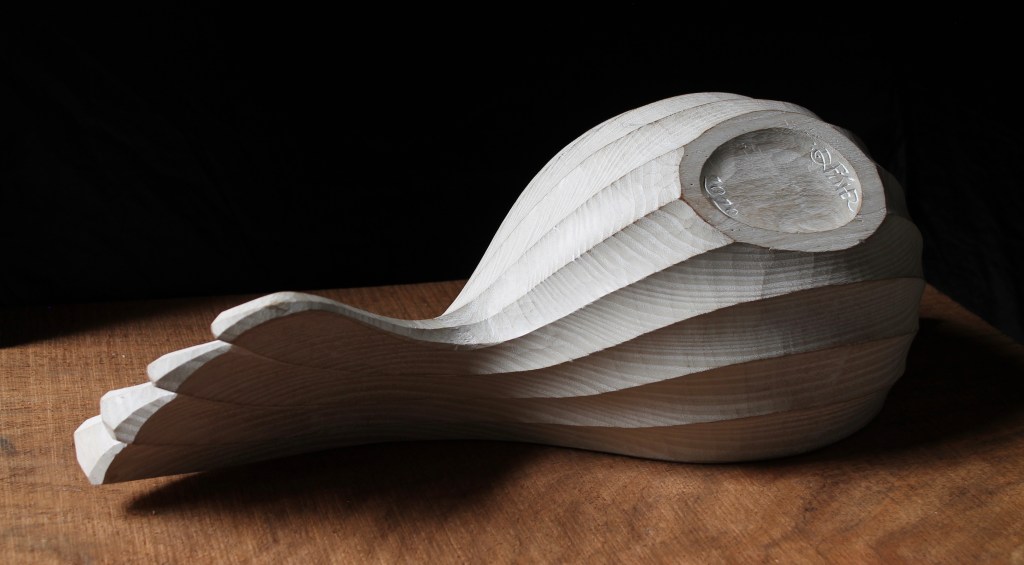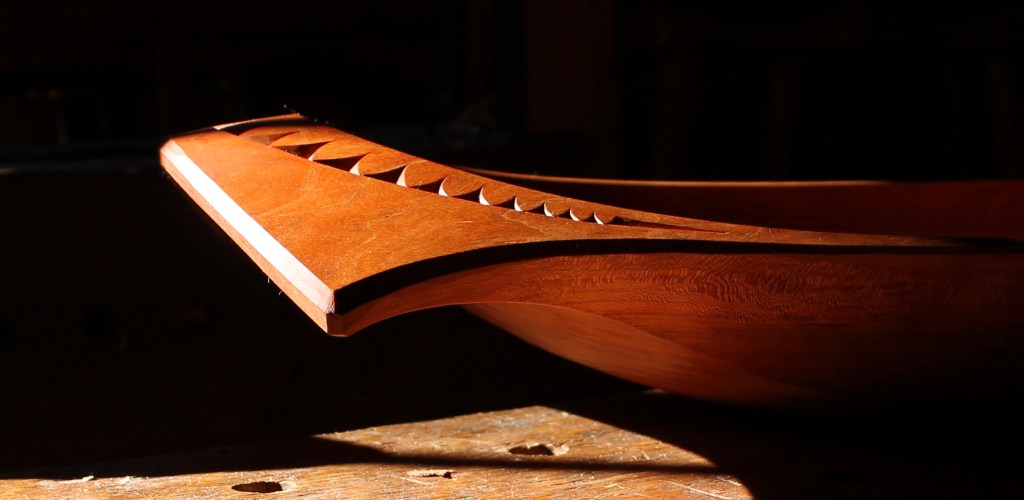

Making a shrink pot may be the most magical thing you can do in green woodworking. You can carve bowls and spoons from dry wood, but a shrink pot’s gotta shrink. I revisit the process regularly, and I was working on the one above from a bent length of quaking aspen (Populus tremuloides) from a recent windfall. So I thought I’d share some photos from my work with this one detailing a few steps to encourage you to share in the fun.
I’ve written a bunch of posts about shrink pots, beginning with this one that presents the general idea.
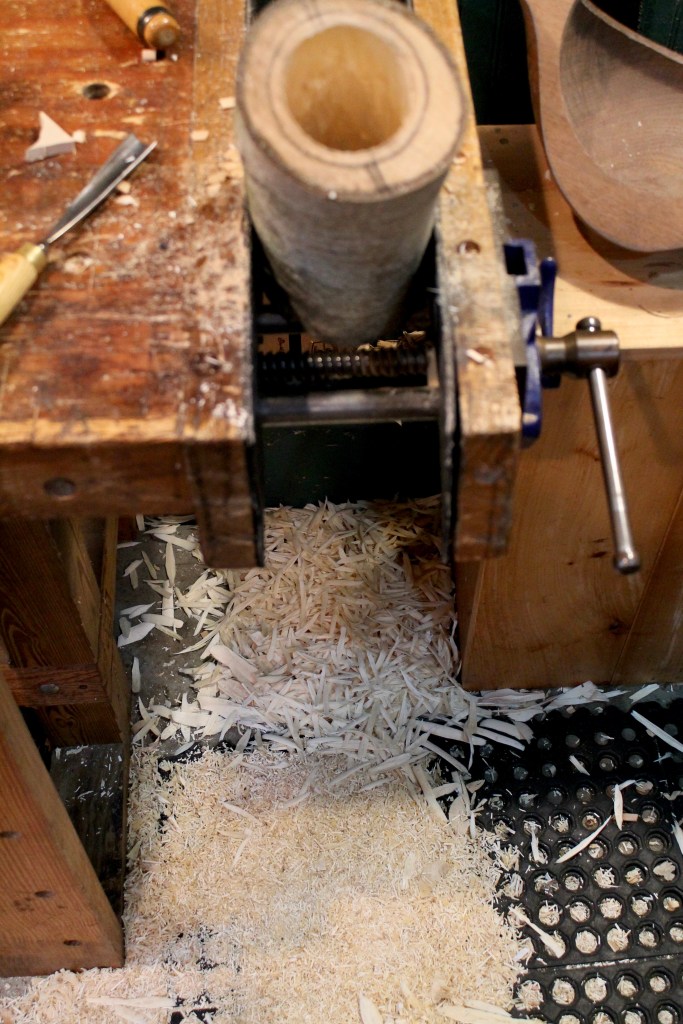
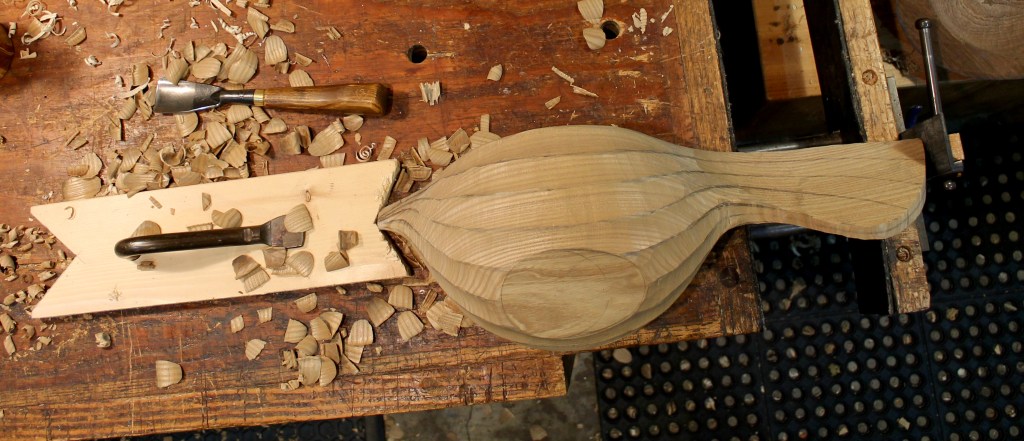
I’ve discussed my process for boring the initial hole and the rest before (see the other posts), but for this one with a bit of curve along the 10″ length, I went half way in from both ends at a bit of an angle to each other — aiming for the center in the middle. Then I widened and shaped the curving interior by working along the grain with a gouge from both ends.
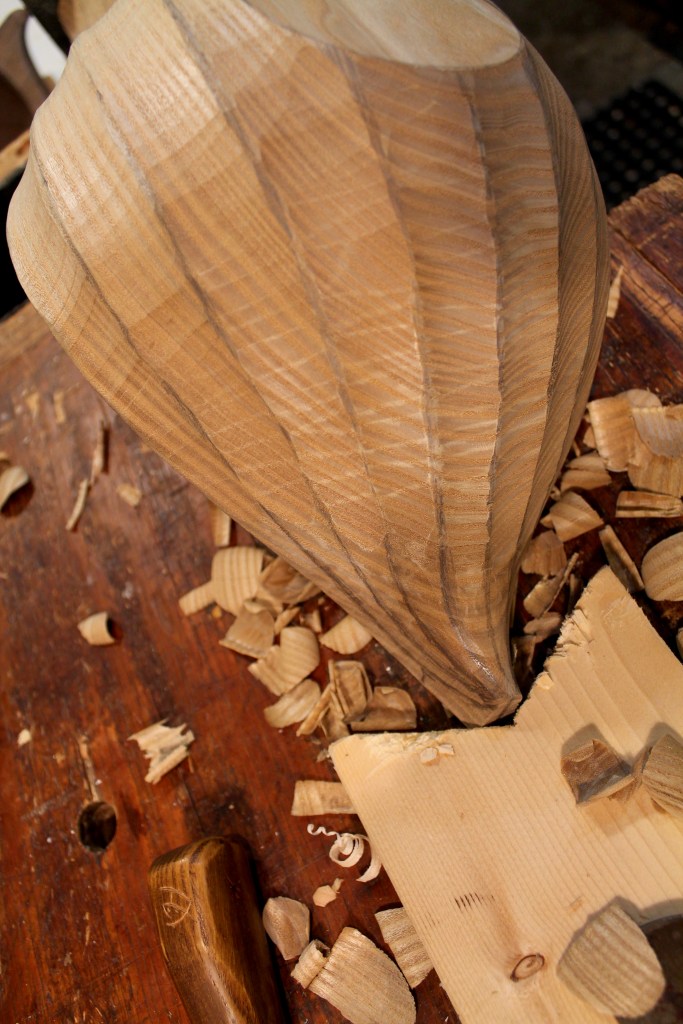
After the inside is formed, I shave away the excess material from the outside, but just to a rough stage. Much more will be done after drying. Depending on the size and design of the pot, I leave a wall thickness of 5/16″ to 1/2″ at the base. 3/8″ (9mm) is a good general target.

Next comes the groove for the bottom, but it’s worth taking the time now to make sure the bottom is flat and that it supports the pot above vertically or however you’d like it to sit. One way to at least make sure there’s no wobble is to rub a pencil on a piece of paper, then rub the pot bottom over that.

The graphite will transfer to the high areas.

You can shave them with a knife, but I like to use a block plane while pushing the pot down against the upper edges of my partially-open vise jaws. Any gap between boards will work.

Here’s the cutter I used to form the groove in this pot. I wrote about making it here.

I cut a slight outward taper from the groove to the bottom of the pot with a knife (forgot to take a photo — the shot above is before that). You can cut a (slightly different) groove with a knife, and there are other ways as well.

I trace that inner rim to a dry board, but in this case, it was still a real circle, so I just measured and struck the board with a compass.

I cut it out roughly with a coping saw, then trim to the line with a knife, followed by chamfering both upper and lower corners to form a V profile to the edge.

It should be a snug fit on the way in, requiring some pushing and/or tapping.

Then, with a little “pop,” it will find the groove. It will shake around in the groove at first, then become tight over the next few days as the walls constrict around it.

Once it’s dry, you can go ahead and make the finished pot, or you can wait quite a while. But I’ve waited long enough! I’m ready to get back to these now, with lots of ideas.