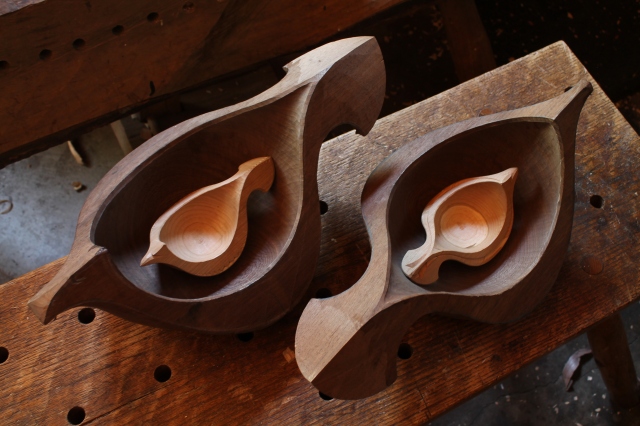
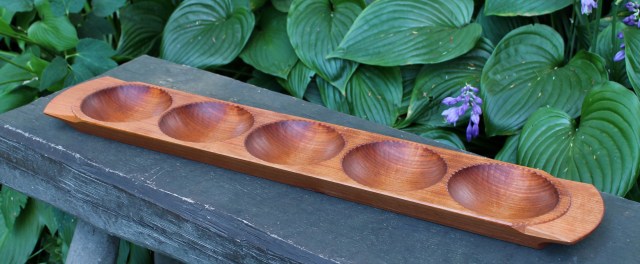
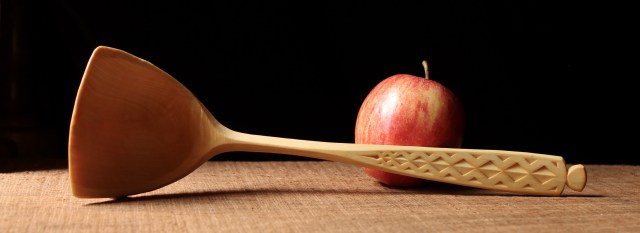
The walnut rooftop chickens I roughed out back in the spring are waiting for me. Meanwhile, a friend took down a cherry tree in his yard and I used a piece to make a pair of mini versions. It gave me a chance to experiment with a couple things before returning to the large ones.
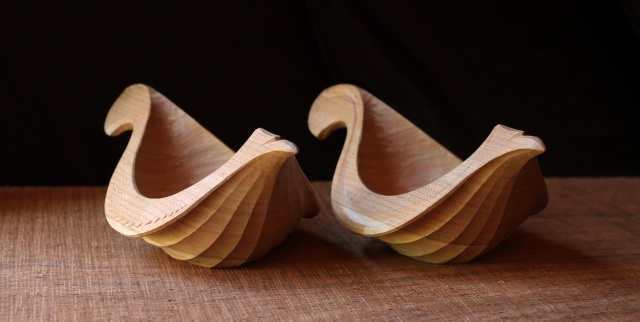
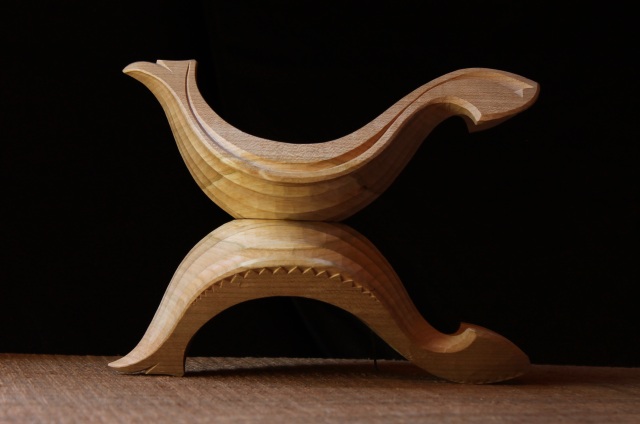
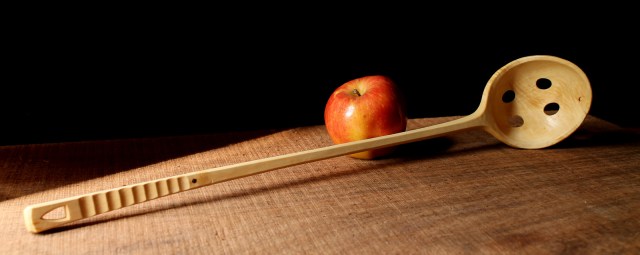
There they are above, carving done but waiting for oil. Basically a matched pair except for the carving on the wings, which may be more clear the way the light is hitting them in the admittedly odd photo below. I guess I was curious about the negative space.
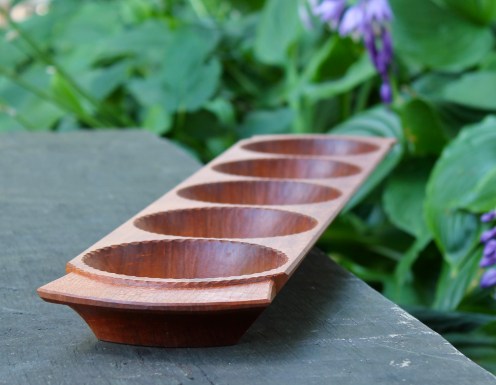
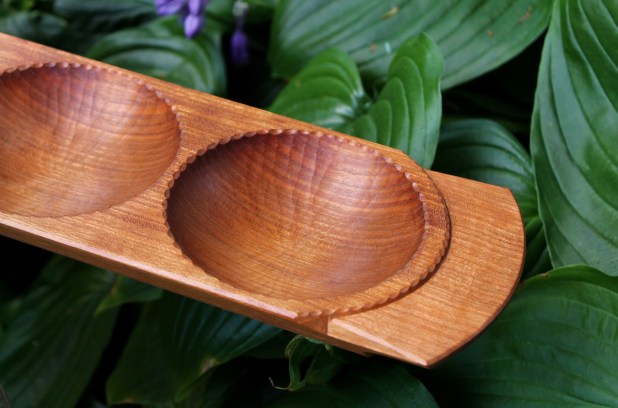
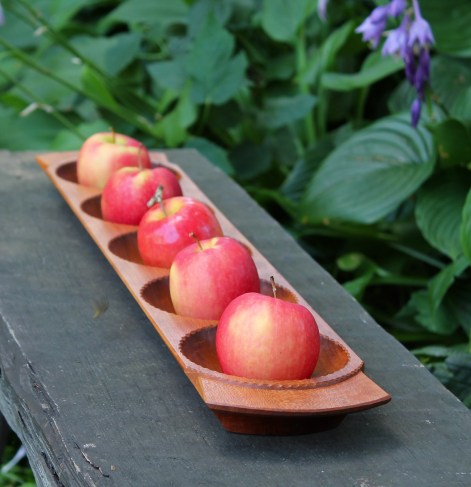
Much of the process is the same as for making the larger versions. These two are 7 1/2 inches long and started as a 1/4 section of a green log. After trimming the bark and a little wood off the outer edges, the blanks had a radius of 3 inches and a length of 7 1/2 inches.
After roughing away most of the material with a carving hatchet, I hollowed the interior with a little gouge work, followed my a hook knife. The sloyd knife followed the hatchet on the outside. After drying, I refined the shape and went over all of the surfaces again. I carved the flutes in the dry cherry with a gouge.
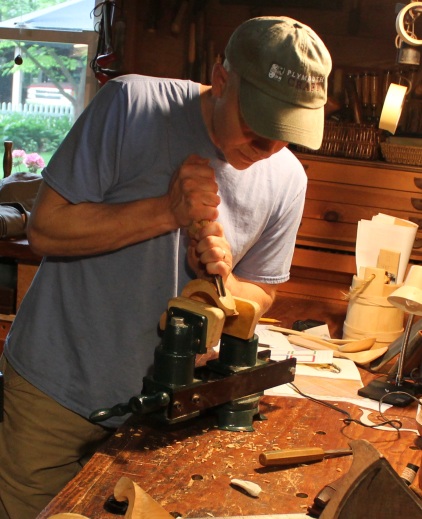
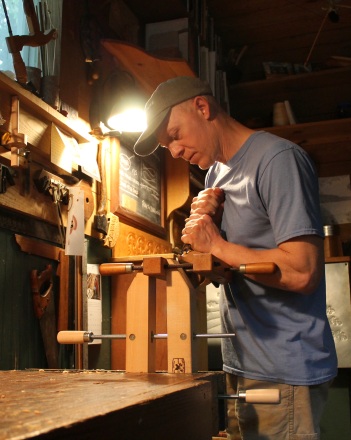
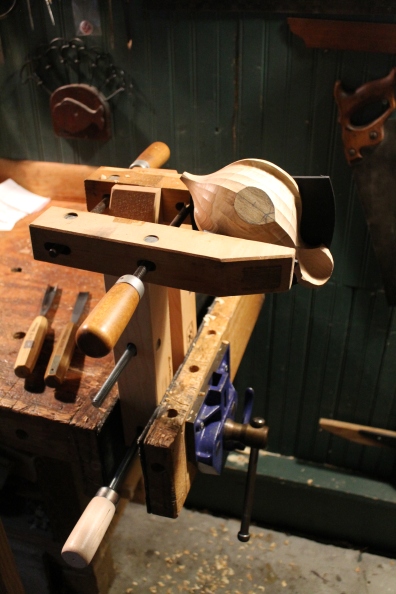
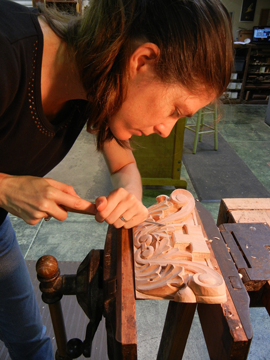
It’s nice to hold a small piece like this up off the bench top to work in a more comfortable position. This was a good occasion to get out the vise above. You’ll see it called all sorts of things from a pattern maker’s carving vise, to a guitar repair vise, to “exceptionally flexible workbench vise”. The details and the price vary. I purchased mine from Woodcraft, but it looks like they no longer carry it there.
Another option is the ever-versatile….

Wooden Handscrew Clamp. My daughter, Emma, and I have been doing a 10-15 minute sketch each day together for a month or two now. Often, we just grab something out of the house or workshop as a subject, like a handscrew clamp.
You can do all sorts of things by securing wooden handscrews to each other, and or to another surface with holdfasts, a vise, screws, etc. The Dubuque Clamp Works makes some nice ones over in Iowa.
They come in all sorts of sizes, and are easily modified since the jaws are of wood. One of these days, I’m going to take the fifteen minutes to glue the pads onto the jaws.
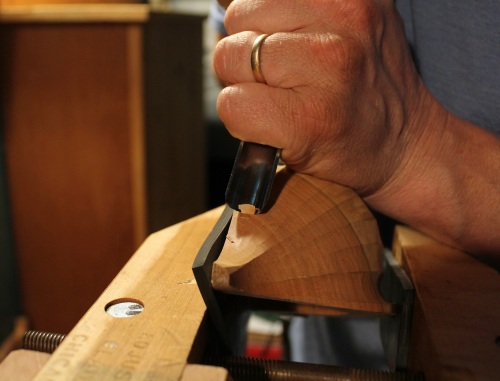
Other than the fluting, I did the rest of the carving with bowl in one hand, knife in the other. Of course, you wouldn’t need to carve flutes at all.
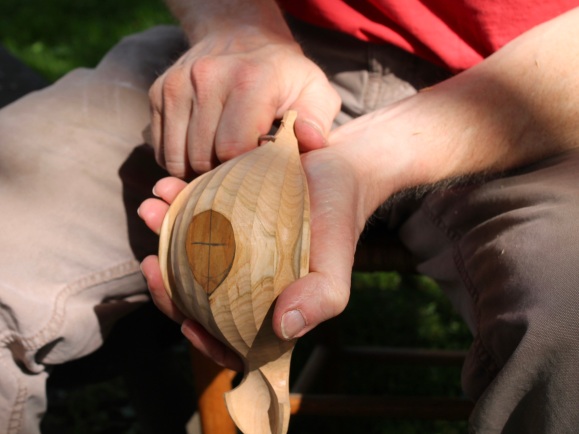
I snapped a bunch of shots with the timer while I was doing the knife work, so I’ll just pile some into a slideshow below. If you want to make one, they may at least provide an idea of some of the cuts and grasps. I don’t think the slideshow will show up in an email program, you’ll have to go to the actual blog site to see it.
This slideshow requires JavaScript.
This may help too. Here’s a pattern that you can print out to whatever size. This will only represent the edges on the flat surfaces. The rest is revealed as you carve according to your eye. For example, the curve of the front of the chest from the foot (the foot is represented by the lower shape in the drawing) up through to the tip of the beak. That can’t be on a pattern. Just keep taking wood away until it looks and feels right.

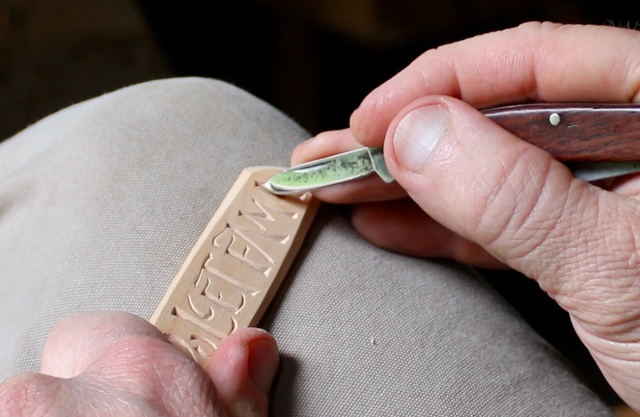
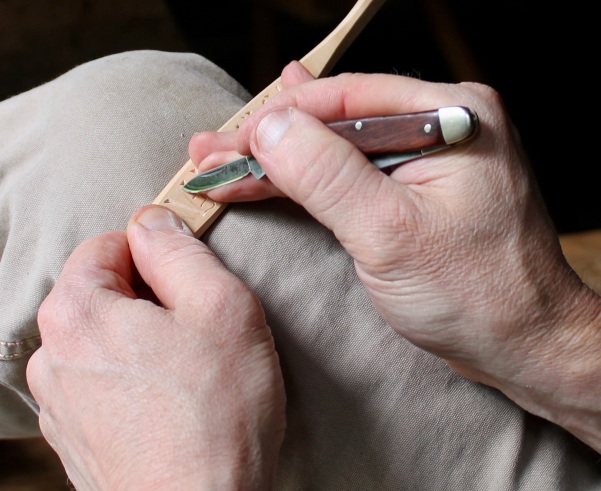
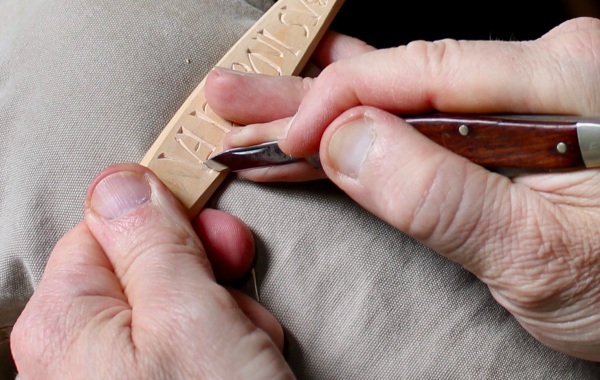
While the oil on these two little ones is curing, I’ve got some lettering to design and carve. I’m looking forward to it. The big walnut hens are patient.


 Then it is that life surpasses man’s affairs with incredible urgency and outreaches him in every direction…
 Even the roadside weed ignores man’s legislation.”