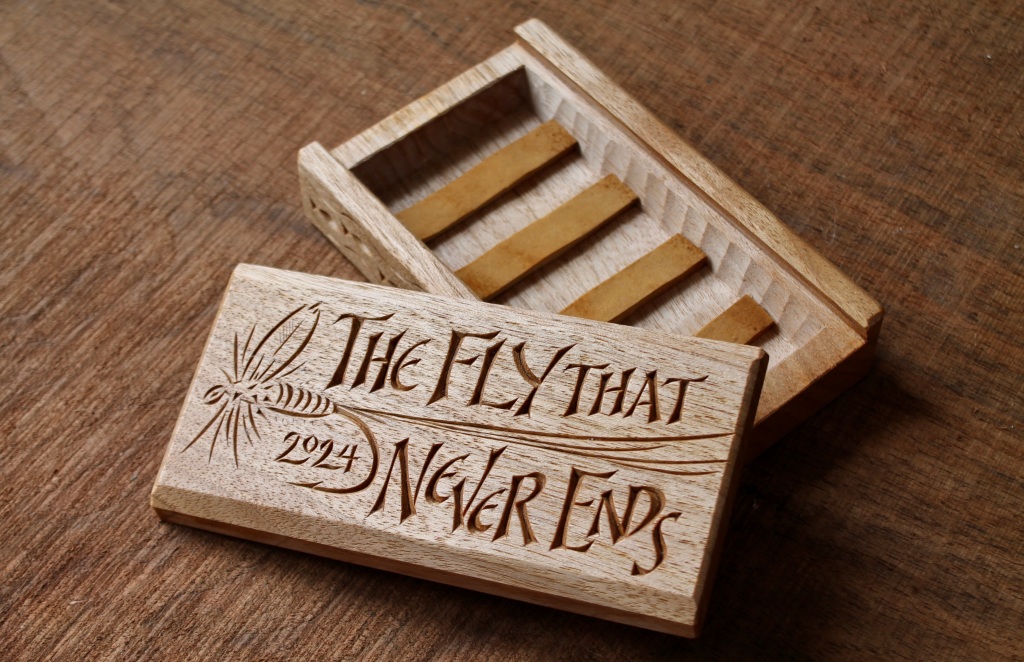
Box lids can pop off, swing out, hinge up, wedge in, slide over, and who knows what else. This post is about the sliding kind. The box above is one of a pair that I recently made at the request of a friend. He and some fly-fishing companions had planned a themed (see the box top) excursion and he was looking for some gifts.
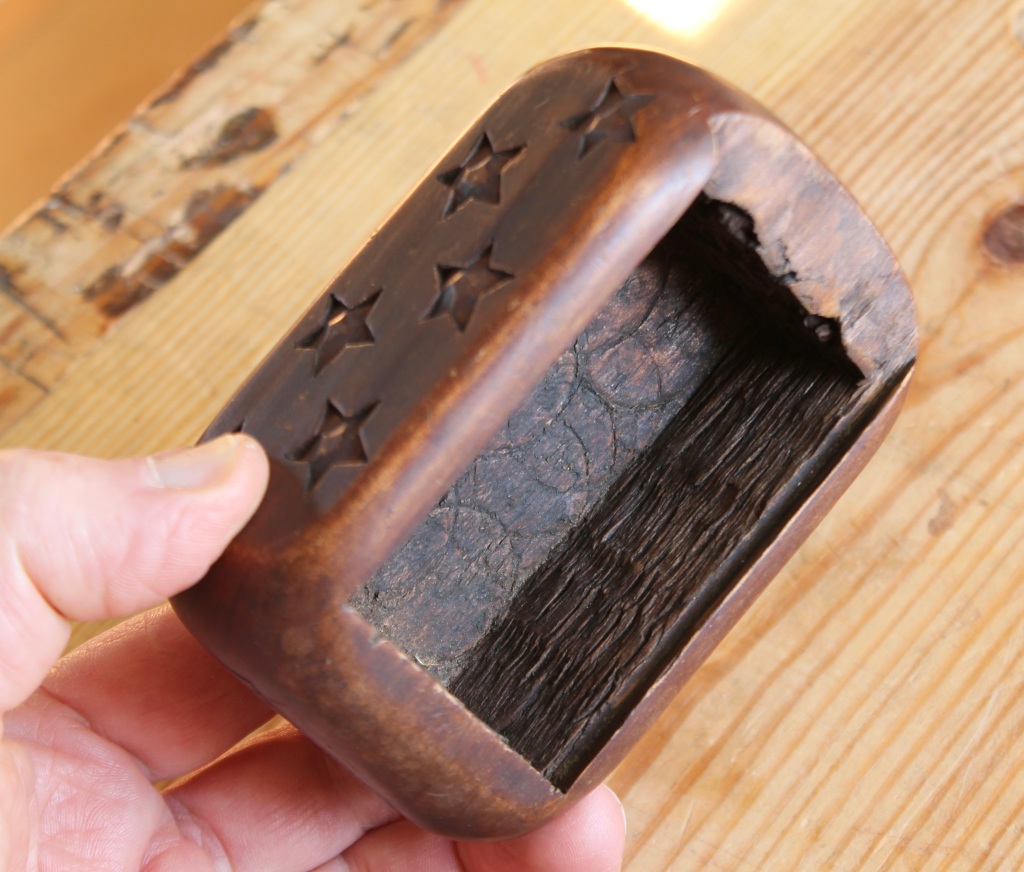
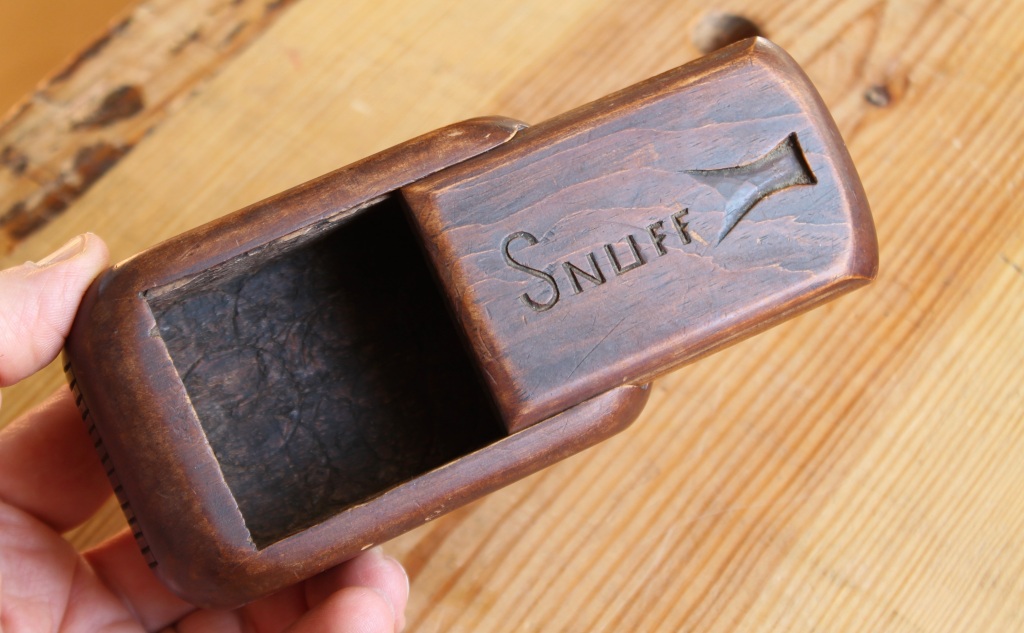
I decided on sliding-lid fly boxes with amadou strips to hold the flies. Before I go on to show how I made them, I want to share a little sliding lid box I found at a local flea market. The box itself is carved from a single piece of white pine. I like the box, but I’m also intrigued by its stated purpose. Many early snuff boxes were highly ornate, made by trained specialists. This one seems likely to have been made by the user or another person who was handy with a few tools. It is a lovely example of folk carving and the carver took care to achieve a good fit and make crisp knife cuts.
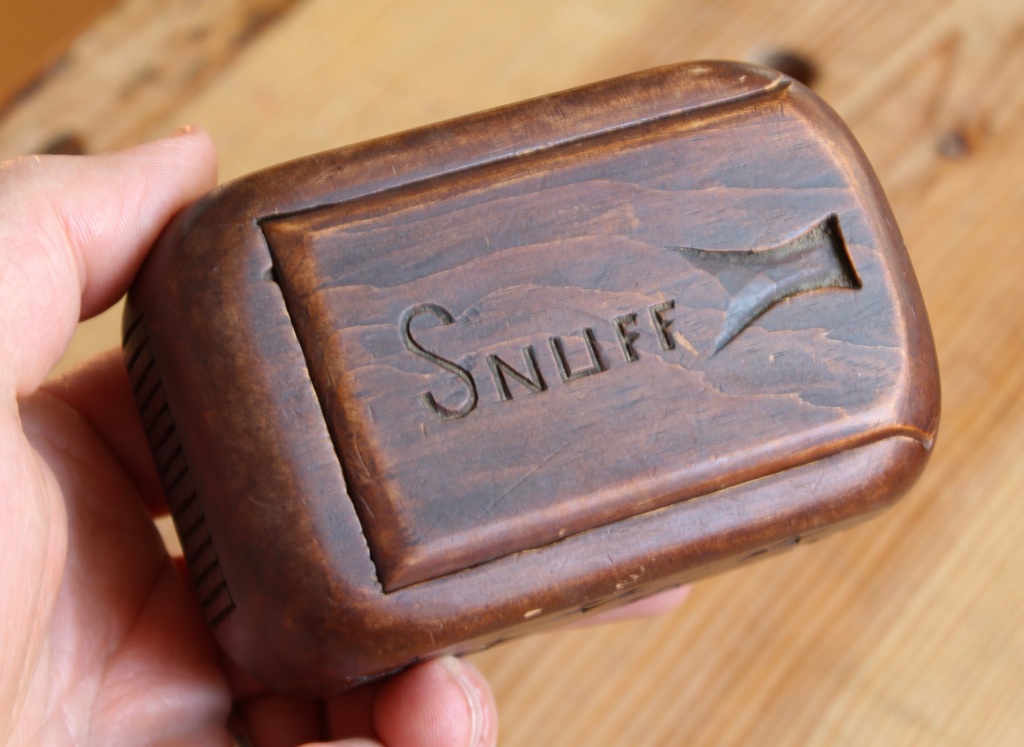
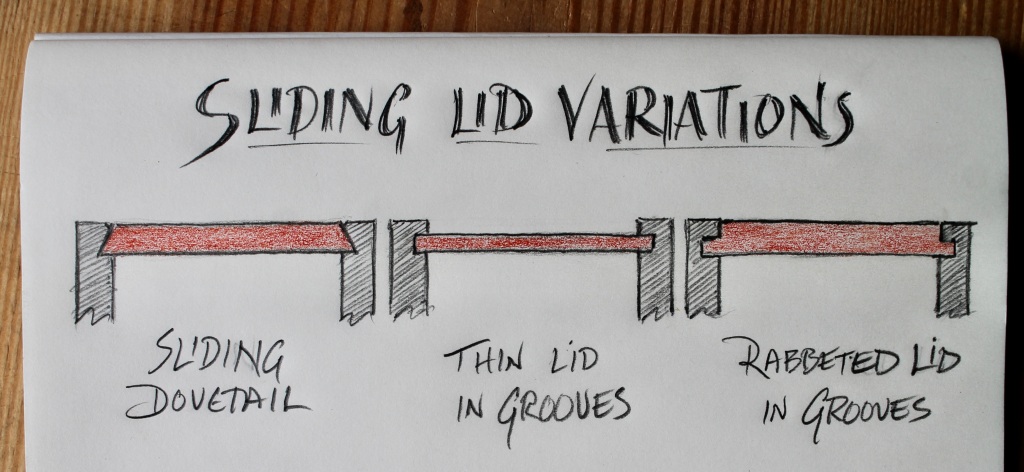
The top is held in place, and allowed to slide, via a sliding dovetail arrangement. This is the most sensible solution when carving the box from a single chunk of wood. When joining a box from boards, the top is typically held in grooves plowed into the sides (and, sometimes, far end) before assembly. The little sketch below shows three typical situations.
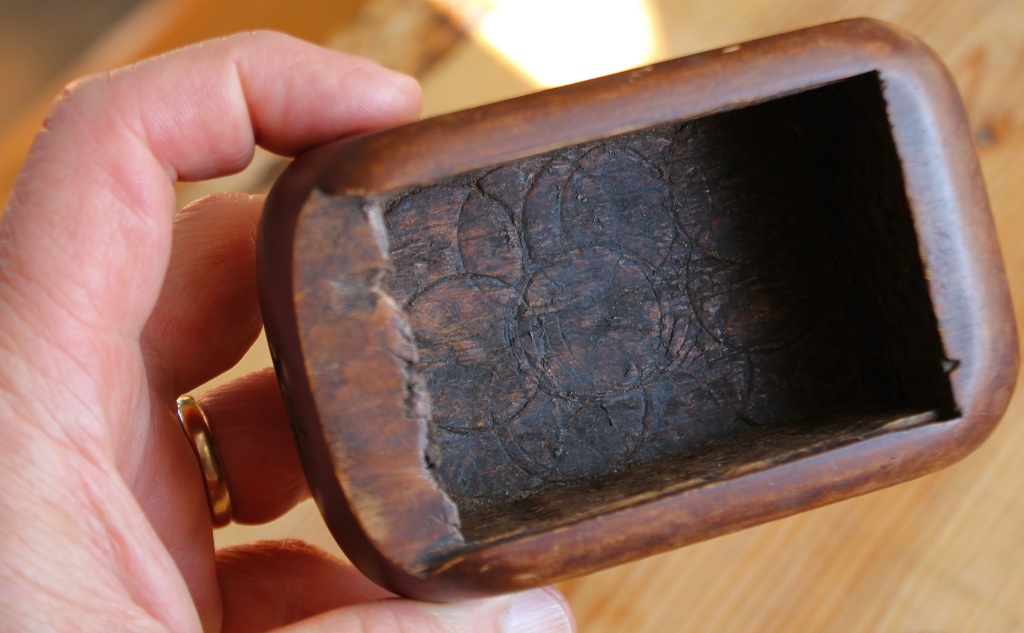
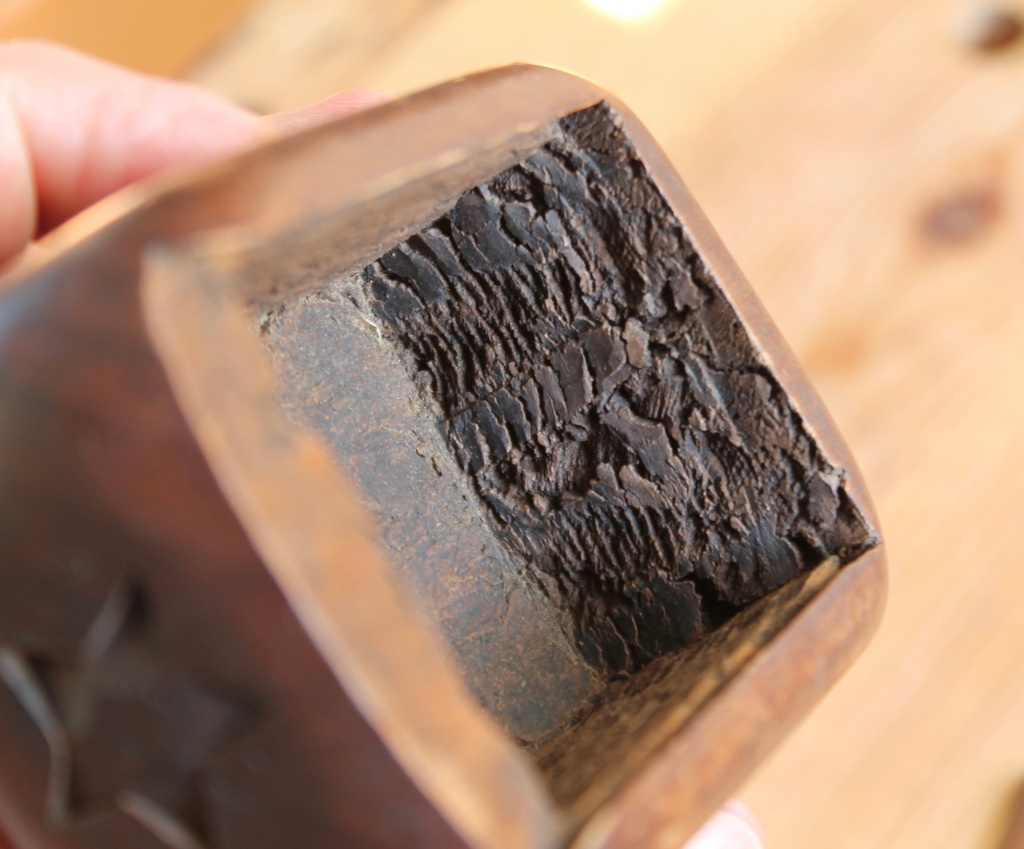
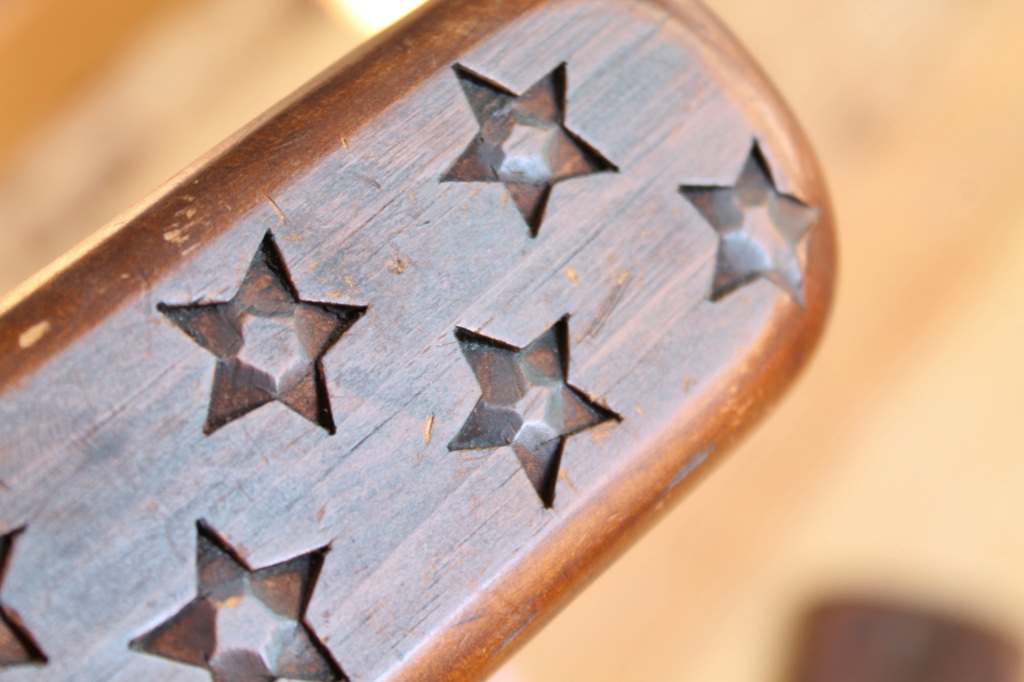
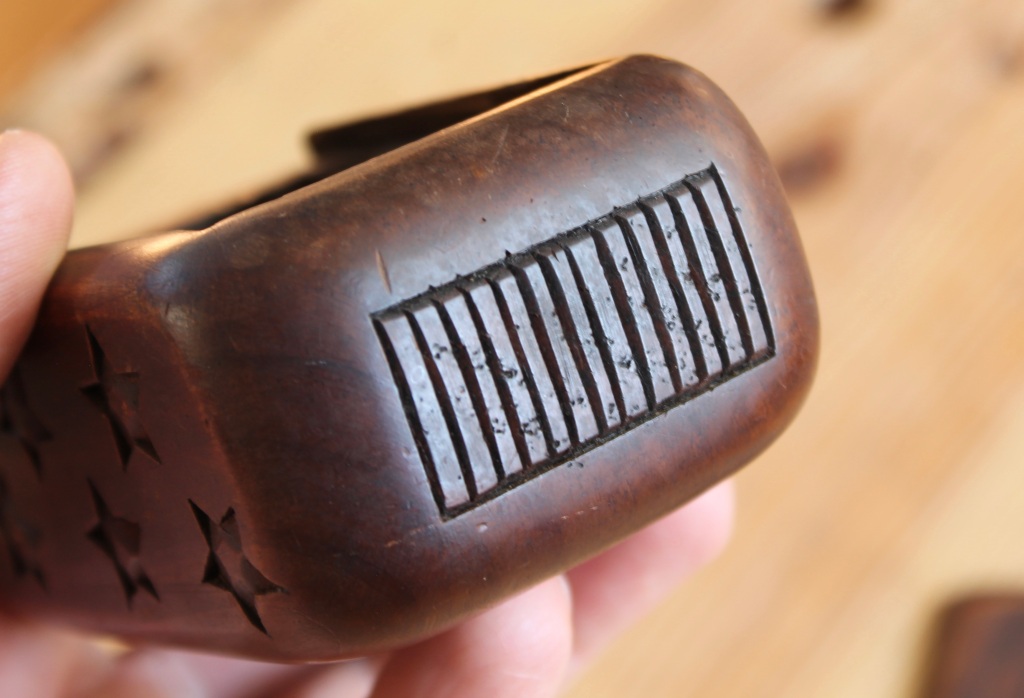
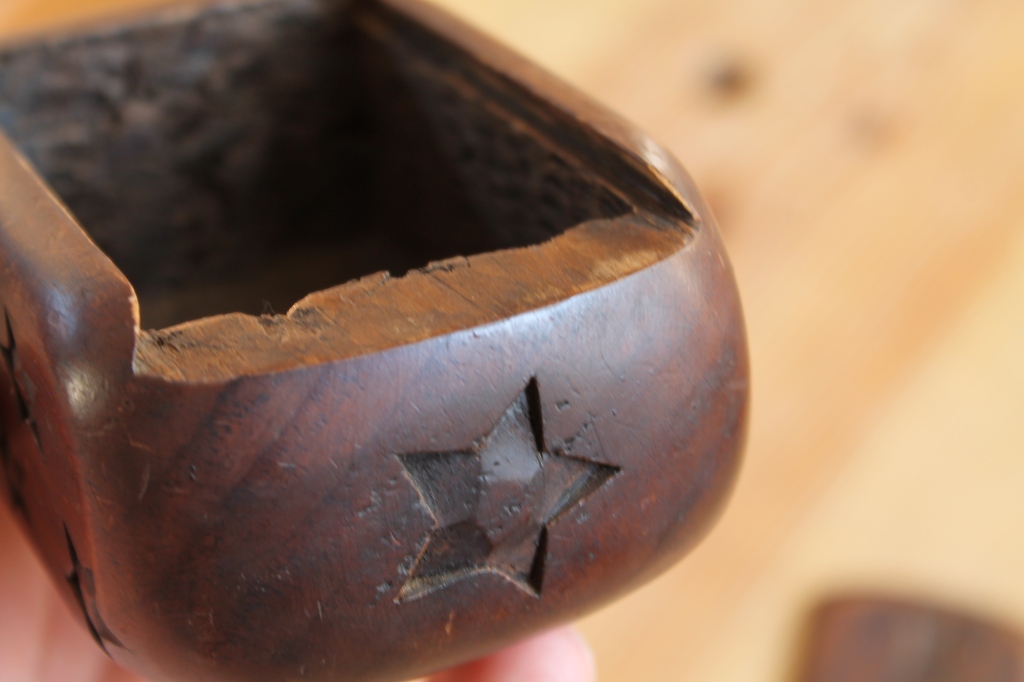
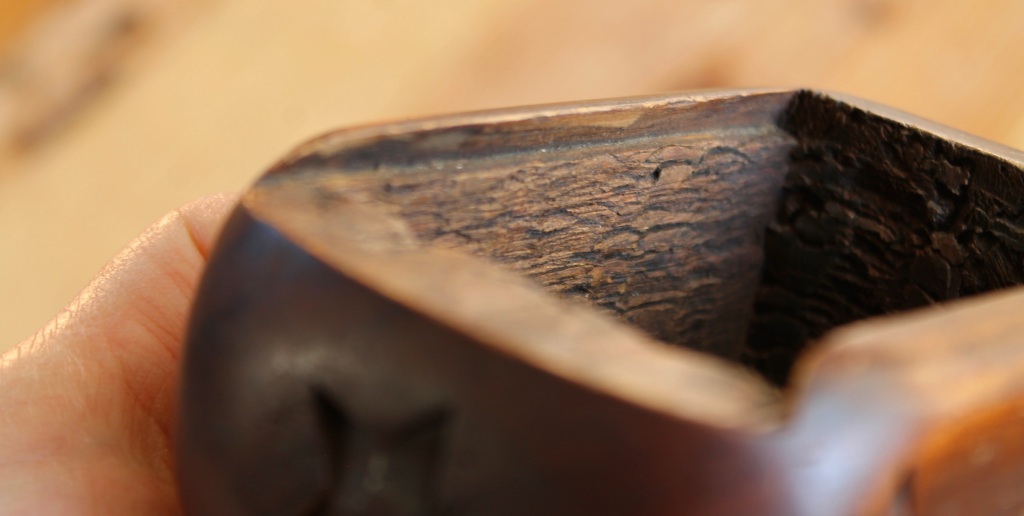
The cavity of the snuff box was bored out with overlapping holes. Based on the marks left behind (no lead screw and a very shallow rim mark), I’m guessing a Forstner bit was used, but I’m open to suggestions. Forstner bits go back to the 1870’s, which is further back than the box, I’d bet. Whatever bit was used, it might not have been very sharp. The end grain of this soft pine shows a lot of crushing. Some of that could also be from the chisel used to clean up the walls. The five-pointed stars are an interesting touch. Just five two-wall chip cuts, leaving a little raised pentagon in the middle. The knife was definitely sharp. Looks like they were laid out meticulously, probably with a small template. I’ve thrown several shots into the slideshow below:
For the fly boxes, I decided to allow the lid to slide either way so that flies could be retrieved from either end of the box without necessarily removing the lid entirely. I wanted the fit to be pretty tight, just right to slide with a little pressure, but hold its position otherwise.
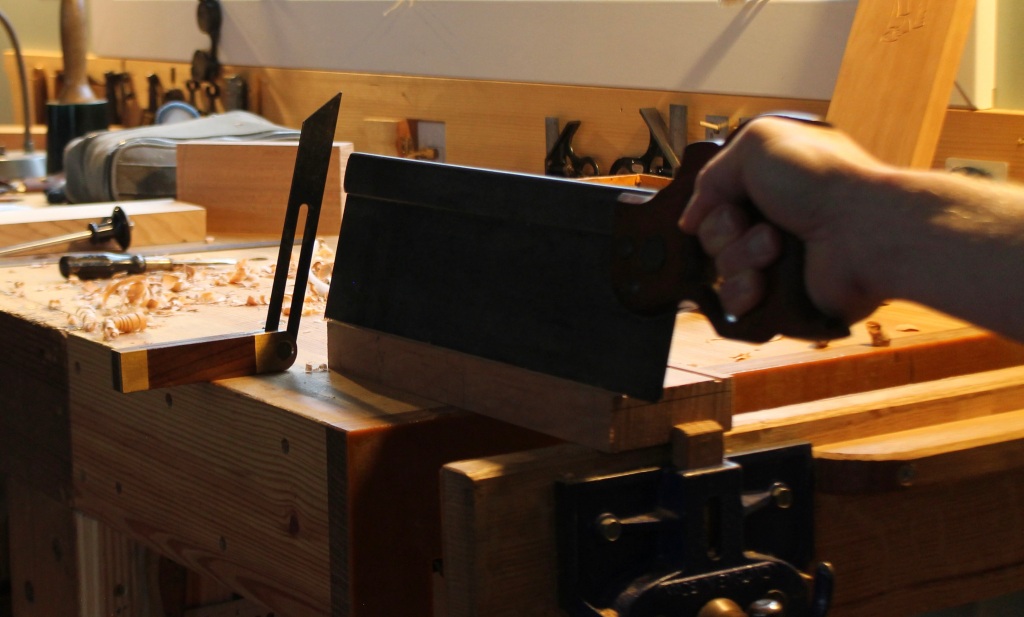
I started with a board about 2″ thick and 3 3/4″ wide. The 13″ length would yield both fly boxes, and allow me to do some of the prep more accurately with a longer board. First, I resawed a 1/2″ thick board off the top with a rip saw. After planing the surfaces clean, I made some marks, plowed a shallow groove on both sides of the top surface, then used the outer corners of those grooves to guide my backsaw. I set a bevel gauge to the angle I wanted for the dovetail and kept the saw blade parallel to it (see the above photo).
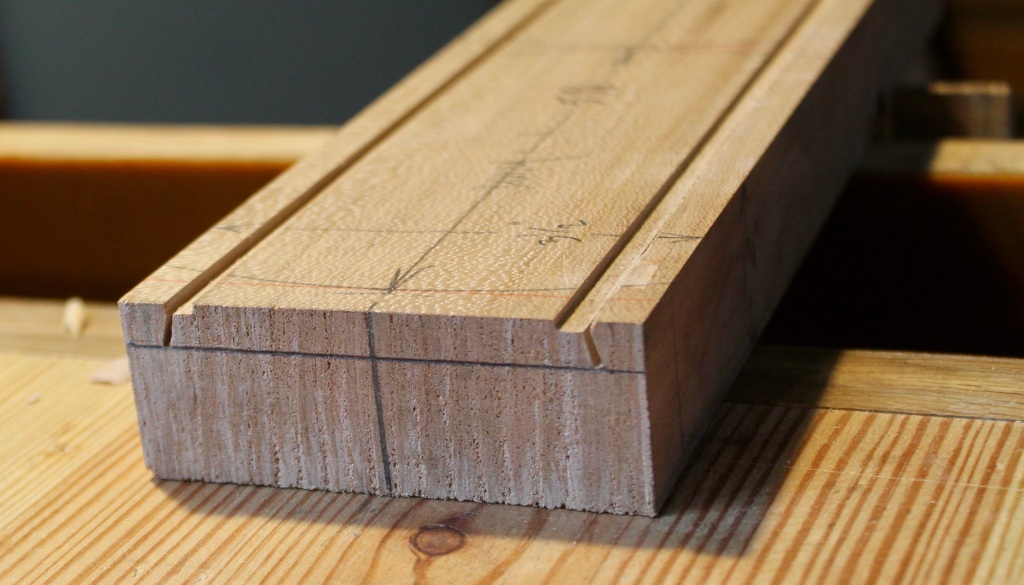
There’s a shot above after the sawing. I used a rabbet plane to remove the material between the saw cuts down to the pencil line. Actually, I ended up rejecting this cherry board, then started over with one of butternut. The edges of the lid were planed to match the dovetail slope and carefully fitted.
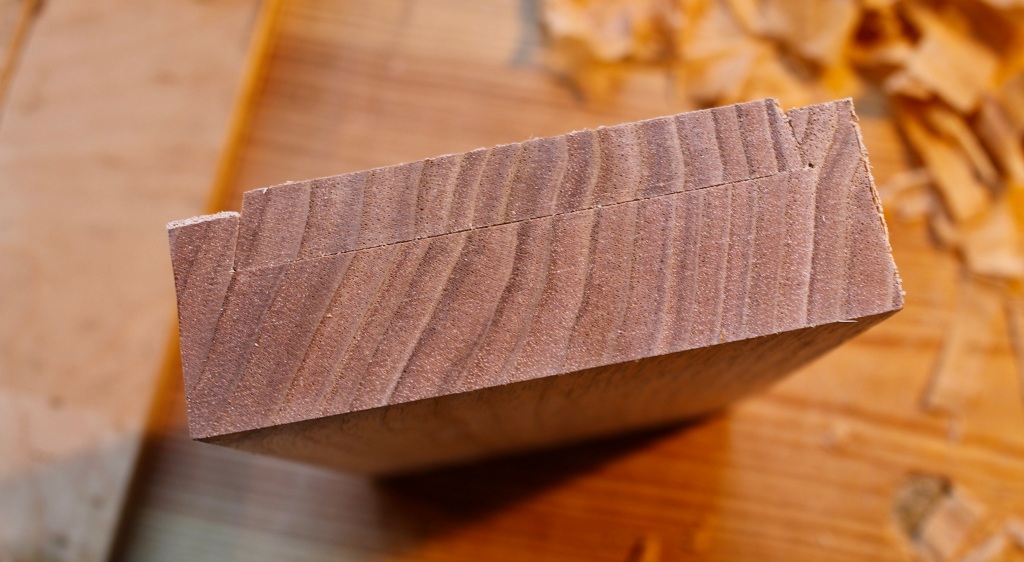
I chose a butternut board that was quarter-sawn to avoid warping and movement as much as possible. Since the lid and the base were oriented in the same way they had been before the resawing, any movement should be harmonious. Fingers crossed. With the lid fit to the base, I cut the length in two.
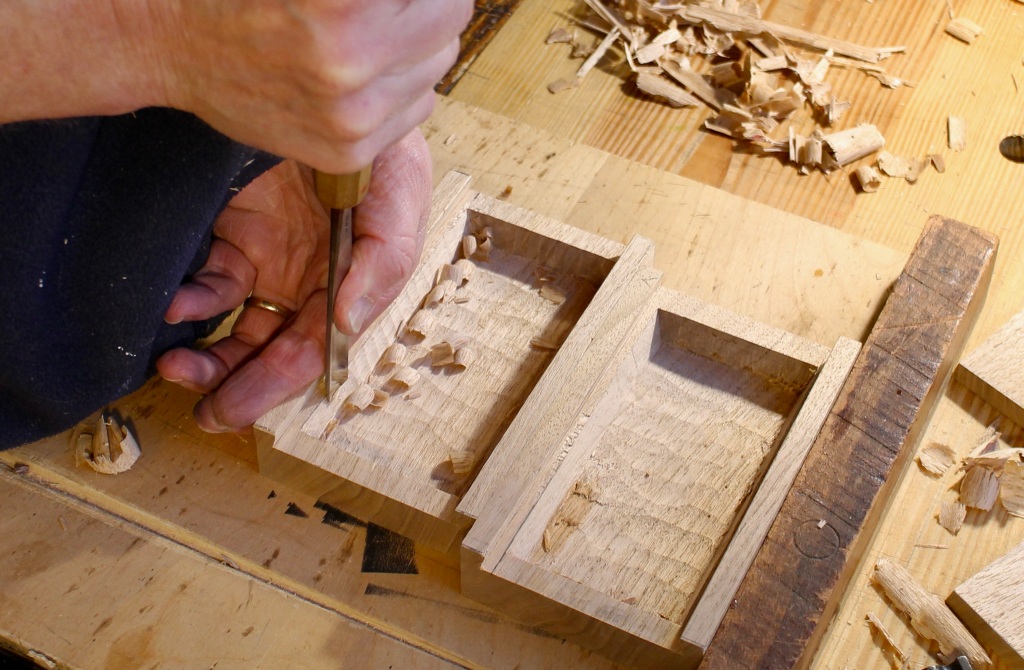
Like the maker of the snuff box, I bored out the majority of the cavity with overlapping Forstner bit holes. Then I cleaned up the bottom and sidewalls with gouge cuts, leaving a little texture.
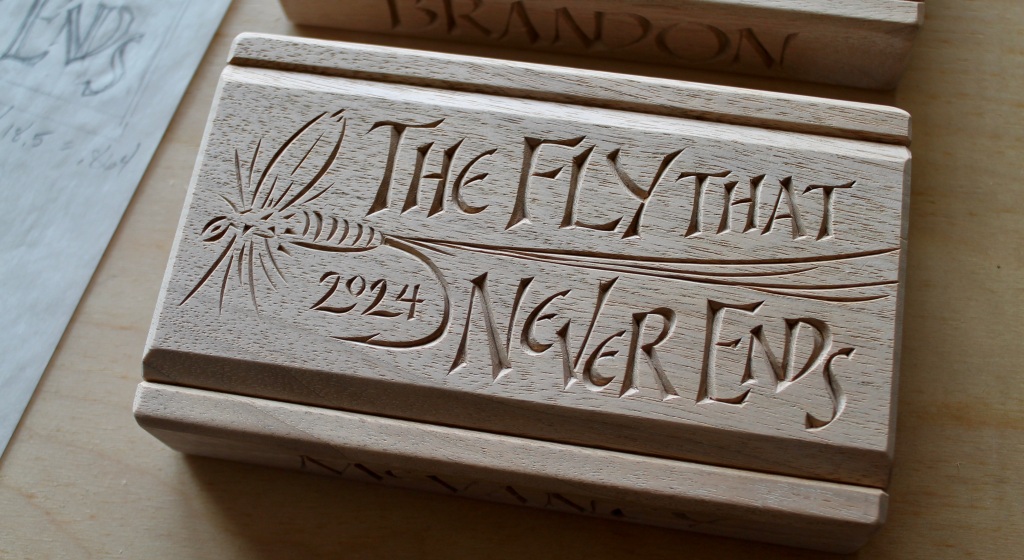
Then some heavy chamfers and easing of edges to make it comfortable in the hand, followed by some lettering and image design/carving. Finished dimensions are 6 1/4″ x 3 3/4″ x 1 3/8″.
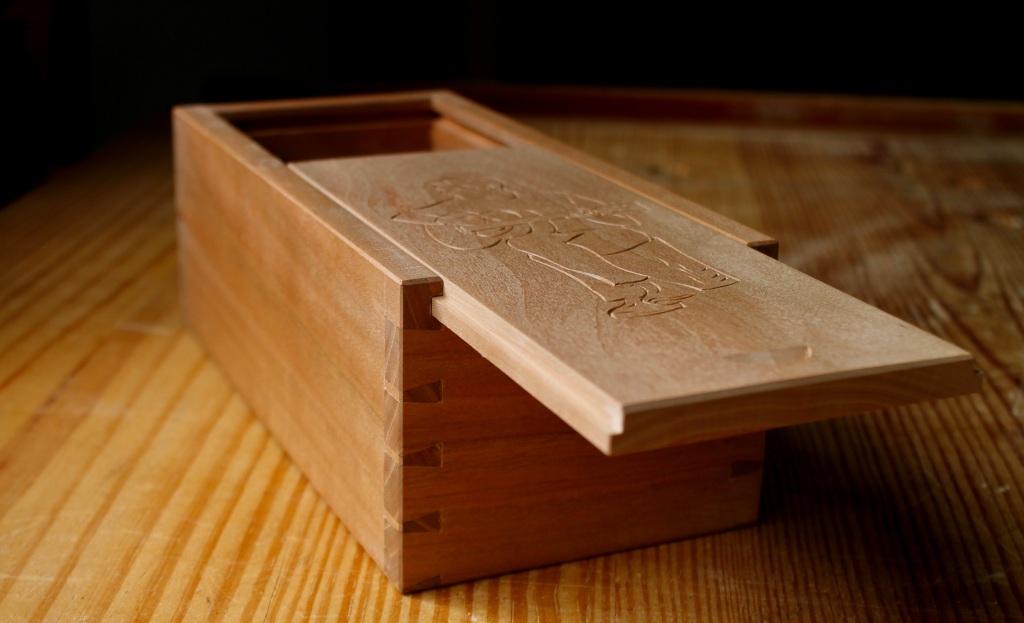
And, while we’re on the subject, here’s another sliding-lid box I just finished, still to get a coat of oil/wax. This one is made from six pieces of black cherry. A graduation gift for our son. The tongue created by the rabbet in the lid rides in grooves in the sides and also engages at the end.
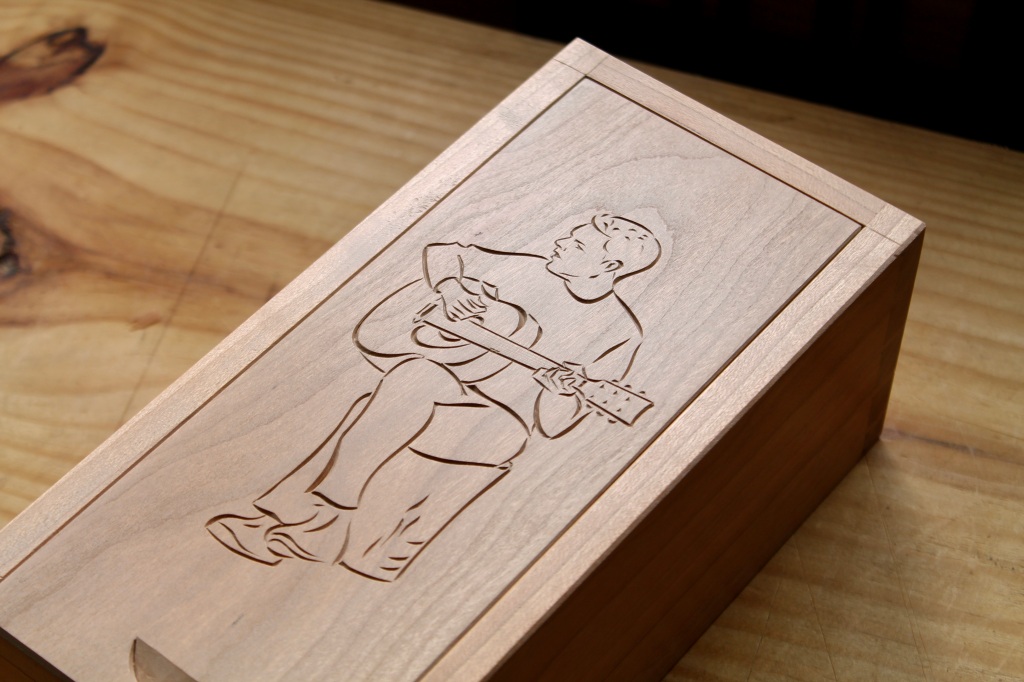
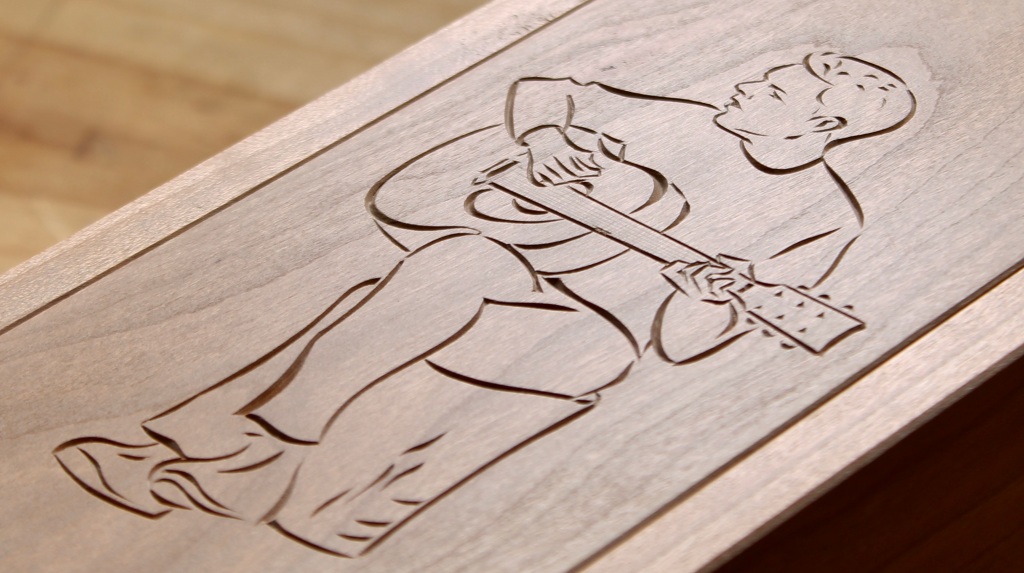
The carving on the surface, based on a photograph of Noah, is simply made up of v-grooves of varying width and depth. Two opposing cuts from the tip of a penknife.
This post shows a couple other applications of a sliding lid.
Happy sliding!