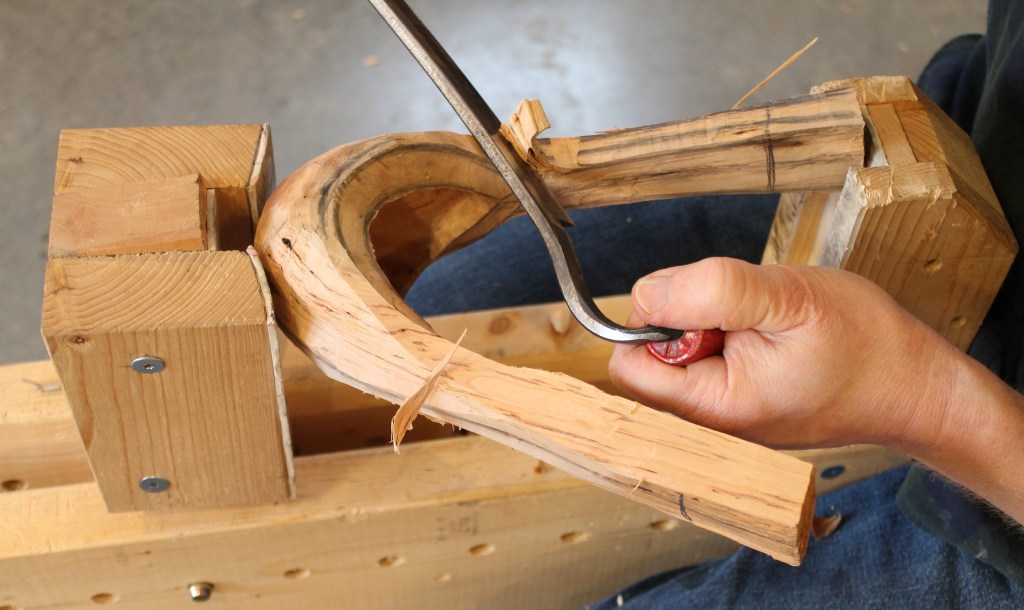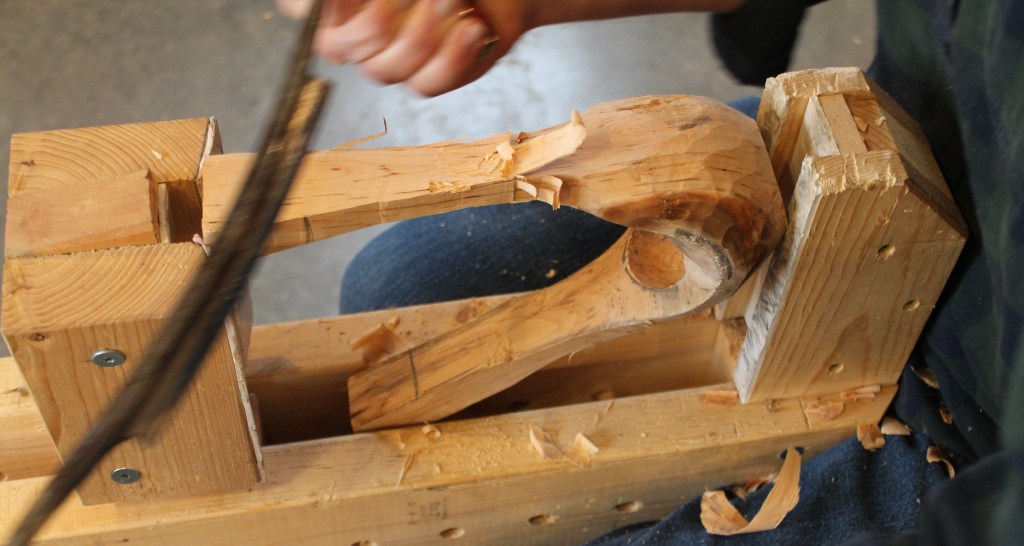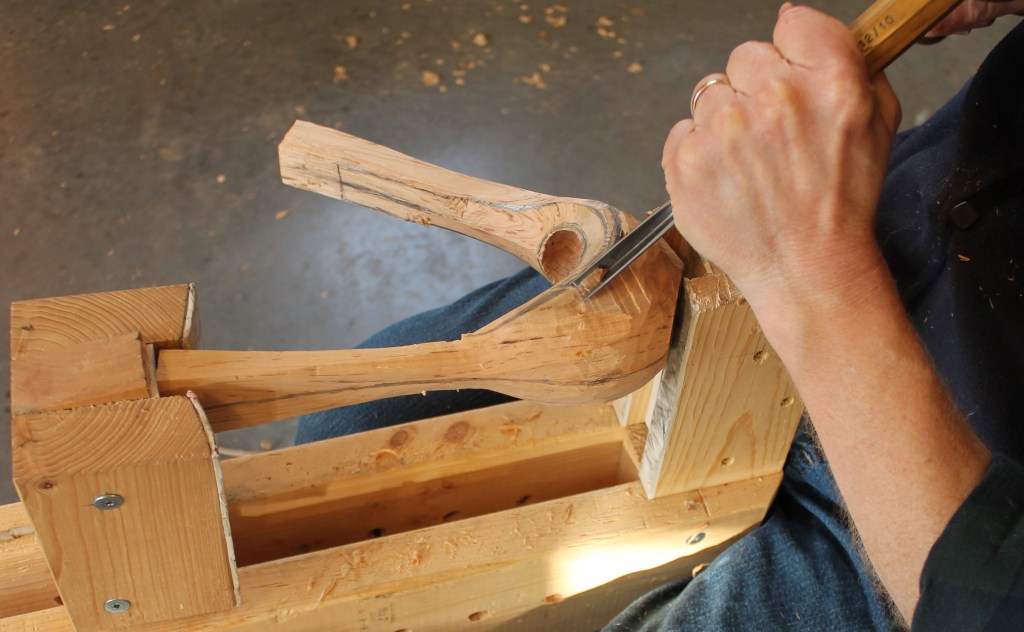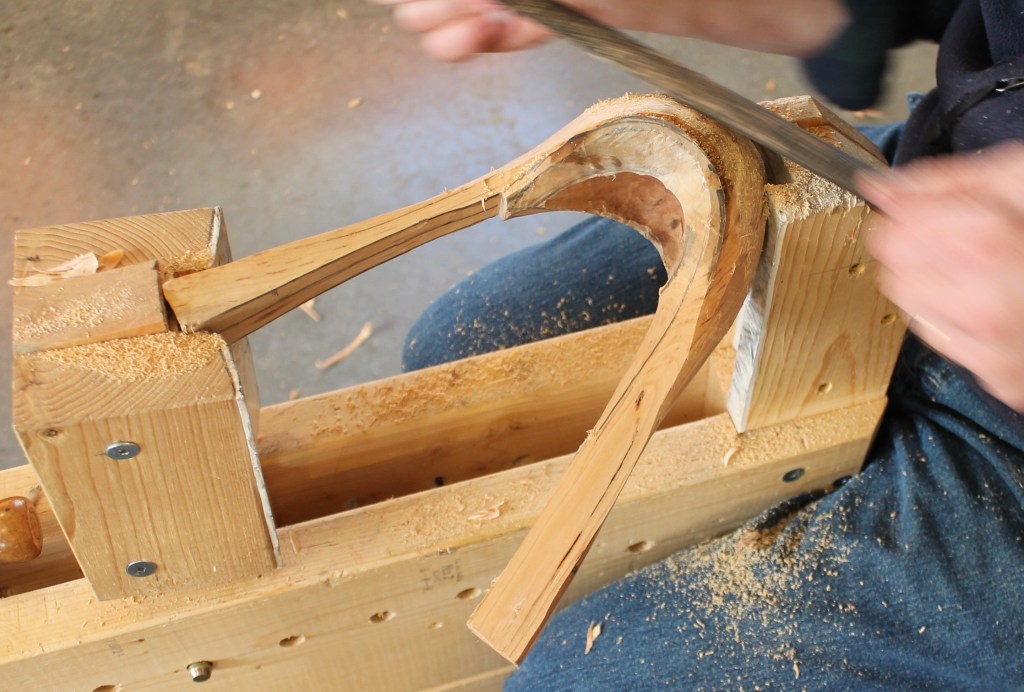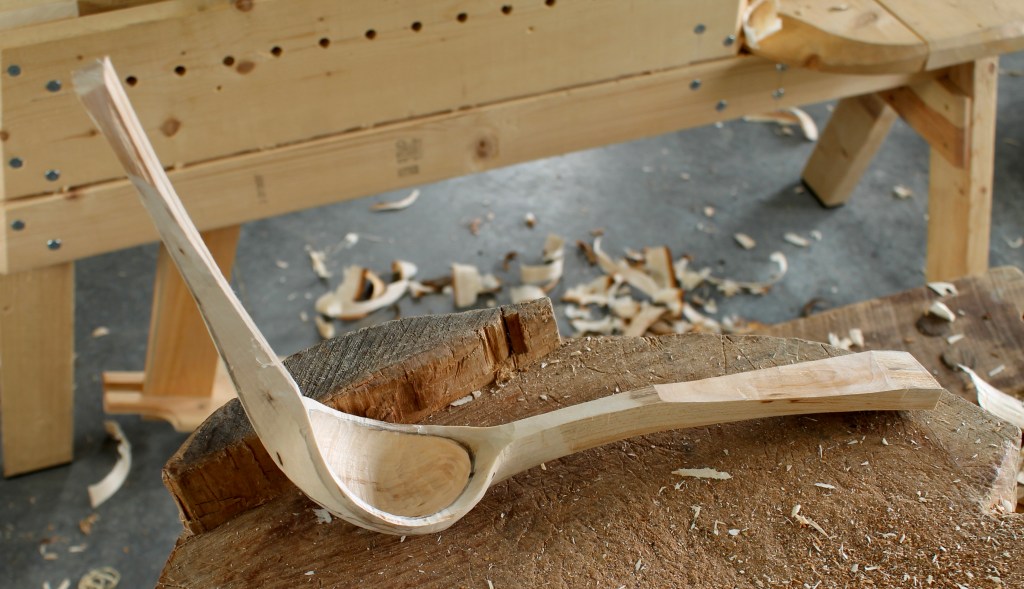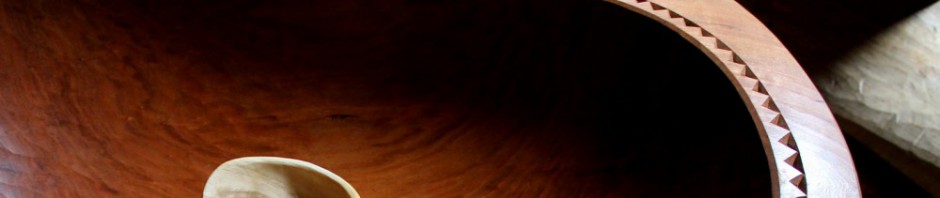
It was sunny and 70 degrees today. We’re still in winter, but this weather reminds me more of the late summer days when I first roughed out this bowl from a black cherry tree (Prunus serotina) limb. It was a massive old tree whose hollow trunk had finally snapped in the wind.
I took a few shots as I was making it and put them into the captioned slide show below, beginning with the chunk of limb.
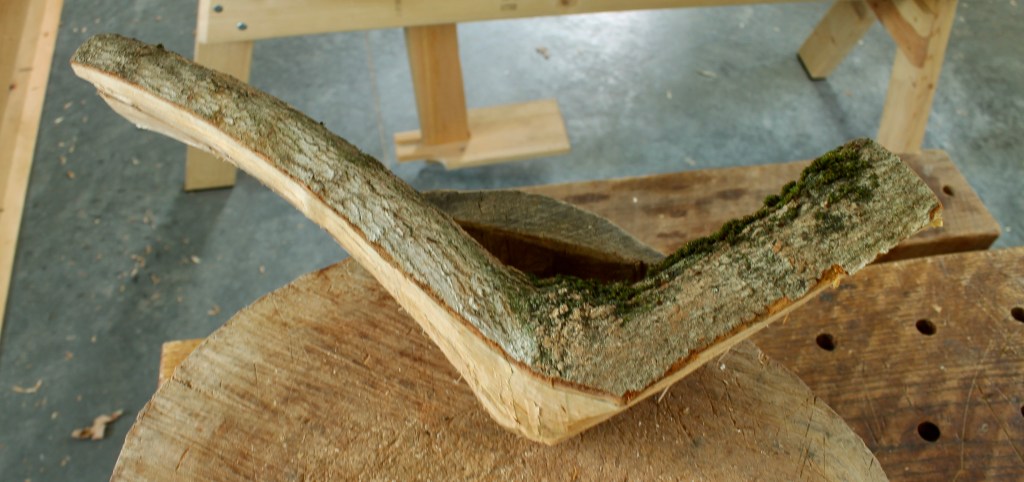
The section of limb from a wind-felled black cherry tree.
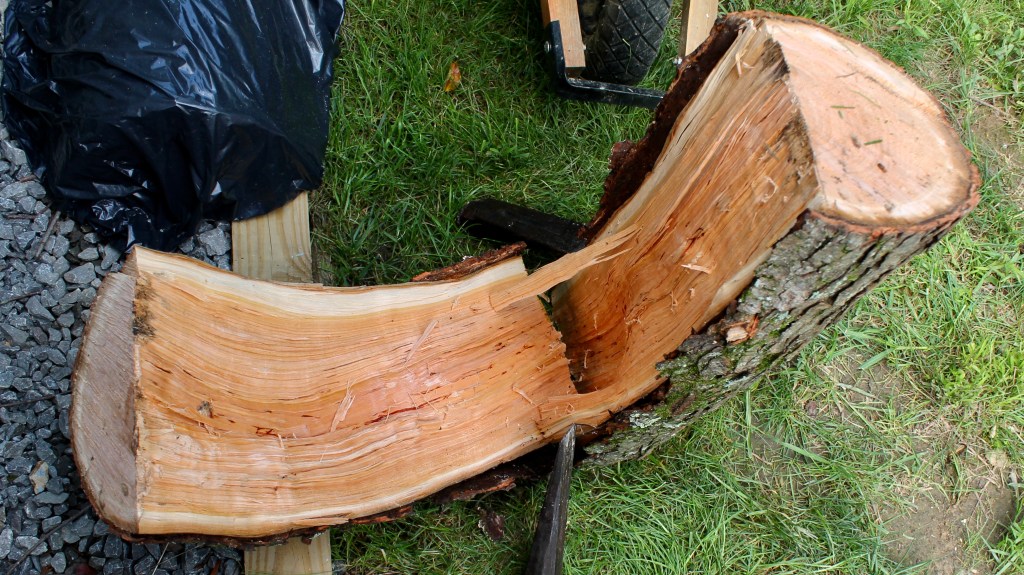
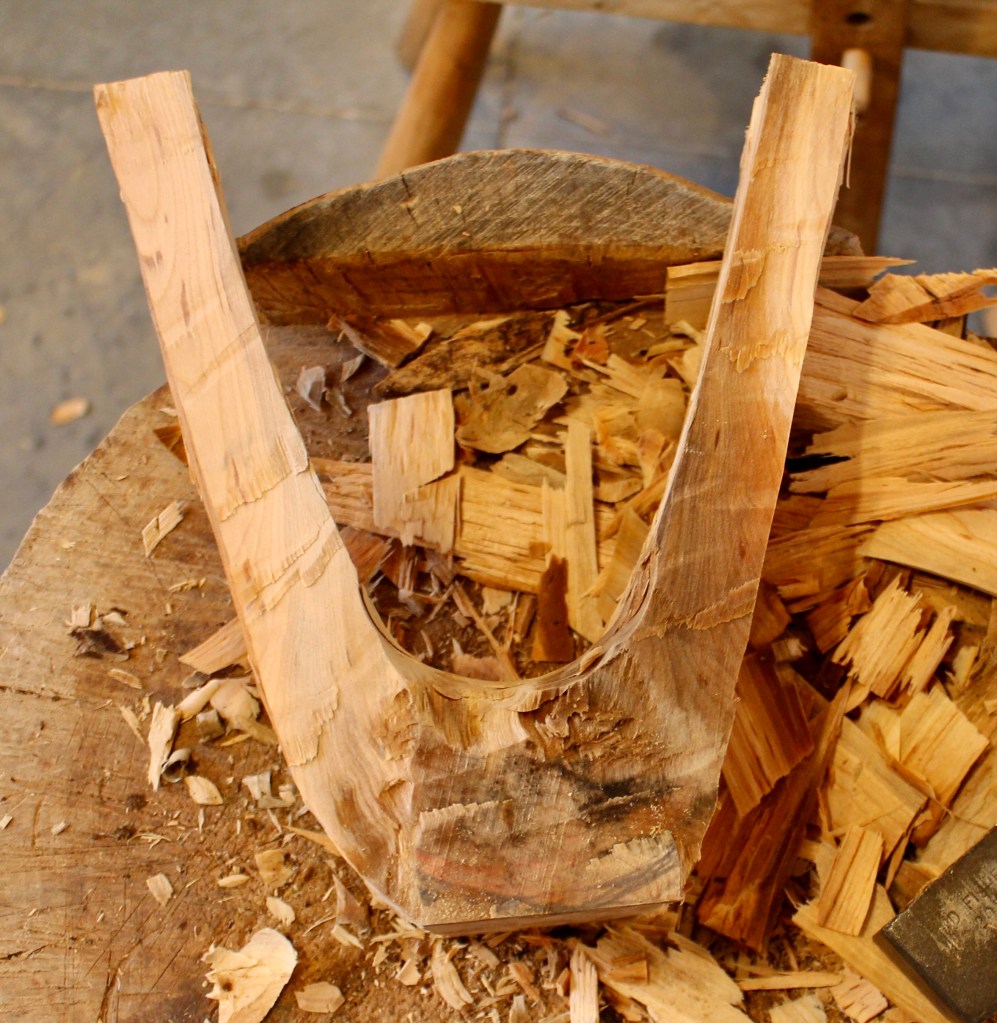
Splitting along the very-off-center pith. I carved the bowl from the thicker, right, side.
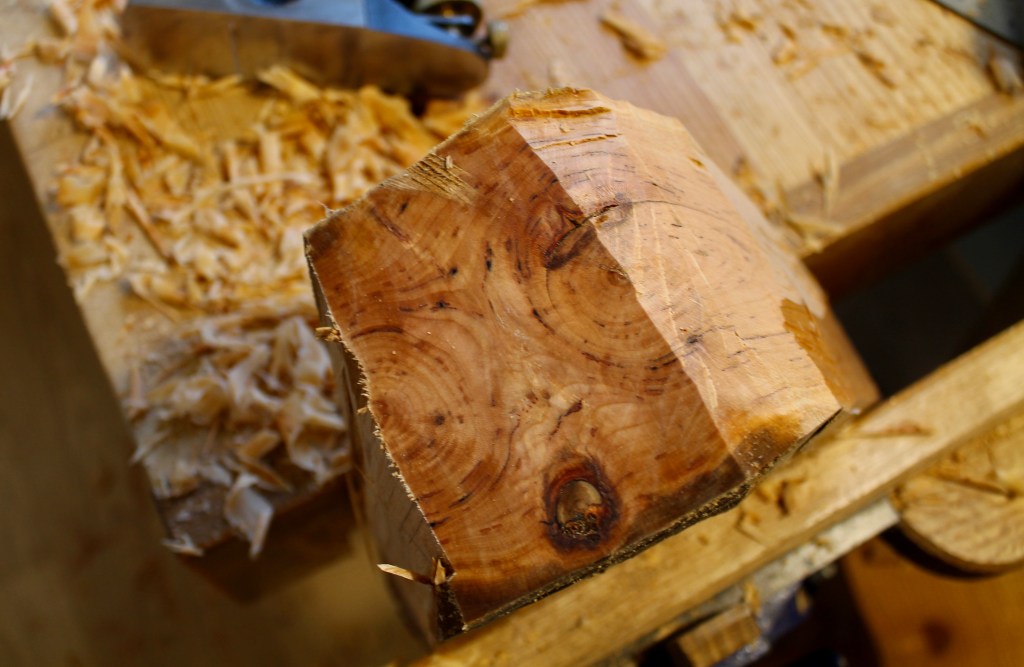
Planing the bottom flat. The growth ring pattern indicates how the fibers on both sides of center rise toward the eventual handles of the bowl.
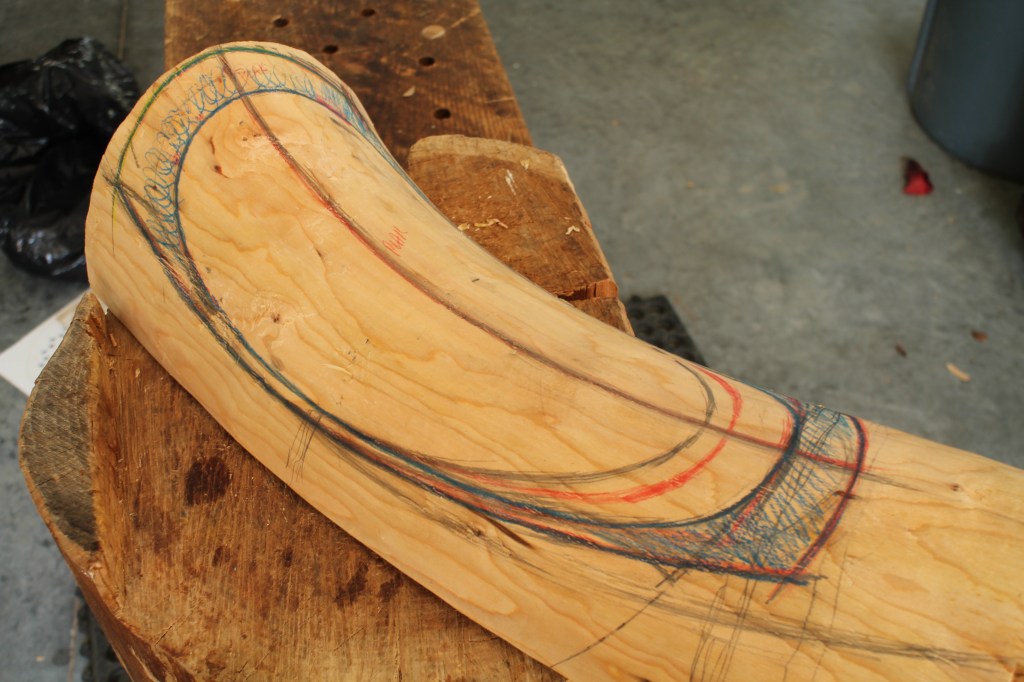
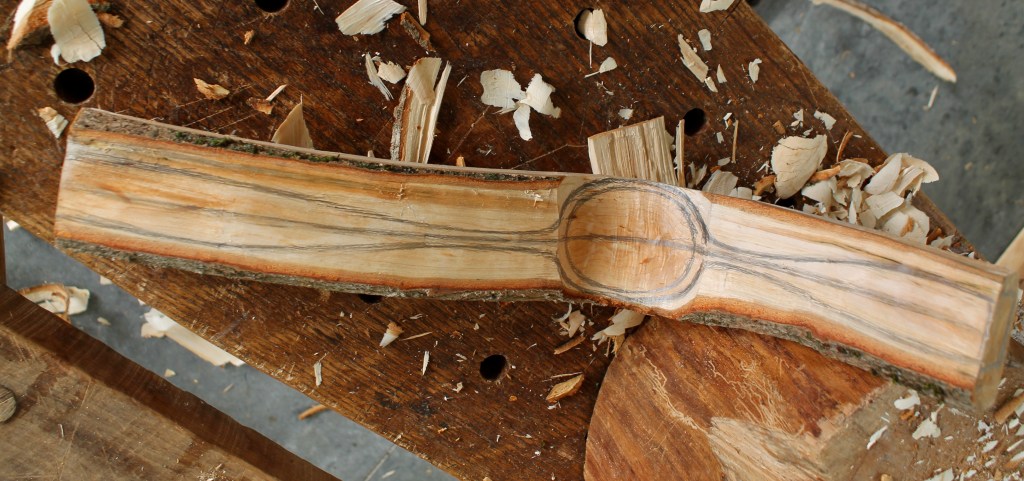
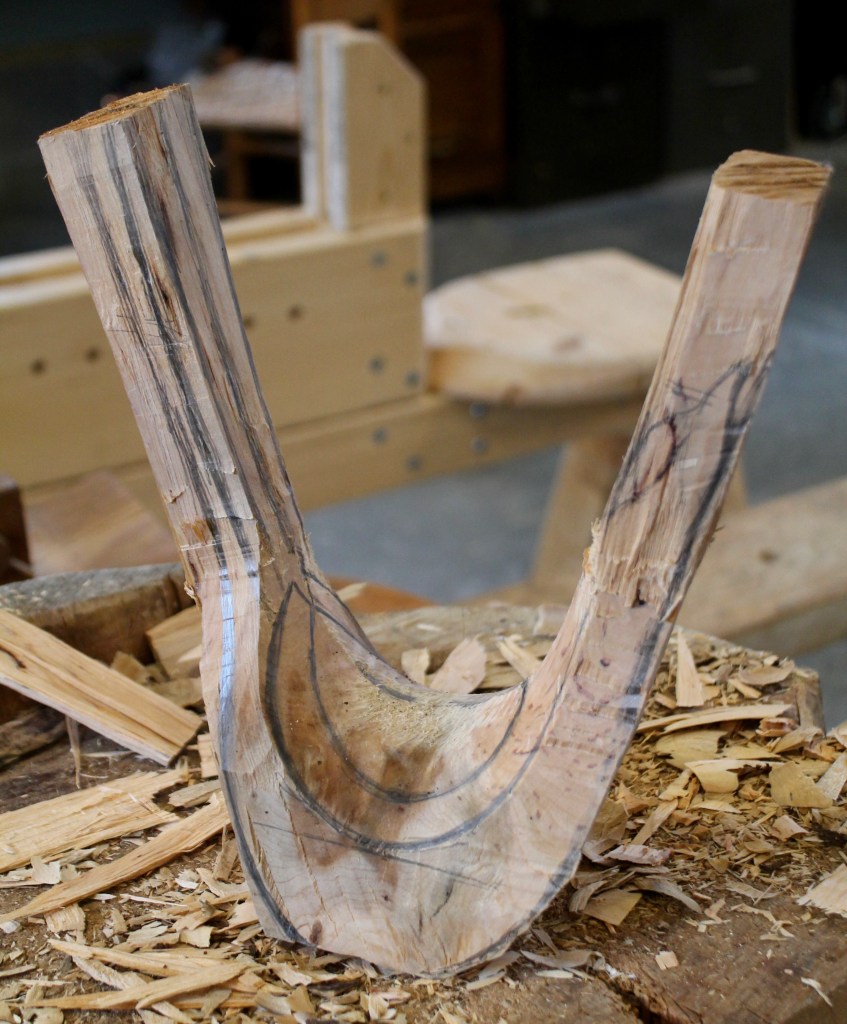
Messing around with ideas after shaving the upper surface with a drawknife. These lines are just hand-sketched with no concern for symmetry.
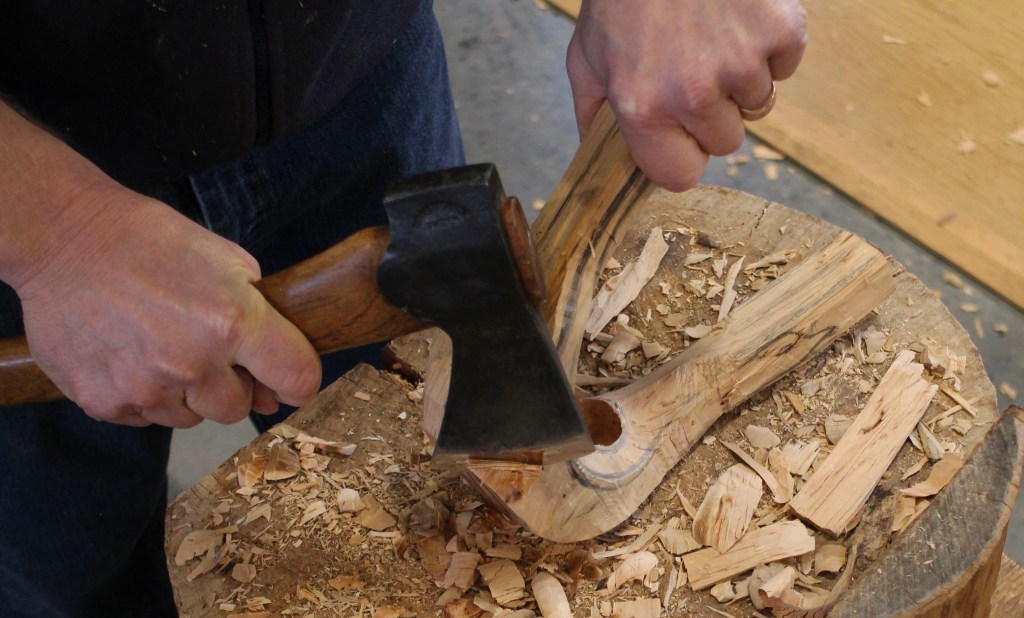
After cleaning up the surface and drawing the final lines, I hollowed with adze and gouge. The final gouge pattern was done with the thought that I might just leave it like that after drying. But I ended up re-carving the hollow after drying anyway.
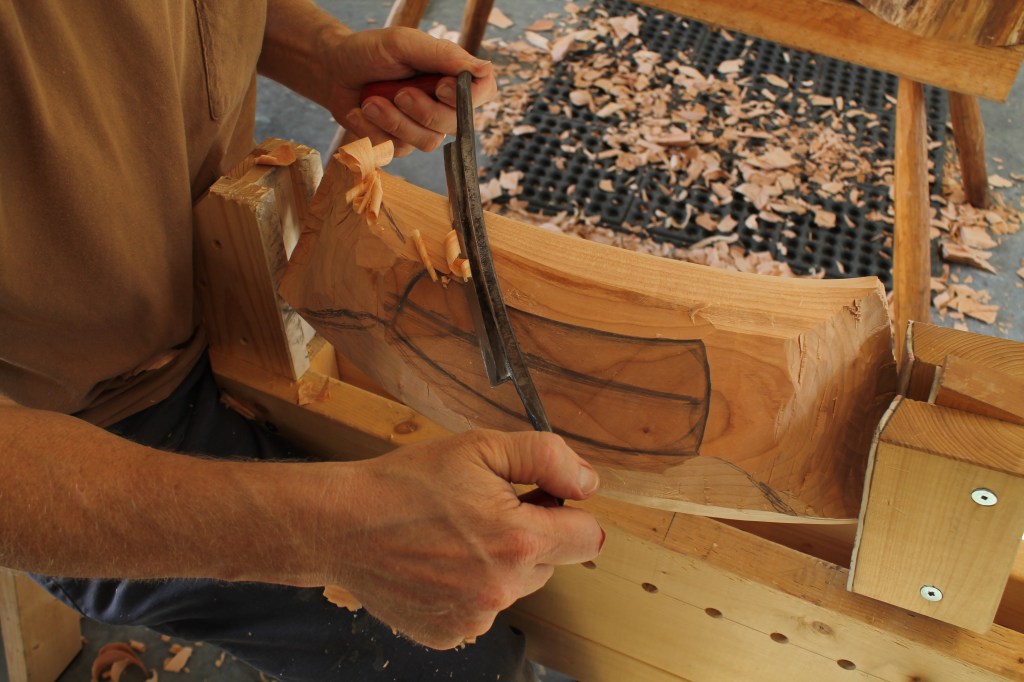
Shaping the exterior with a drawknife.
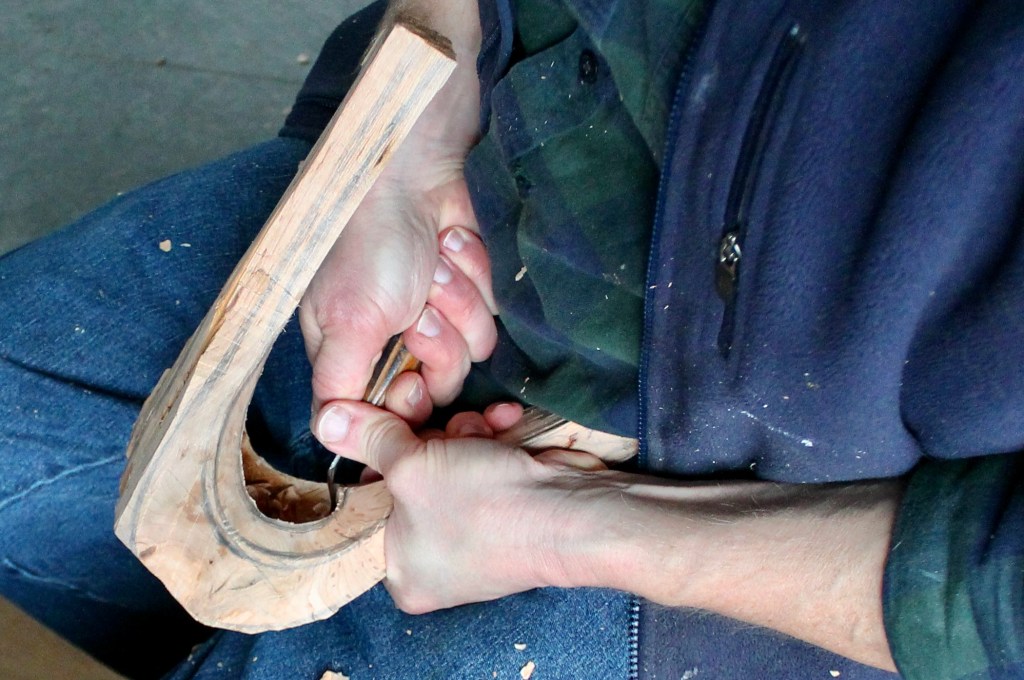
Carving the final surface of the hollow after drying.
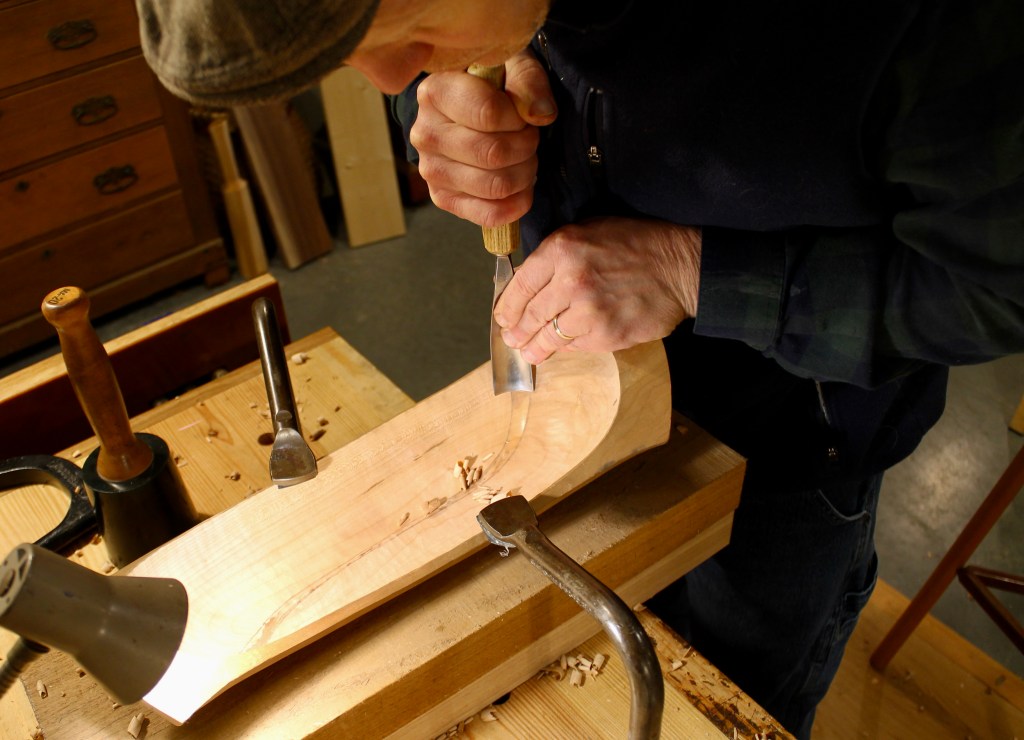
Carving the meandering flute through the hollow.
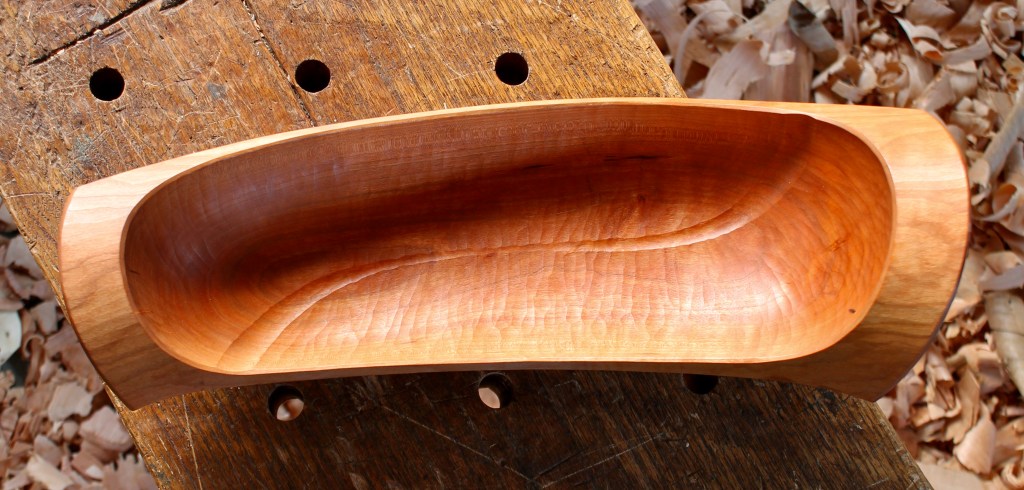
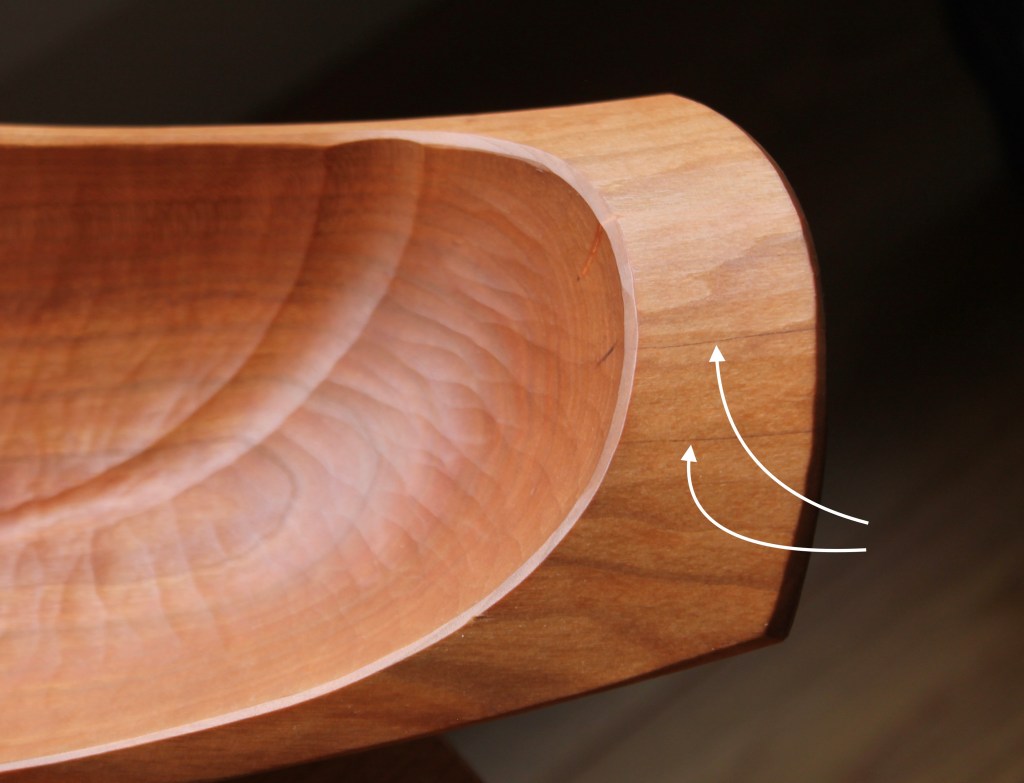
Large limbs often have tensions within the fibers as a result of holding so much weight out away from the trunk. So I slow the drying with old cotton sheets and check often. With this one, a couple hairline checks appeared on the narrower handle. I just let a little liquid CA glue (super glue) wick in and that prevented any further issue. If you’re having trouble seeing it in the shot above, I’ve pointed them out below.
There are a few more photos of the finished bowl below. It’s 17 1/4″ long, 6″ wide, and 5″ high. SOLD
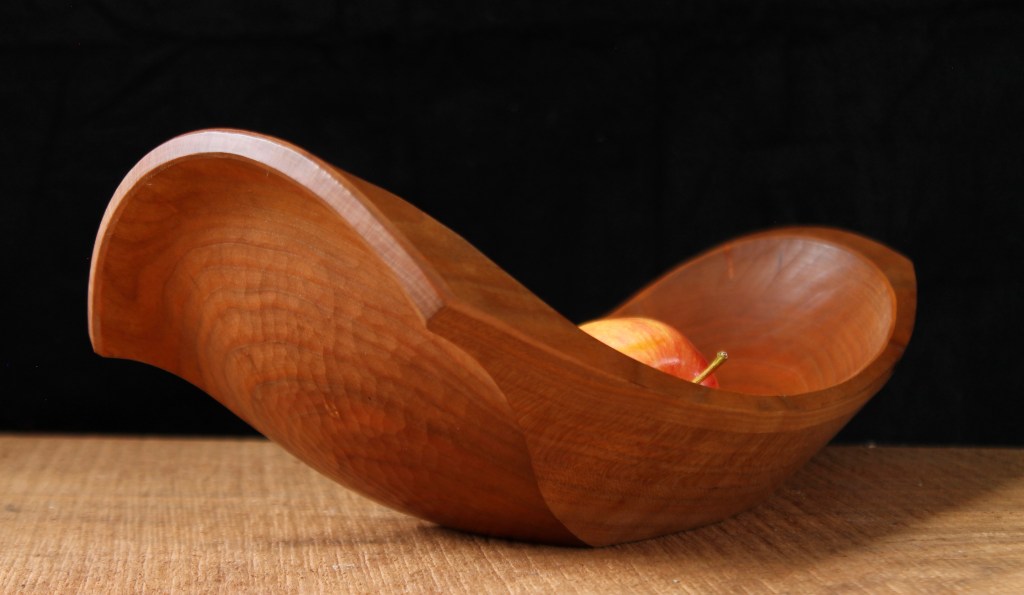
End and side surfaces are from the gouge and drawknife, respectively.
Yesterday we had a fresh snow. People often comment on how snow covers everything in a blanket of white, hiding the mud and the muck. But on my walk, it struck me how much it reveals. Much like raking sunlight, the way it falls highlights things that normally are less noticed; lines in the grasses, the lay of the land in the distance… I snapped a few photos on the way.
The snow begs a fresh look at the pattern of meandering branches.
A puff of white in the thicket lead me to a nest.
Last years beech leaves, papery and sun bleached, brought to mind ice cream spilling out of so many cones.
But what thrilled me most about the revelatory power of snow was this big oak tree I’ve admired many times. I had never noticed that wonderful dramatic twist in the trunk before yesterday’s snow.
Now, if you look closely at the photograph, there may be one more surprise. Somebody ran ahead and is patiently waiting.
I’ve already mentioned this cherry bowl and maple spoon in some previous posts, but have held on to them until now for separate reasons. If you’re interested in either of them, email me at dandkfish@gmail.com. Shipping is included in the prices listed below. I’ll start with the bowl.
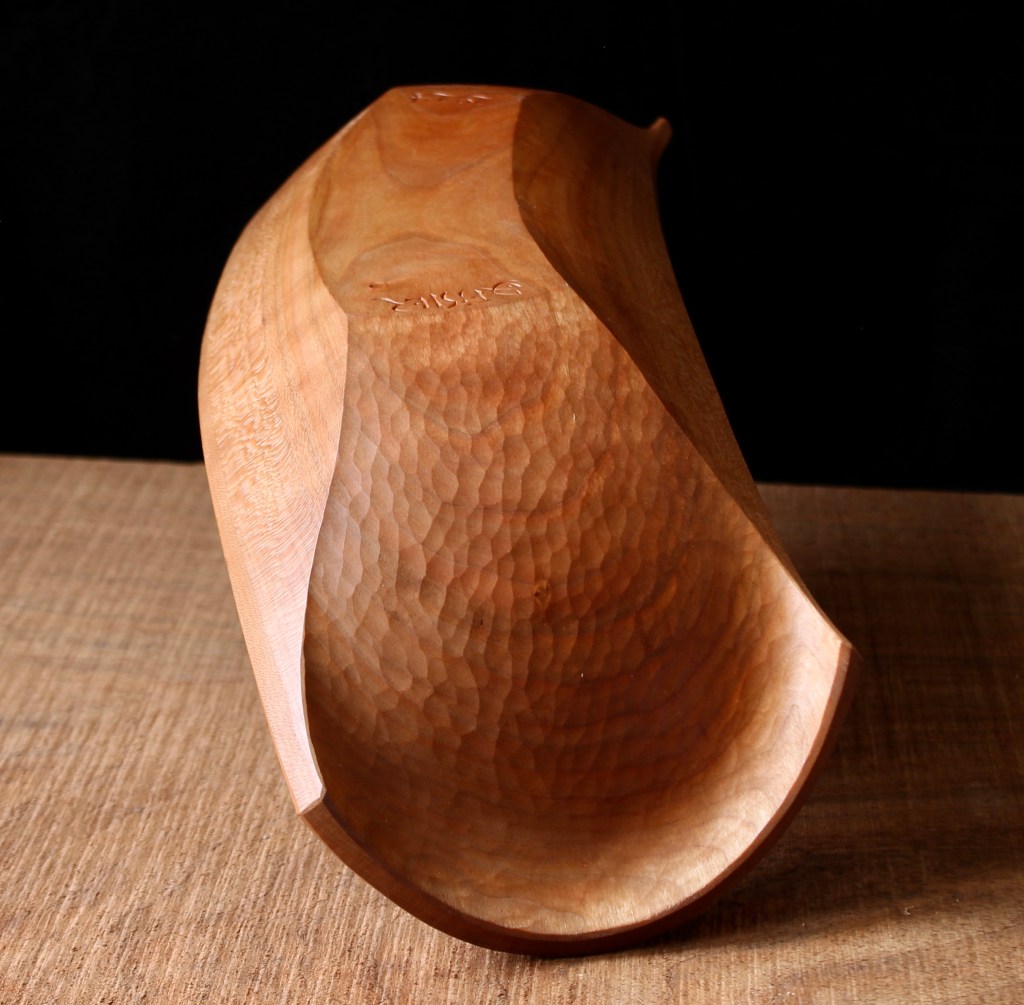
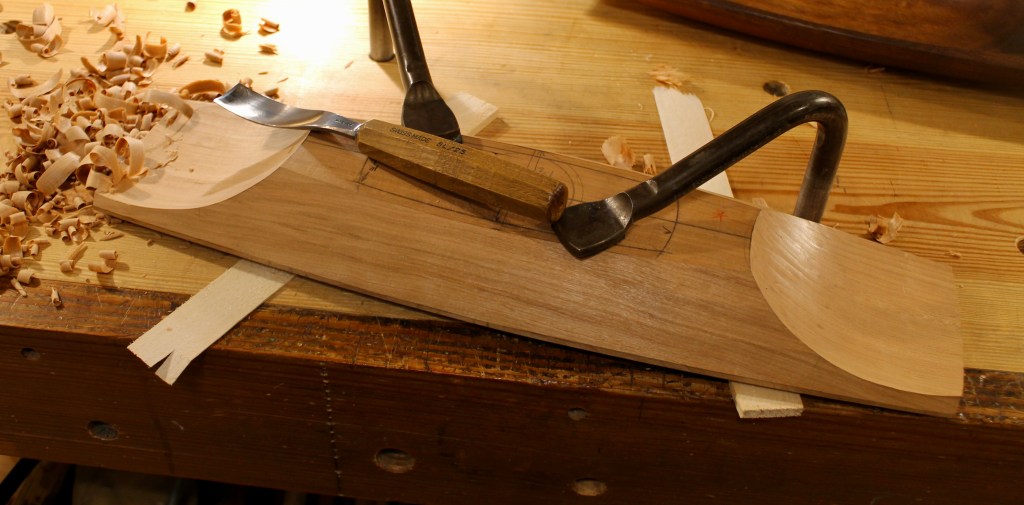
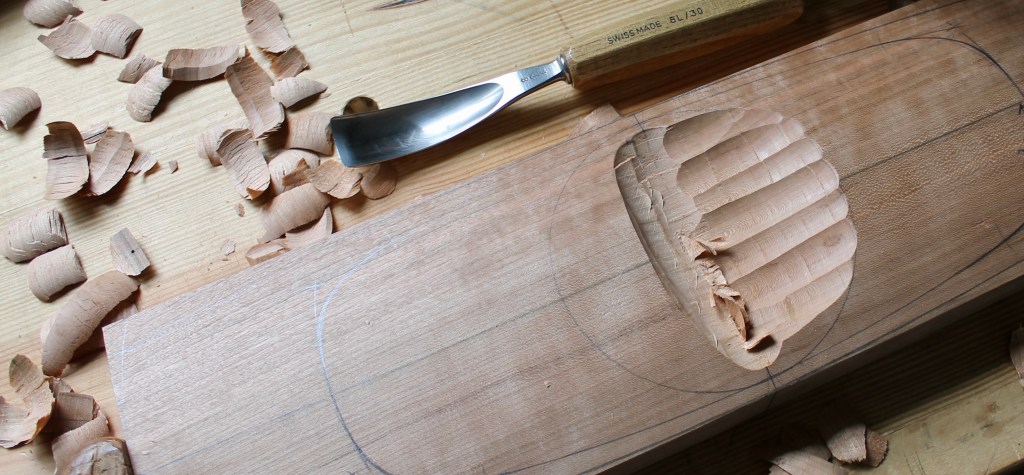
The cherry bowl was my second version of the bowl-from-a-plank idea. As I mentioned in this post, I was holding on to it until the process had moved along further for an upcoming Fine Woodworking article about carving it. During the photo shoot, I carved another one to hold on to, so the cherry one is available now. There it is, above, in a photo taken earlier today.
And flipped over. The dimensions are 21″ x 6″ x 2″. All surfaces are straight from the cutting edge.
One last close-up. $600 includes shipping. SOLD
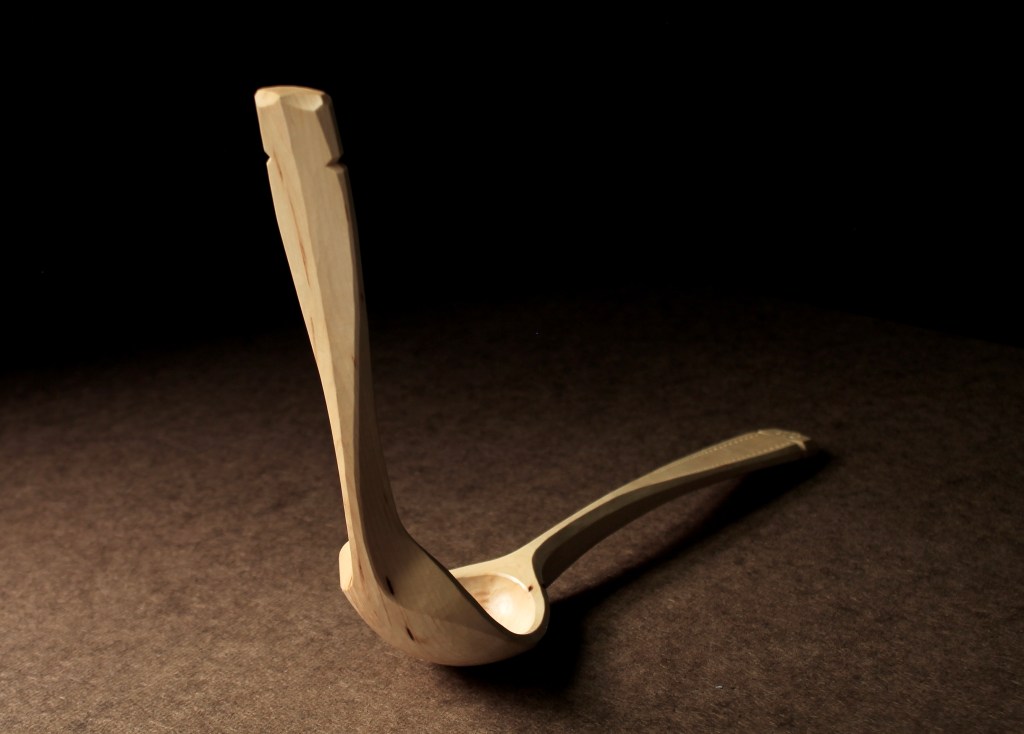
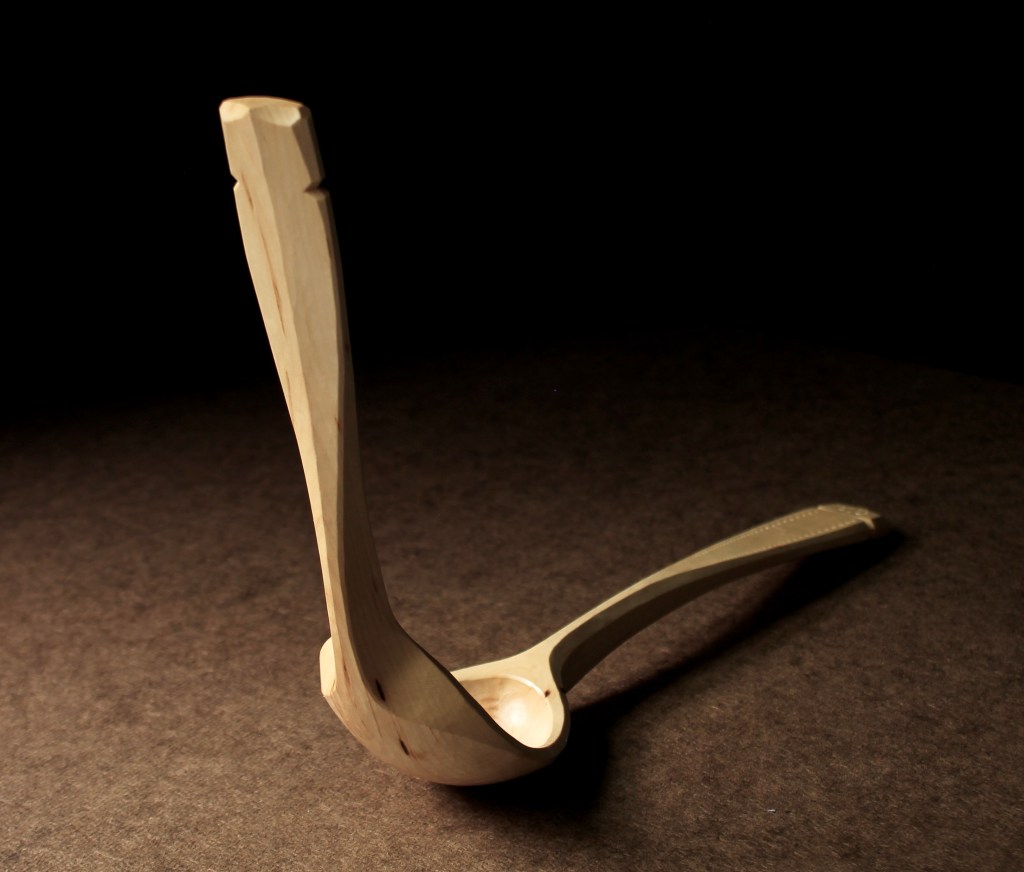
The double-handled spoon can be seen in the lead photo and in the shot above taken a few months ago. I wrote about making it in this post. There are several more photos at that link. Now the exhibition is over and it’s back in my hands. I originally referred to it as the “Spoon of Indecision,” but several readers commented with better titles. When Kalia Kliban commented: “Now that’s what I call a love spoon!”, that struck me as ideal. So call it Love Spoon or whatever you’d like. 12 3/4″ long, 2 3/4″ wide, 8 3/4″ high. $250 includes shipping. SOLD
In my last post I mentioned having some spoons ready to share. I finally got the post together, so here they are and all are for sale. The shots above and below show them all together for comparison. #1 is over 13 inches long and #6 is 8 inches long. All were carved from branch crooks and finished with pure linseed oil and heat cured. Ready to serve.
If you’re interested in purchasing, send me an email at dandkfish@gmail.com and let me know which spoon(s) you’d like, and if you’d prefer to send a check or receive a PayPal invoice. I’ll get back to you to confirm that the spoon is still available. Prices include shipping in the U.S. International shipping will be an added charge, but probably not much. I’ll post individual photos of each spoon further down. Thanks for looking.
Six spoons, back
#1: Black Cherry, 13 3/8″ x 2 5/8″. This long slender cherry spoon would be a good general use spoon for cooking and serving. $135 includes shipping. SOLD
#2: Black Cherry, 12 3/8″ x 2 3/8″. I left the handle and neck of this one extra beefy to excel at heavy stirring. Go ahead and make that cookie dough extra thick and give the electric mixer a break. $130 includes shipping. SOLD
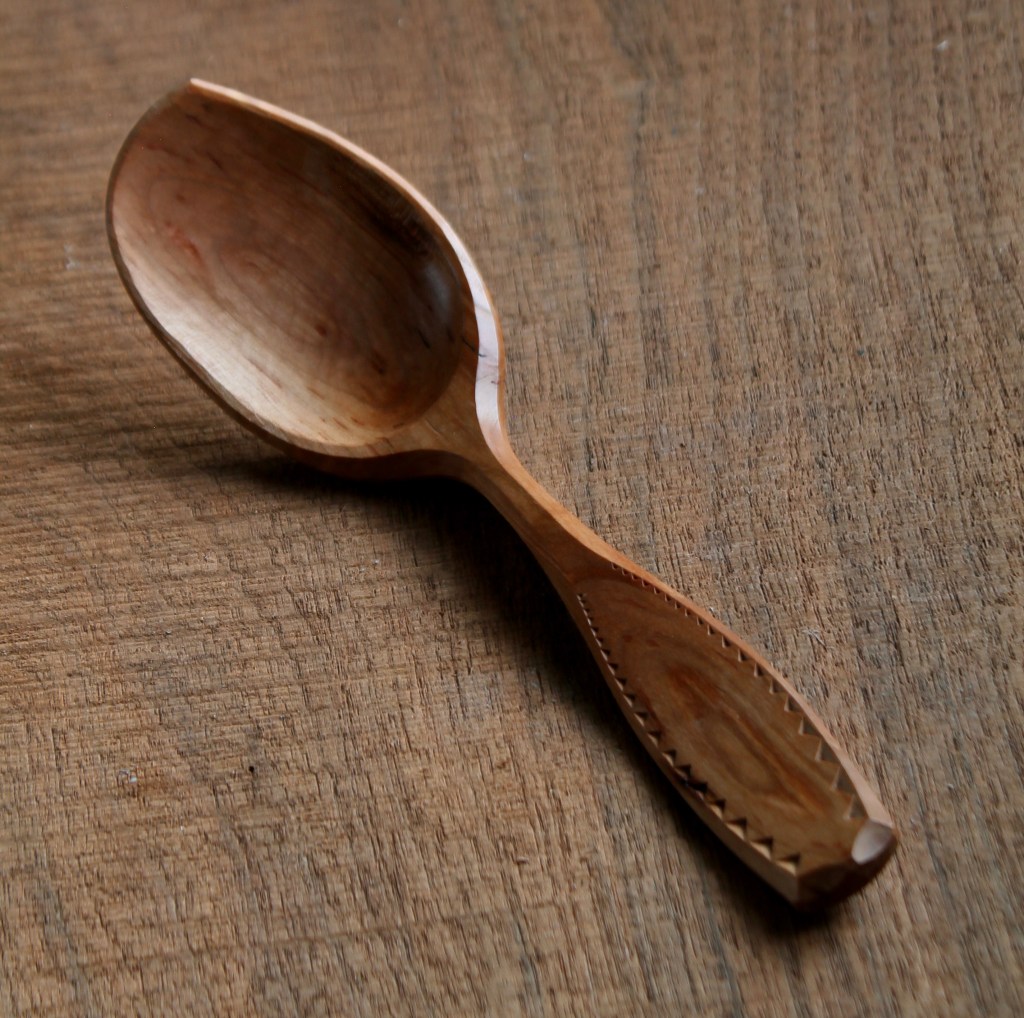
#3: Mystery Wood, 10″ x 2 1/4″. I carved this spoon from a crooked chunk of branch wood I found in a pile of tree trimmings. I haven’t been able to figure out what it is, but it made a great spoon. The wood is very hard, very tight-grained, and has no noticeable odor. Beautiful contrast between the heartwood and sapwood, too. I tamed the wild grain around the knots in the handle with a scraper and fine sandpaper. Blends in fine with the carved surfaces of the rest of the spoon. A good cooking and serving spoon. $130 includes shipping. SOLD
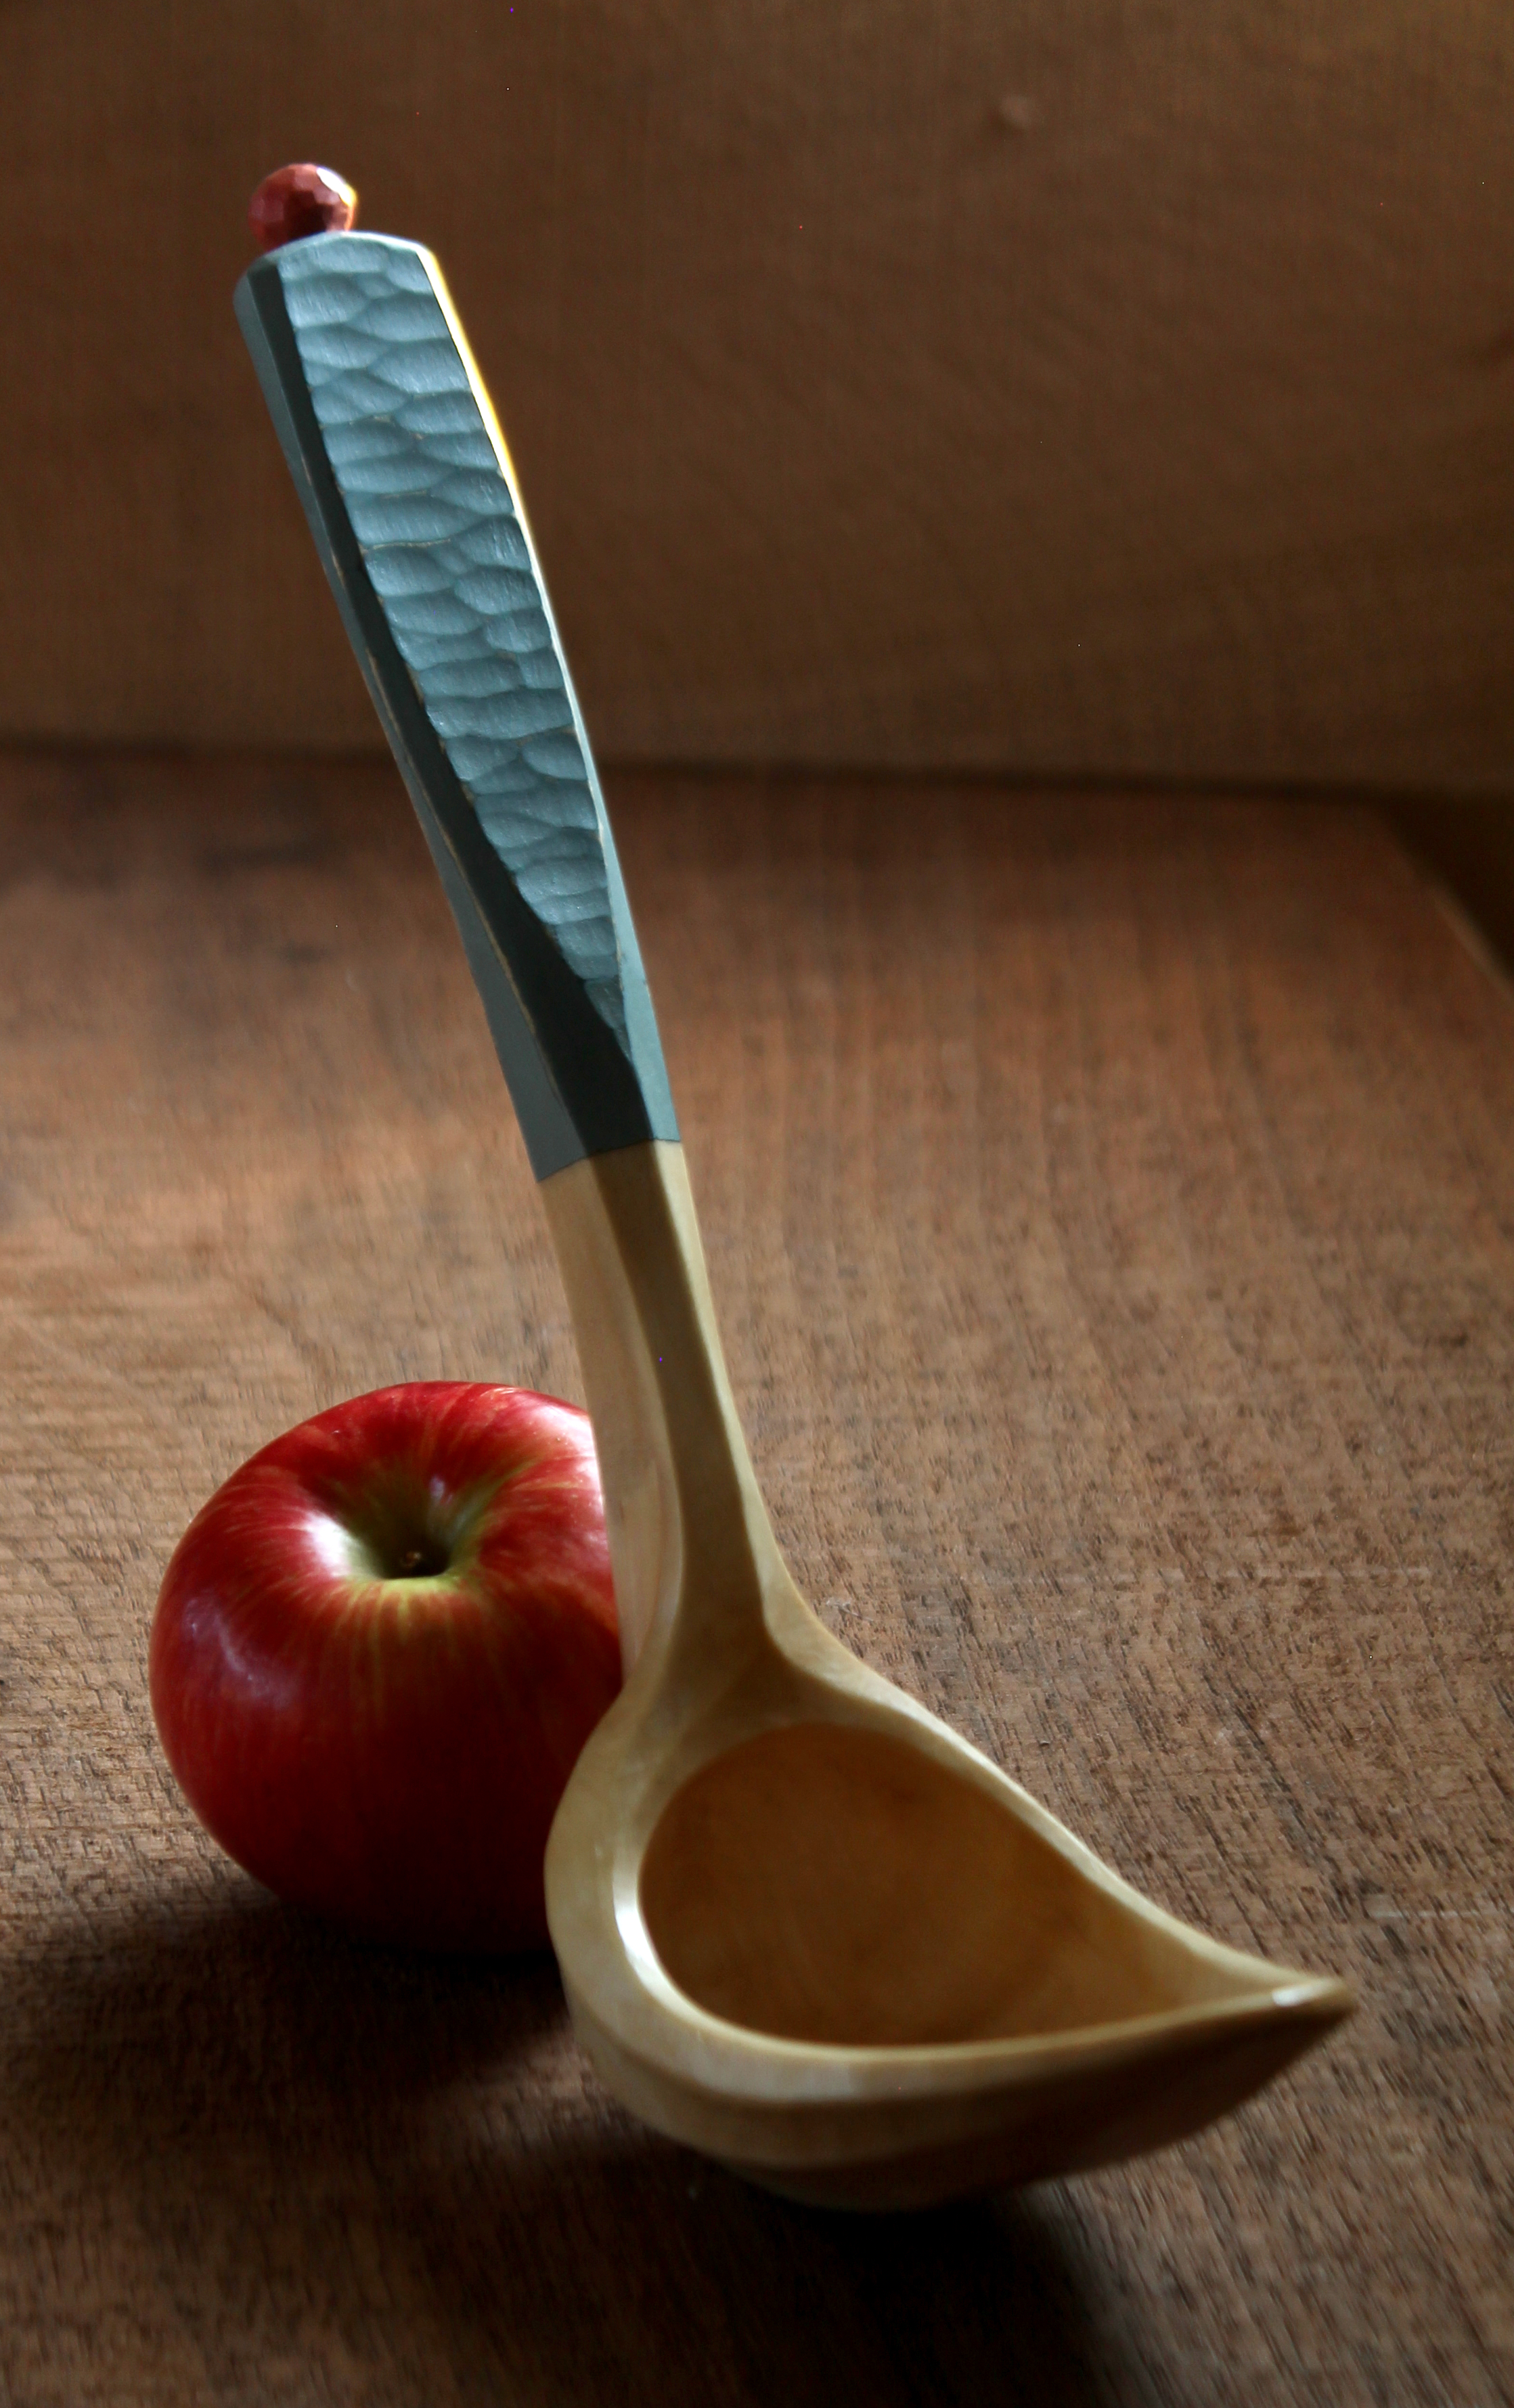
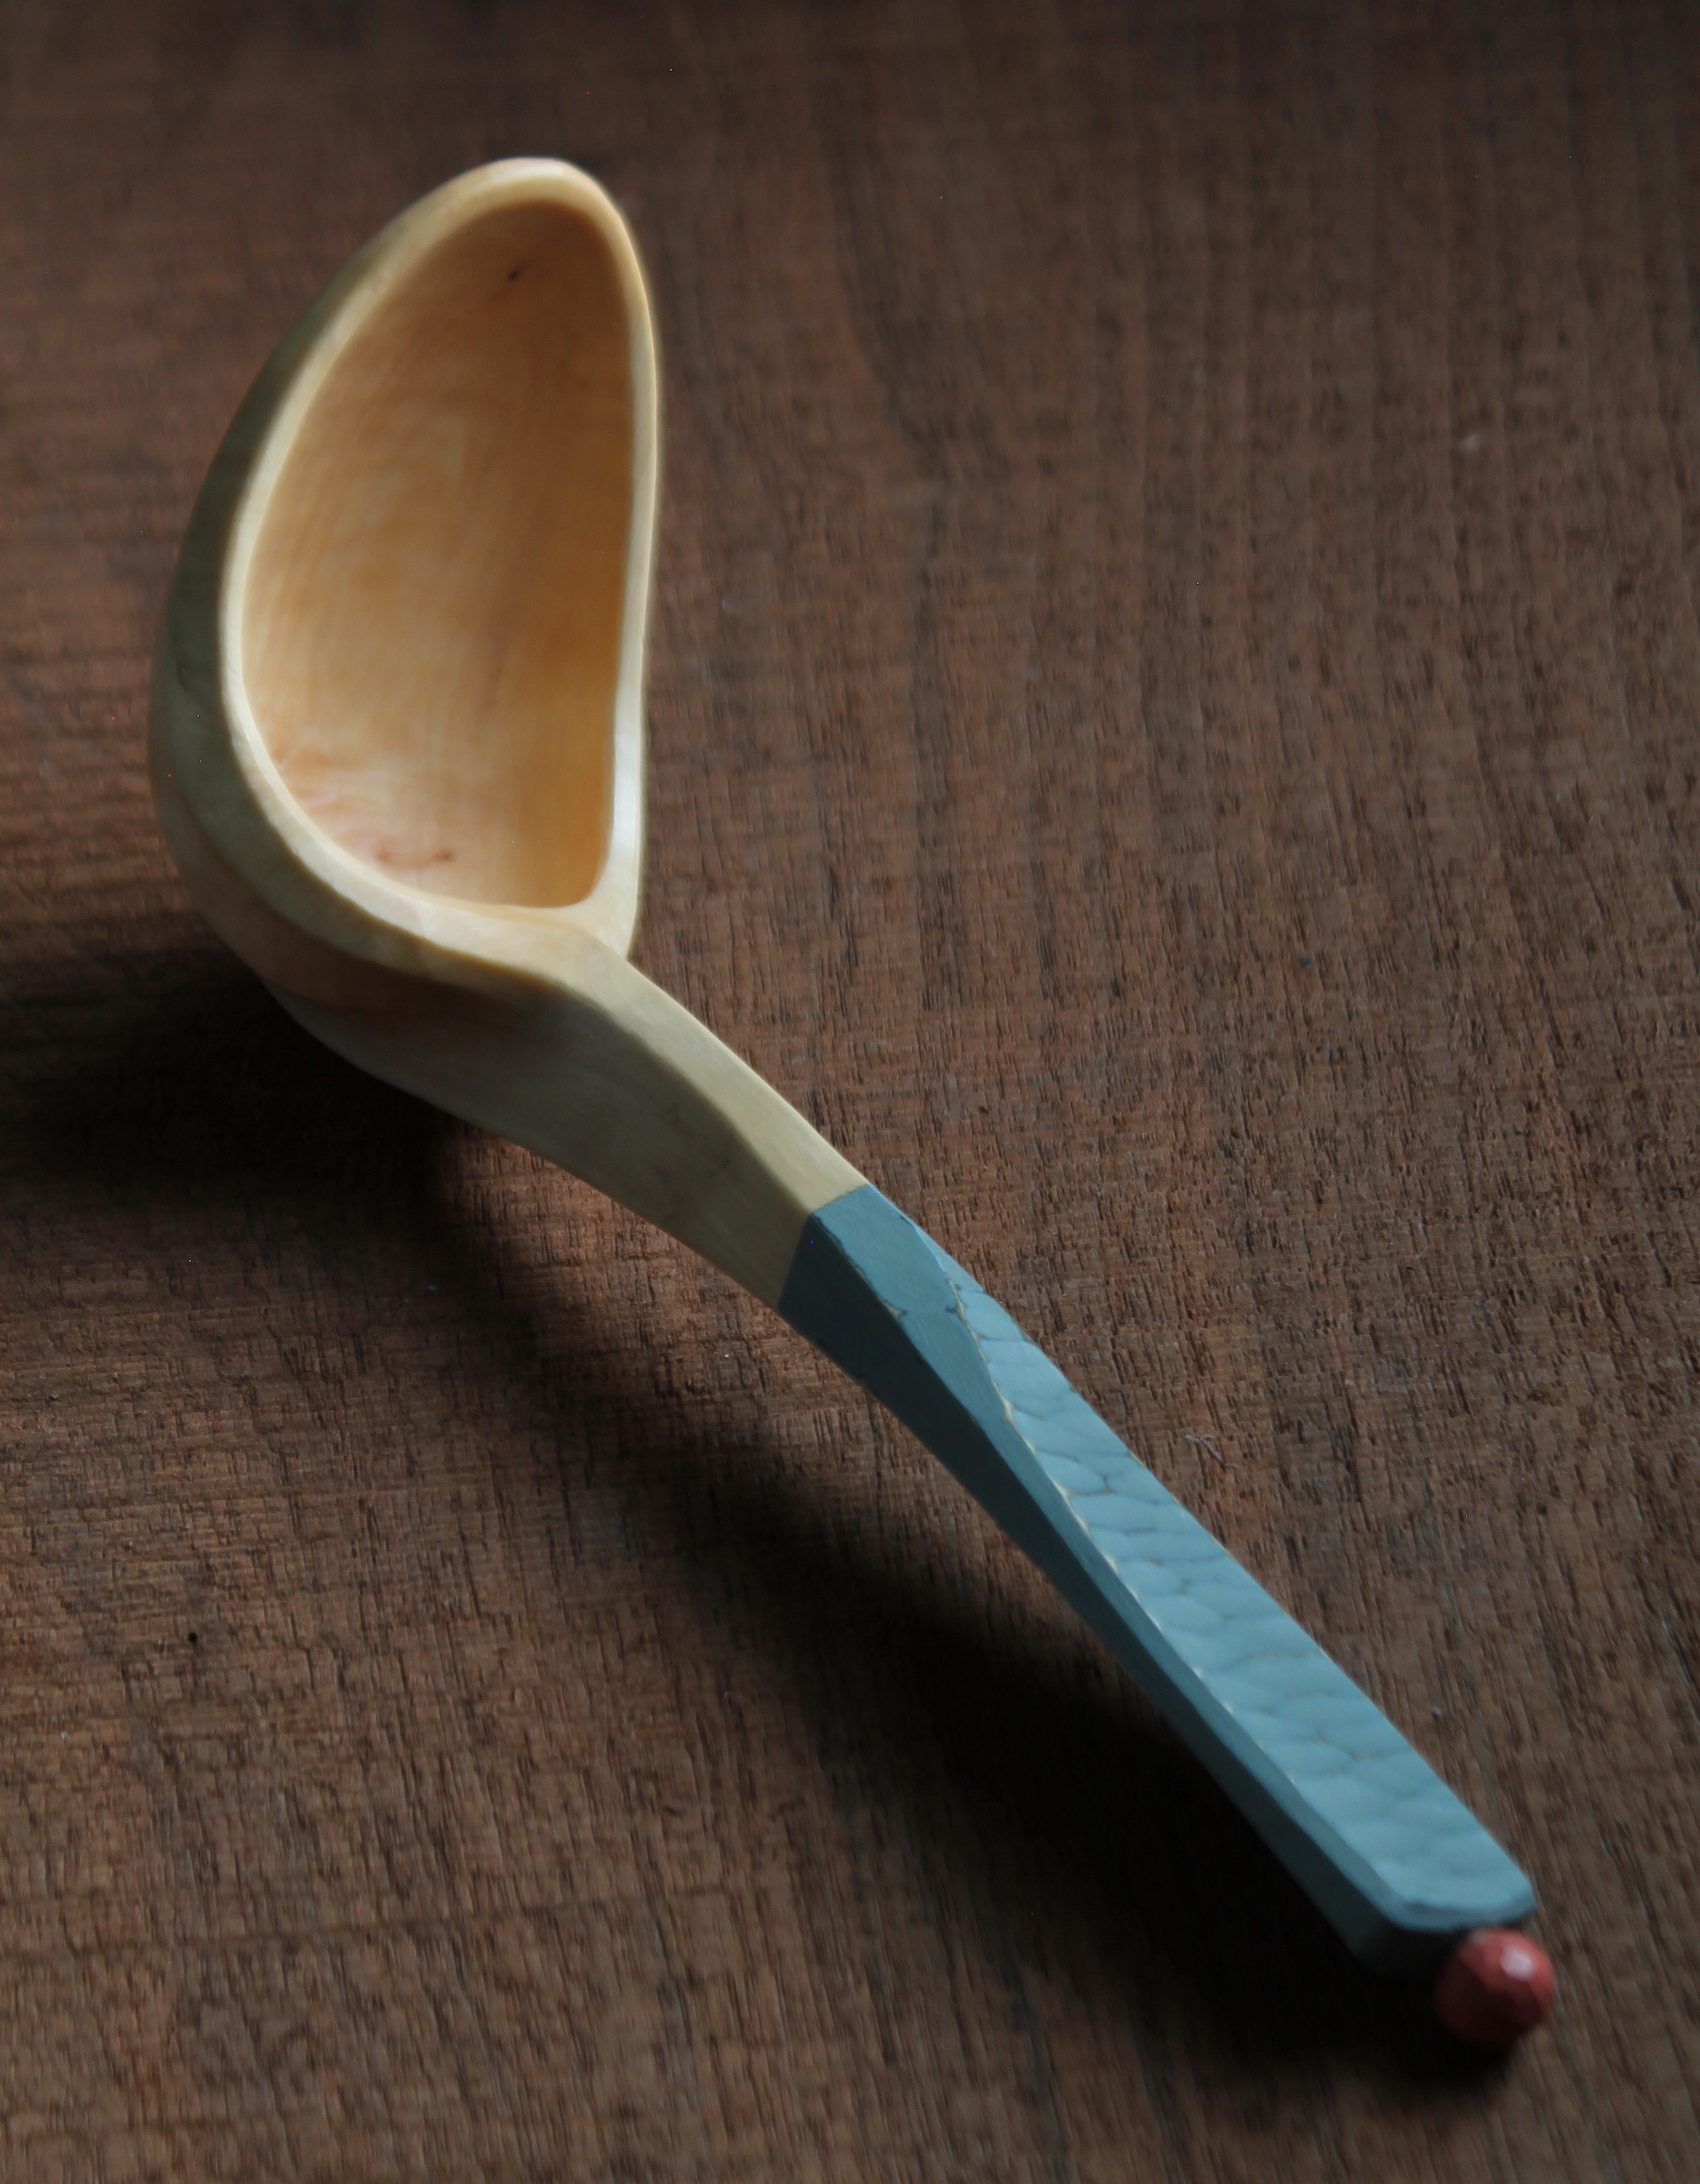
#4: Maple, 9 3/4″ x 2 3/4″. Crooks like this don’t come along every day. This is the finished spoon that I showed progress shots of in my Uprooted Ladle post. The deep bowl has some tumblehome and the back portion is undercut. The handle is painted with milk paint, a shade of blue with a coral finial. $215 includes shipping. SOLD
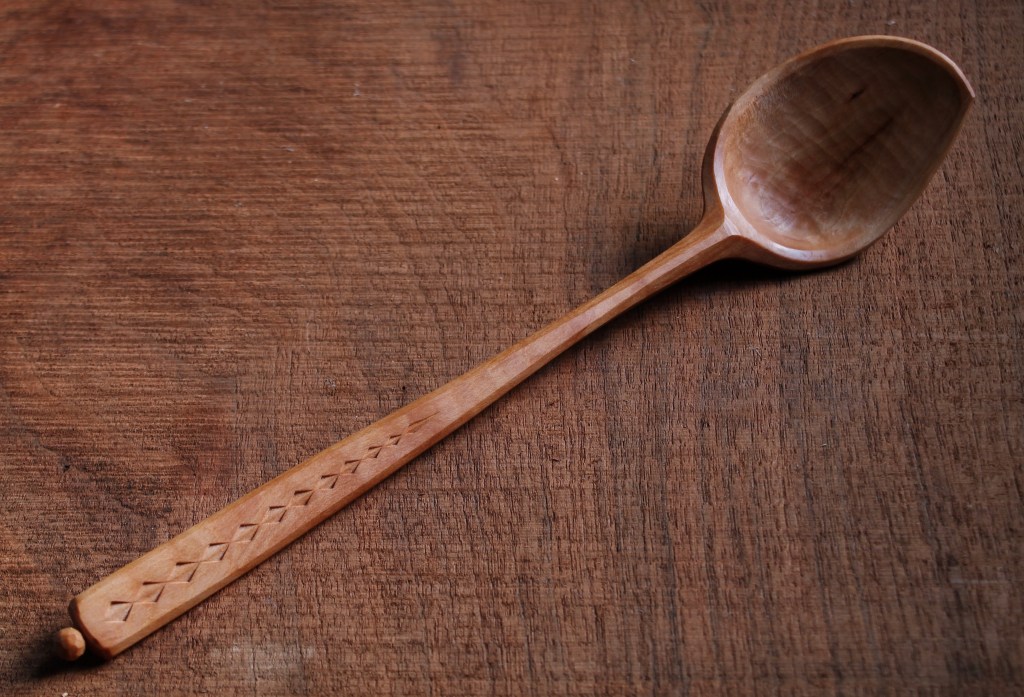
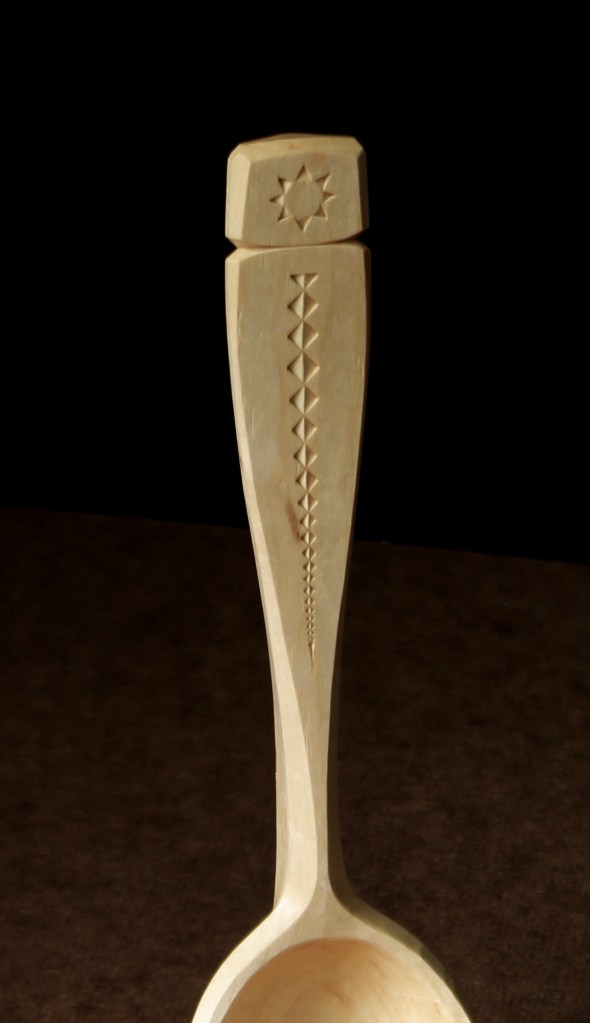
#5: Black Cherry, 9″ x 2 3/8″. This little cherry cooker/server has a shallow bowl and a chip-carved handle. The bowl follows the grain to the left which feels especially good for righties. $110 includes shipping. SOLD
#6: Maple, 8″ x 2 3/4″. This ladle/server is from the same branch as the maple ladle above. Curvy with a painted handle; milk paint. A shade of green with a red-orange finial. $190 includes shipping. SOLD
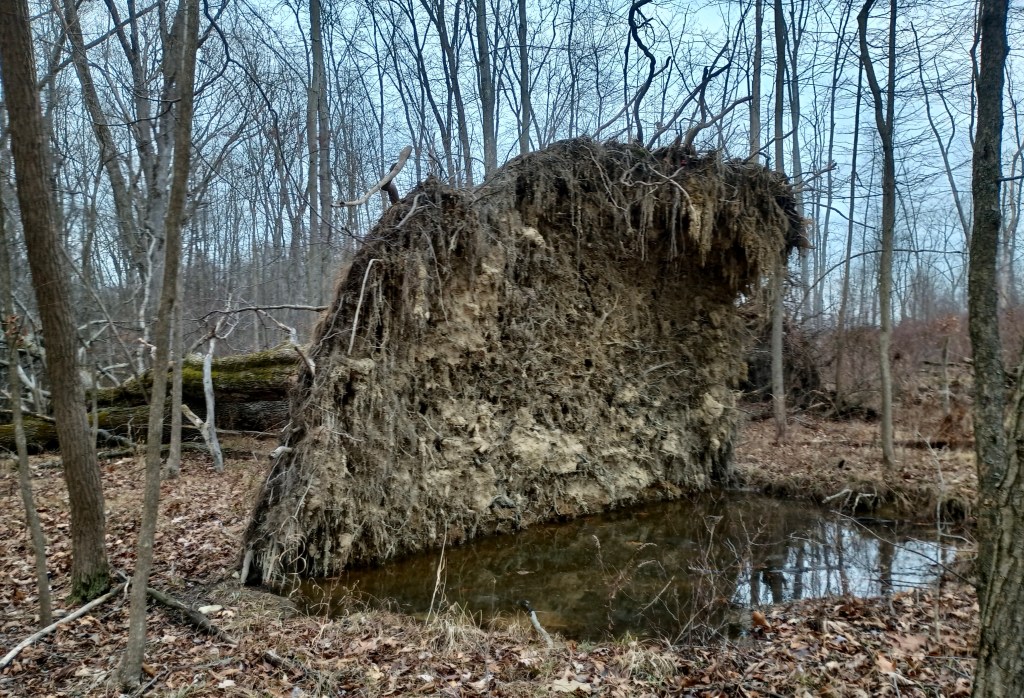
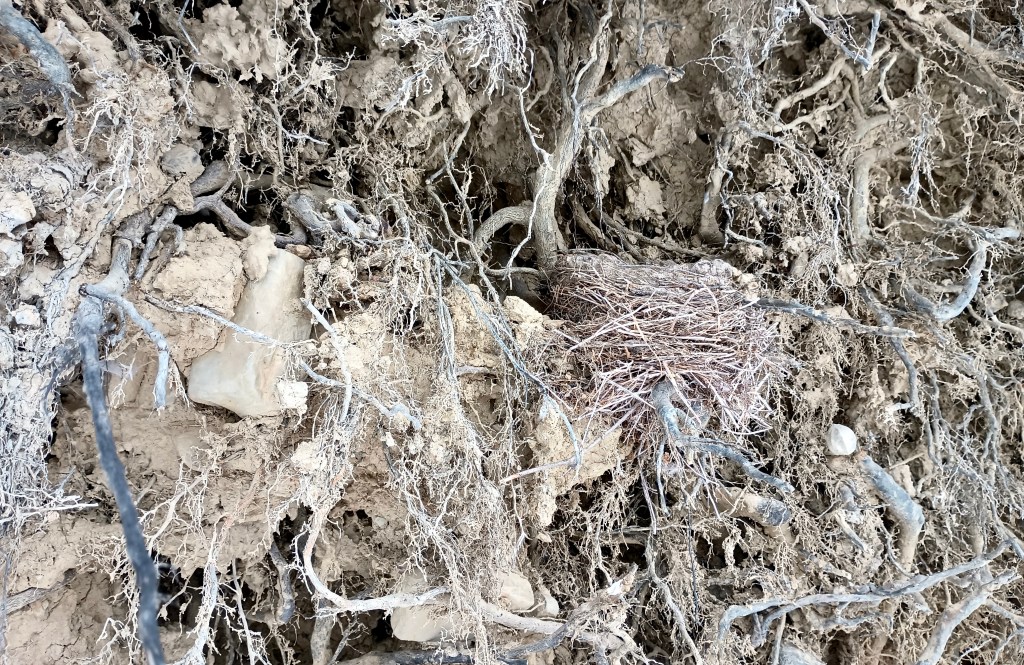
A walk through the woods often makes me stop in my tracks. It may be something as simple as an interesting lichen on a rock or a deer bed. Other times it’s a phenomenal thing like this huge maple uprooted by the wind. I took the photo a couple weeks ago. The top of the root mass is 11 or 12 feet above the ground. It will be interesting to see what little creatures are living in the resulting pool in the spring.
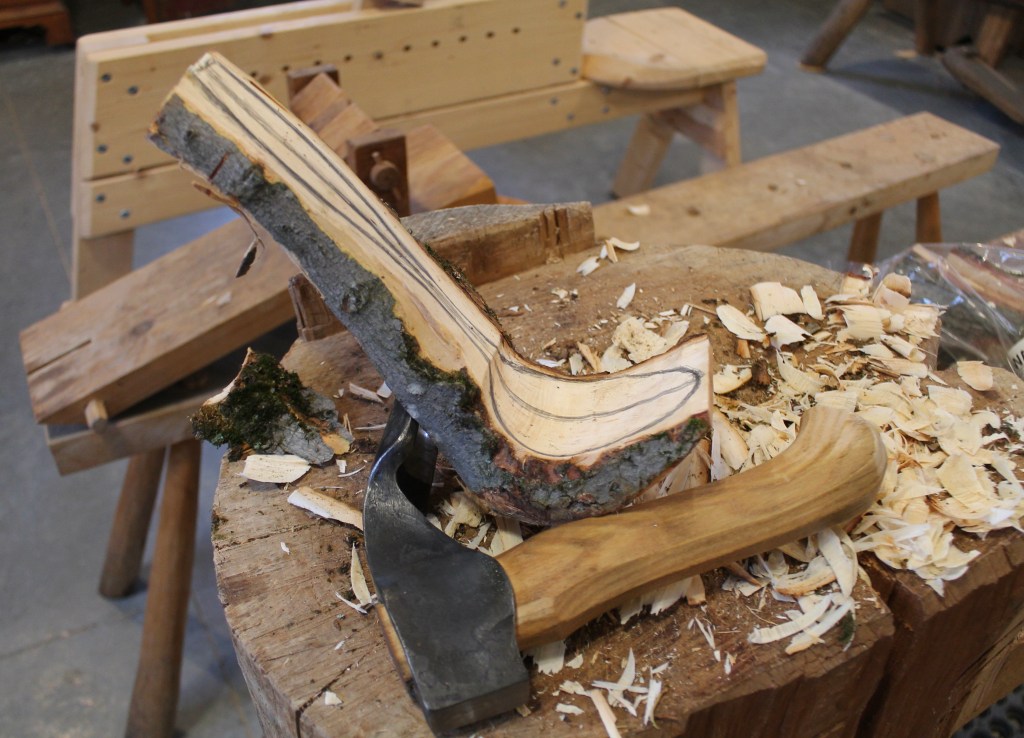
As I walked alongside the prostrate trunk in awe and even reverence, I spotted a couple nice crooks among the many branches. Here are some shots as I carved a ladle from one.
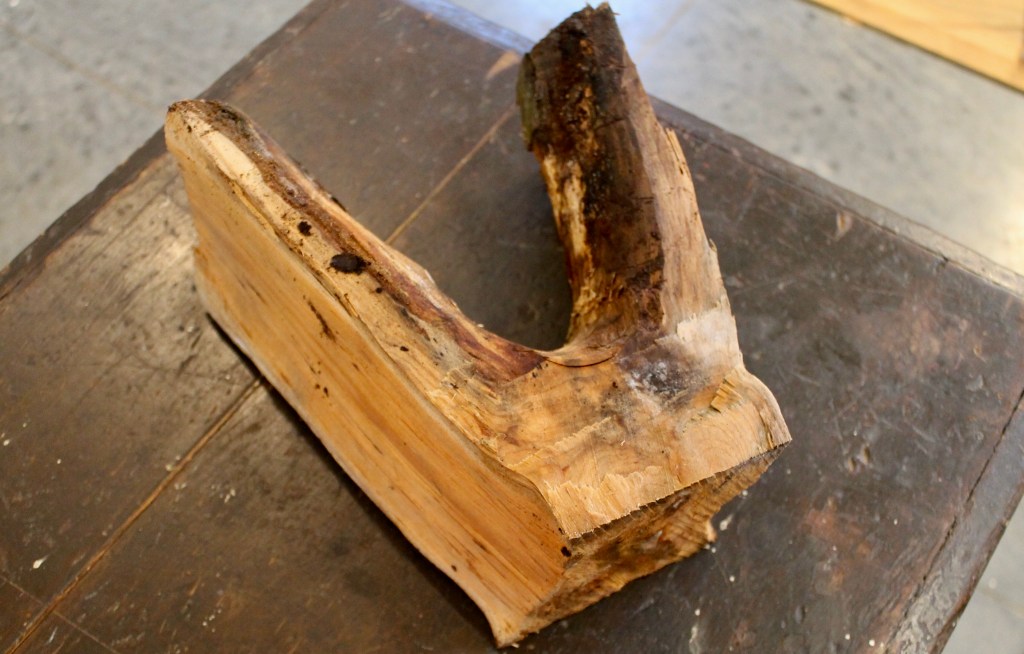
Sometimes they pop right open, sometimes they don’t. This one didn’t! I just keep working at tough ones like this with a couple wedges, severing the interlocked fibers at the edges with a chisel or careful axe chops. Eventually it opens up. It’s that upper portion I want, on the inside of the bend. The outer part is pierced at the bend by the remnants of a branch that broke off.
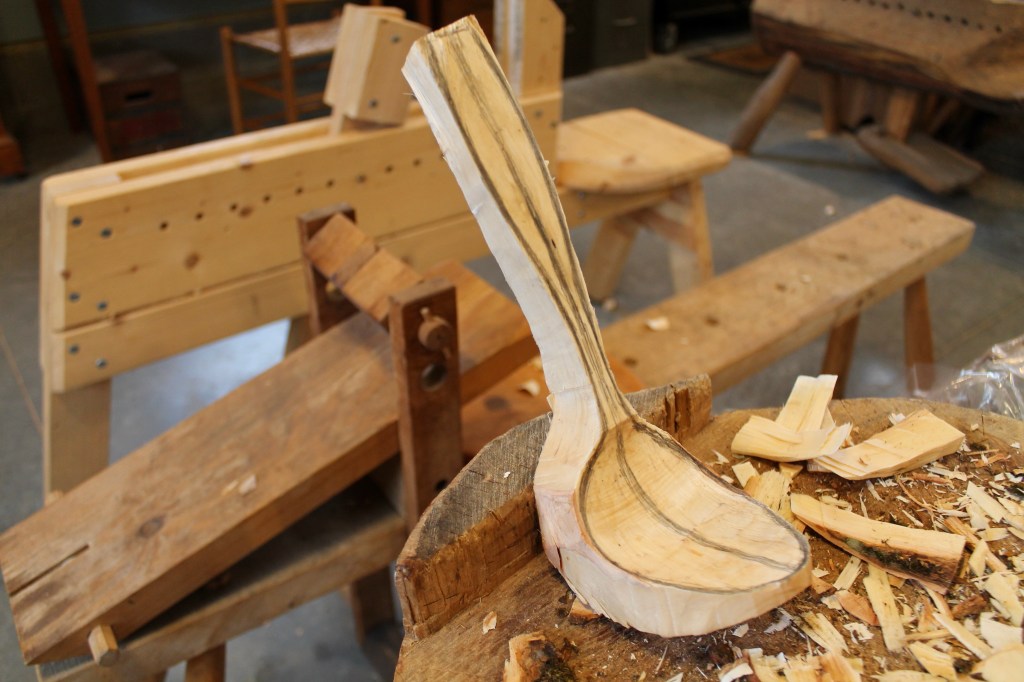
After it was free, I shaped it up a bit with axe and adze, working across grain with the adze to form the top of the bowl. Then I drew a basic outline on the fresh surface. I find that any soft dark pencil works well for marking on the green wood. I used to get water-soluble “greenwood” pencils, but I don’t bother any more. A regular pencil, especially soft like a 4B or similar, works great.
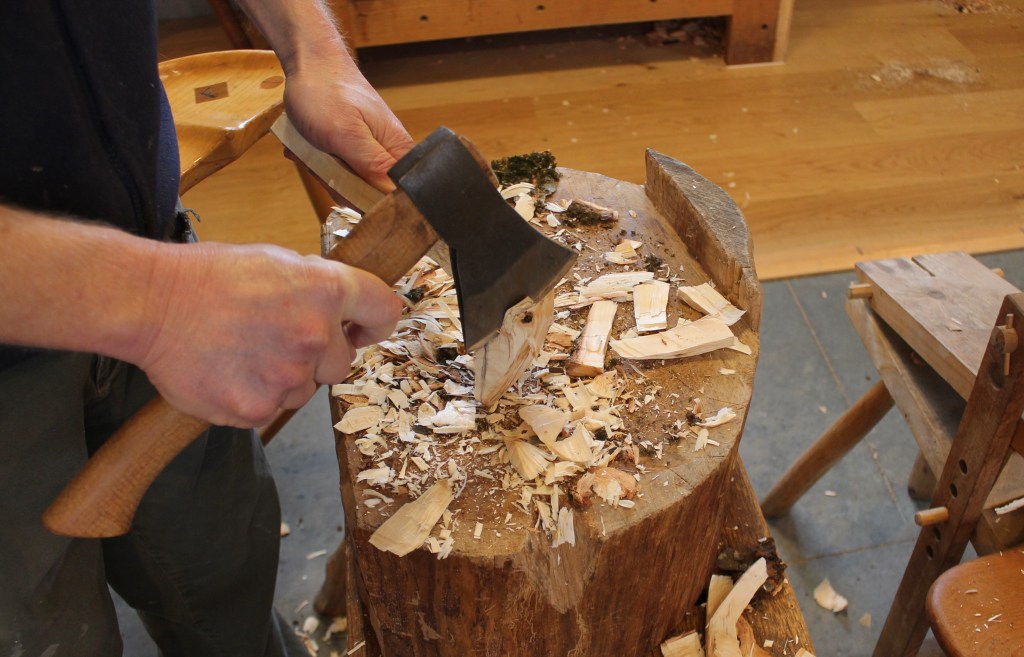
I hewed away wood beyond the perimeter with an axe.
Then I sculpted the contours further with the axe, bringing the ladle to basic shape, ready for knife work.
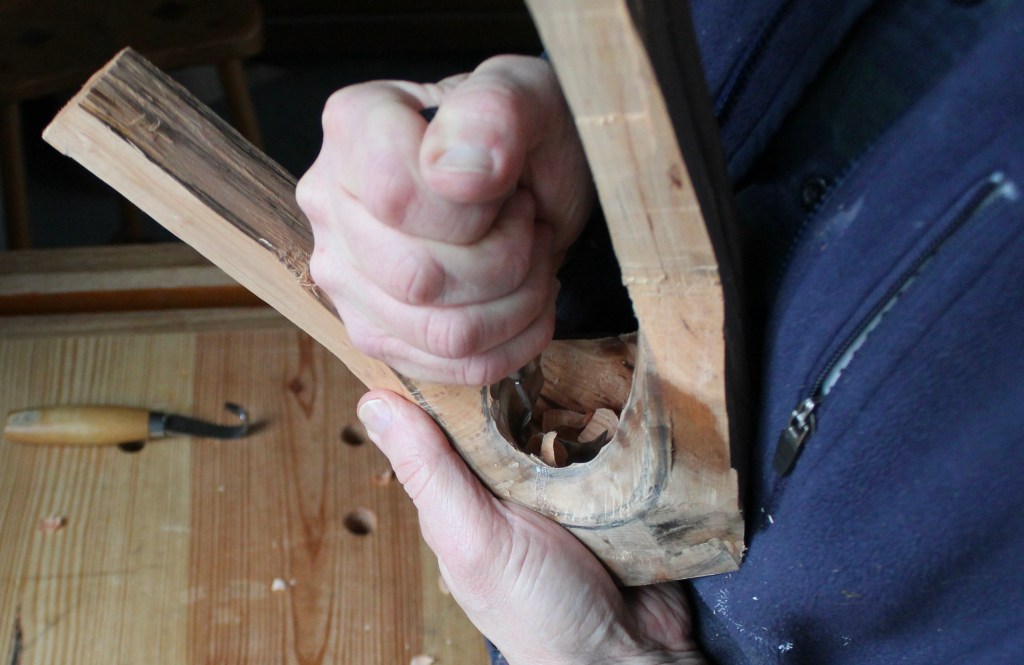
For a hollow this big, I clamp the spoon in a vise and remove much of the waste with a gouge. Then I need to go with hook knives to continue shaping the hollow.
The back of the hollow is deep and undercut. I marked up a photo above to explain a cutting technique I find to be effective for that area. Oftentimes, when carving, the wood moves more than the knife. This is one of those times.
A sloyd knife handled the rest.
Ready for drying in the photo above. After it was dry, a few days later, I went back at it with the knives.
I’ve now finished that ladle and some other spoons. I need to take a few photos, then I’ll be posting them soon. Update: A couple photos of the finished ladle below:
Back to the woods. There’s the root ball now. I was able to walk out on the ice for a close look.
I’m not the only one that has visited. I almost missed it.
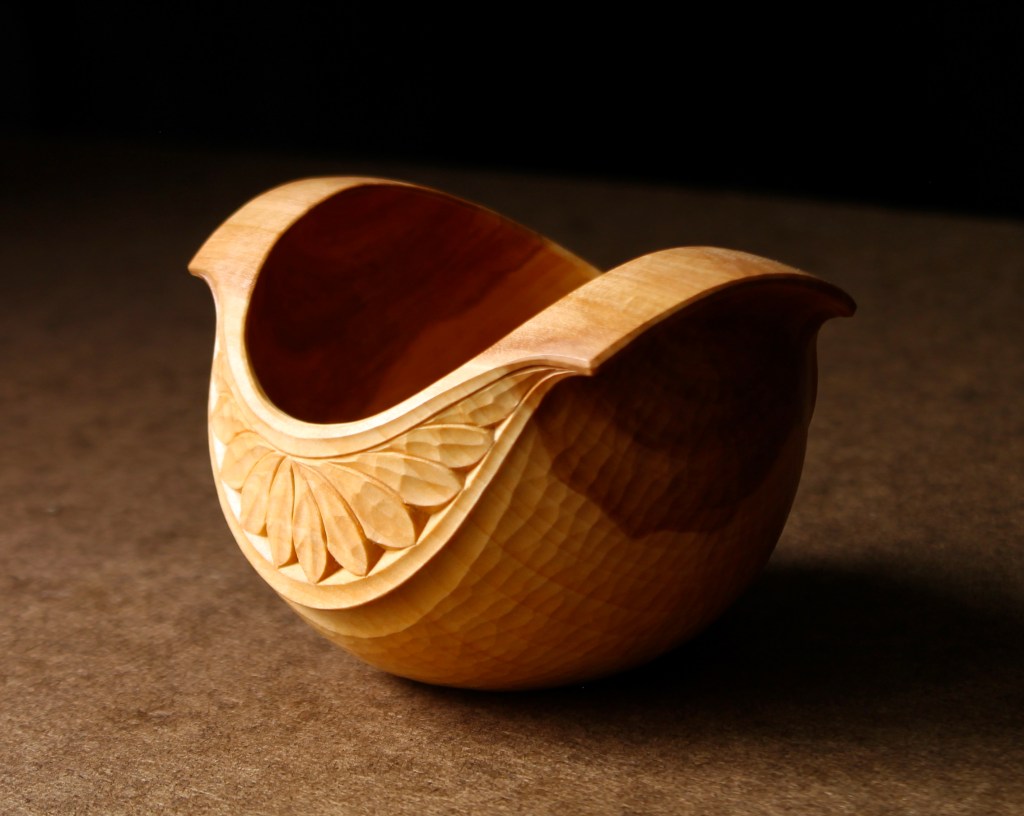
A couple years ago, I experimented for the first time with carving a bird from the crotch of a tree. I carved a little bird and it worked out, even though the grain was a bear to deal with and there was a lot of movement as it dried.
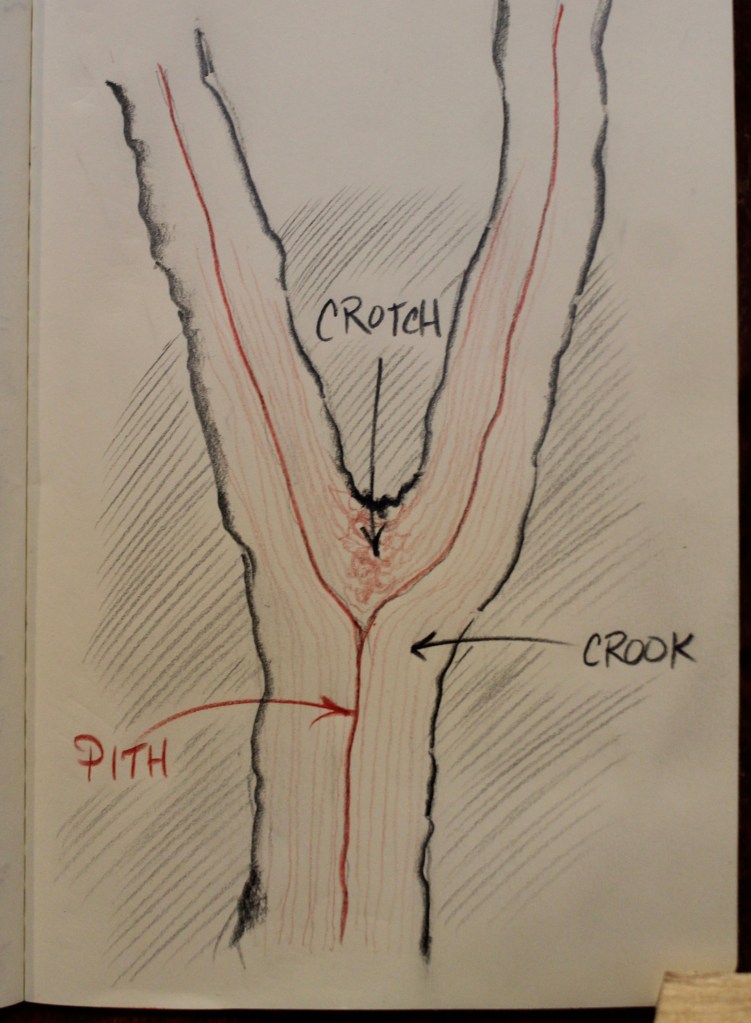
crotch and crook
A crotch and a crook are different. A crook is a crooked area of a branch, often the area across the pith from a crotch, but sometimes just out in the middle of a branch. A crotch is the section between two branches, the middle of the Y. It features interlocked dense fibers.
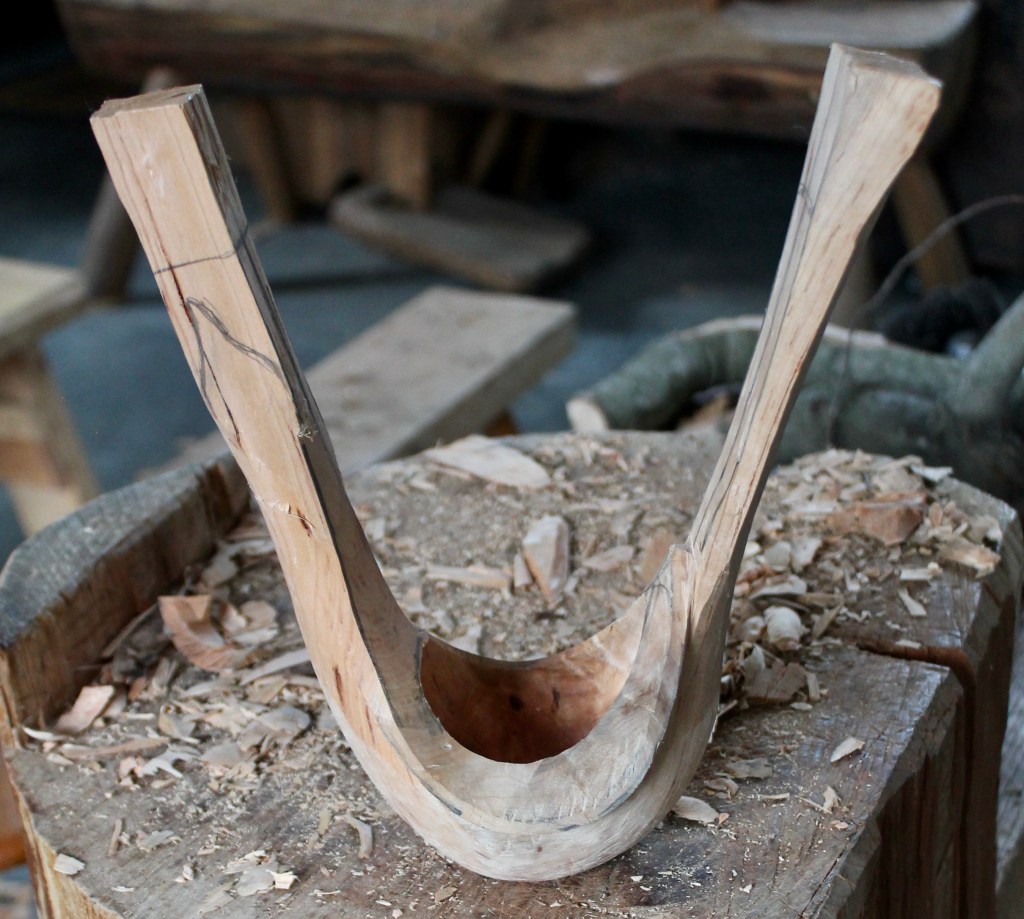
A few days ago, I decided to give it another go with a cherry crotch, and I snapped more progress photos this time. In the shot above, I’ve split off the outer sides along the pith. This will be a long-necked bird. A waterfowlish form.
Here’s a shot of the freshly-planed bottom. Notice that the wood beyond the pith on both sides of the Y is gone.
Shaved down and cleaned up a bit. Tail left, head right.
Once the top of the body is shaped, the edge of the hollow can be sketched on.
After just a little work with a gouge and mallet, lots of digging with a hook knife in the deep hollow. Tight quarters.
Another grip.
Just a little axe work to begin shaping the exterior. Easy does it, because the crotch grain is unpredictable and can split out in unexpected ways.
Then onto the bowl horse with a drawknife.
Thinning down the back of the tail here to the desired curve. The more I can remove in the green stage, the better. It’s easier to carve now, and it will dry more evenly.
Undercutting the wings with a v-tool and mallet.
The grain in the central area of the crotch is particularly wild and dense. I used a very course rasp to shape that area.
There it was when I set it aside to dry a few days ago. It has been wrapped in a piece of old blanket to slow the drying a bit. So far, so good, but who knows. If all goes well, it should be ready for the next stages in a few weeks or less. I’ve left extra length to allow for the possibility of any end checks.
And you should smell the fresh cherry wood. What a joy it is to carve. Here’s wishing you all a joyful, peaceful, new year.
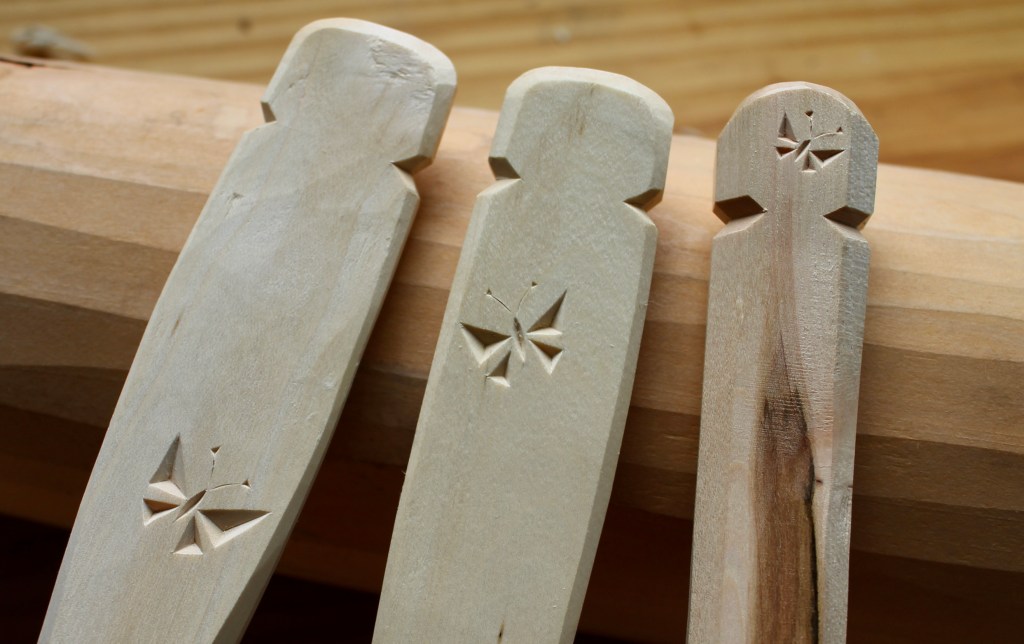
Don’t worry, the title doesn’t refer to a new snack trend. It’s that time of year when, like many woodworkers, I try to get a few gifts finished in time. One of them is a set of three kitchen spoons from a branch from a sentimentally special maple tree. They required a single butterfly on each handle.
I started sketching some possibilities, beginning with the rounded forms to the upper left of the page above. I was thinking about using a combination of gouge chips, but I could tell just from the sketches that I was on the wrong track. So I looked at some photos of butterflies, as live ones are in short supply around here this time of year. You’d think I’d have known what a butterfly looks like. Like everyone, I’ve looked at plenty and snapped a few photographs. But I had never drawn one, so I had just looked without seeing. It’s that way with a lot of things for me.
The little sketch in the lower left of the page is a simple distillation of the butterfly forms I was checking out. It struck me that I might be able to represent the butterfly effectively with some simple triangular chip cuts. The idea developed with the sketches on the right side, followed by a test on a scrap board, then onto the spoon handles.
Chip Carved Butterfly
There’s a close-up above. Very simple to carve. Four three-sided chip cuts represent the wings. The body is formed with two curved cuts with the tip of the knife. The antennae are each just scored with the knife-tip drawn along shallowly in the wood (with no wood removed). Then a couple very small three-sided chips for the clubs at the end of the antennae. Many variations would be possible with subtle changes to the angles, relative size of the wings, and so on.
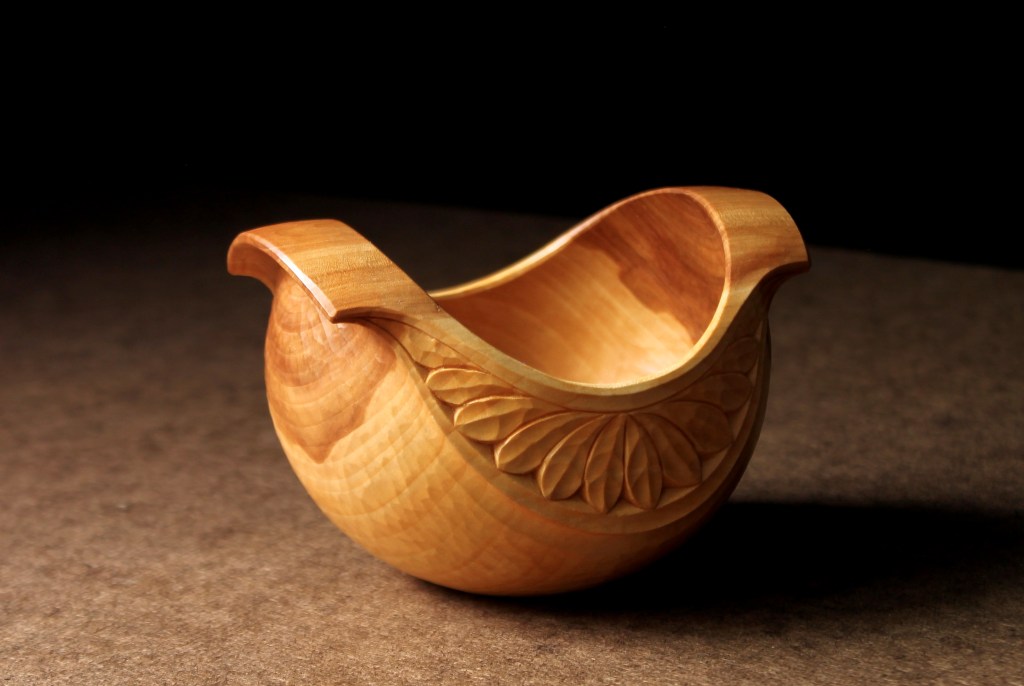
A few months ago, I wrote a post about the early stages of carving this little apple bowl. After it dried, I was trying to sort out how to go about carving the leaf design on the side panel. I referred back to an earlier post showing how I carved the same design on a similar bowl in black walnut and just followed along. There’s a sequence slideshow there.
At just 4 5/8″ long and 4″ wide, this version in apple wood is even smaller than the walnut one. It sits right in the palm of your hand. Even at that scale, applewood is so fine-grained and firm that it holds the carved detail crisply.
I’m going to play around with some more of these with some variations in carving and size.
This one is on display now at the InGrained Exhibition which opens today and runs through January 20, 2024.
When I find a good crooked branch for a spoon, the best orientation of the bowl and handle is usually pretty clear. The bowl is in the tightest part of the bend and the area to one side or the other is much more ideal for a handle.
But even after I split this maple crook, I could see it going either way. The spoon to the left would have a nice curve to it, but the one to the right would have more crank. Maybe I should have just moved on with it and sawed off either end. Instead, I stood there shaking my head back and forth like Buridan’s ass. So, I left both handles there and carved a reminder of the perils of indecision.
I carved the upper surface with adze and drawknife, then drew a center line that followed the general flow of the crook from above.
I axed it out just like a typical spoon.
There it is after the knife work. Once it dried, I returned to it for the final carving stage.
I fiddled around carving the back of the bowl and the end of the lower handle…
…so that it rests upright. It sits steadily enough.
It was fun to carve. This will be joining a couple other pieces (here and here) I’ve already shared at the InGrained exhibition that opens in two weeks.
I’m going to do an article on the Bowl-from-a-Plank with Fine Woodworking Magazine. It’s been a little while since my last article, so I’m especially looking forward to it. Everyone at Fine Woodworking is a pleasure to work with, and they do amazing work.
In preparation, I’ve been carving another version in cherry with some subtle tweaks here and there. Most importantly, I’ve been taking careful notes along the way to guide my writing of the manuscript and to help the eventual photo shoot go smoothly.
Of course, the whole procedure will be detailed, from plank to finished bowl. And it won’t require too many tools, not even an axe or an adze.
There will also be an additional article detailing the process for laying out and carving a tree motif on the bowl handle (or anywhere else you’d like to carve it). There it is on the new cherry bowl, except for the trunk element.
And, there, it’s done — in the sun.
I’ll keep you posted when the articles are ready for publication. It will be at least a couple of months.