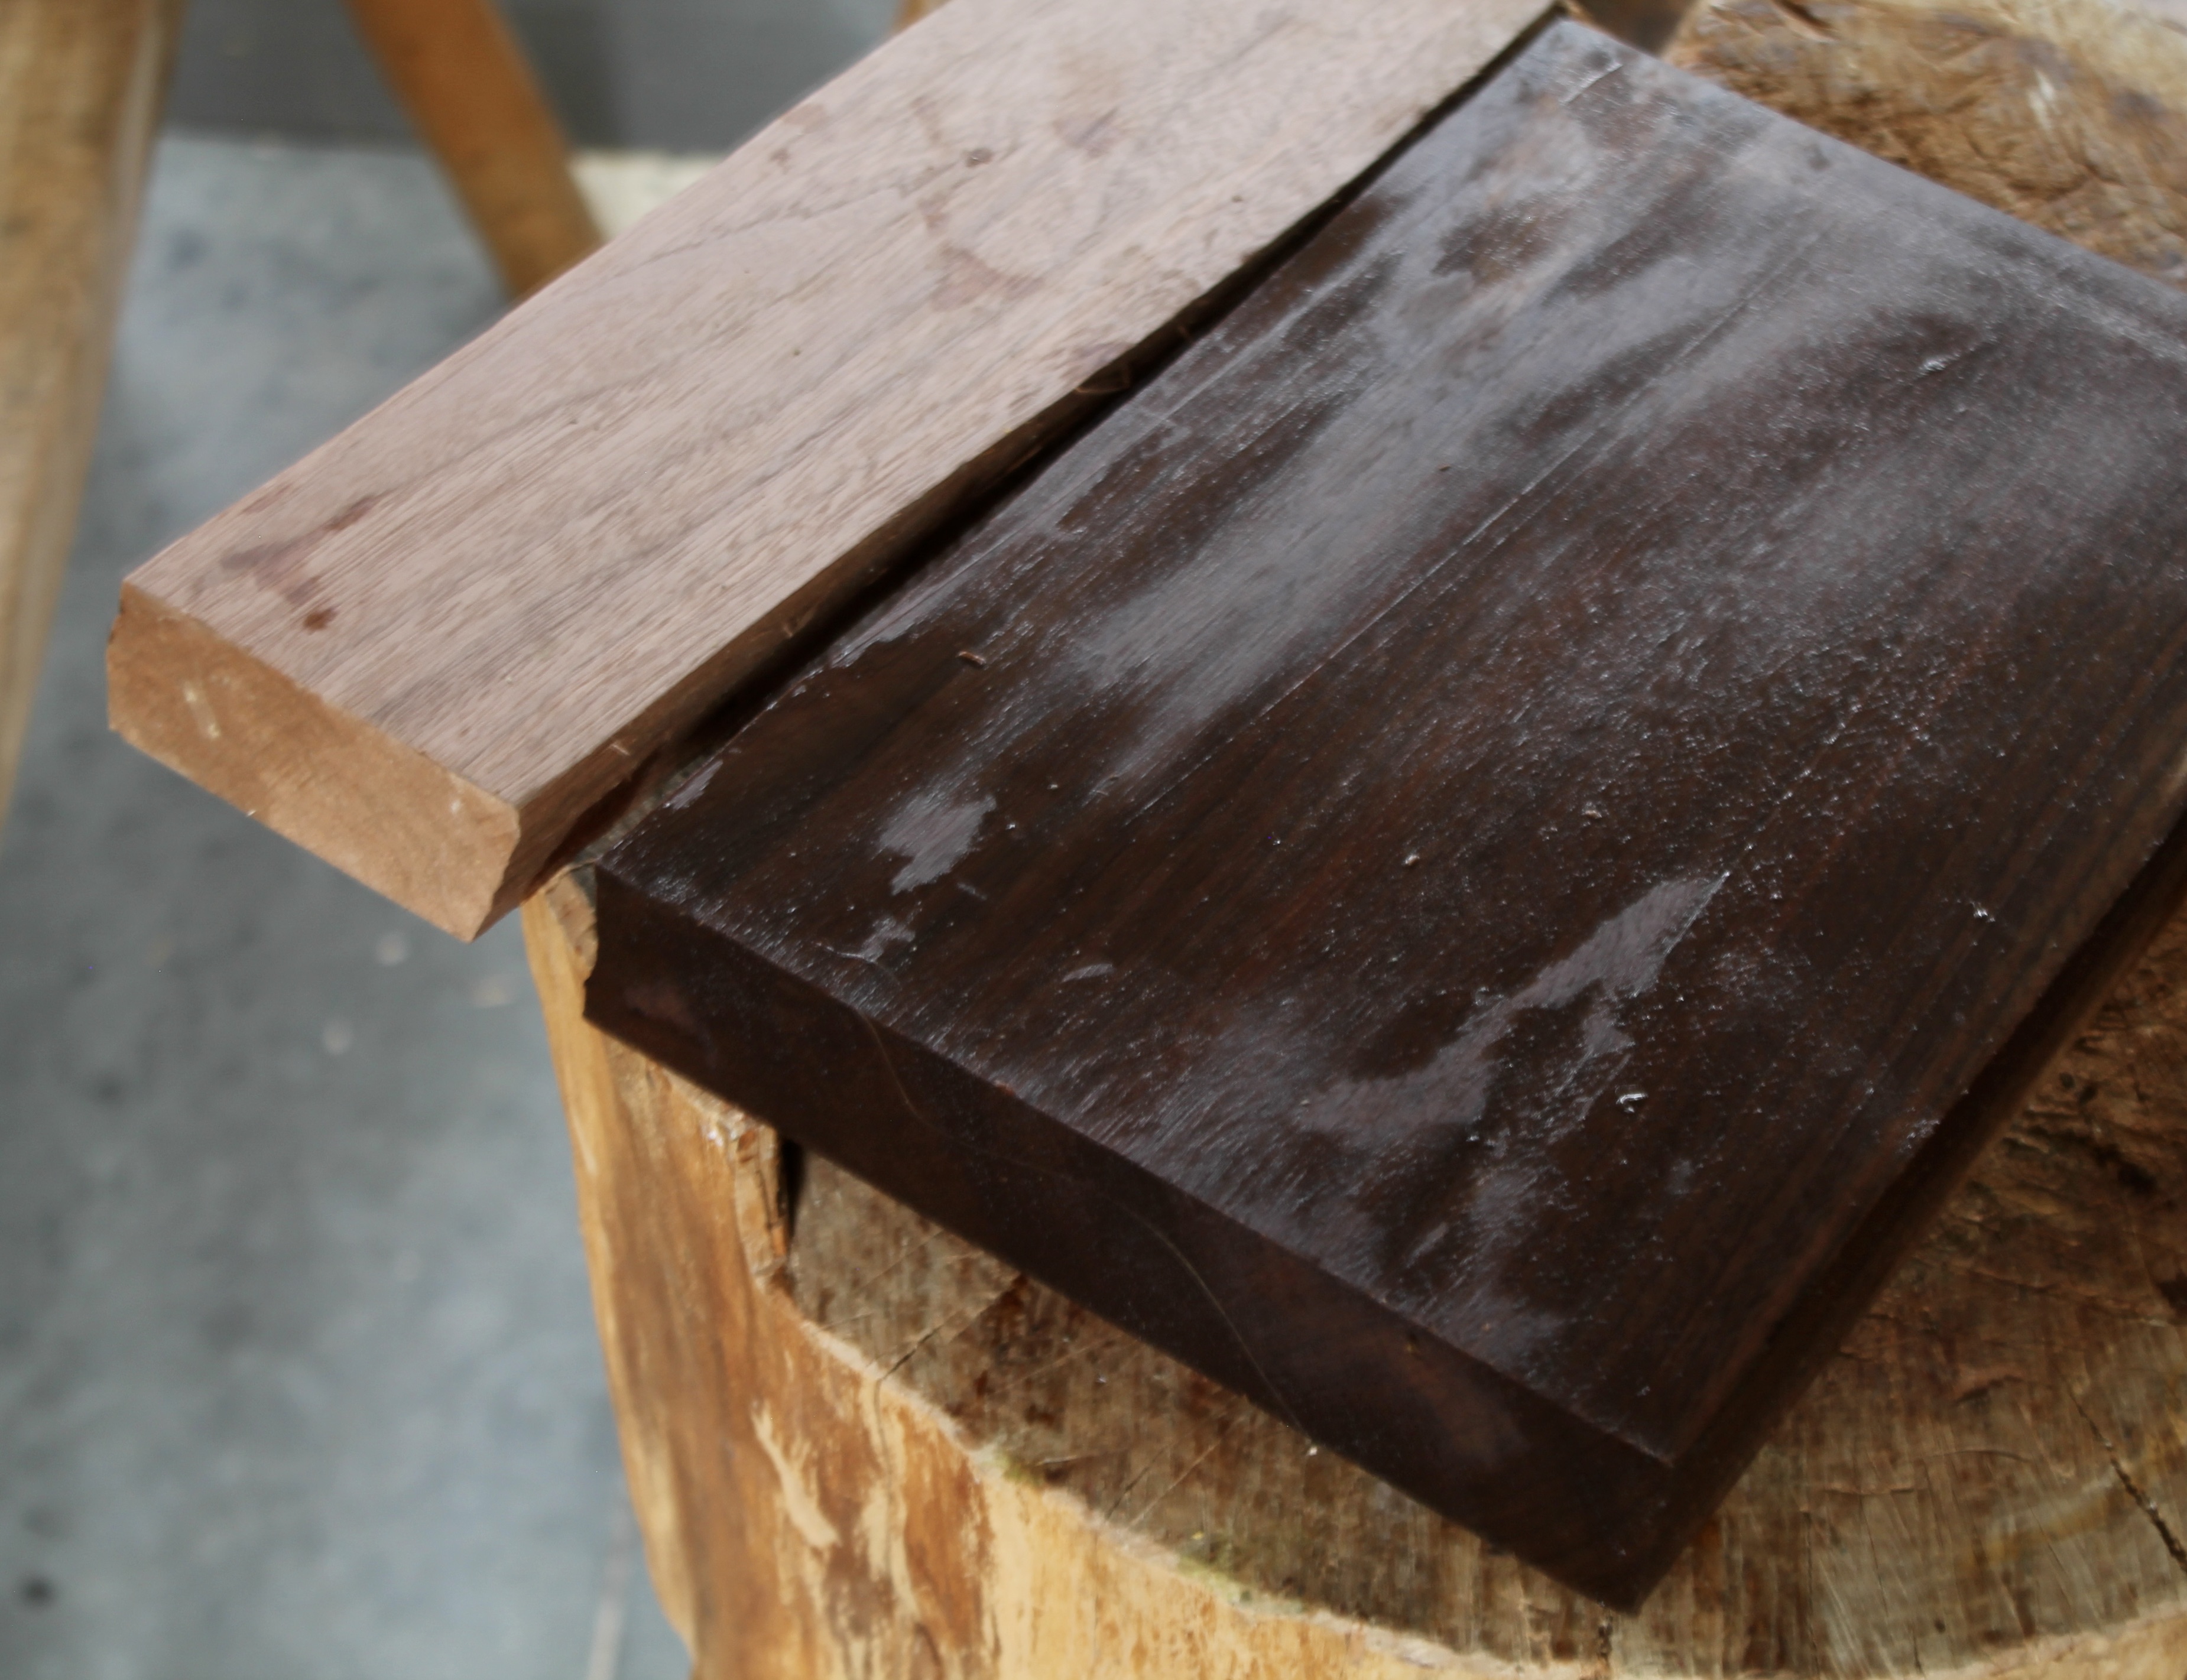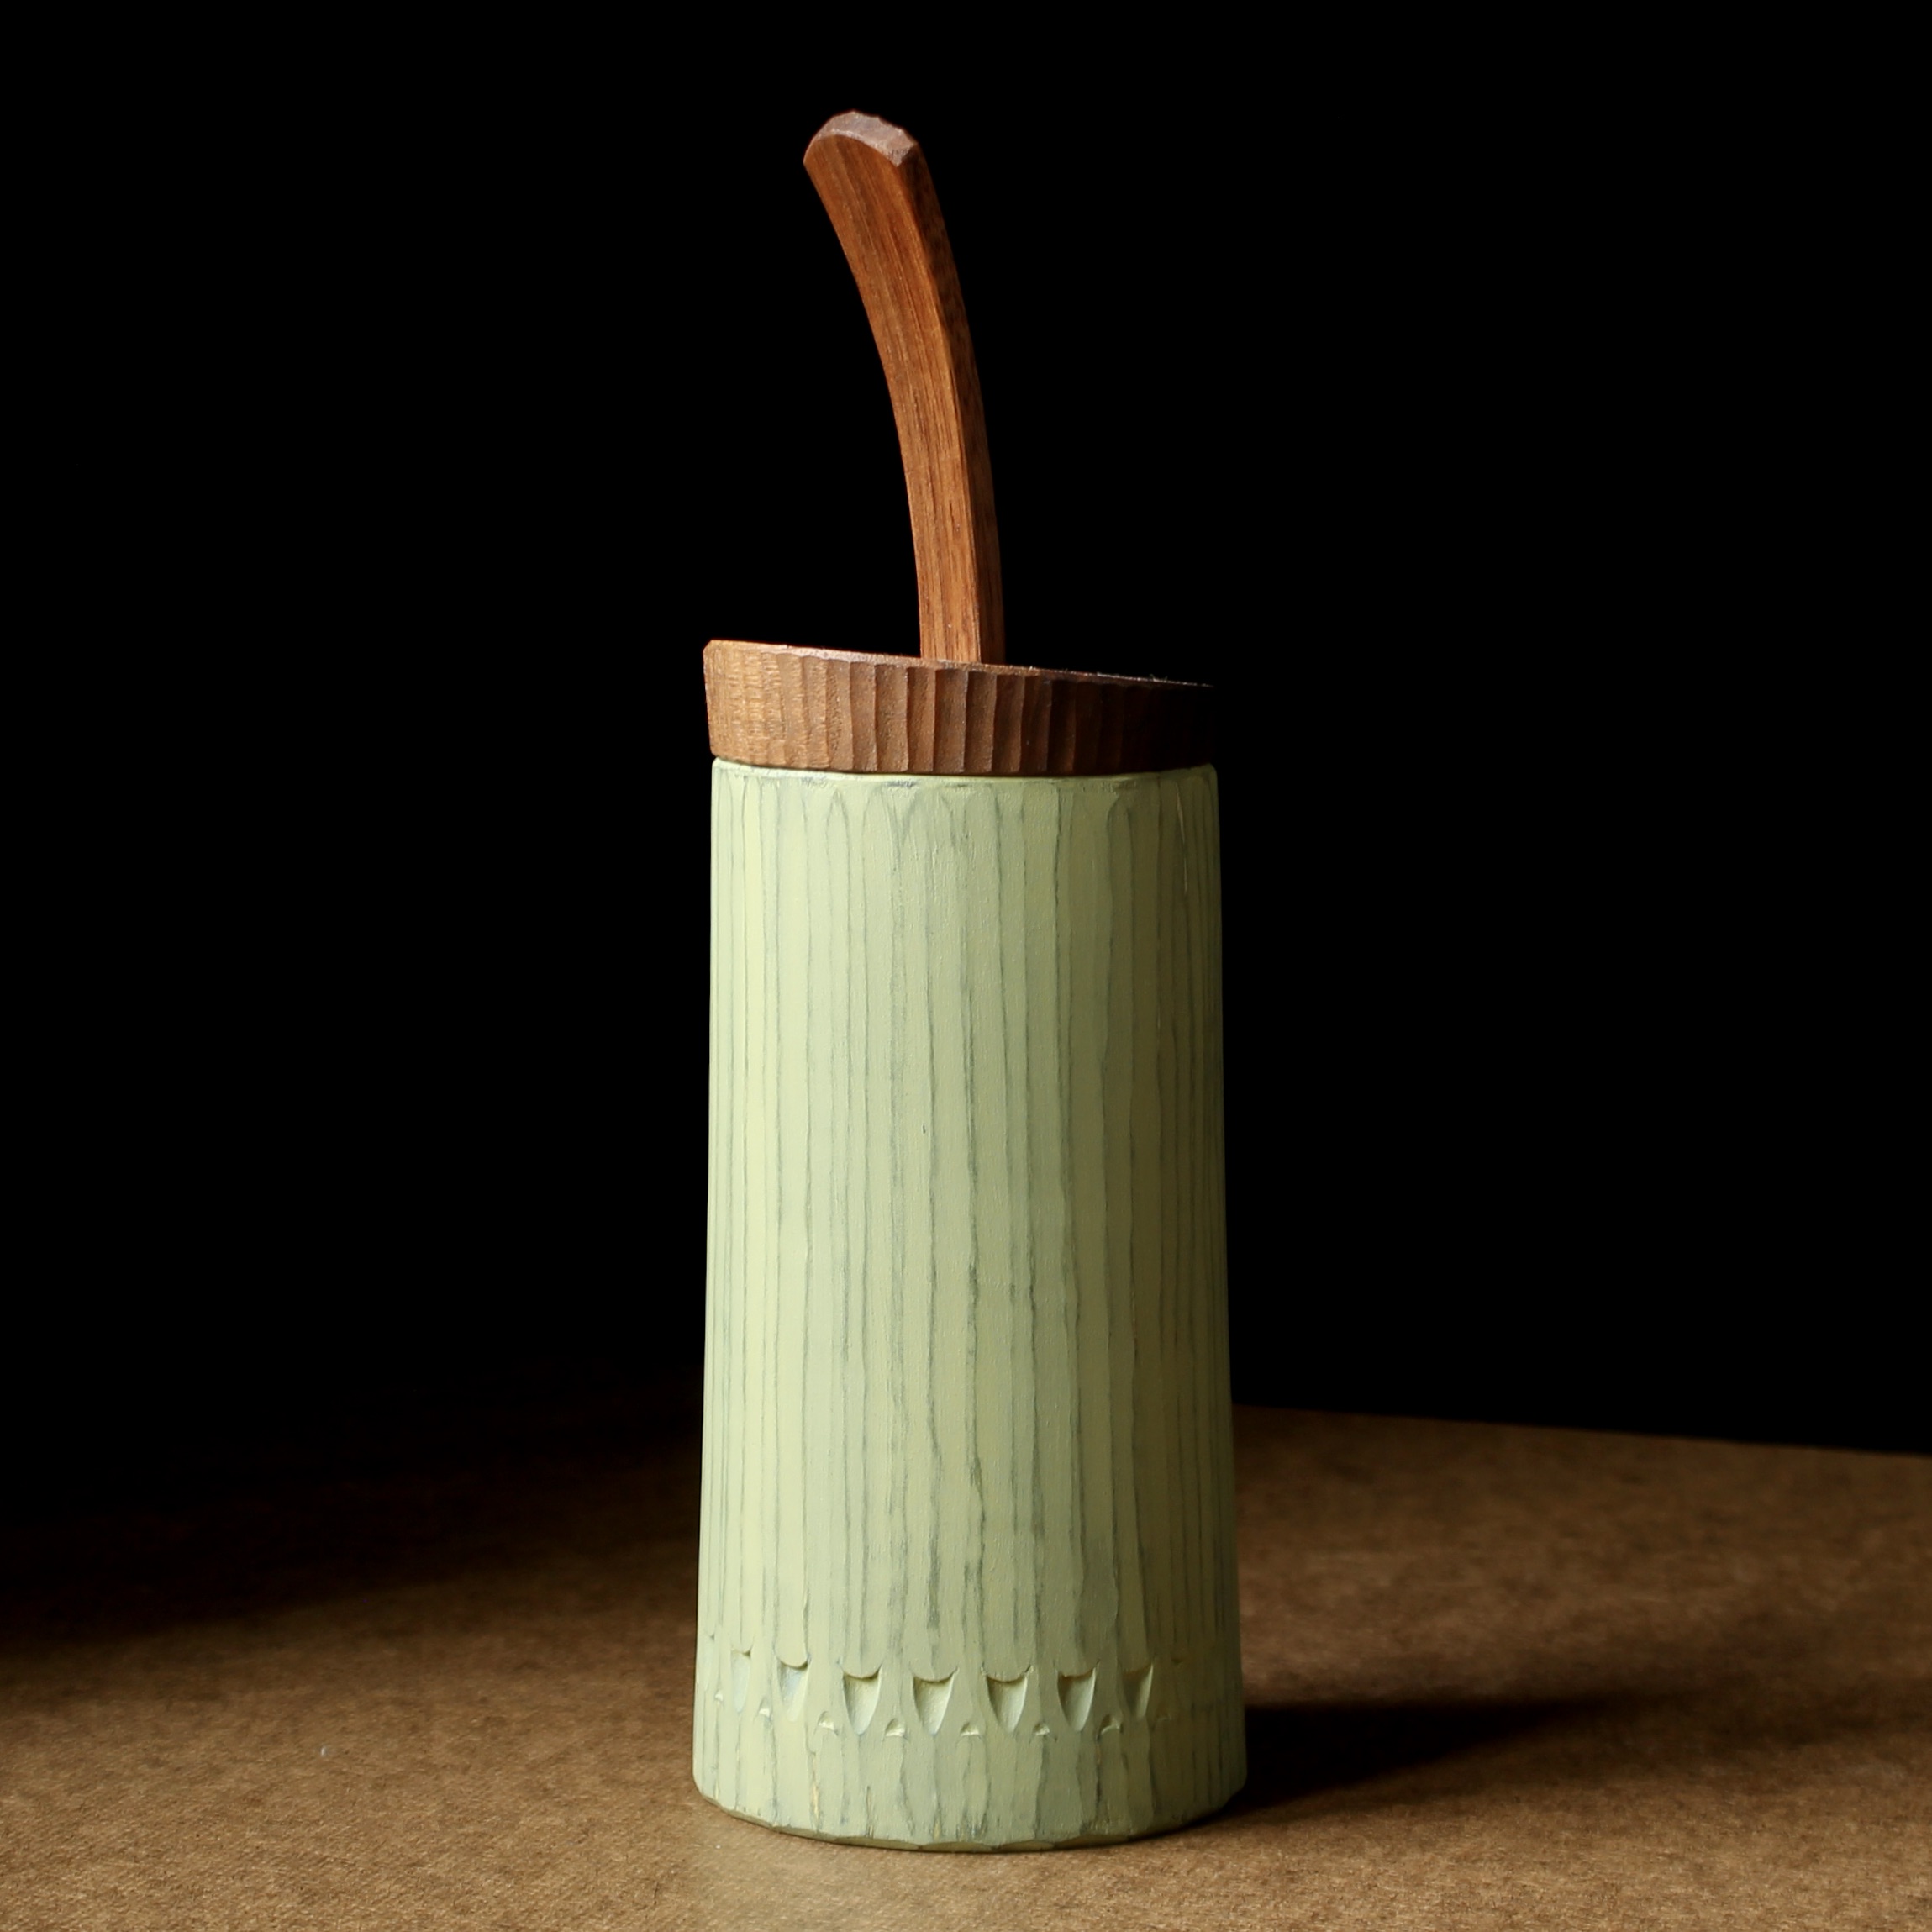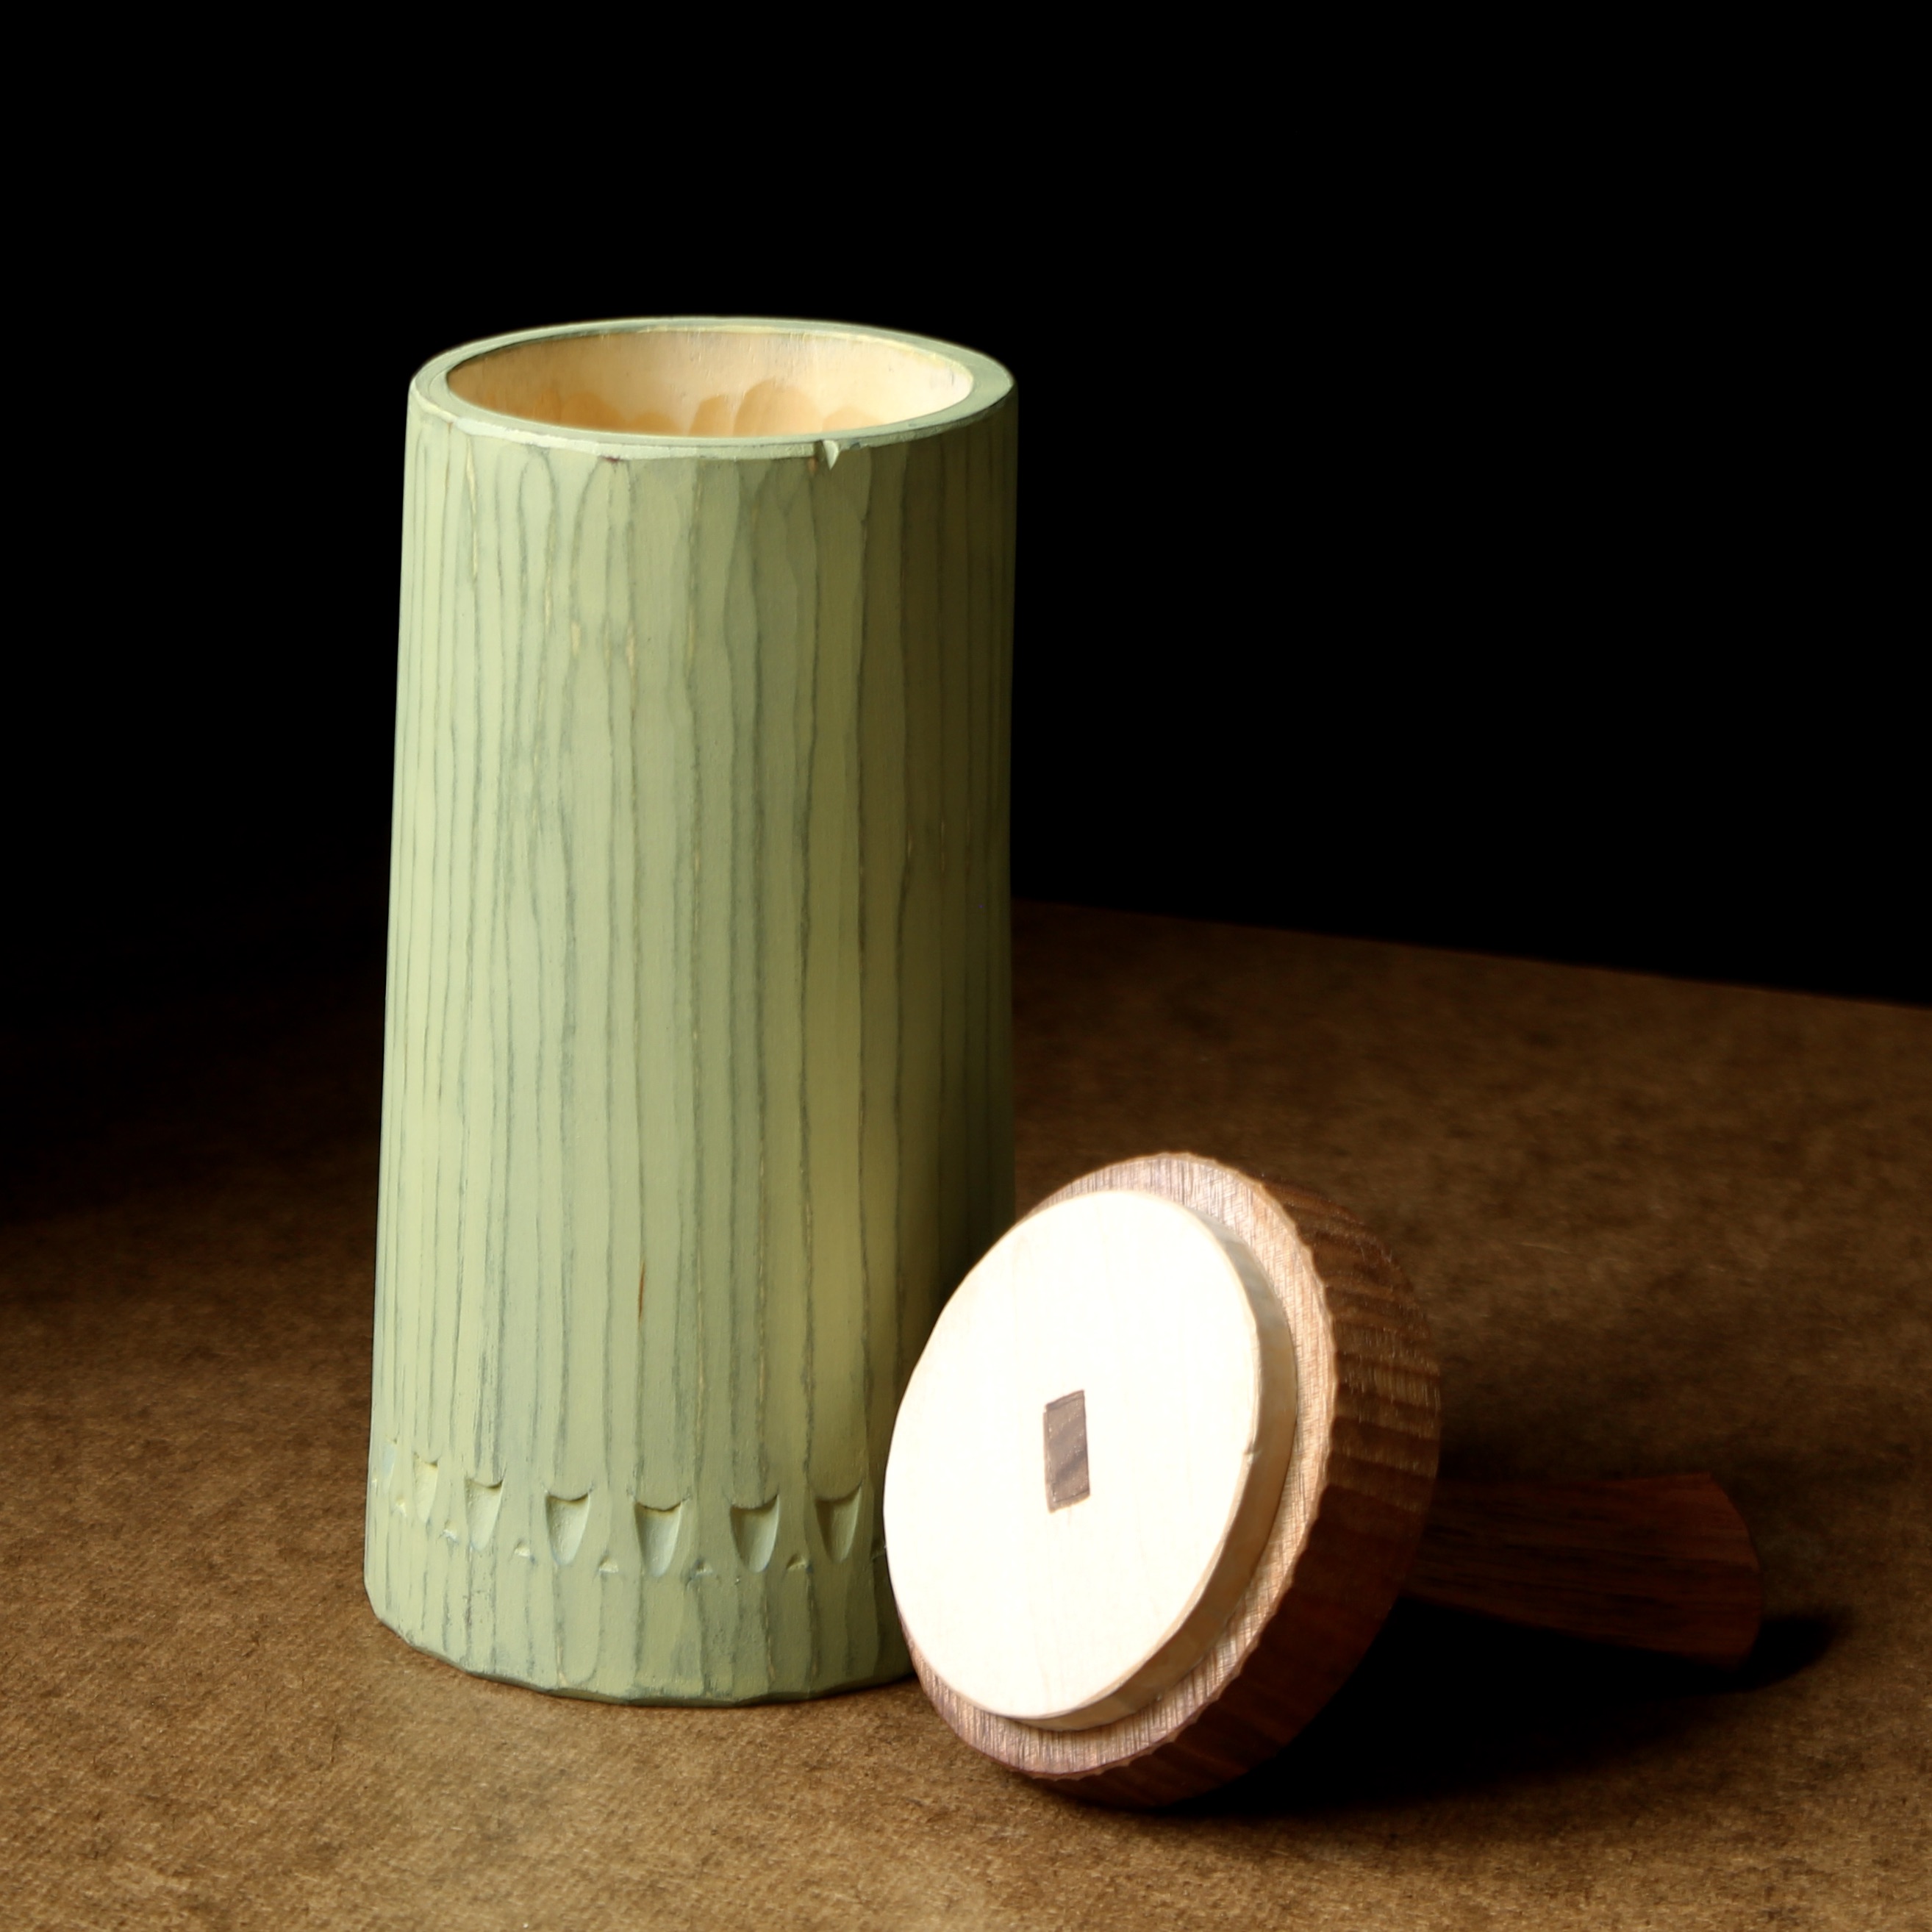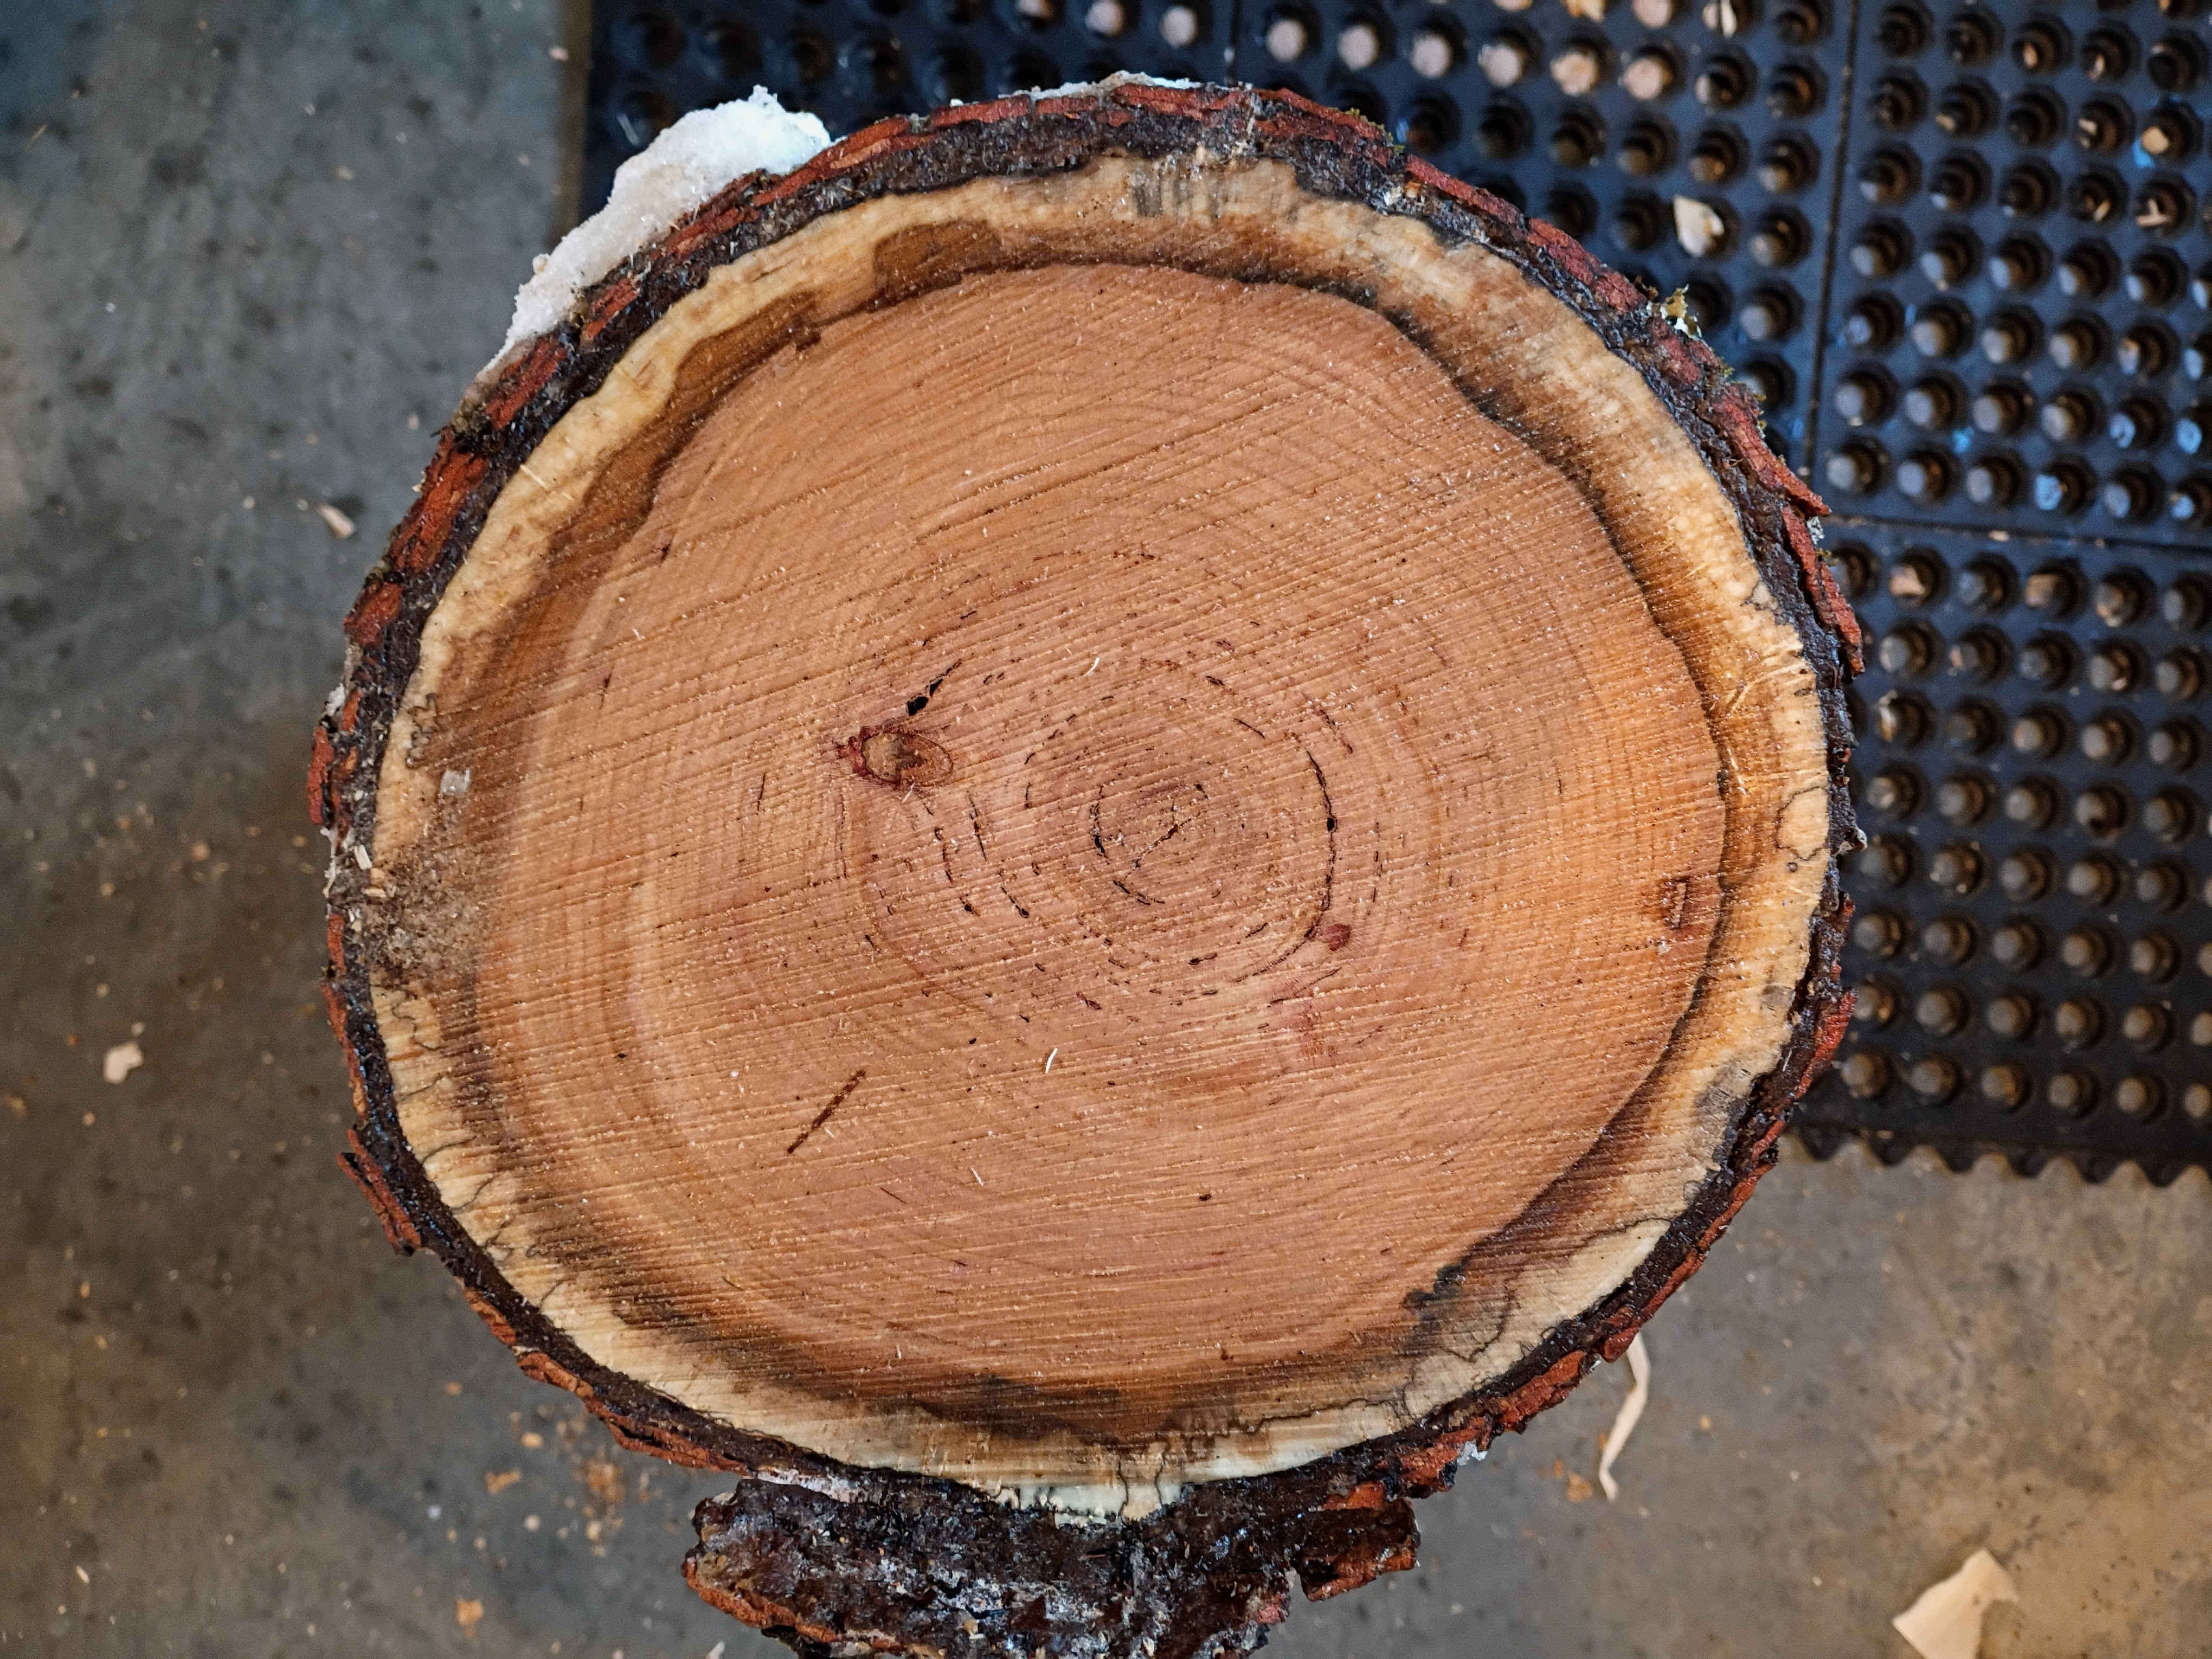
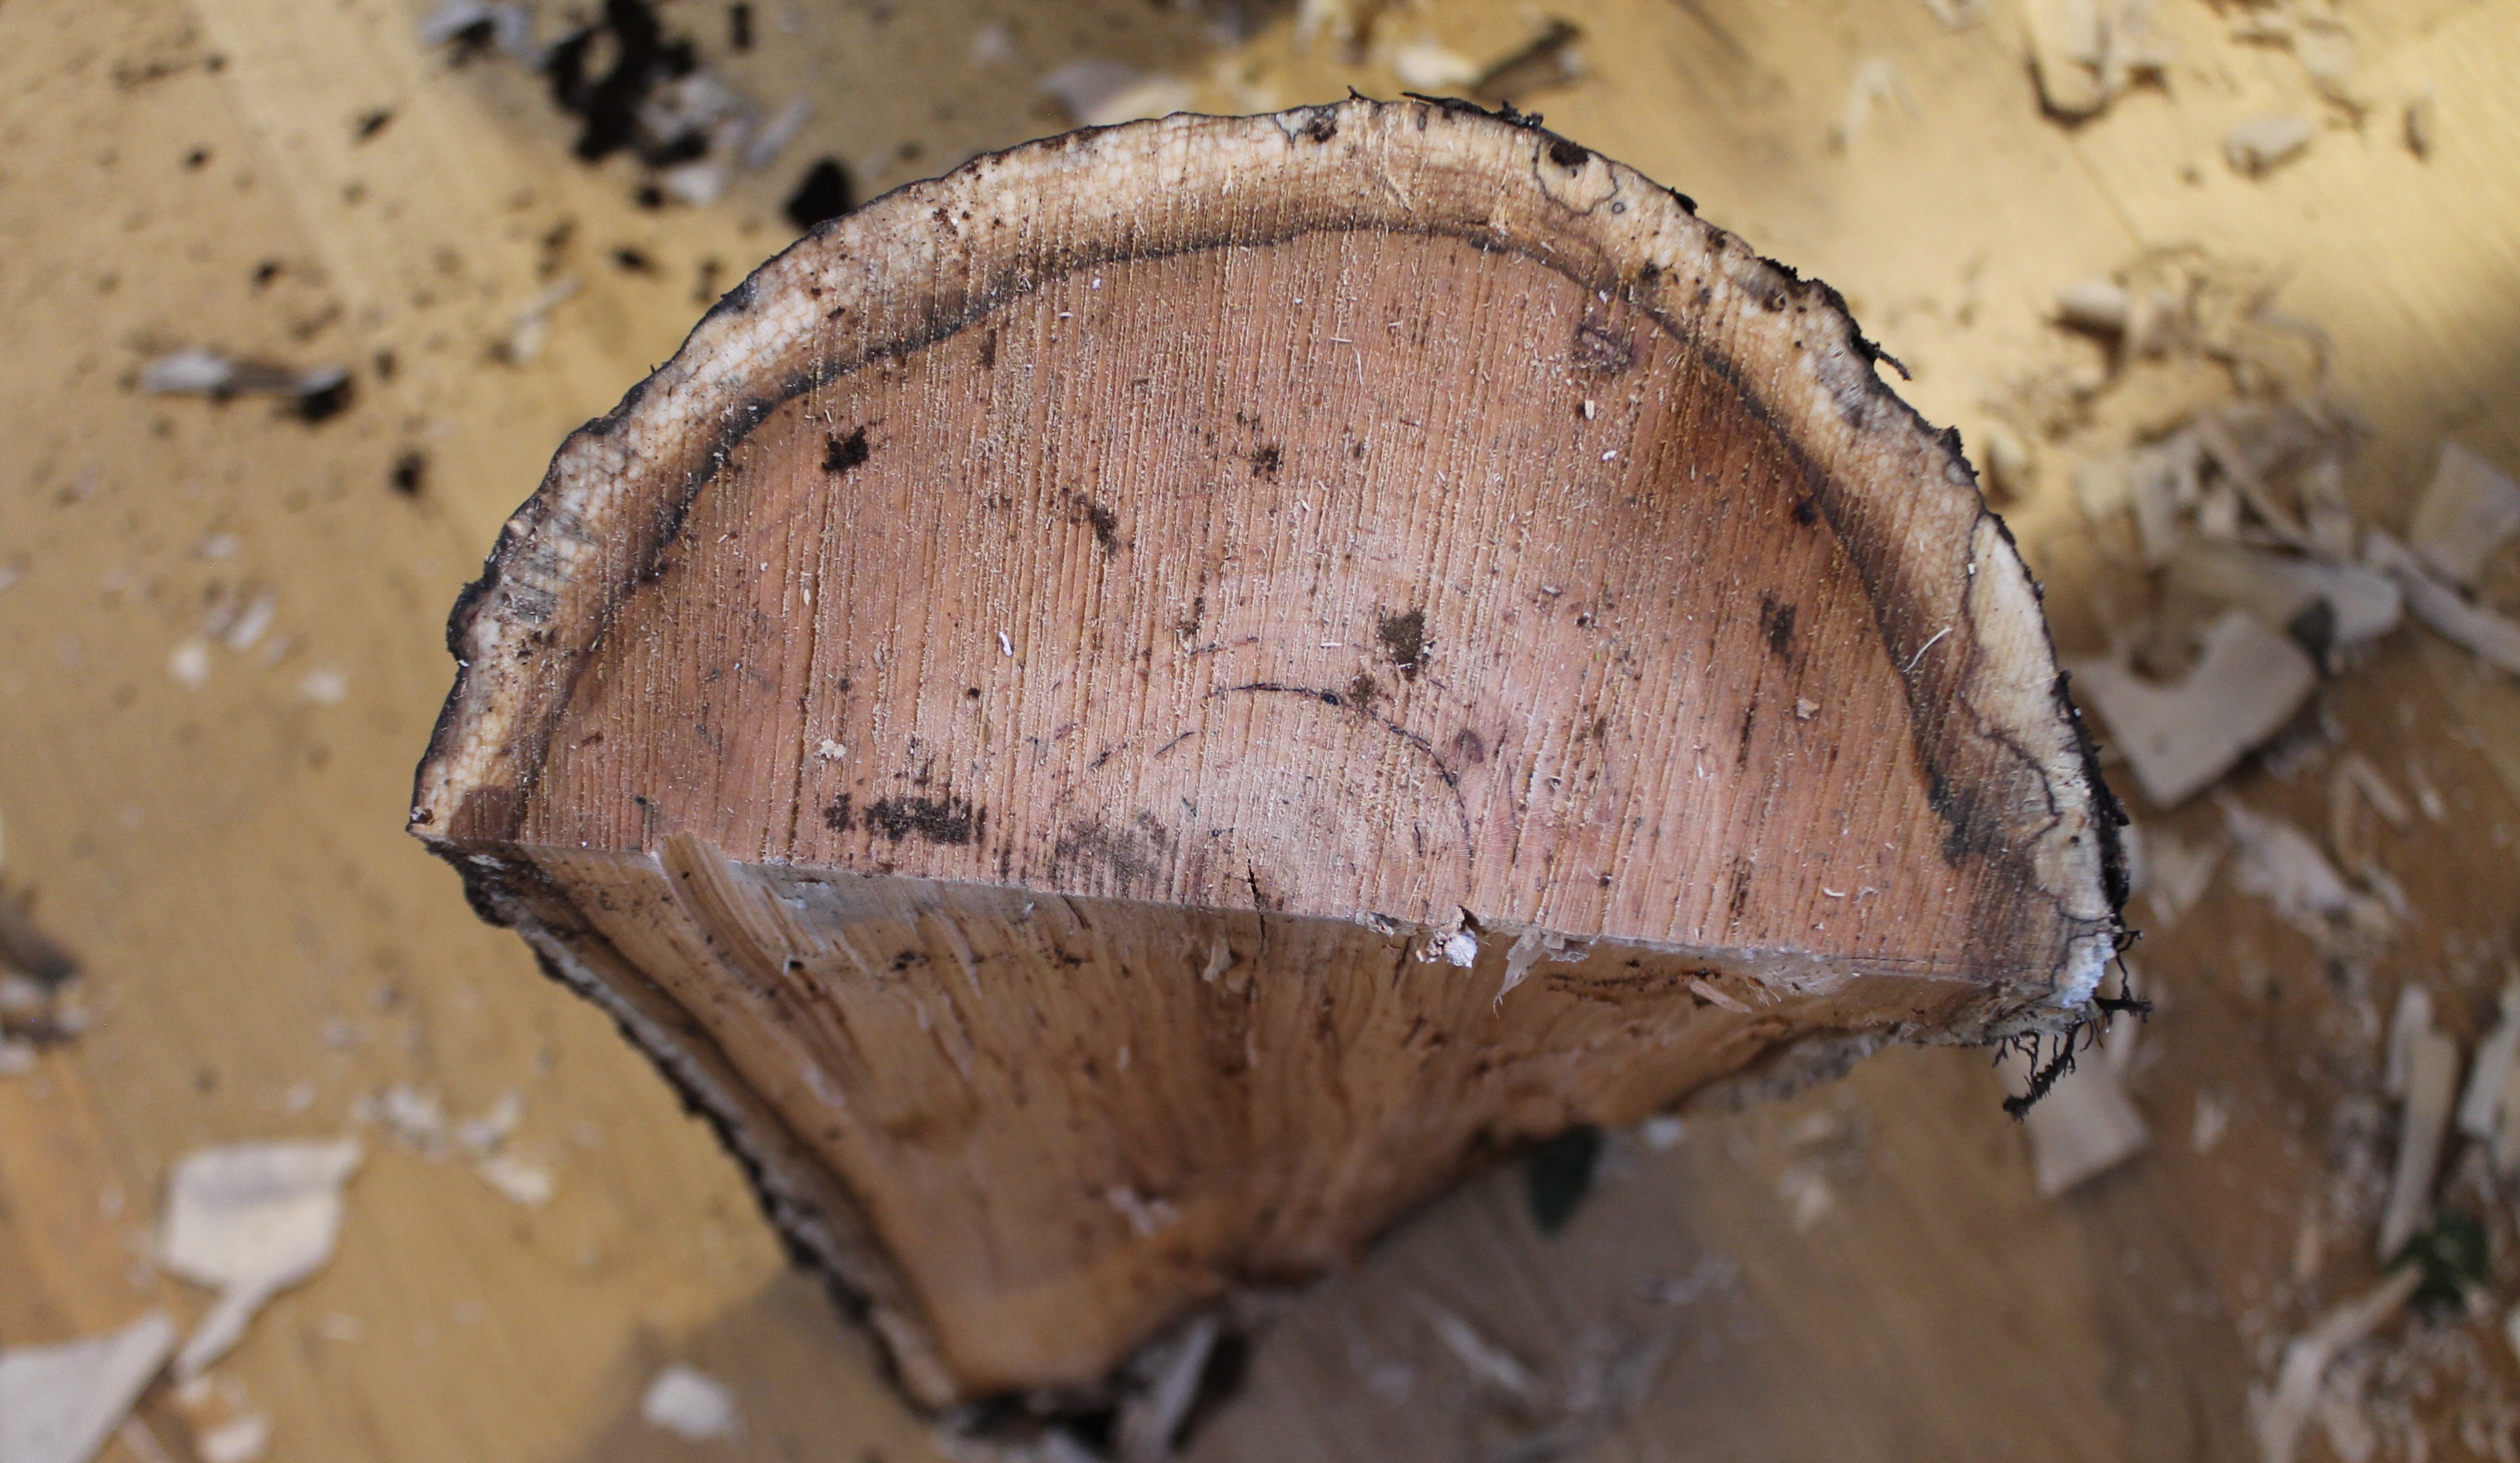
Between the holidays and other things, I was a little out of rhythm in the workshop for a while. But this past week, I made some progress on several projects, including the prep work for some cherry bowls. The cherry tree (Prunus serotina) had fallen a few years ago and had been undisturbed since. The bark was still intact. Anticipating the coming deep snow, I cut a couple lengths from it and was happy to find the heartwood in great shape, and green. The sapwood is toast, but the decay stopped dead in its tracks at the heartwood, right at that thin dark ring.
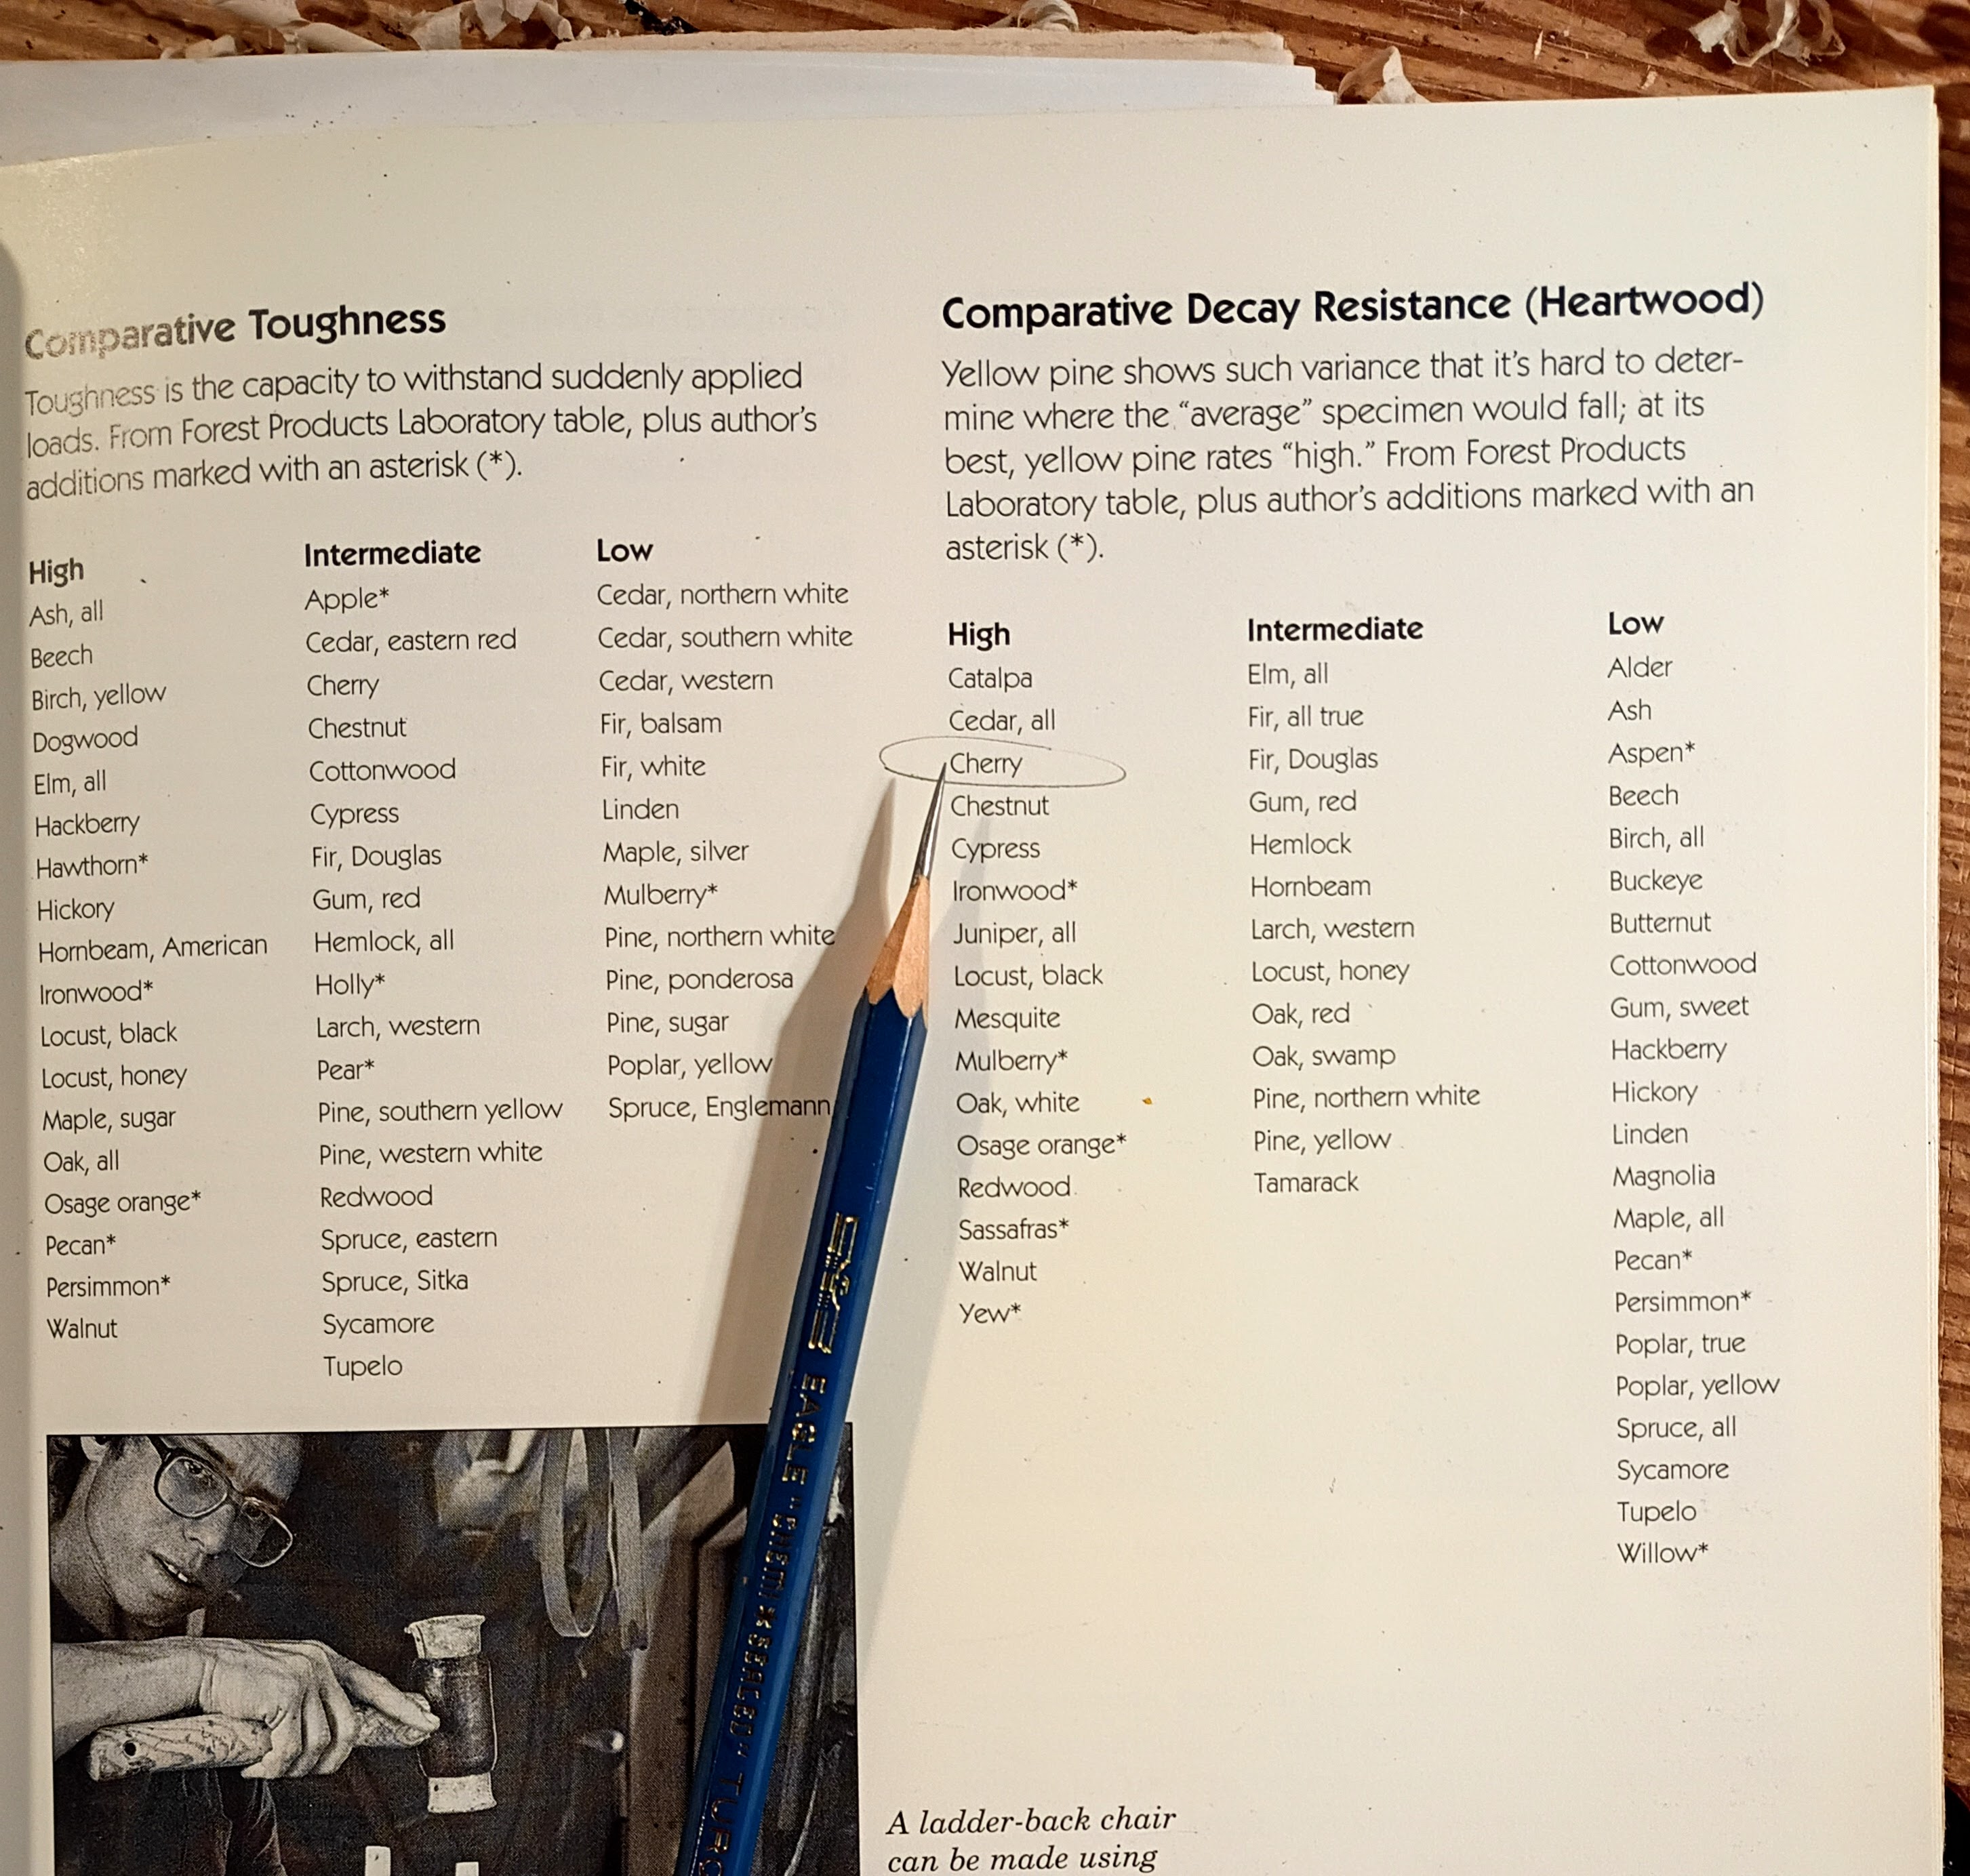
If this had been maple or a host of other species, there would have been no chance after that much time. Below is a page from one of my favorite books, Green Woodworking by Drew Langsner. I still refer to it often, and I’m reminded of it even more frequently. Below is a page that includes a helpful reference chart on decay resistance.
I was thinking of making a long bowl form this whole length, but when I split it, an impressive twist was revealed.
I cut it into shorter lengths to reduce the cumulative twist from end to end. So, shorter bowls.
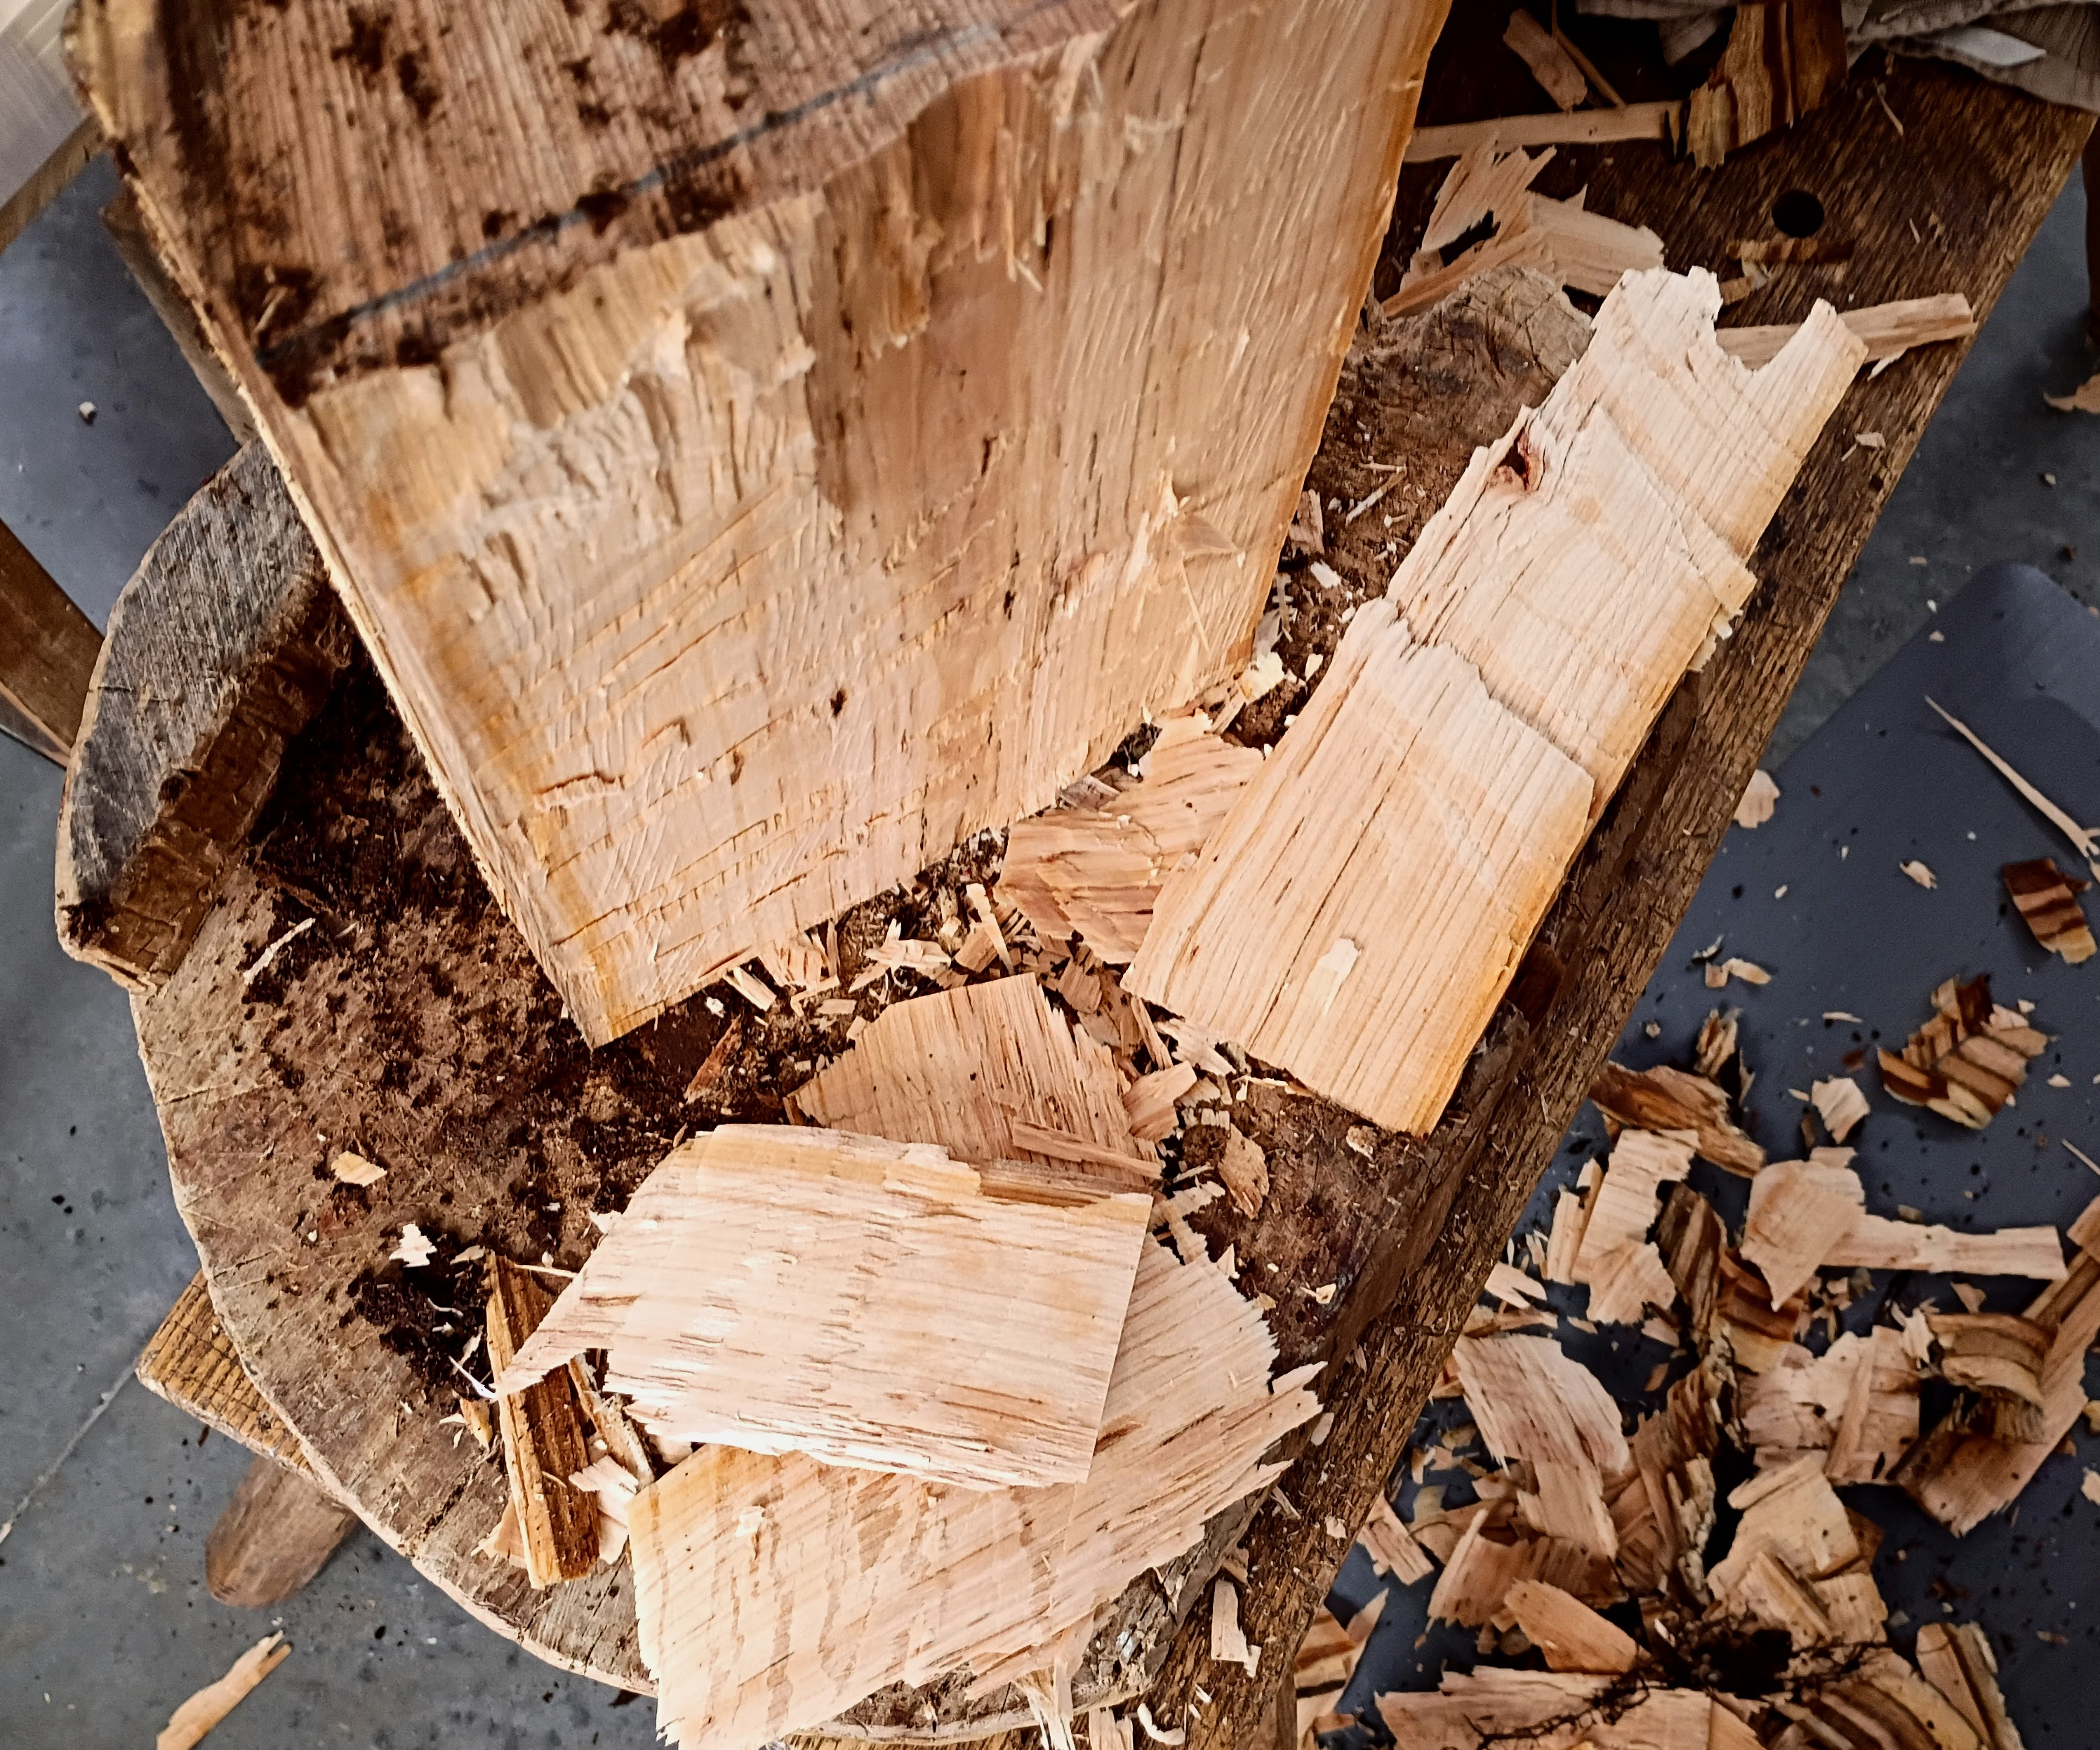
As I hewed a flat surface, I tested those chips by flexing them to make sure the wood was still strong and sound with no unusual breakage indicative of significant decay. Good stuff it seems.
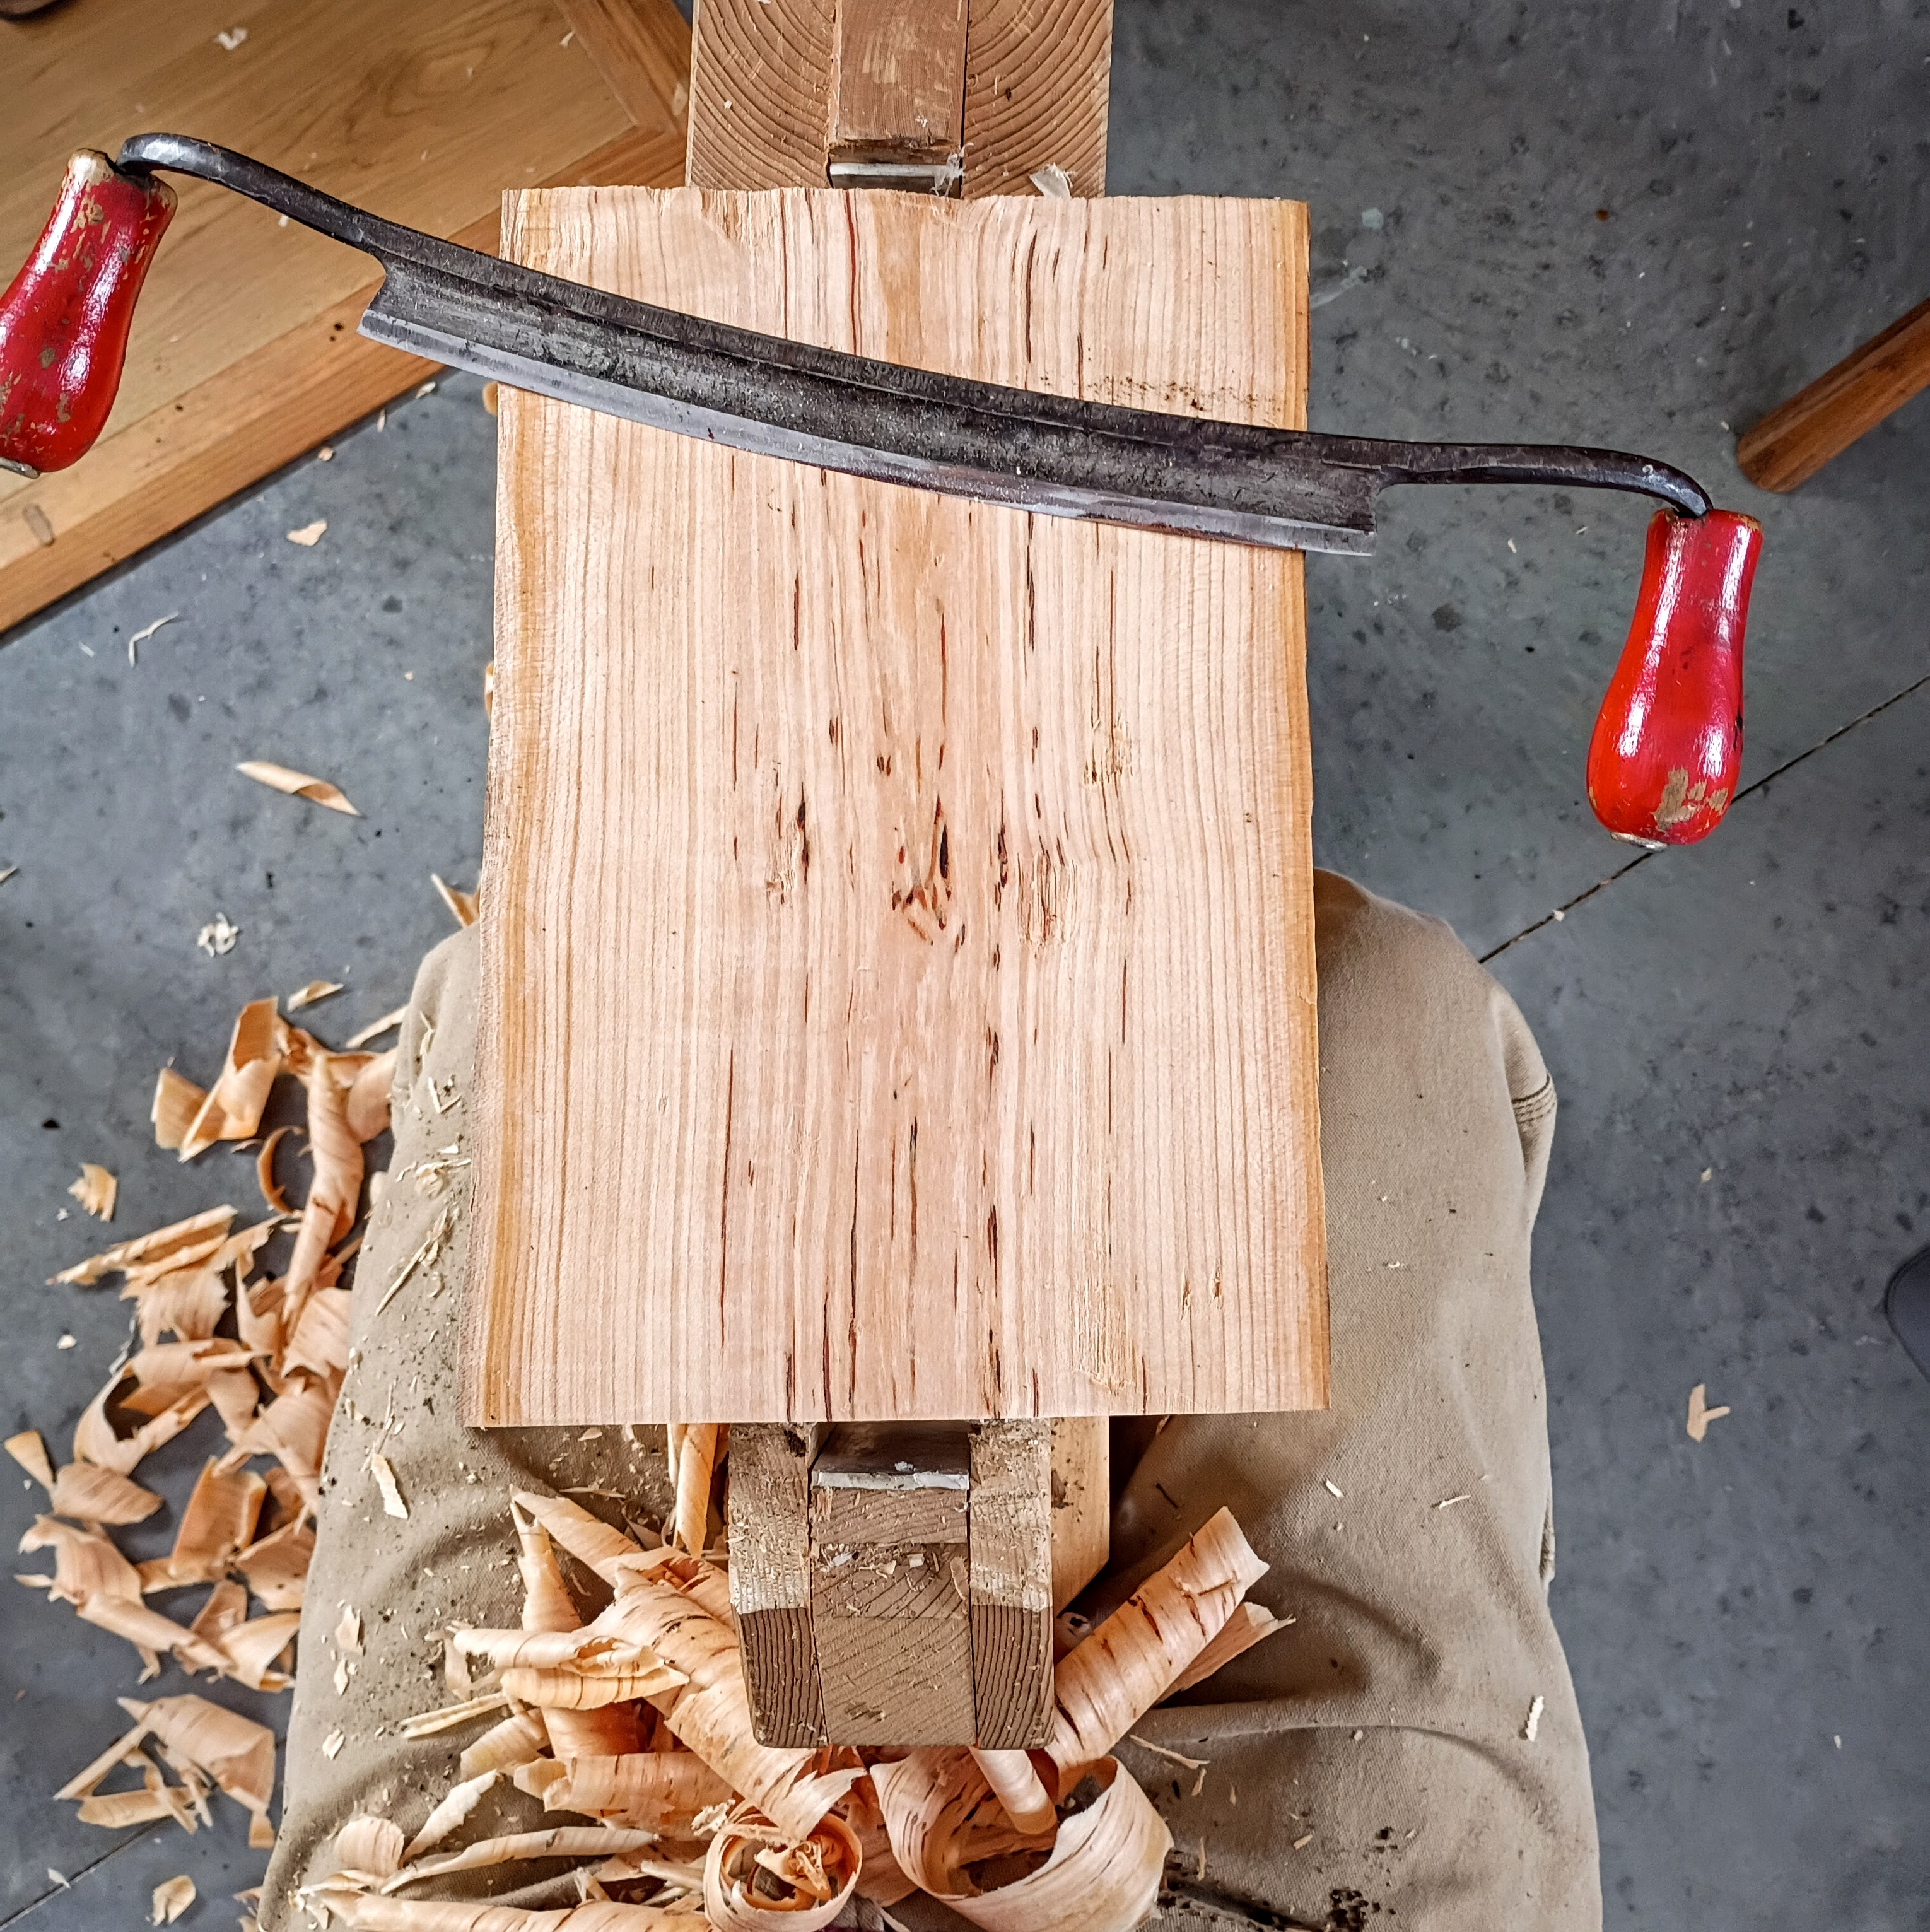
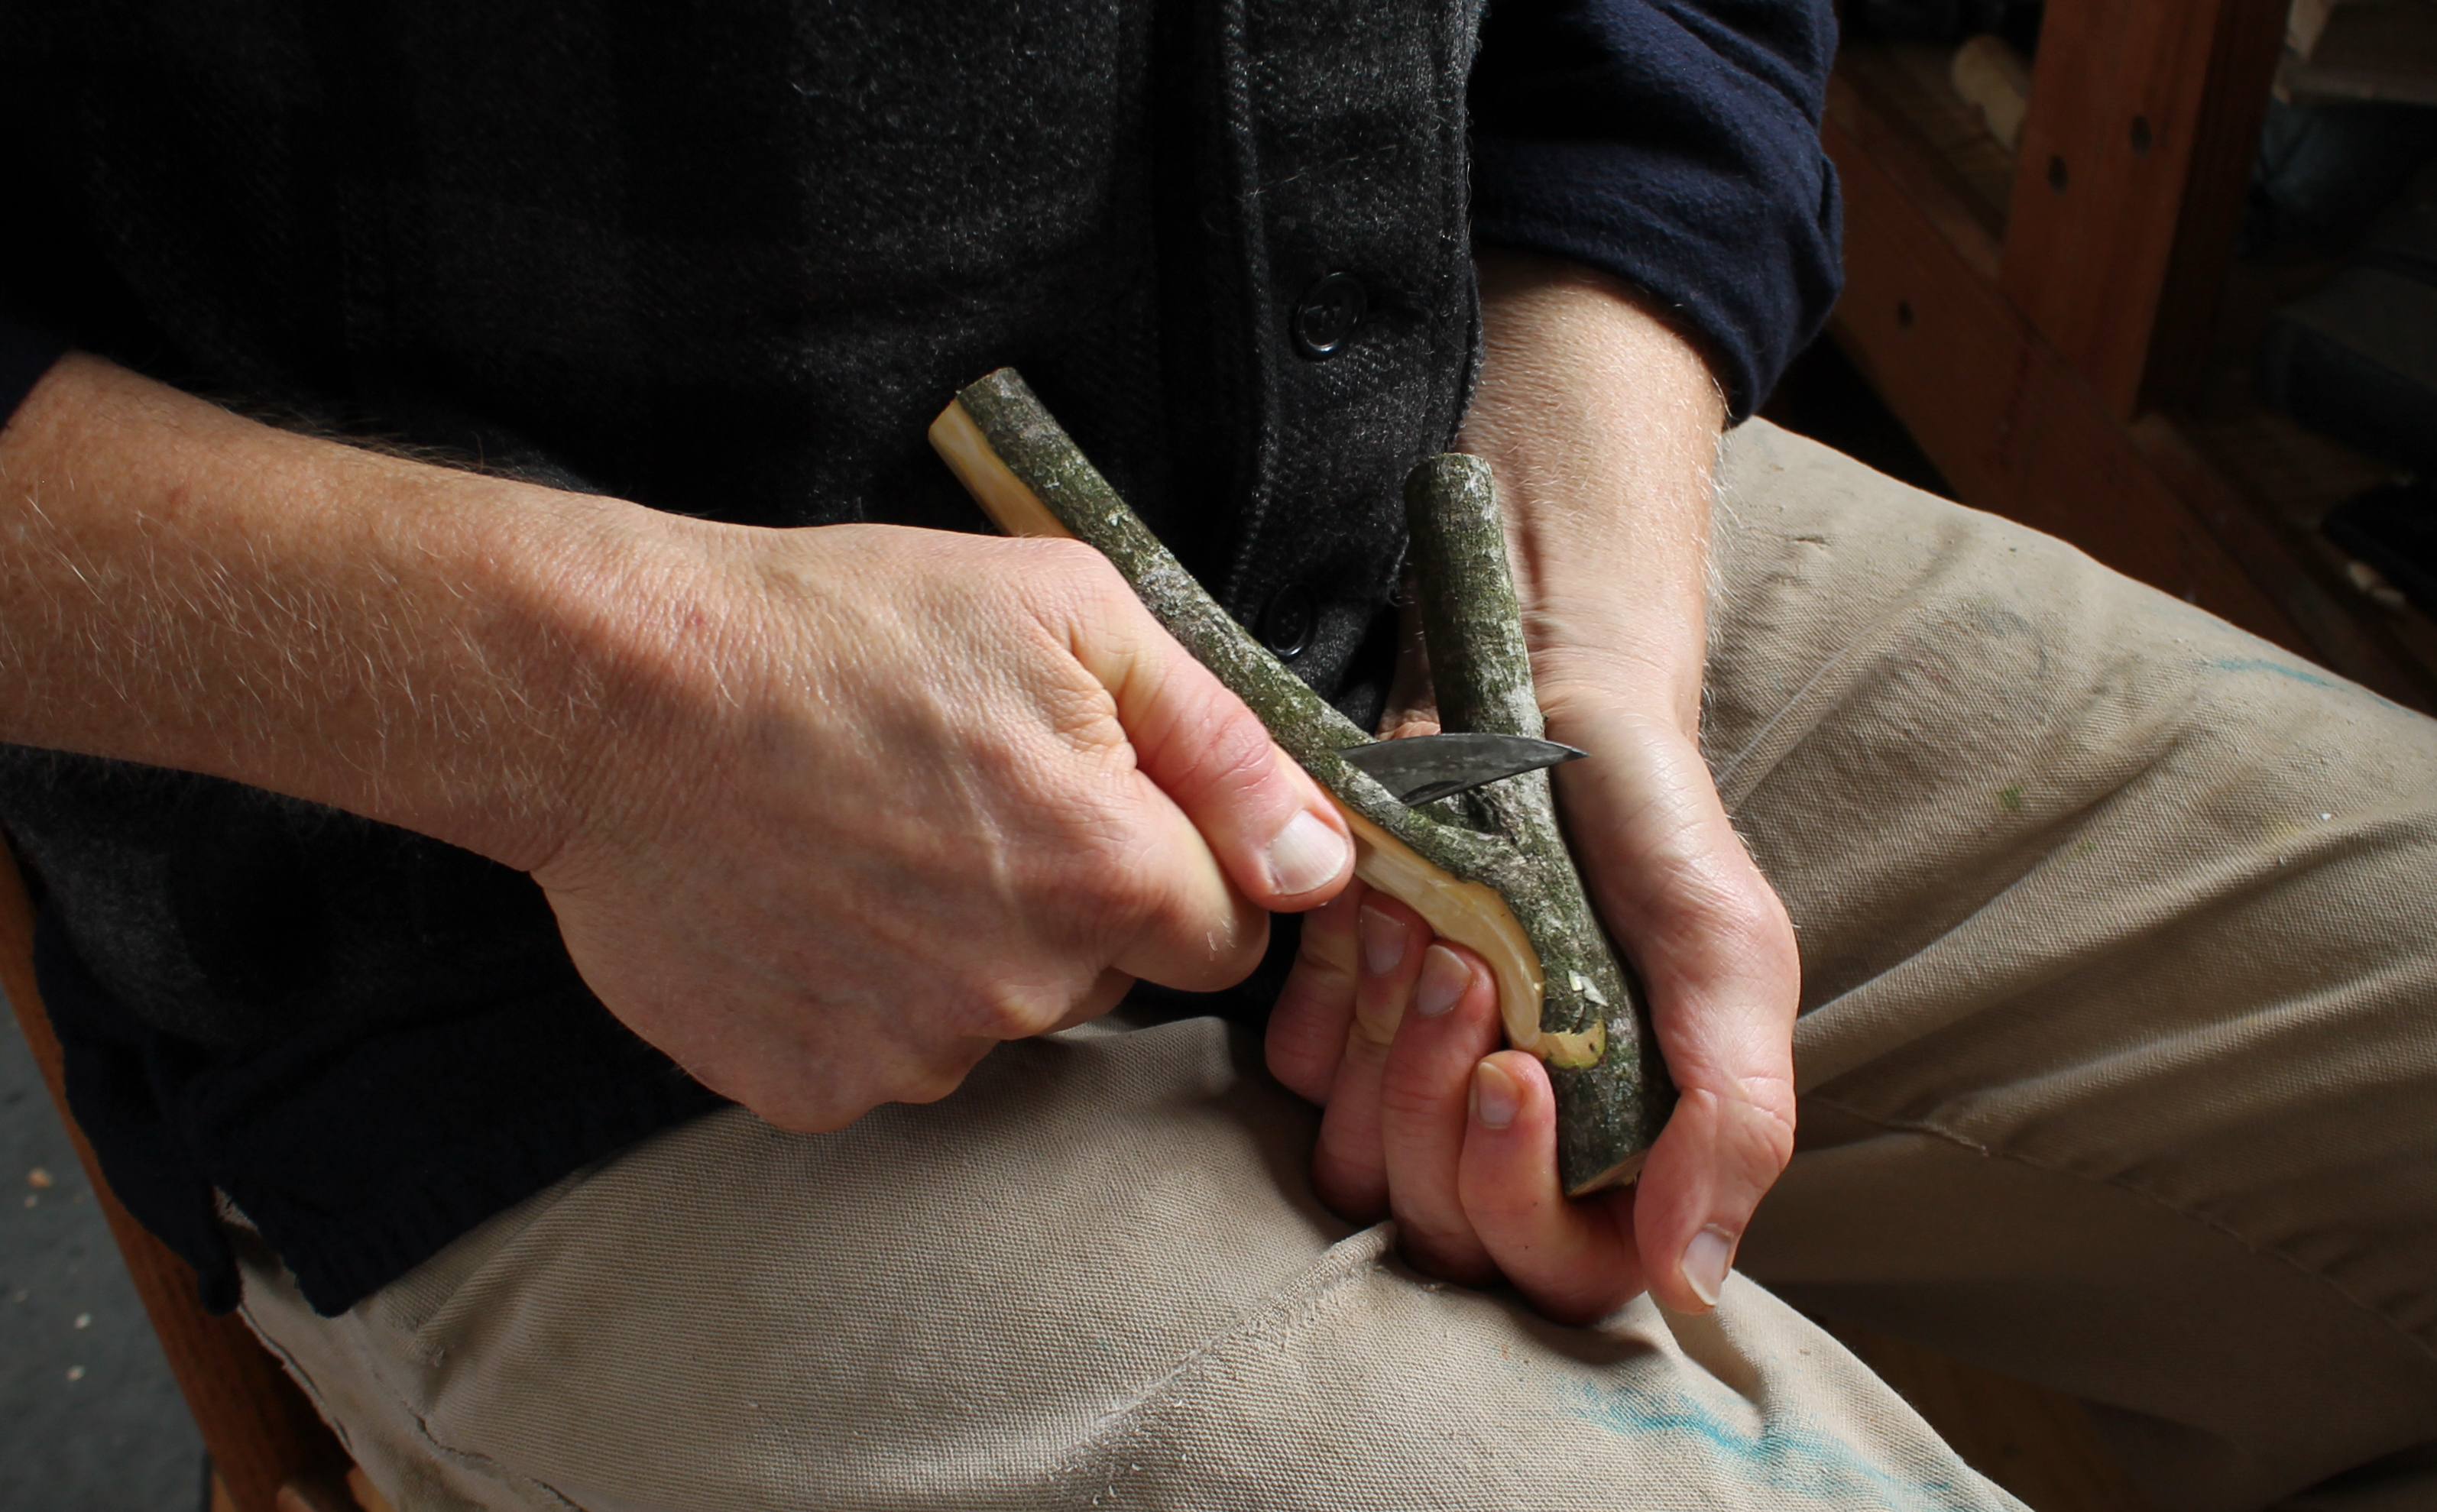
I finished flattening the surface with a drawknife at the bowl horse. Another chance to get to know this particular piece of tree.

Then I flipped it over and shaved away the punky sapwood before striking a compass arc on each end. Shave down to those lines, and my arch-top bowl blank is ready for layout.
I recorded a little video as I did that. At first it may seem like three minutes of random and rapid drawknife work, but there’s a method to the madness. I start by reaching back about 3/4 of the way along the blank and making a series of cuts to remove the excess wood above the line that is facing me. Once I’m to the line all along the arch, I flip the bowl end-for -end and do the same in that direction. Even though I can’t see the line on the opposite end now, I know that it is right where the surface meets the end. So, I can start the drawknife at the very far end and remove the wood from there to the line in front of me. I’m not in a race; the speed and momentum of the knife facilitates the cutting and helps to assure a straight flat path of the knife from line to line. And it’s just such a joy, along with the scent of these green black cherry shavings filling the shop.
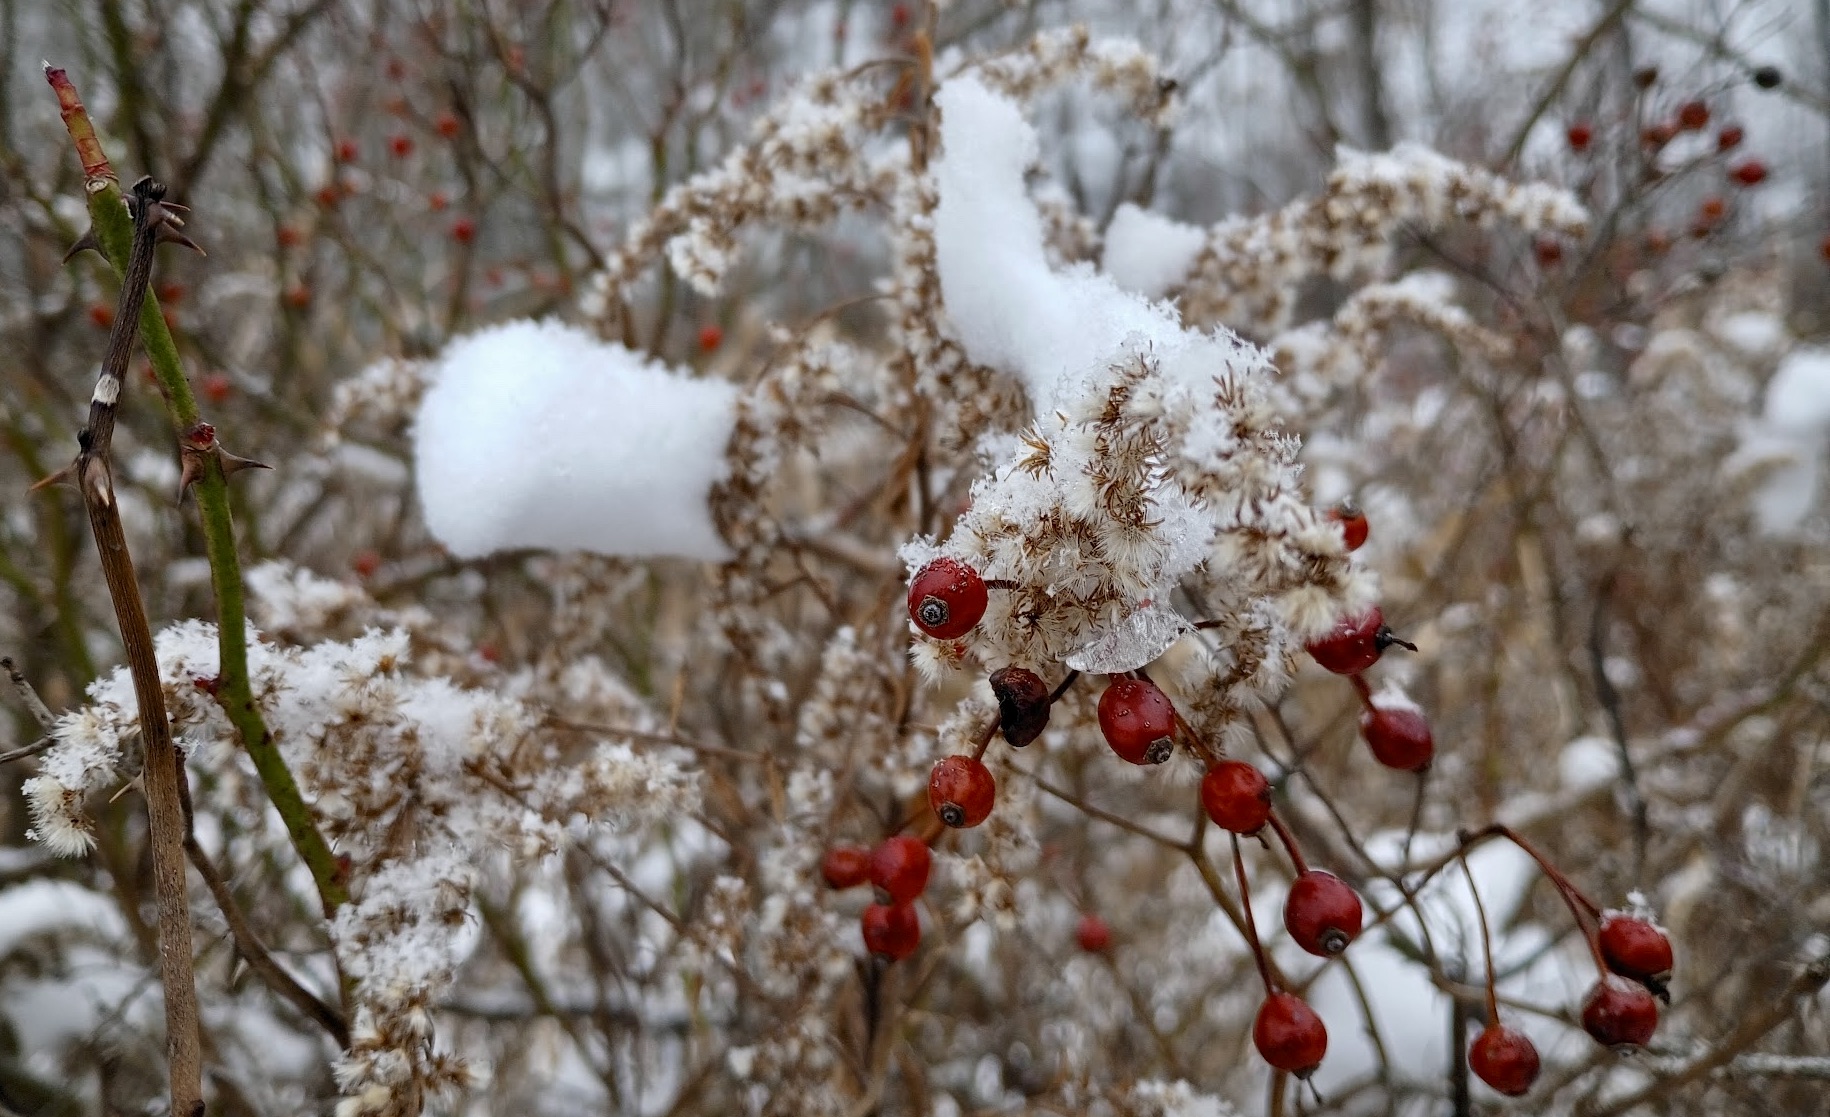
As the snow whips around and piles up outside the window this morning, I’m glad that I have these cherry logs inside.
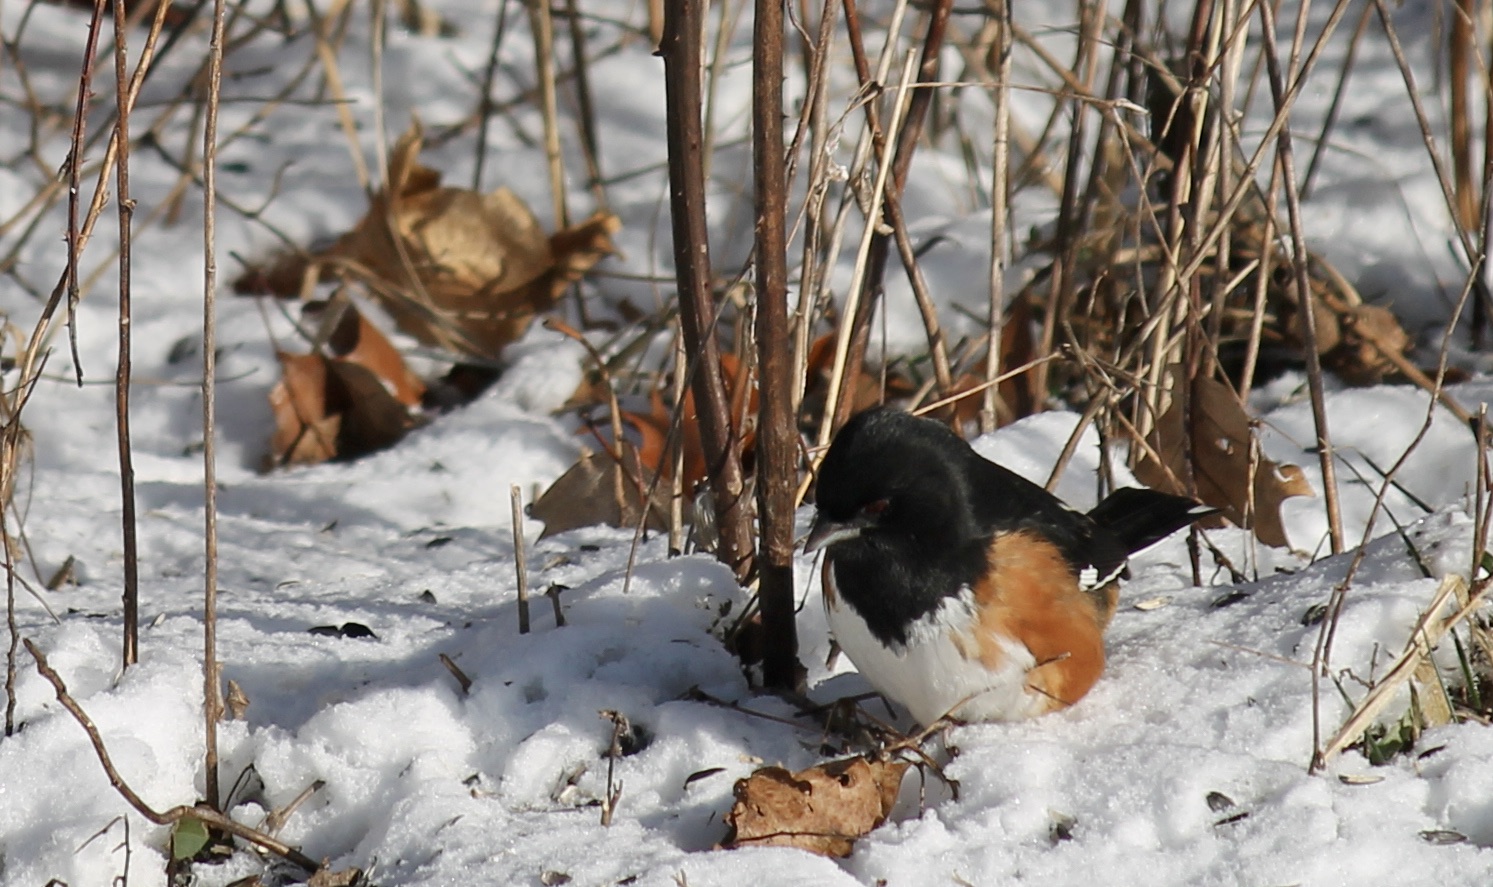
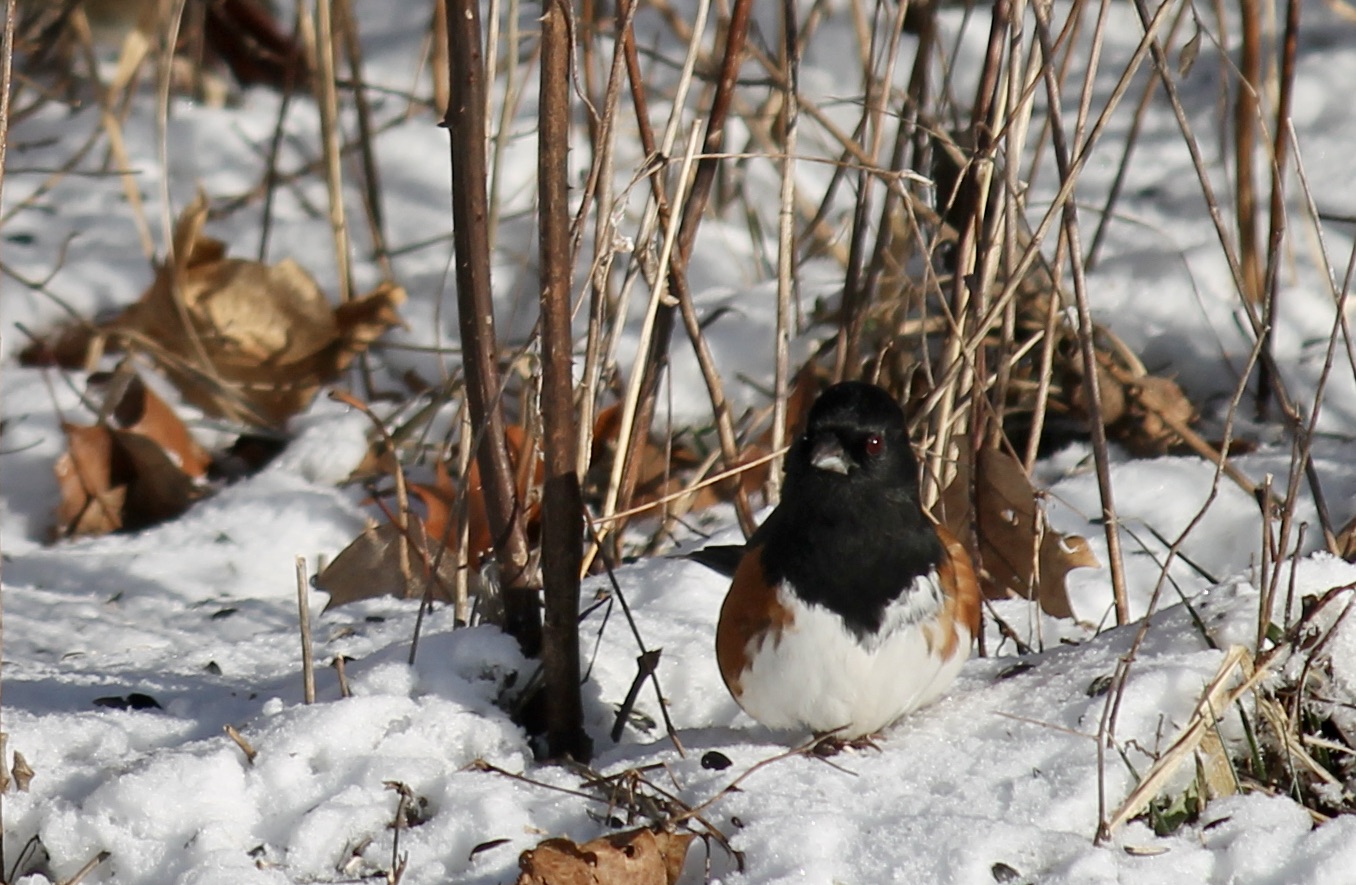
I hope this Eastern Towhee that I watched and snapped a few photos of yesterday has a spot sheltered enough from today’s storm. He must not have noticed the range map that says he’s supposed to be further south this time of year.
What wonderful camouflage. Those side patches are just about the color of dried oak leaves and, incidentally, black cherry wood.