There’s a long tradition of making boxes and other items in the form of books. I’ve made a few now, each in a different way. In an old post I showed one joined from several pieces and another example made with shrink pot construction. For this latest one, made for a birthday gift, I started with a dry block of butternut and a separate piece for the sliding dovetail lid/cover.
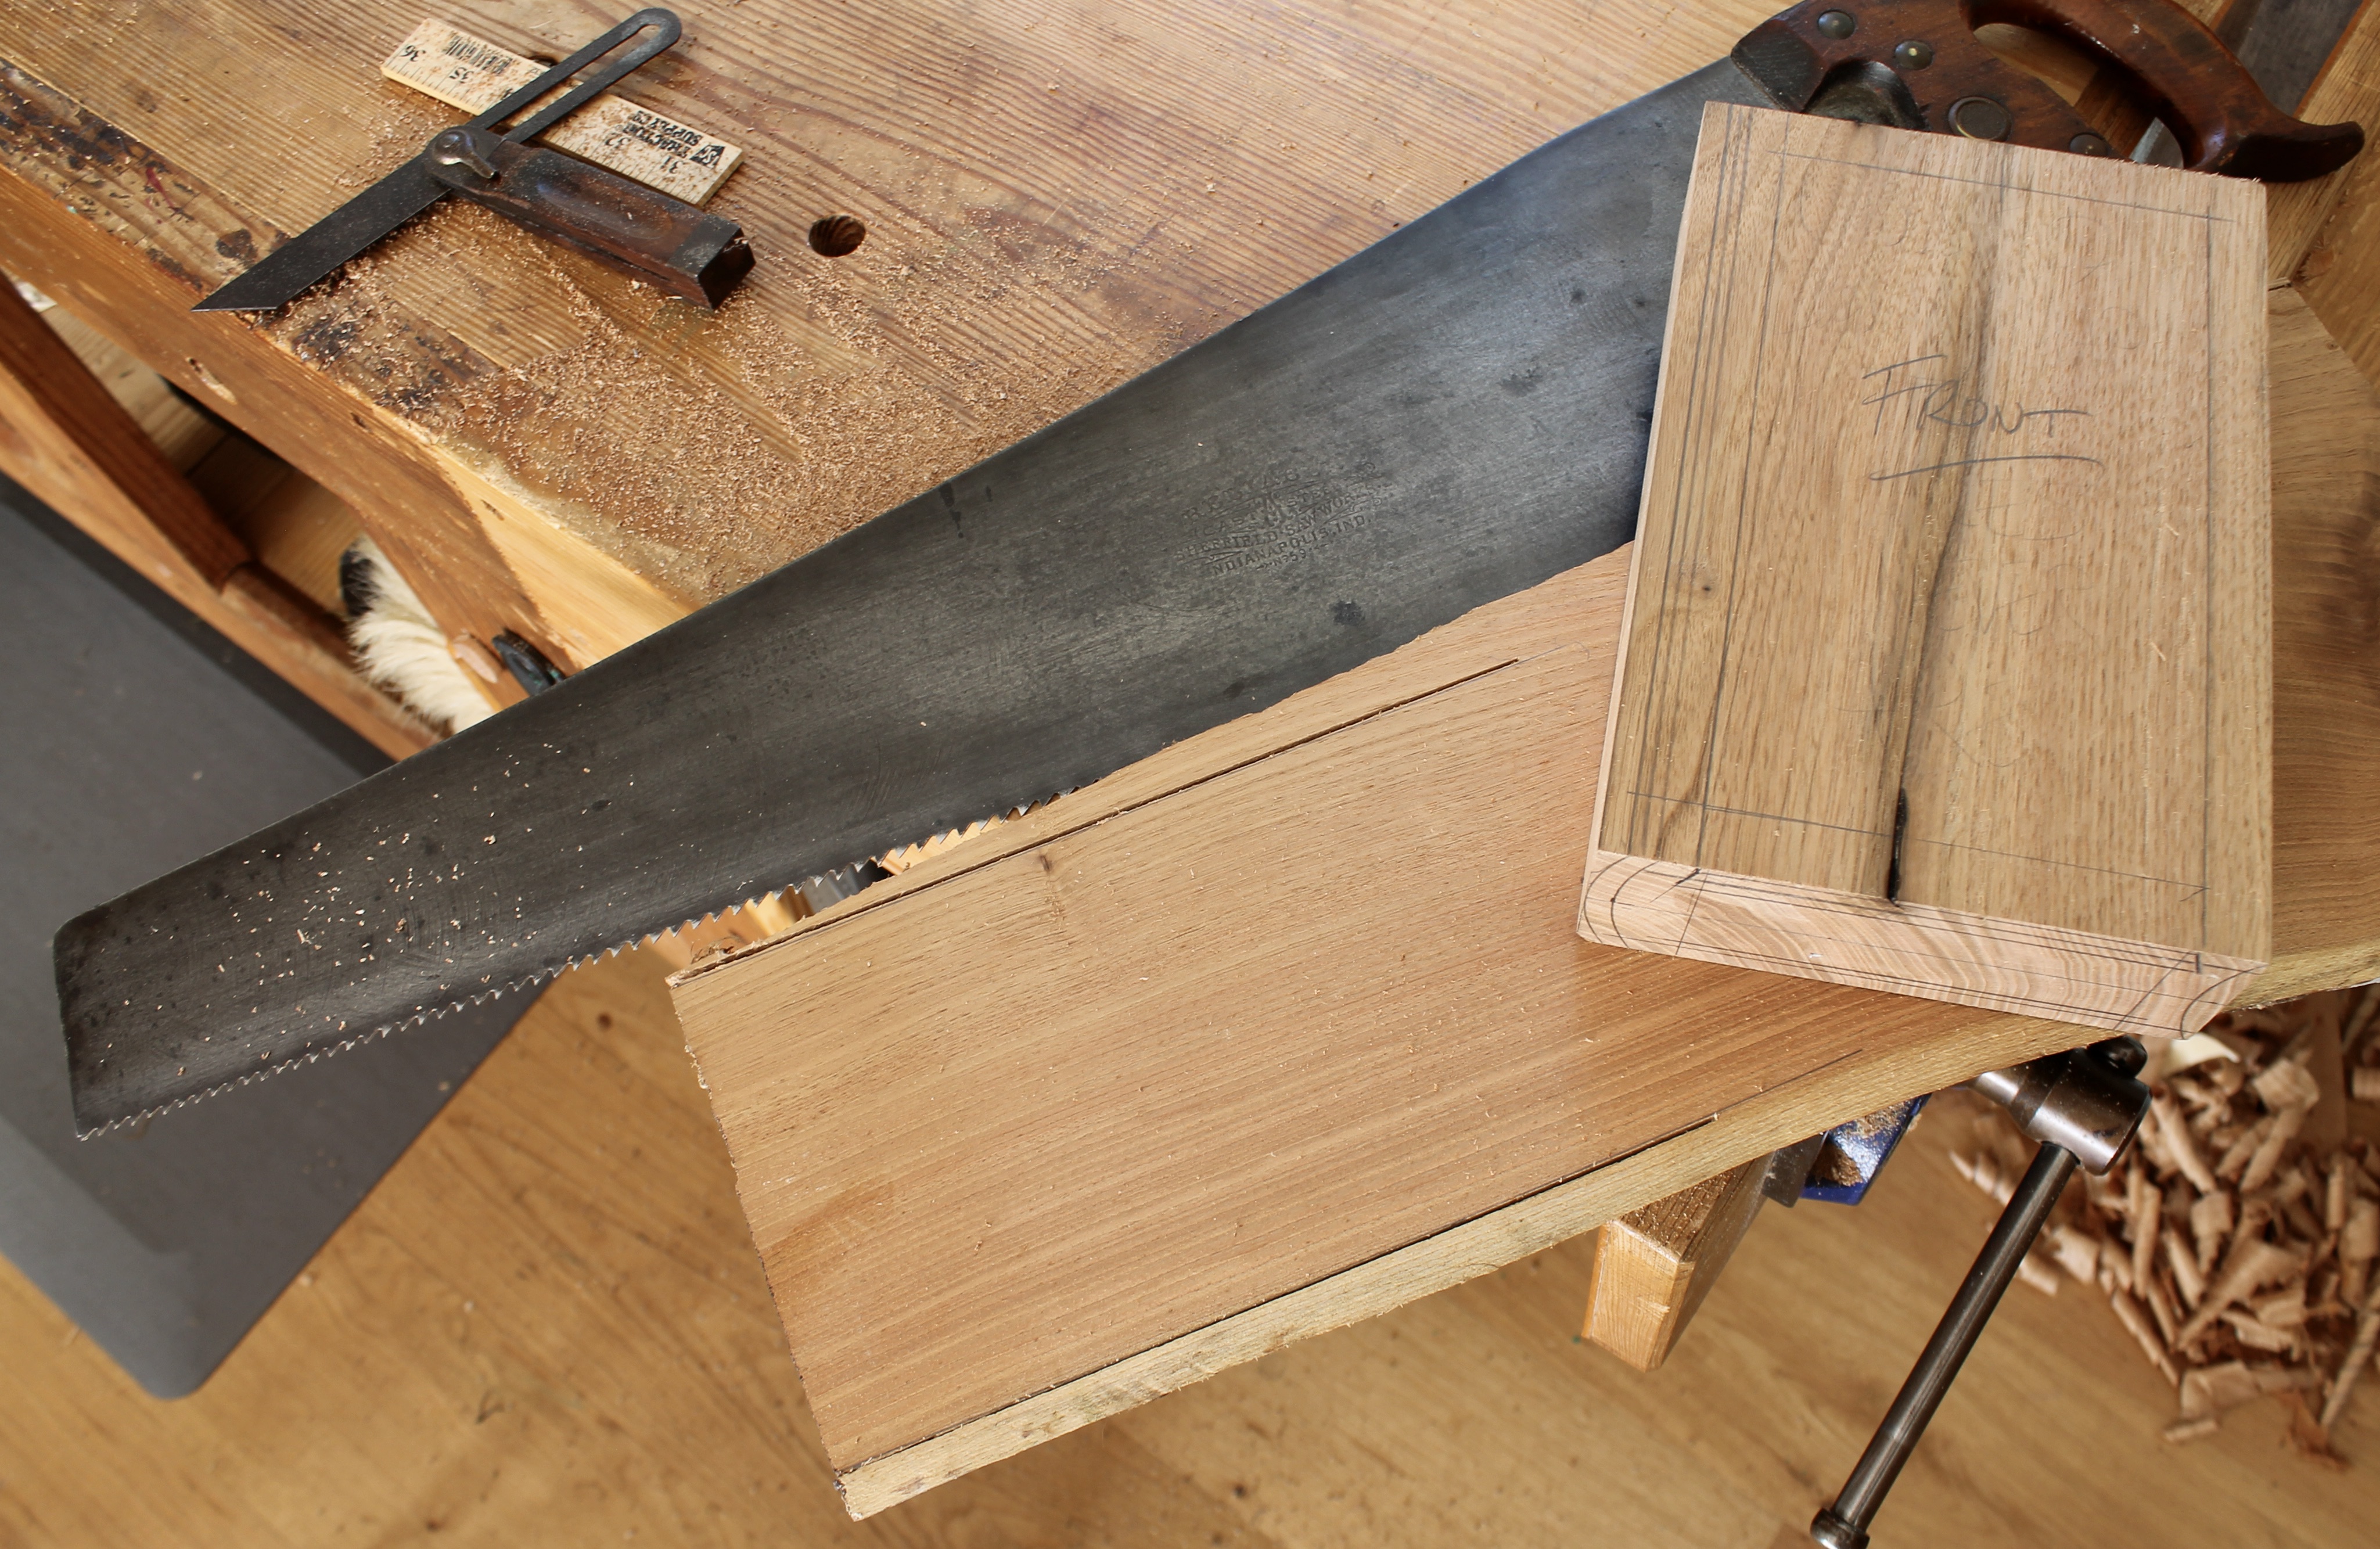
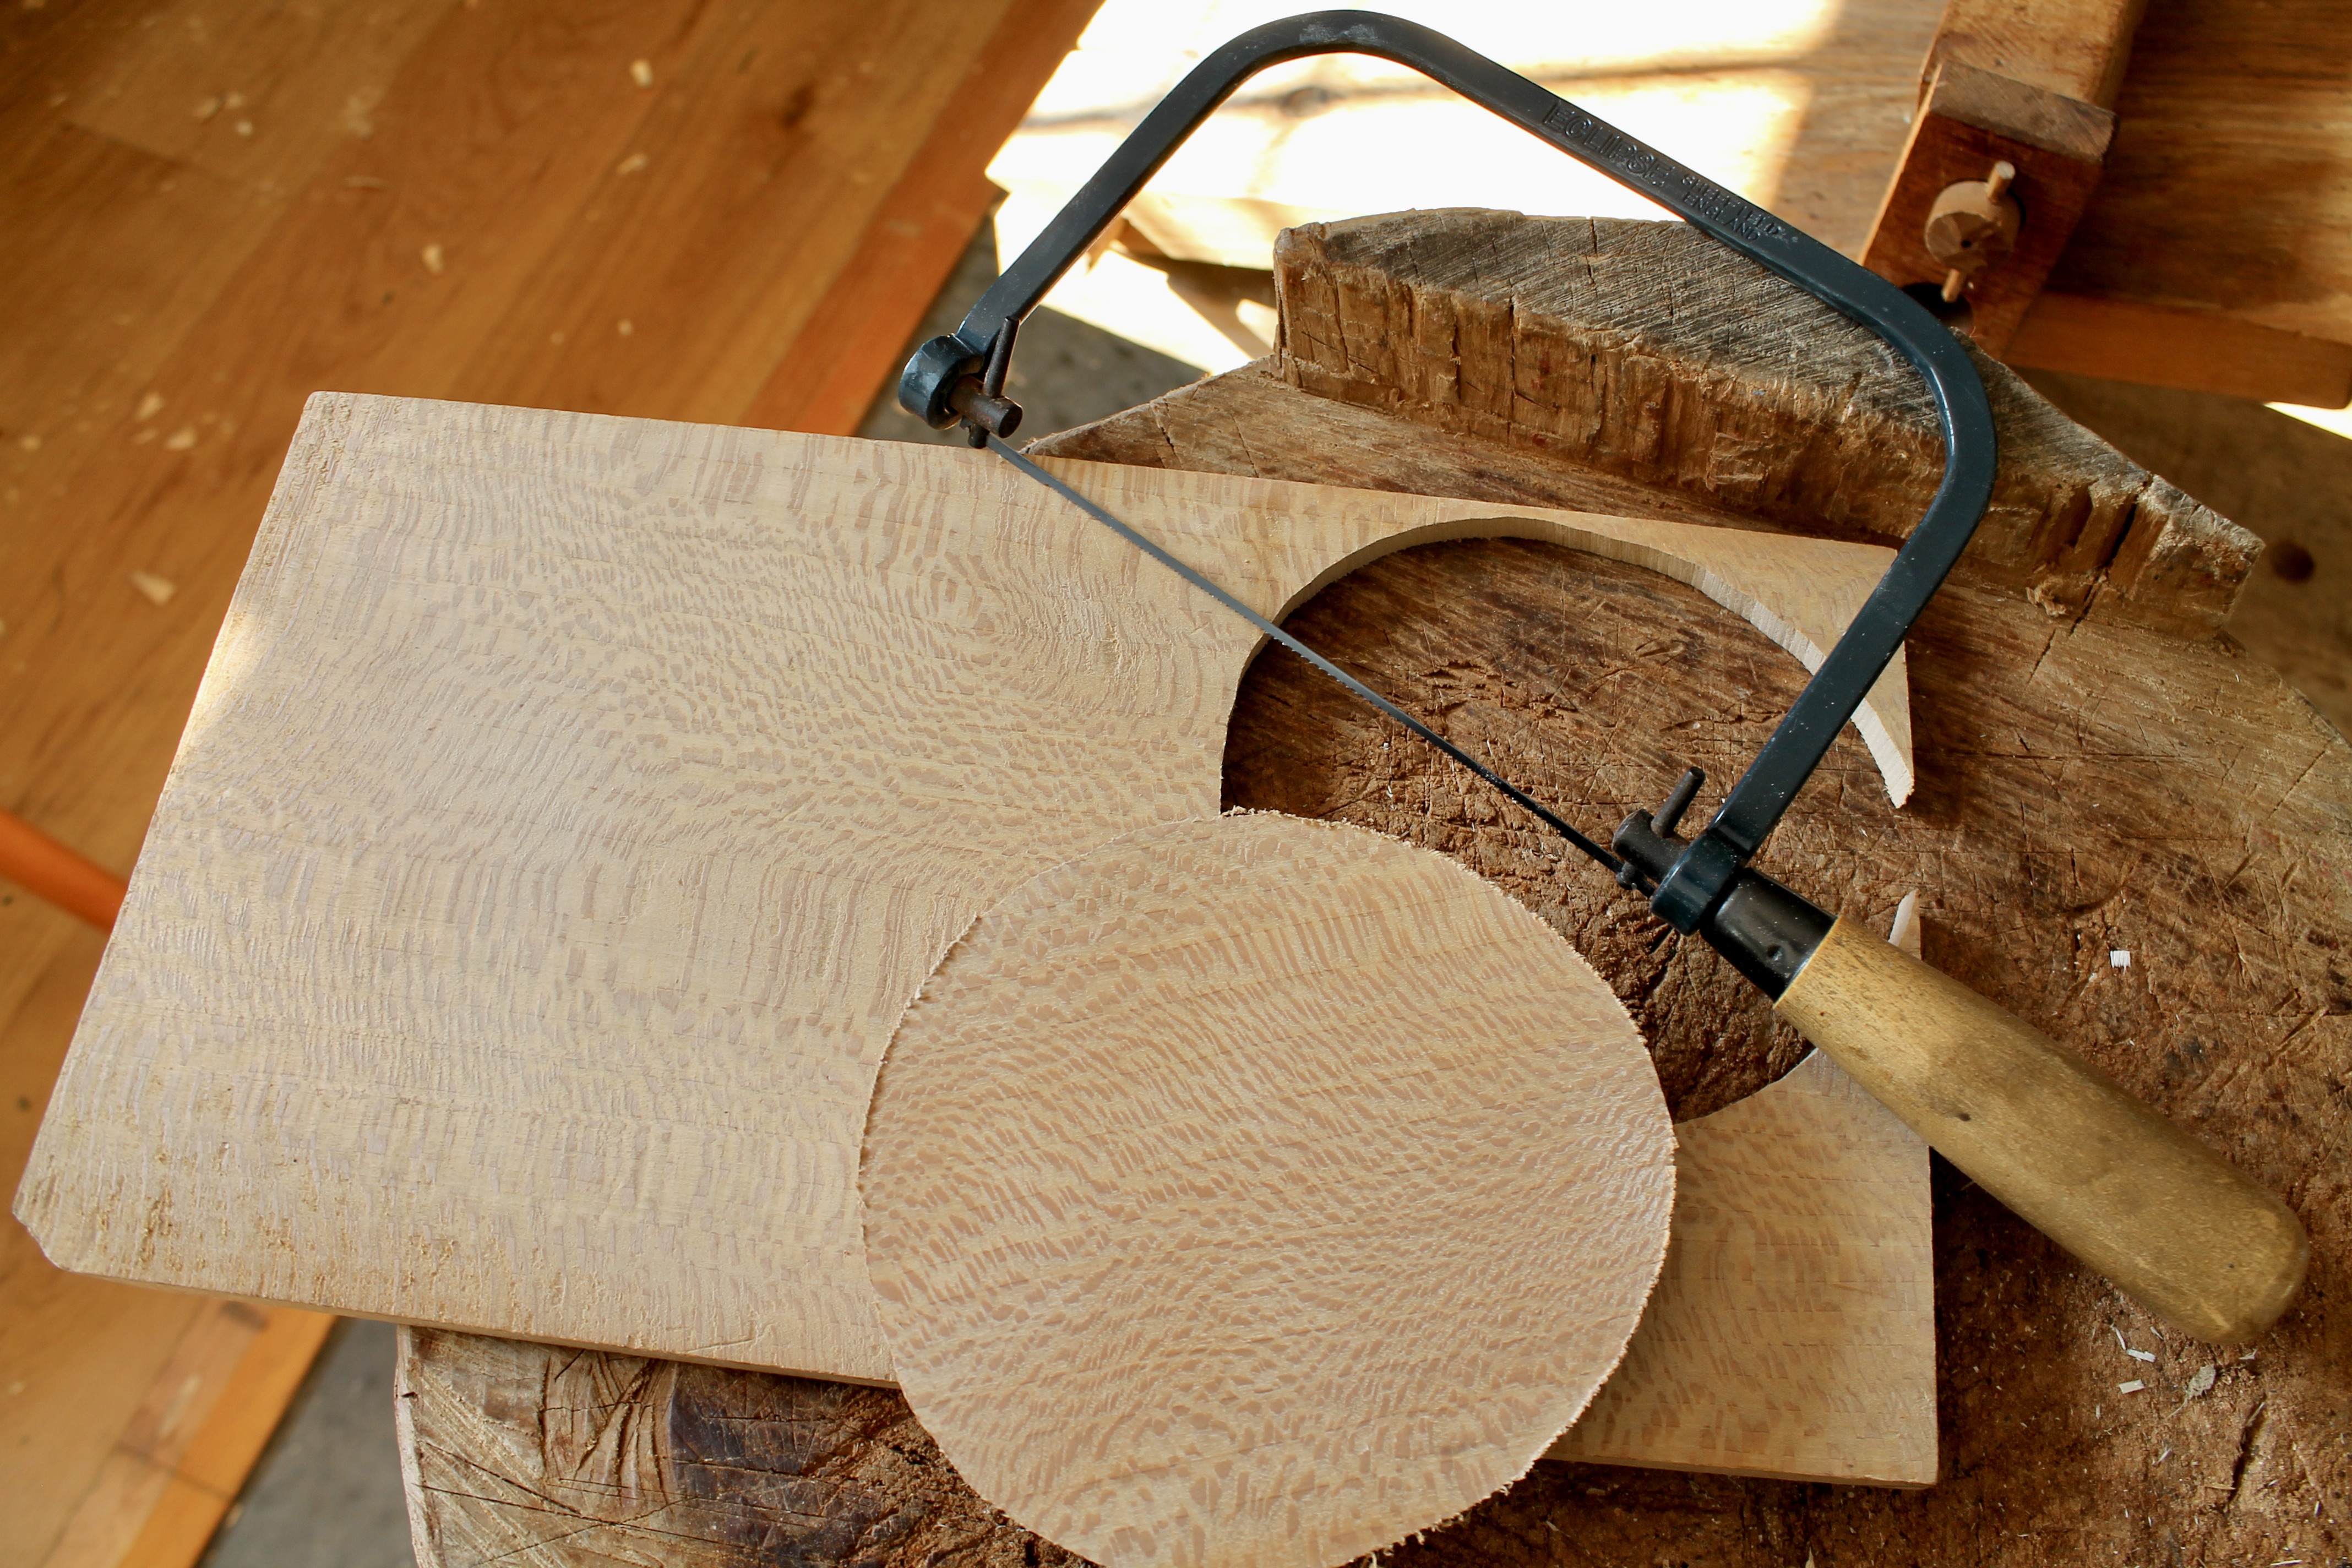
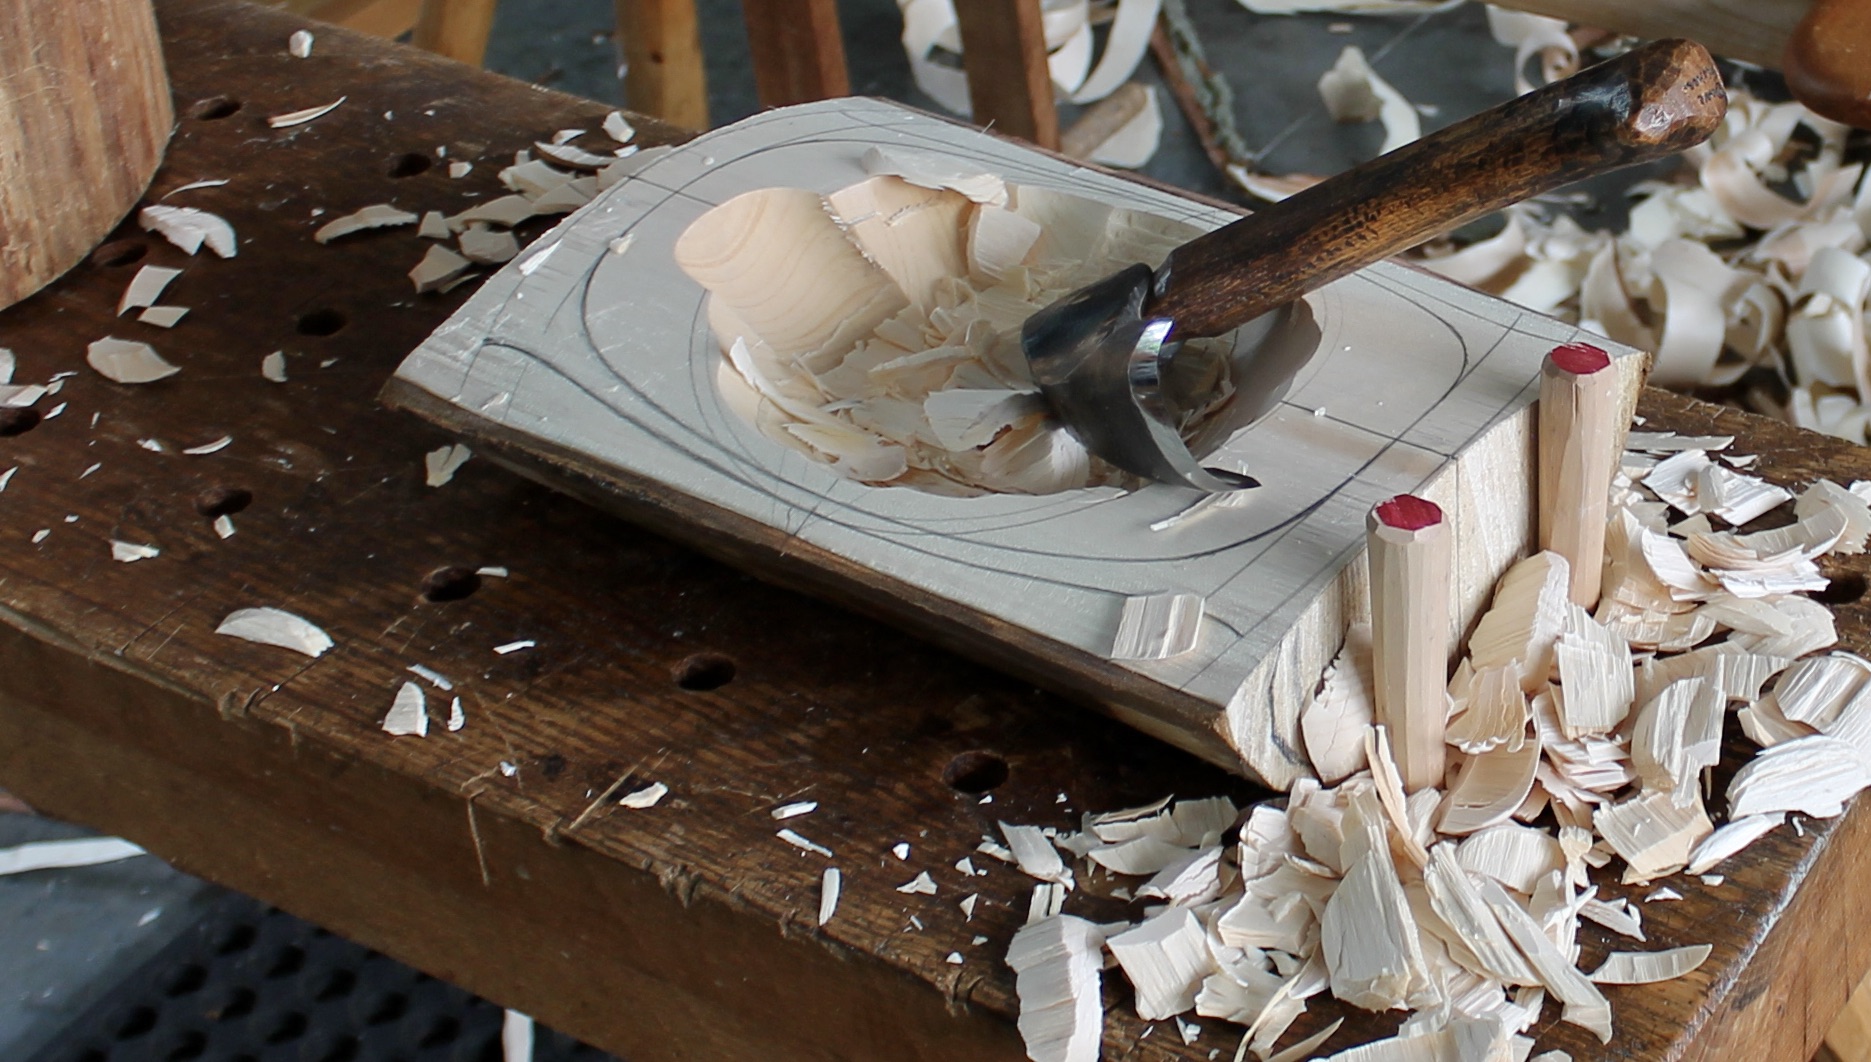
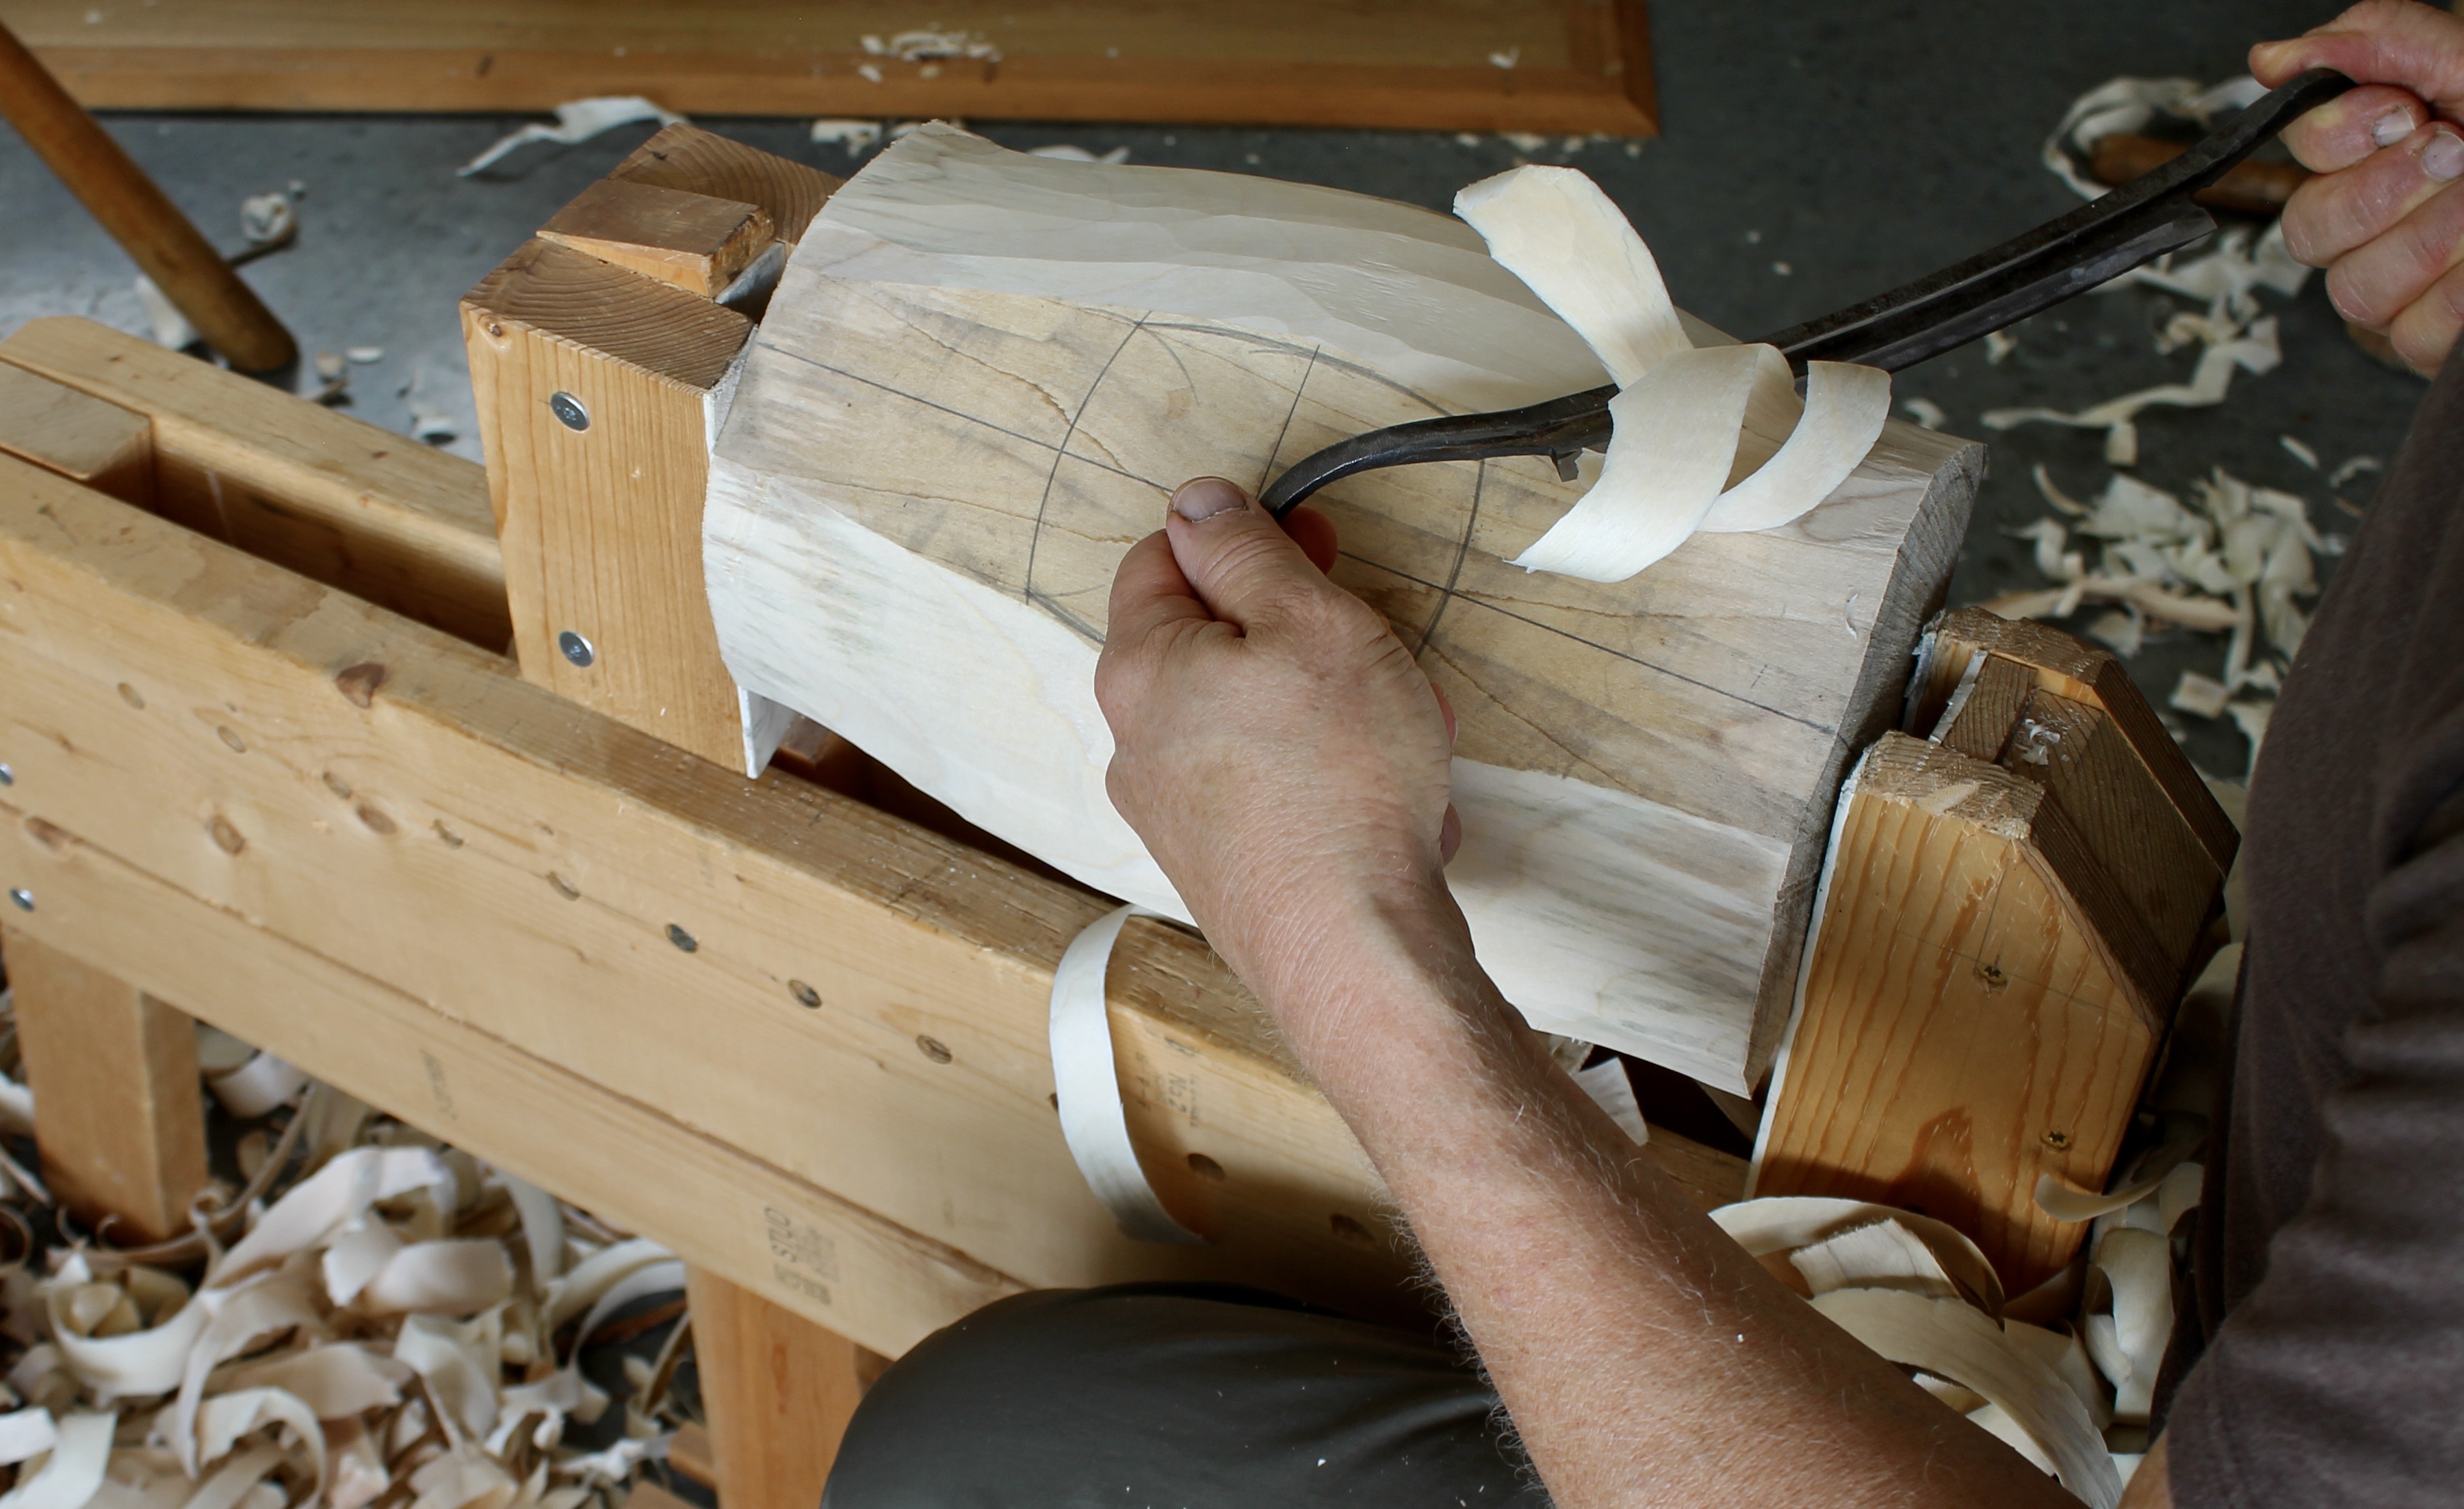
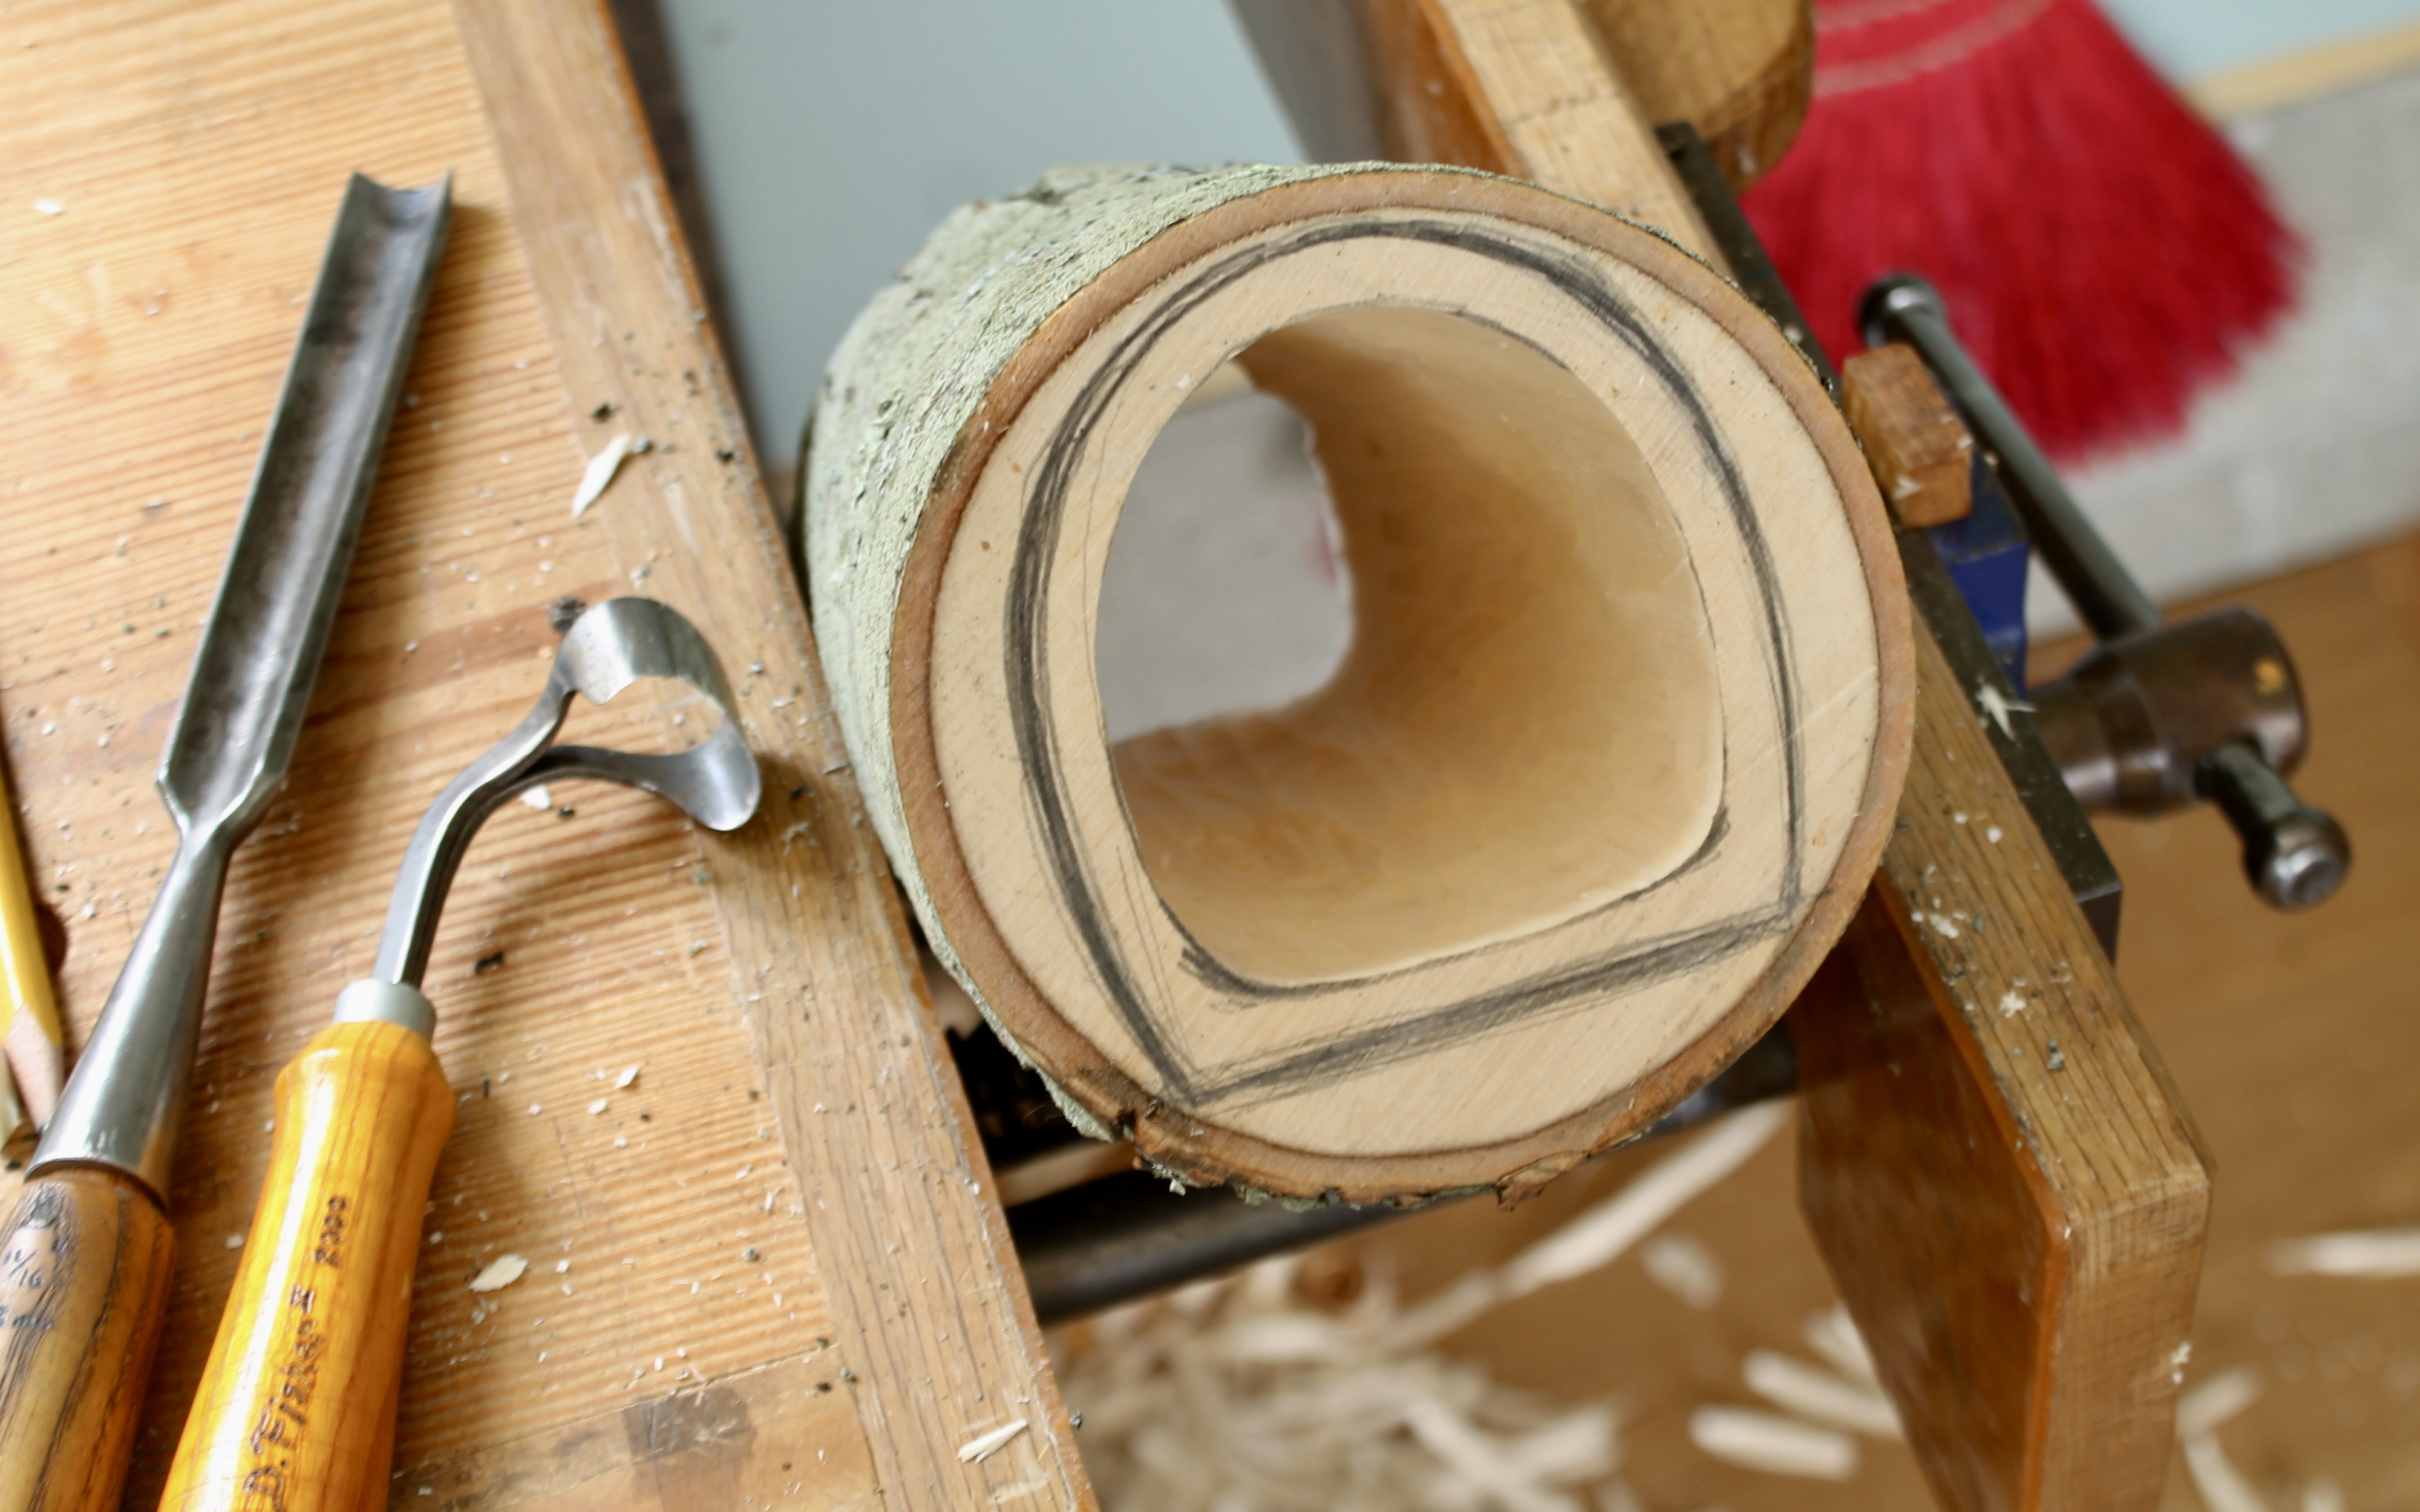
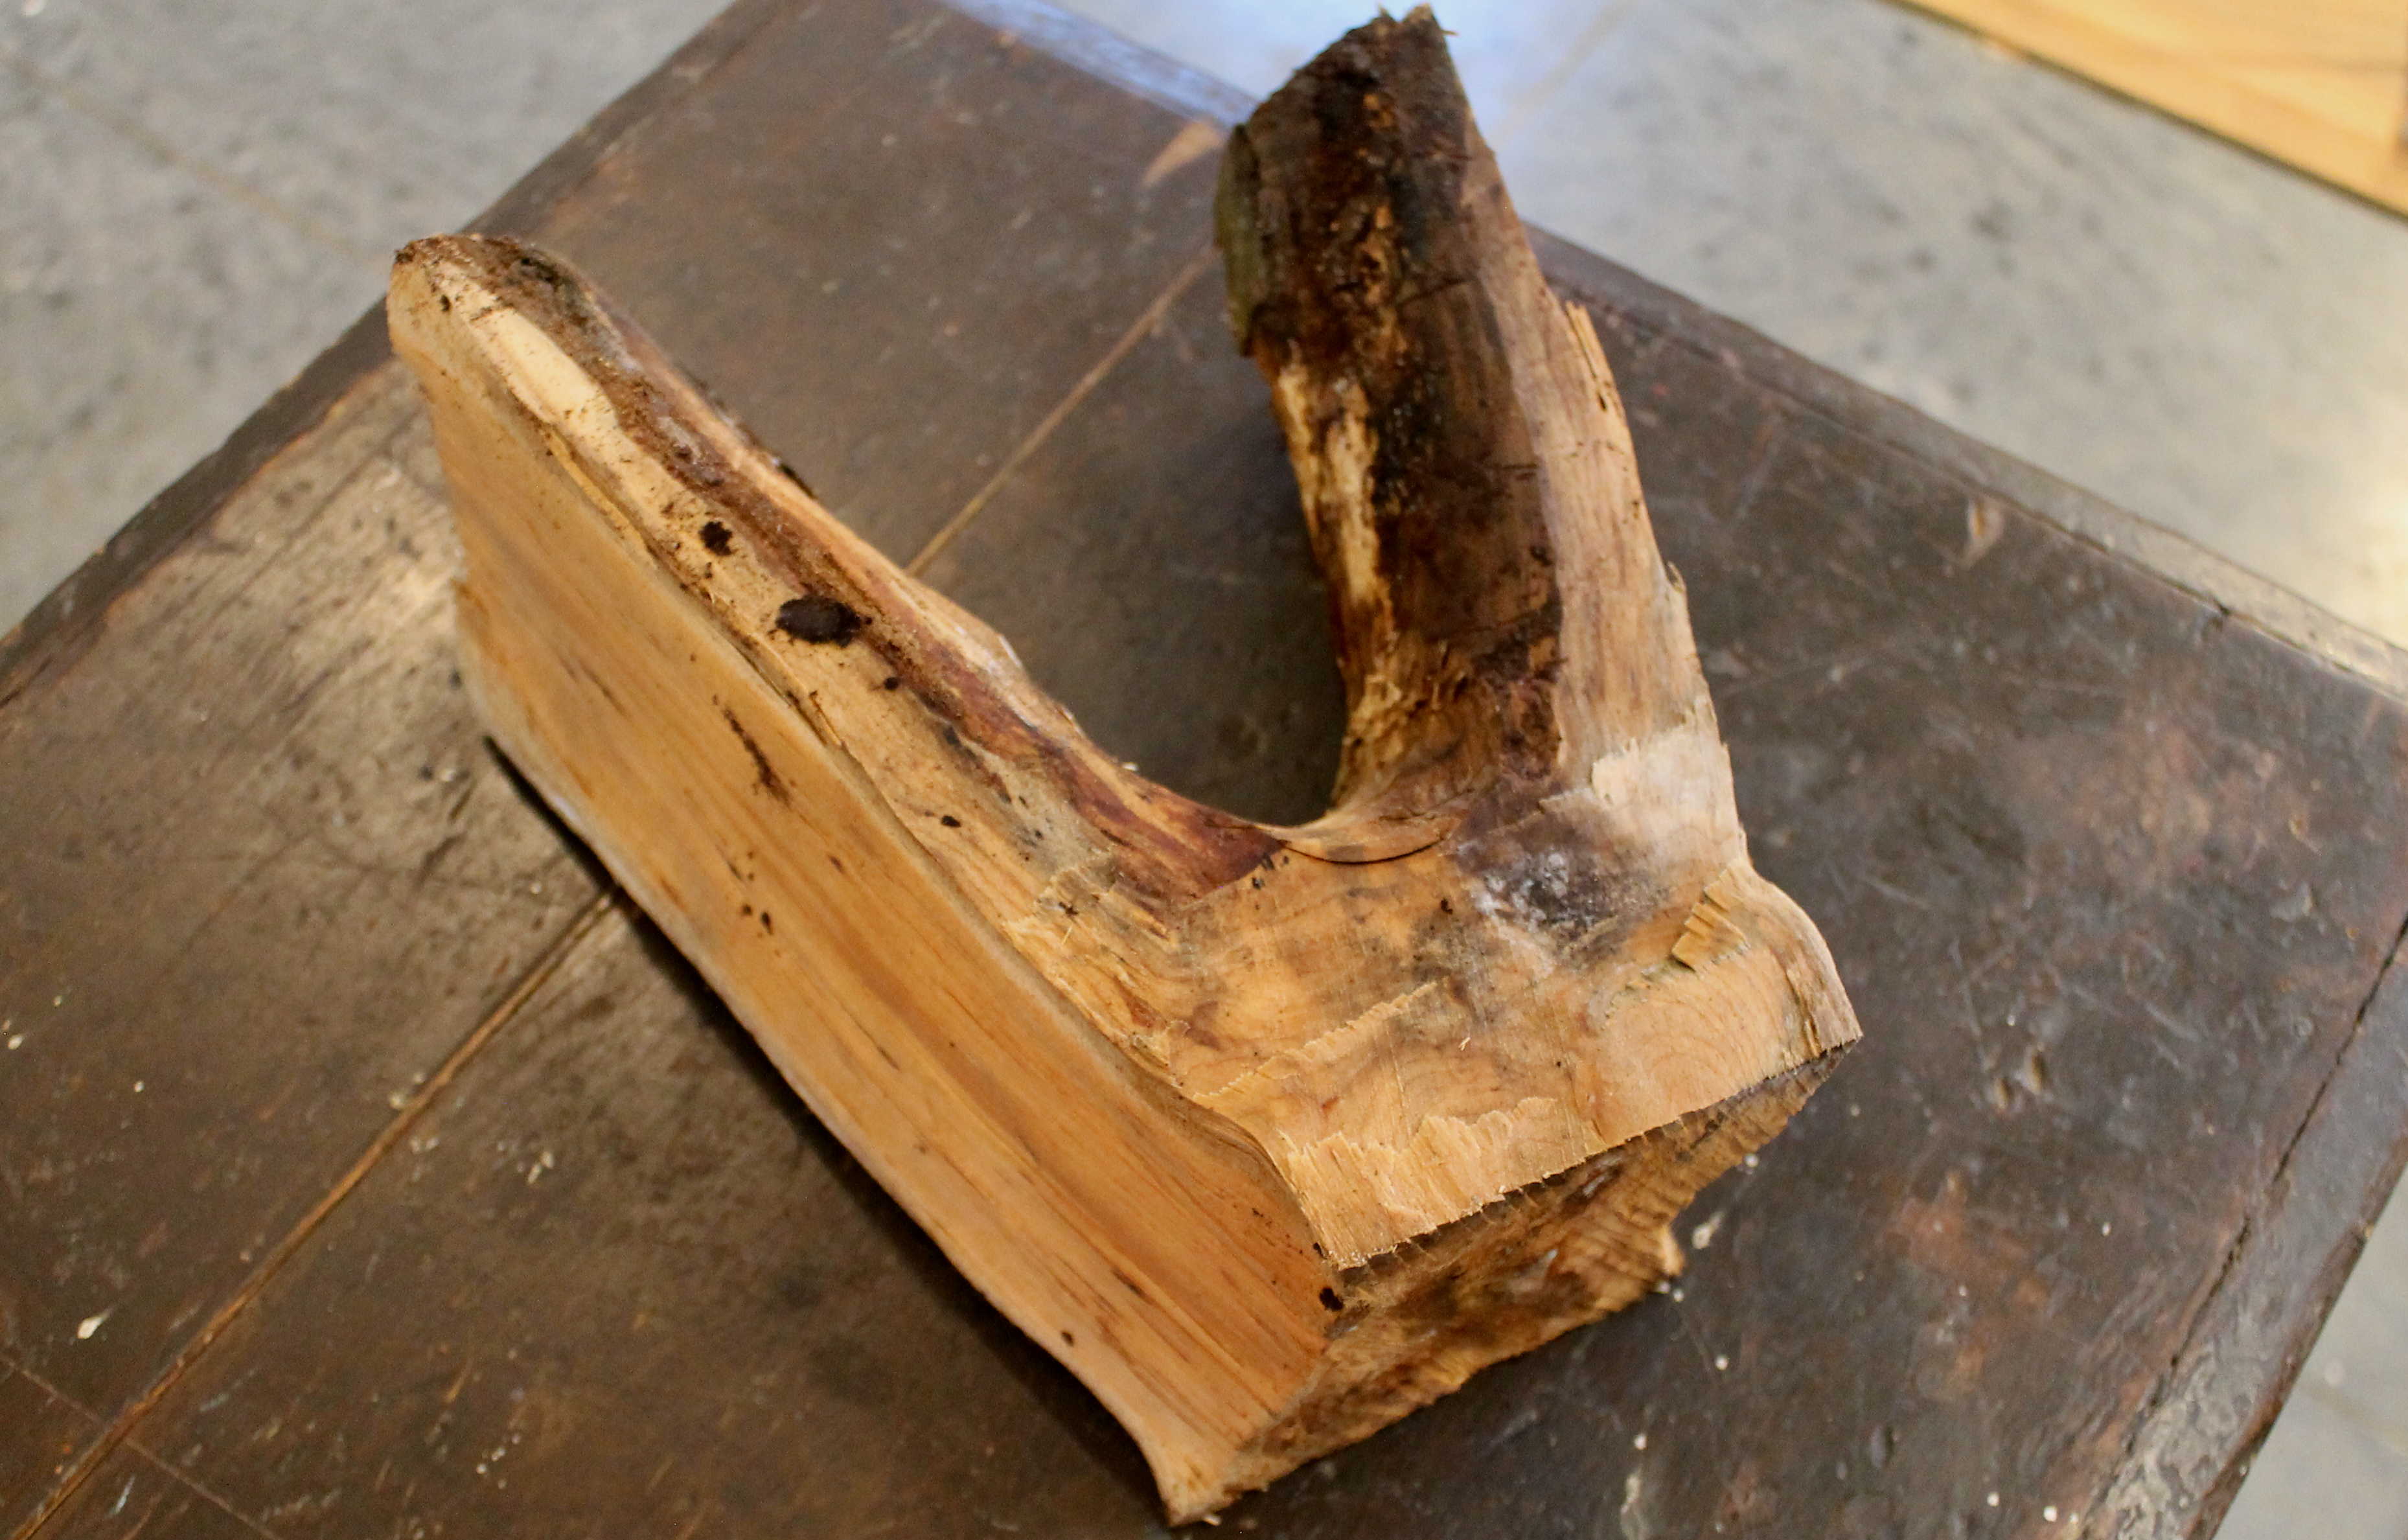
This is stock that I split from a large butternut log several years ago, quite dry now. In the photo above, I’ve sawed and planed the the block for the book itself into general shape then laid out the essentials for the rest of the work with pencil. Under the main block is another piece of the butternut in the process of being sawn to size for the sliding lid.
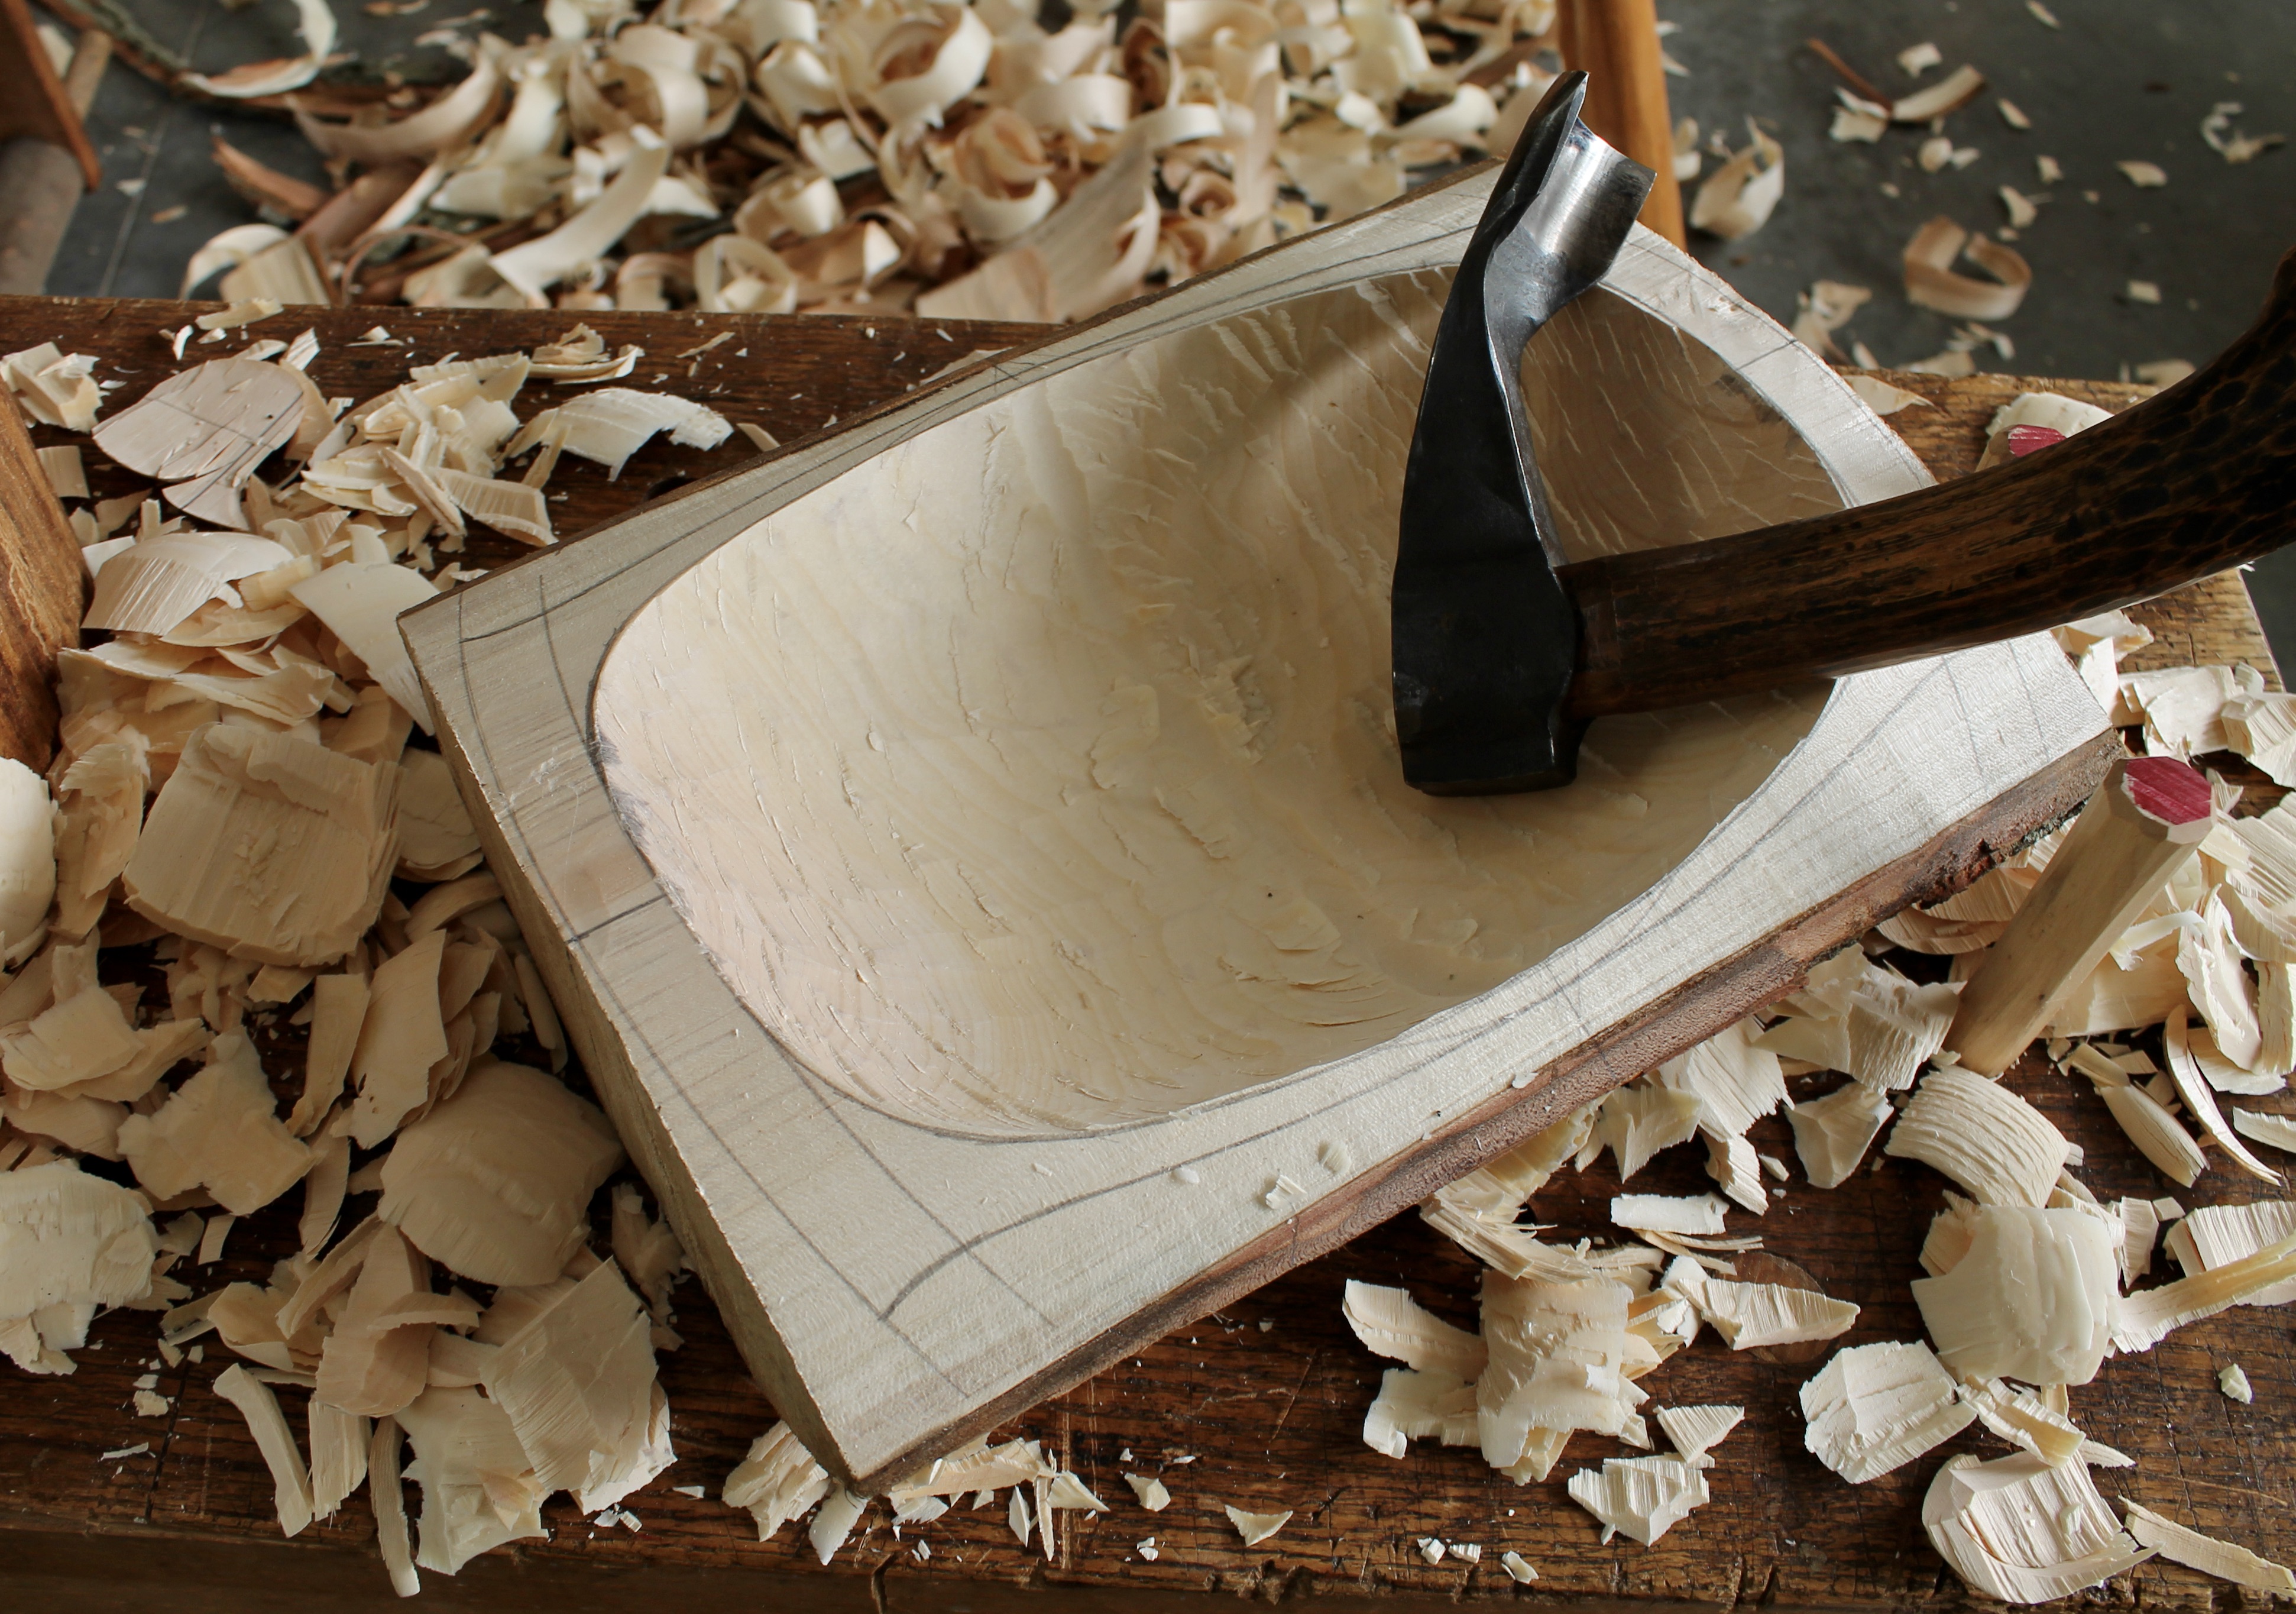
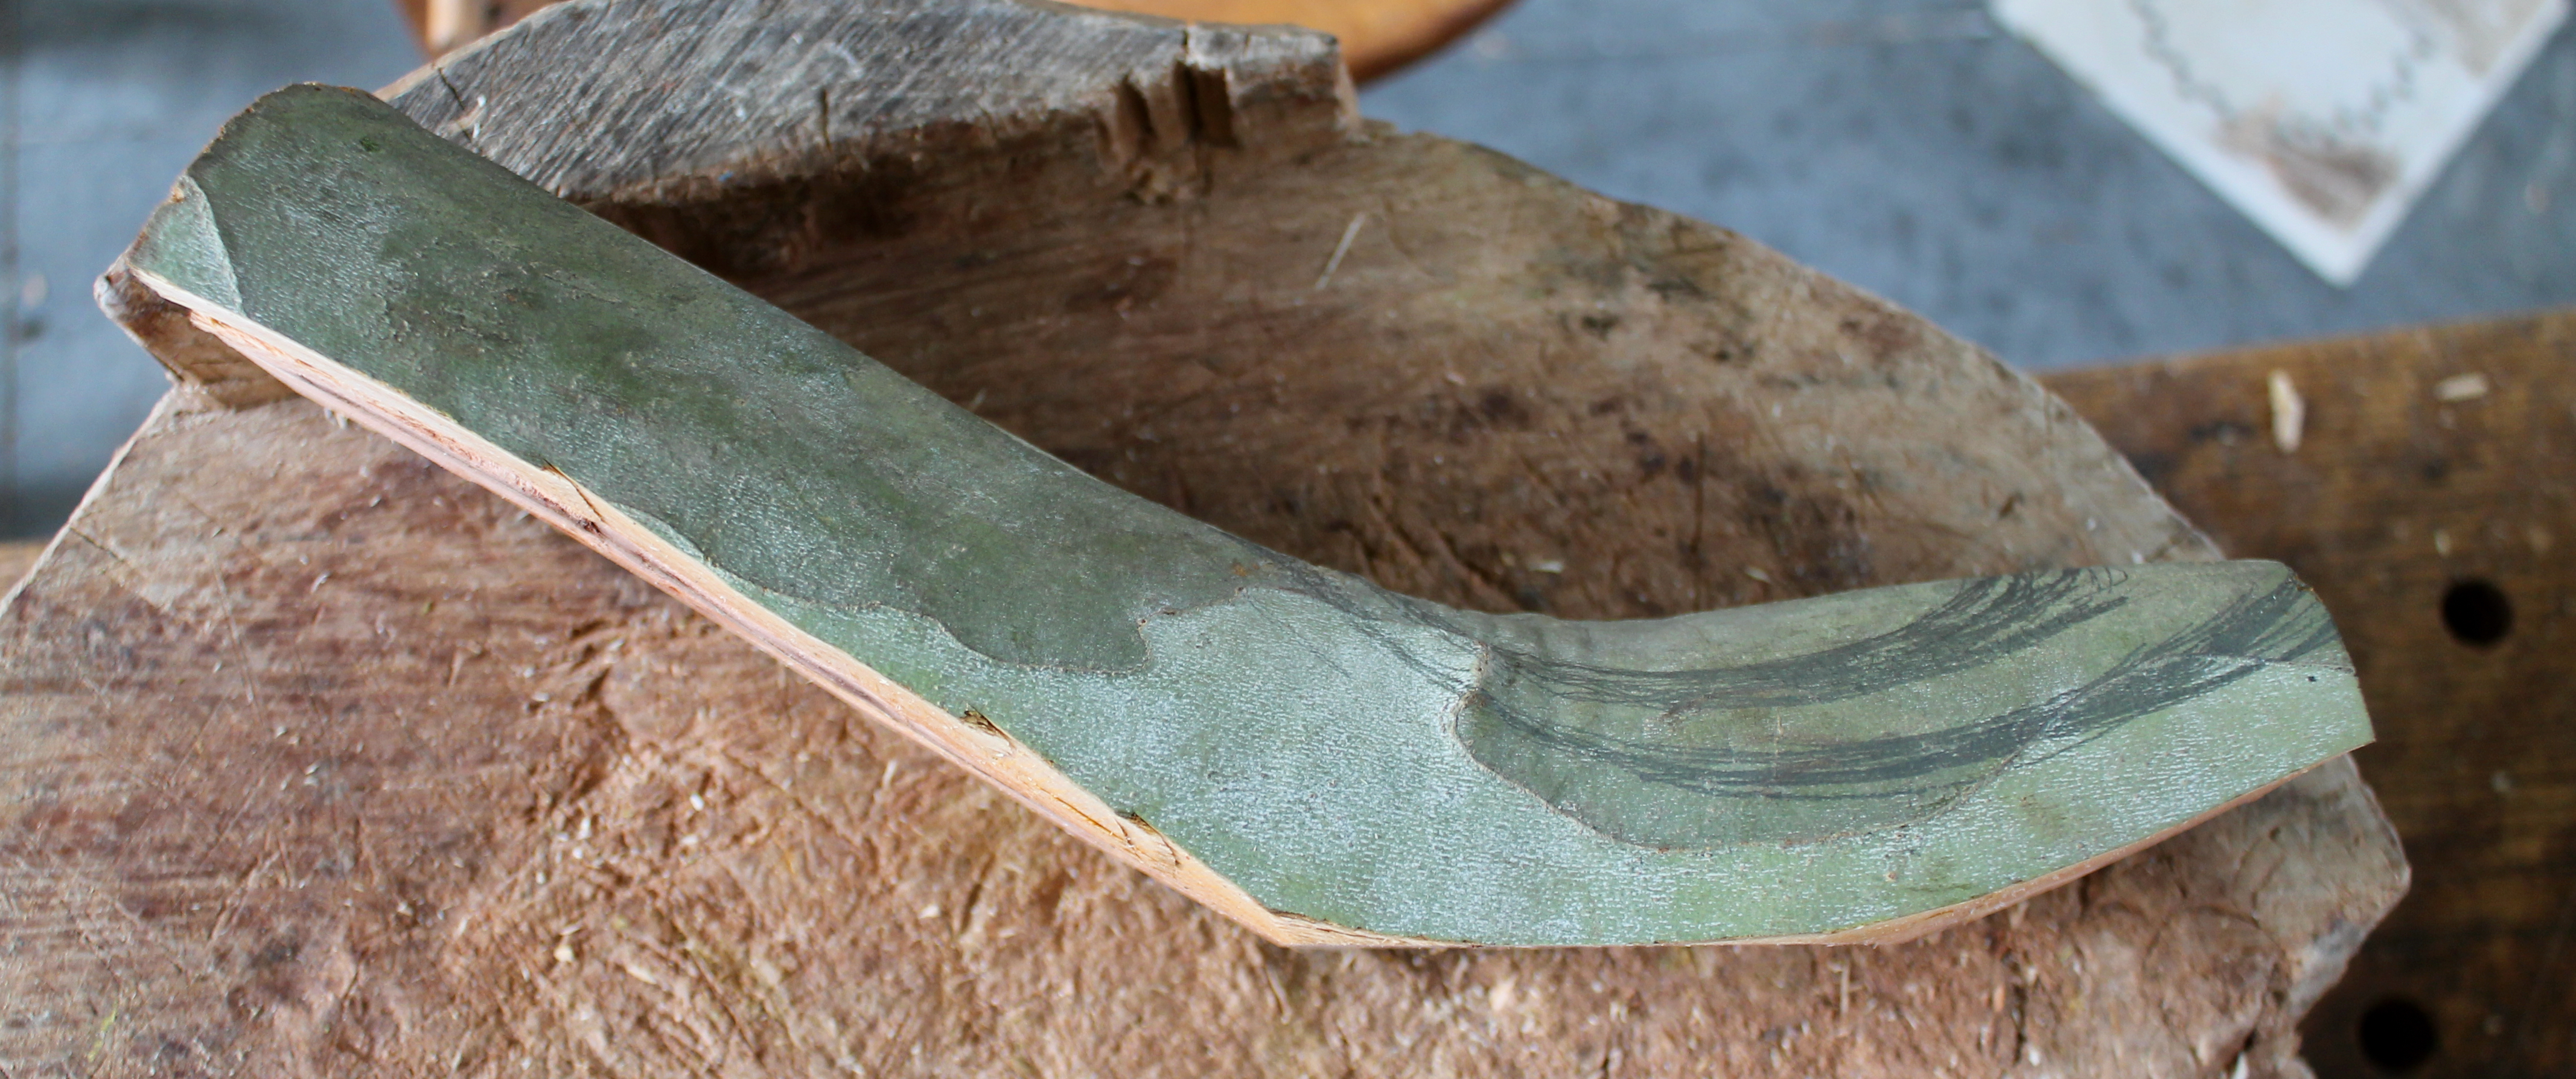
After sawing the sides, I marked the rough thickness and resawed. The lid, and the block, have a quarter sawn orientation to minimize wood movement.

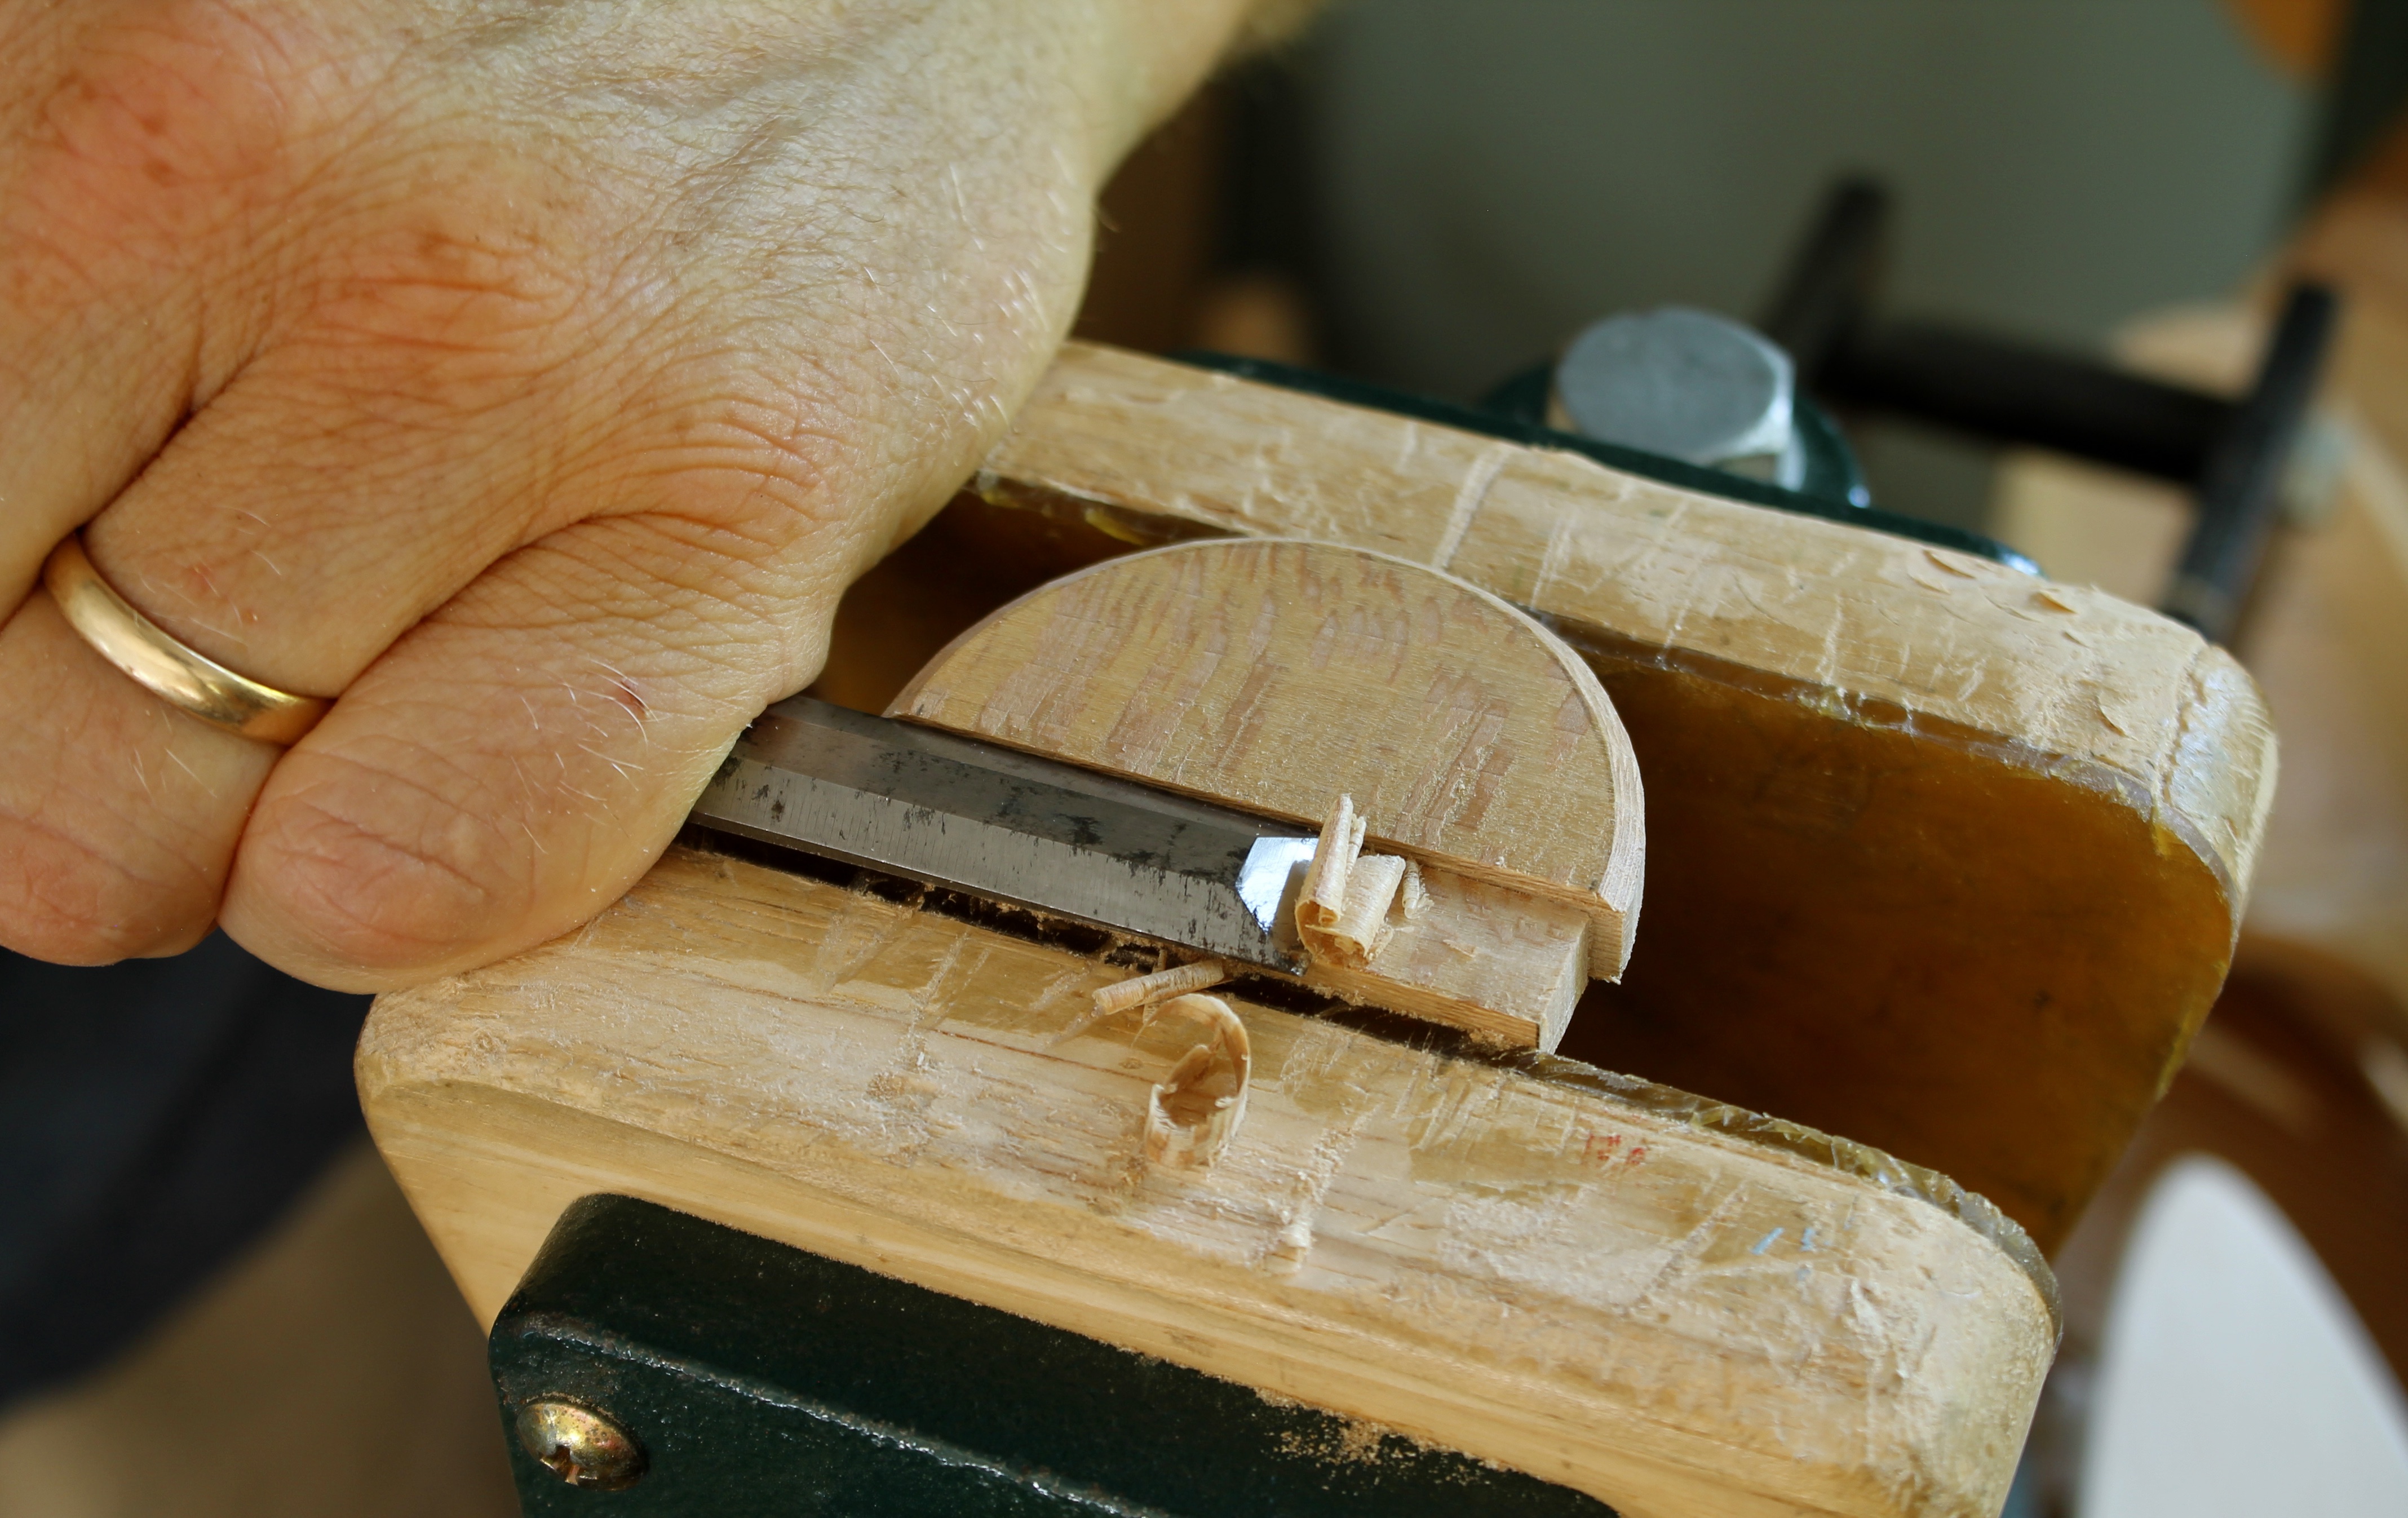
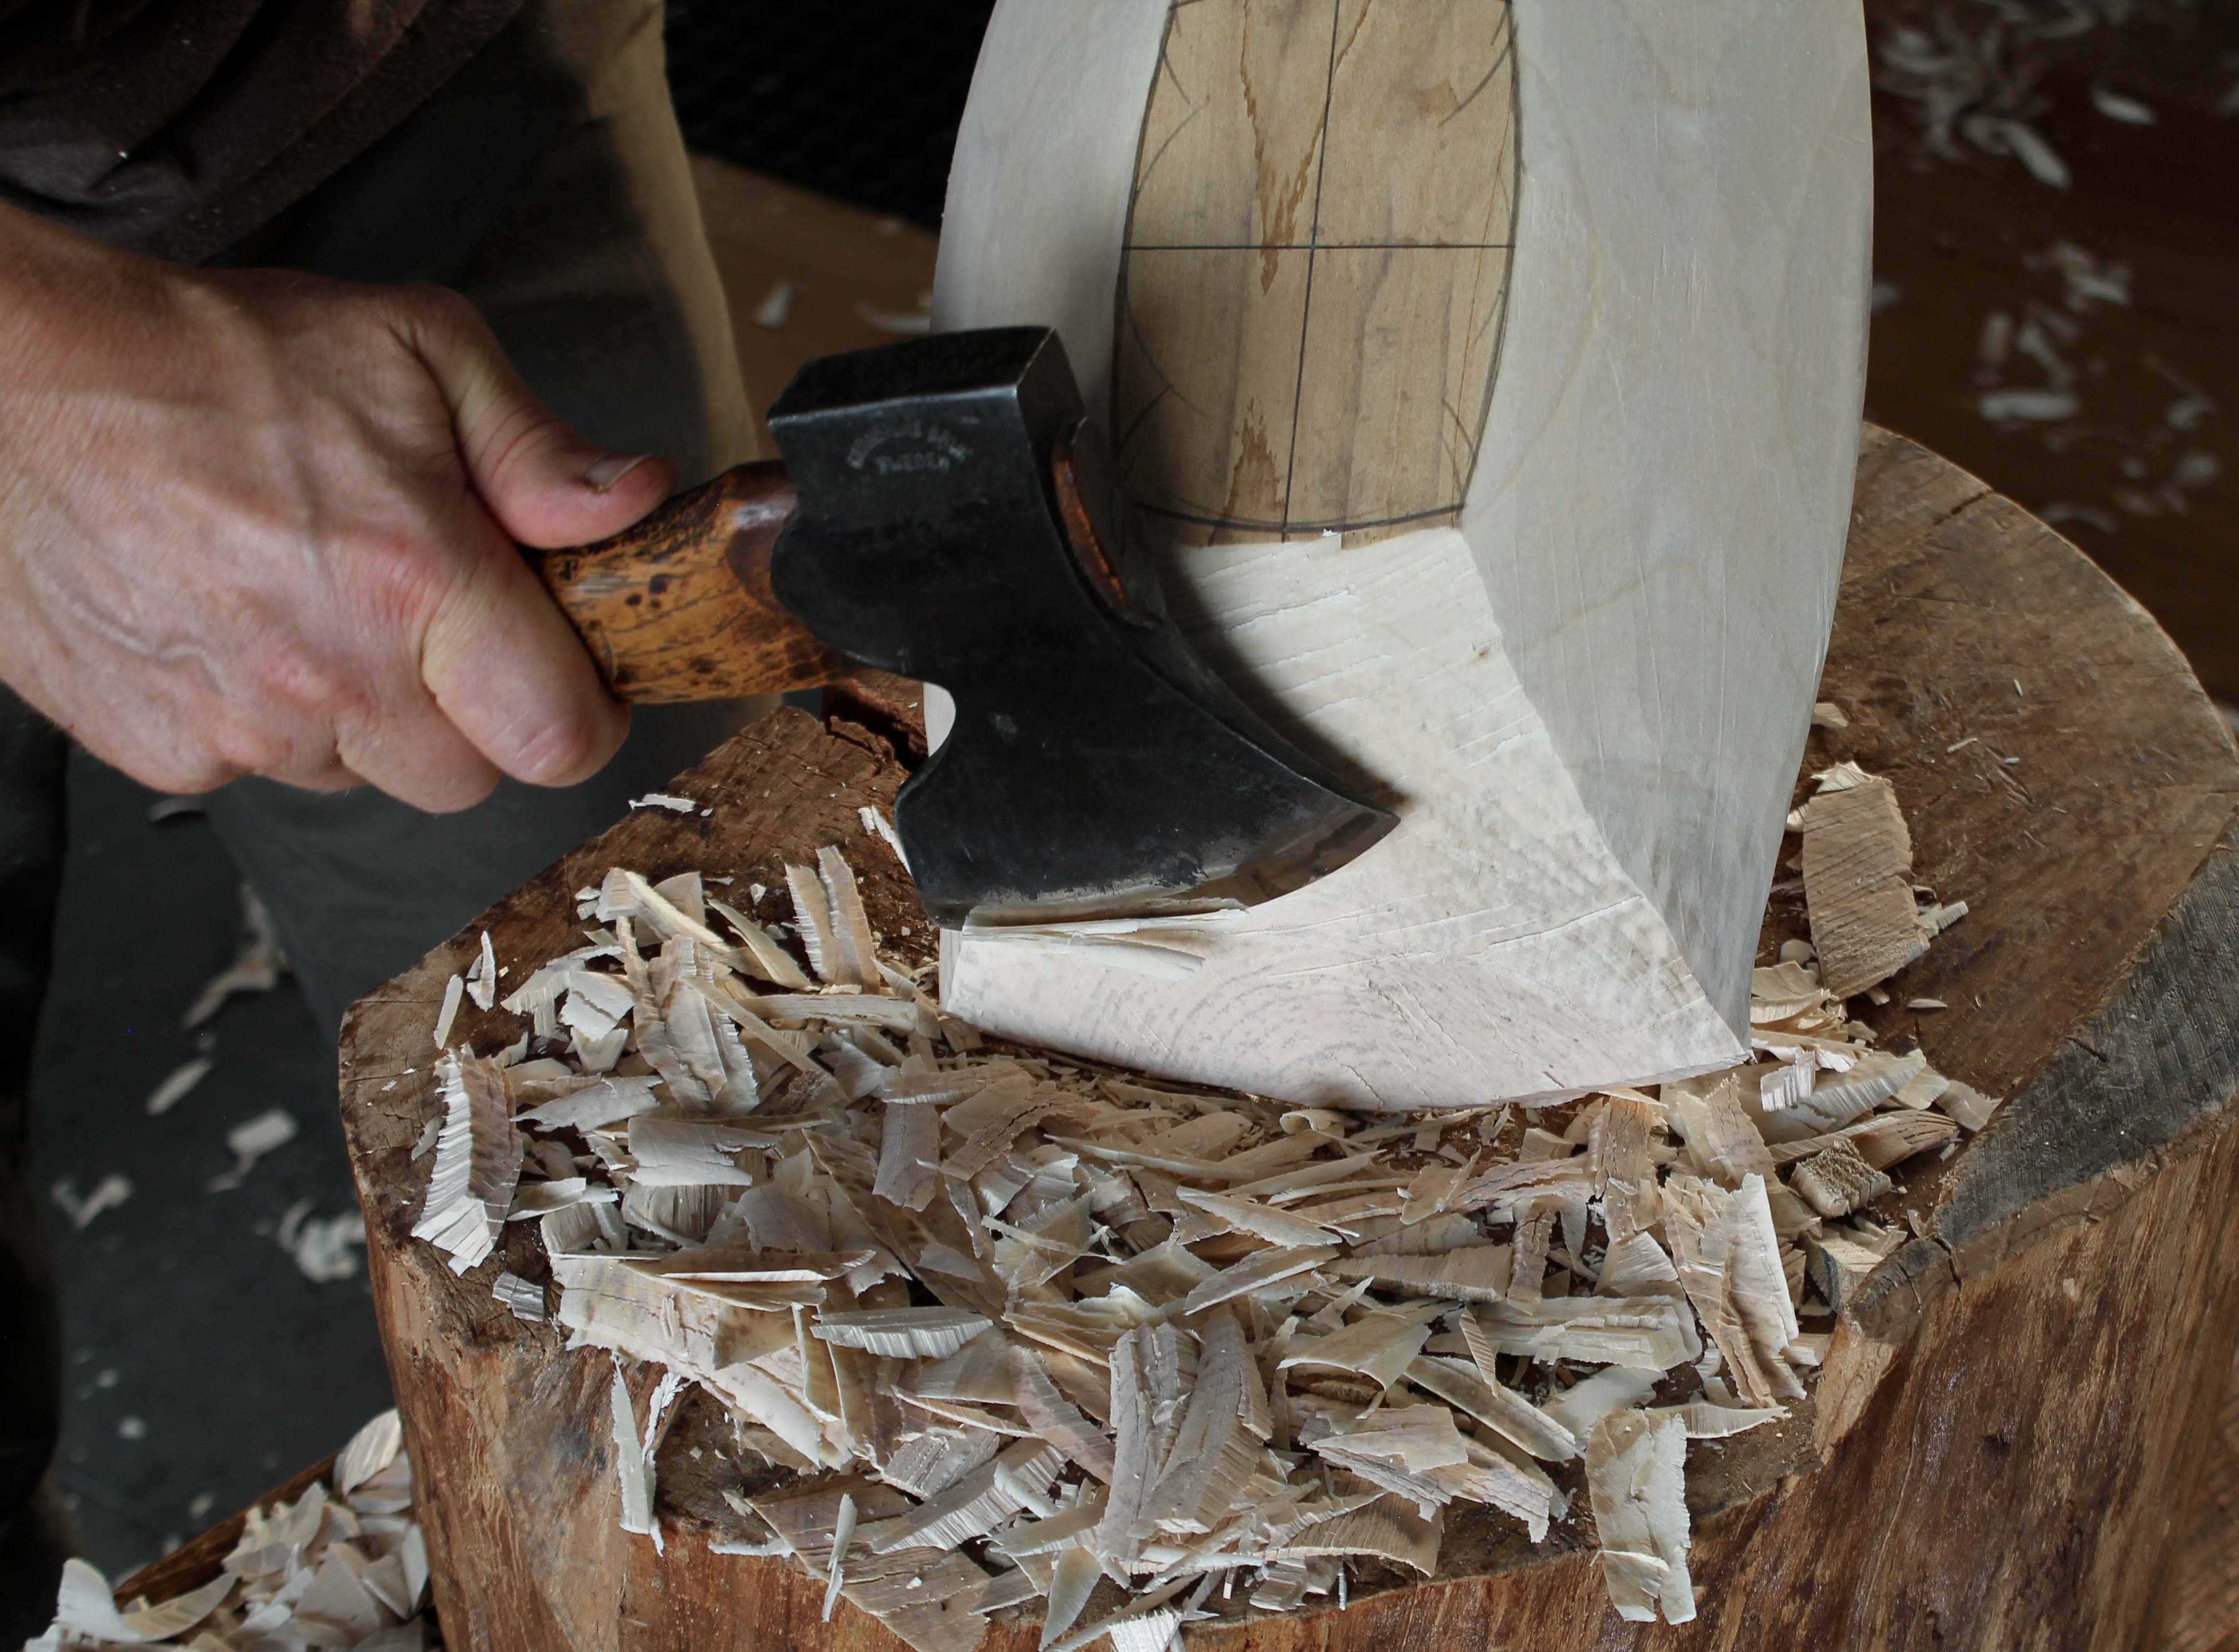
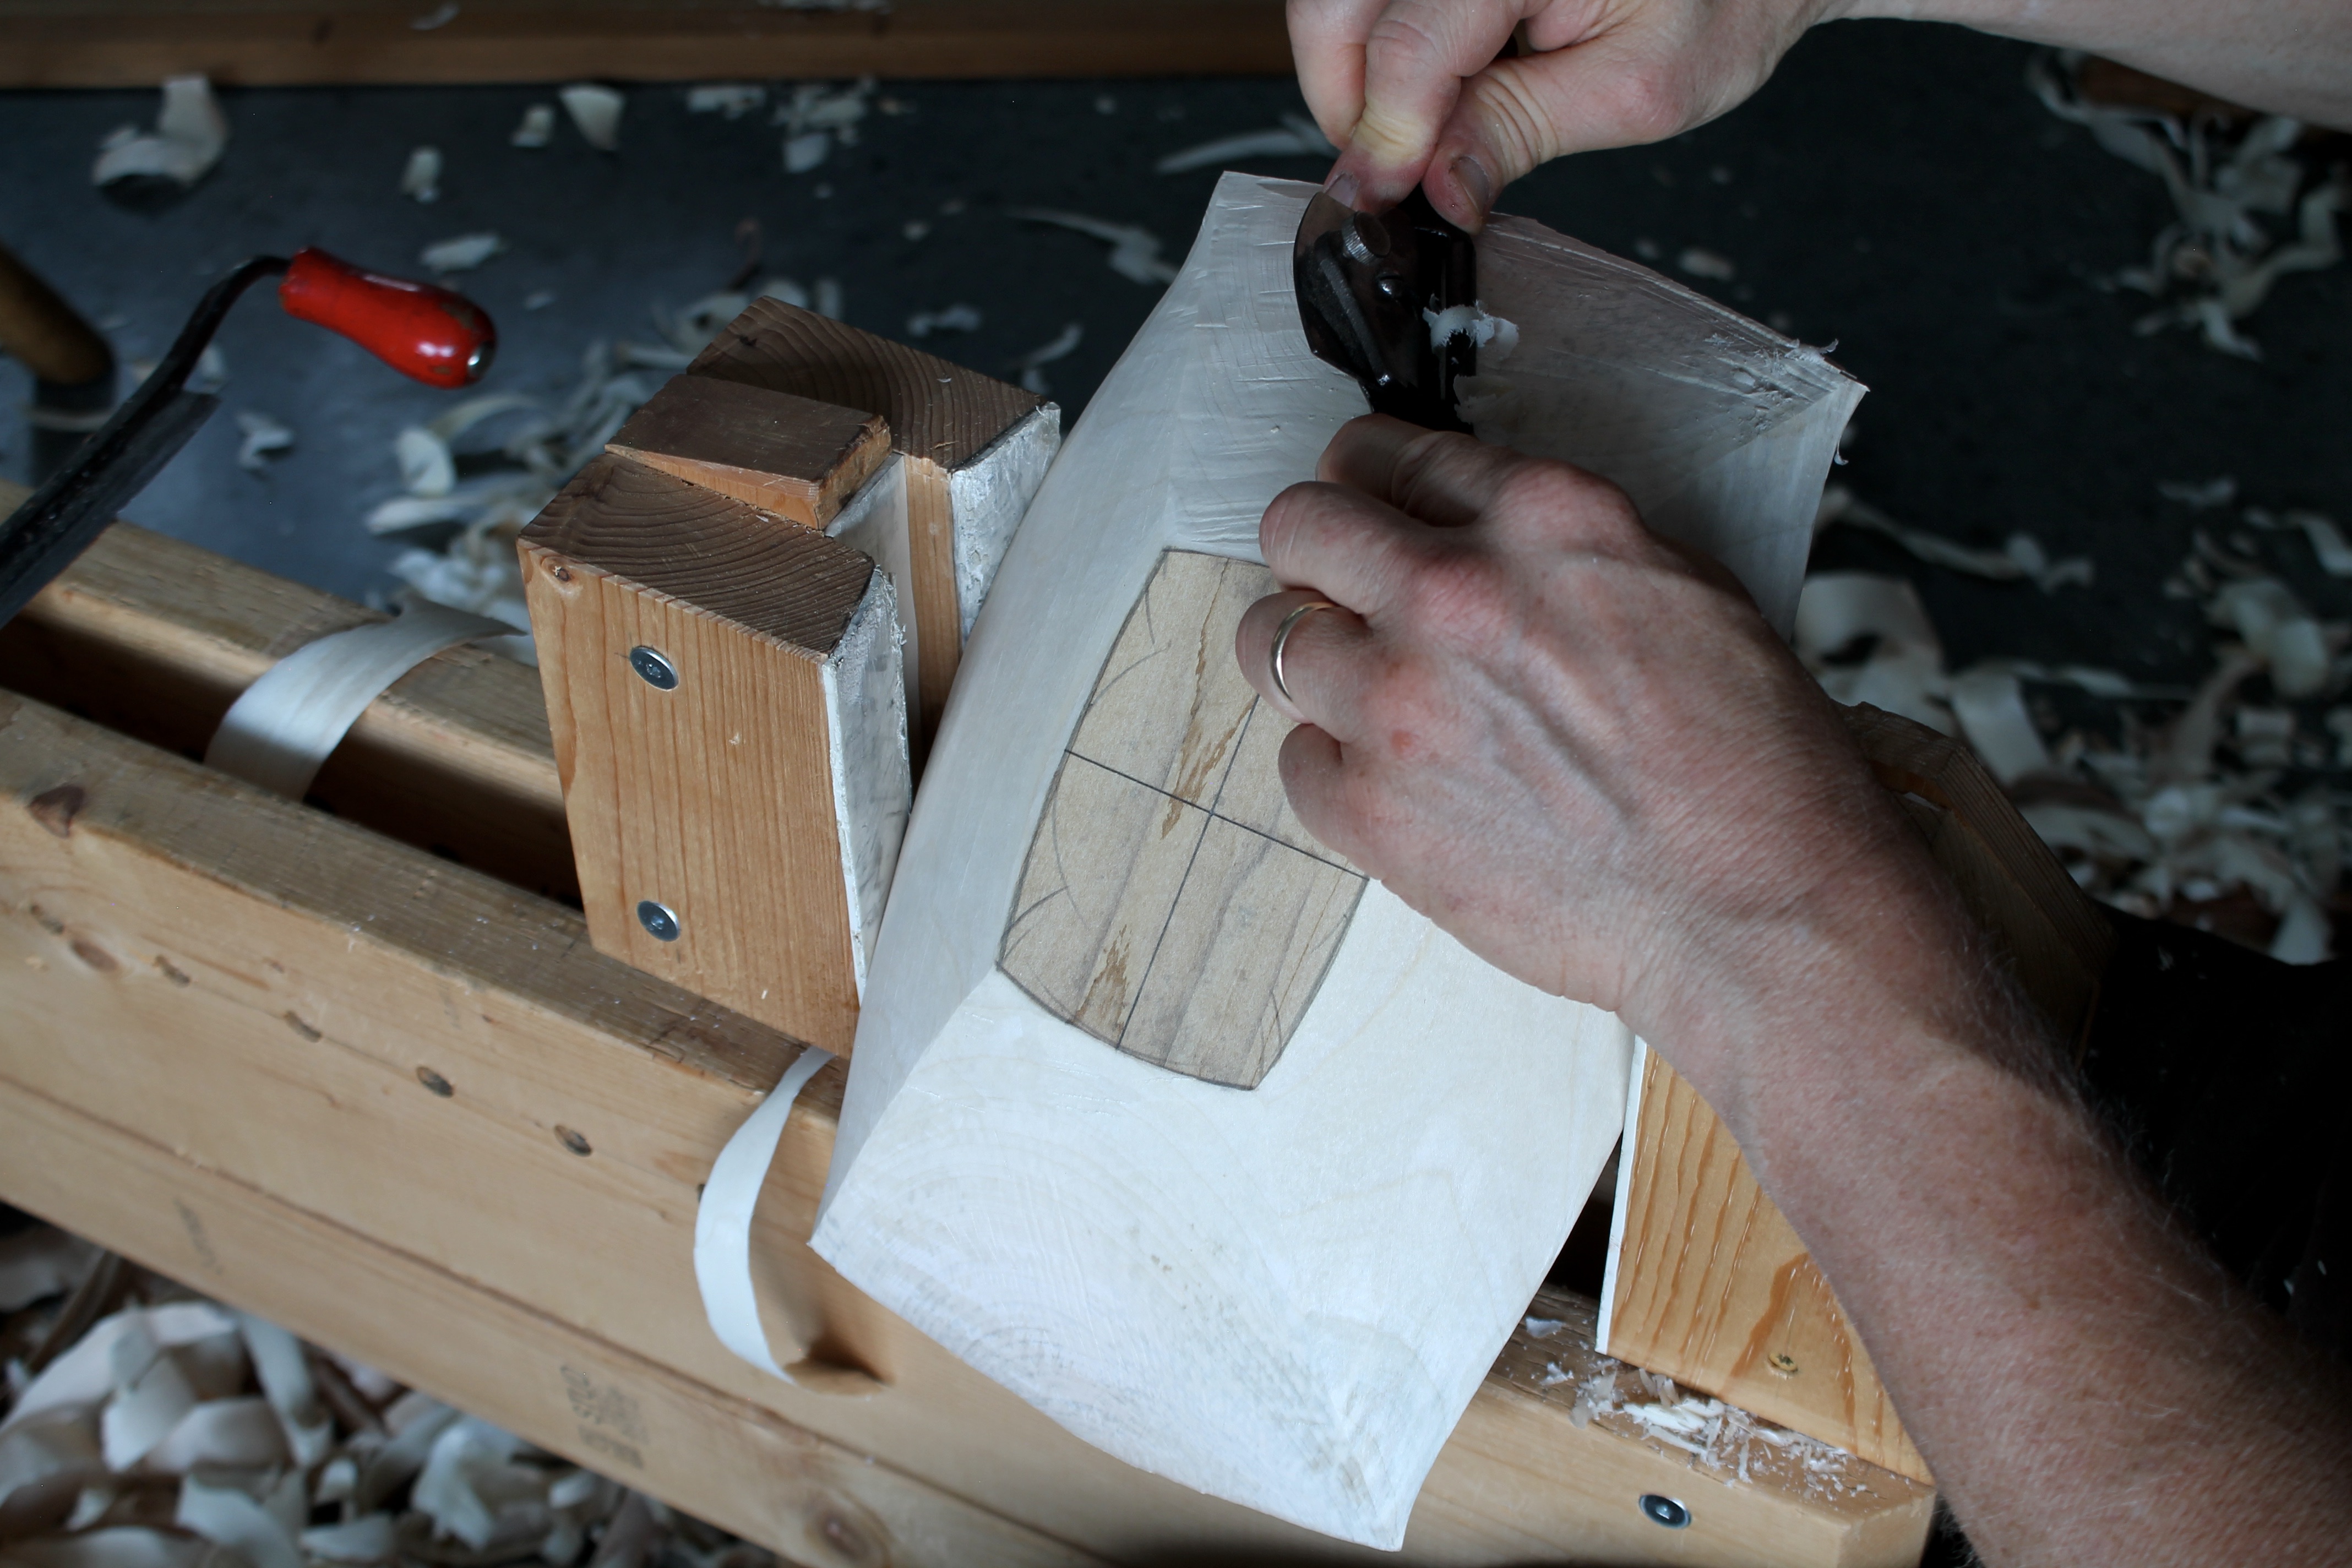
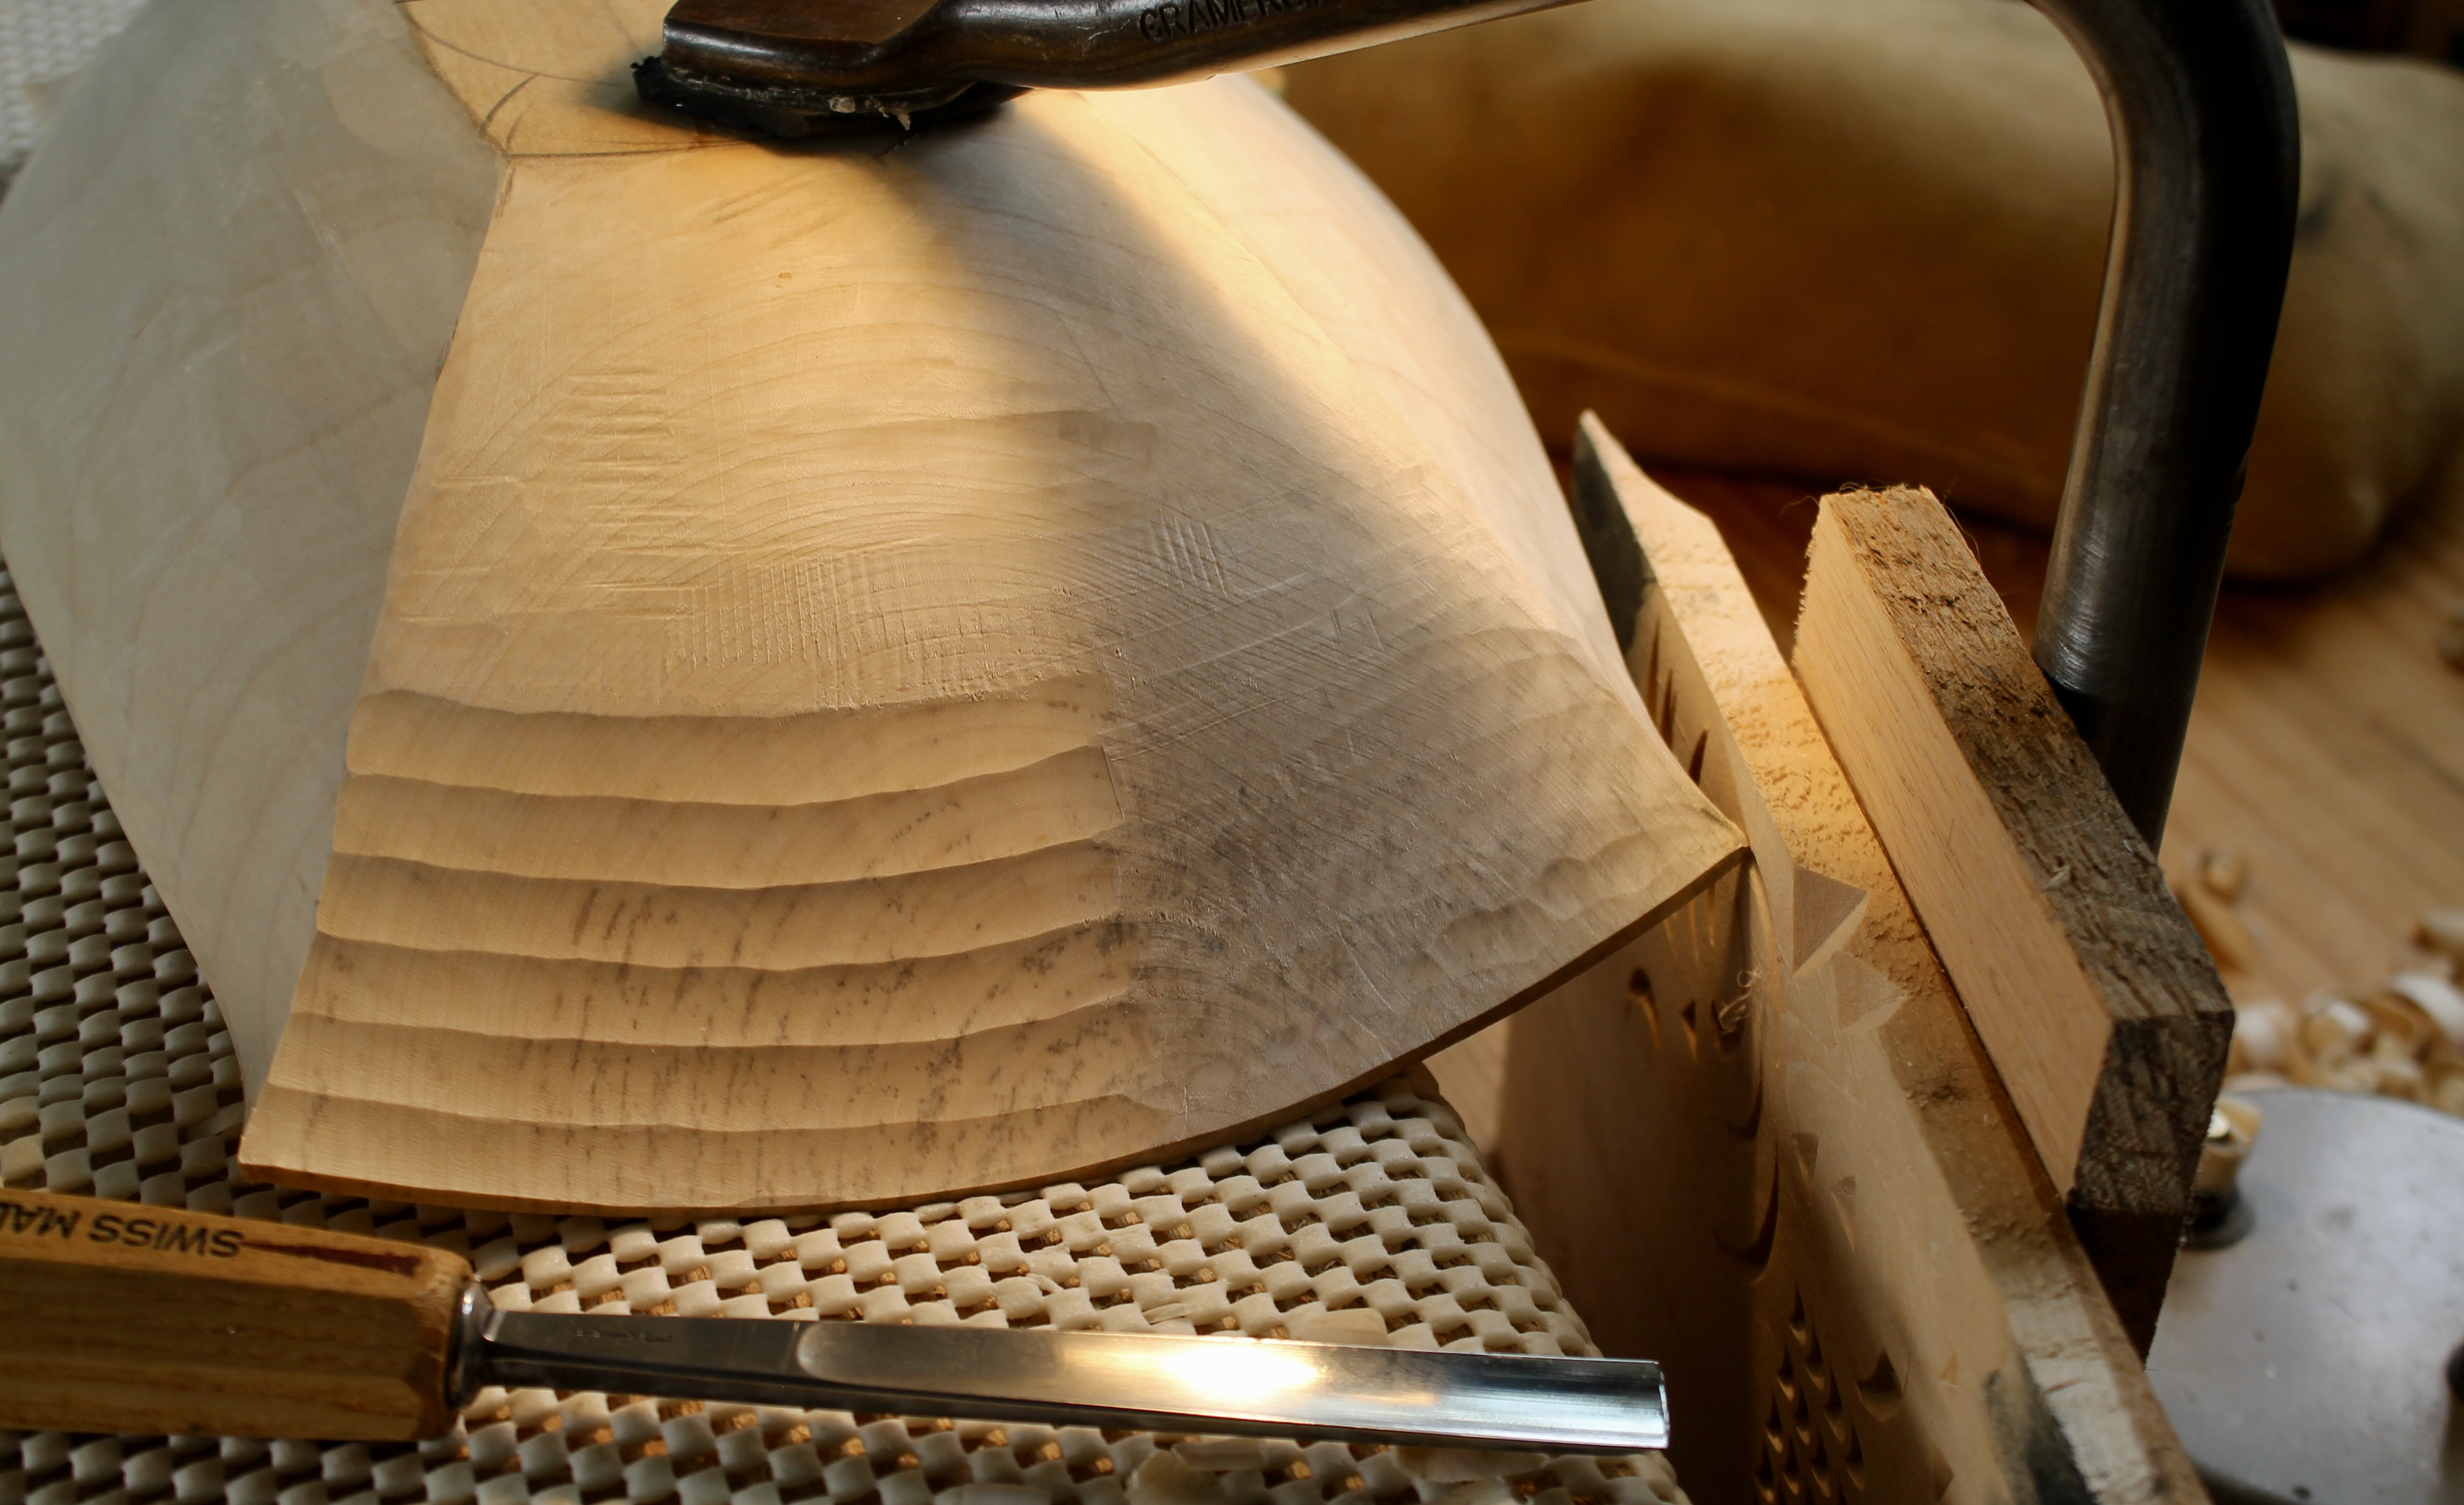
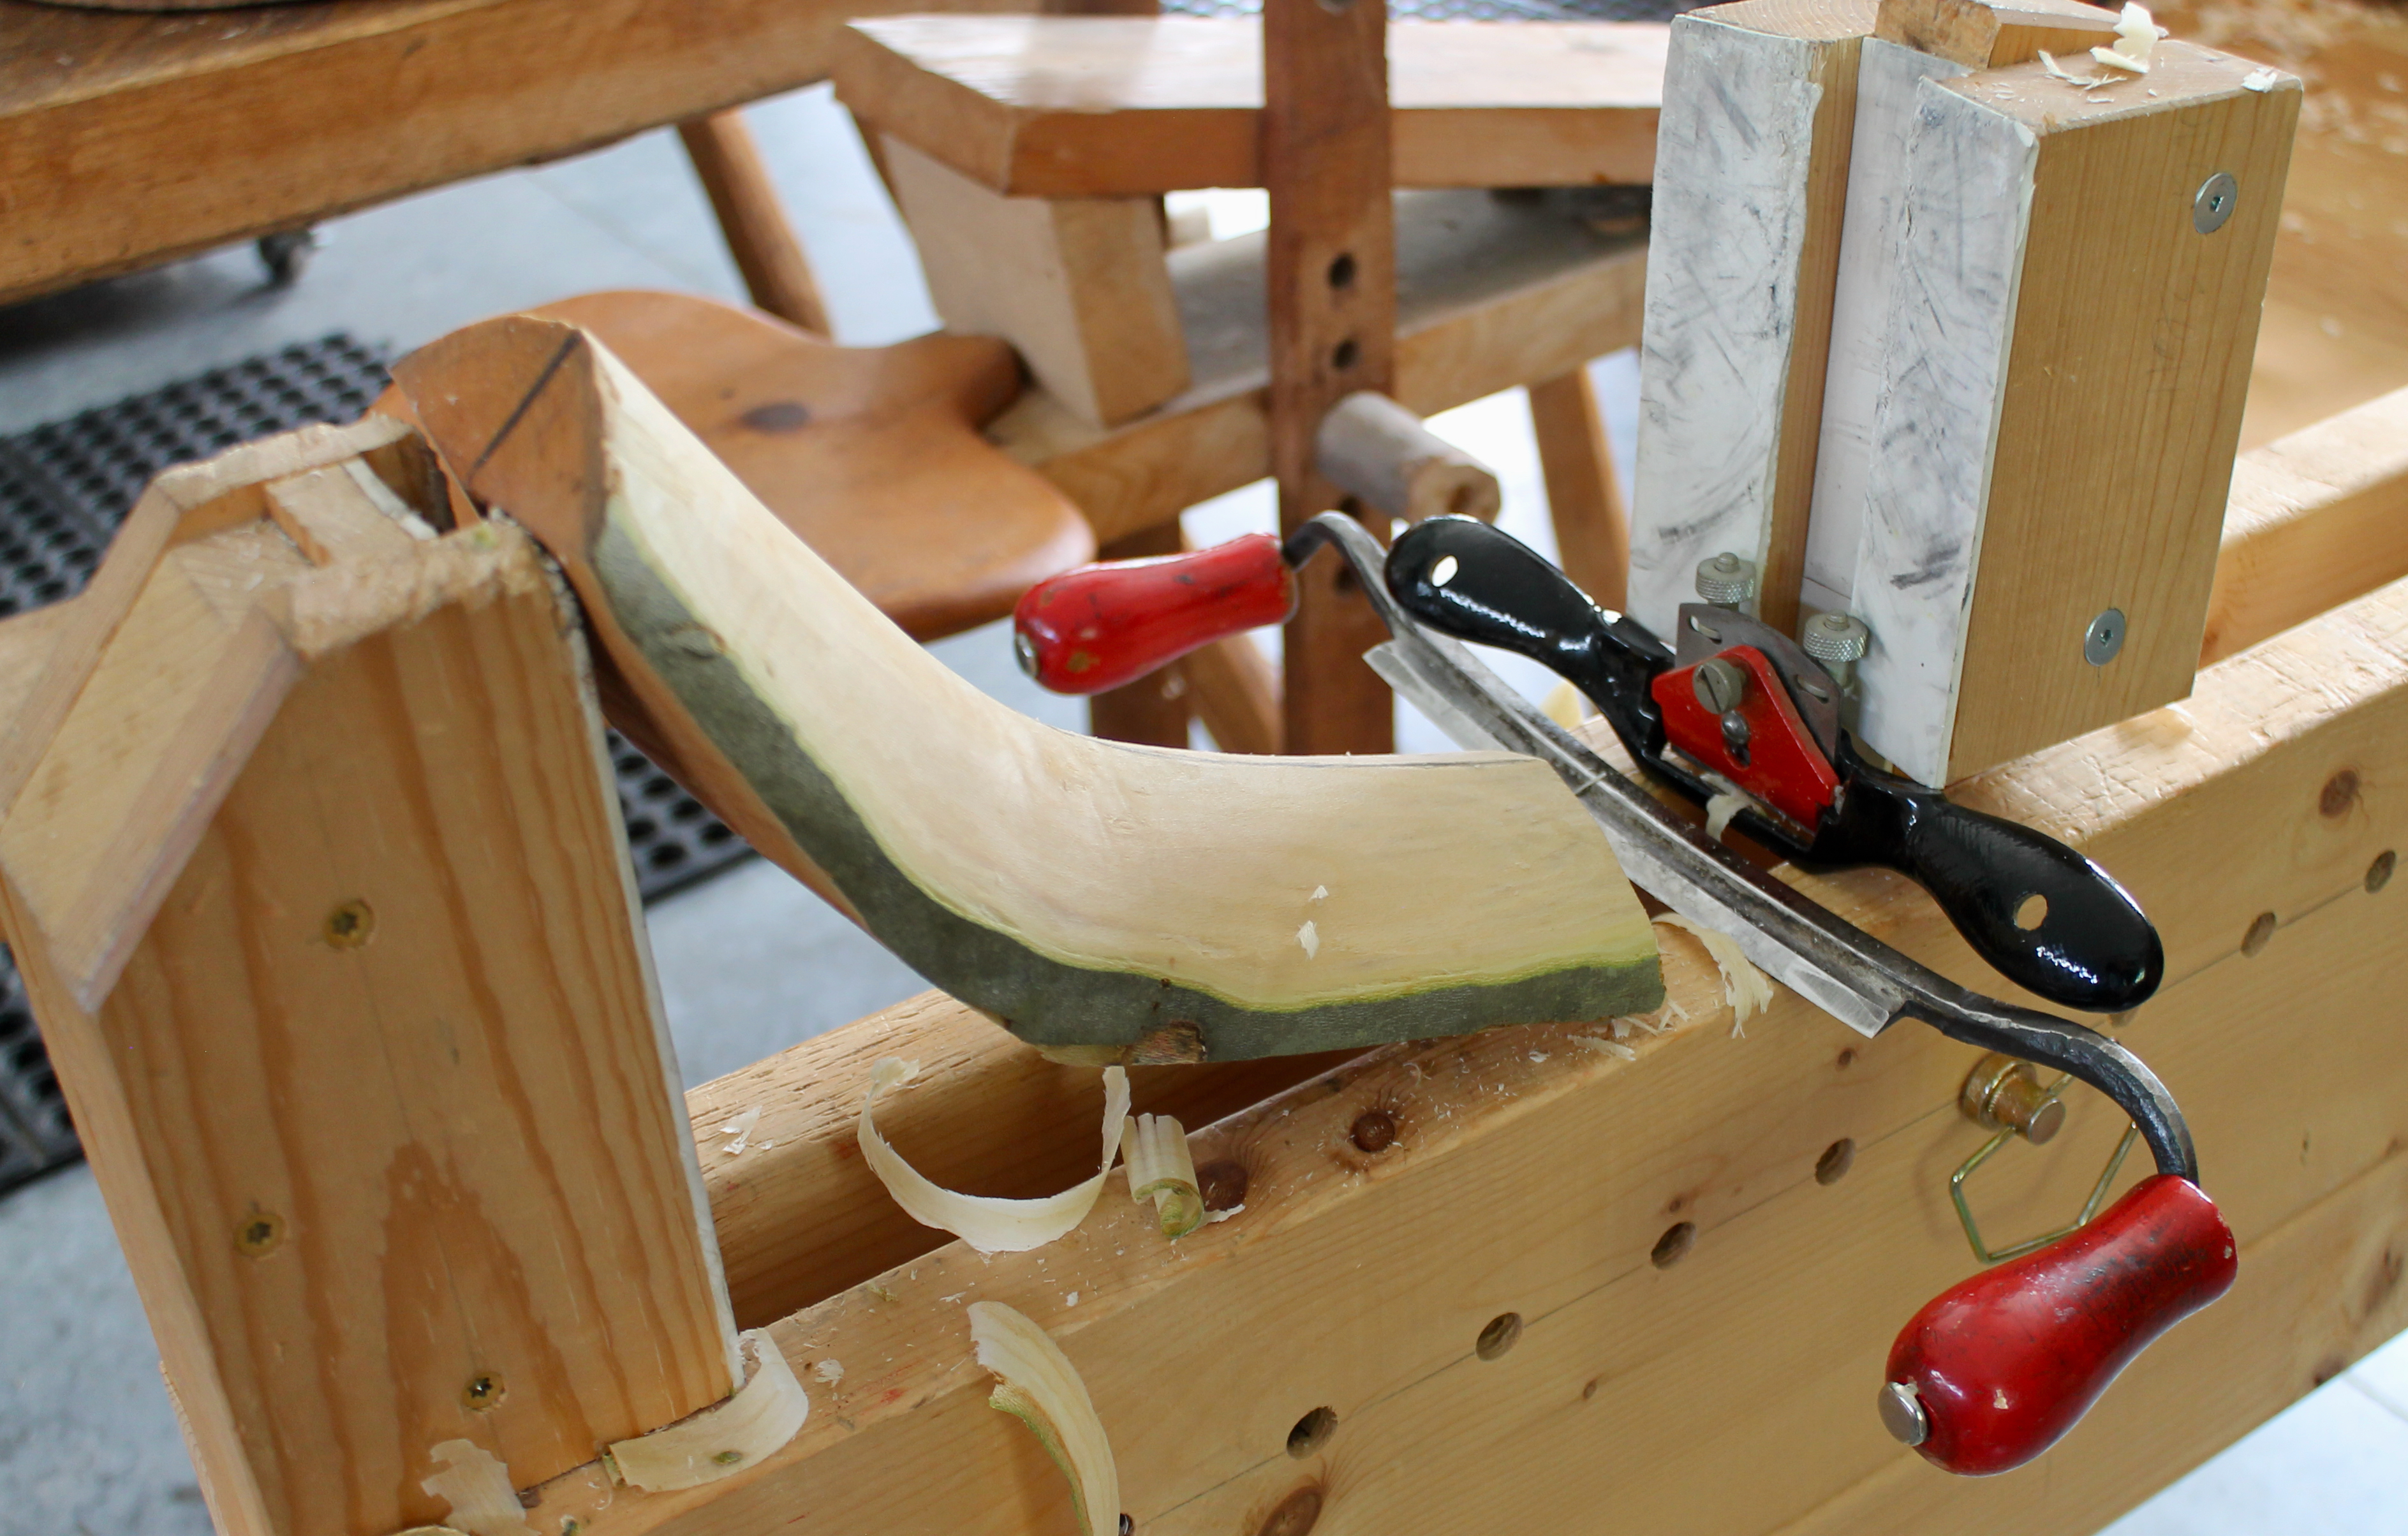
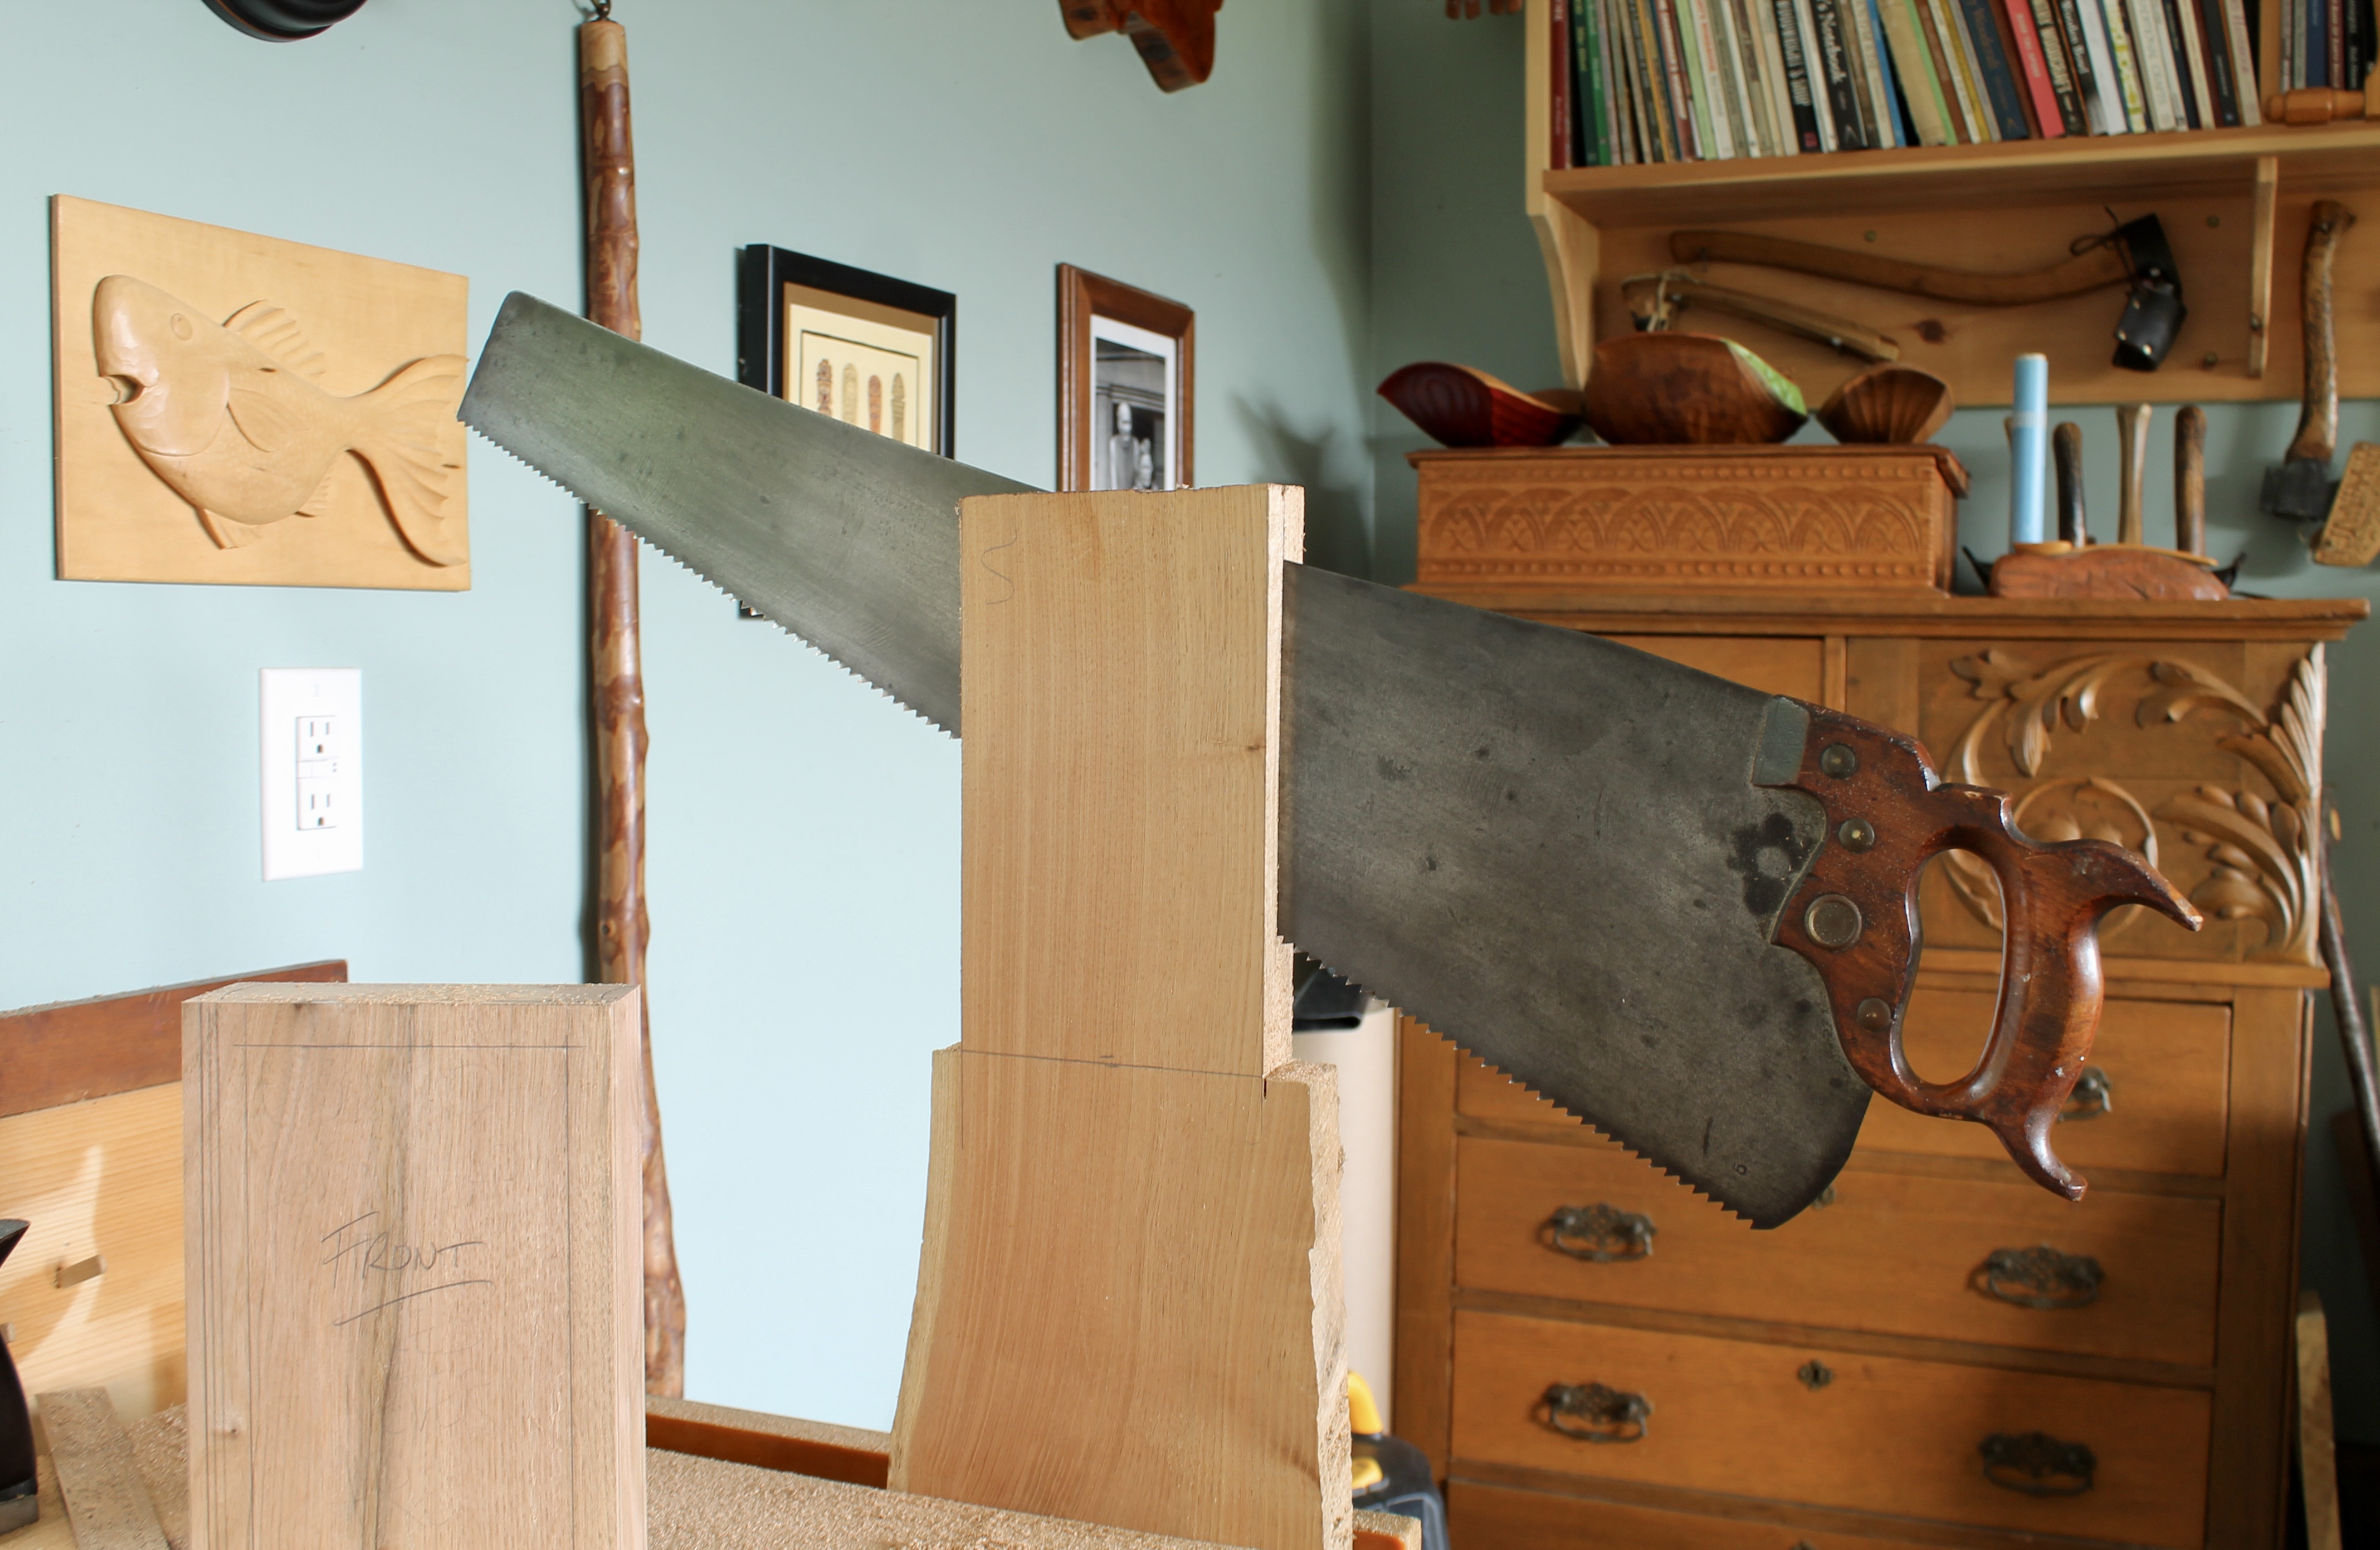
Before I shaped the outside of the block at all, I carved the sliding dovetails in the box, then gradually planed the edges and end of the lid to match, sneaking up on the final fit. In the photo above, that’s as far as the lid would go at that point. There’s a very slight taper from the open end to the closed end. One or two more shavings off the side of the lid, then it was on to shaping the top of the lid and carving the background for the cover image.
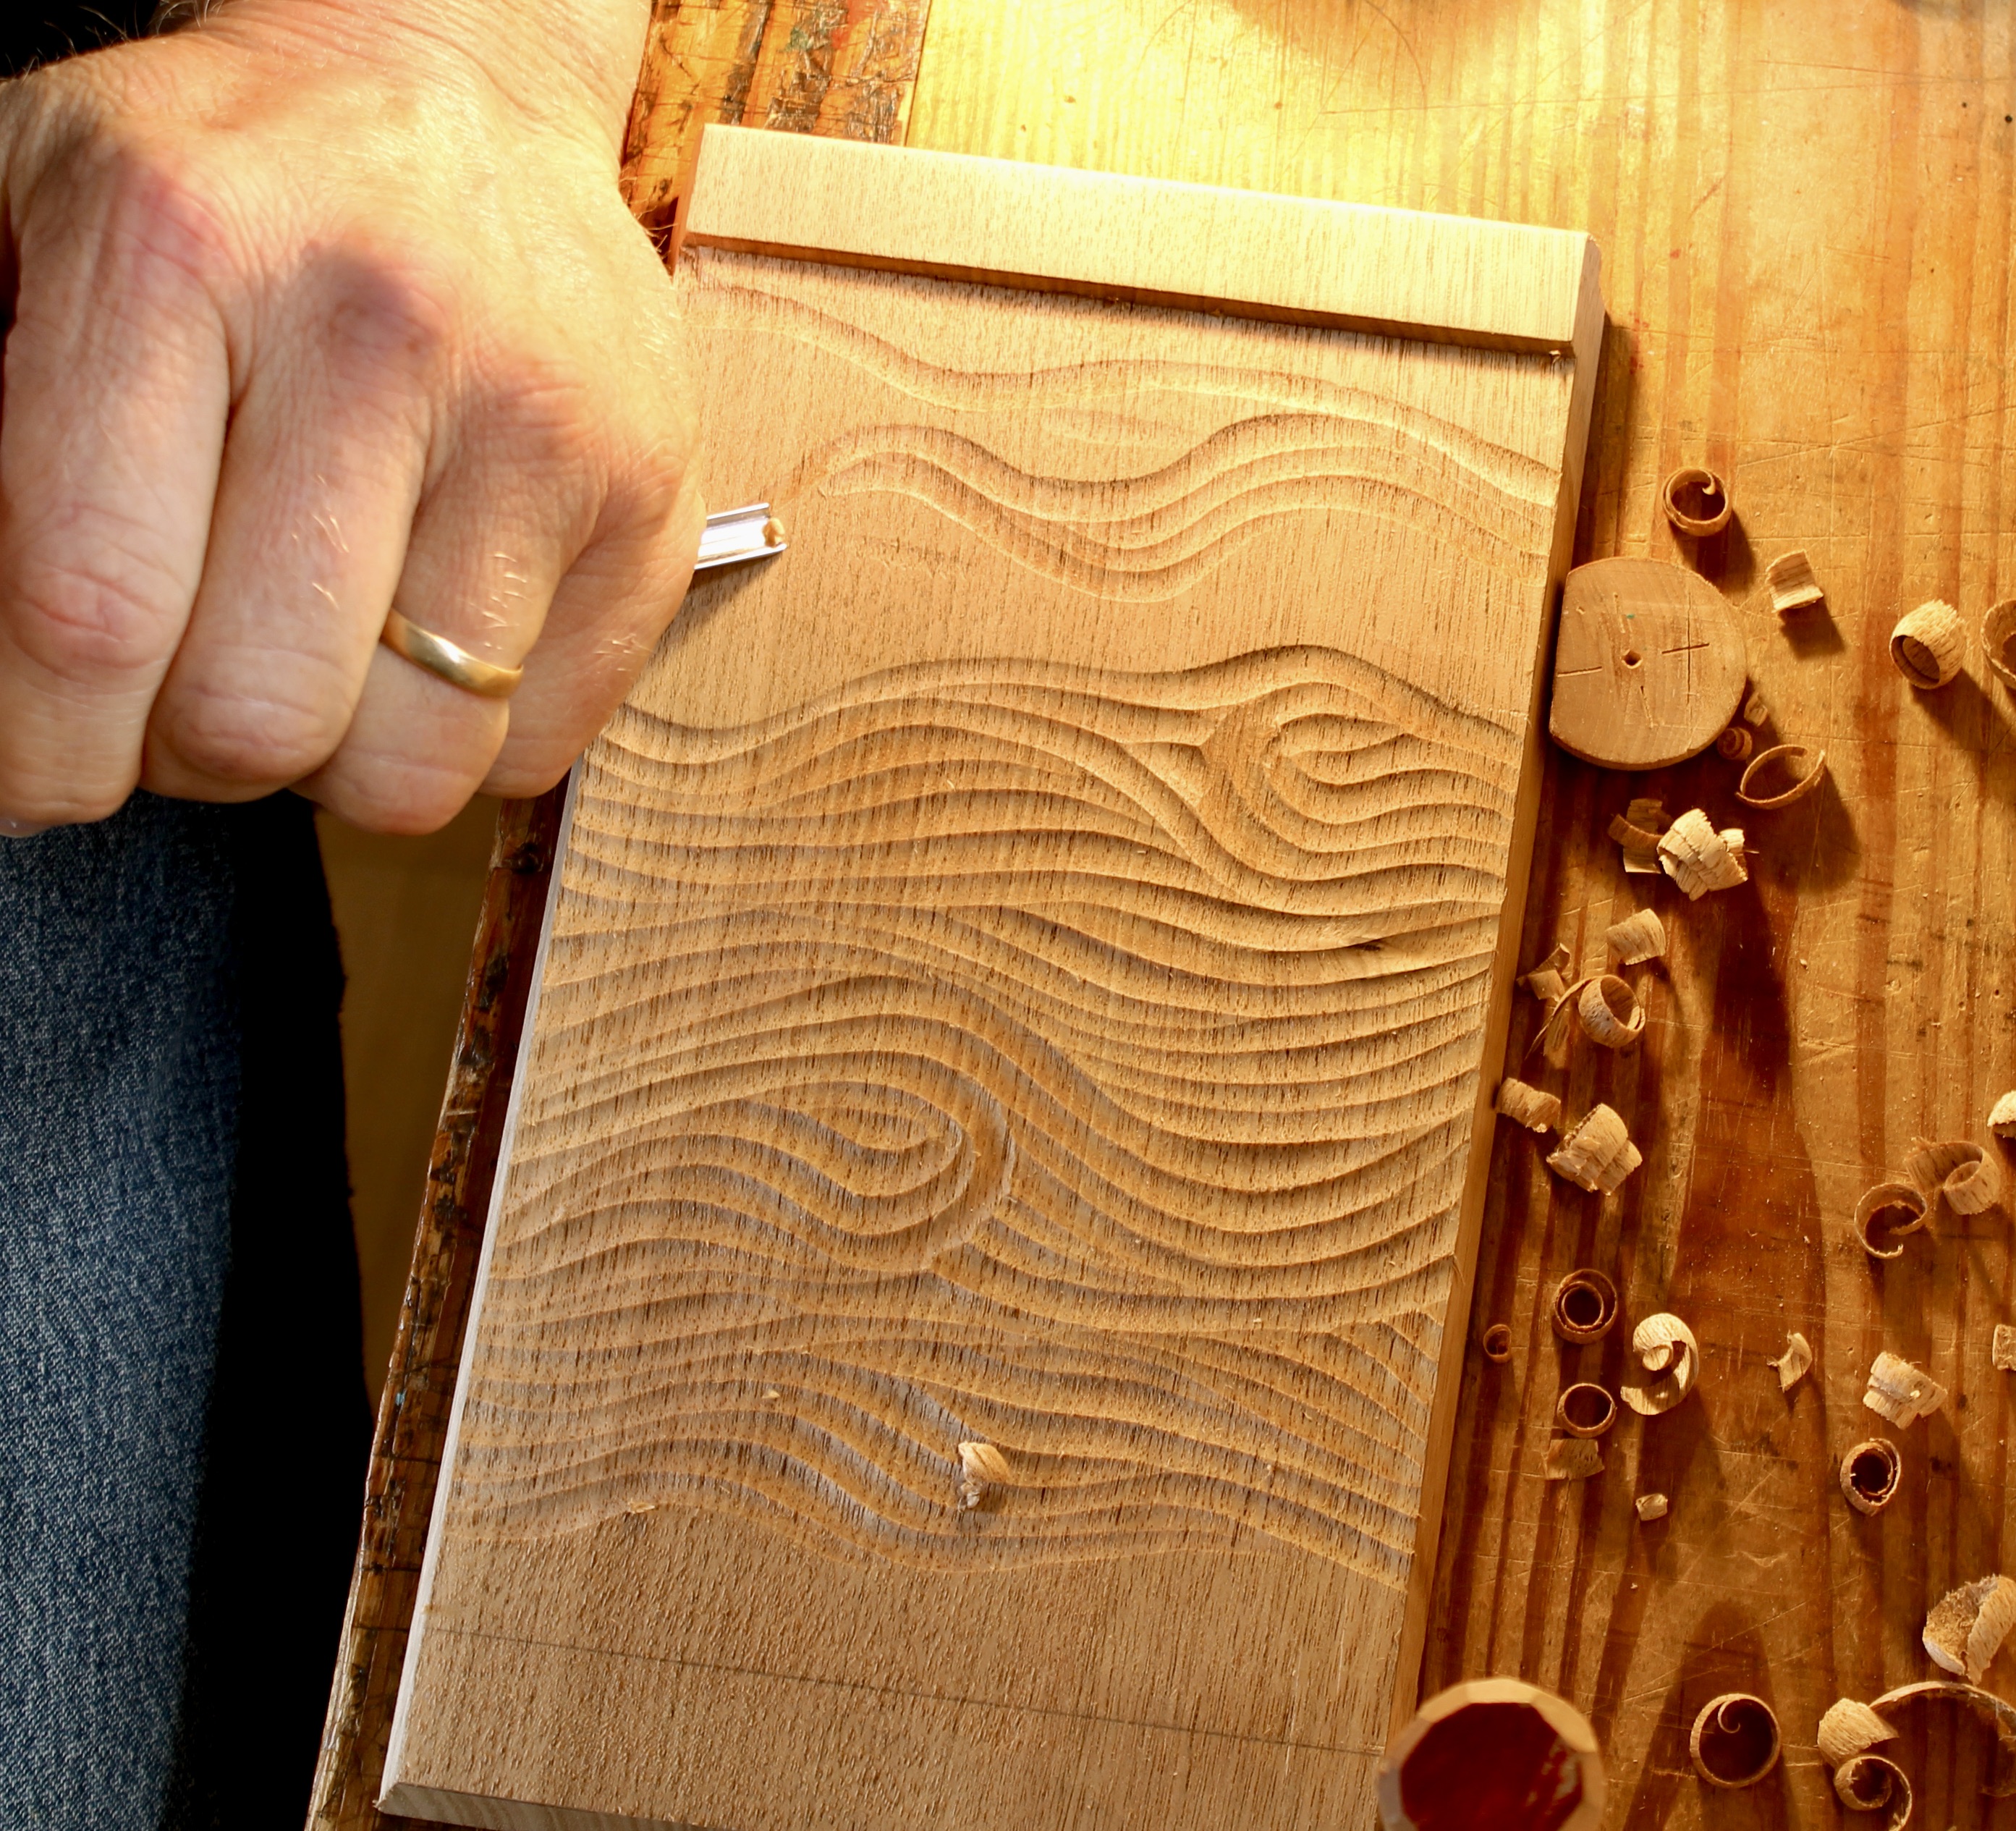
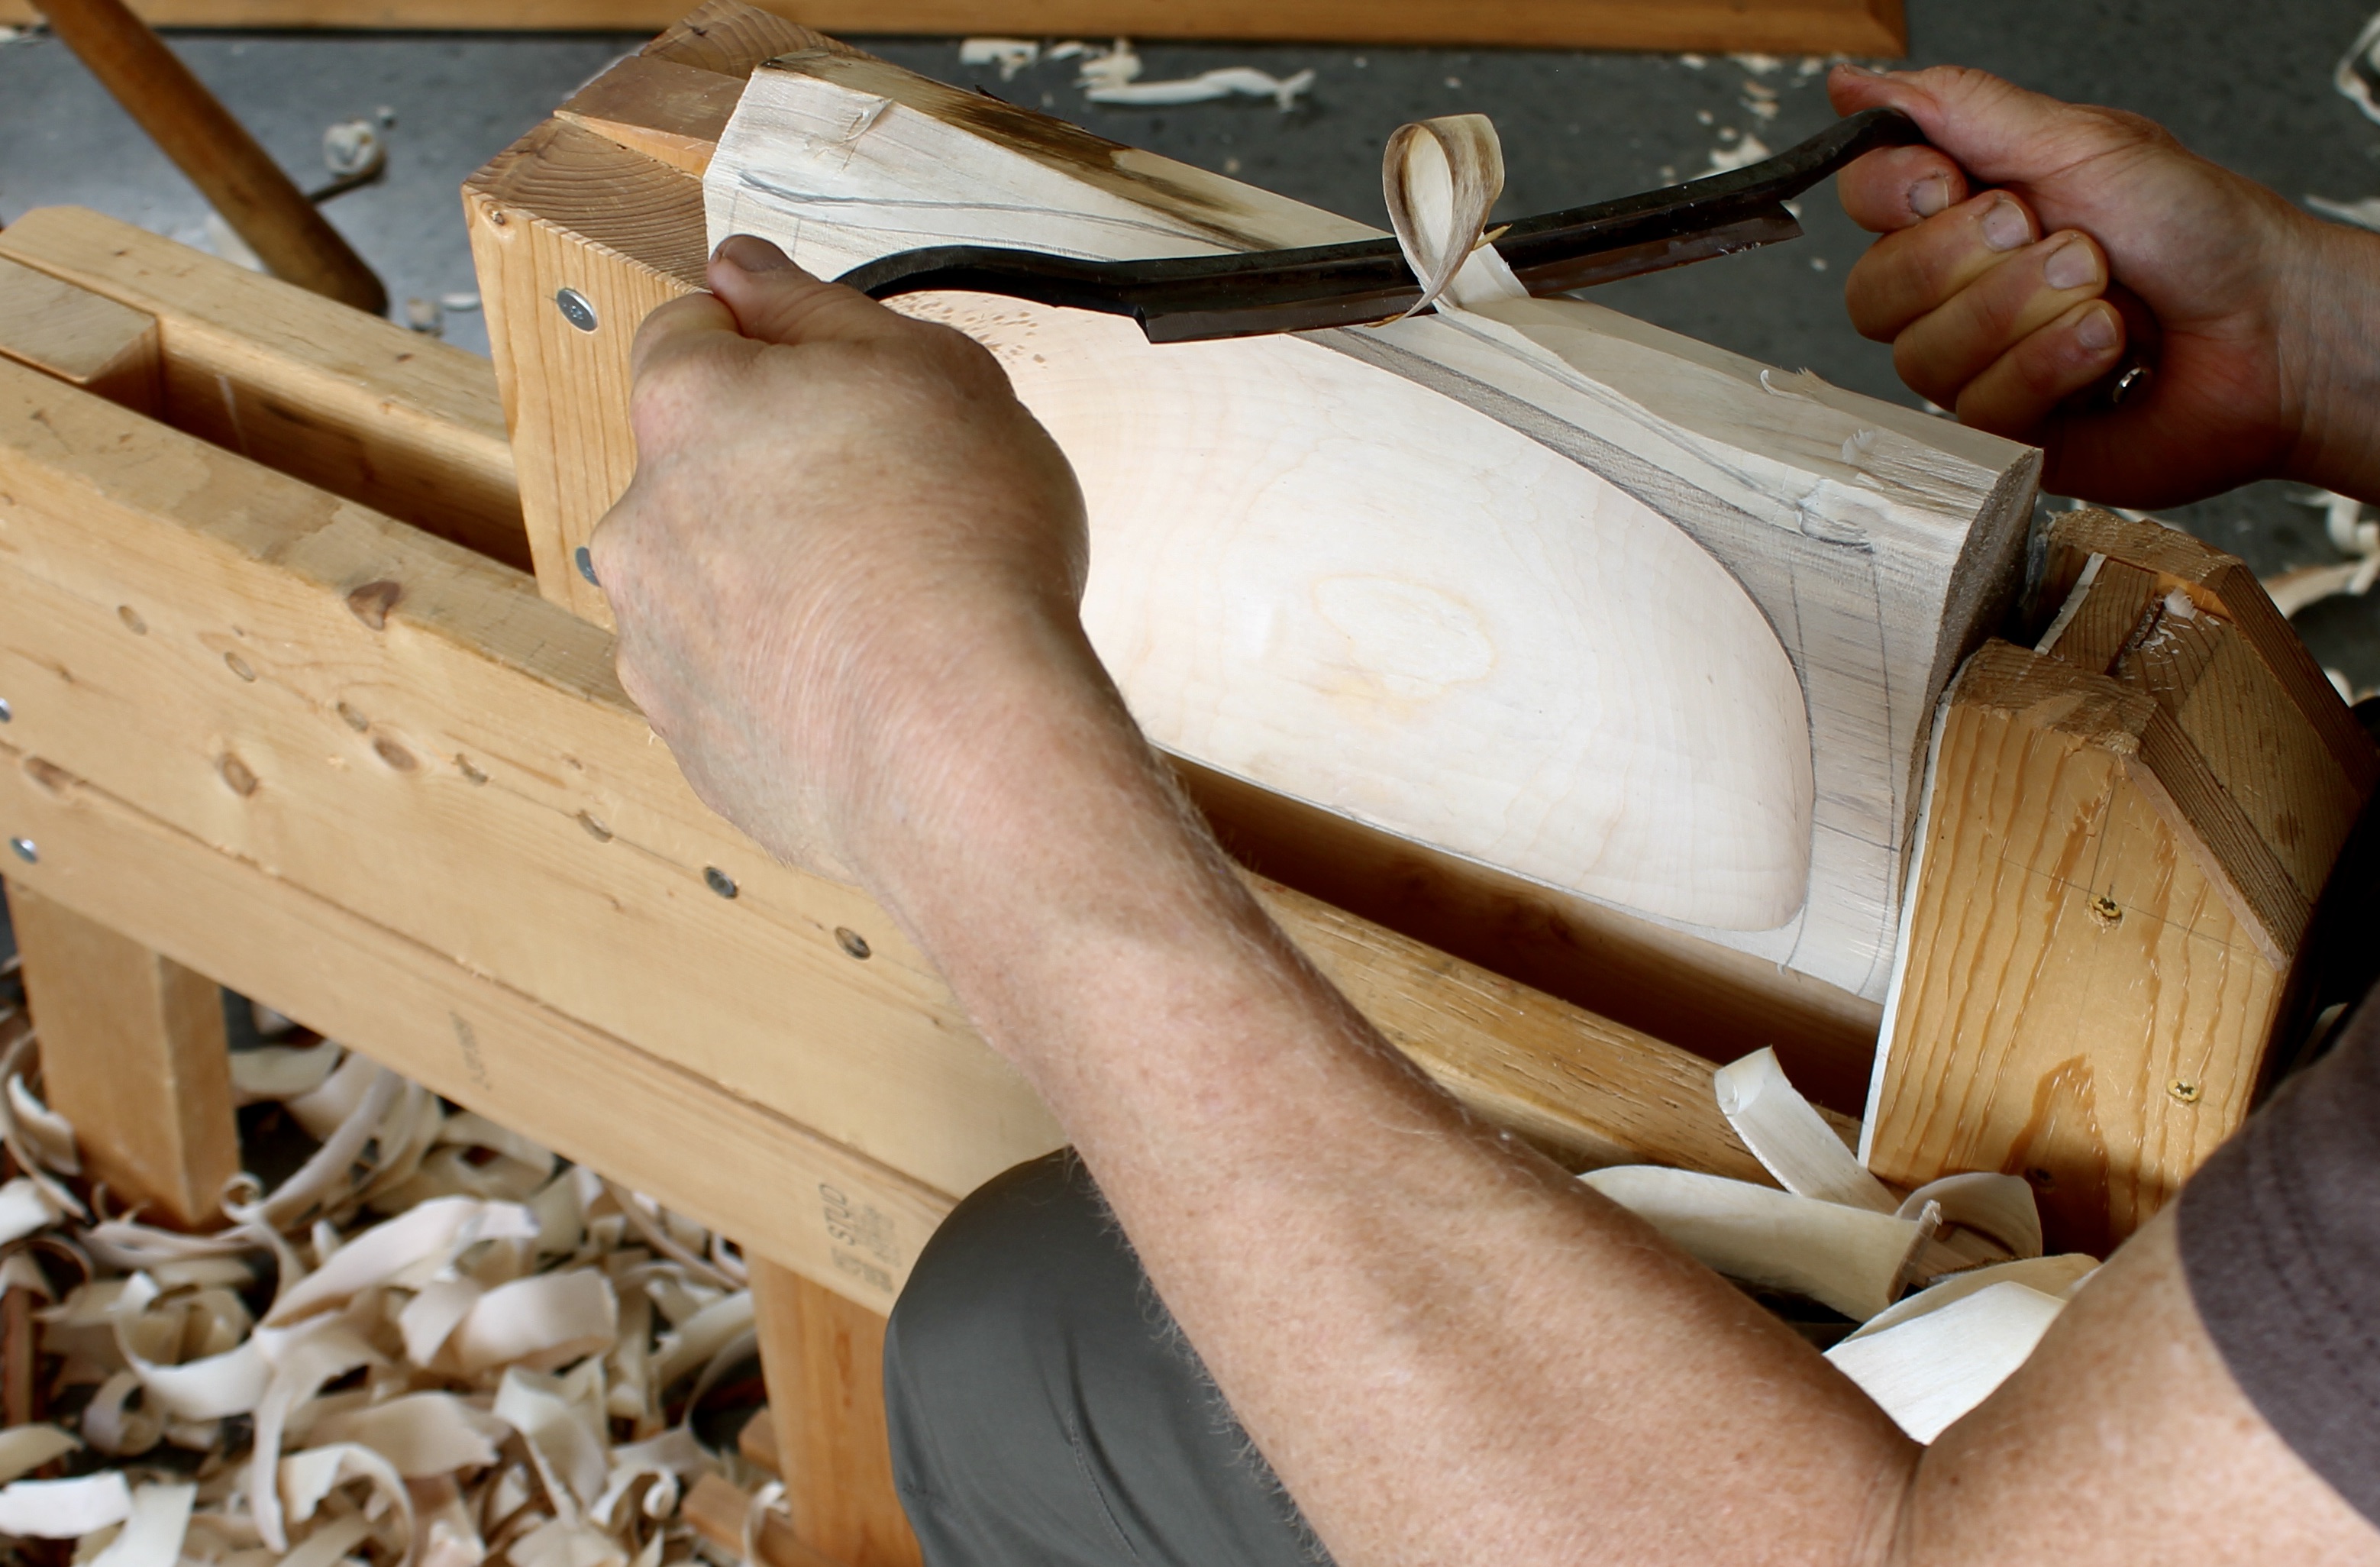
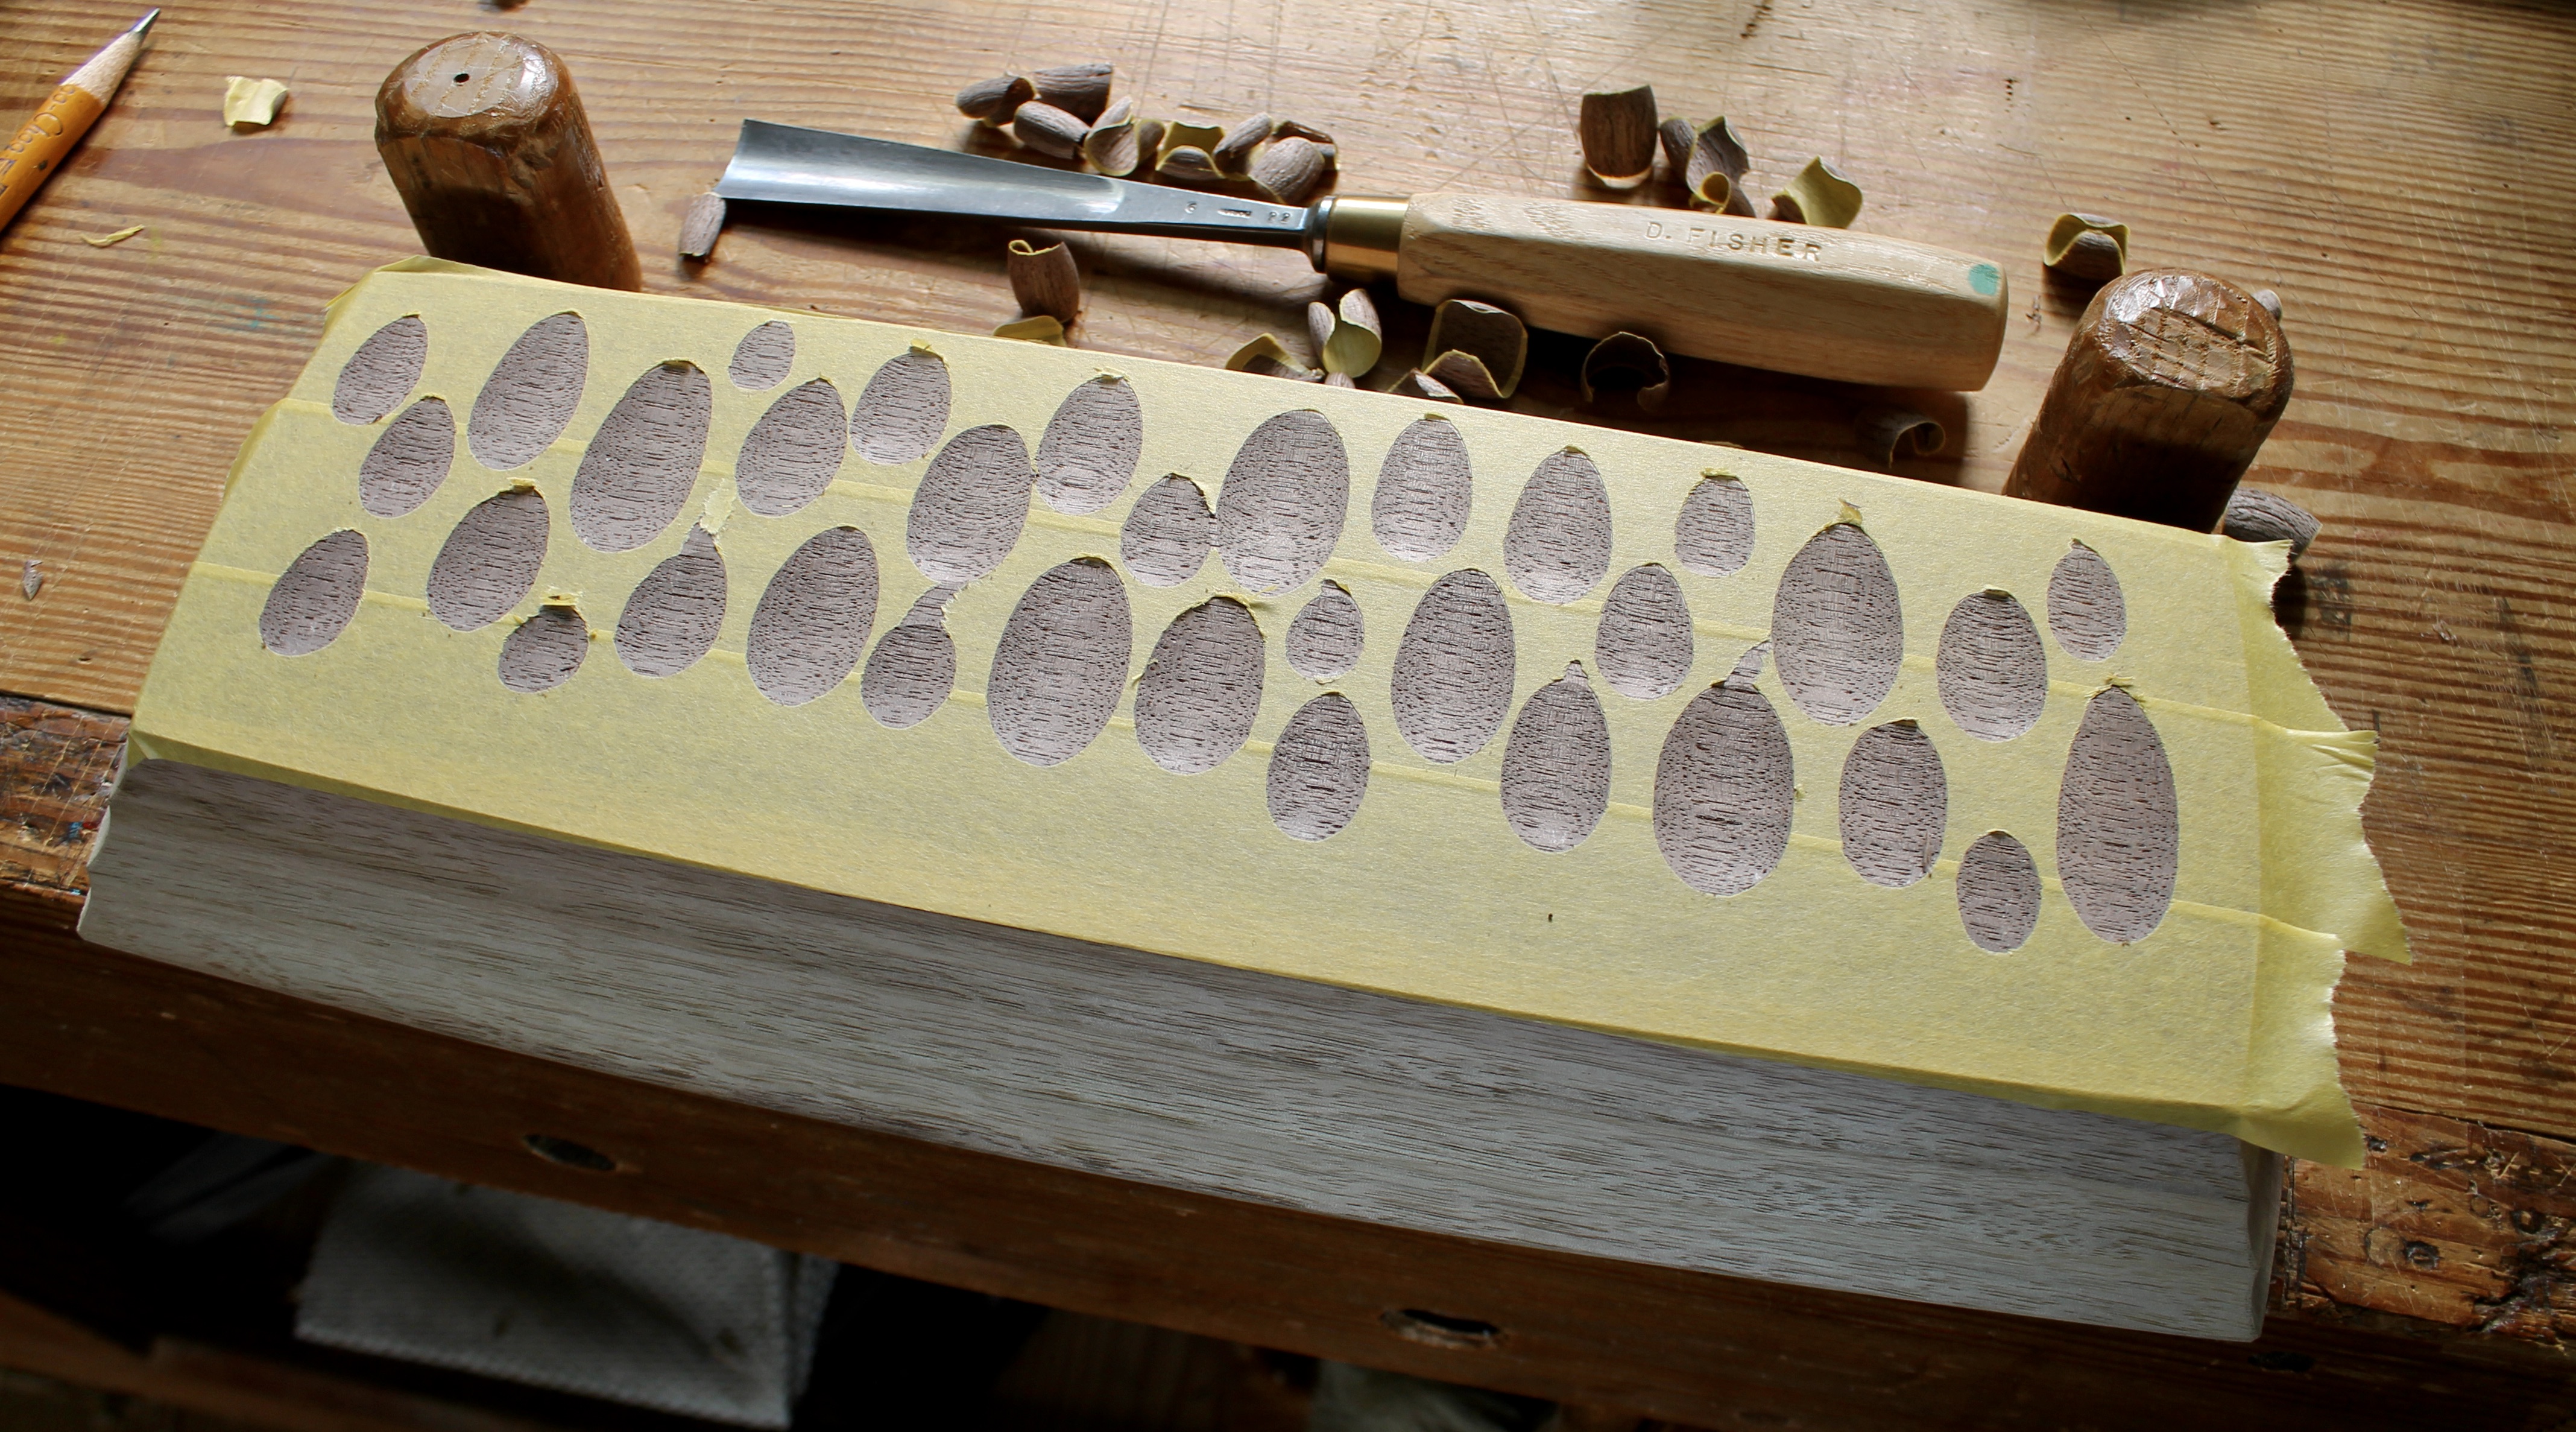
I carved the wavy flutes with a small #7 gouge. With that texture carved and the lid fitting well, I went on one step at a time. I didn’t take any more process photos, but here are some more shots of the finished book box:

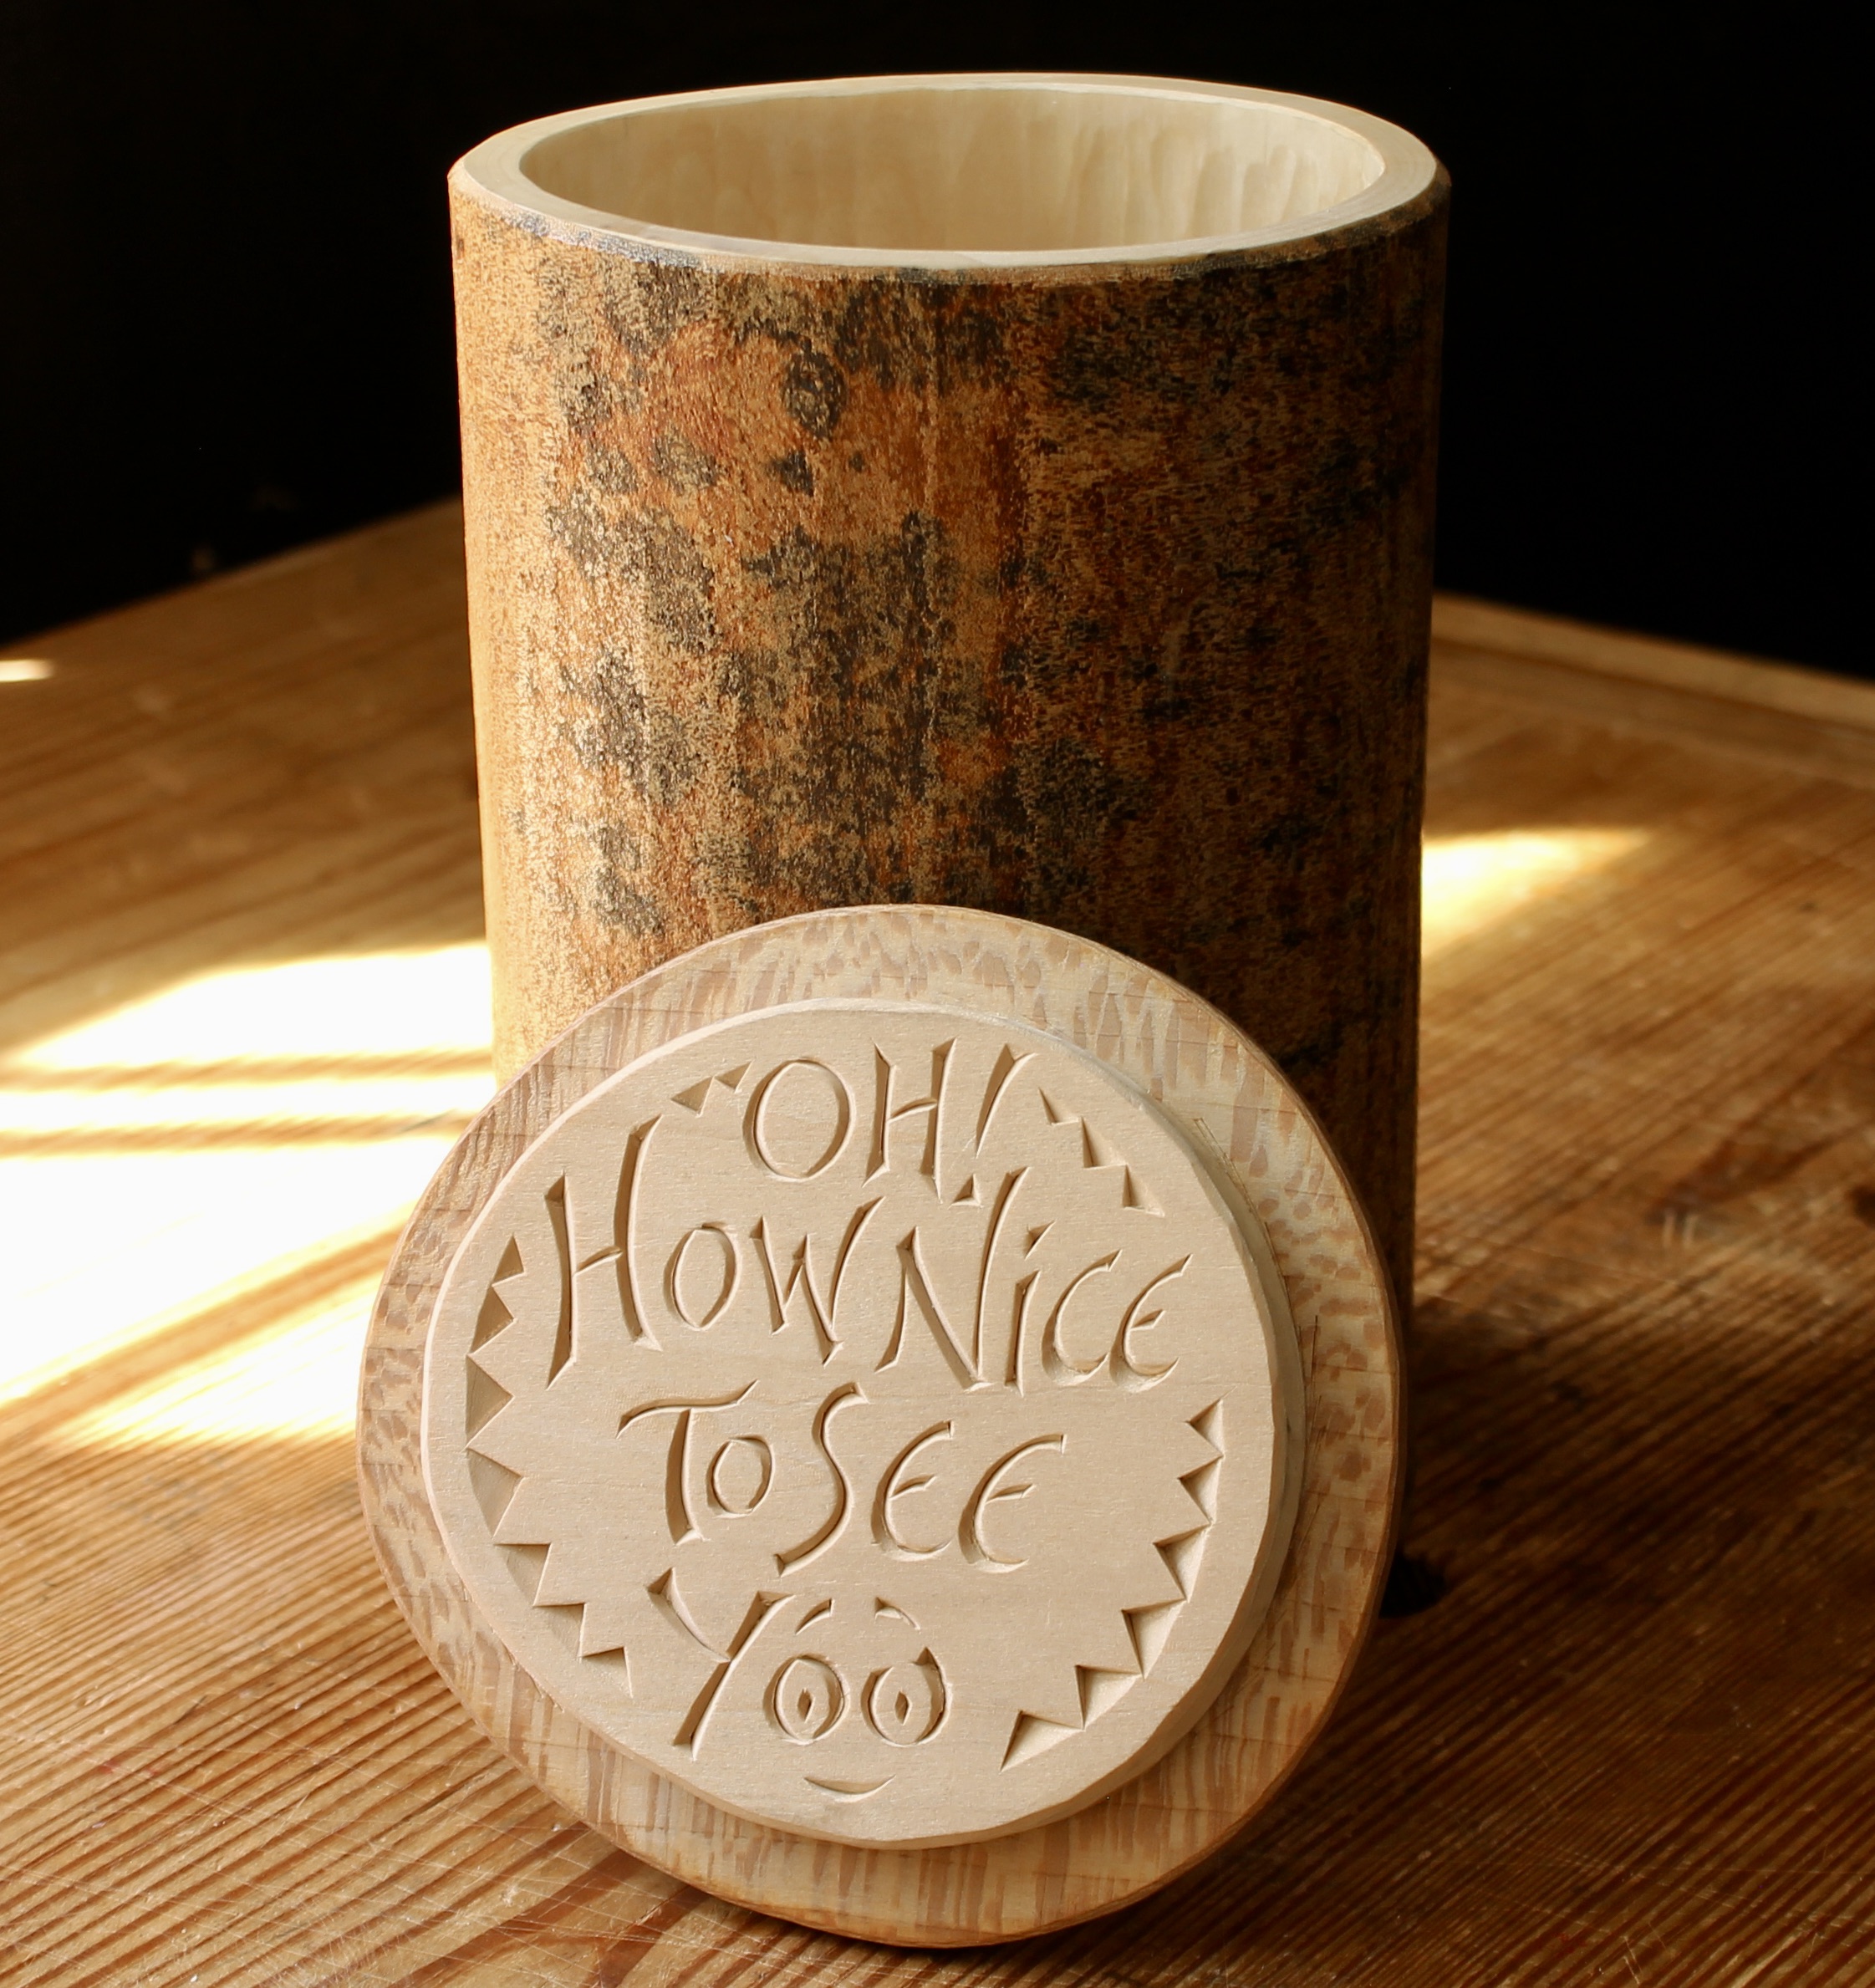
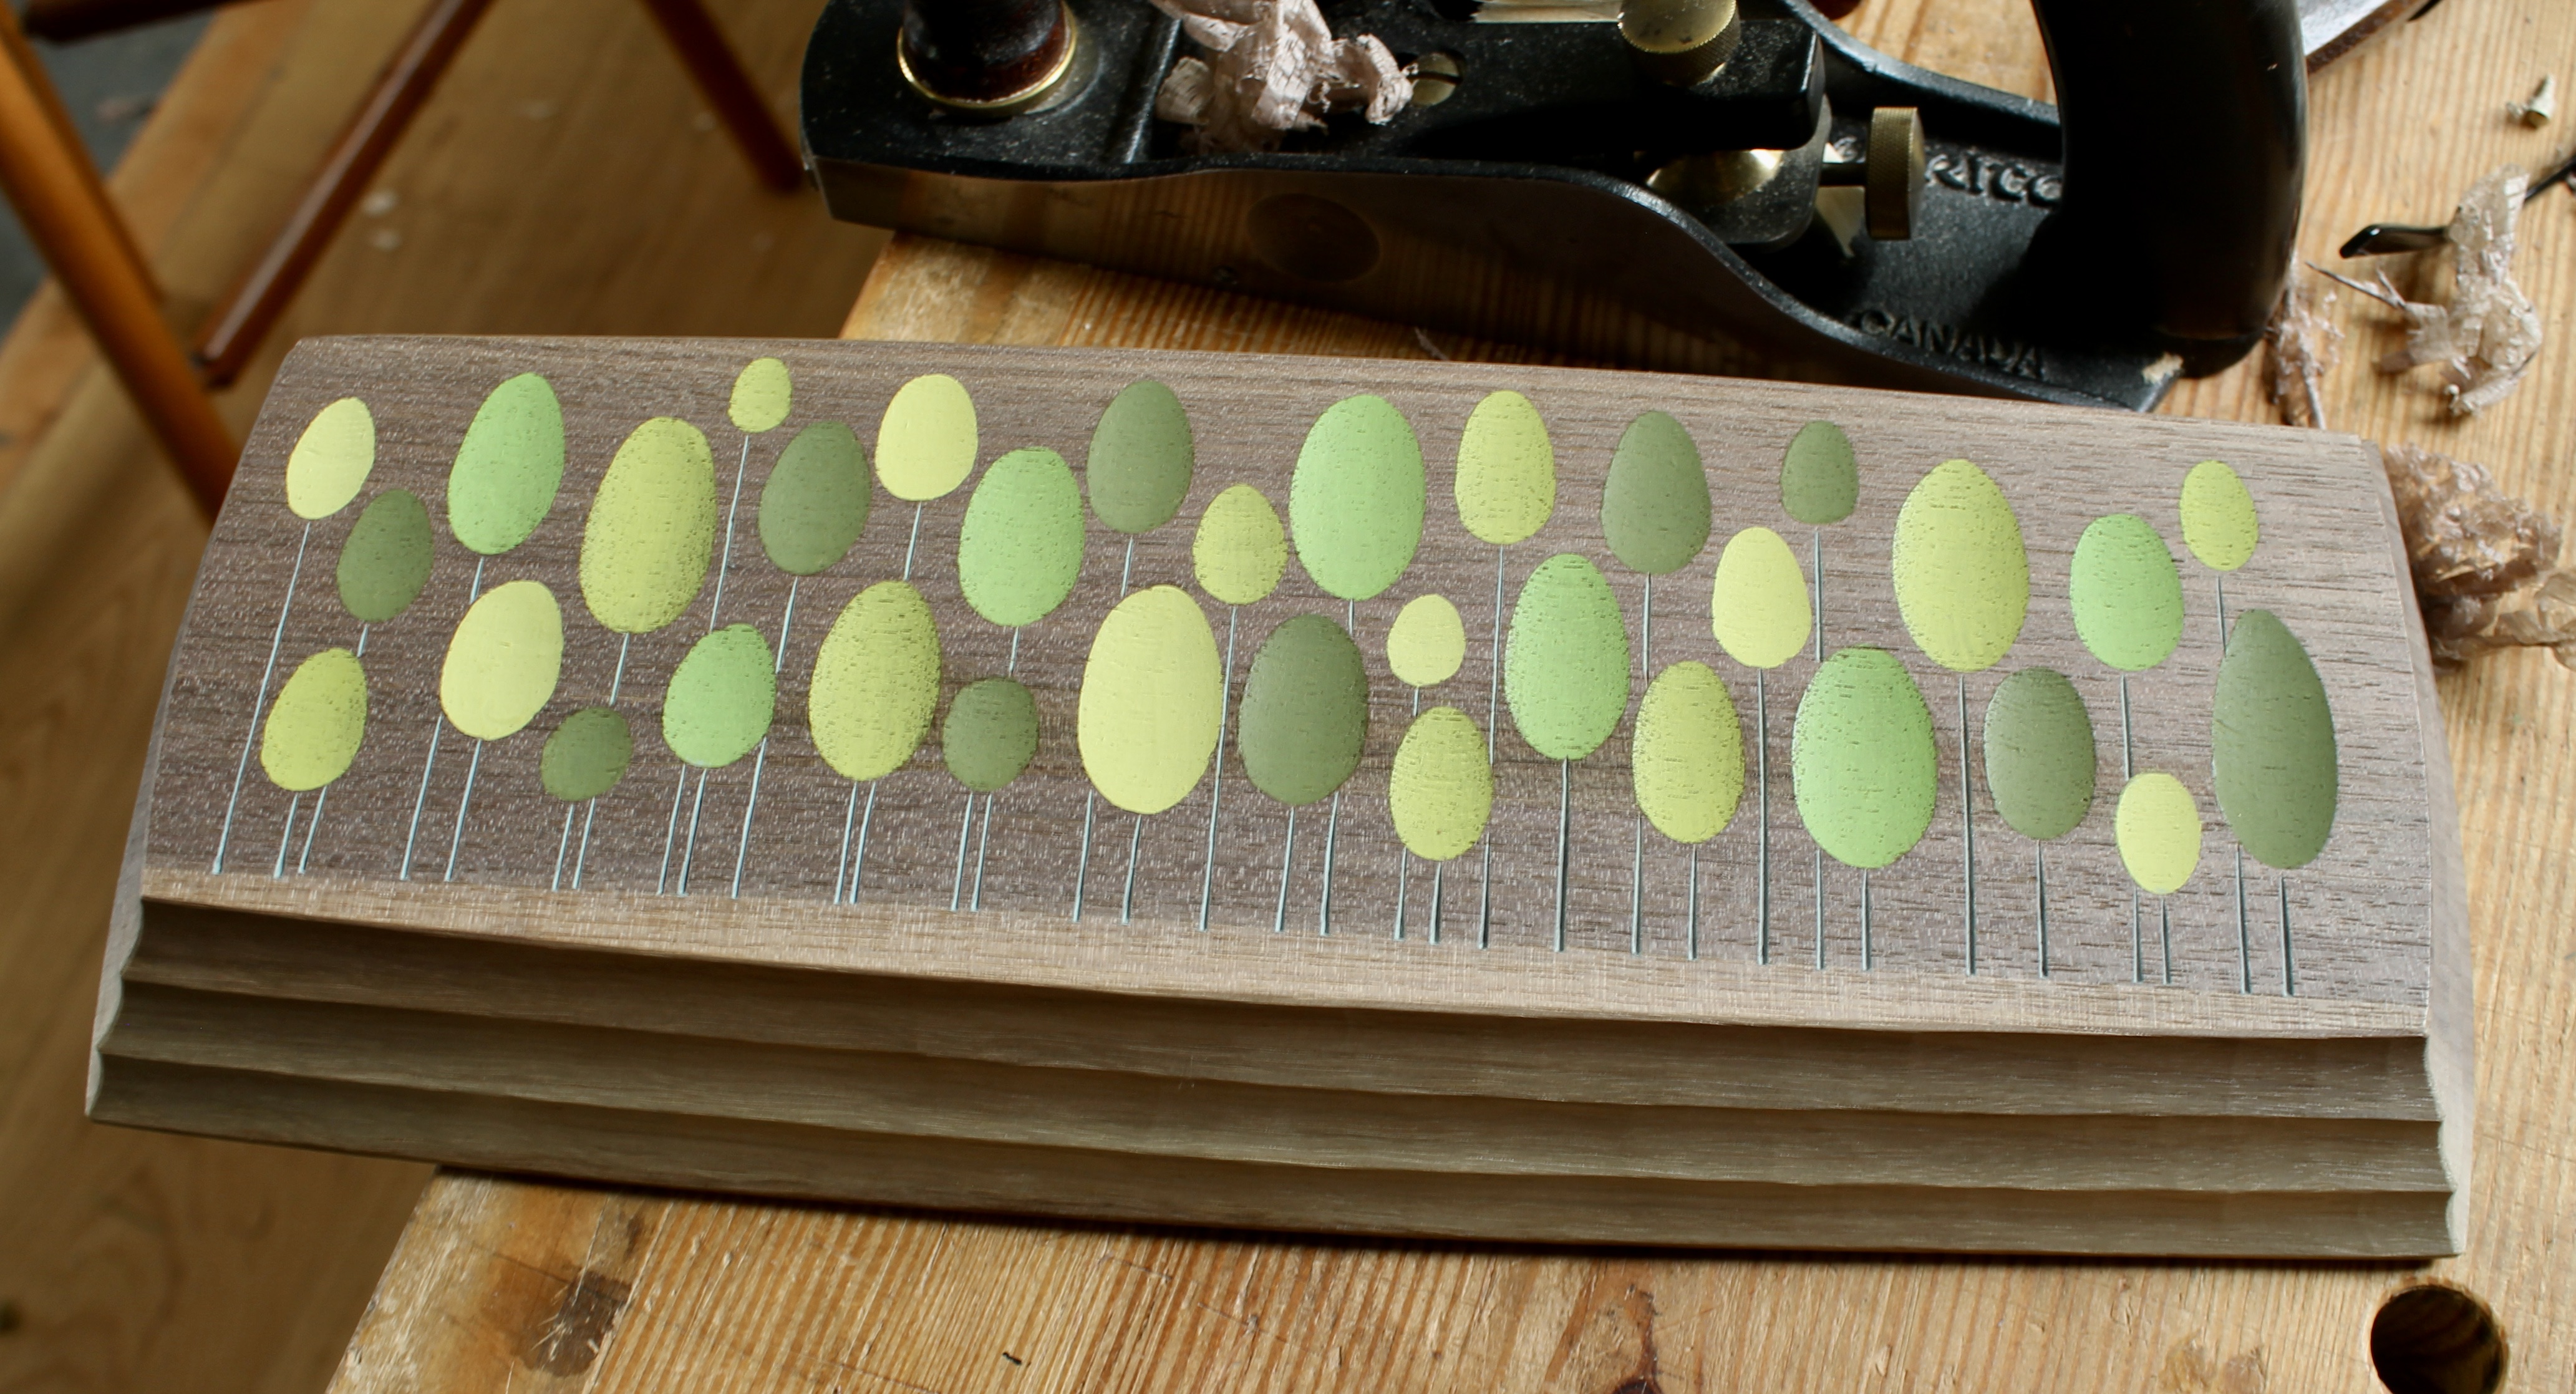
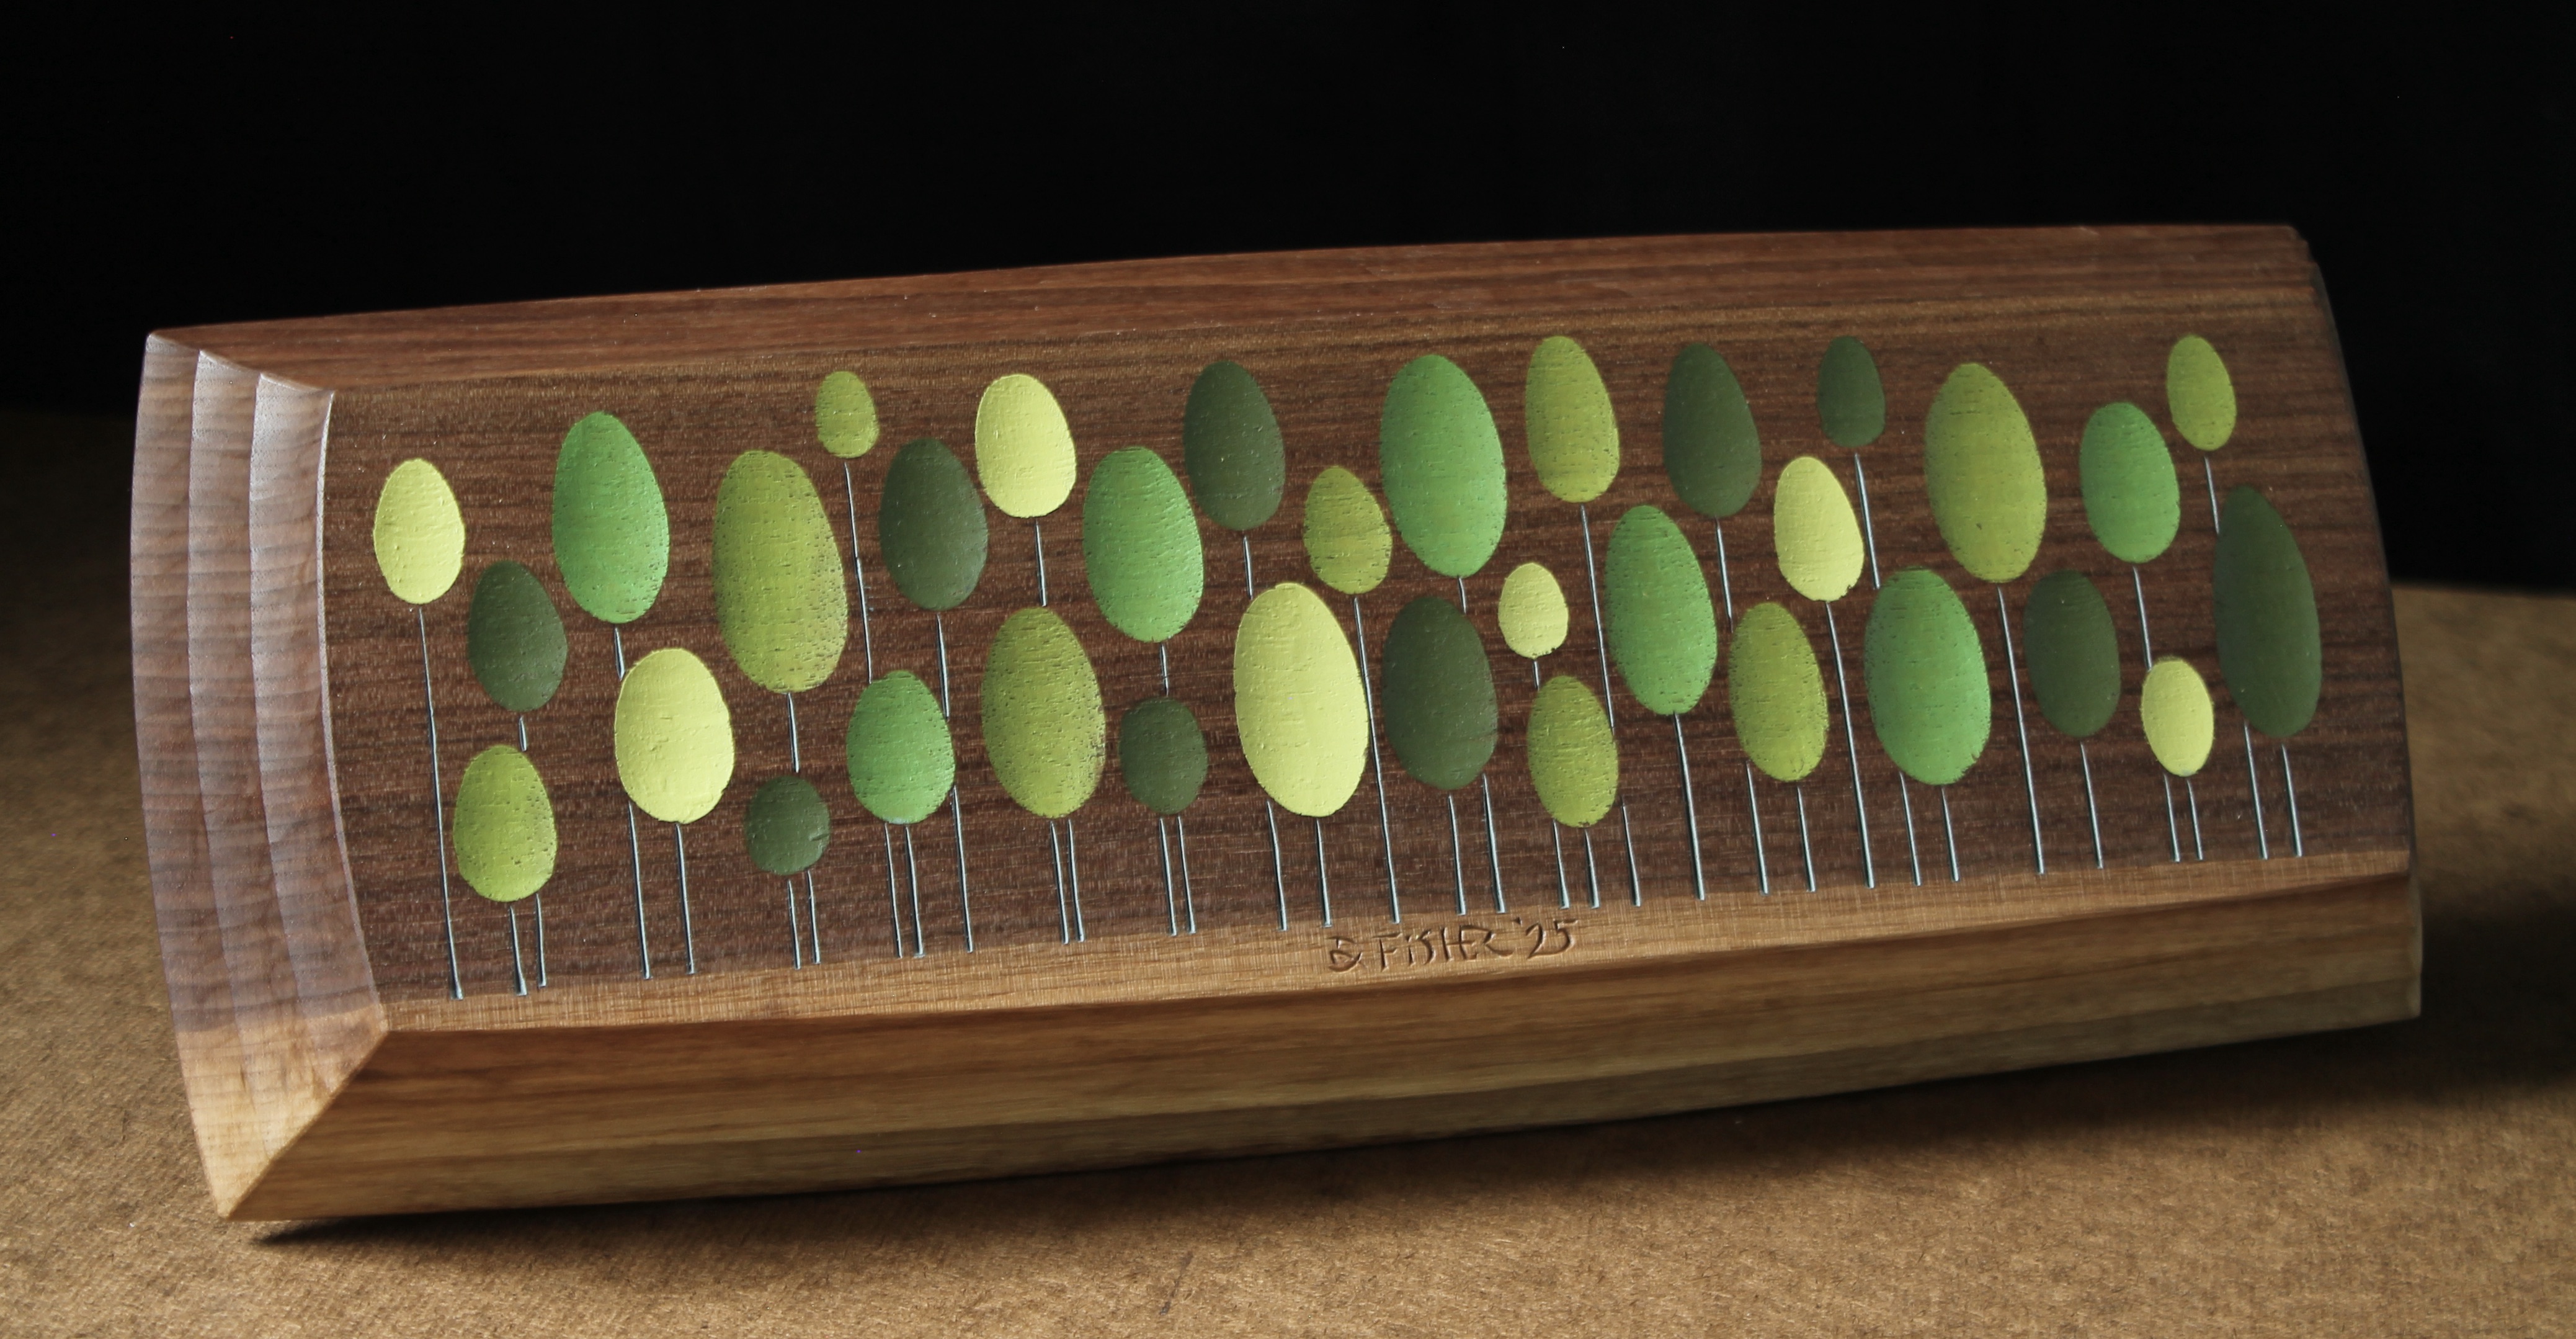
The book box standing upright with the cover closed. The paint is artist acrylics. Artist oils would have achieved what I wanted as well, but I didn’t have time to wait for them to dry. The paint comes out of the tube thick like toothpaste. I thinned it a lot with water so that it wouldn’t obscure the carved texture and would allow the grain of the wood to read through a bit.

With the light hitting at this angle you can get a better sense of how much the color is in the wood.
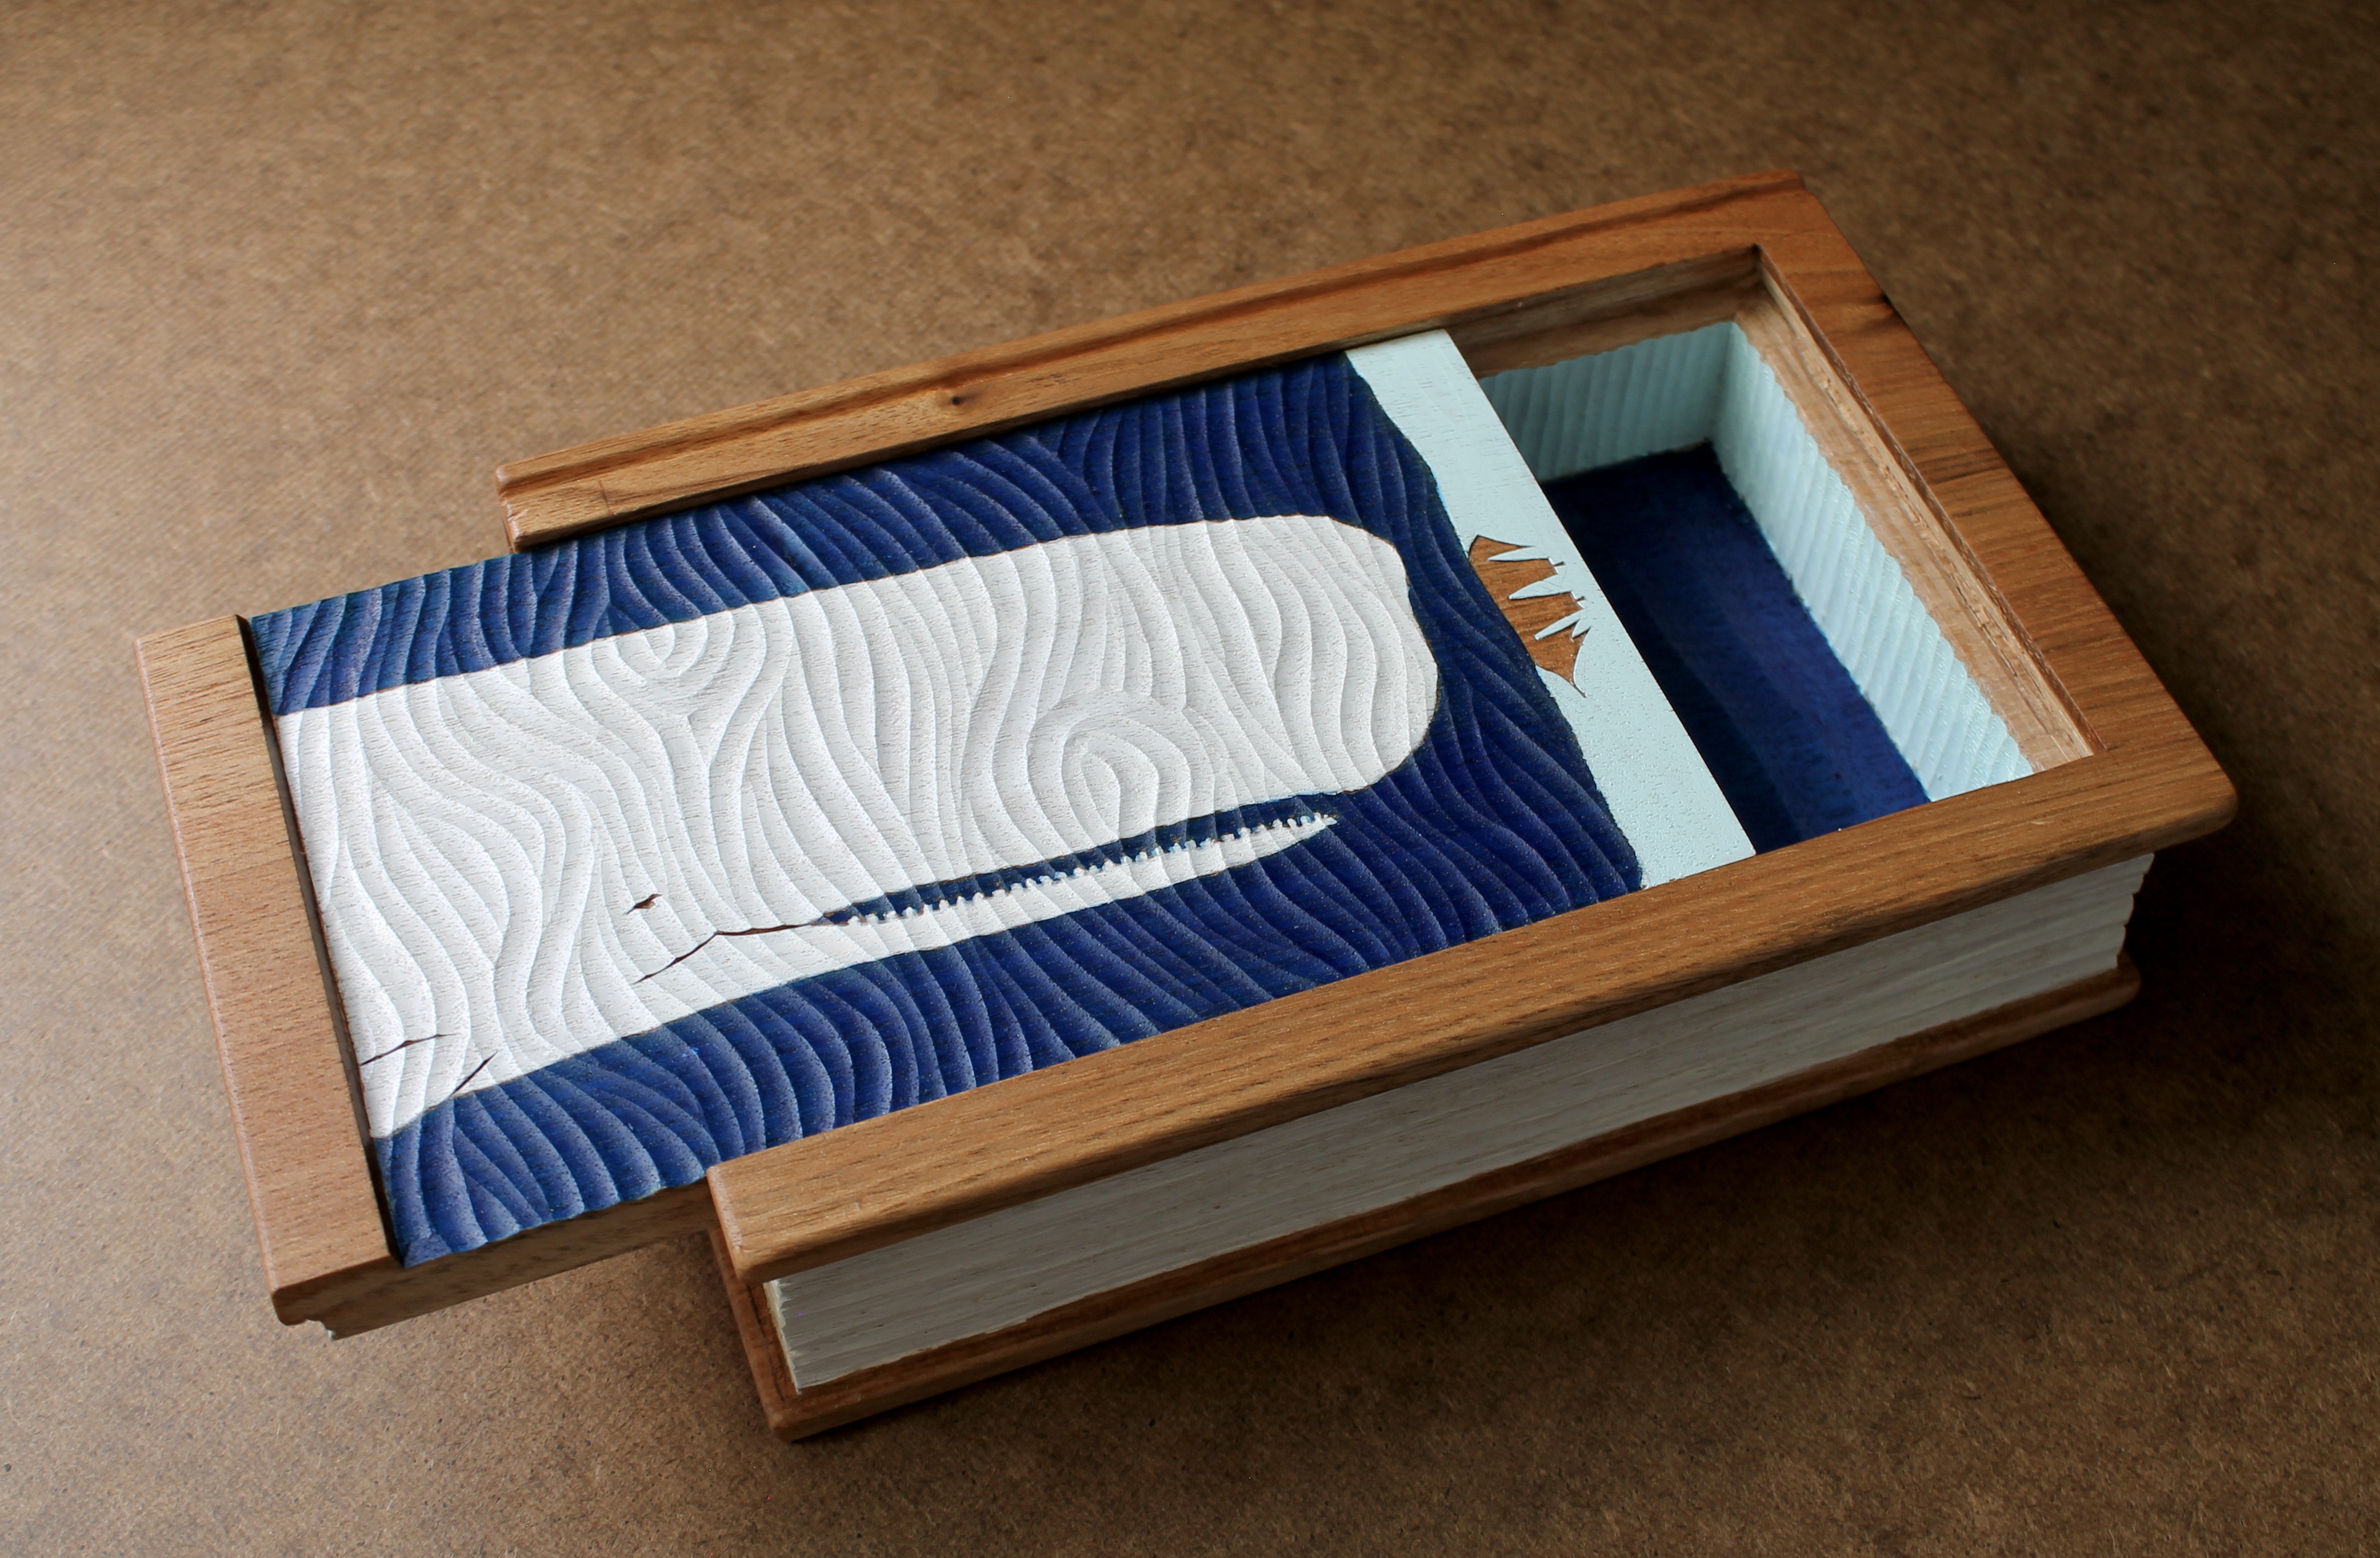
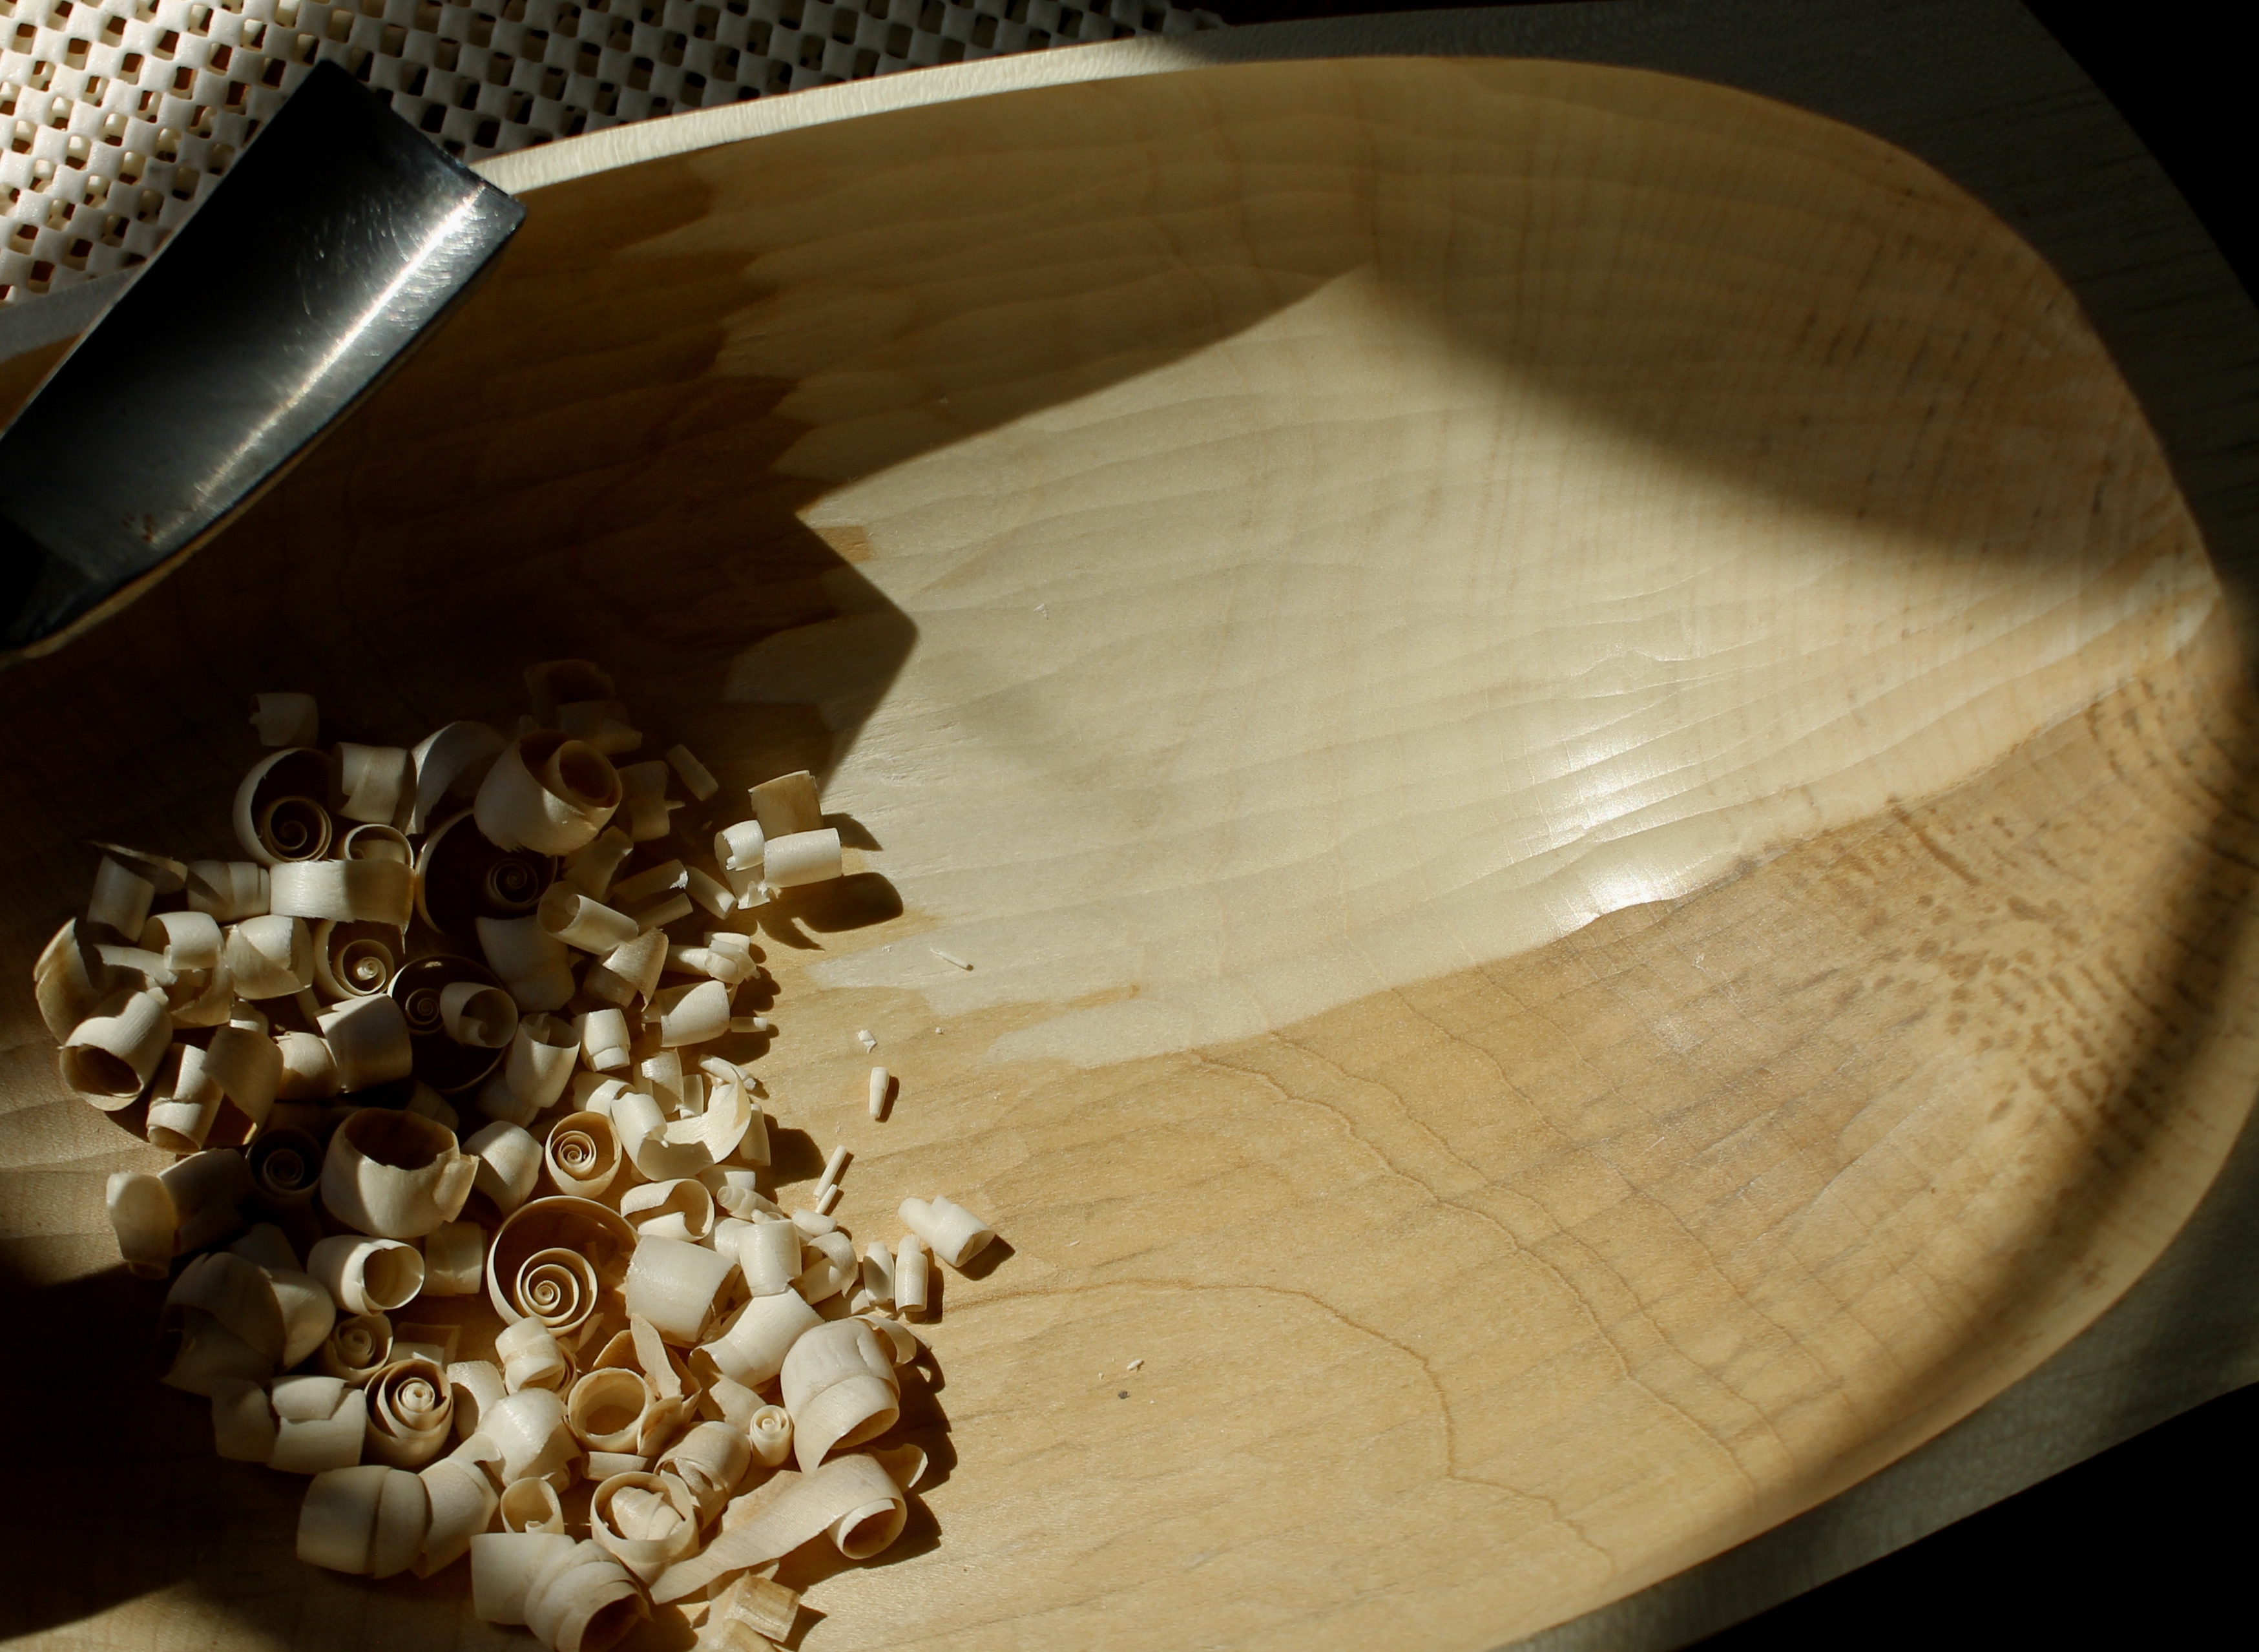
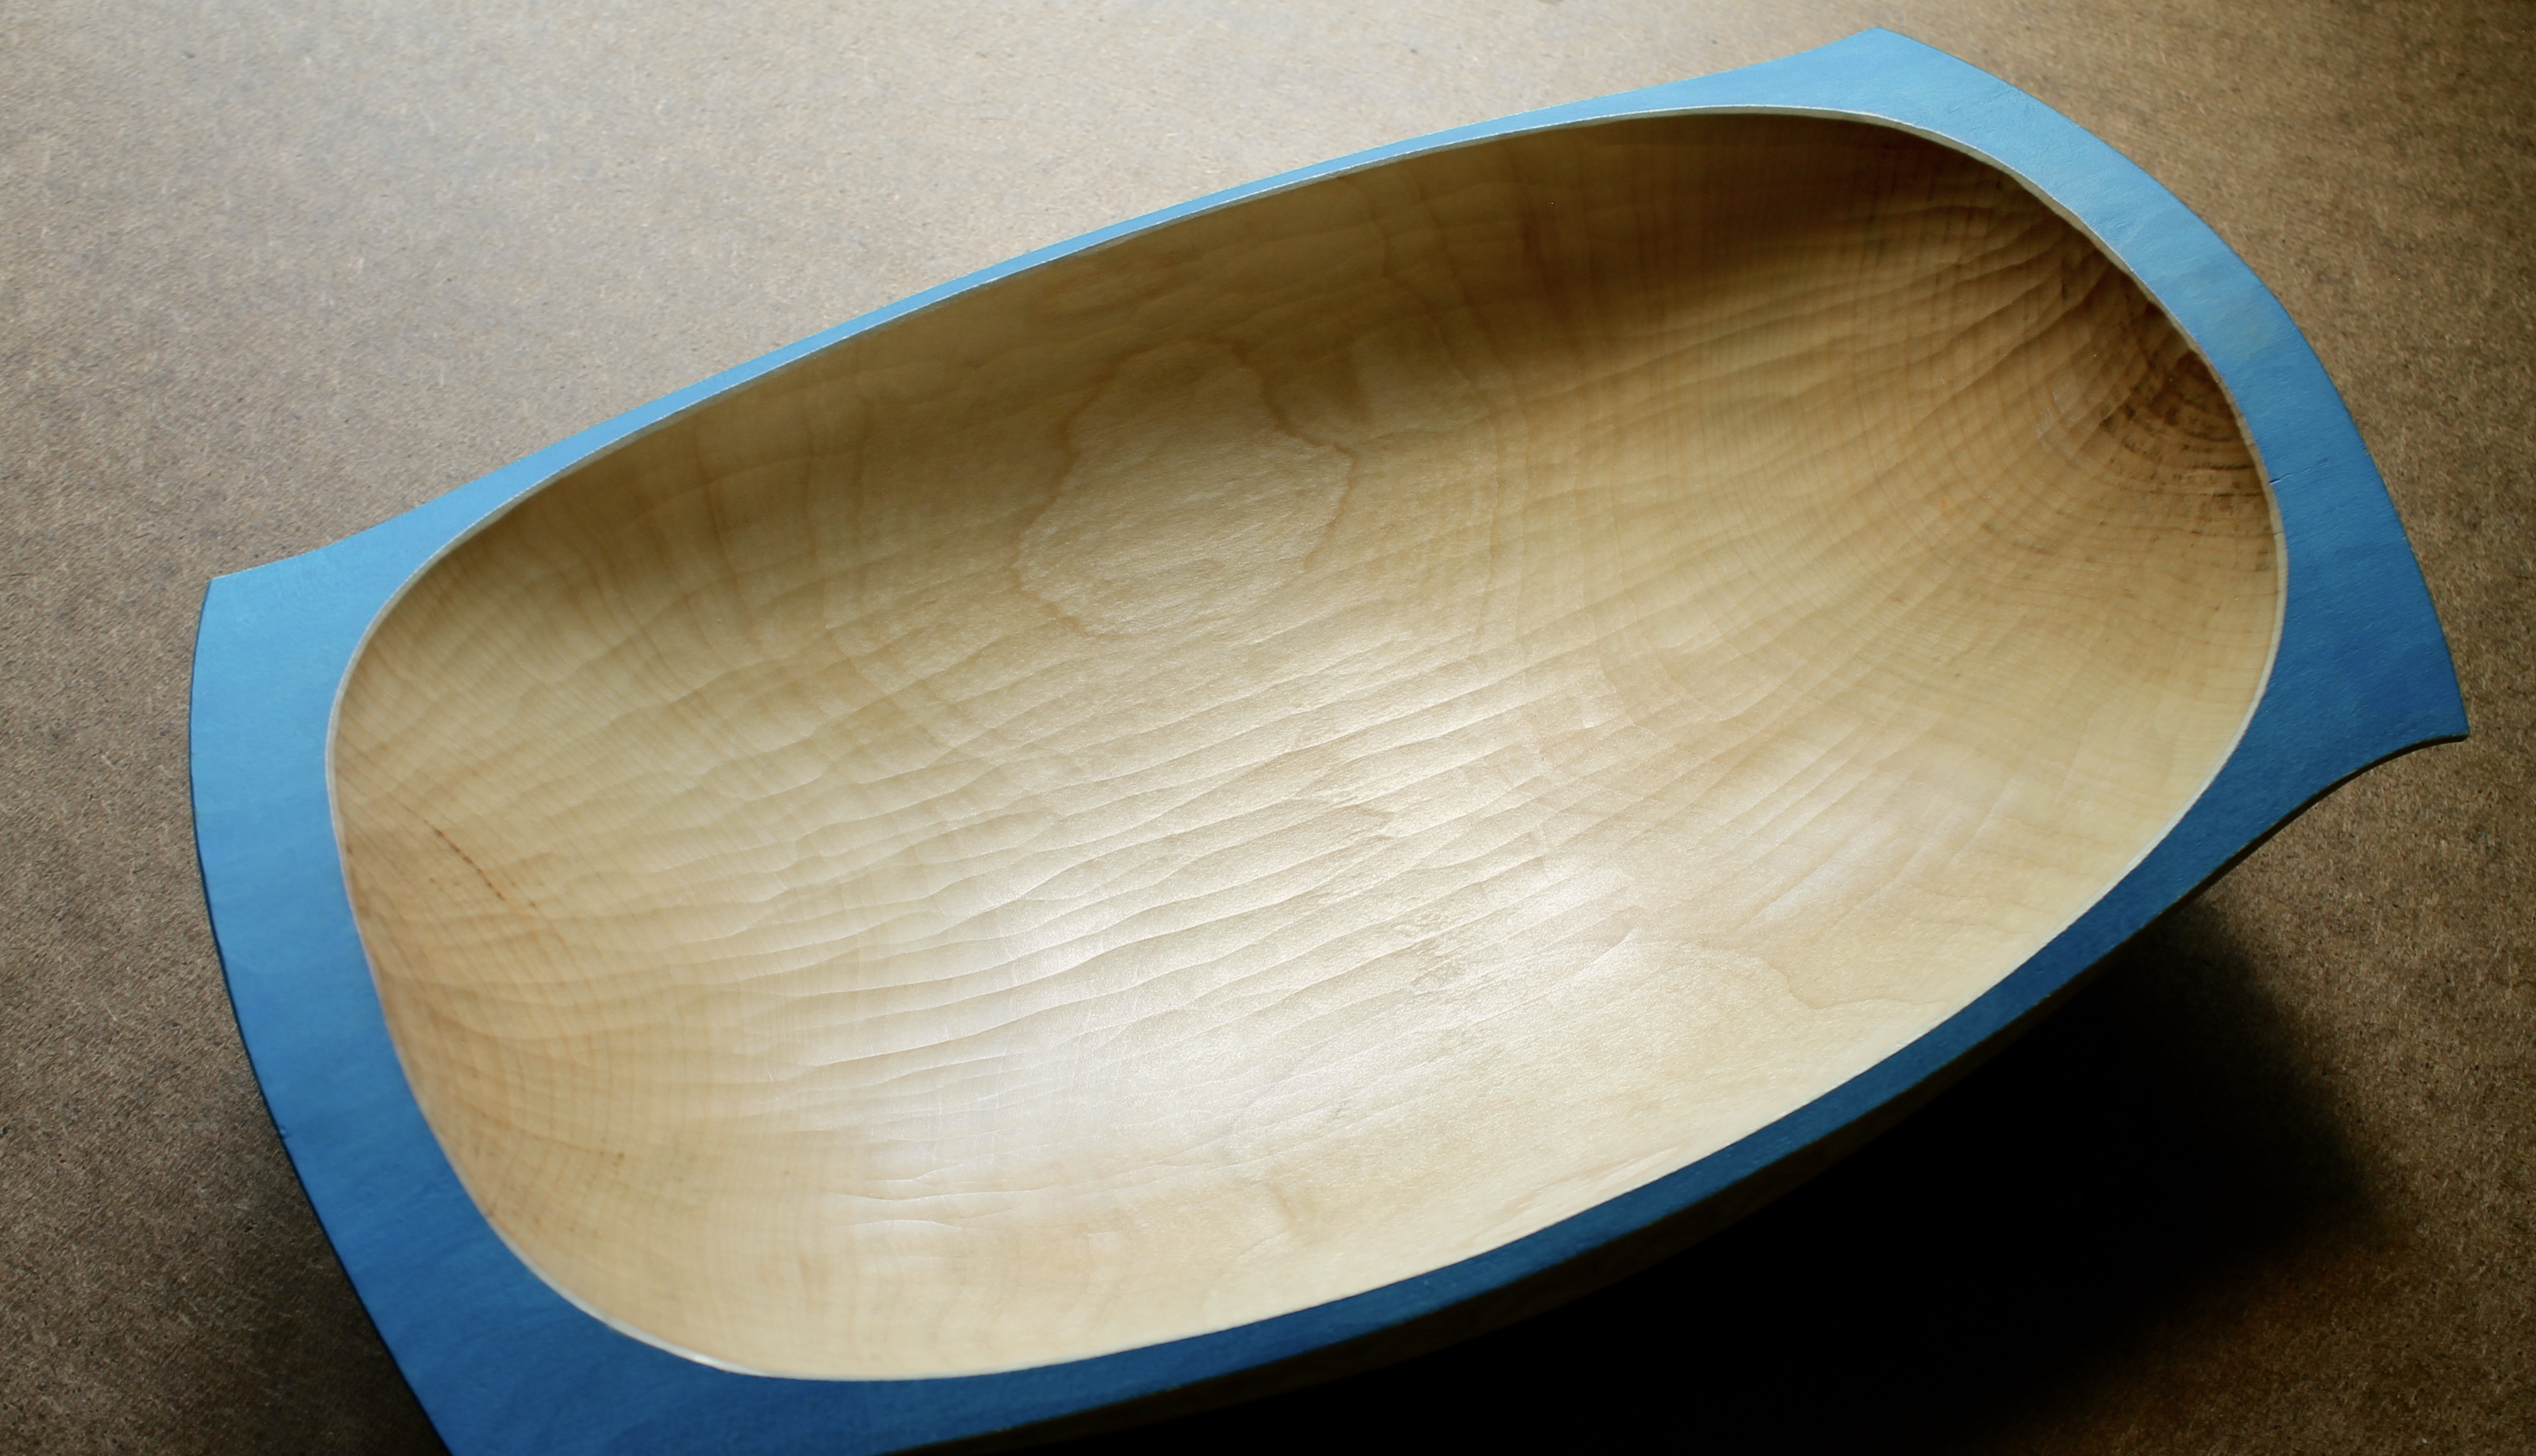
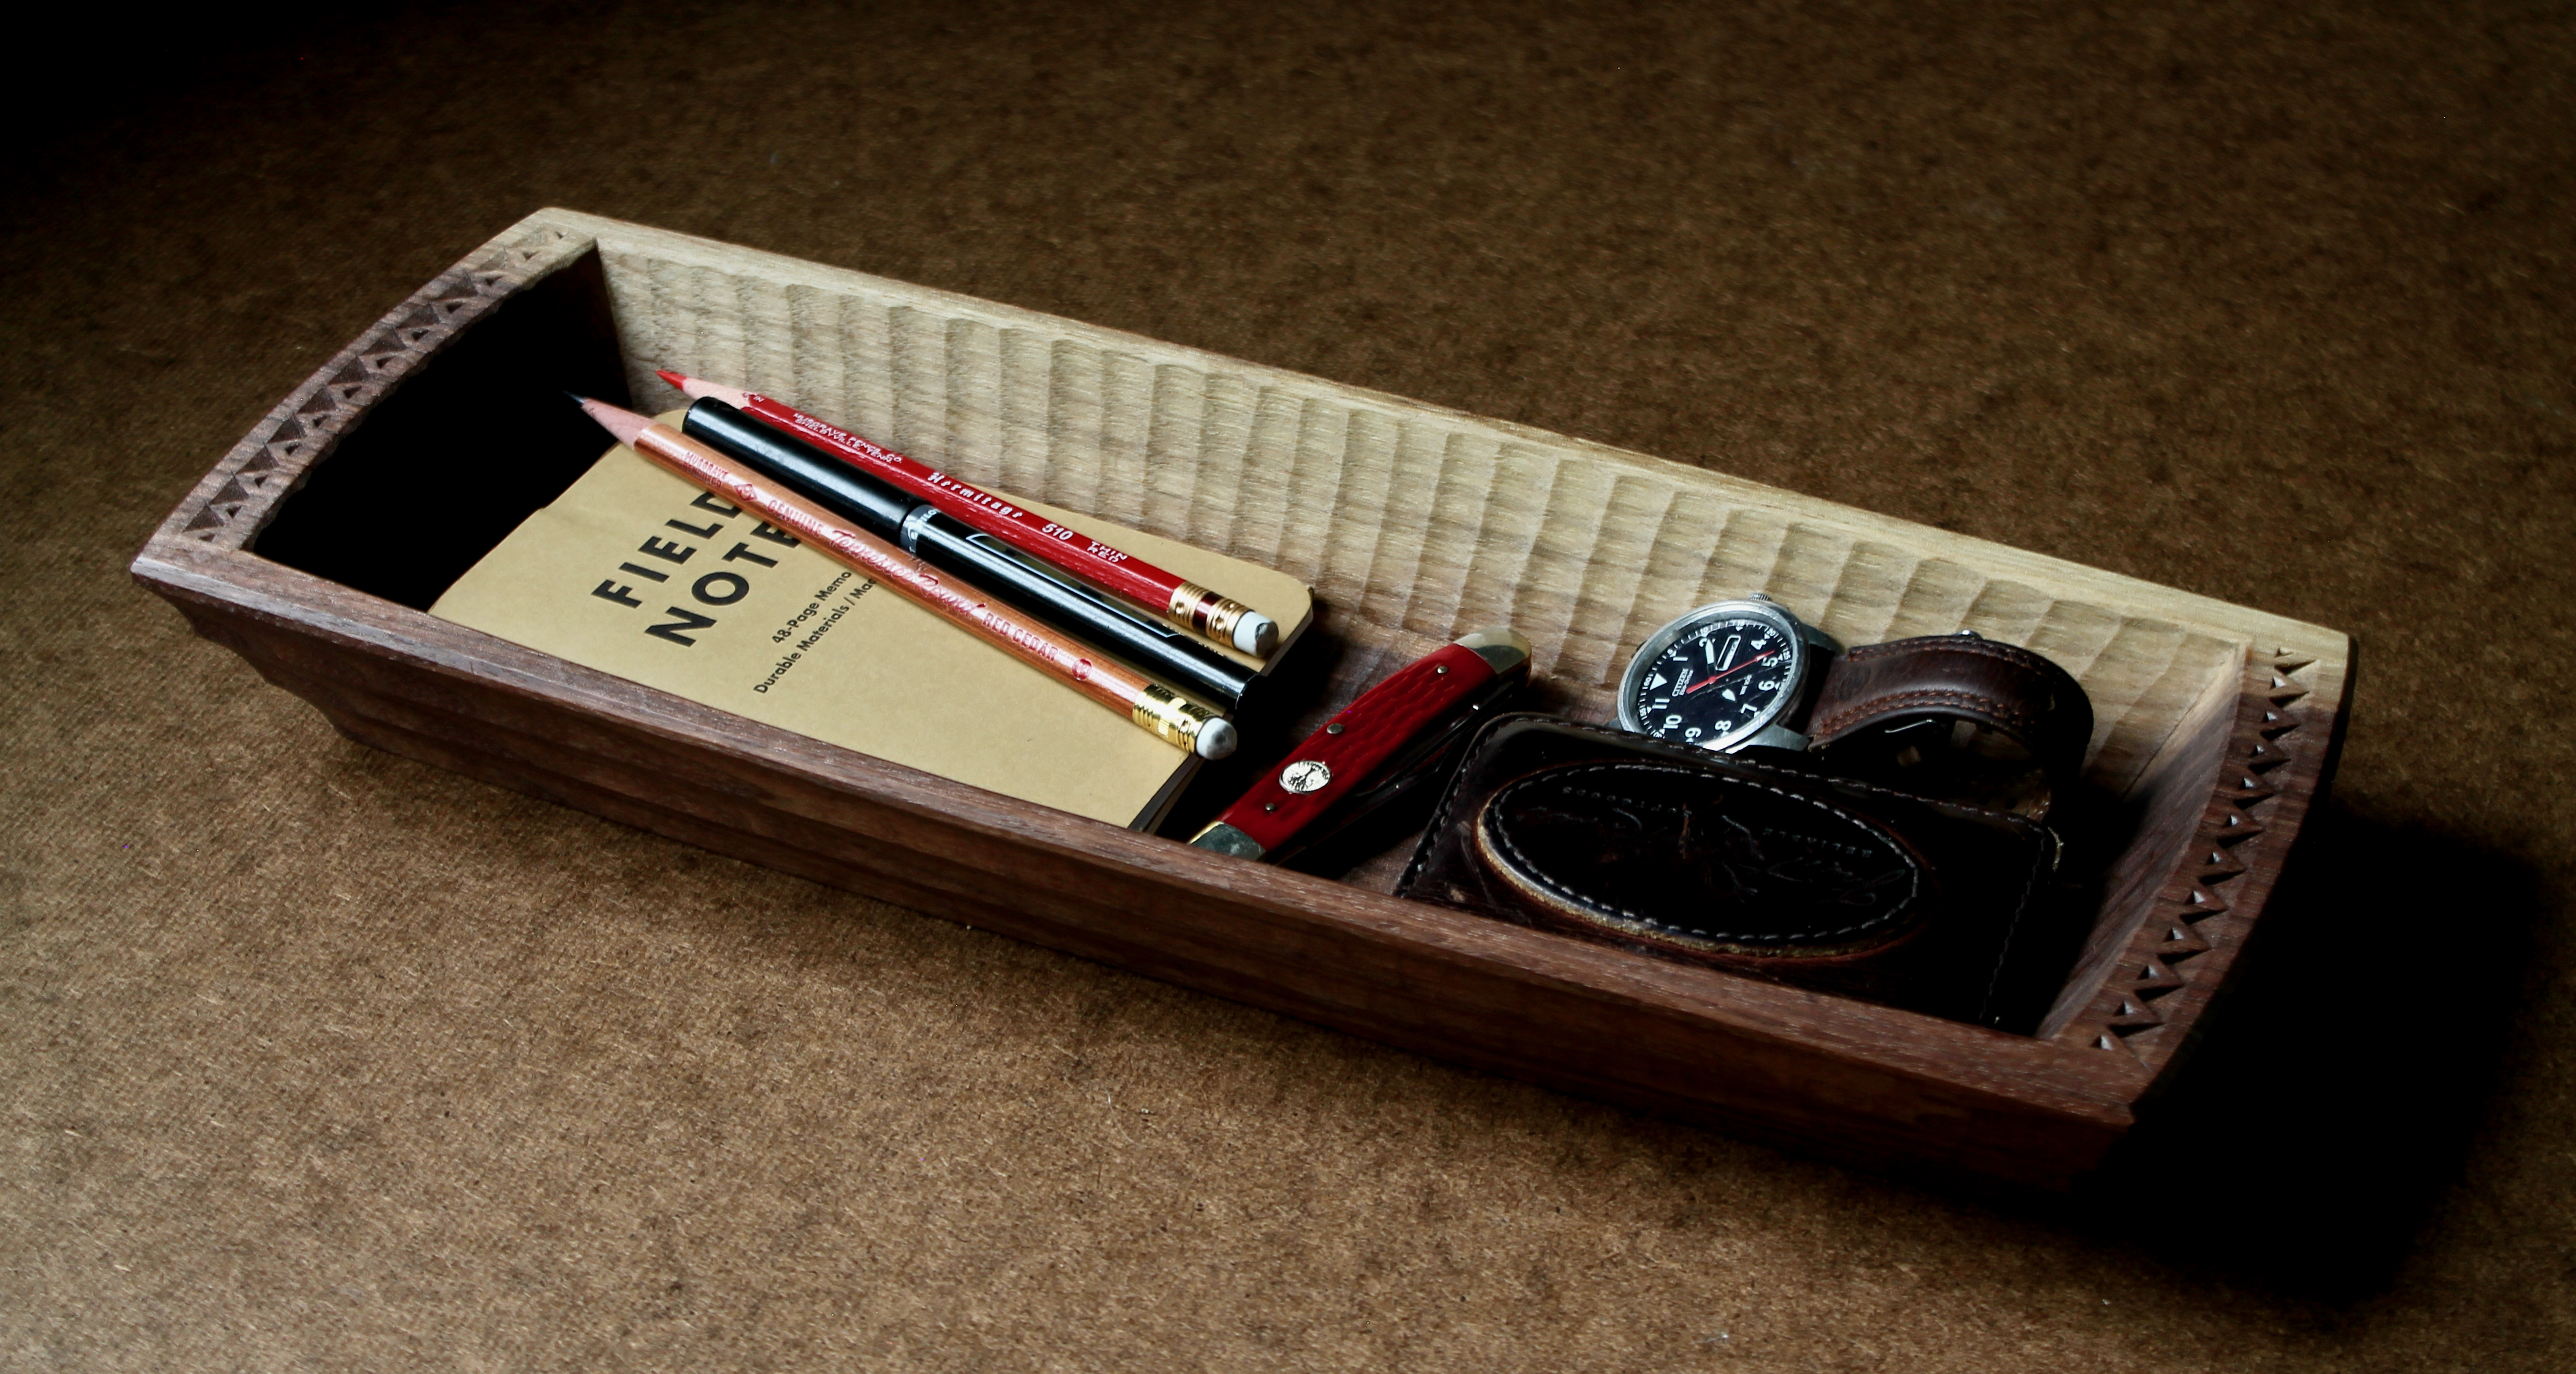
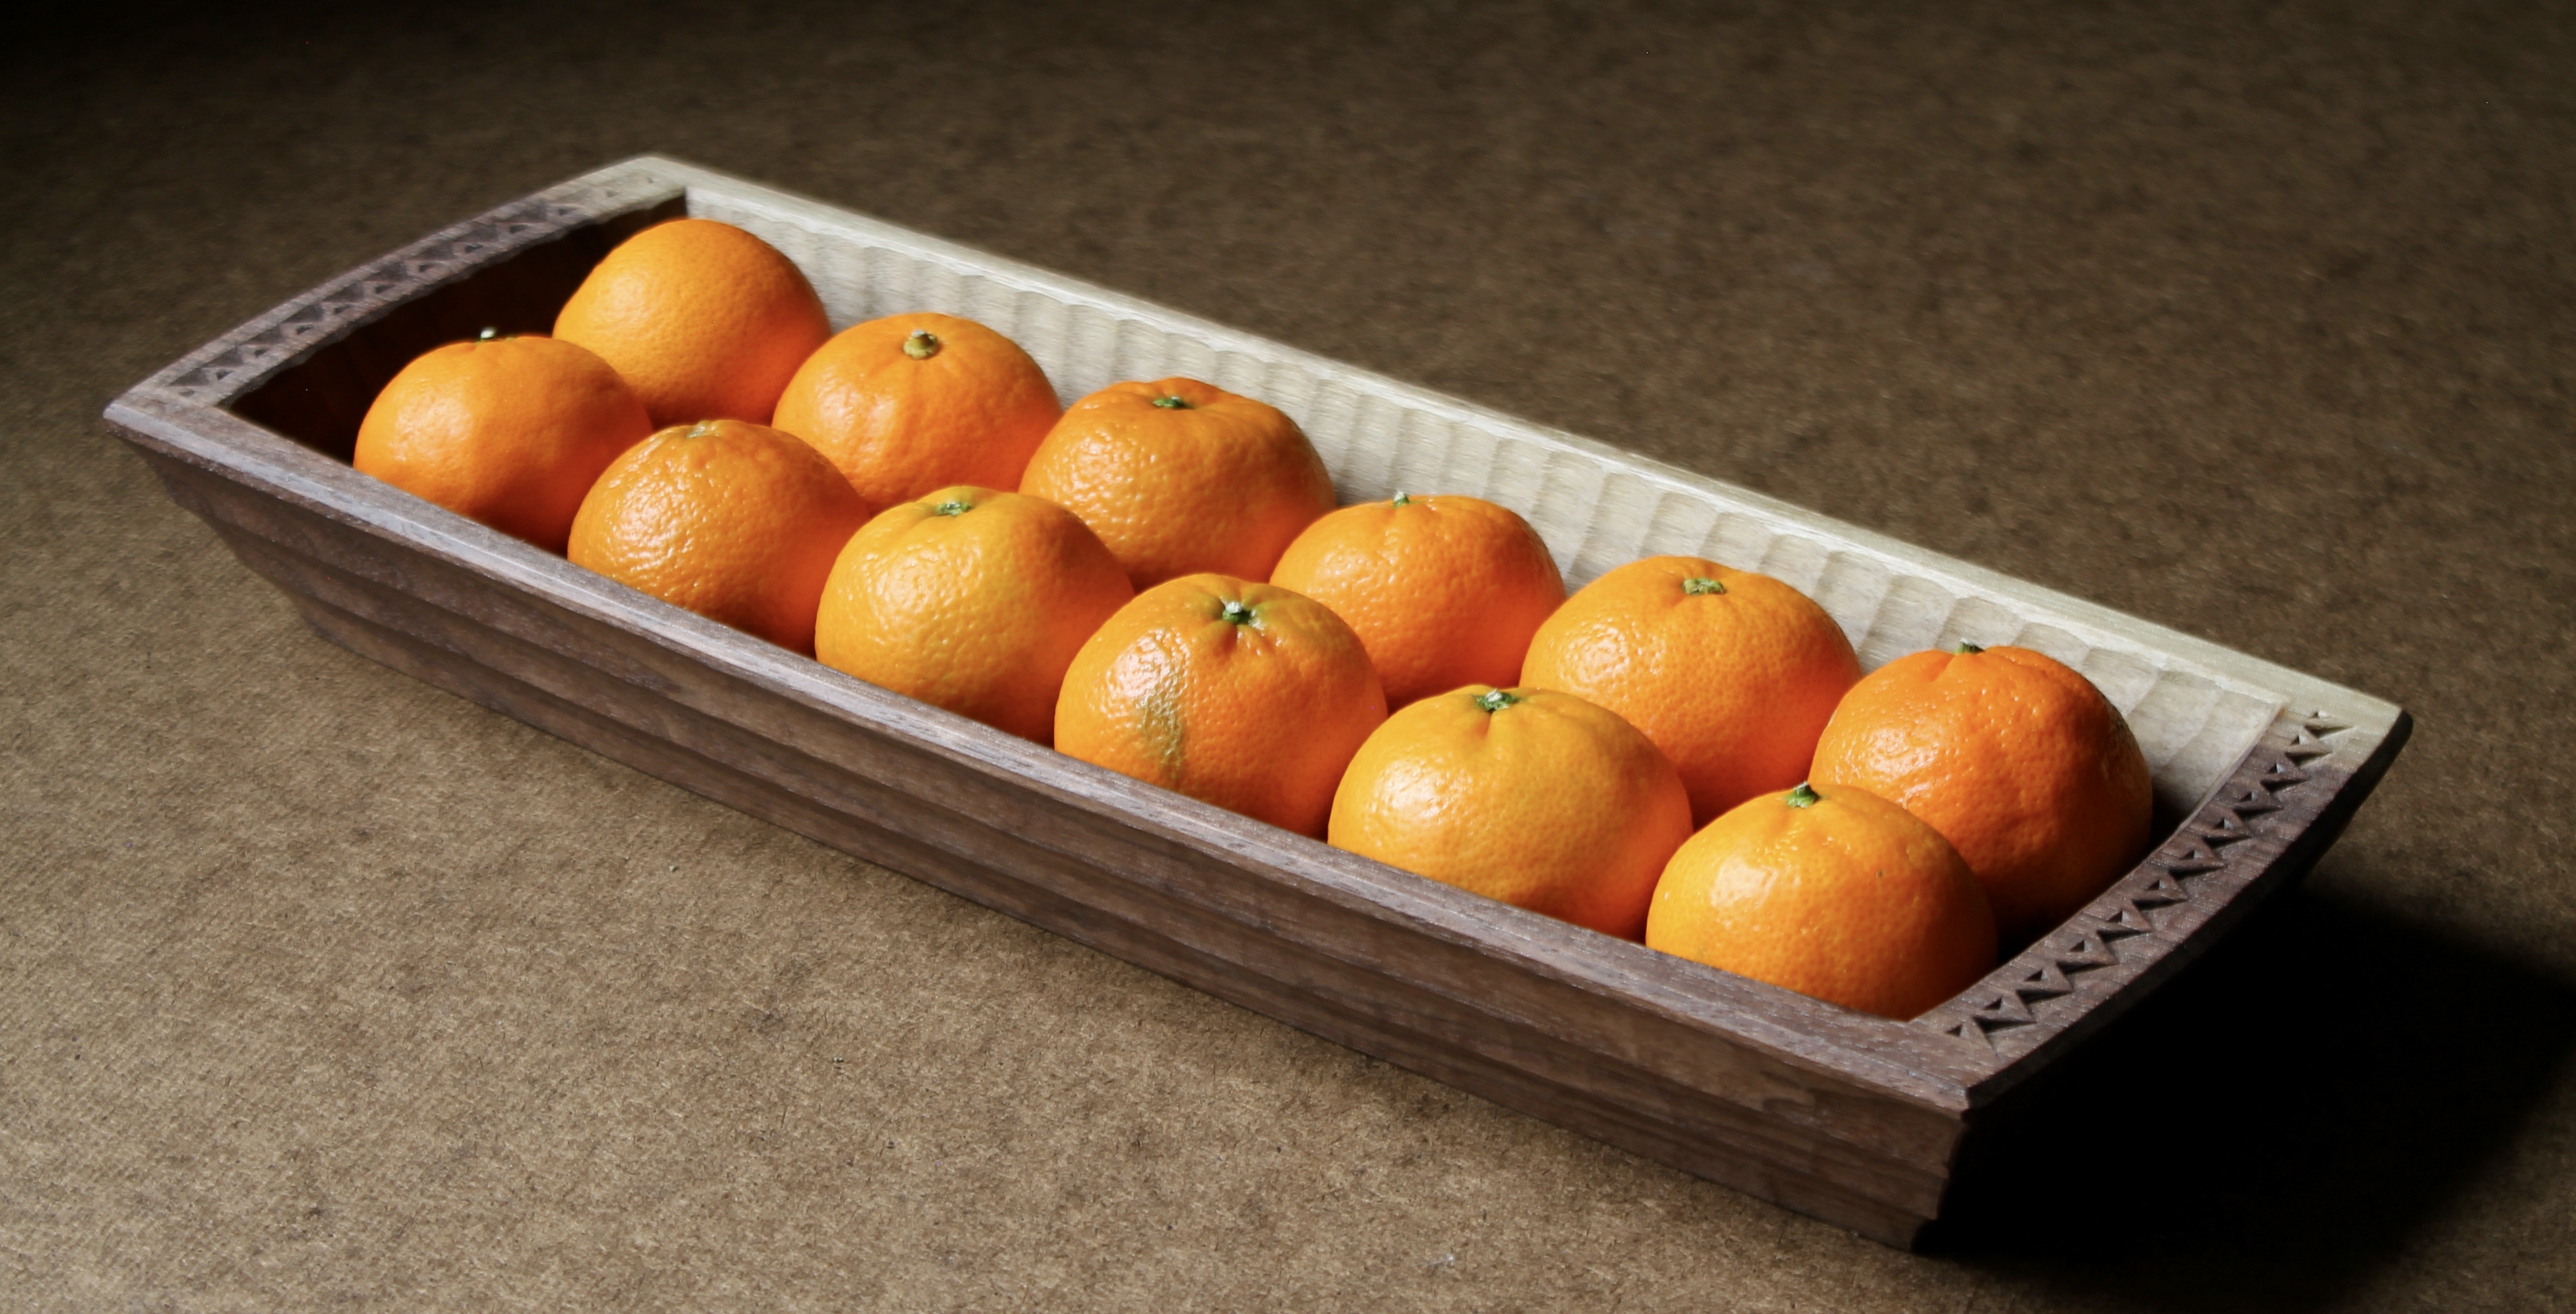
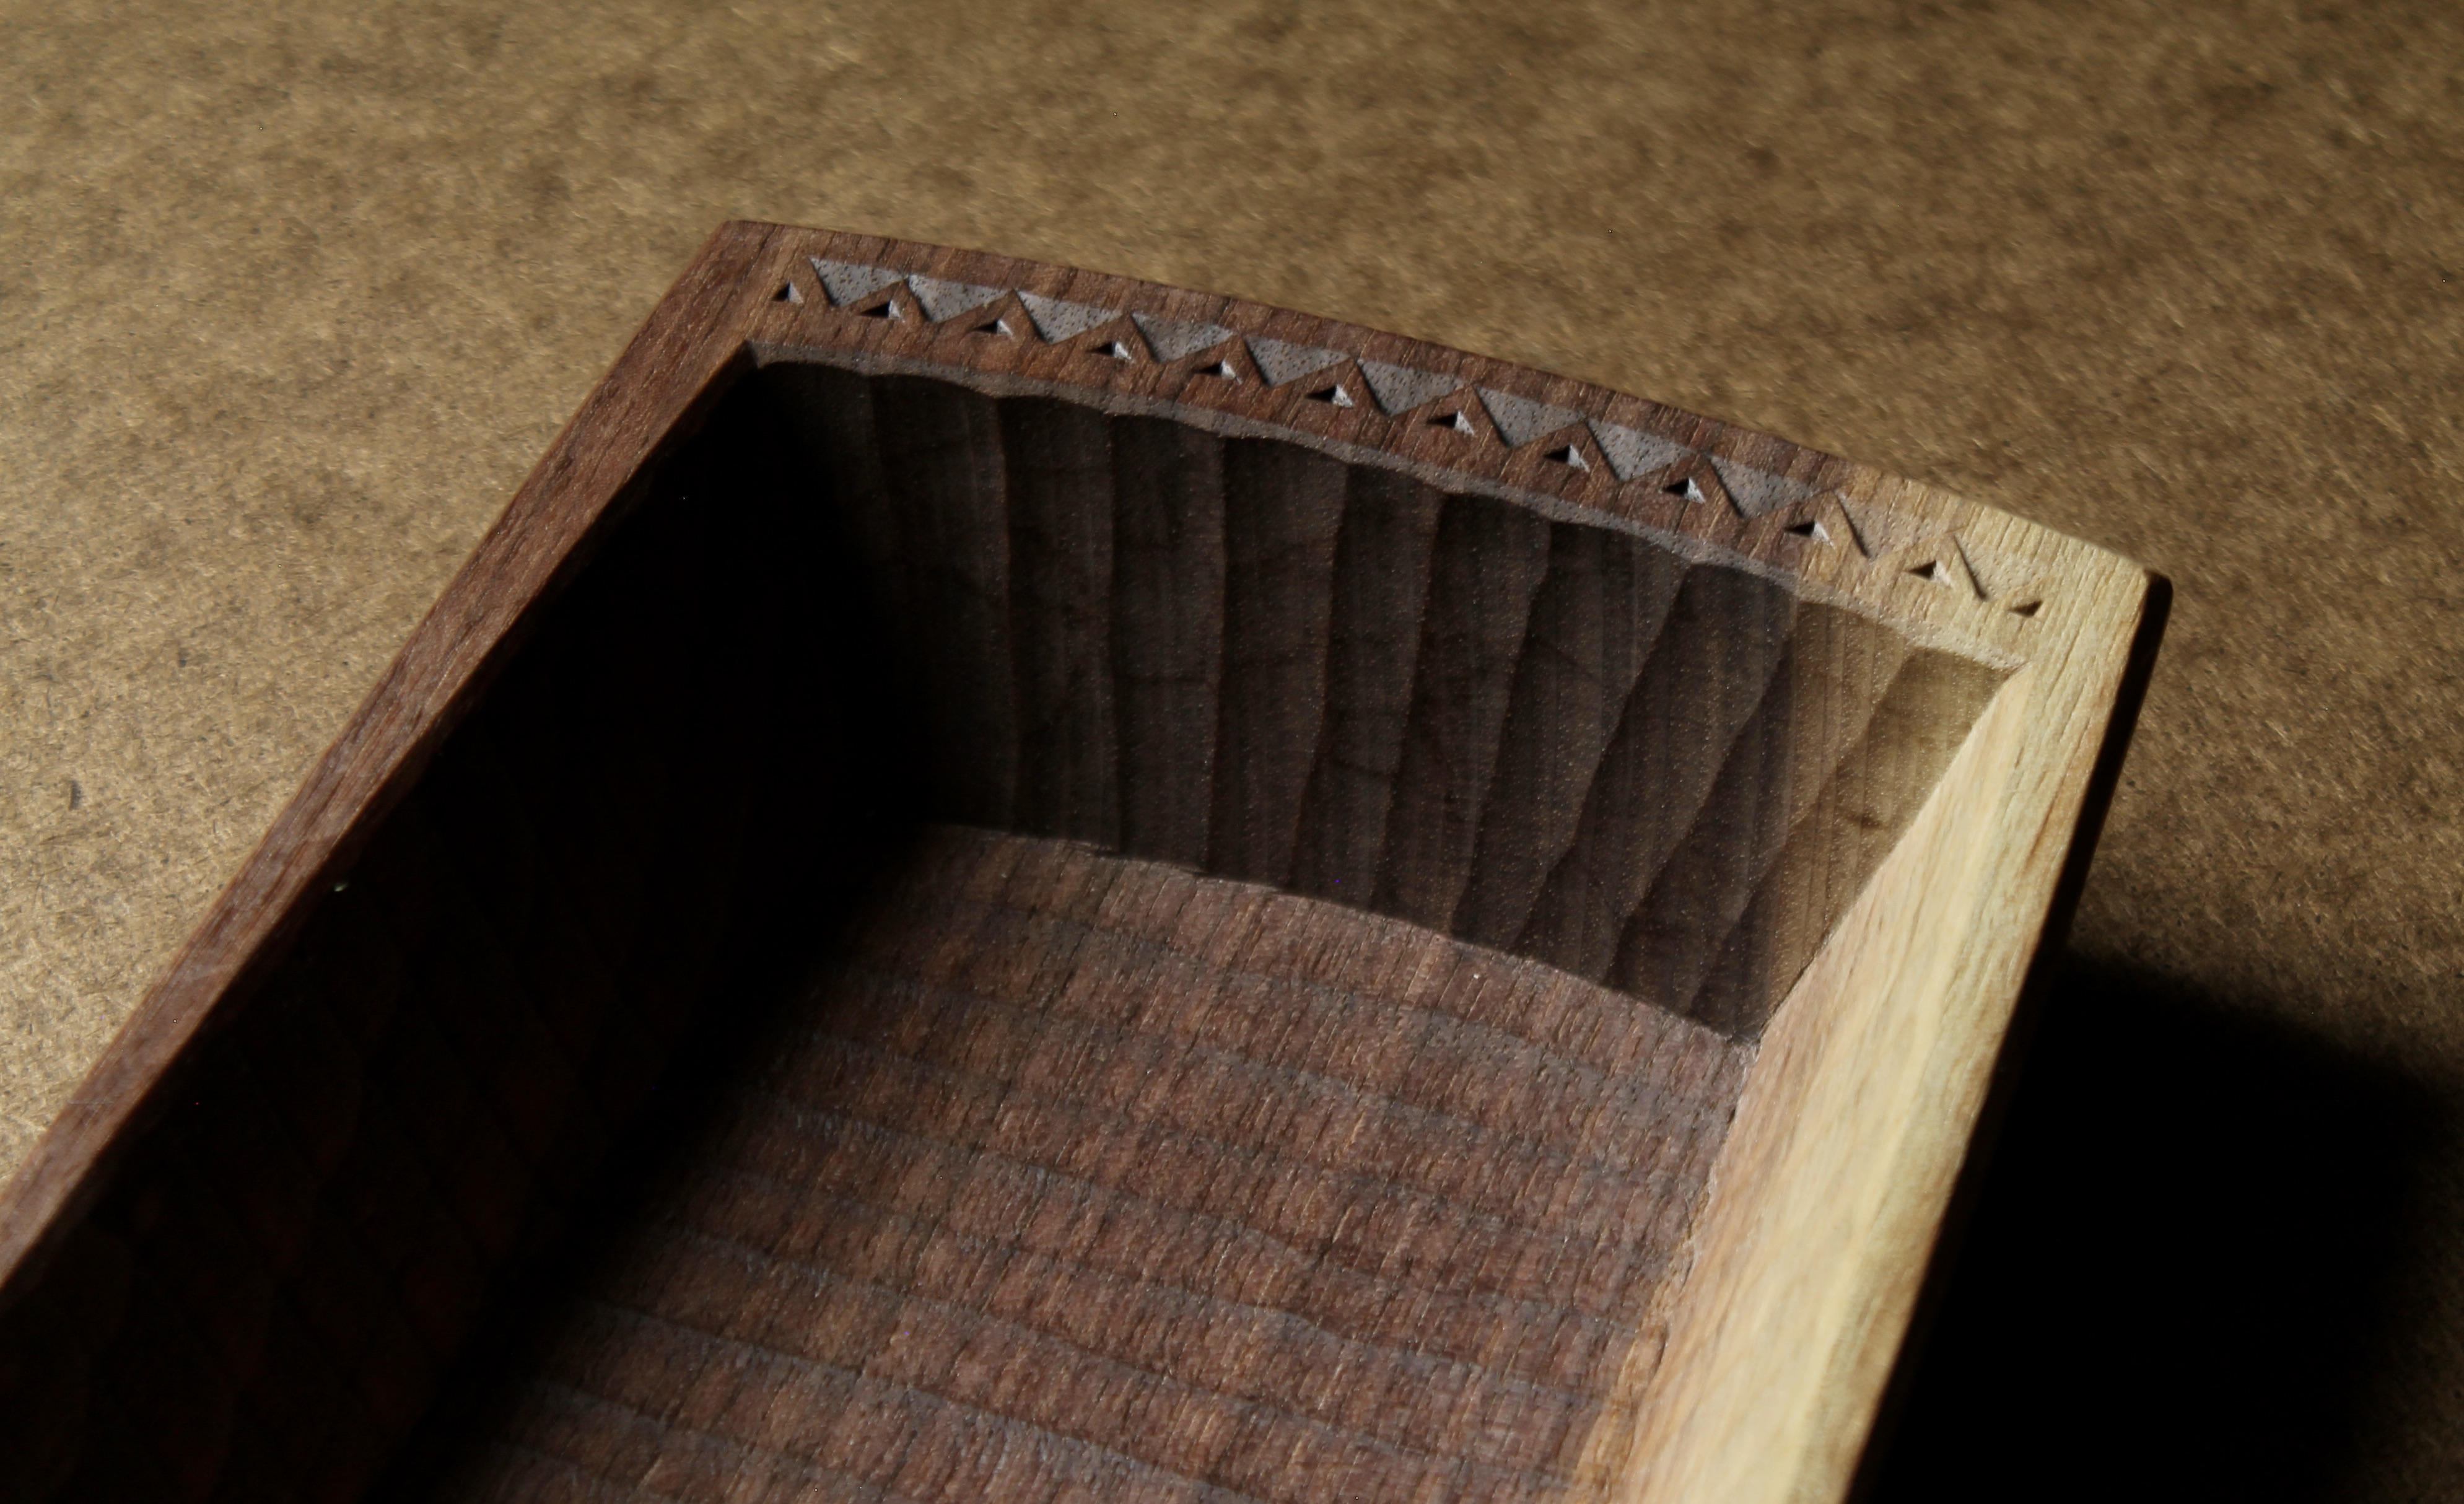
The interior of the box has a texture left from the carving tools and is painted to match. Might make a good lunch box.
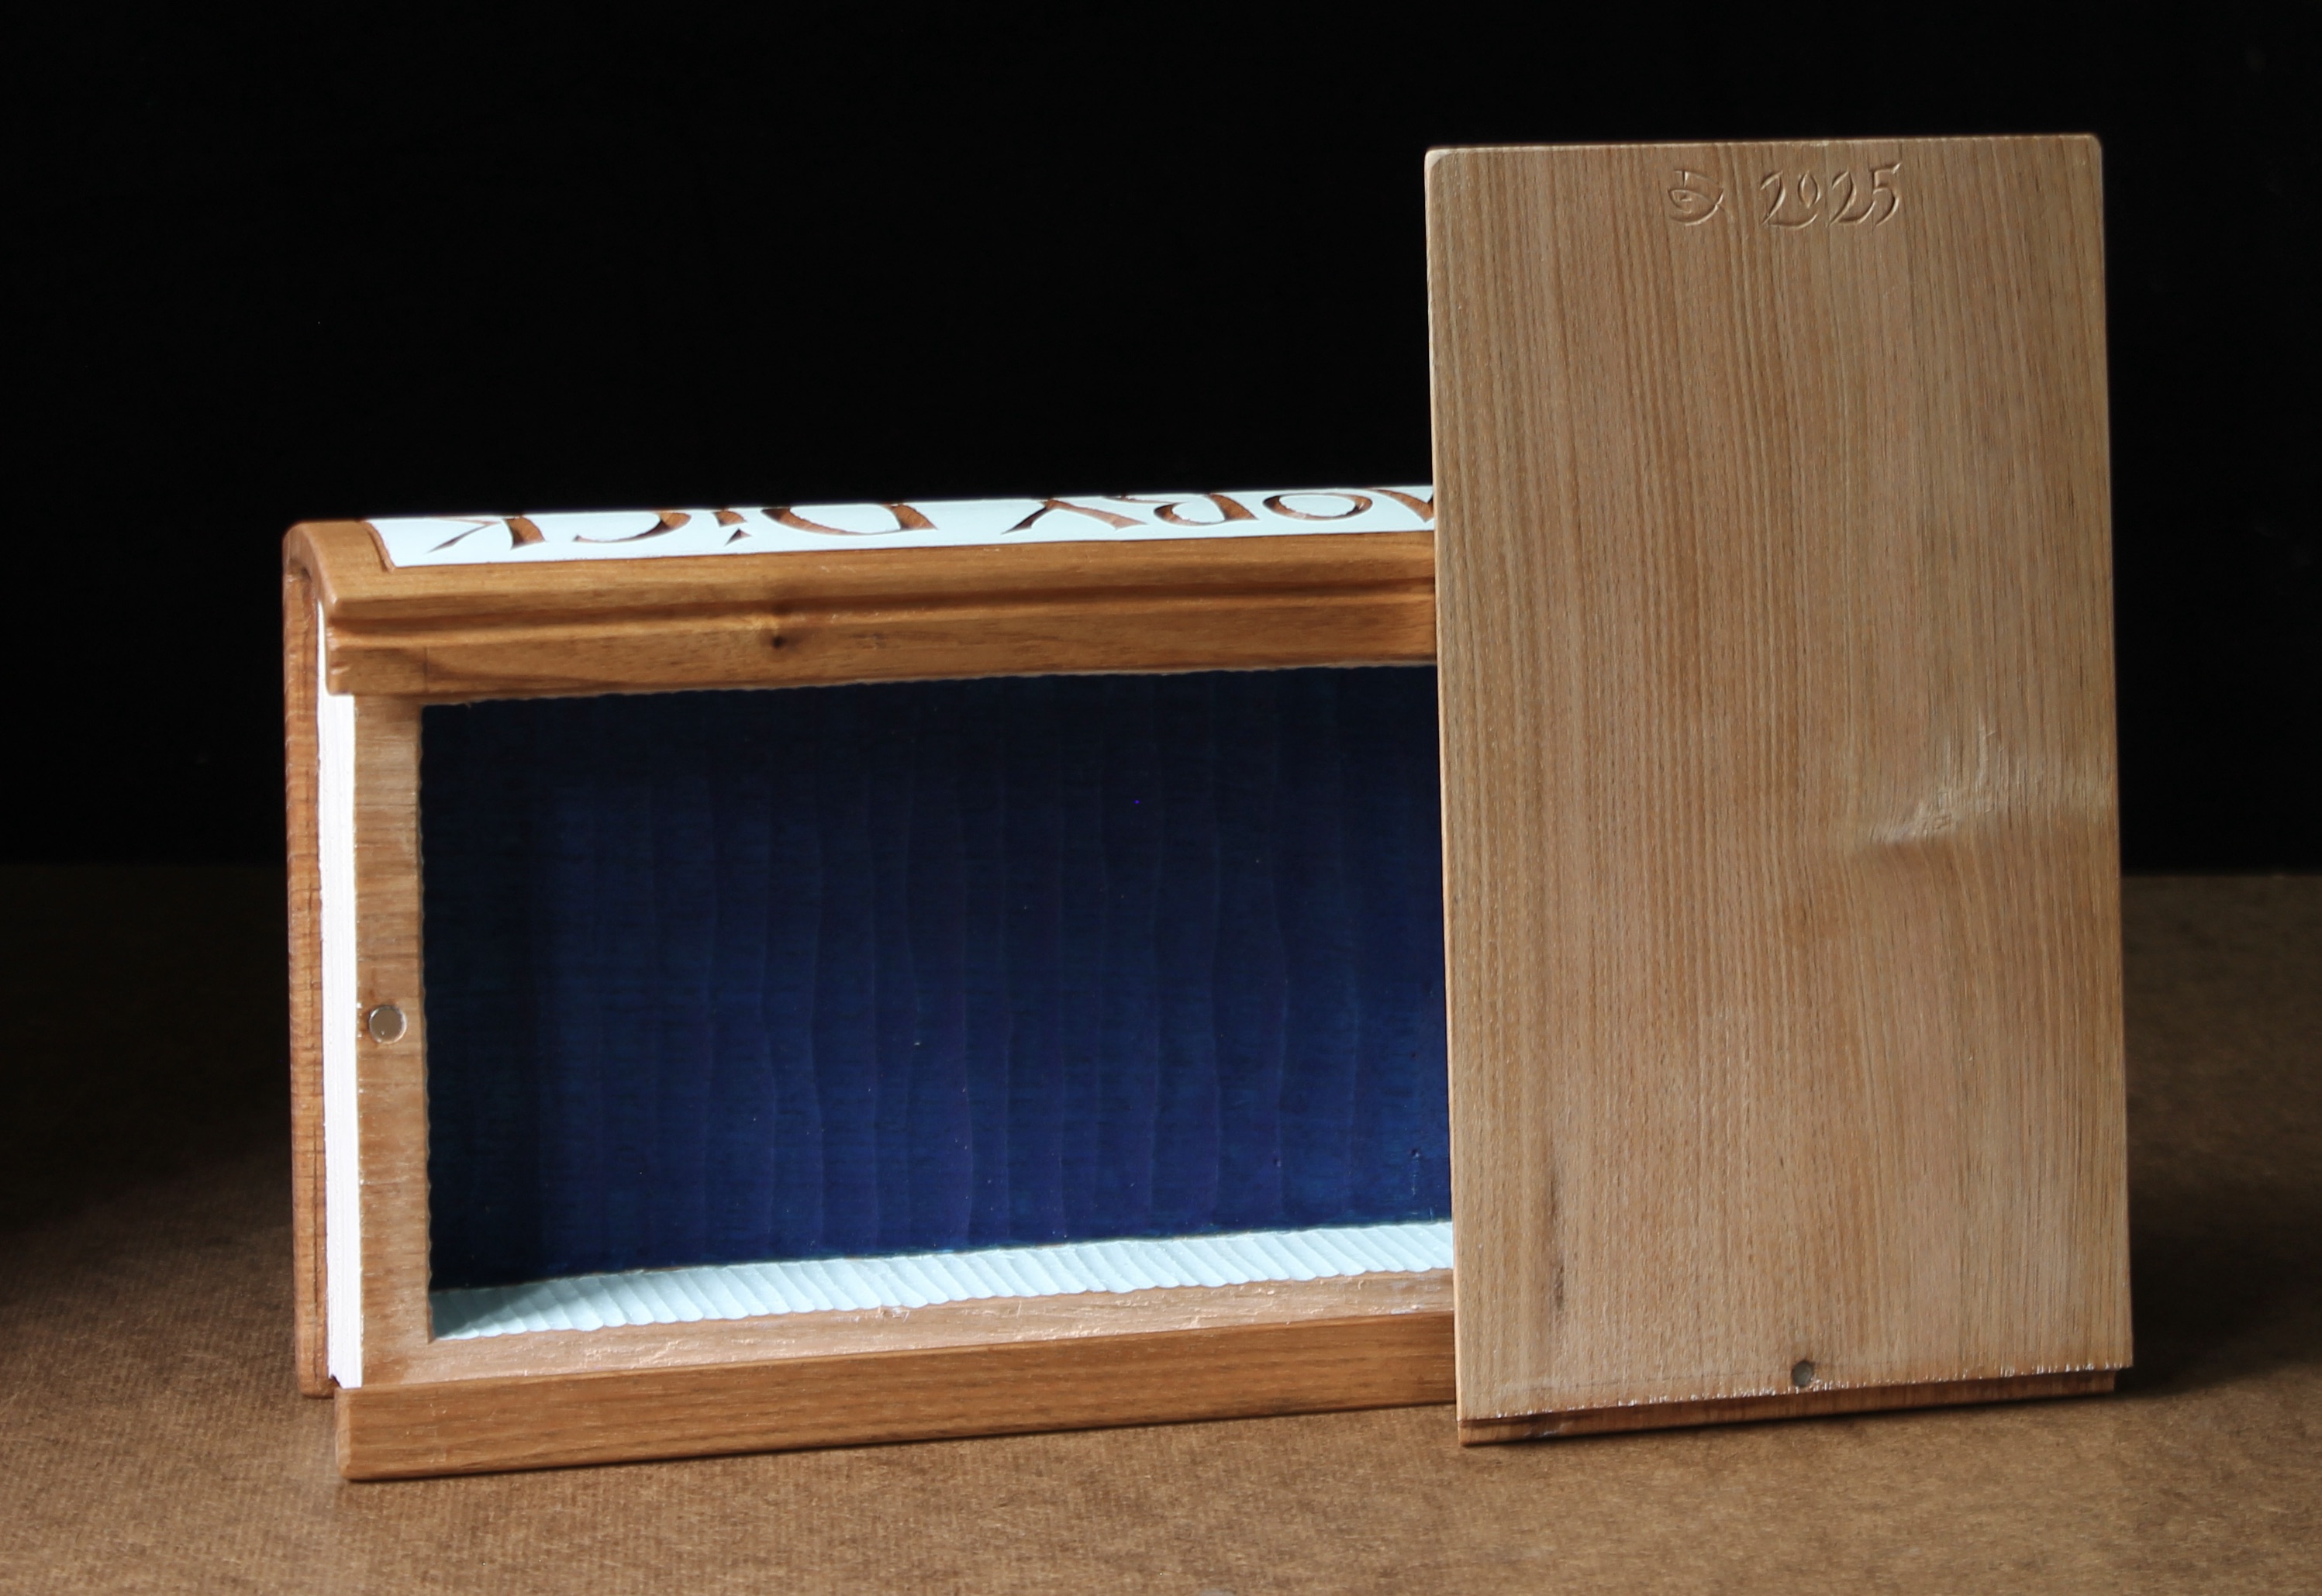
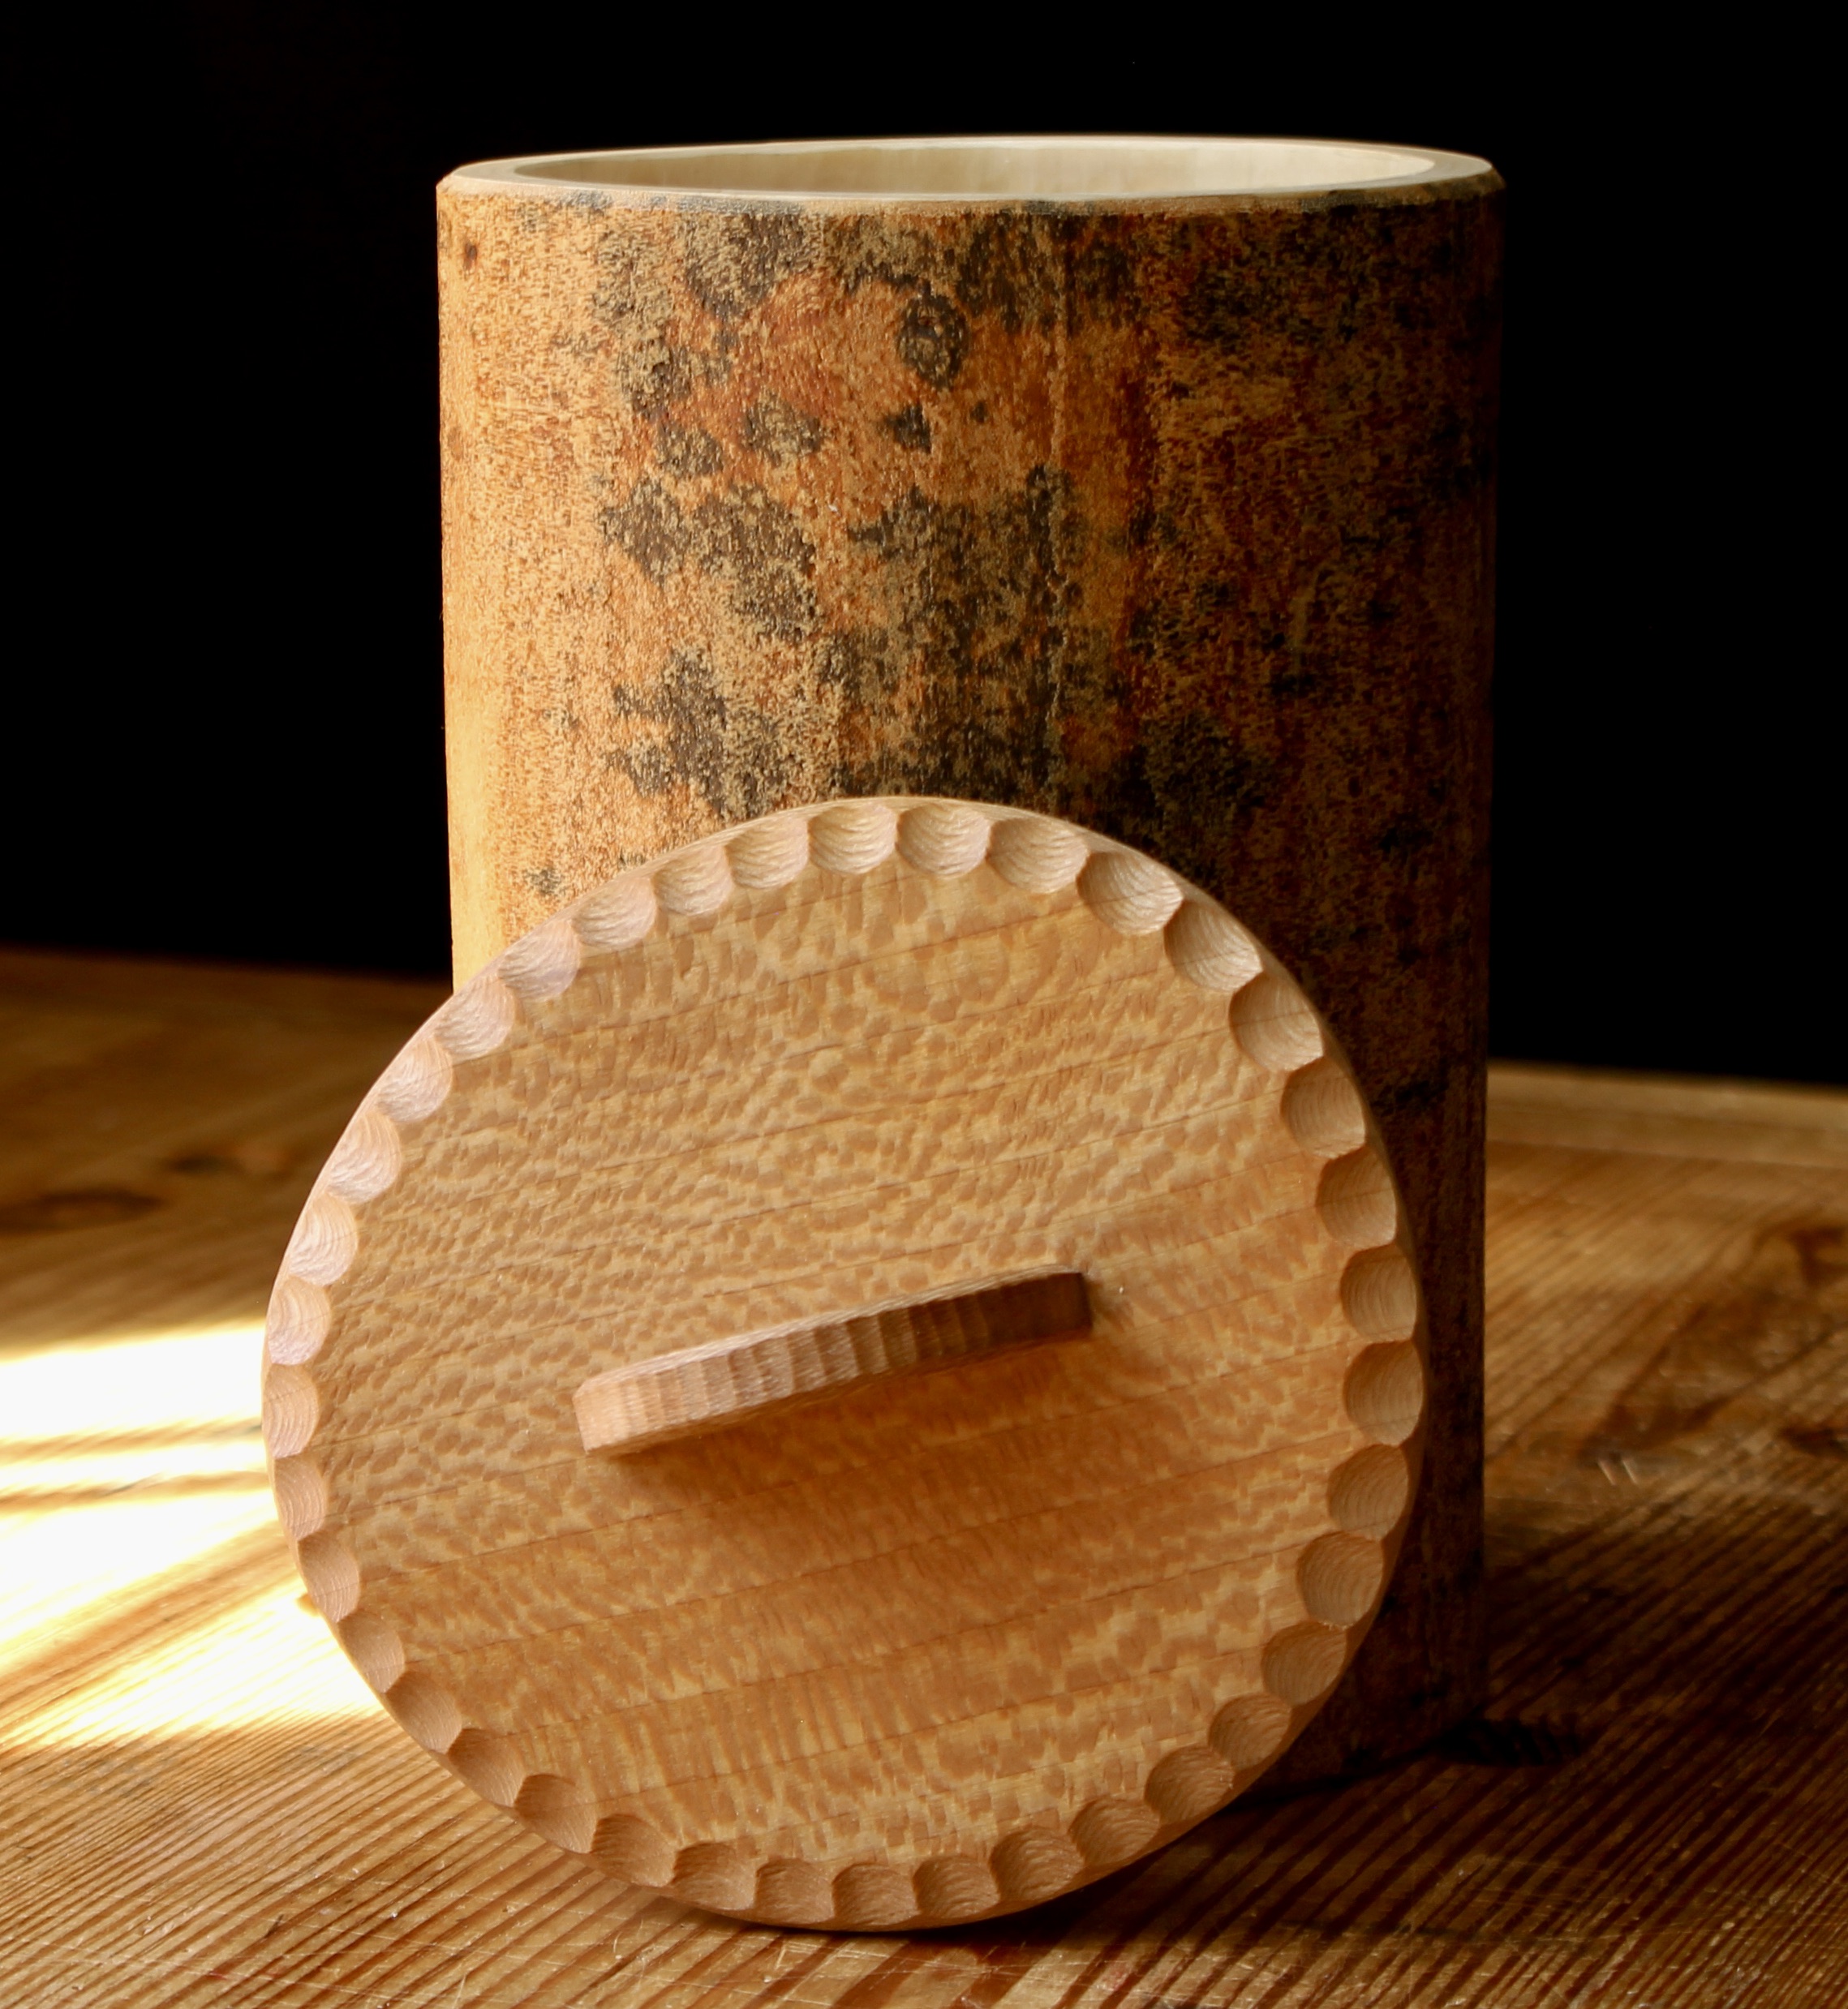
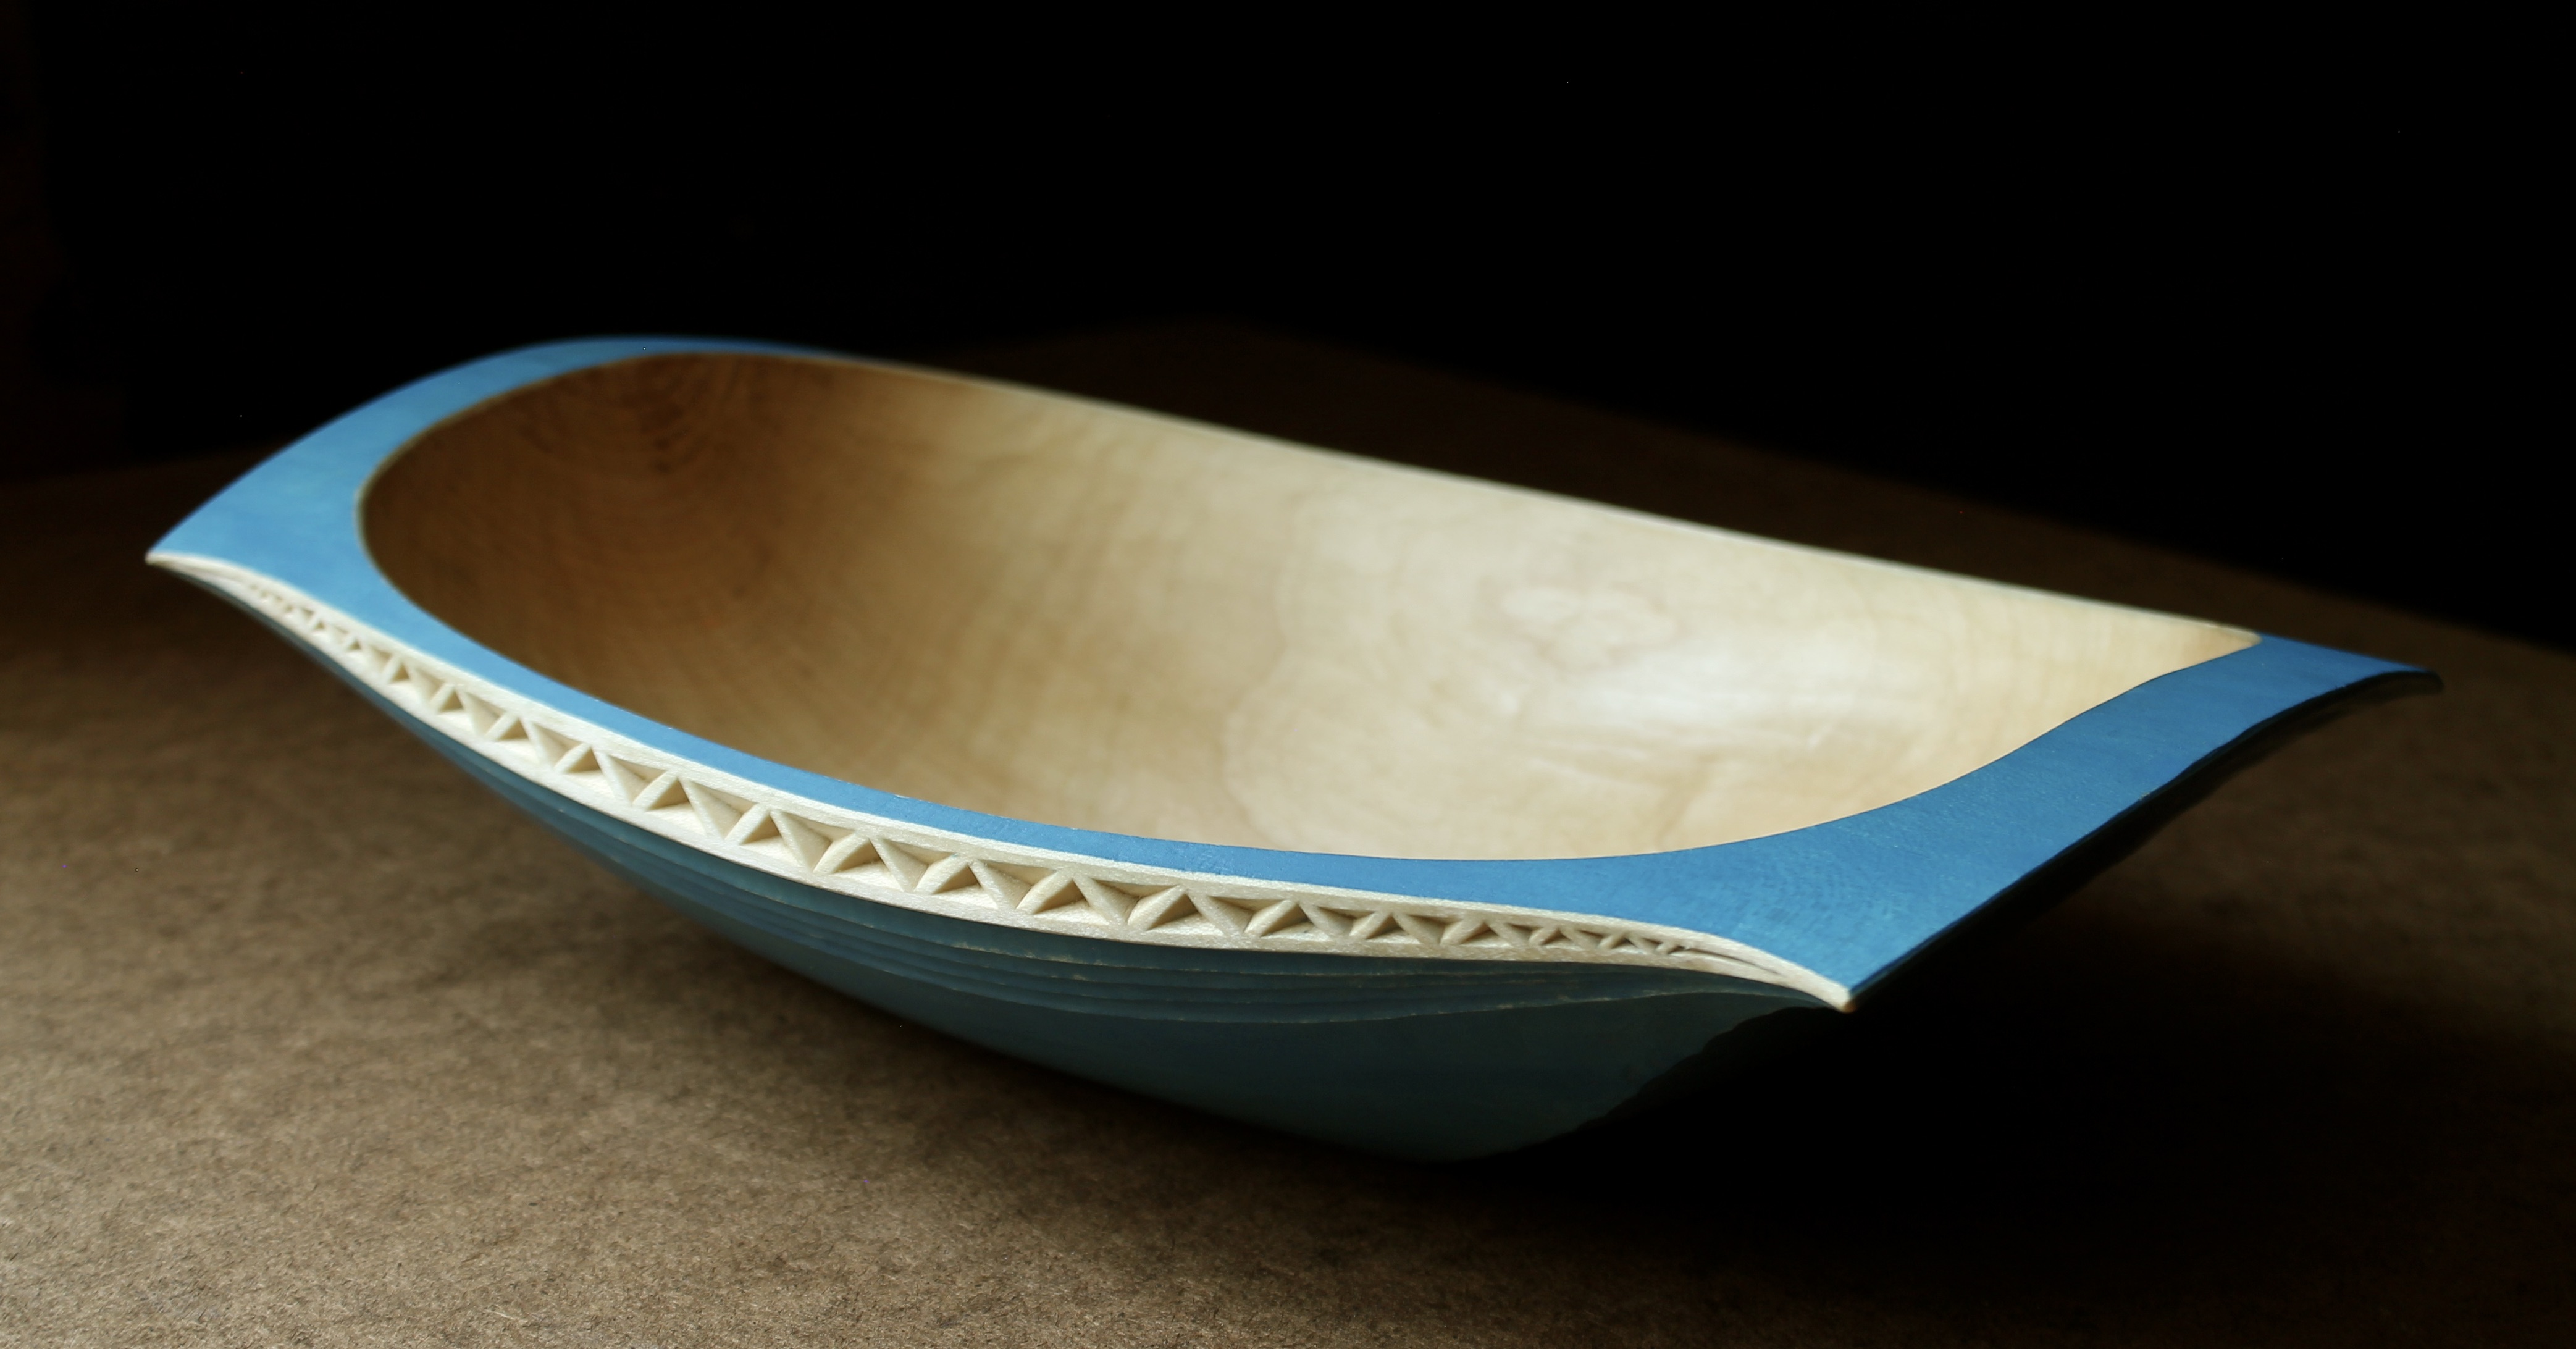
The lid fits just right now, but if it should loosen with moisture changes, there are magnets in the box and lid that will keep the lid from sliding out too easily.
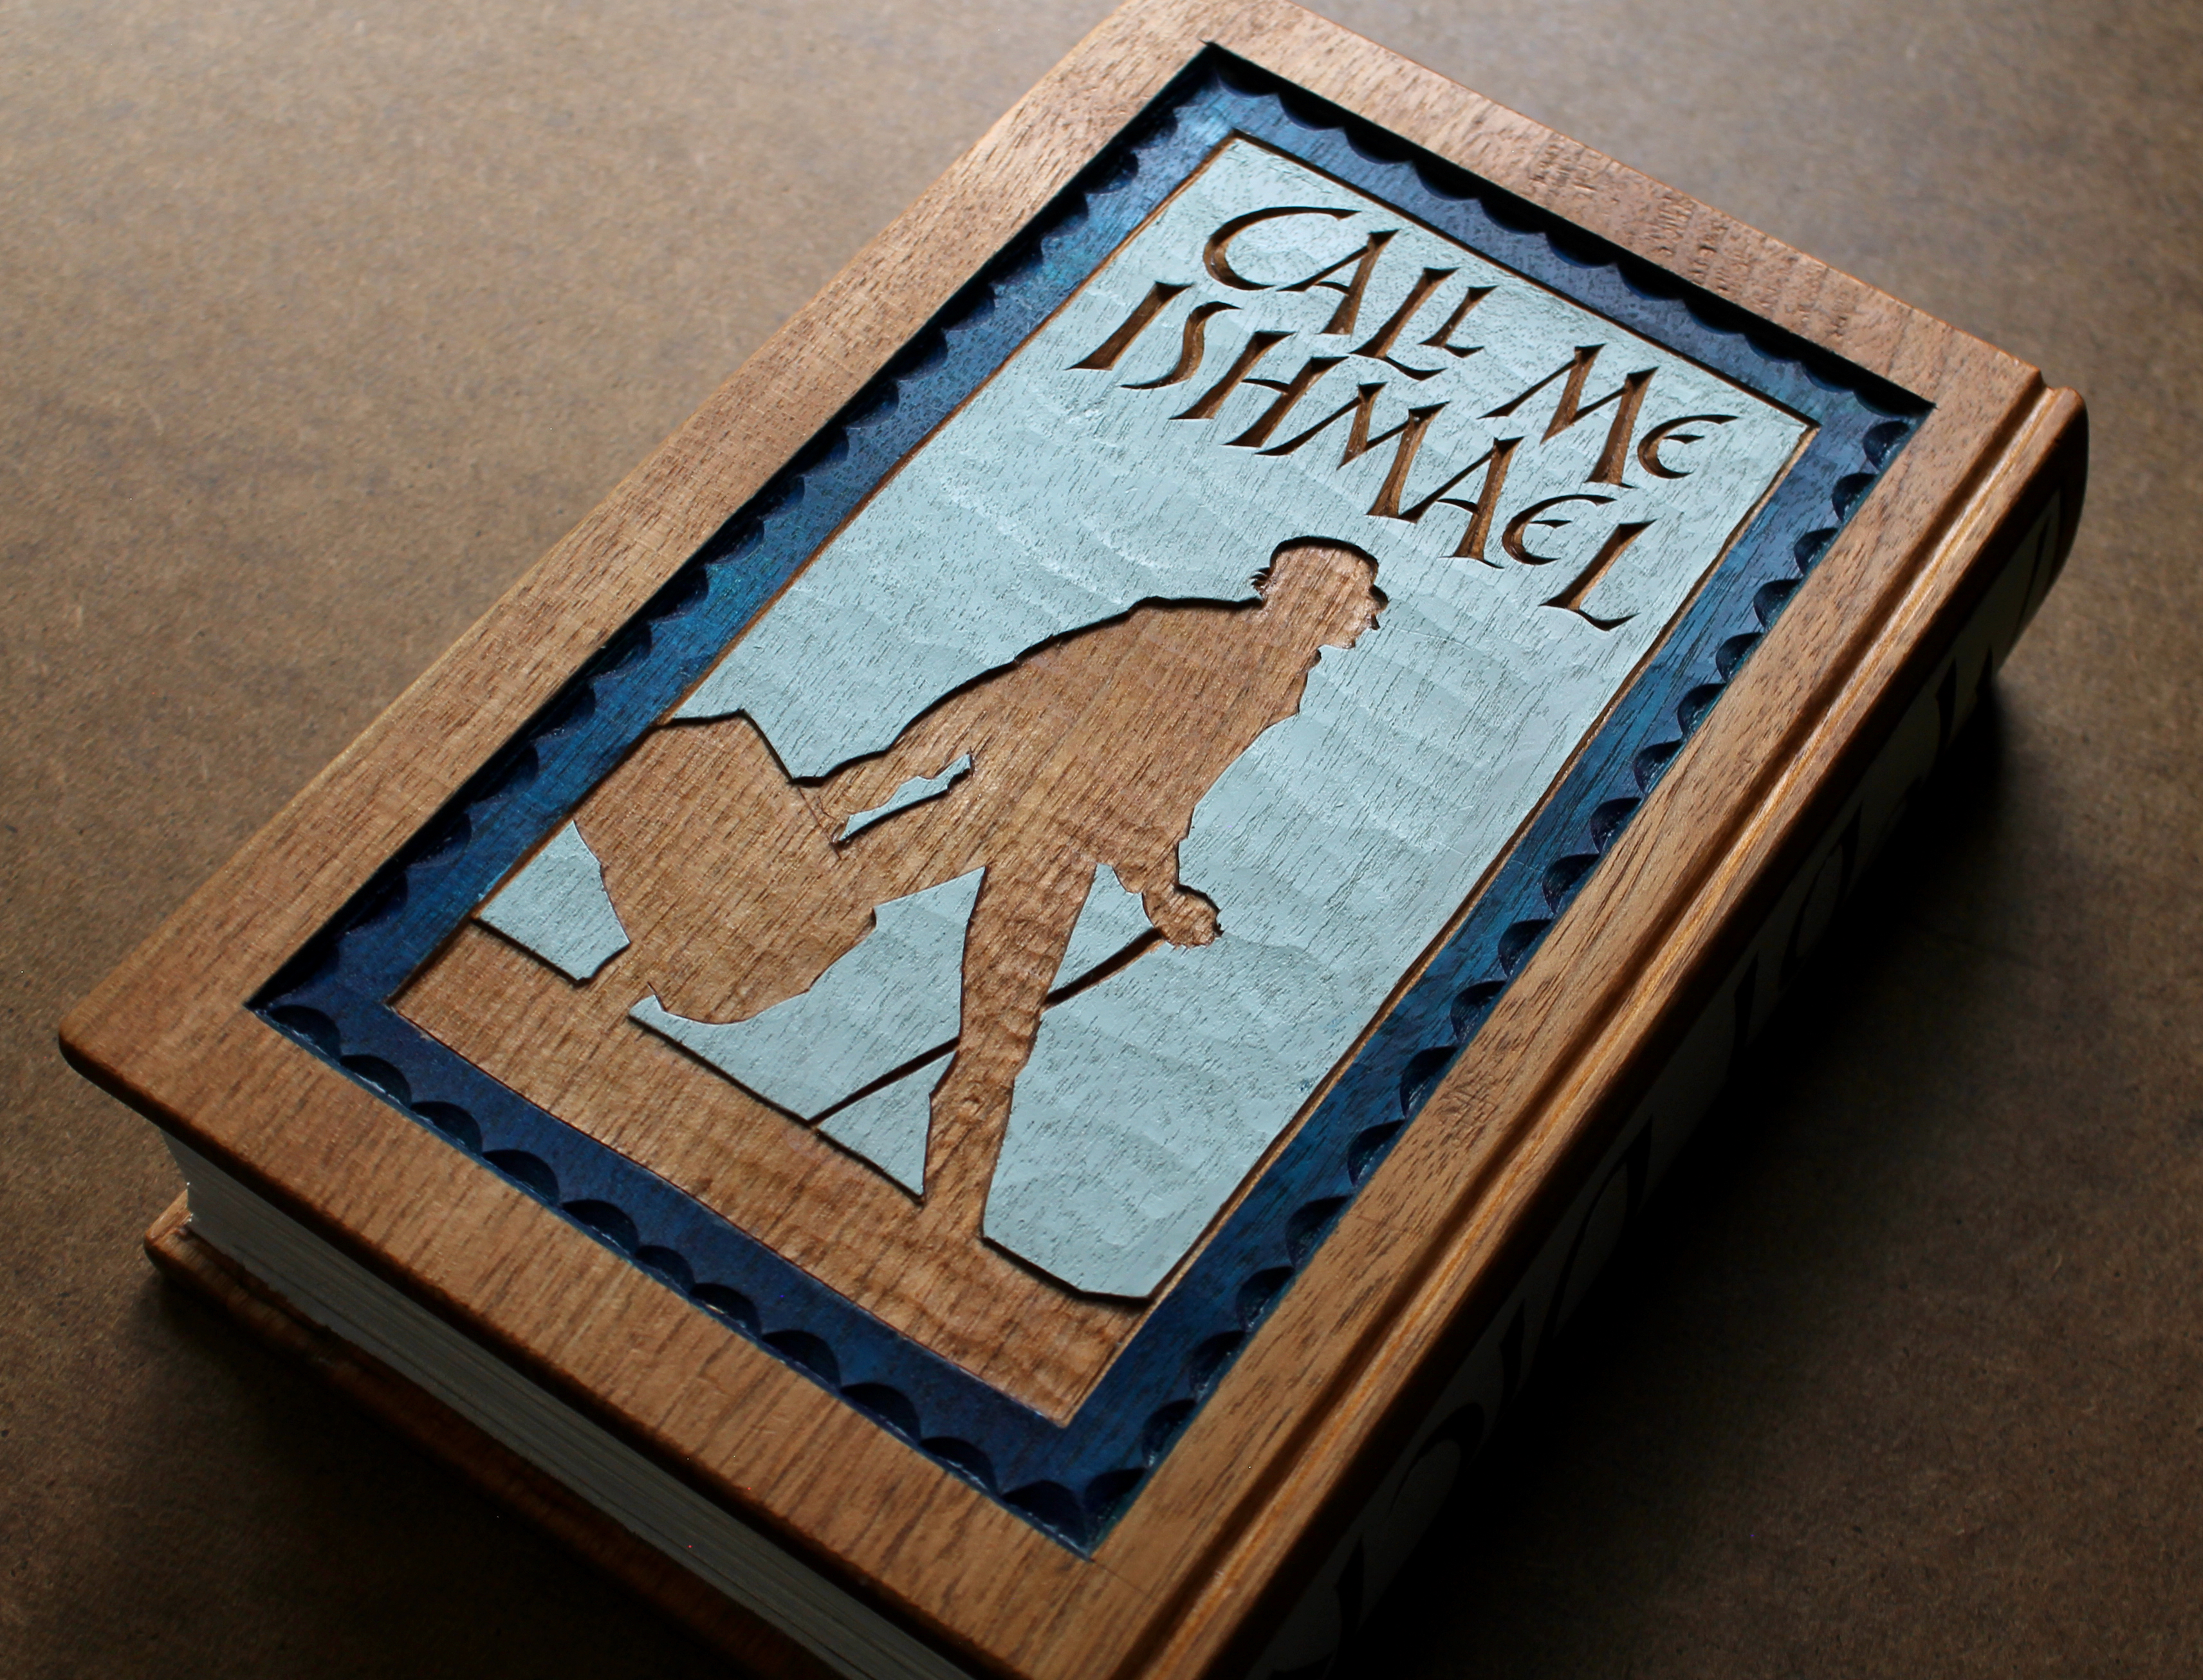
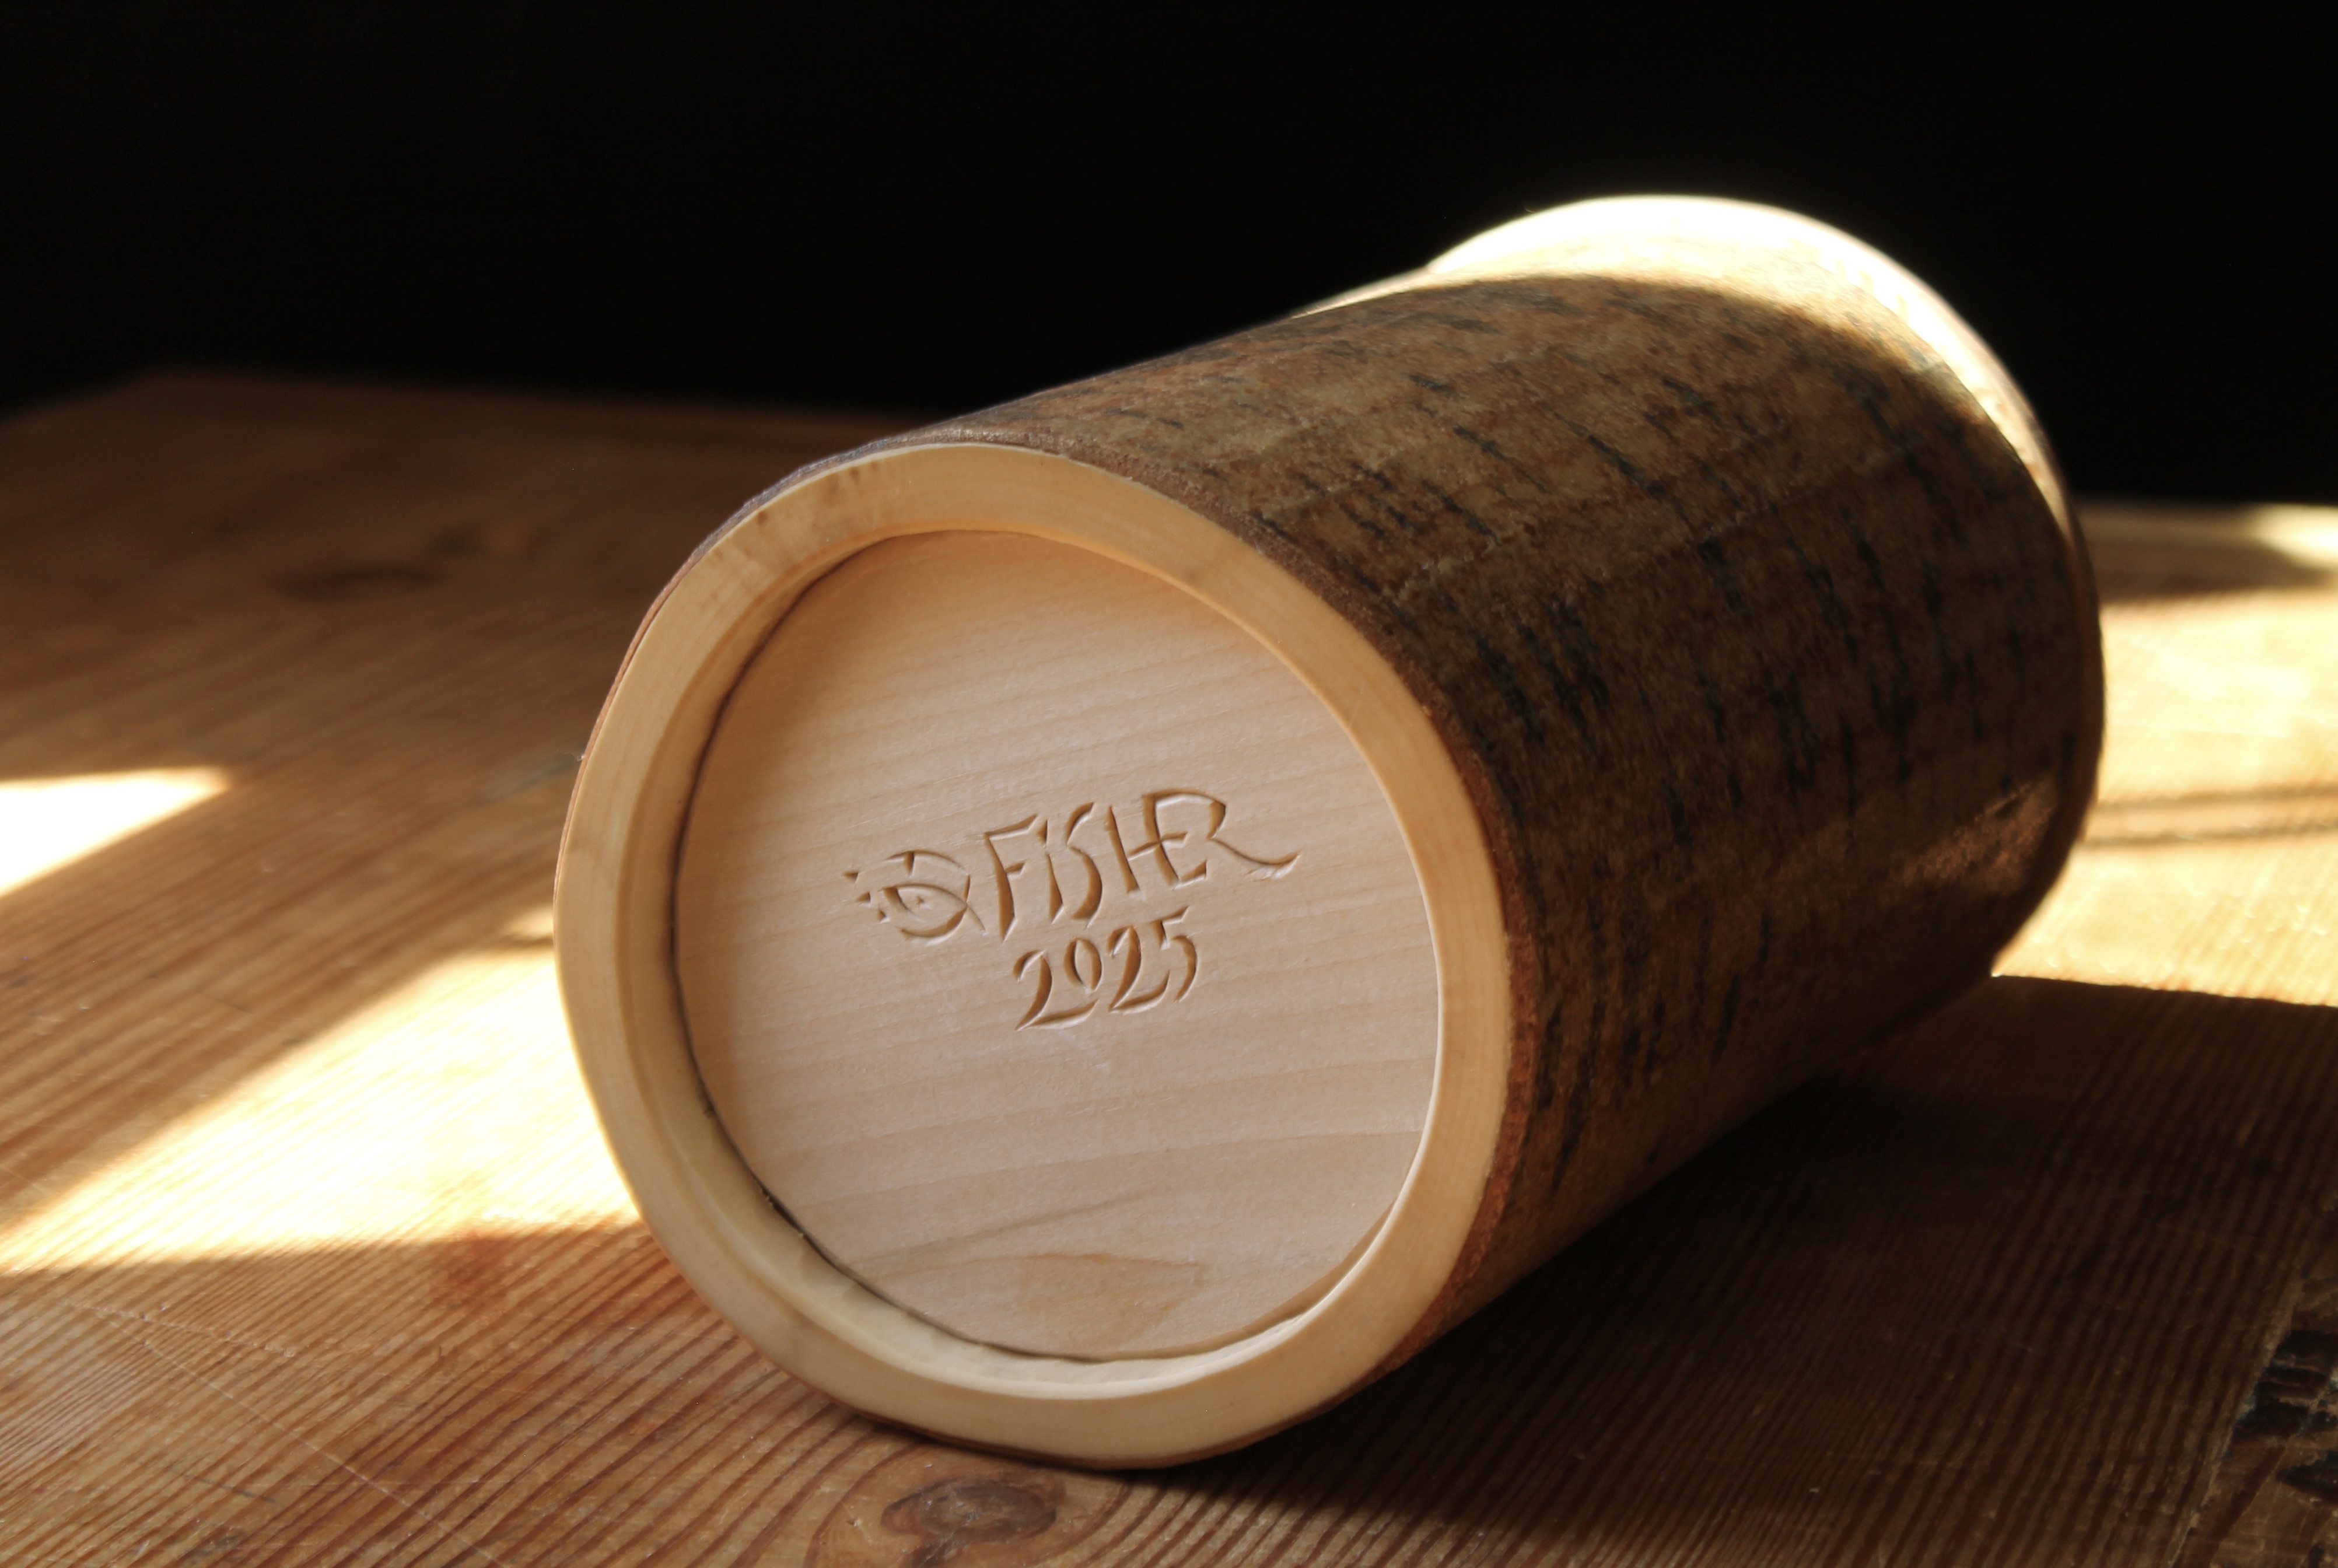
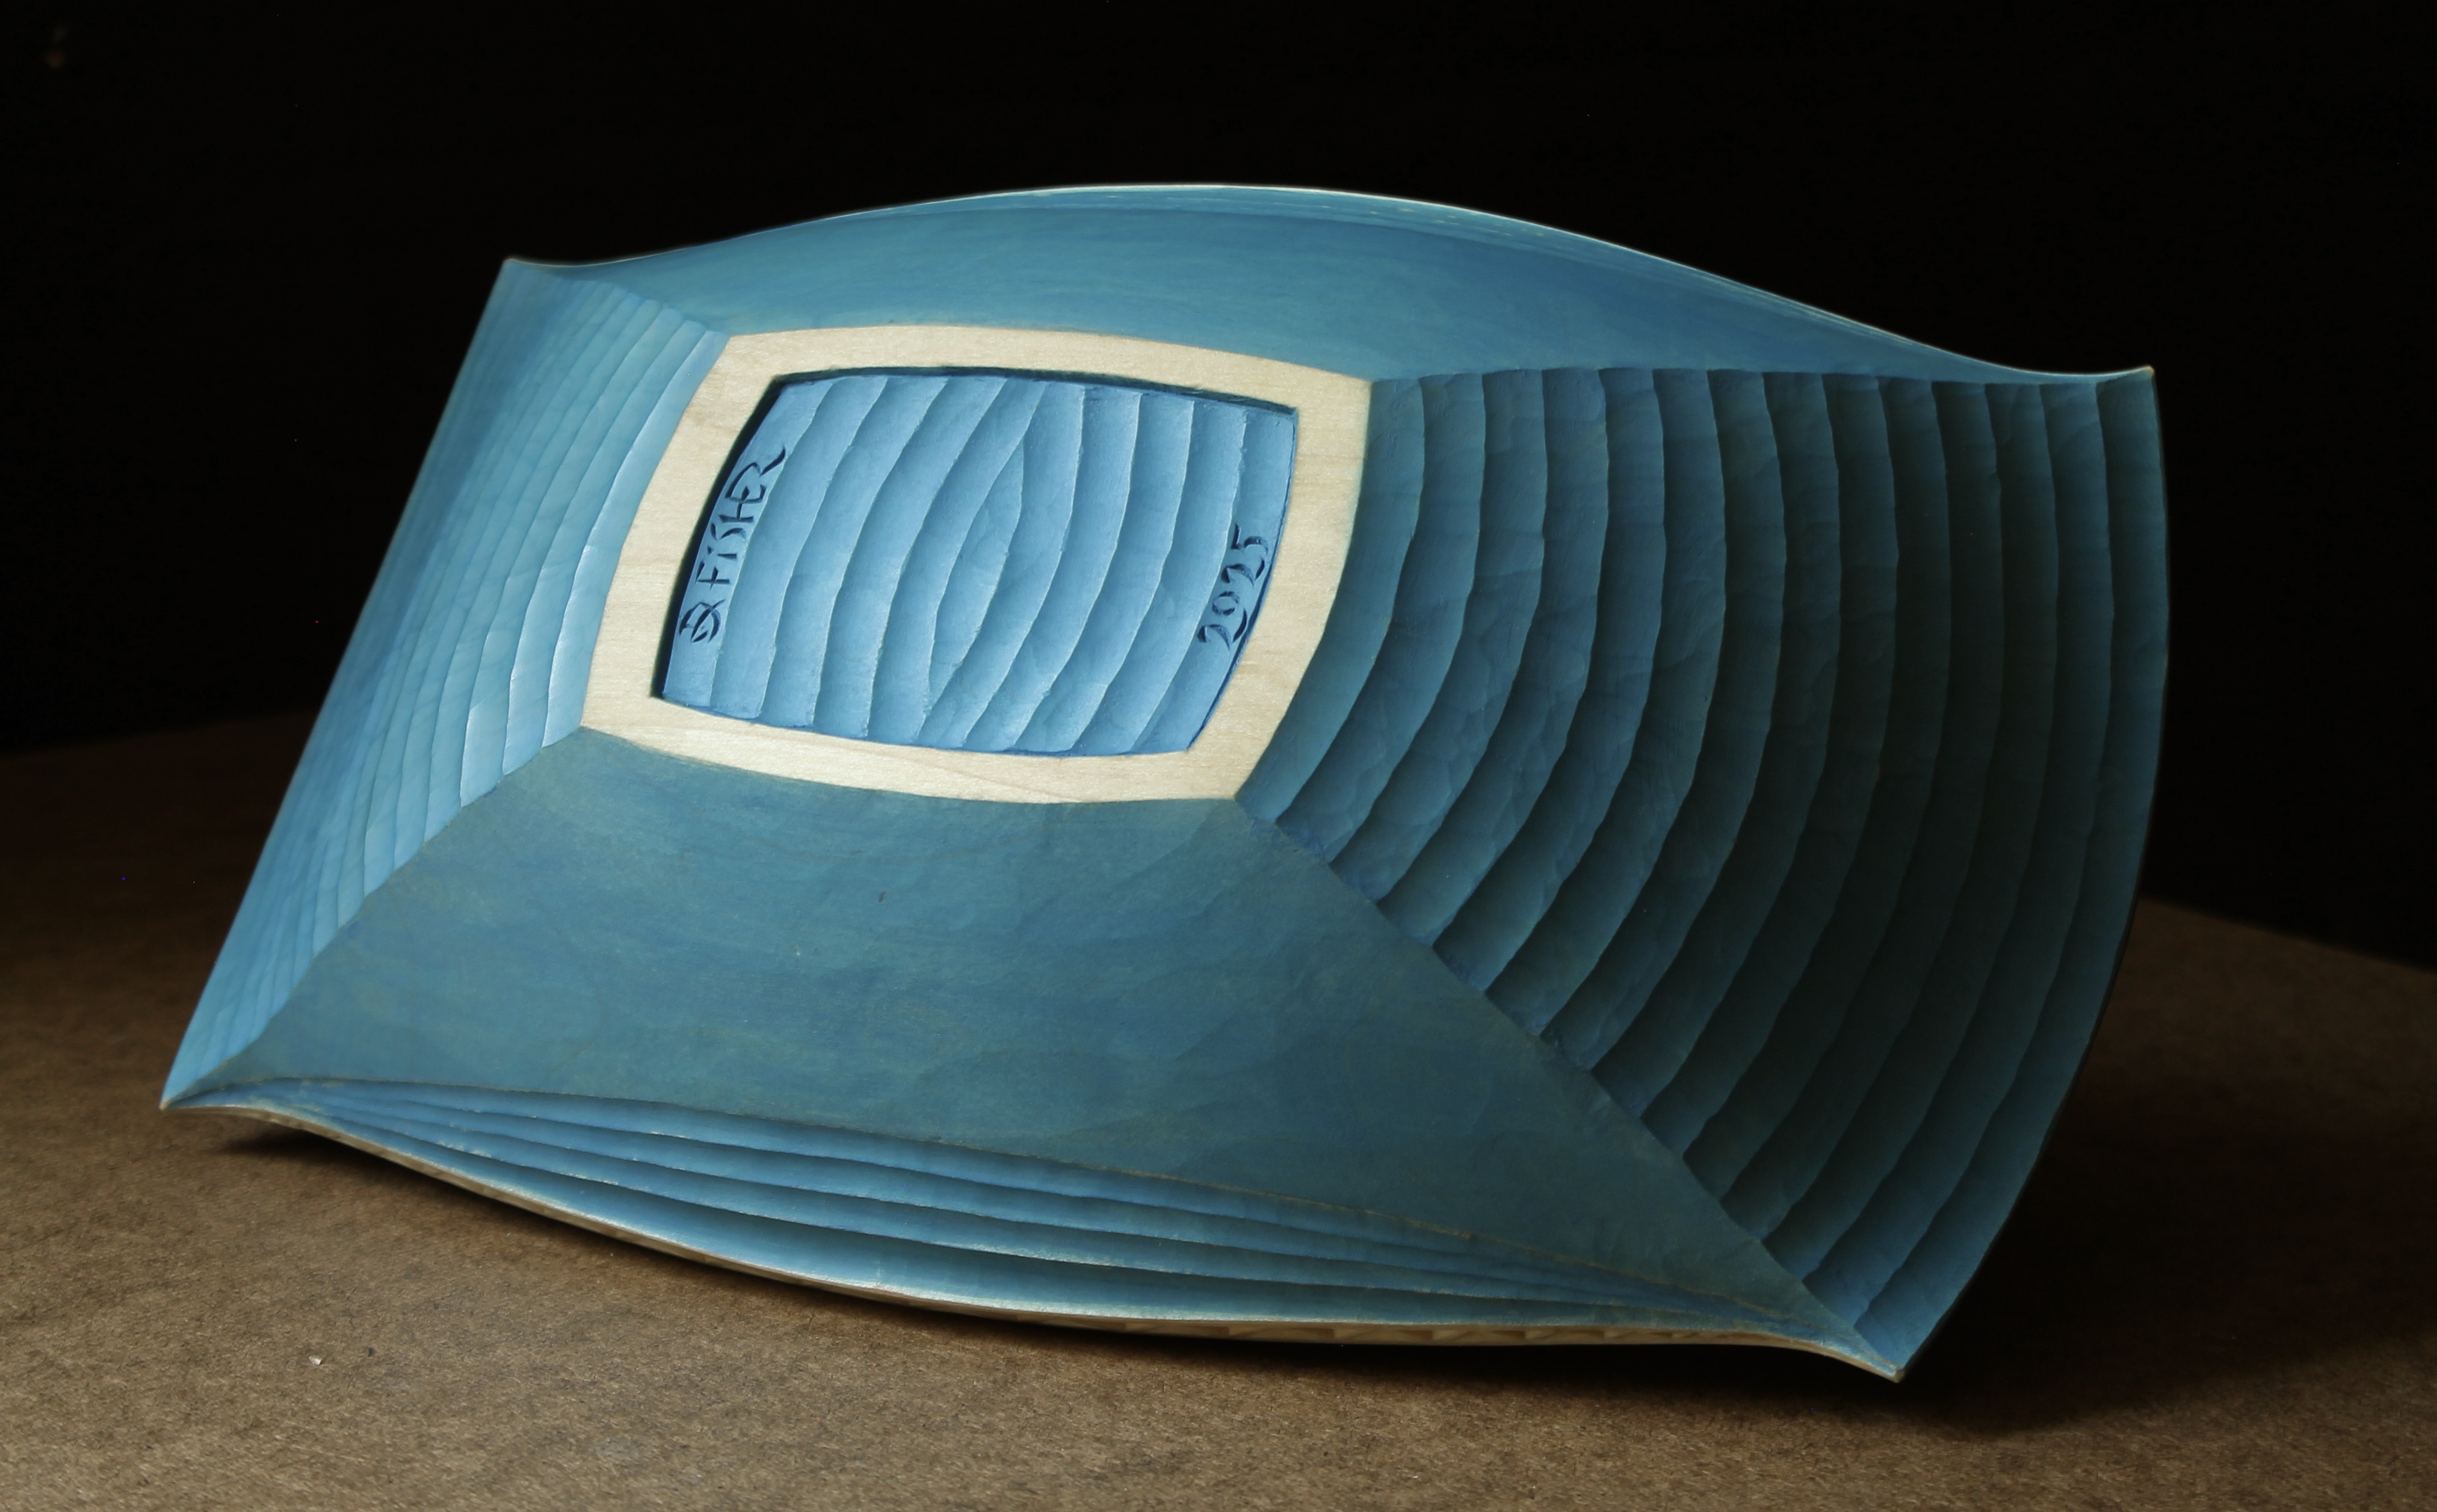
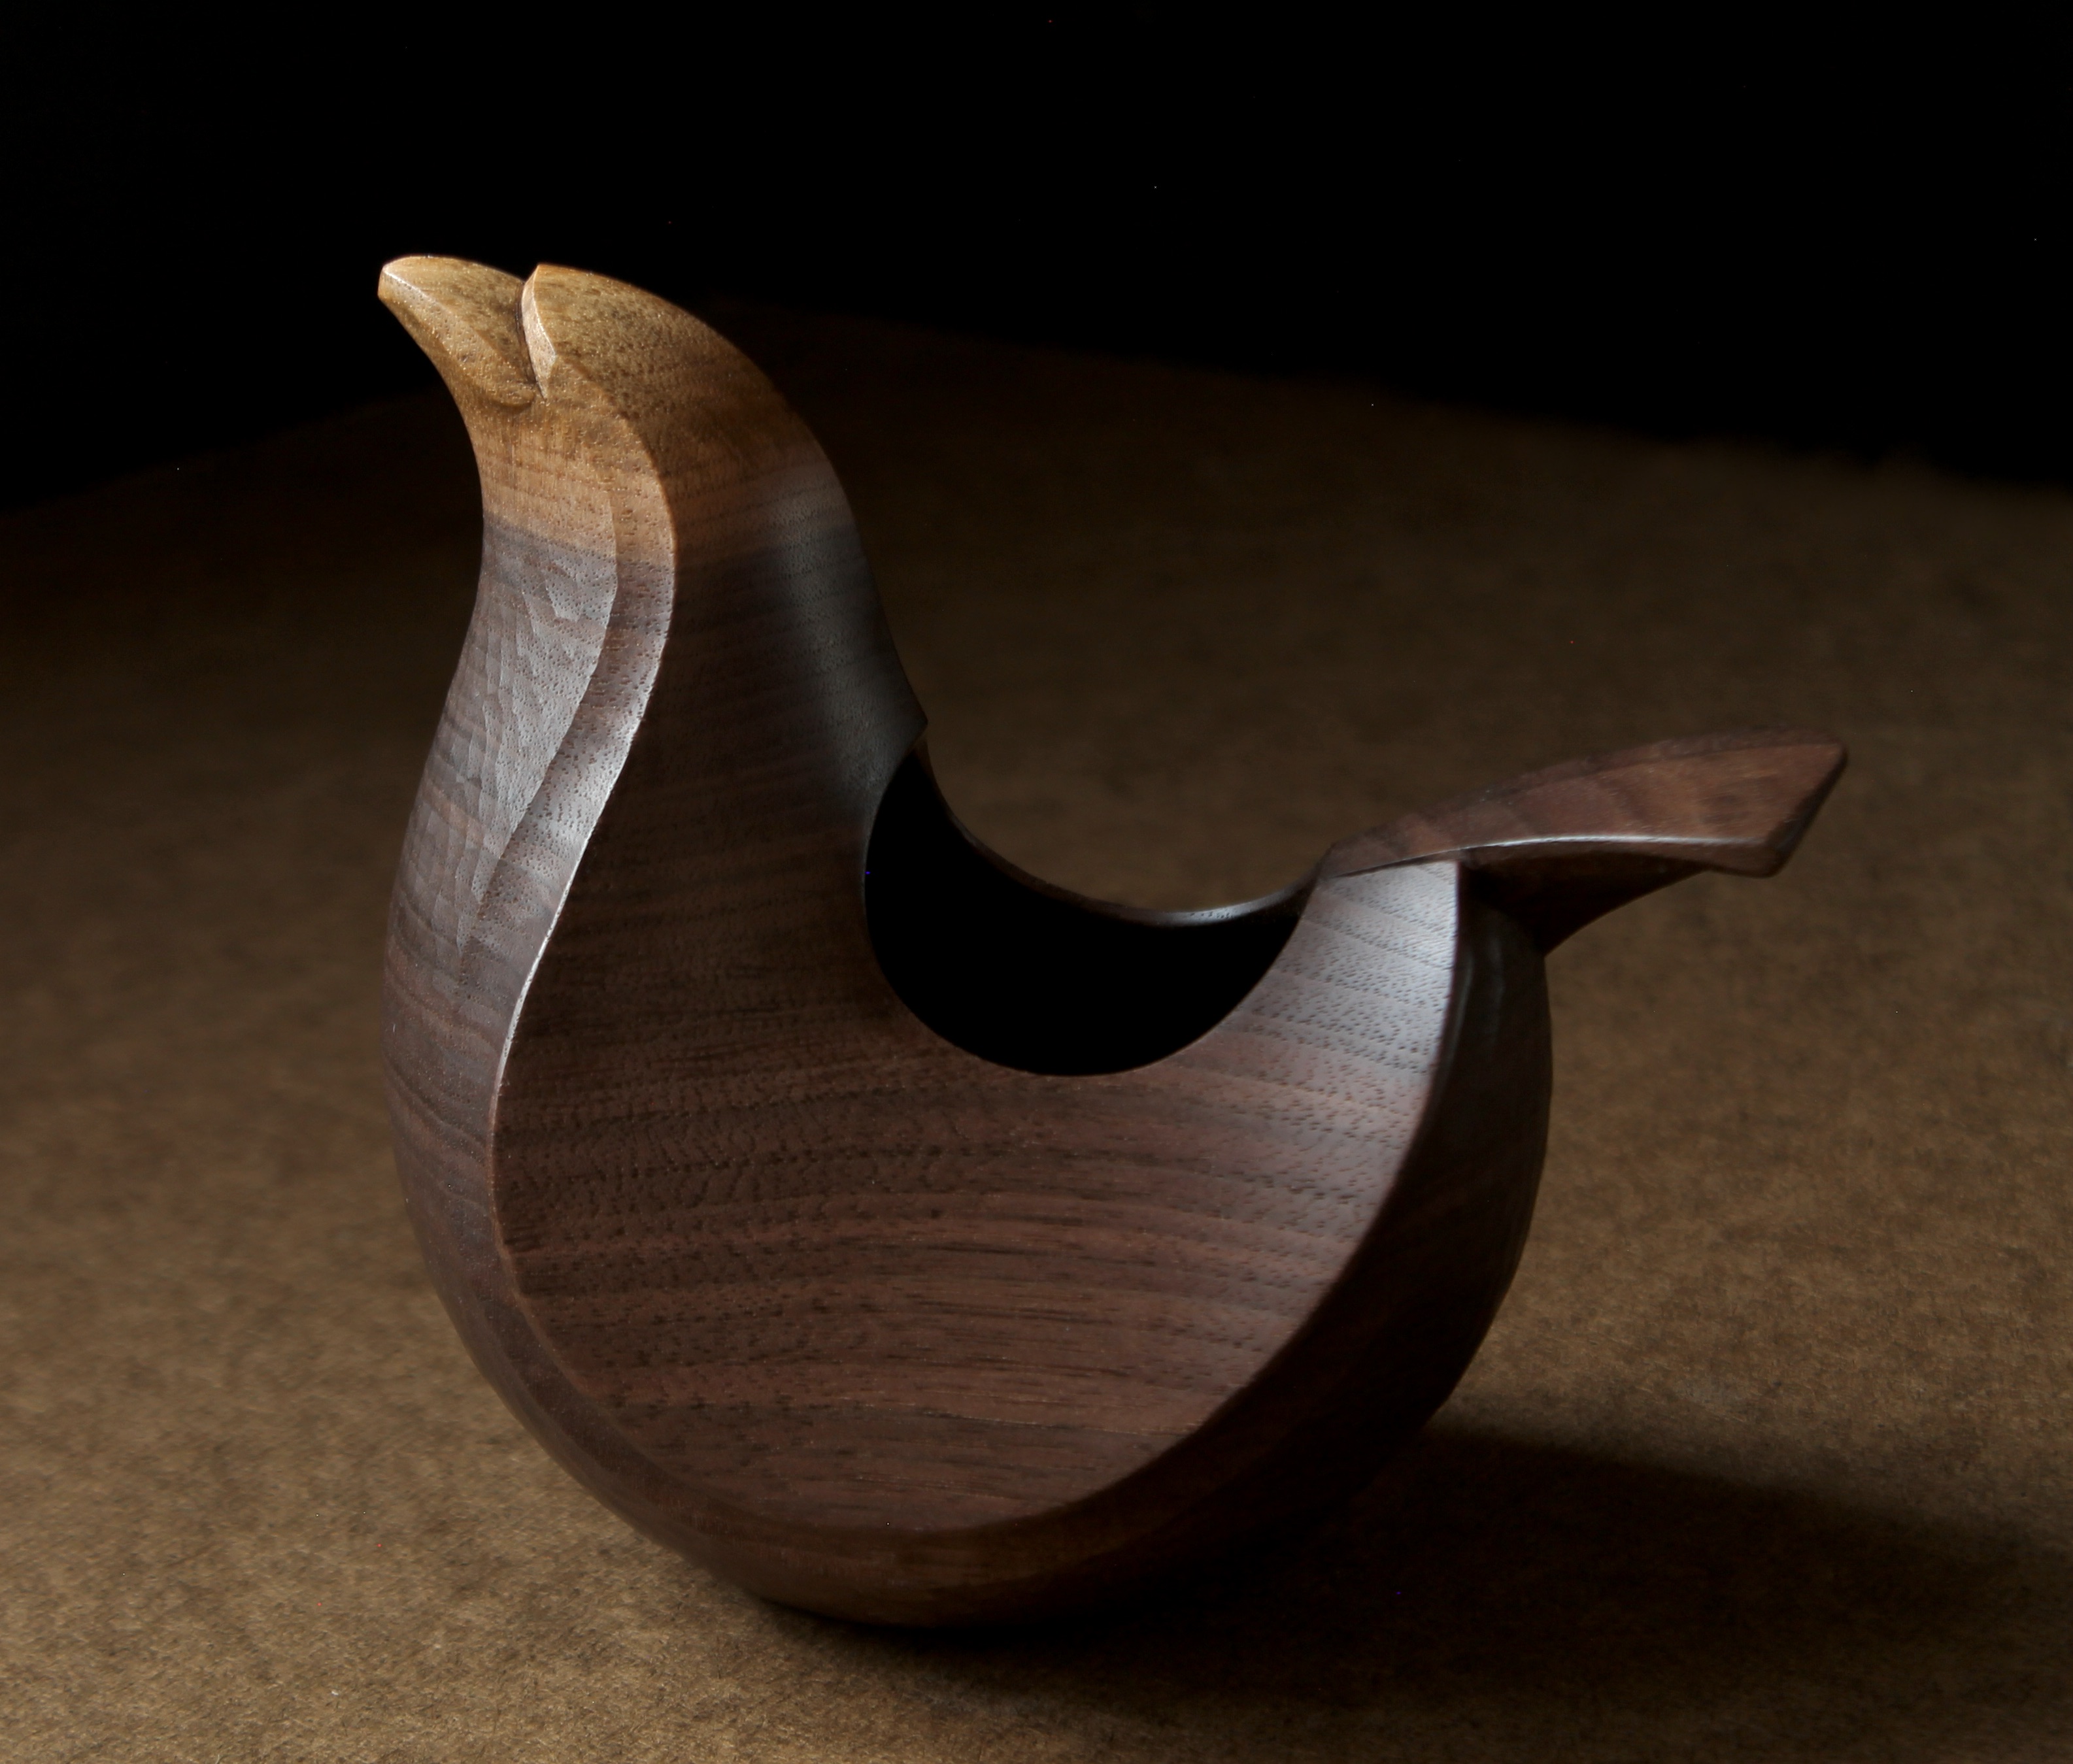
There’s the back cover. The silhouette is based on an illustration by Rockwell Kent for the 1930 Lakeside Press edition of Moby Dick. The whole exterior was finished with a linseed/beeswax blend.
If you want to explore many more book-inspired objects, I just discovered that there was an exhibition at the Metropolitan Museum of Art last year. The MET website has background information on the collection and a page with detailed photographs. Many of the bookish things are made from wood, but also metal, stone, fiber and other materials. Books translated into spruce gum boxes, jewelry, pin cushions…