Sometimes you just have to get an odd idea out of your system. This one involved shrink pots, or more specifically, shrink tube bottoms. I’ve written several posts about shrink pots/boxes/tubes with procedures and all that. Here is a link to a list of those posts.
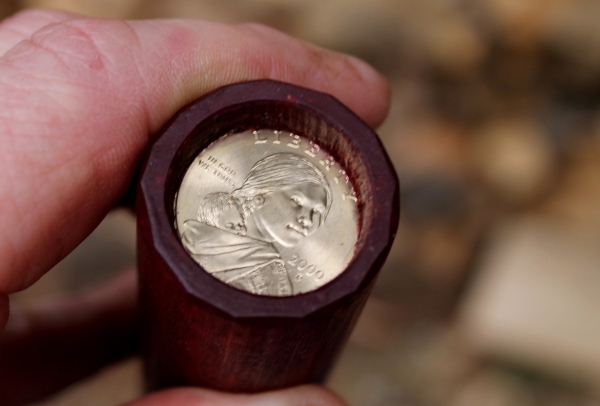
The whole idea of a shrink pot relies on the concept of a green dynamic ring of wood shrinking around a dry stable bottom. And shrink tube interiors are perfectly round, straight from the auger. The wheels started turning and I started measuring coins. Turns out, a U.S. dollar coin is 1.043 inches in diameter, perfect for popping into the bottom of a shrink tube drilled with a 1 inch auger. That exact measurement came from the U.S. Mint, here’s a link to their chart with all of the coin measurements.
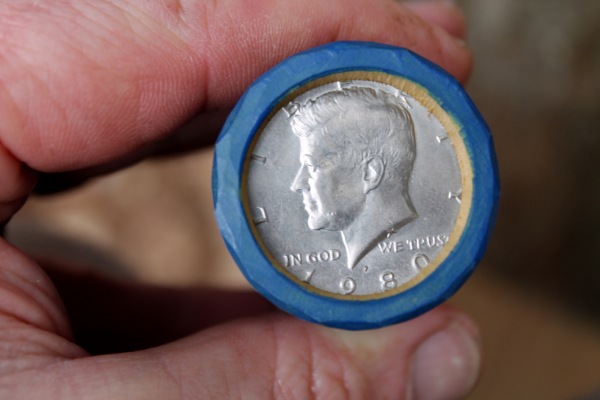
I noticed that a half-dollar coin is 1.205 inches and I have a 1 3/16 auger (1.19 inches)… so, now inspired by President Kennedy, I needed to figure out how to make the perfect groove to fit the coins. Both coins are very close to 2mm thick, so that was at least consistent.
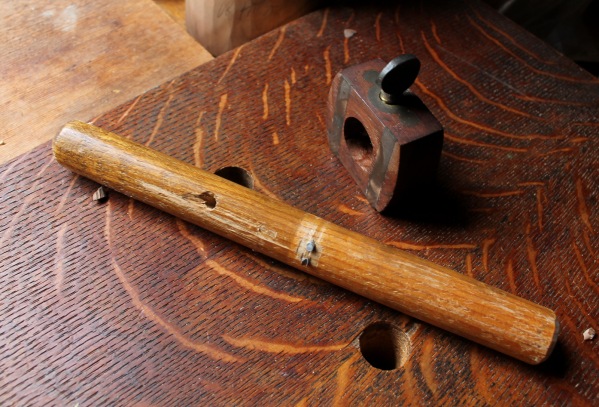
I cut off the end of an old broomstick which was about 7/8″ in diameter and took a gouge to the inside of an old yard sale marking gauge to go around it as a fence. There would be lots of ways to achieve the same idea.
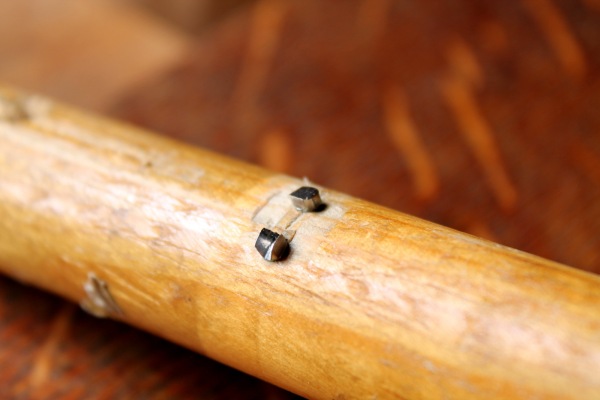
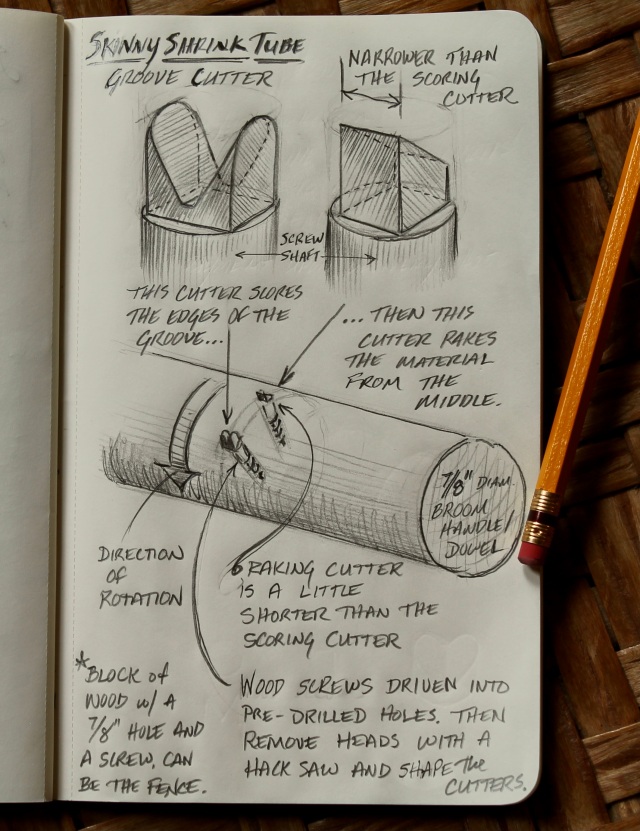
I simply drilled two holes in line with each other across the width of the broomstick and inserted two wood screws until the threads were below the surface. Then I hacksawed the heads off, leaving just over 1/16″ rising above the surface of the wood. I filed them to the width of the coins (2mm), then made a groove in one with a triangular file. I refined the upper edges with a slipstone without reducing the width. The other nub was filed flat at the front and sides with an angle on top to form a bit of a chisel. Make sure the width of that second cutter is a bit narrower than the distance between the cutting spurs ahead of it. Ideally, I’ll file the sides of mine in a little more.
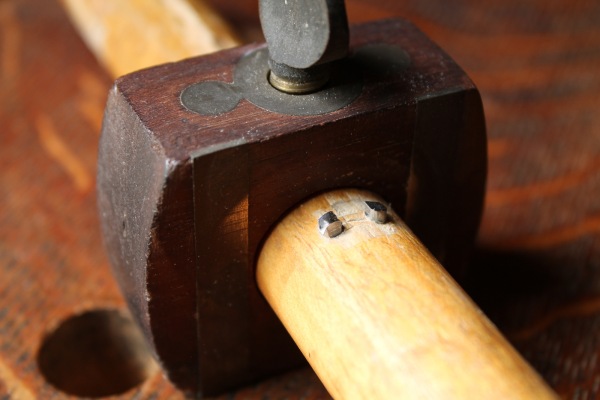
I put the back end of the broomstick in a vice, slipped the tube over the front end until it was up against the fence and rotated the tube to the right while pressing down on the cutters. The first cutter scores both sides of the groove and the second cutter clears the wood between. I used light cuts going around several times, clearing the wet wood bits from the cutters often. The result was a square groove that would fit over the edges of the coin. The screws aren’t heat treated tool steel or anything, but they’re still steel cutting green wood; worked fine for this light duty.
Update: I’ve added a sketch below that might make things more clear. It will all work much better if the sides of the raking cutter (the one on the right) are filed so that it is definitely narrower than the scoring cutter, as shown.
Anyway, Noah and I had fun working out the procedures that worked best together. We found that cutting a bit of a relief angle on the inner edge of the tube between the groove and the bottom edge of the tube allowed the coin to be funneled right down into the groove with a little pressure, then “pop,” it was in there. It could move side to side in the groove until a couple days later when all of the play was gone and the groove had squeezed over the edges of the coin permanently.
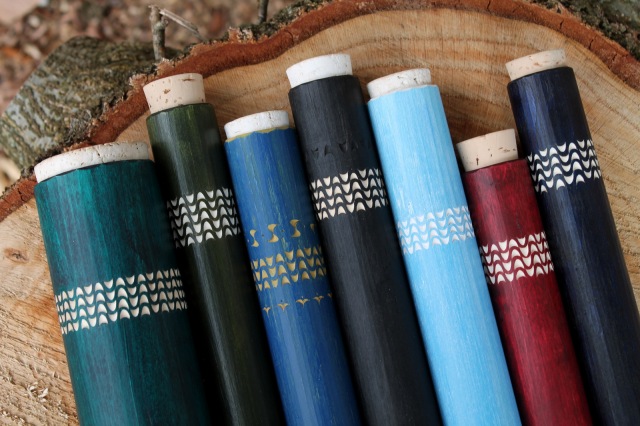
Noah and I painted them, then cut through the paint with a simple pattern of gouge chips. The wood beneath was light in color. Birch, cherry sapwood, and one aspen I think. We used thinned artist oil paint to create more of a glazed effect. On the third and fifth ones from the left, another different color after the carving. We tapered the interior of the top a bit with the tapered reamer and found some nice natural corks straight from the bark that seal the deal.
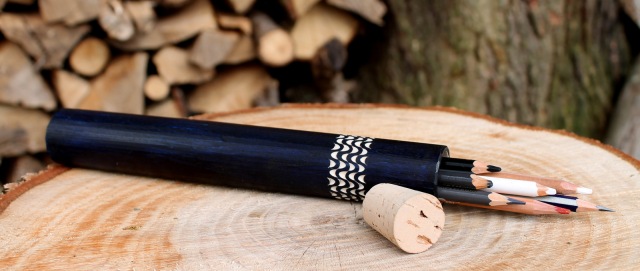
I like to use these things for pencil holders; the small ones hold about seven. The tubes are easy to pop into a pocket, a pack, or even a tool roll. They could also be handy for all sorts of things I suppose: tools, snacks, cigars? Regardless, they’re a blast to make and would be a fun project to do with kids as well. The possibilities for wood species and decoration are endless, and it’s a good use for straight small diameter pieces.
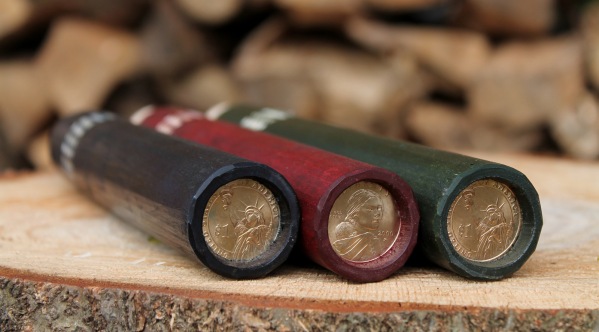
Above are three small ones in blue, red, and green. These are about 9 inches long.
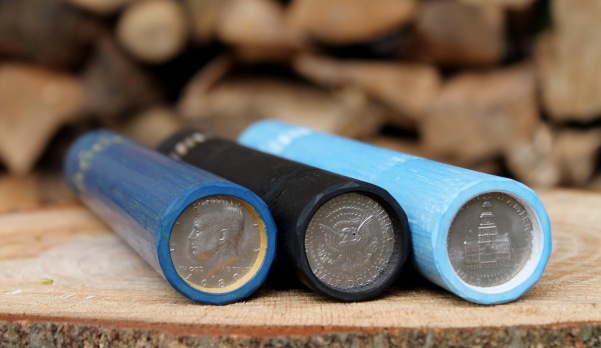
The half-dollar size are about 10 1/2″ long. Gold over blue, India ink, and white over blue.
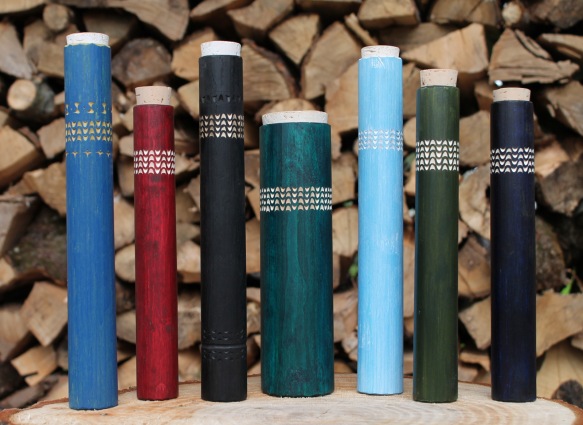
We also made a shrink tube with the 2″ T-handle auger, the one in the middle there. It’s 8 1/2″ long and has a wood bottom.
I hope you try making some of your own. Leave a question in the comments if I can help clarify the process for you. I see on the chart that a penny is 3/4″ and I’ll throw out the dime challenge. And how big is a two pence?

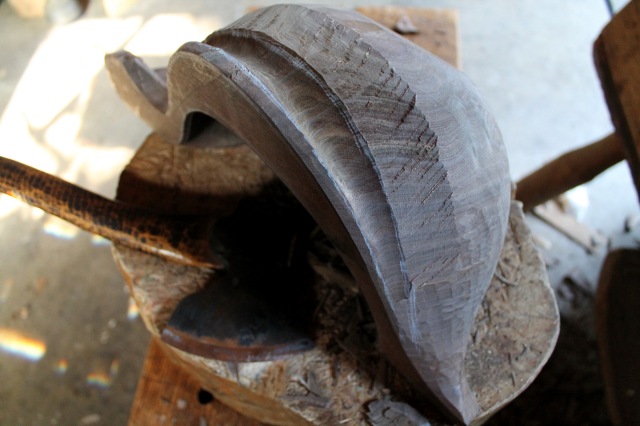
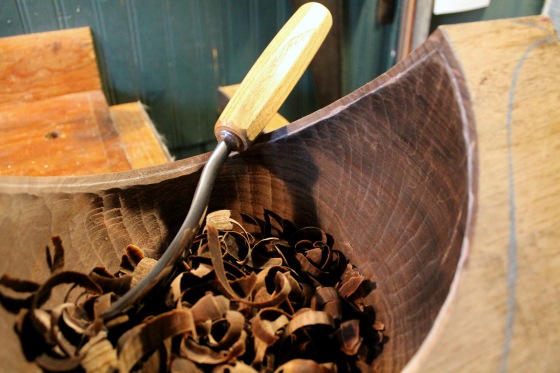

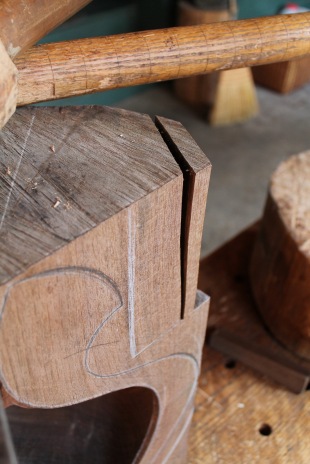


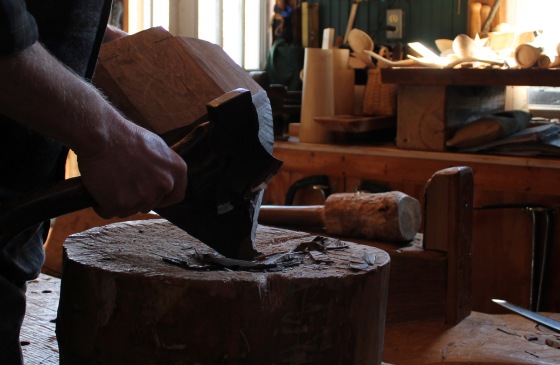
















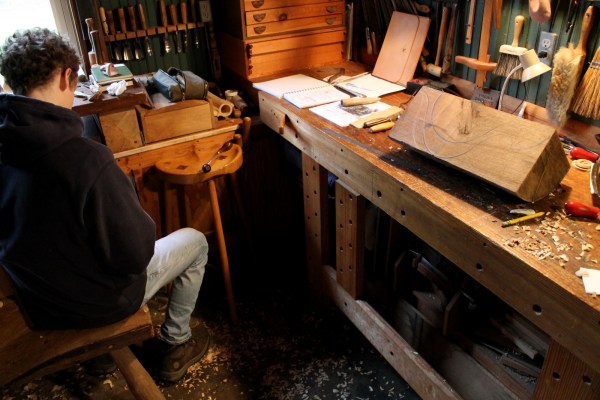
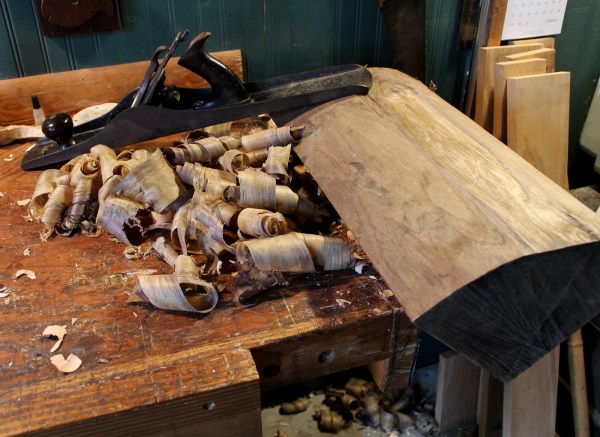
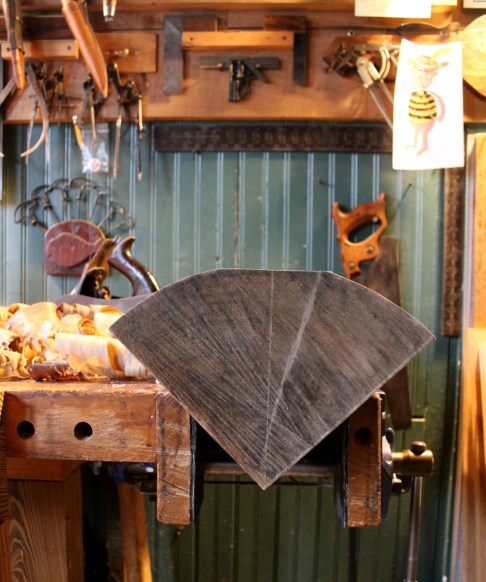
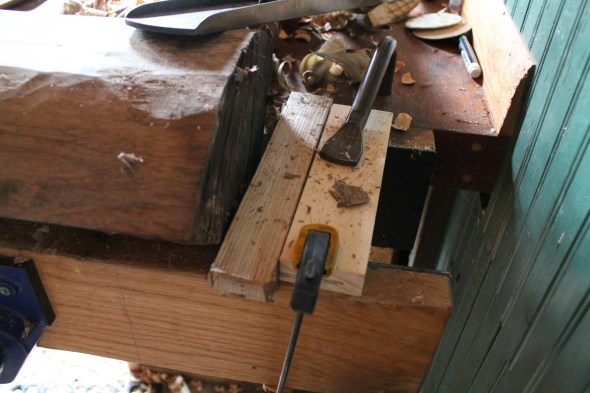


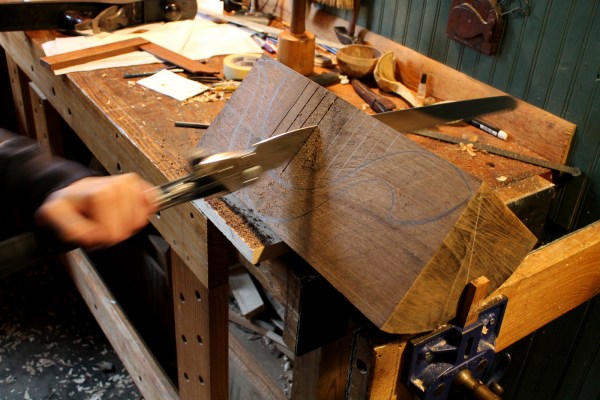


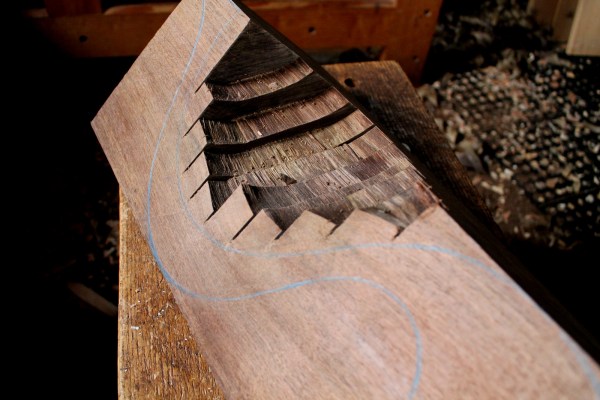
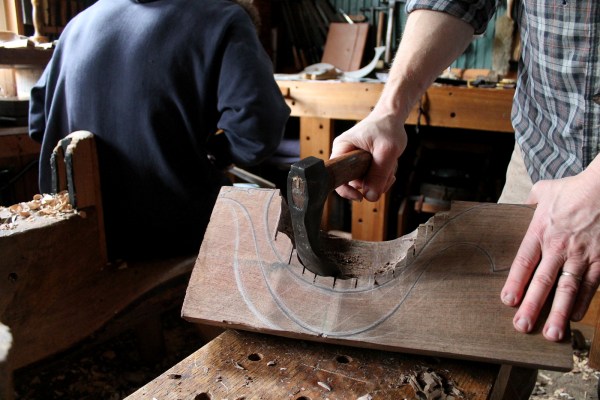
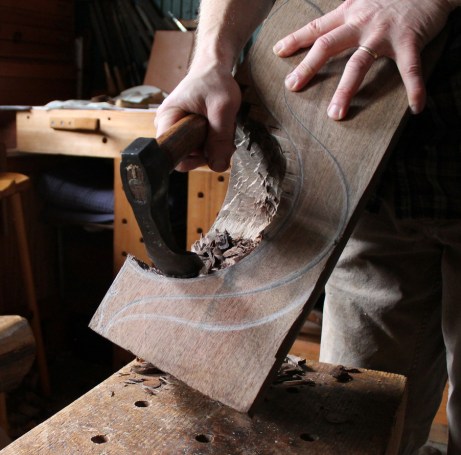

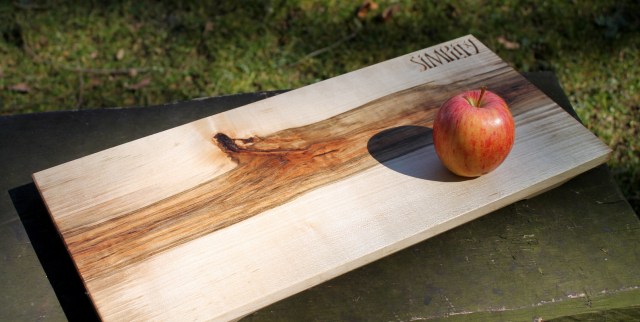




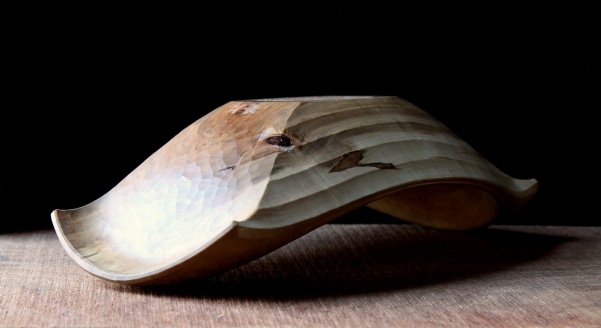
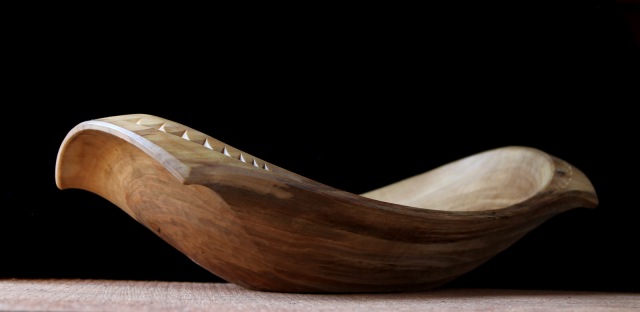
 Now that I’ve made several pieces from silver maple, I feel like I’m starting to understand its character. I compare it to a no-nonsense laborer who wears flashy underpants beneath his overalls. You know.


 March is here and Spring is around the corner. But I walked slowly and savored winter this morning. That corner will get here soon enough.