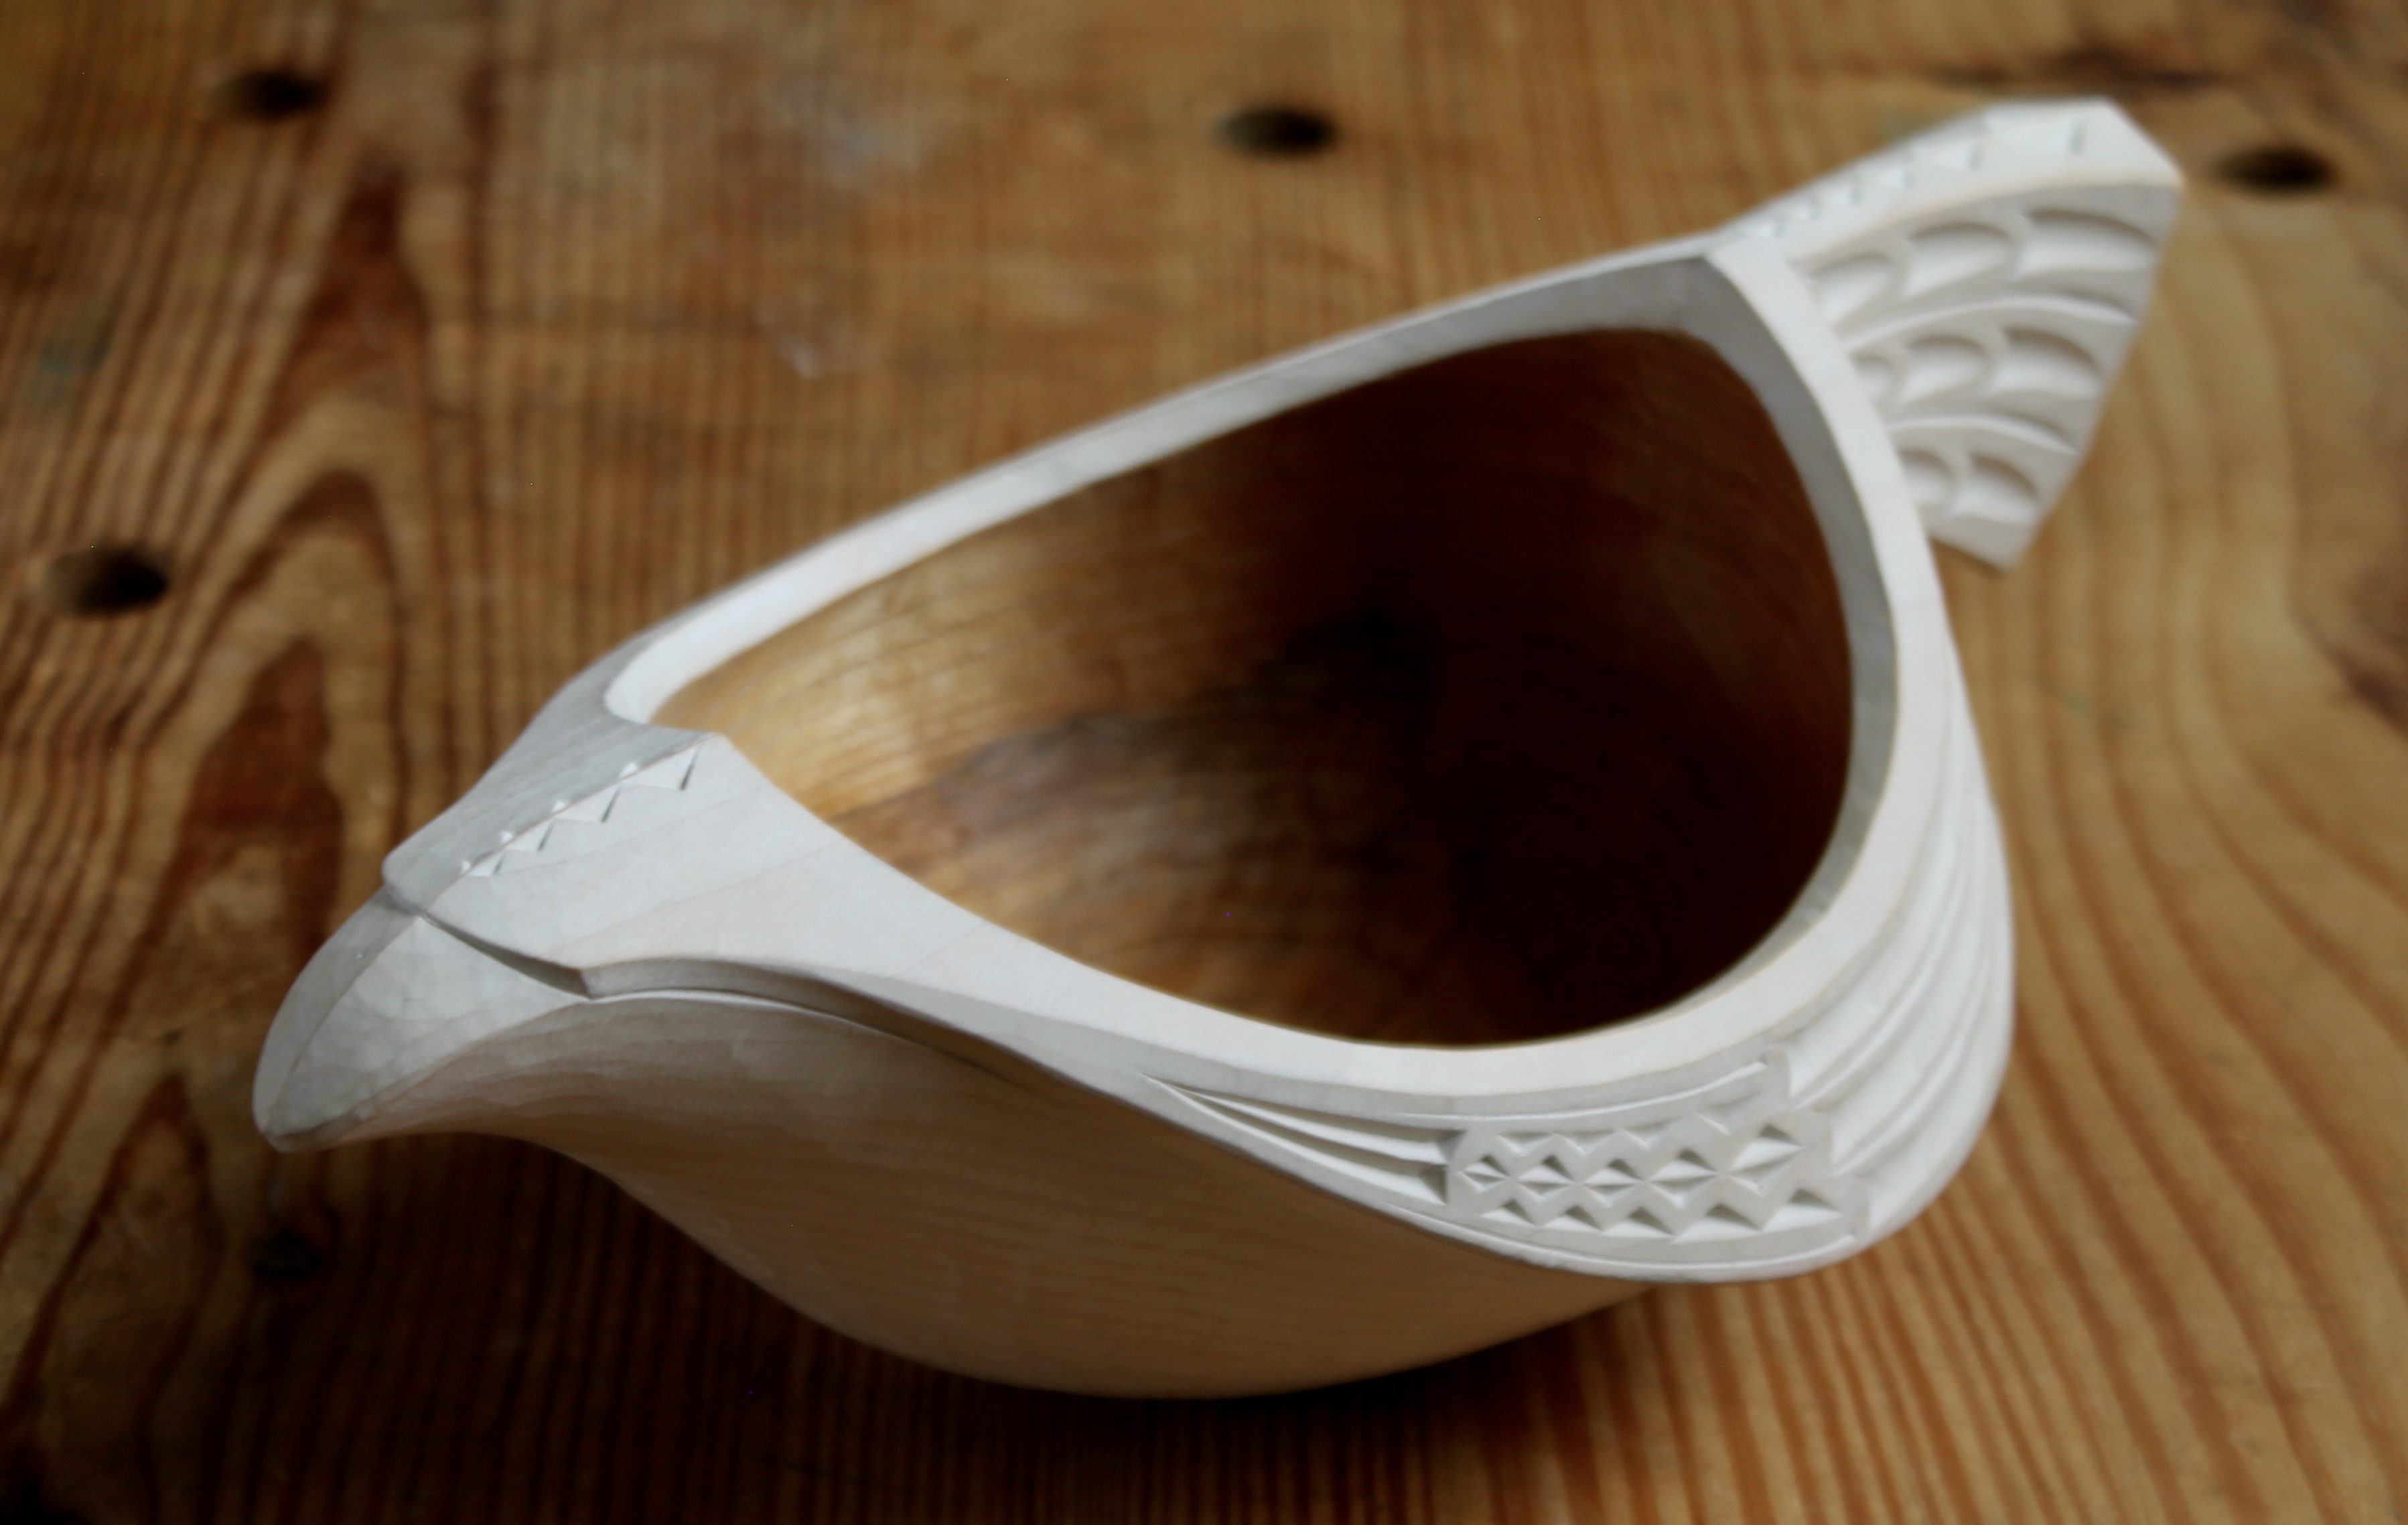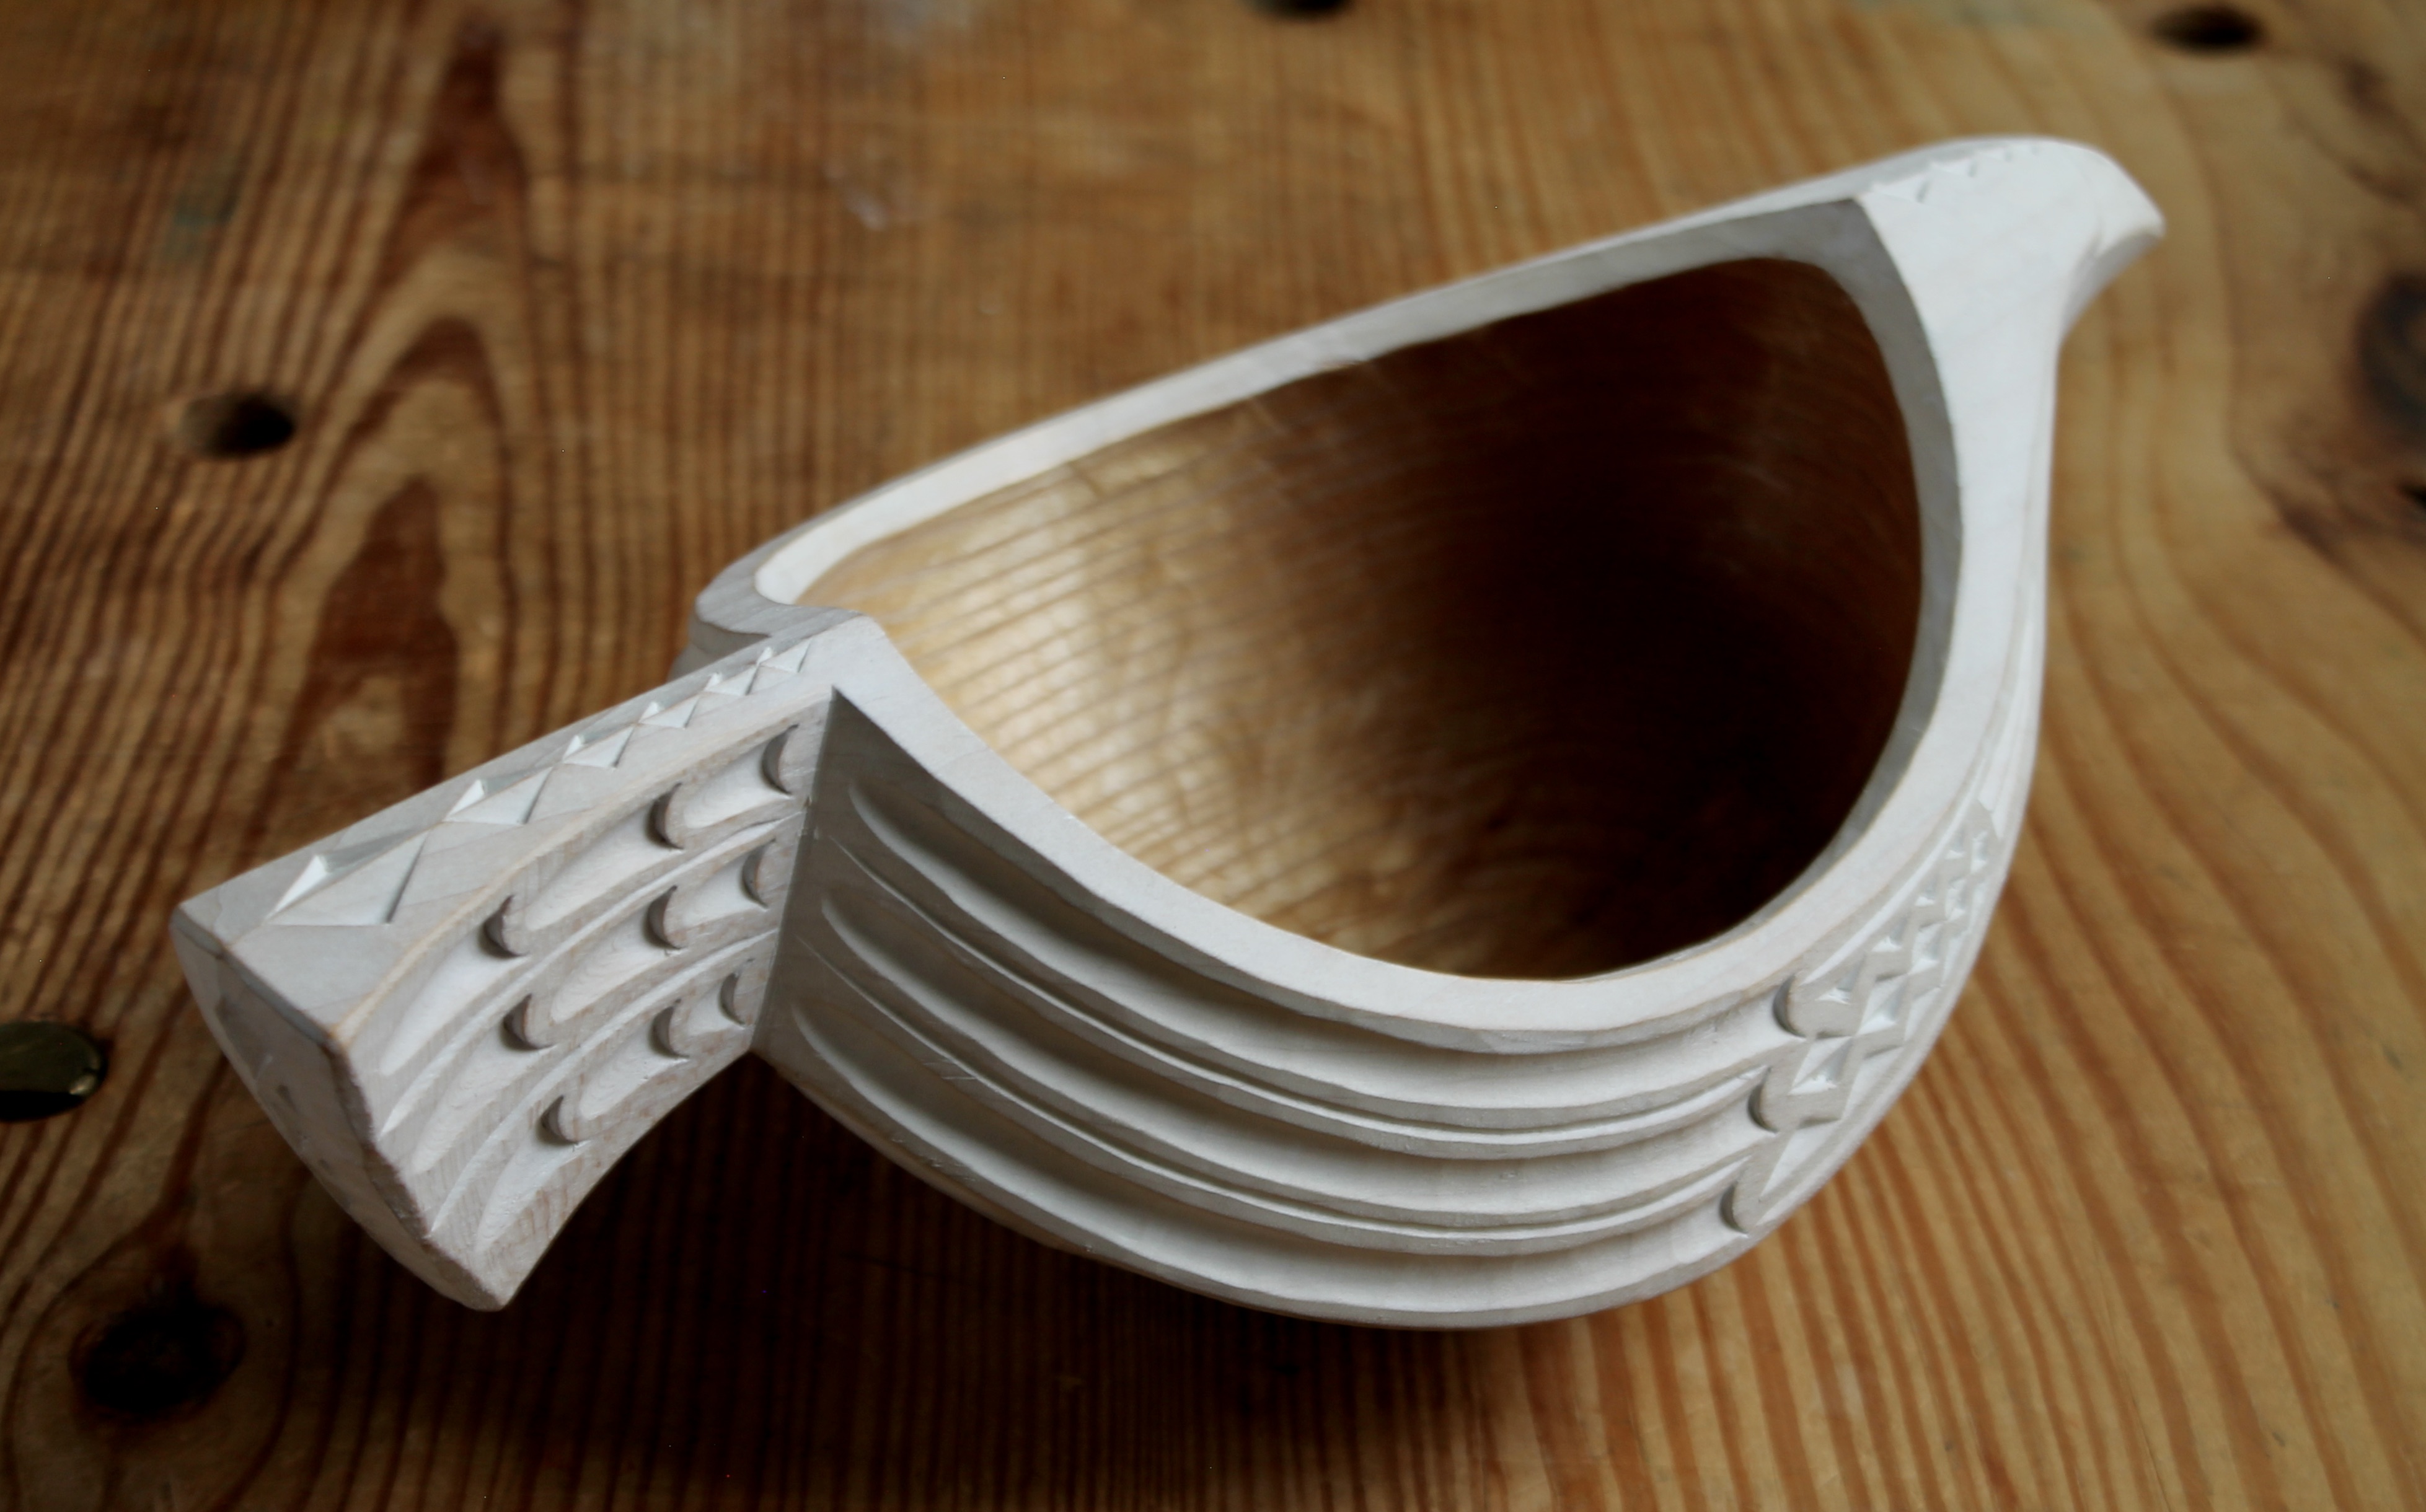
Four years ago, I wrote about Phil Teeter and his Julfågels (“Christmas Birds”). A couple days ago, I learned that Phil passed away last month. I went out back, cut a little branch junction and whittled a Julfågel. What fun with just a little branch, a knife, and Phil’s inspiration.
I’ll show some more carving photos further down, but first I’ve copied my original post from four years ago here:
Phil’s Julfågel (originally posted Dec. 4, 2021)

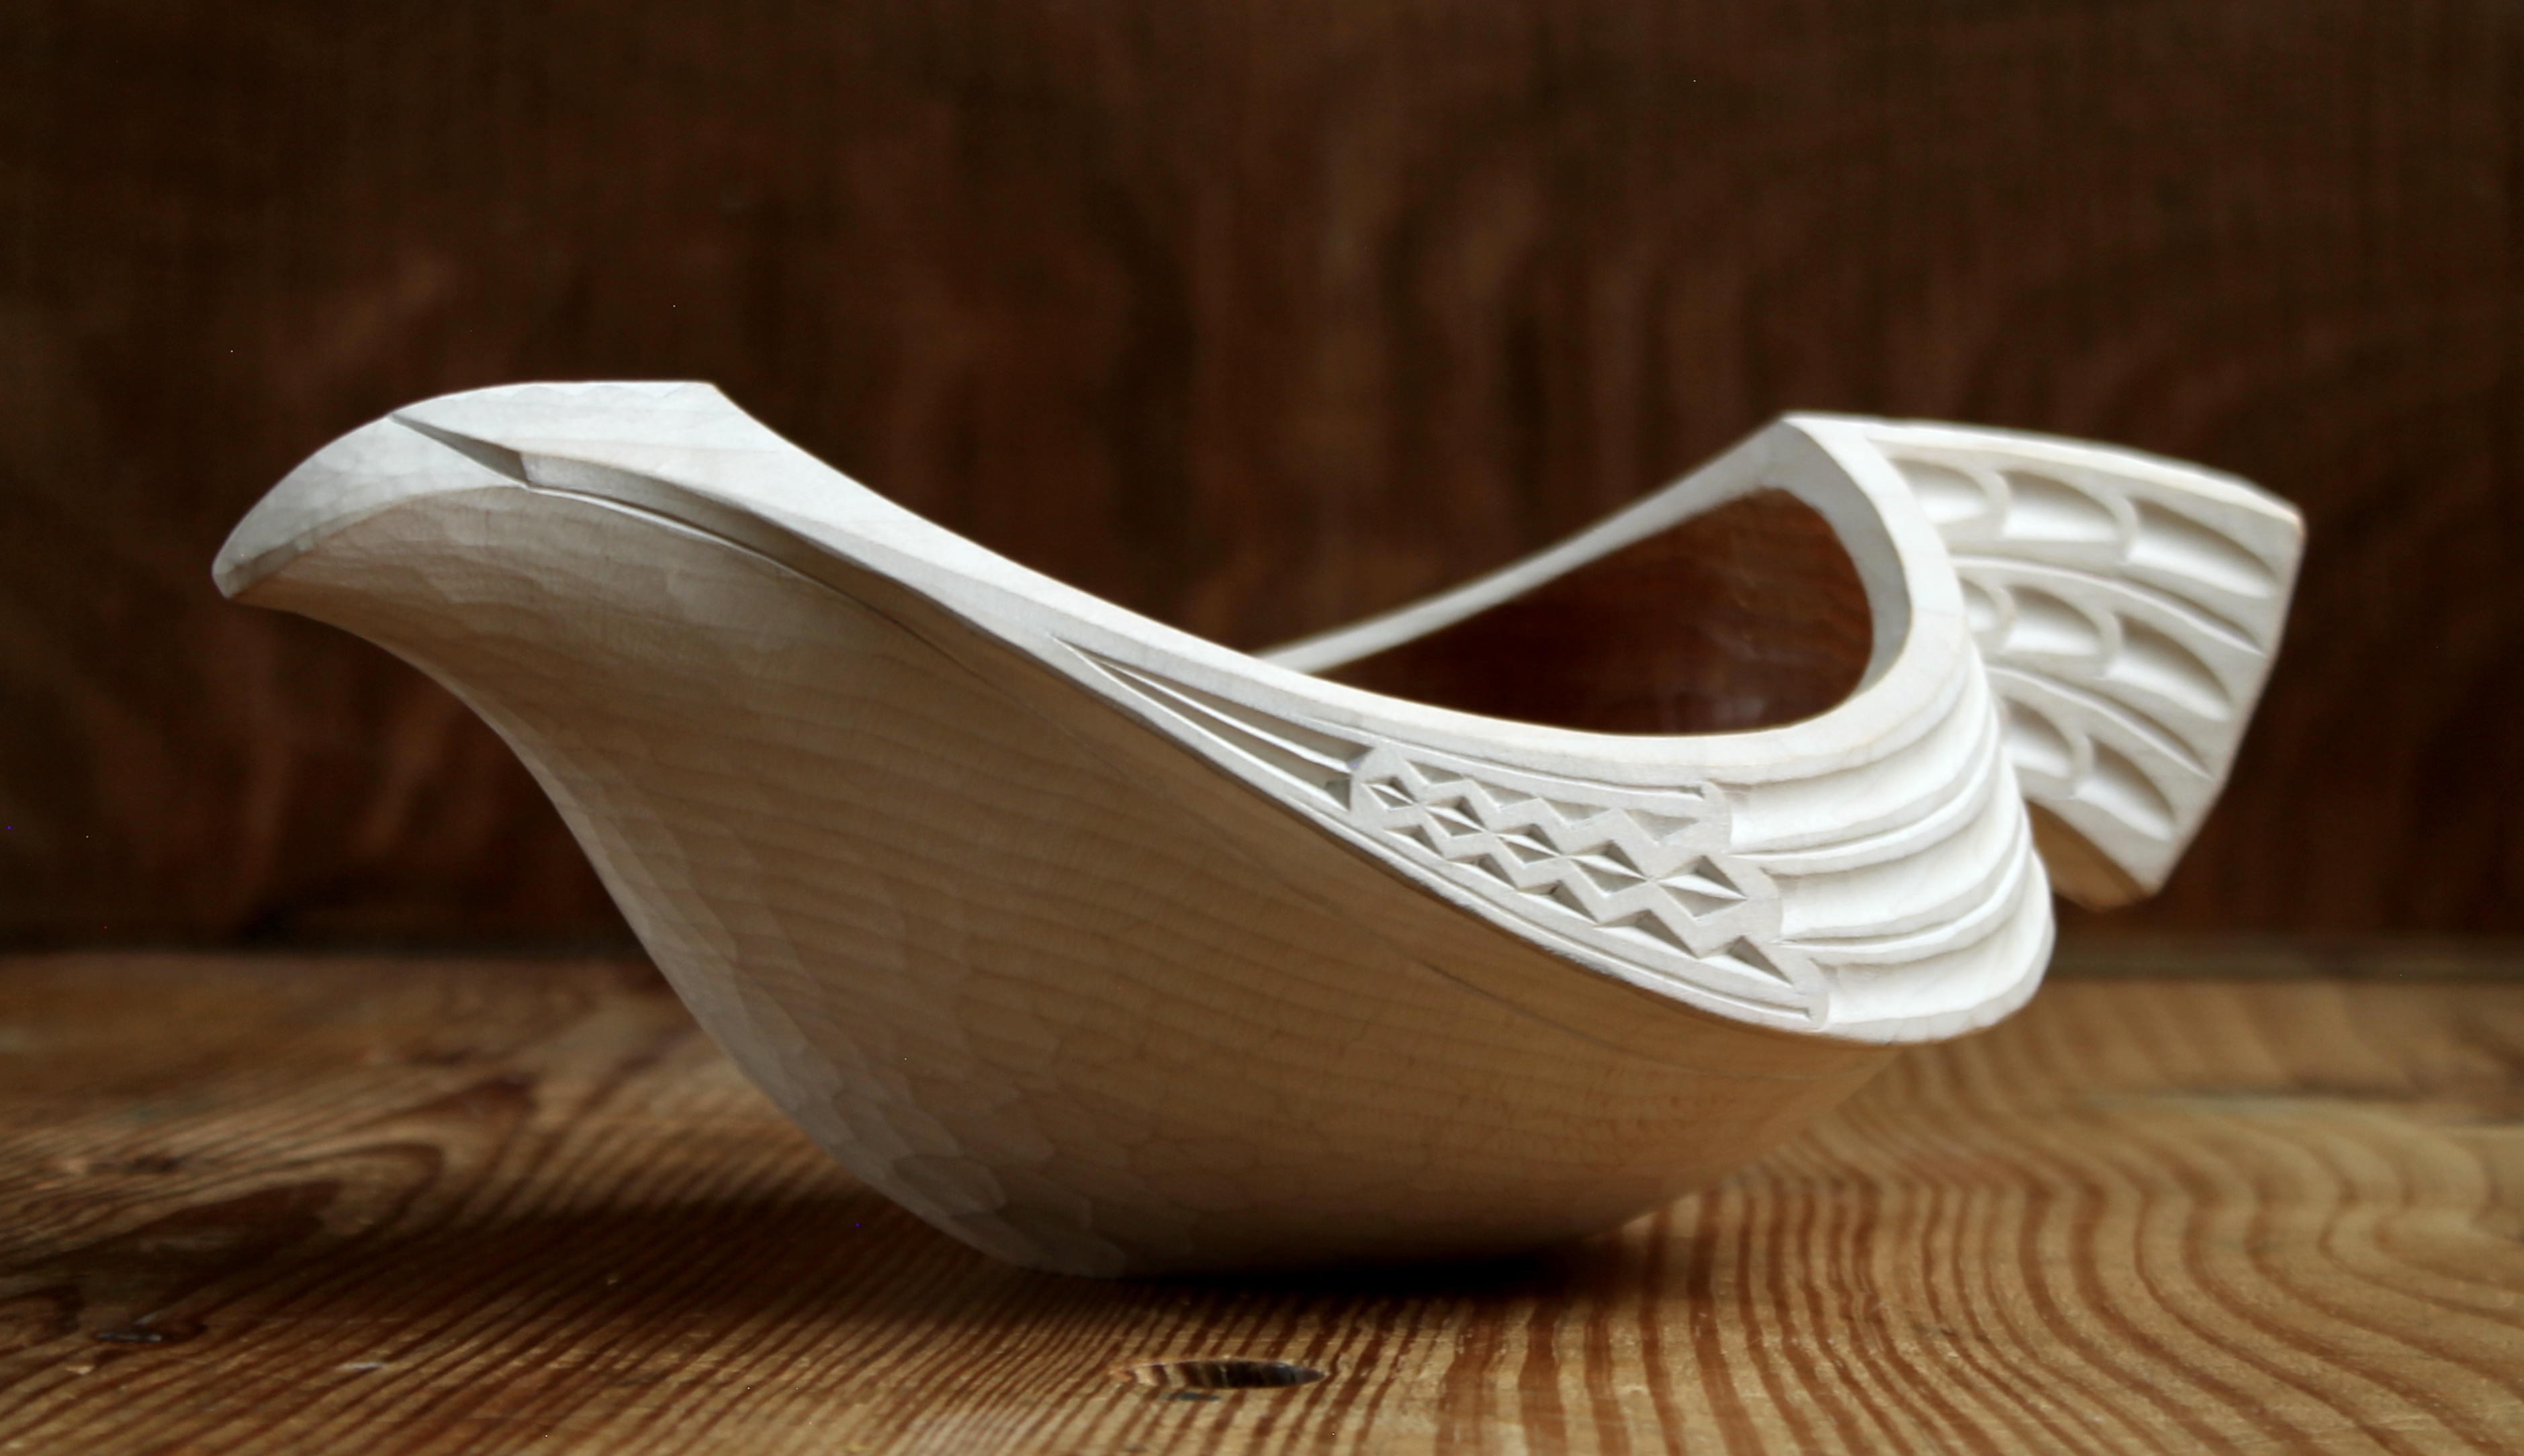
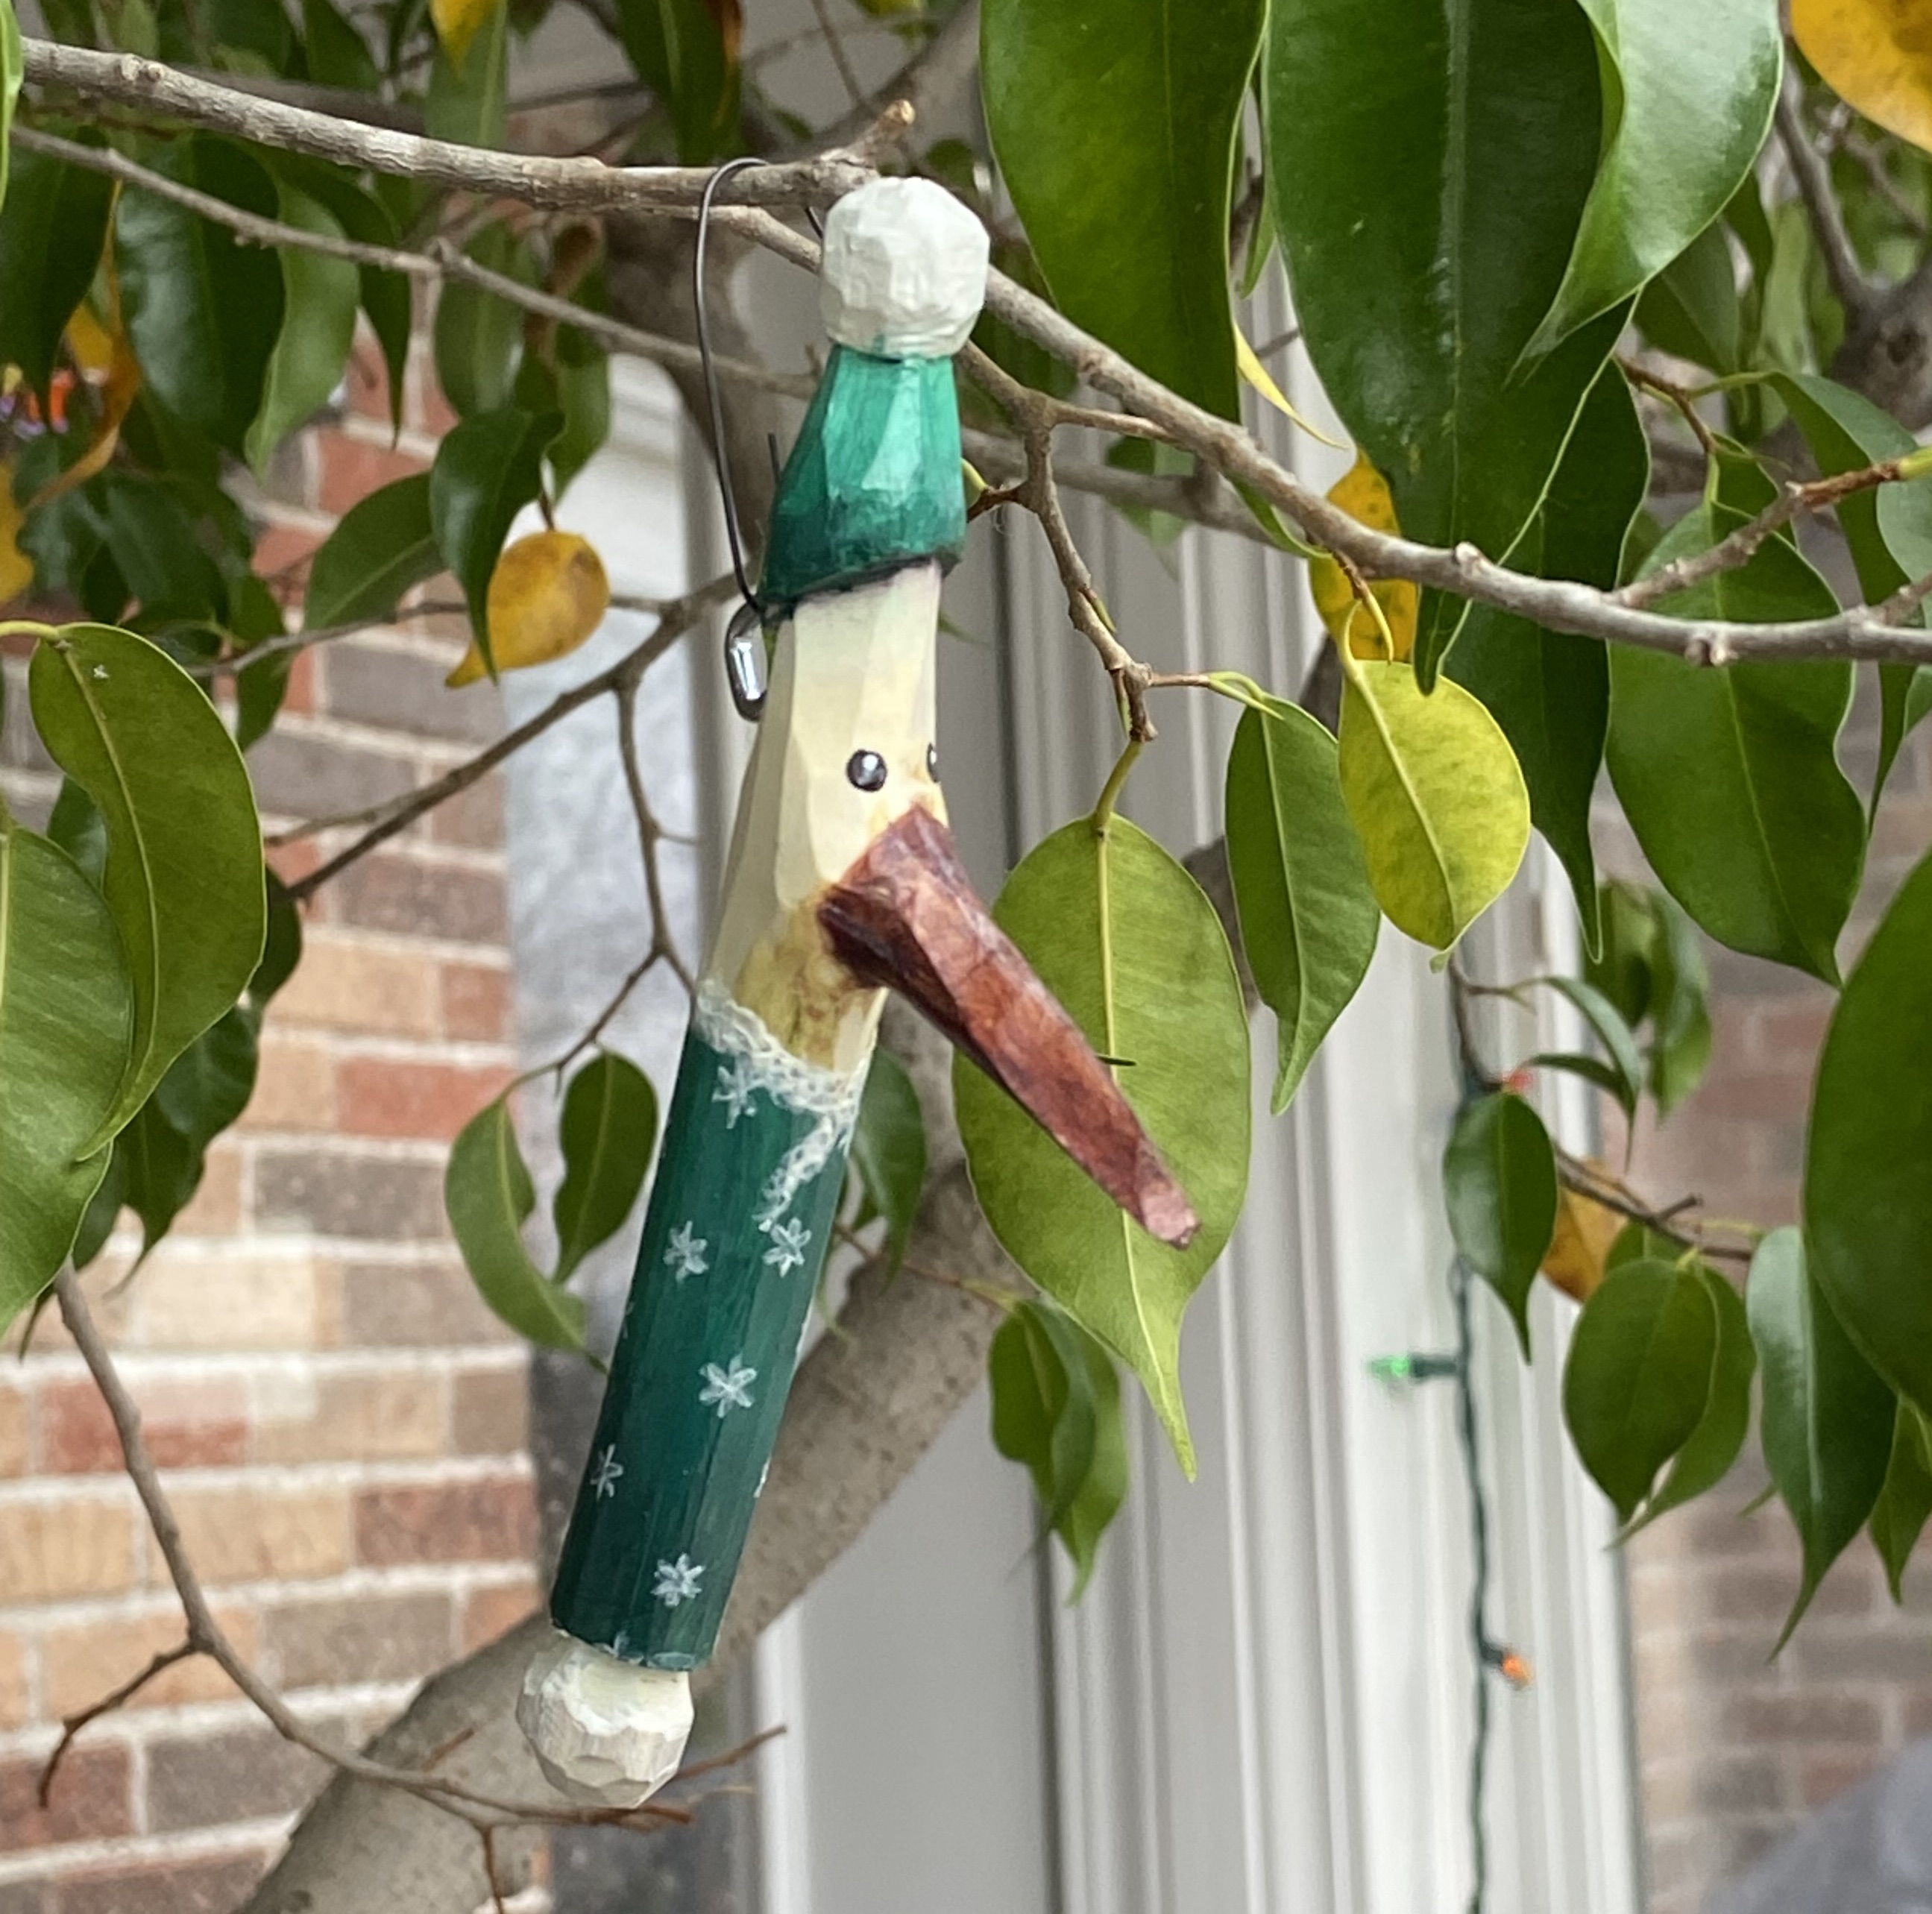
Last Christmas, Phil Teeter sent me some cheer in the form of these delightful carvings. Phil explained that they are Julfågel (Swedish for Christmas Bird), “very rare and shy — they appear at Christmas and bring good fortune.”
Phil has strong connections with Sweden and has visited there several times, including a few Country Workshops craft tours with the likes of Drew Langsner and Jögge Sundqvist. There, he visited many inspiring craftspeople in their workshops, including Beth Moen, AnneLie Karlsson, Anja Sudberg, and Bengt Lidstrom. He even had a crawfish feast in Hans Karlsson’s forge!
With all of that Swedish experience, I assumed Phil’s Julfågel stemmed from some centuries-old Scandinavian tradition, but that wasn’t the case. They came out of Phil’s creative fire, sparked, in this case, by AnneLie Karlsson. AnneLie had carved some pencils from small branches and Phil purchased one. Back at home in Colorado, AnneLie’s pencil inspired Phil to explore the form and add the story, resulting in the Julfågel.

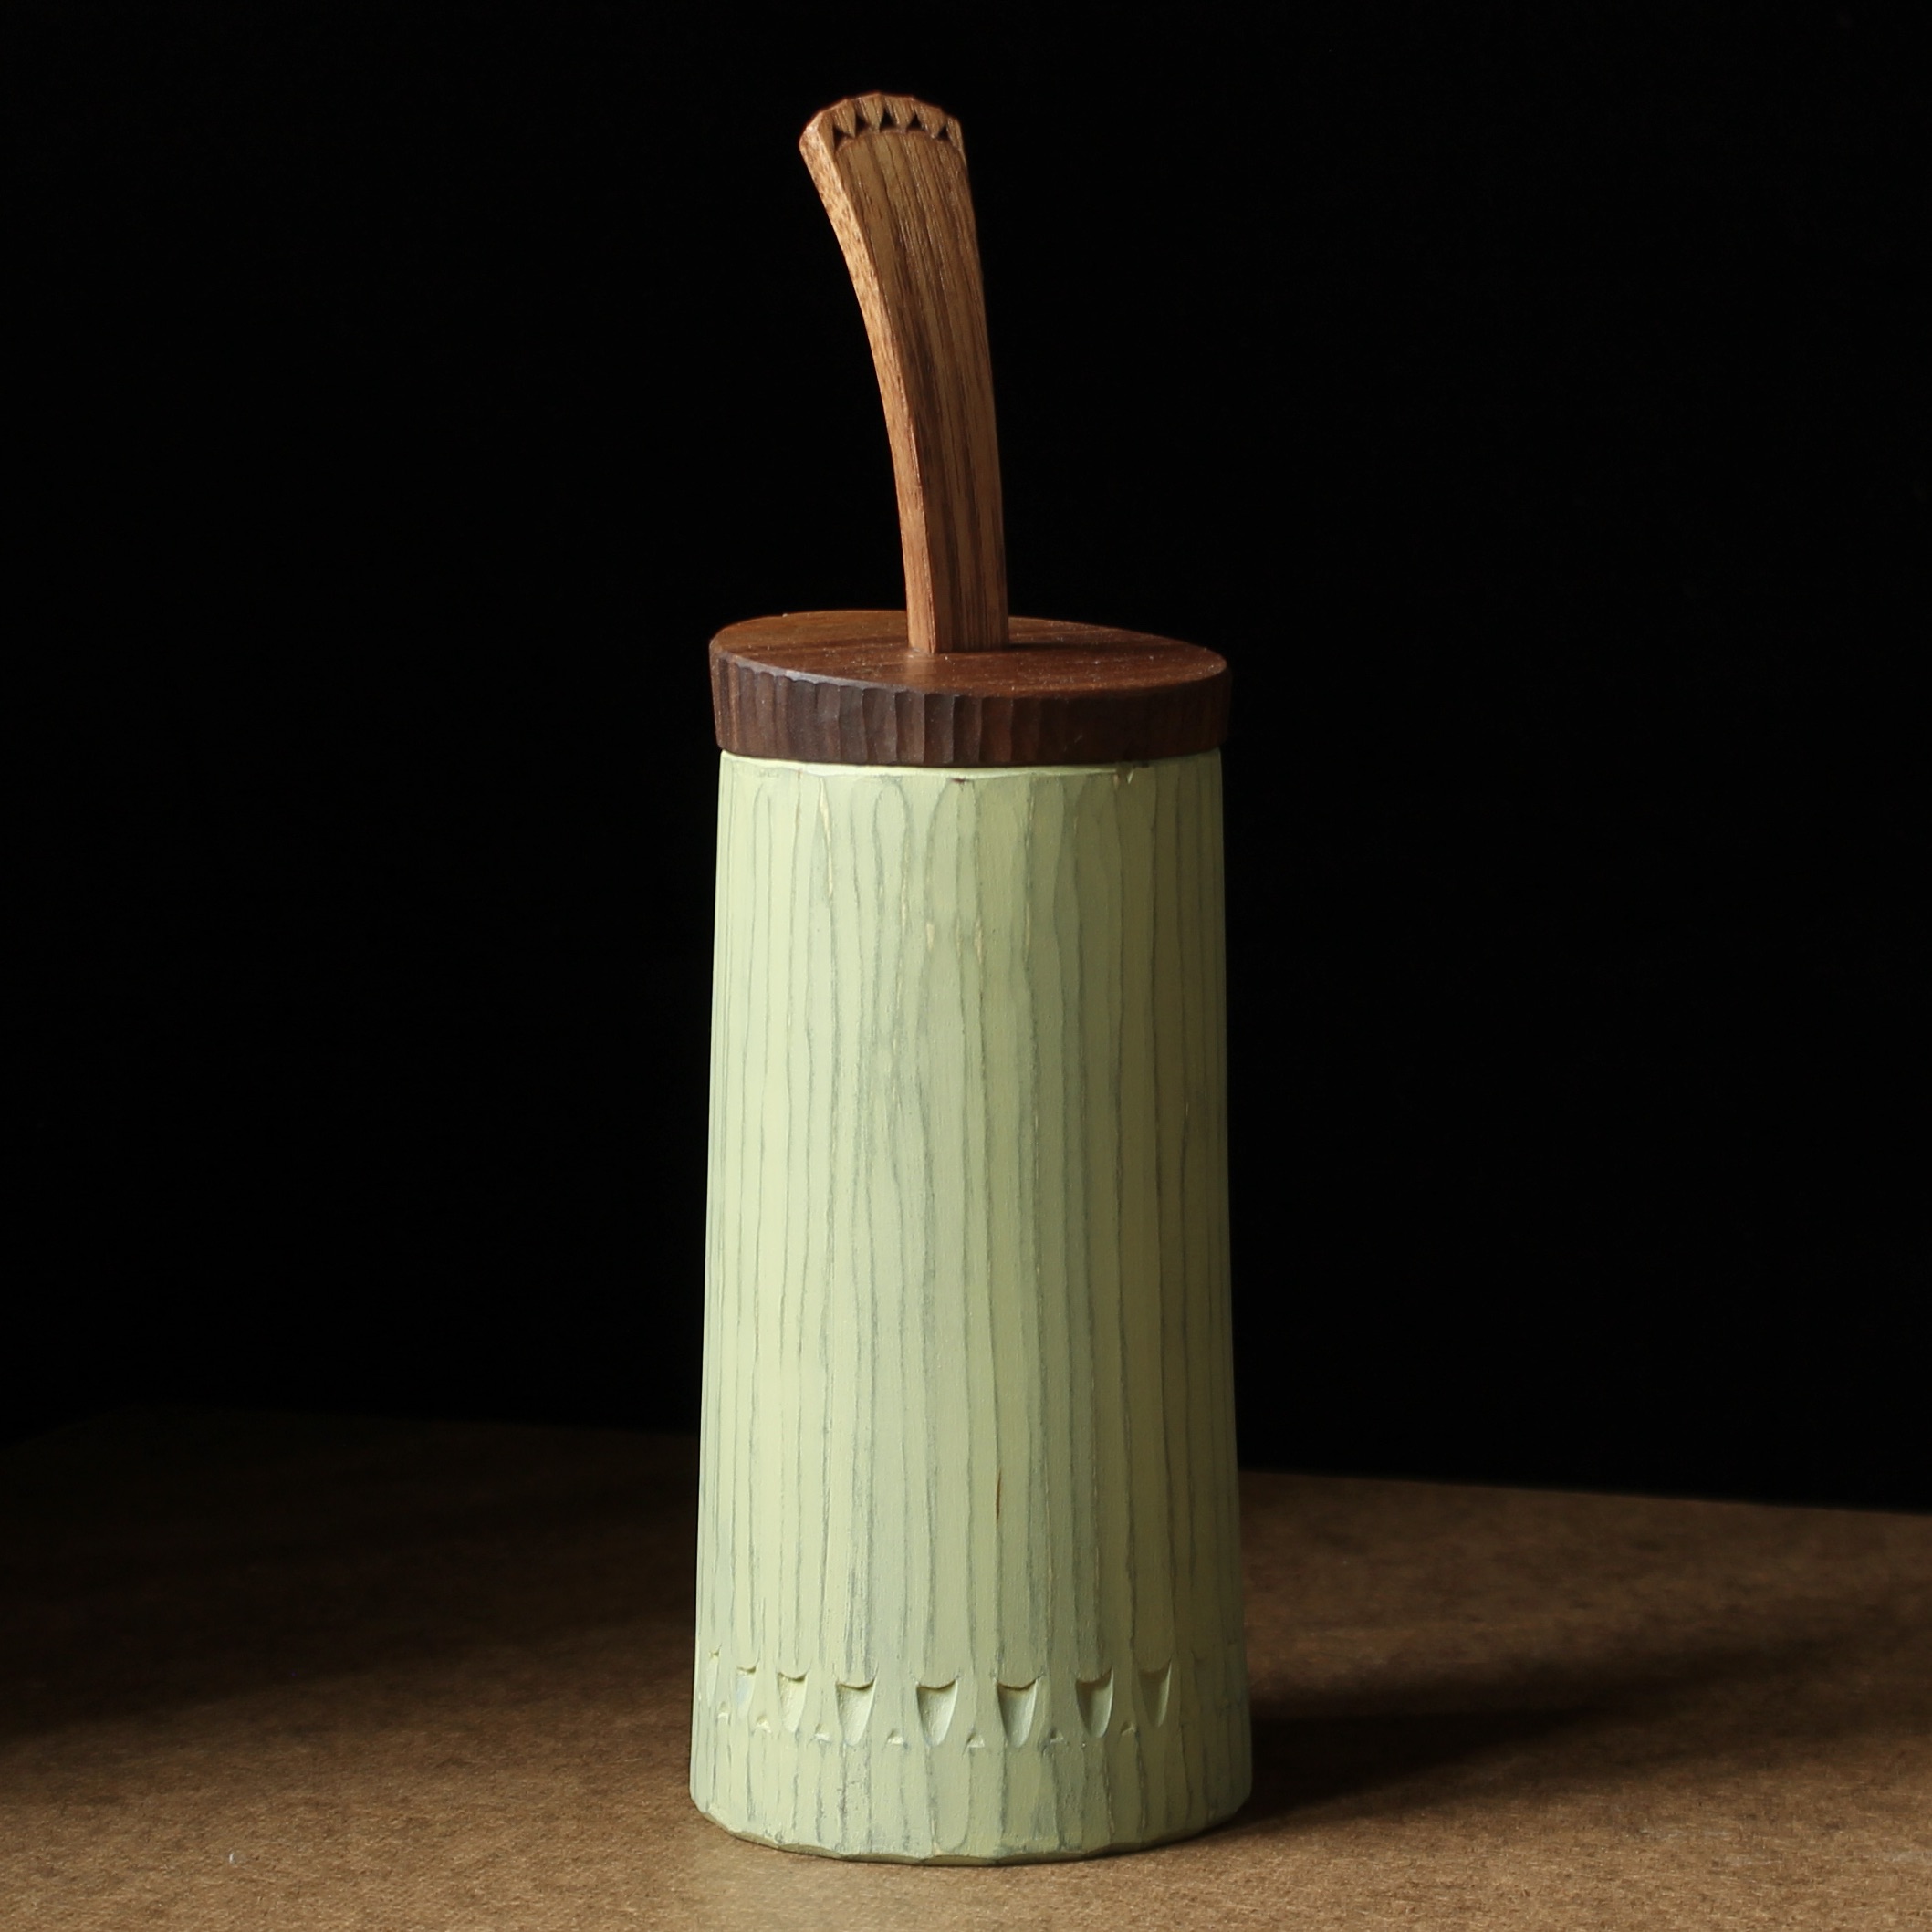
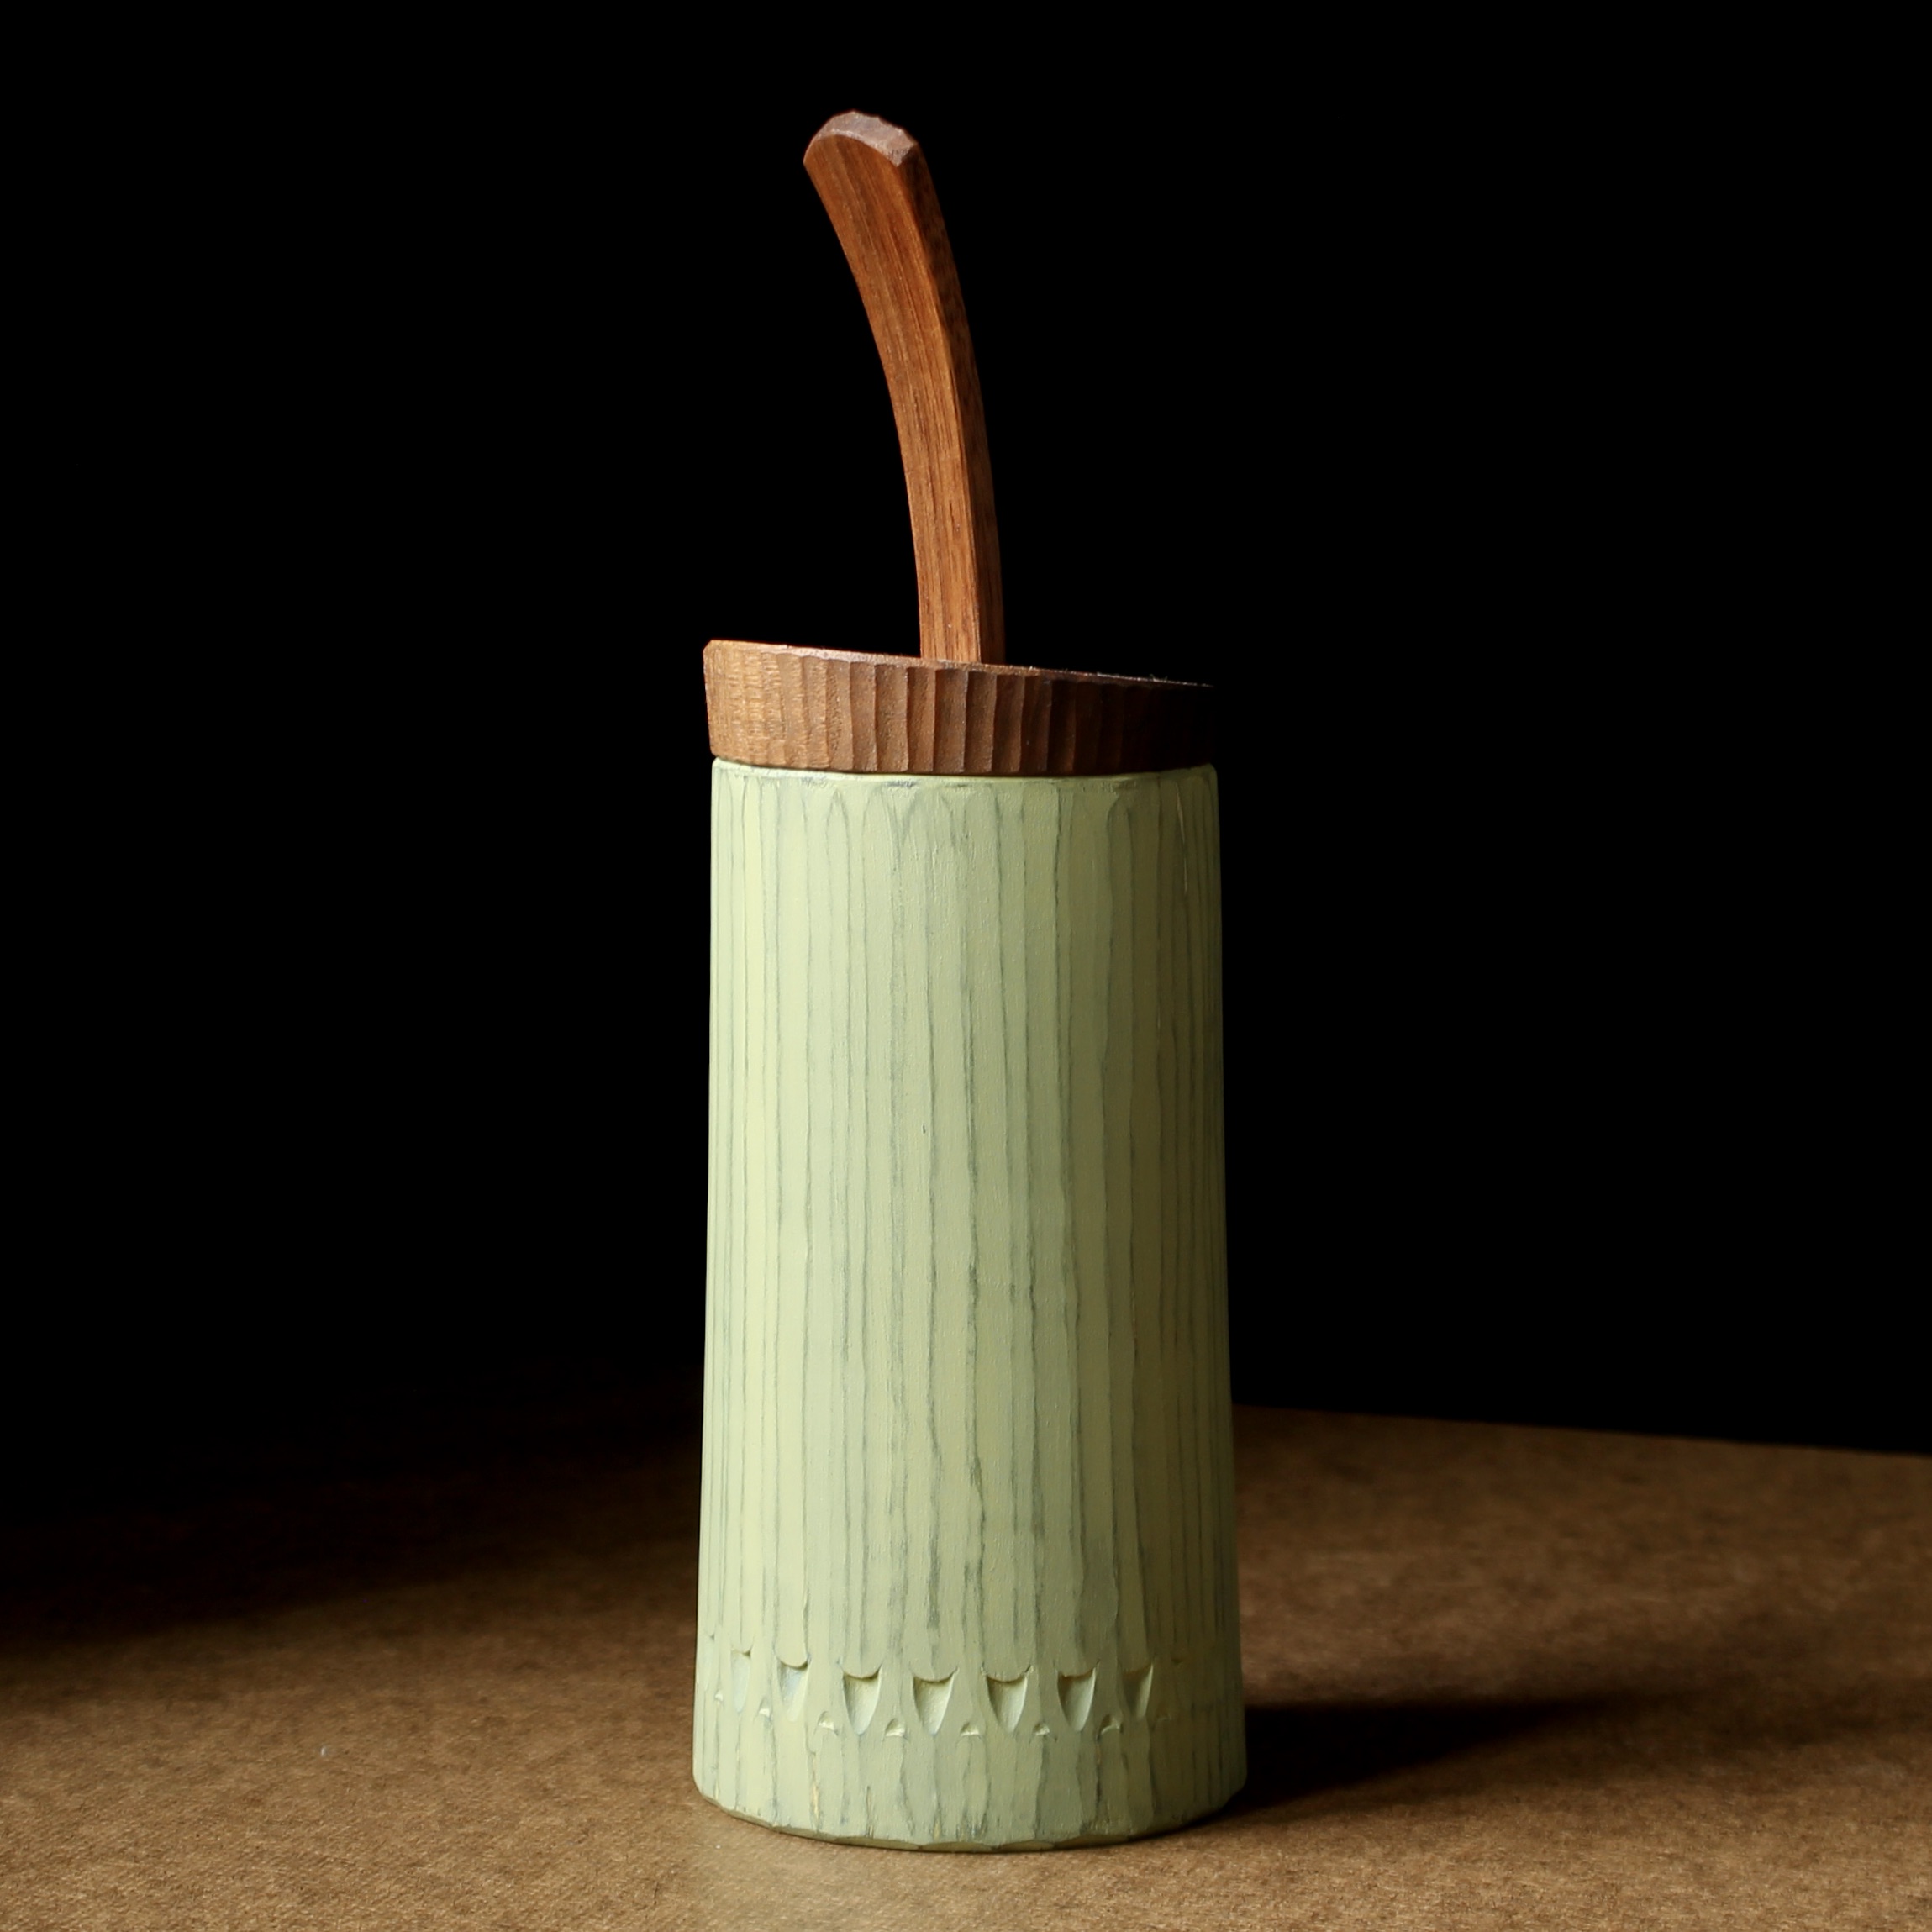
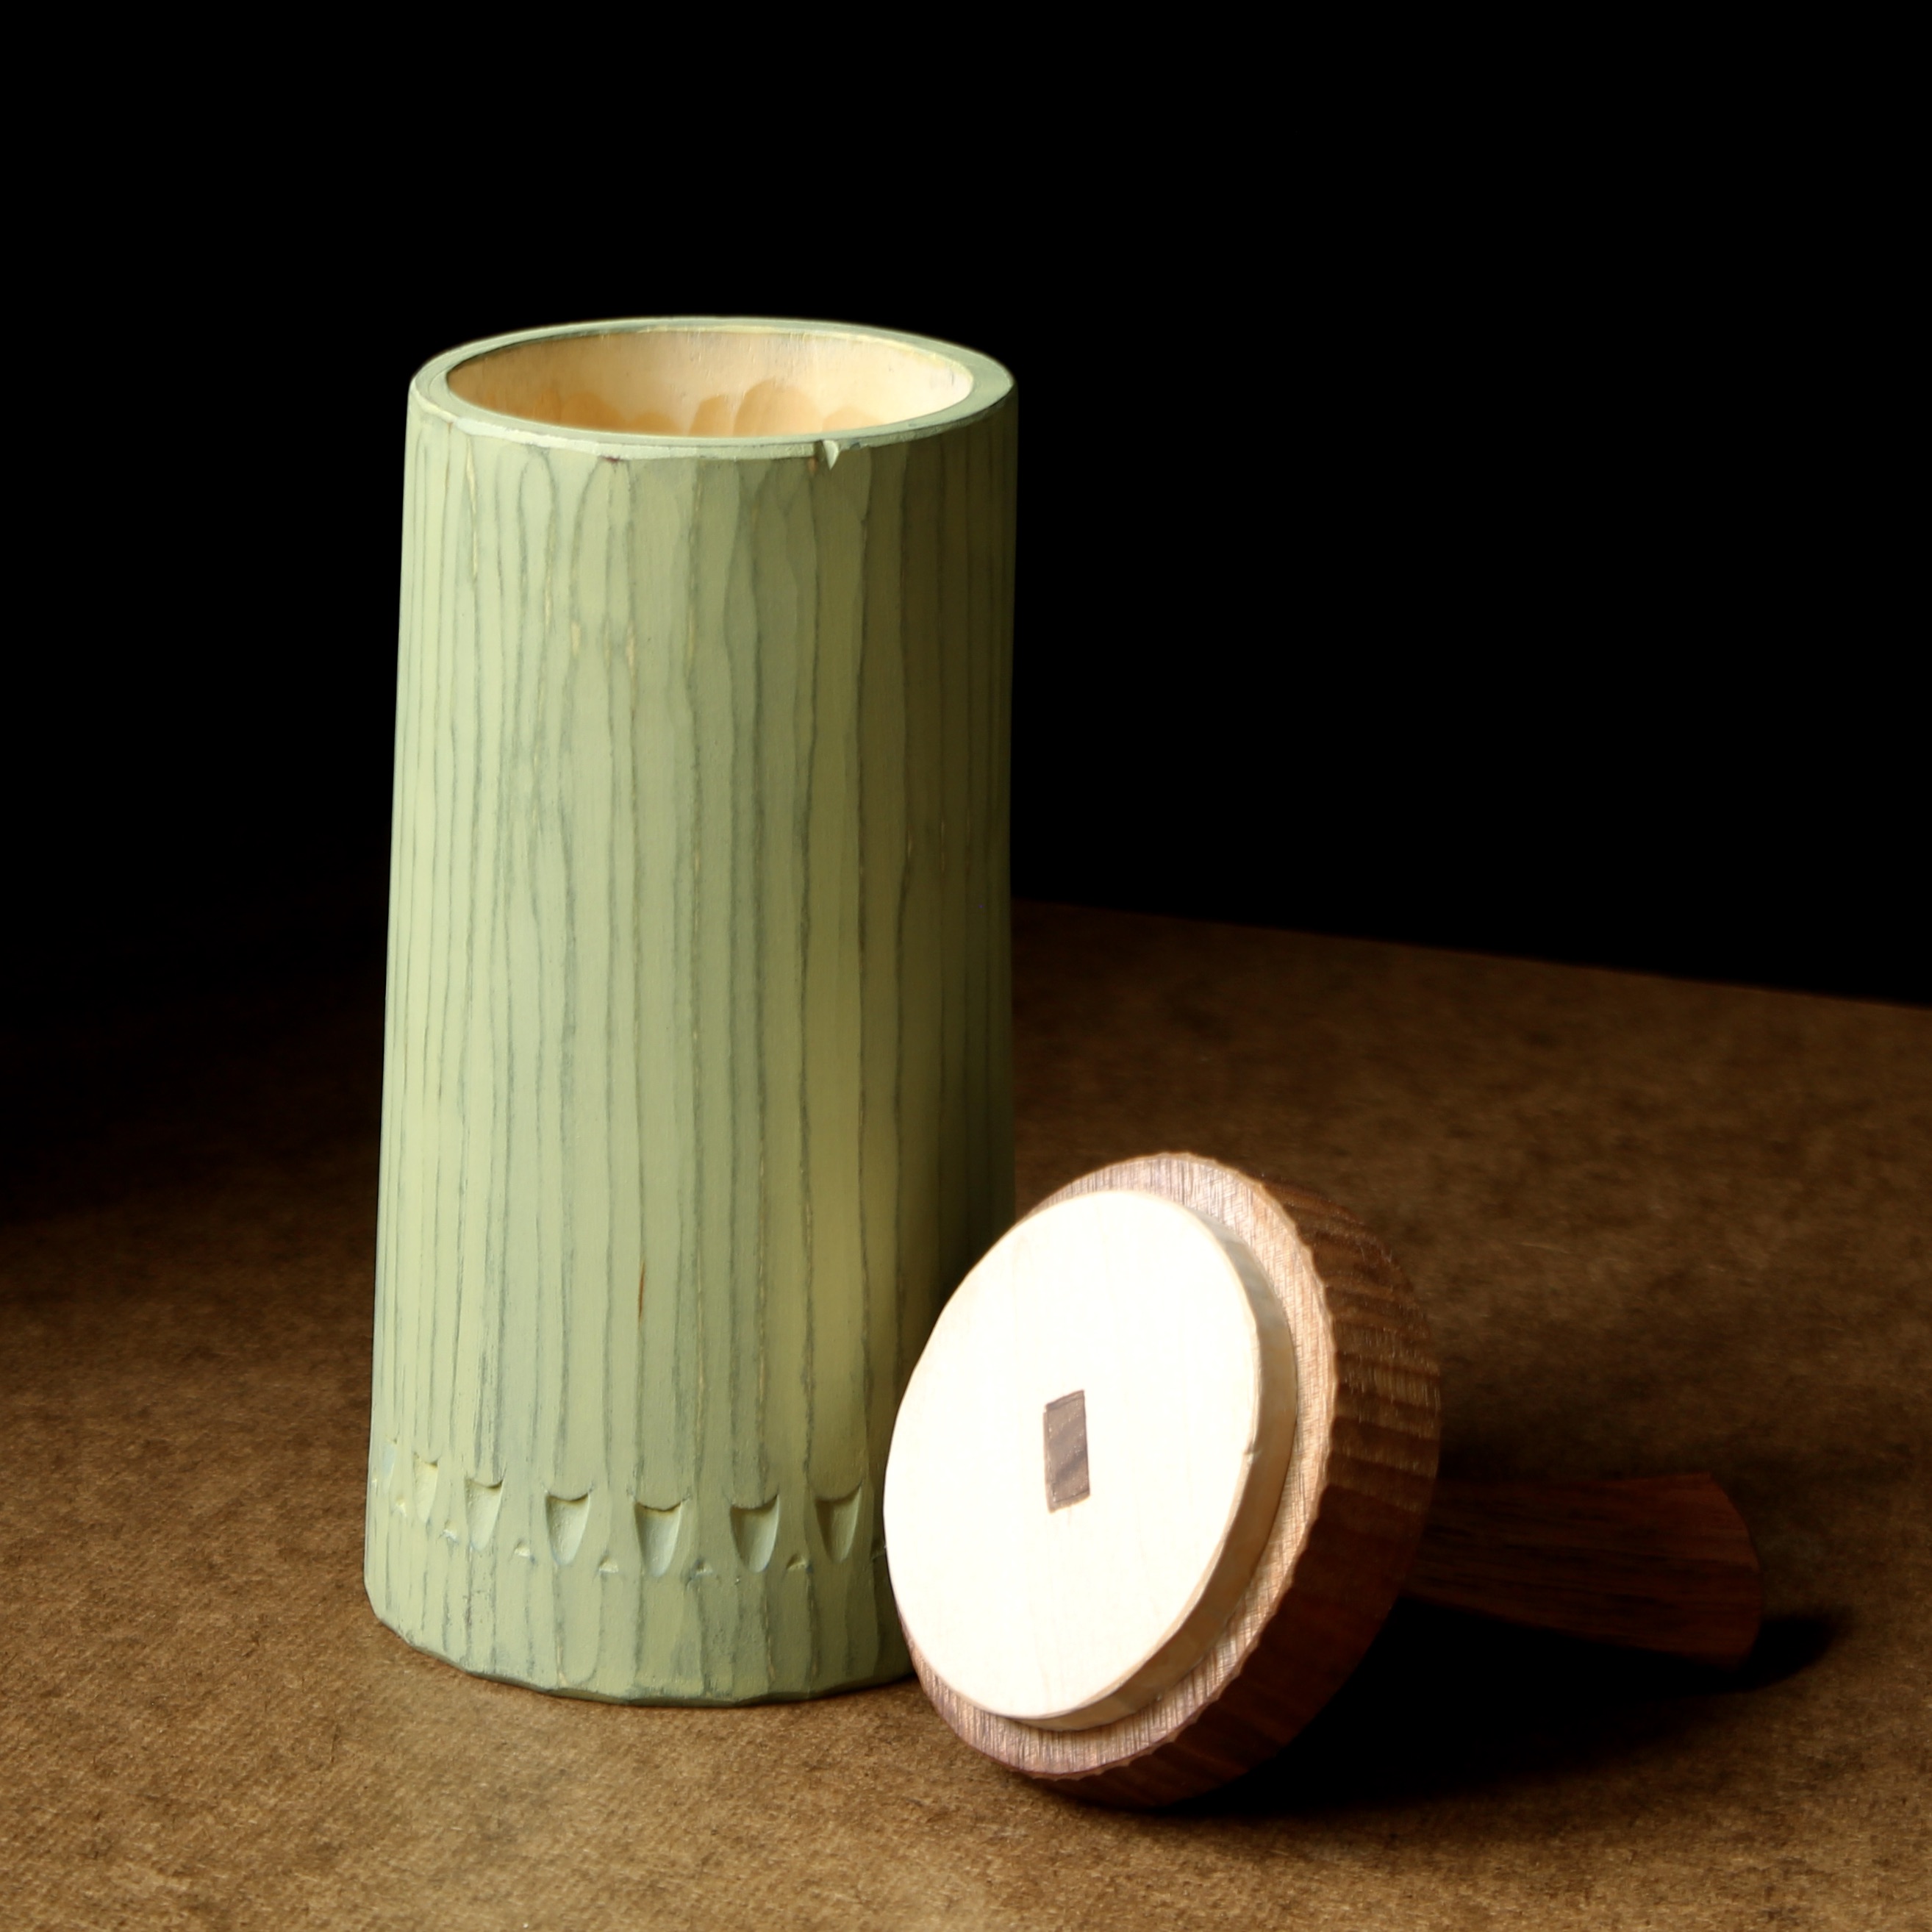
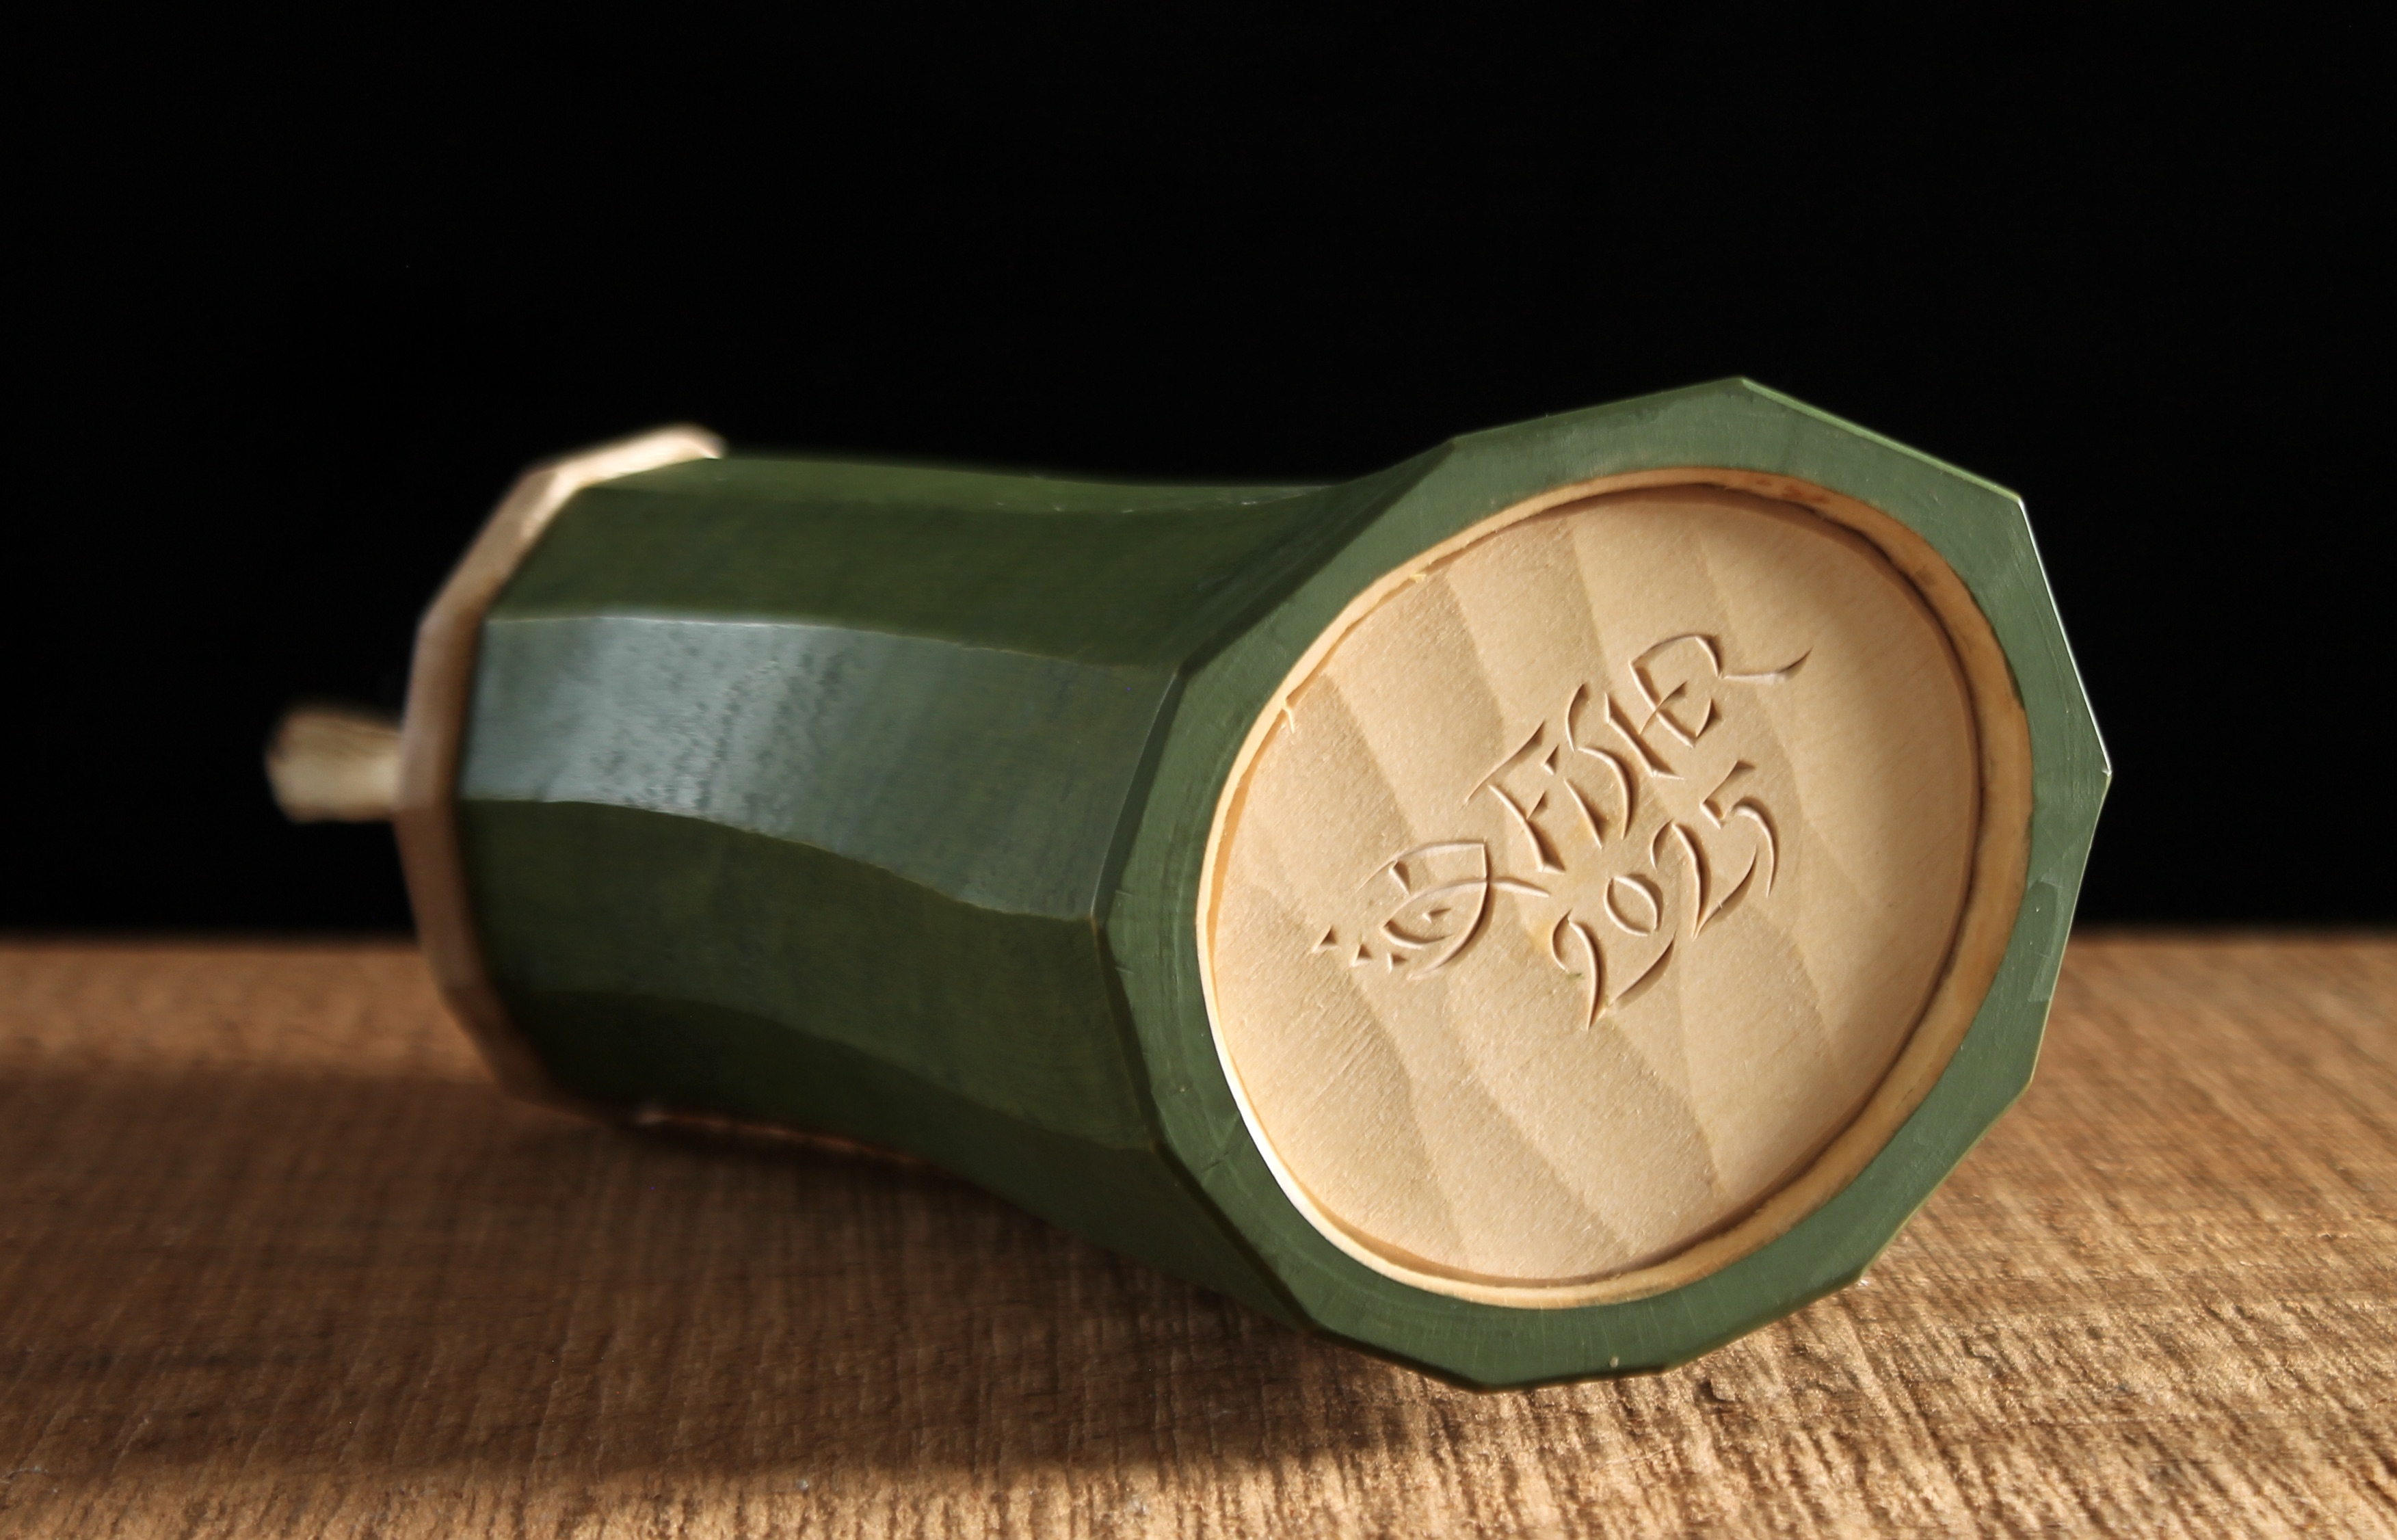
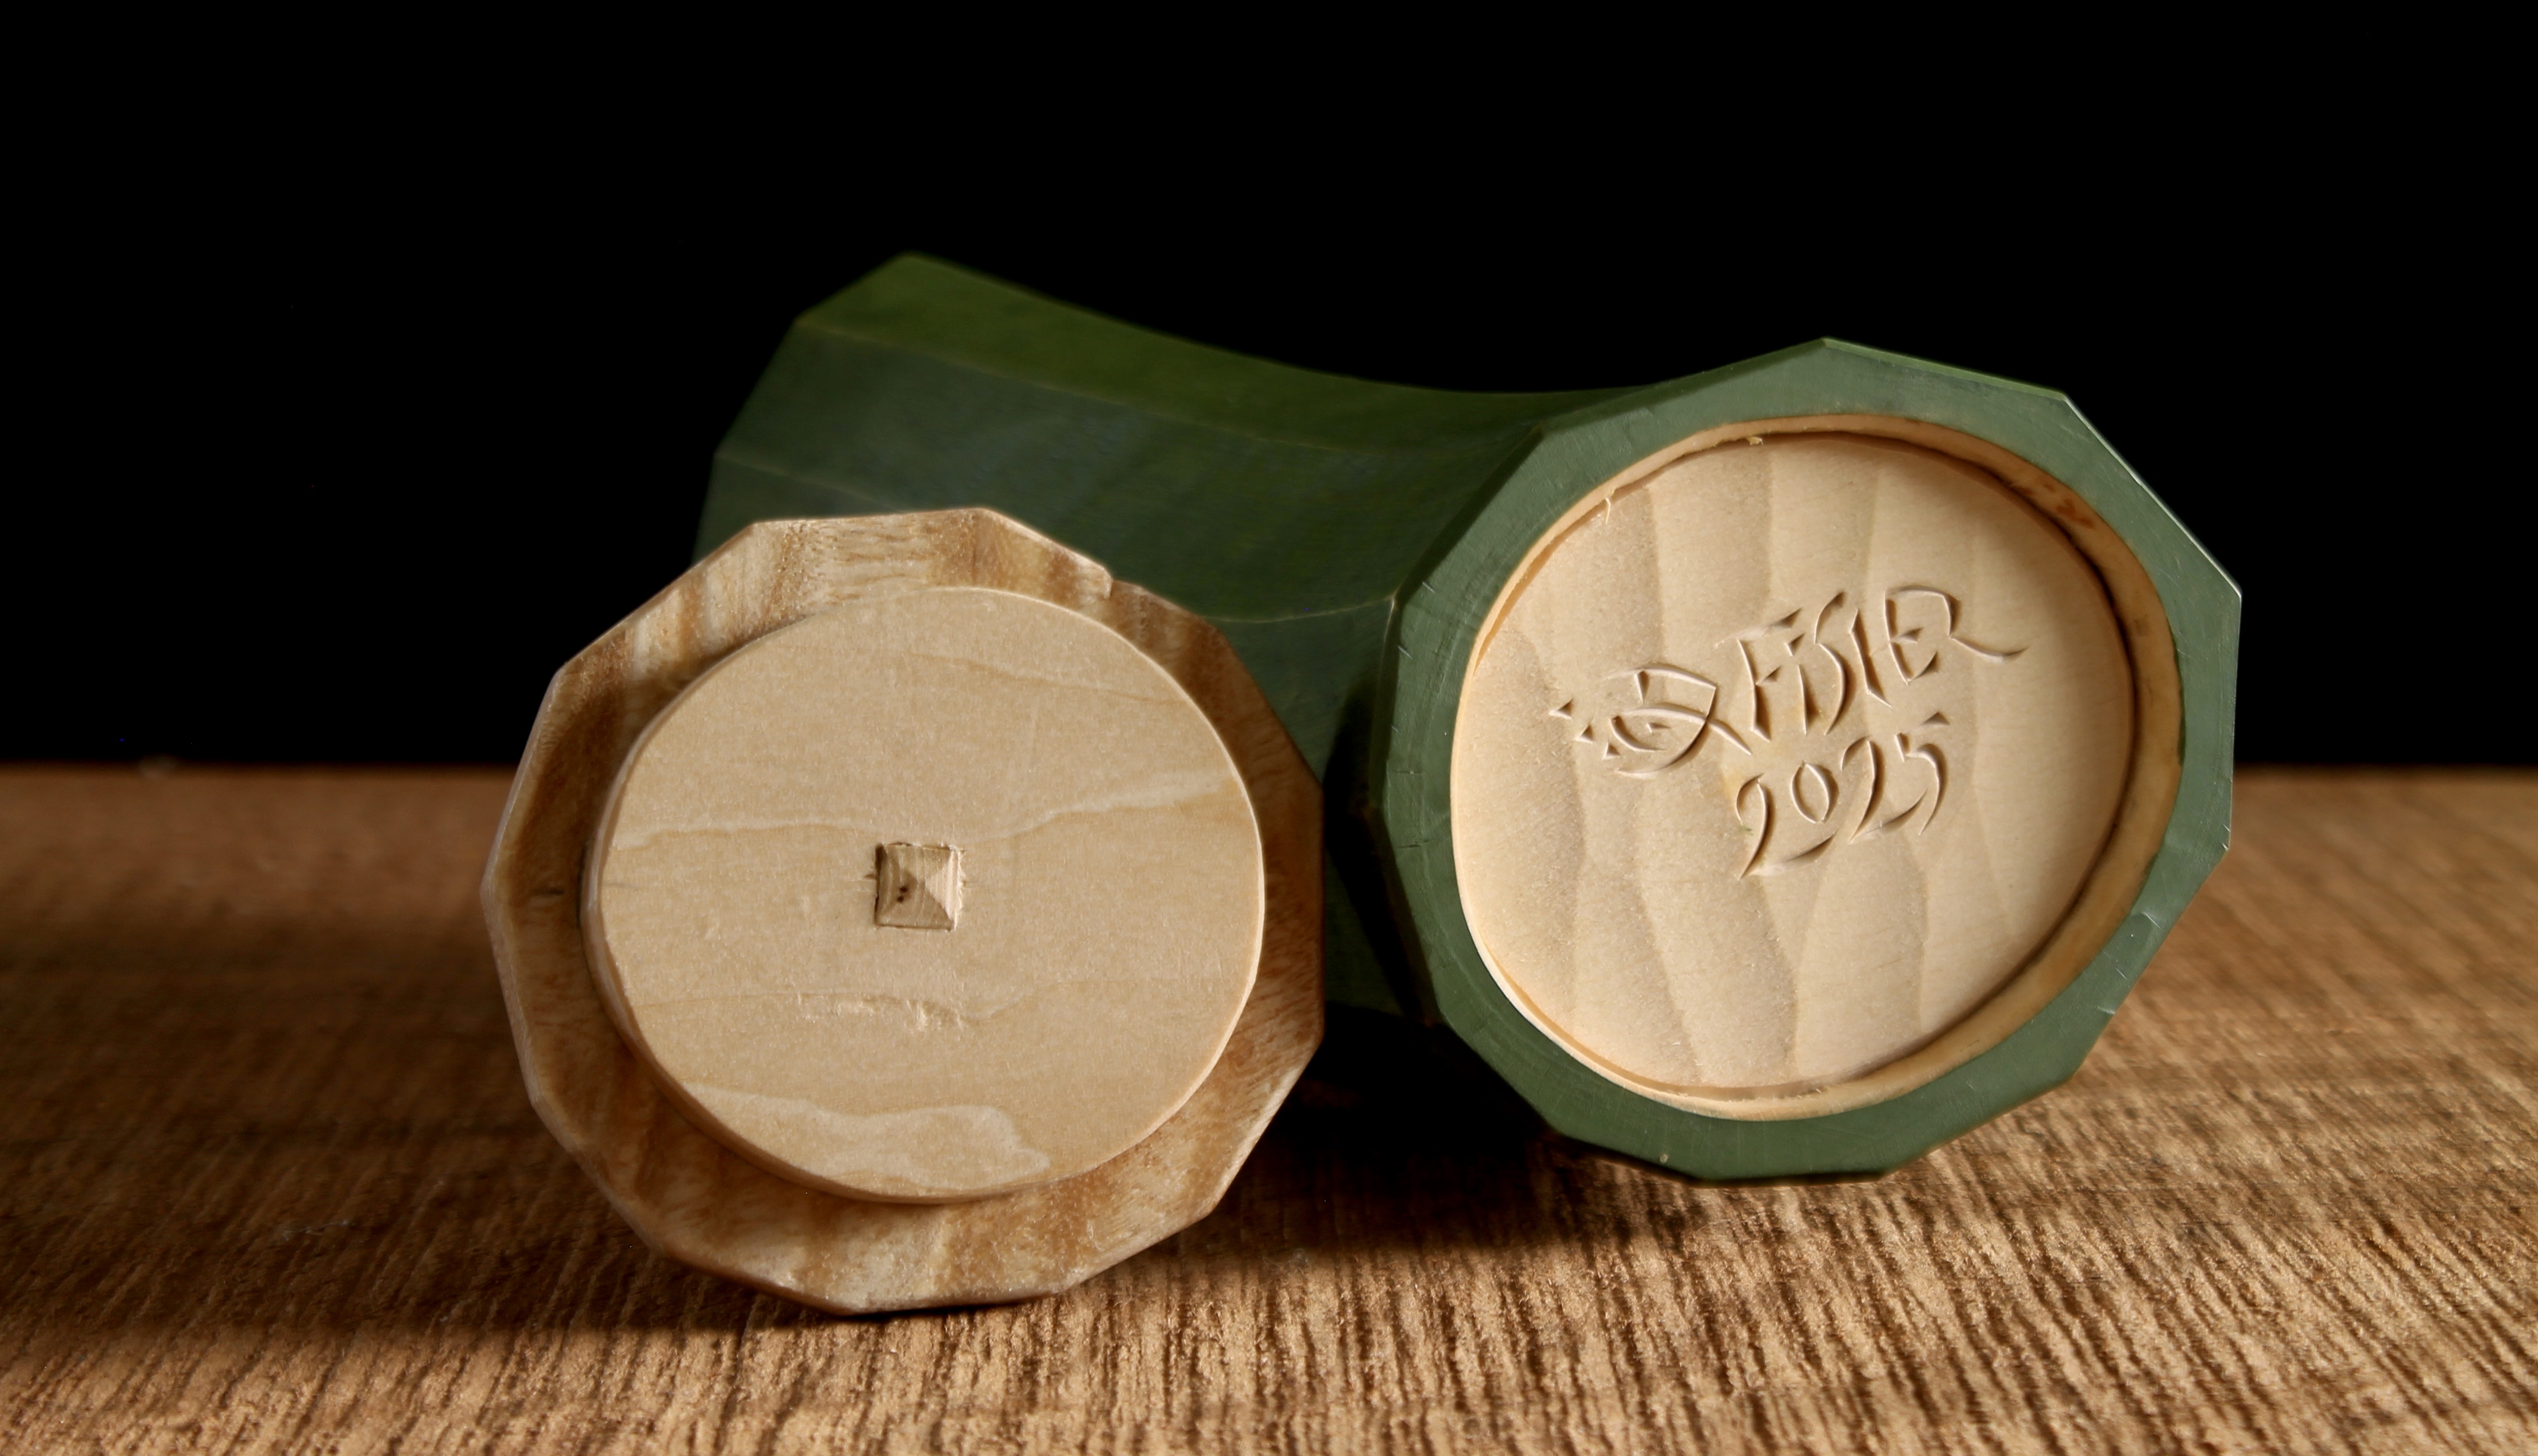
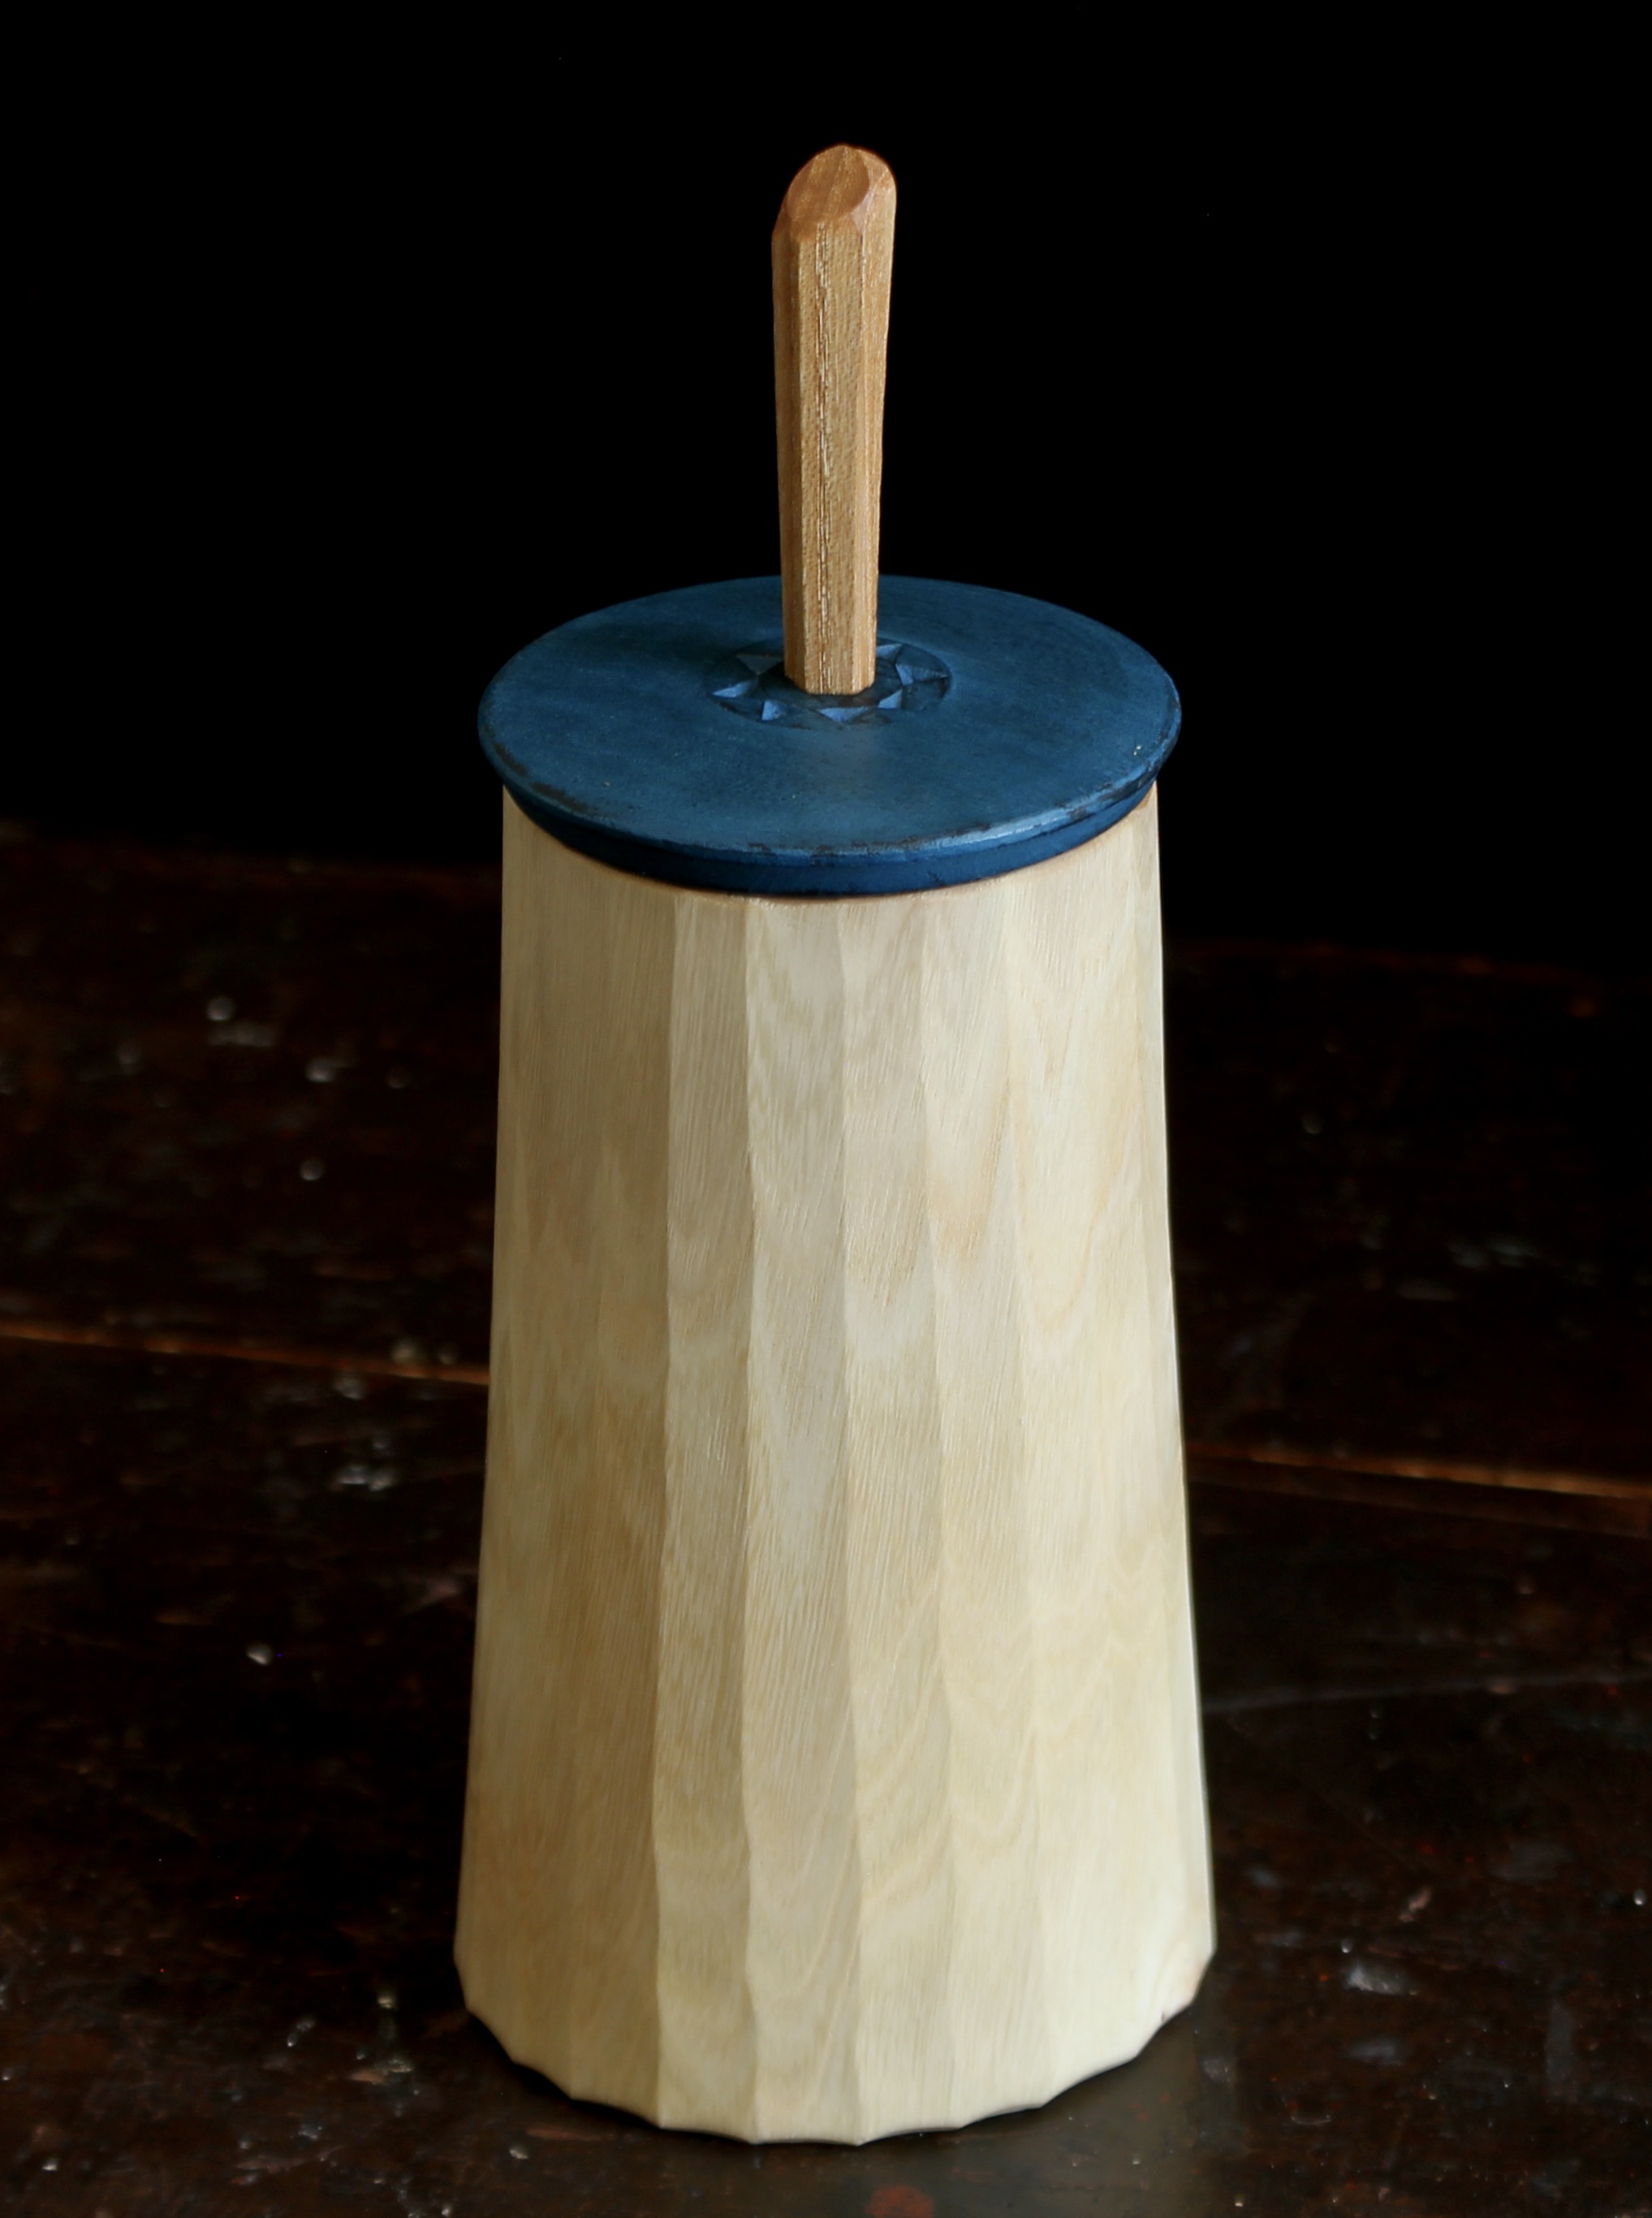
In the photo above, you can see the general progression Phil goes through in carving a Julfågel. Here’s a little more on the materials from Phil: “I have only used aspen for these. Pretty much the perfect wood. Easy to carve, the limbs grow the right way, it takes paint well and I have acres of it. I use artists oils for nearly everything but here I use acrylic. Dries fast and there are really nice transparent colors. The ones you see on my birds are alizarin crimson, Jenkins green, transparent yellow, iron oxide and bone black.”
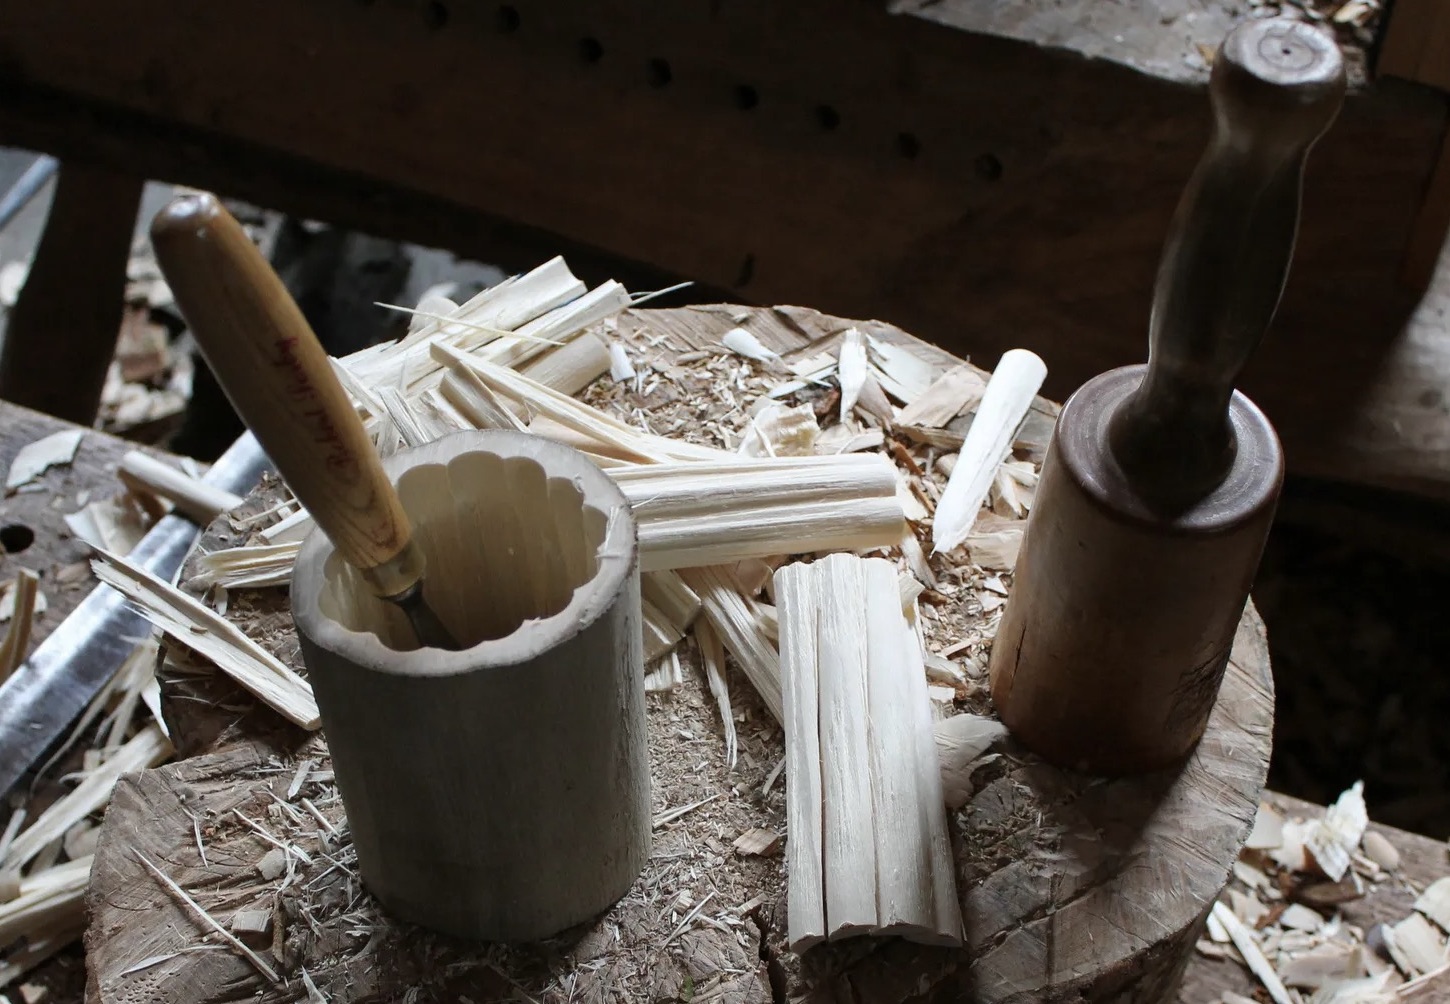
Branches are all over the place — aspen not required. What a fun Christmas project, and maybe a good opportunity to introduce a kid, or an adult, to carving. Talk about good fortune.
(End of the original post)
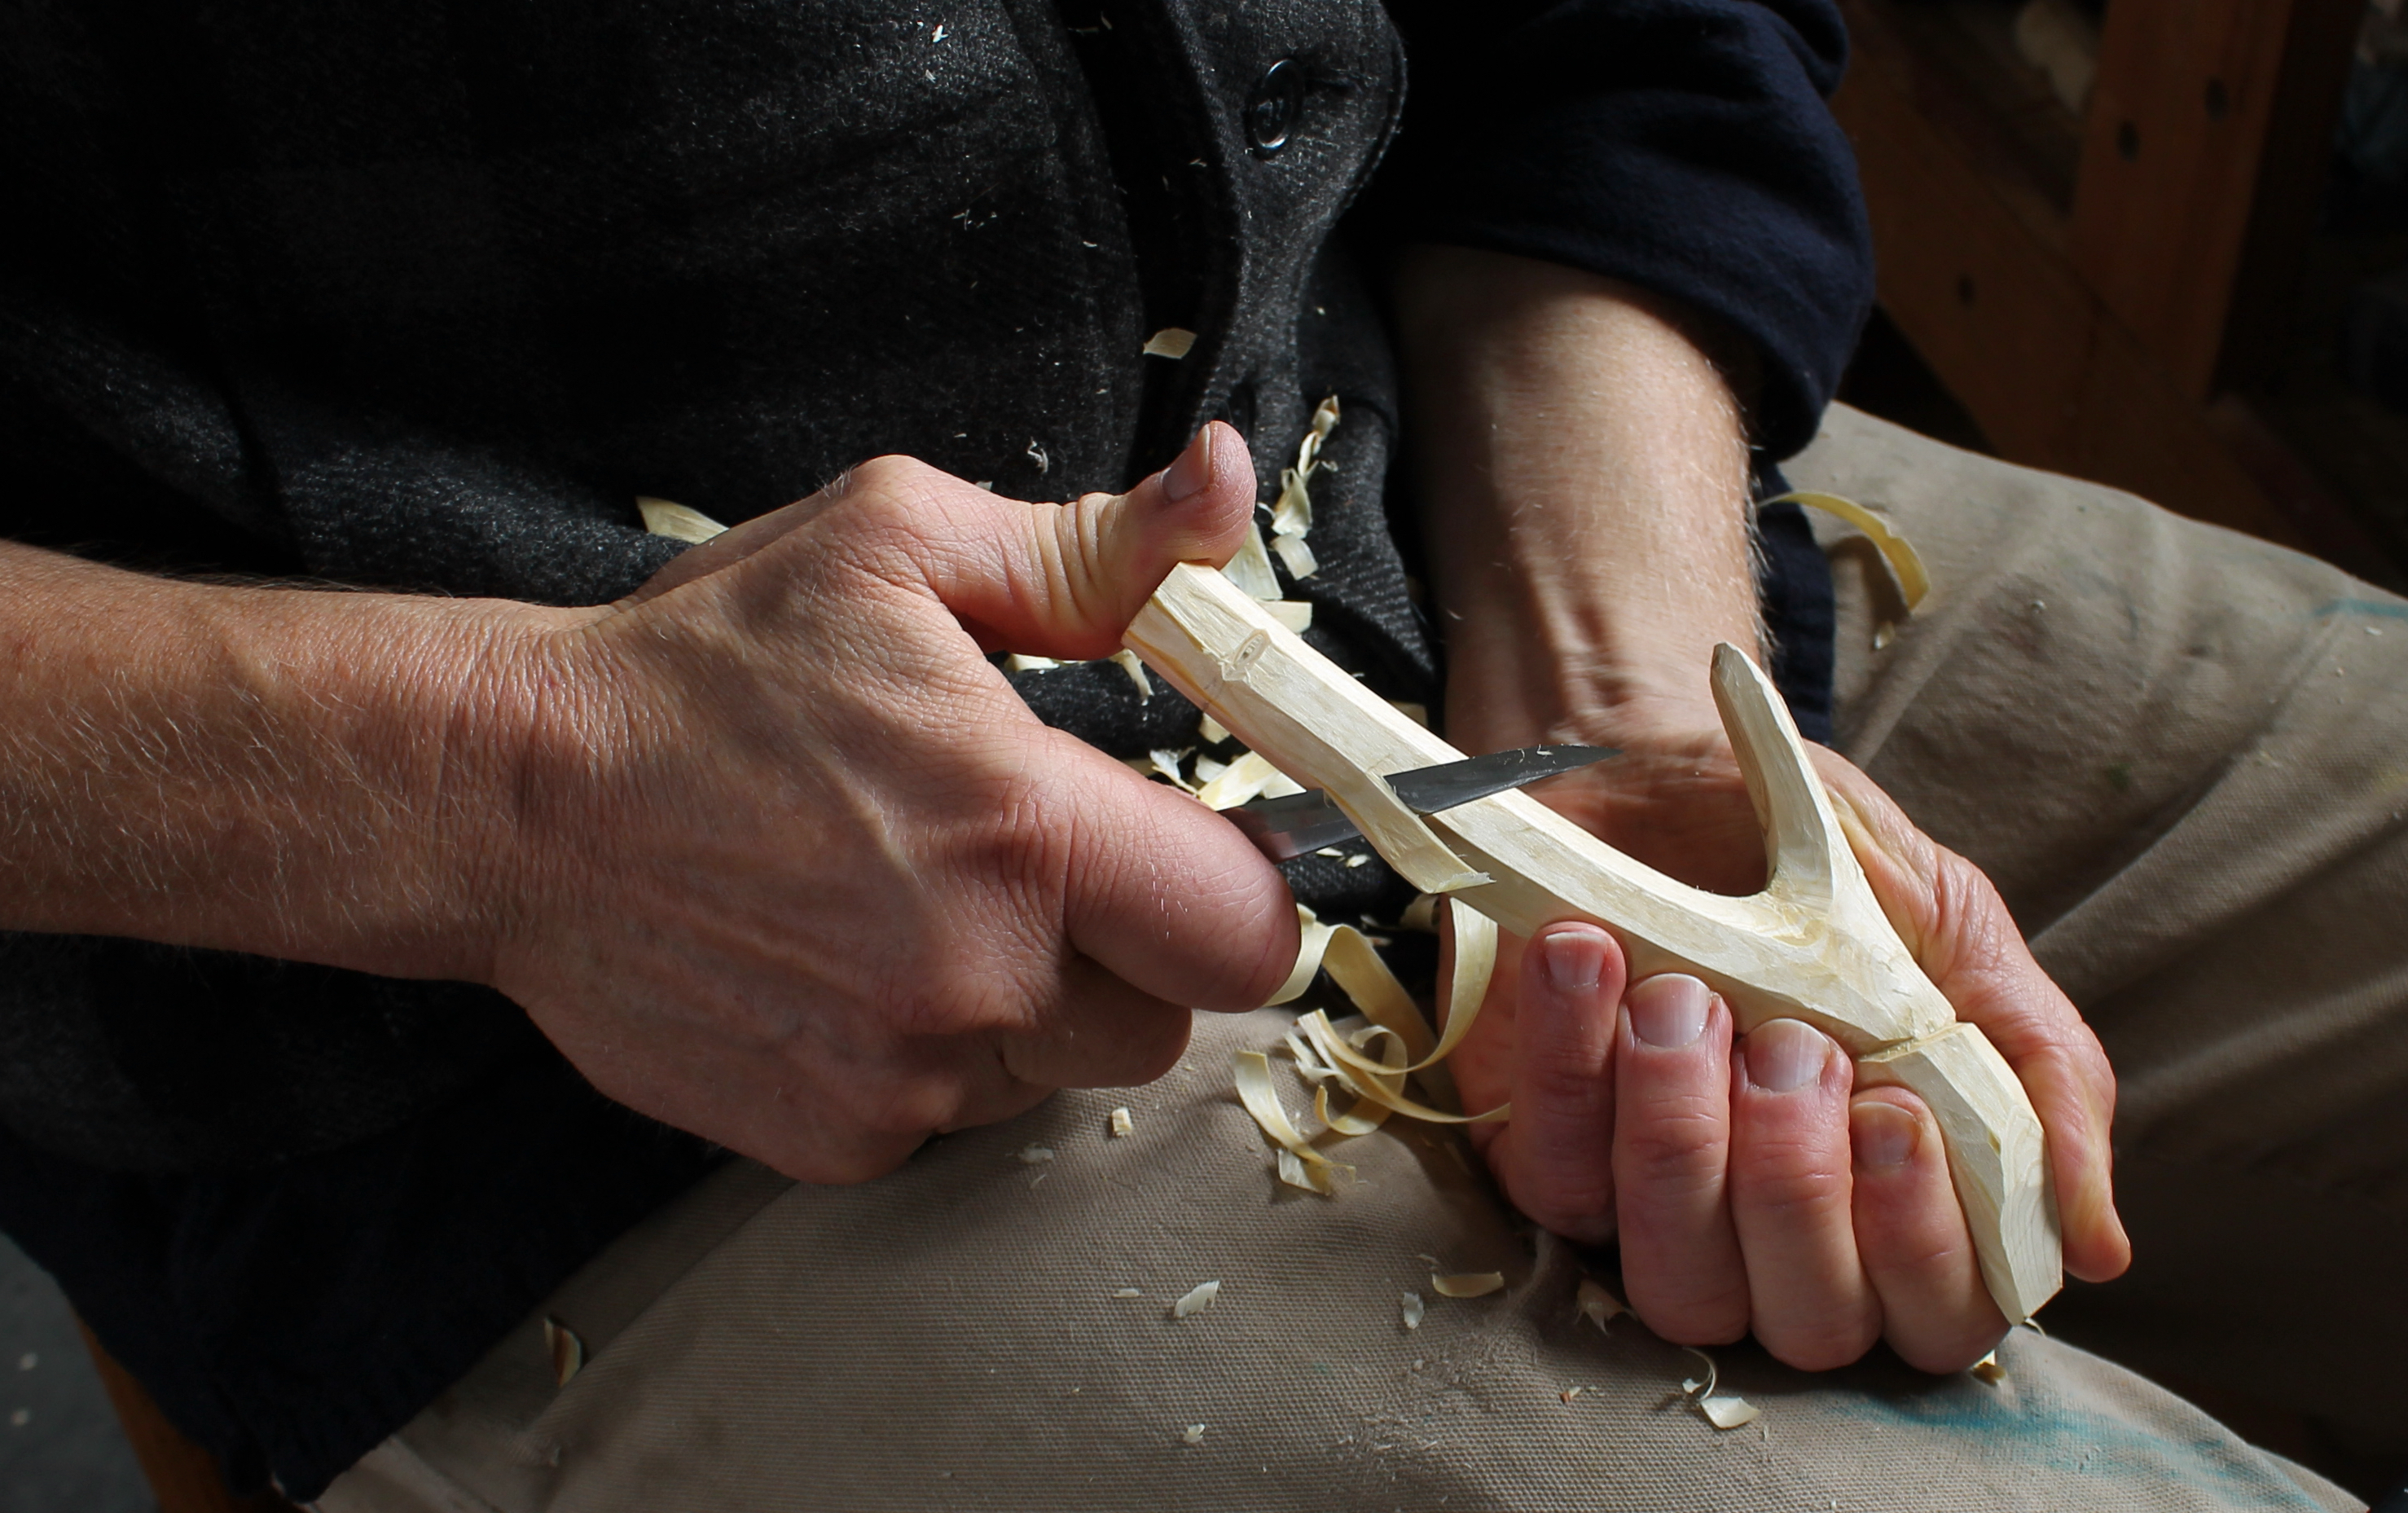
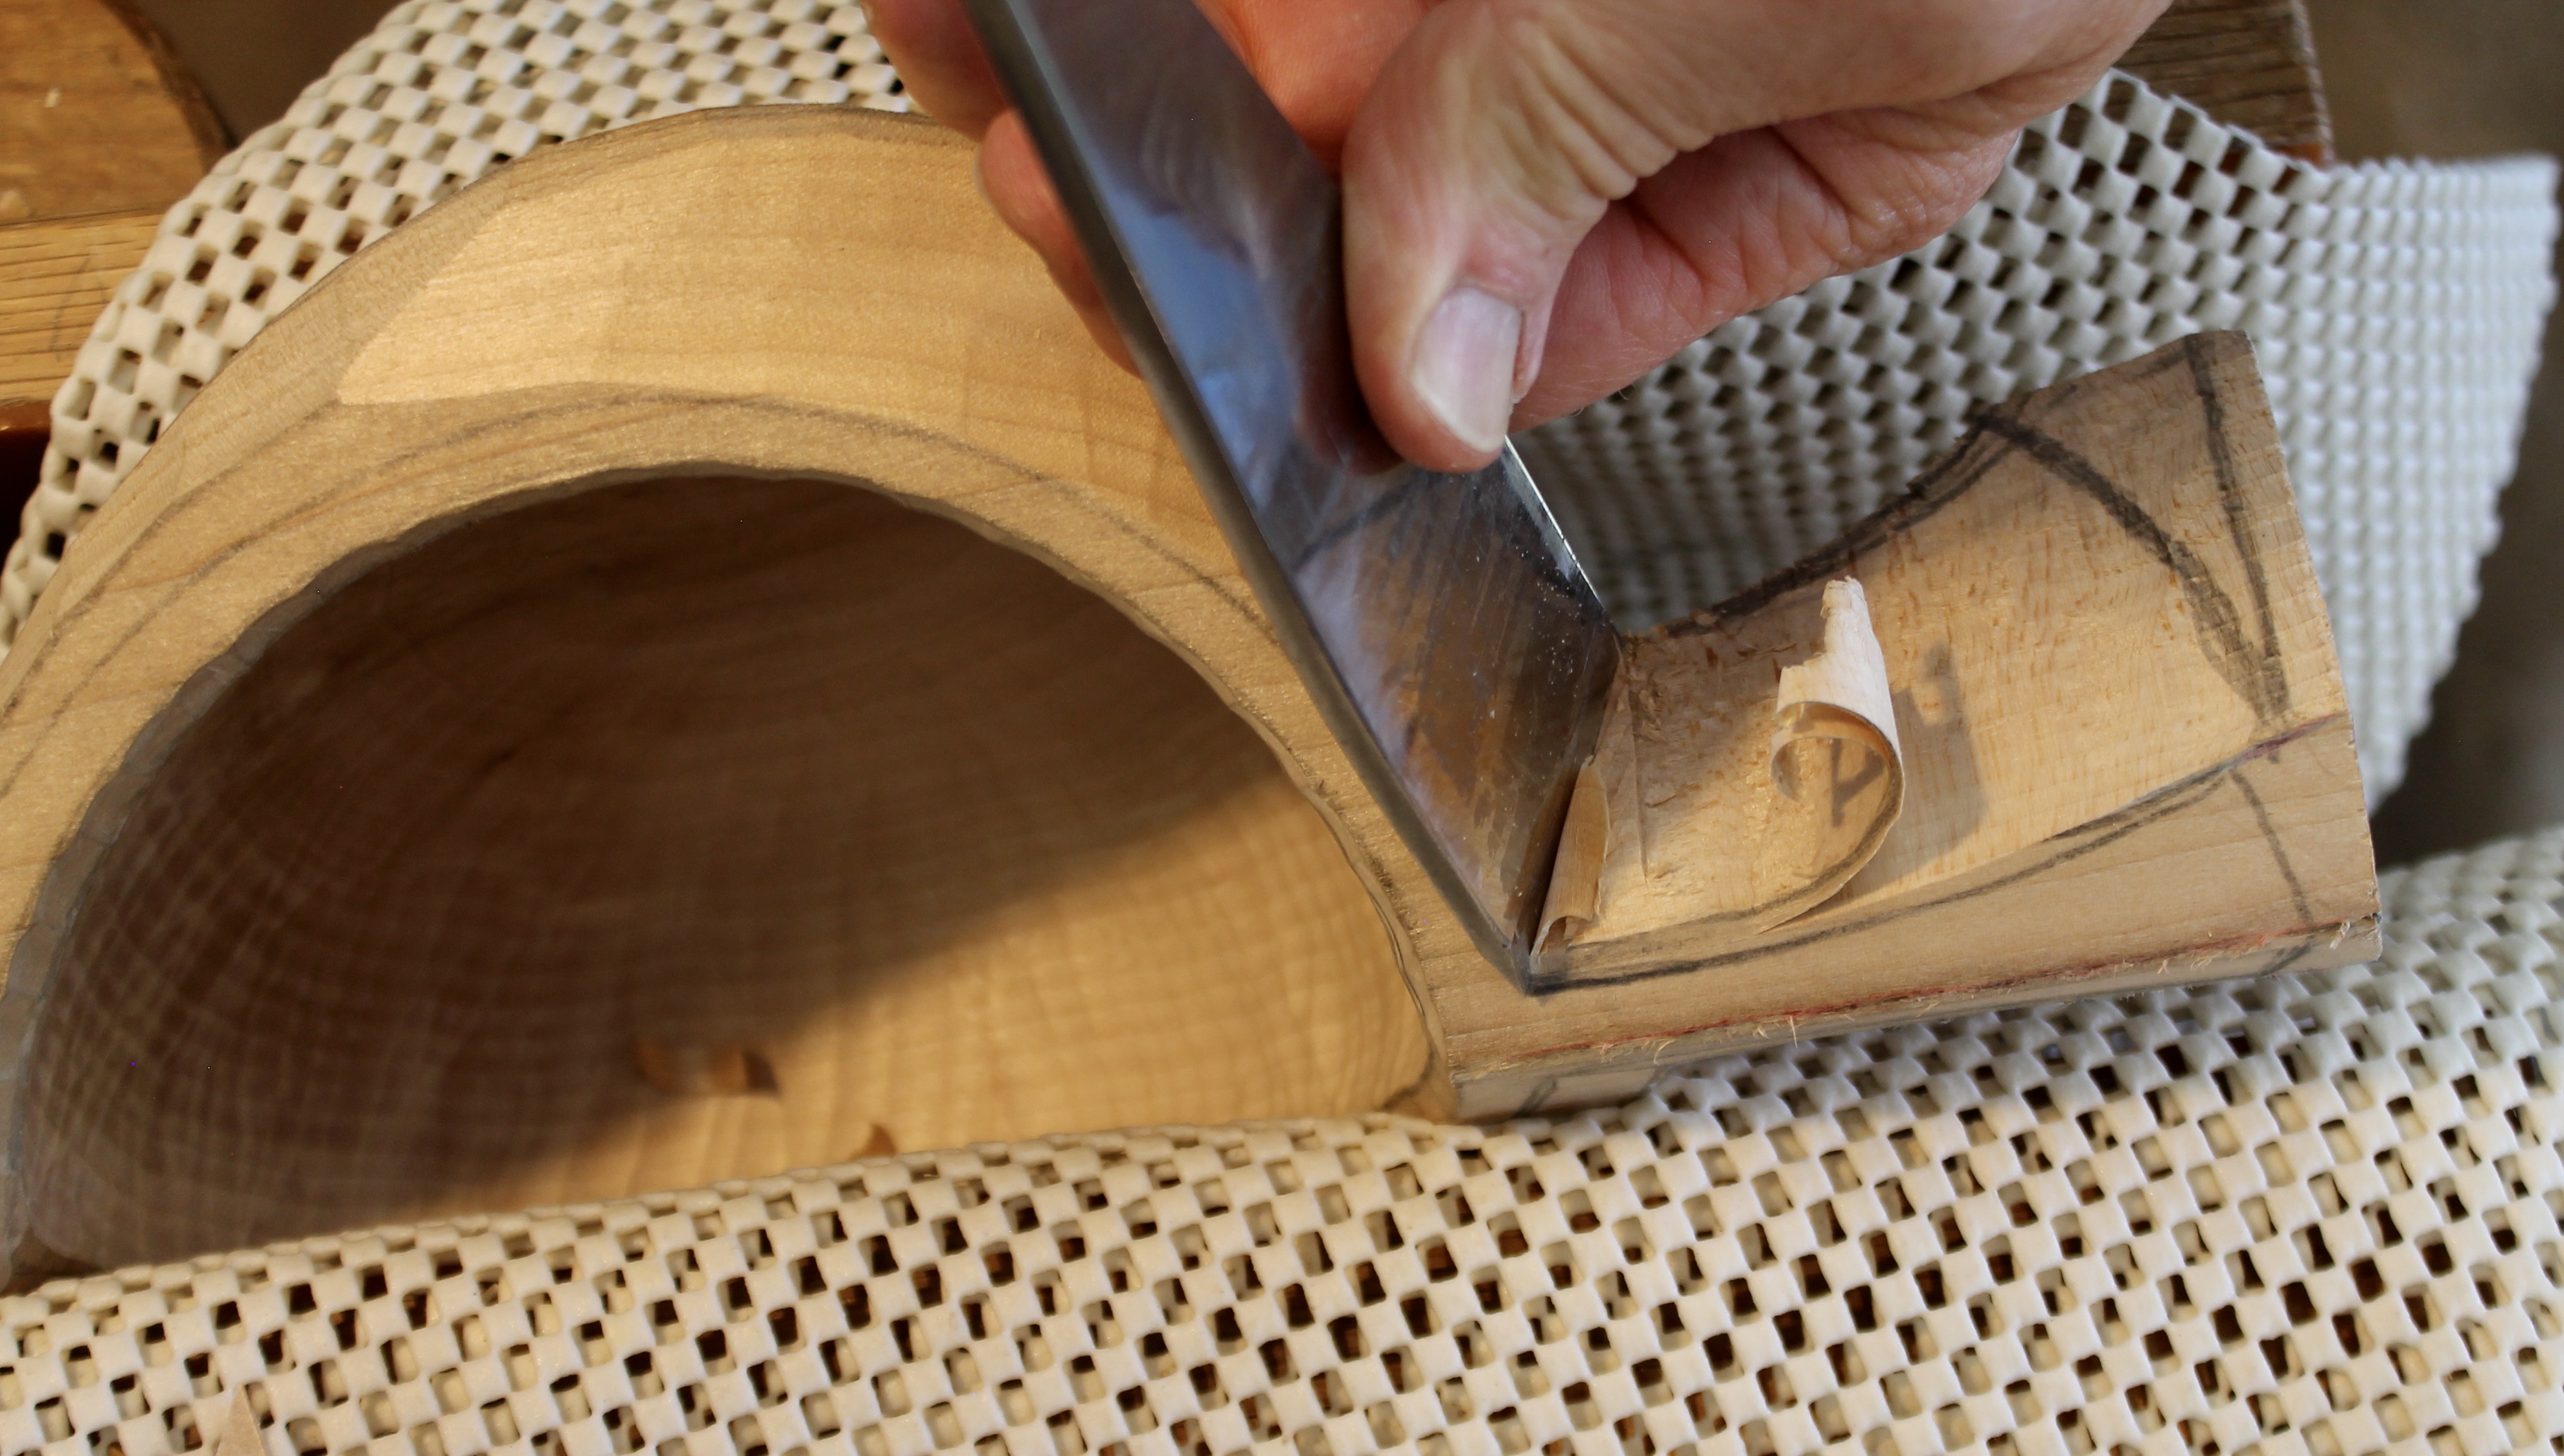
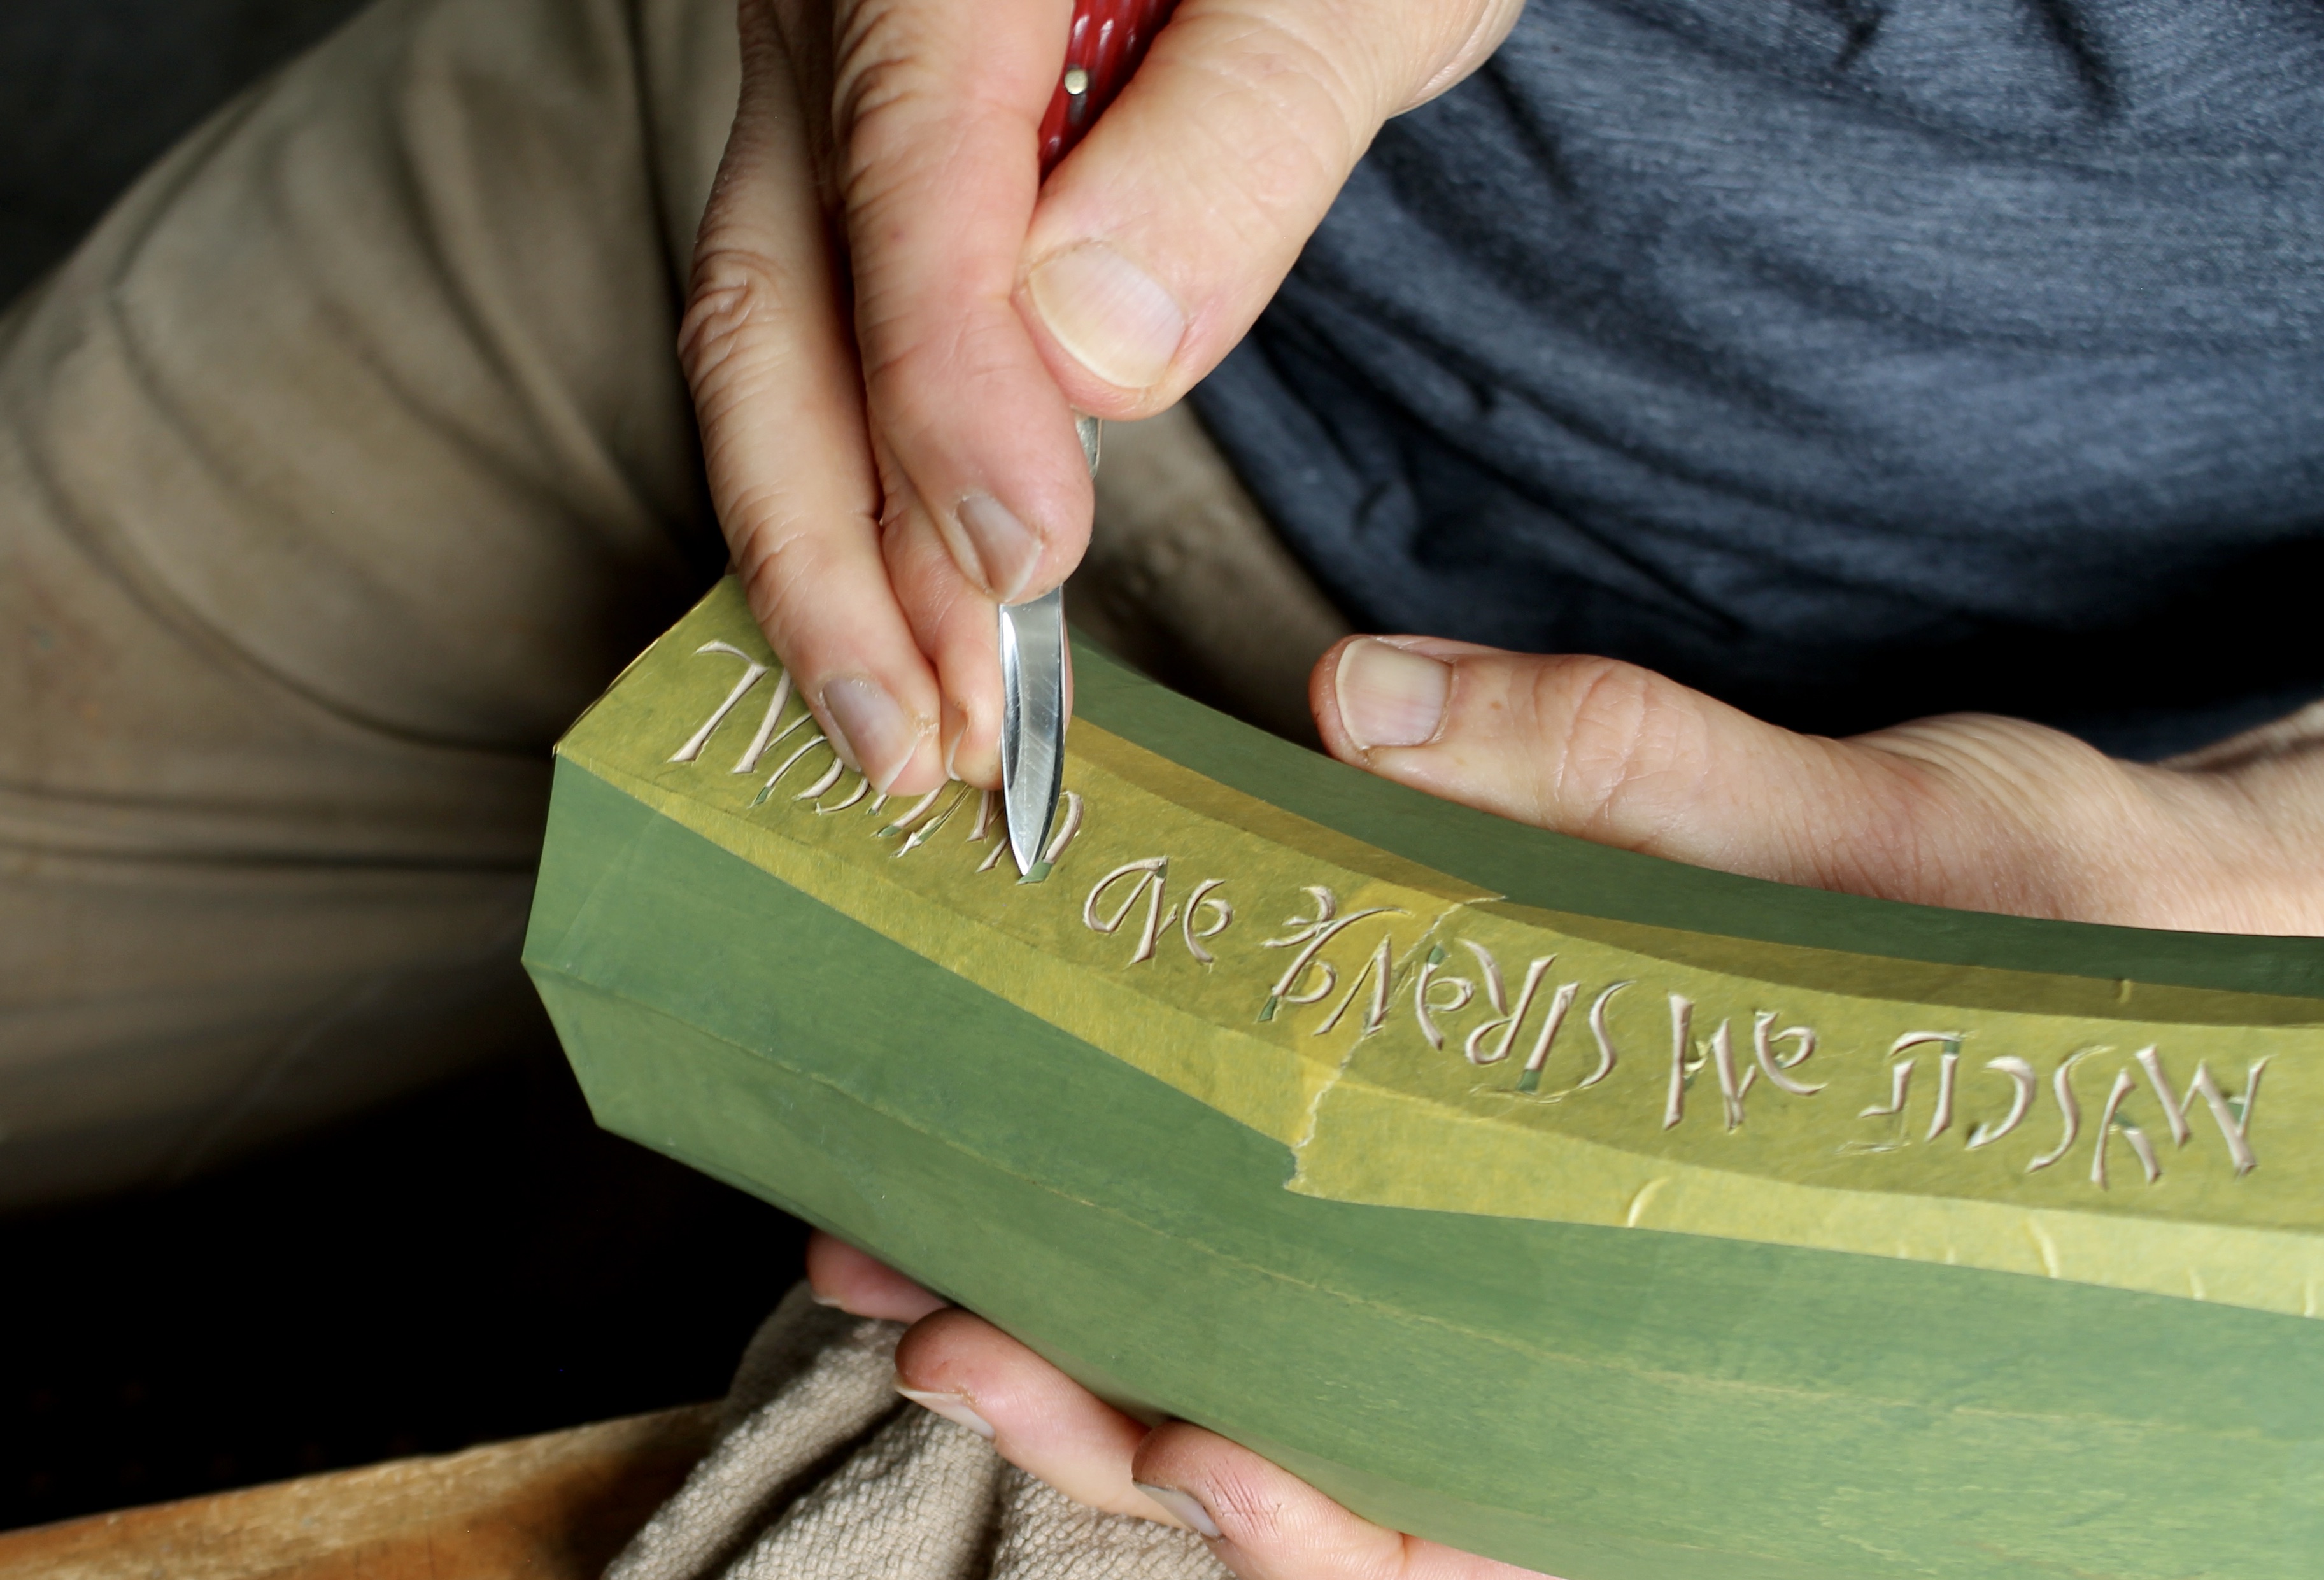
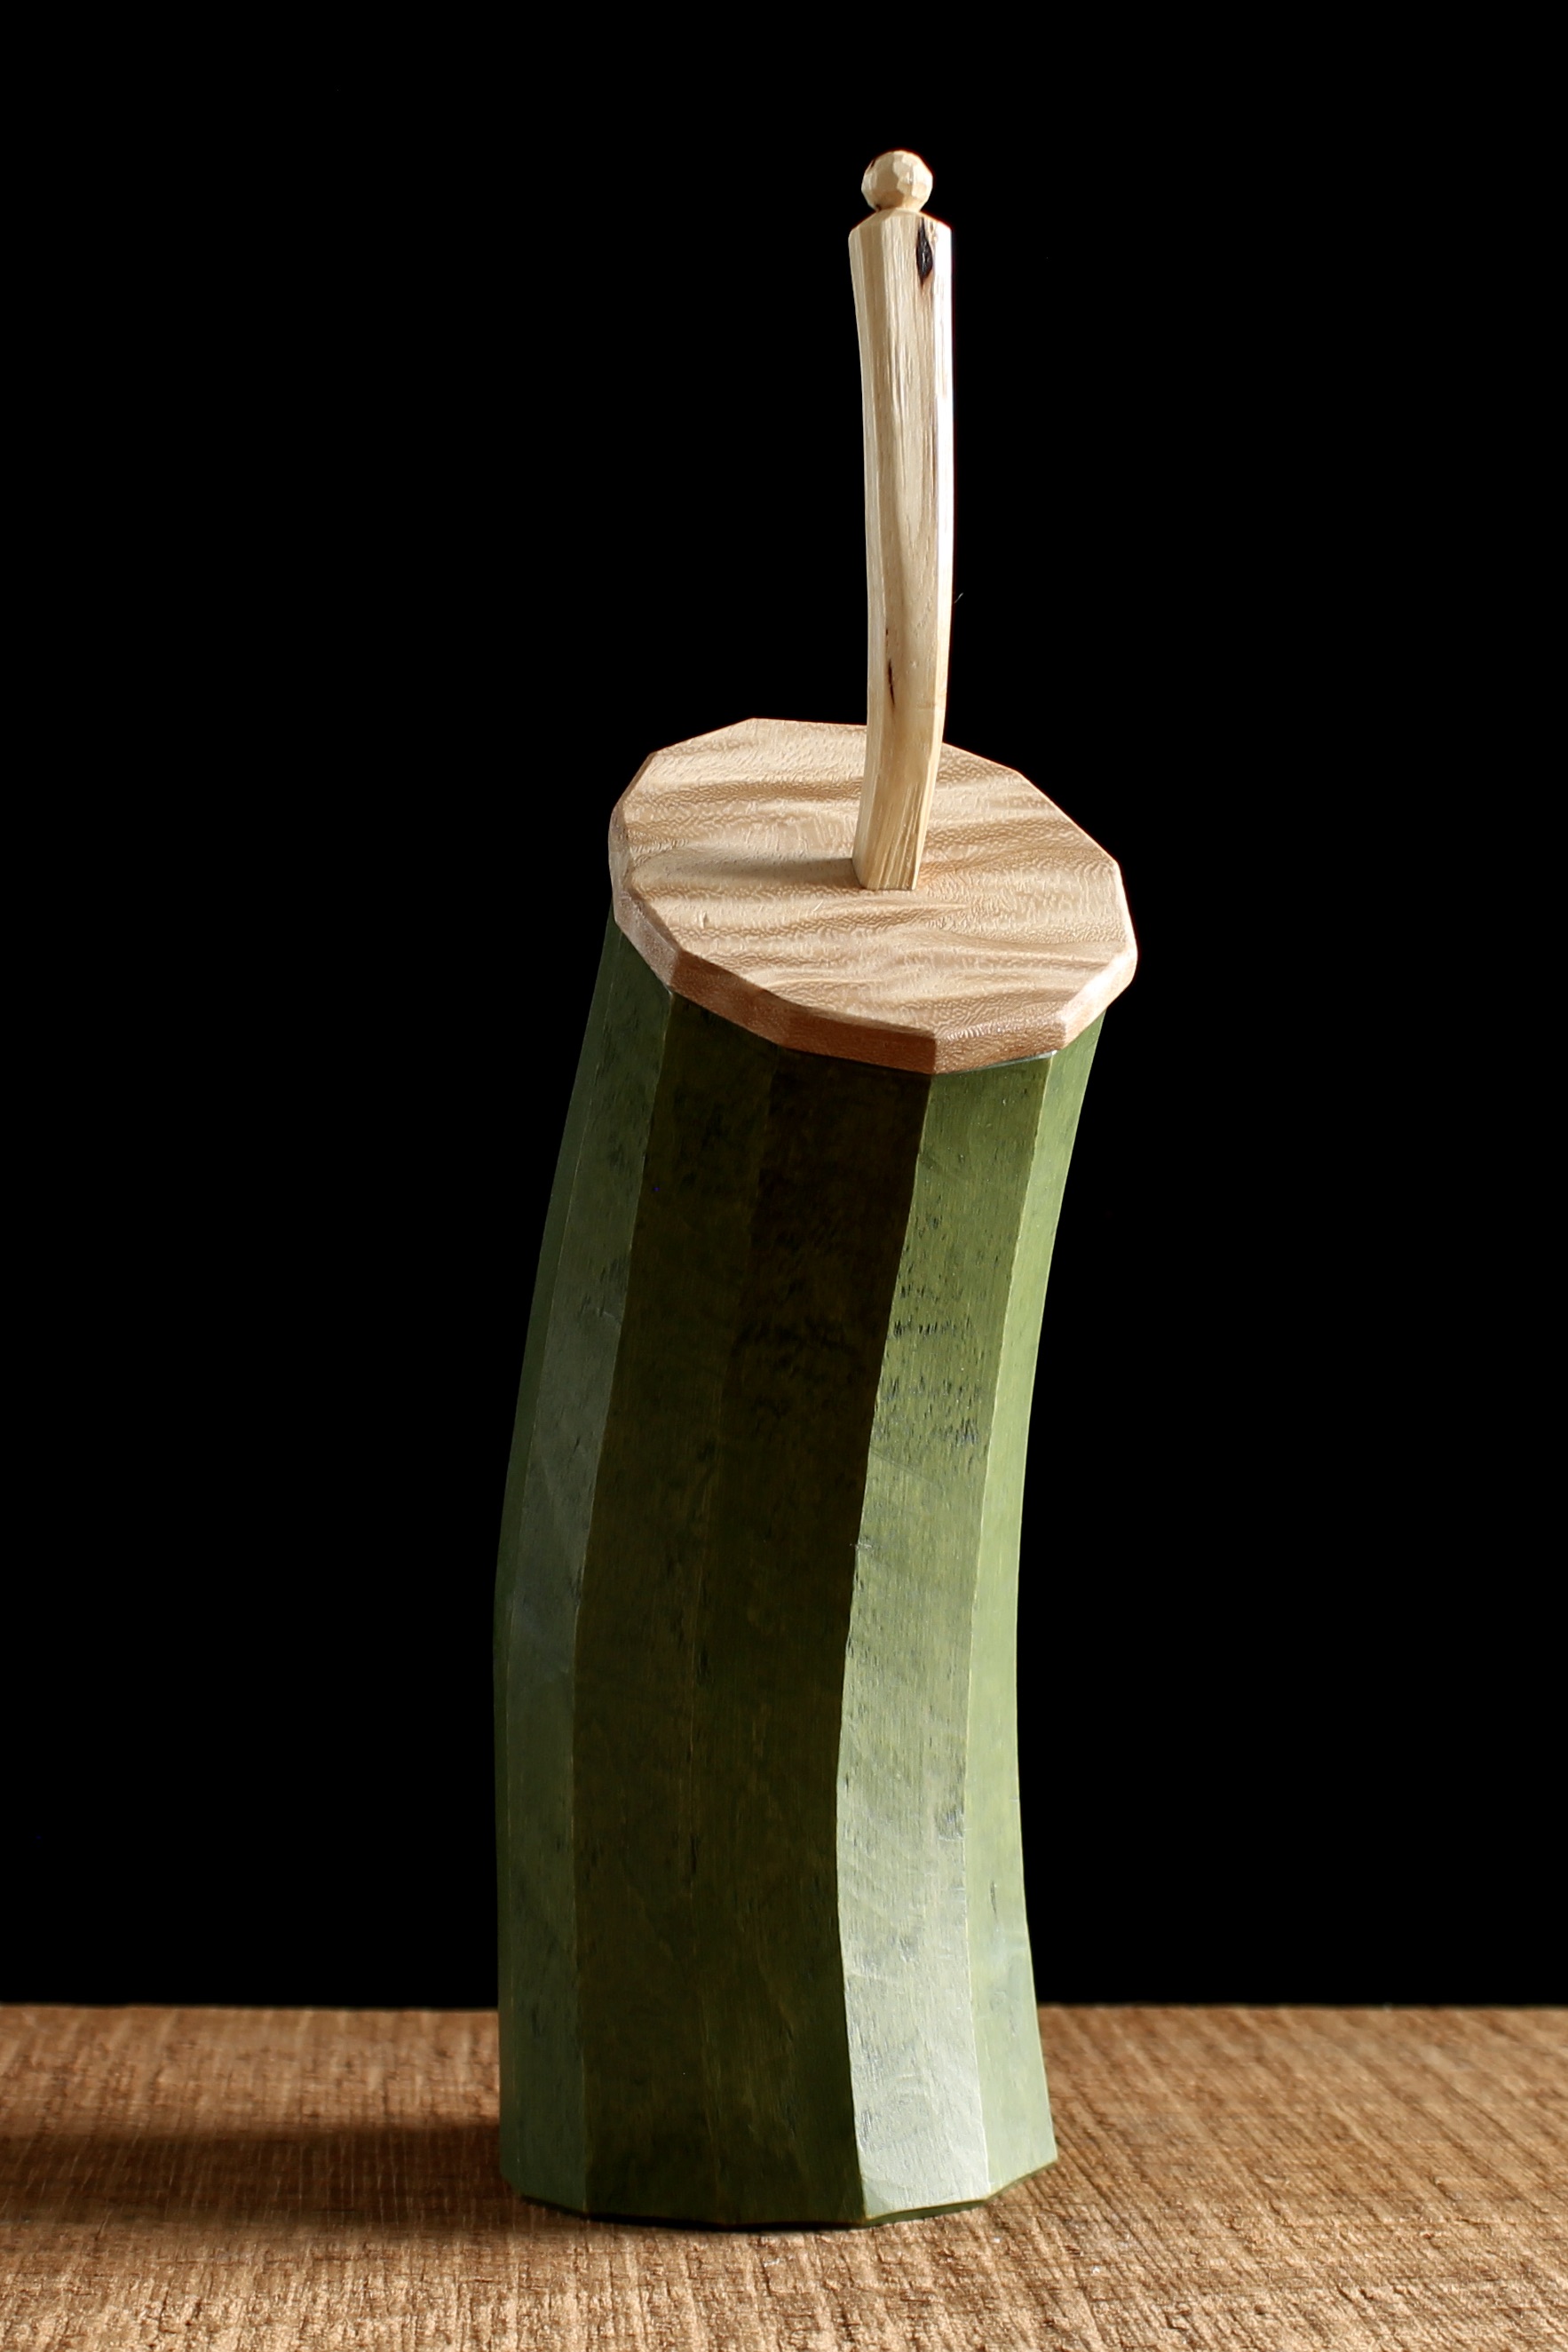
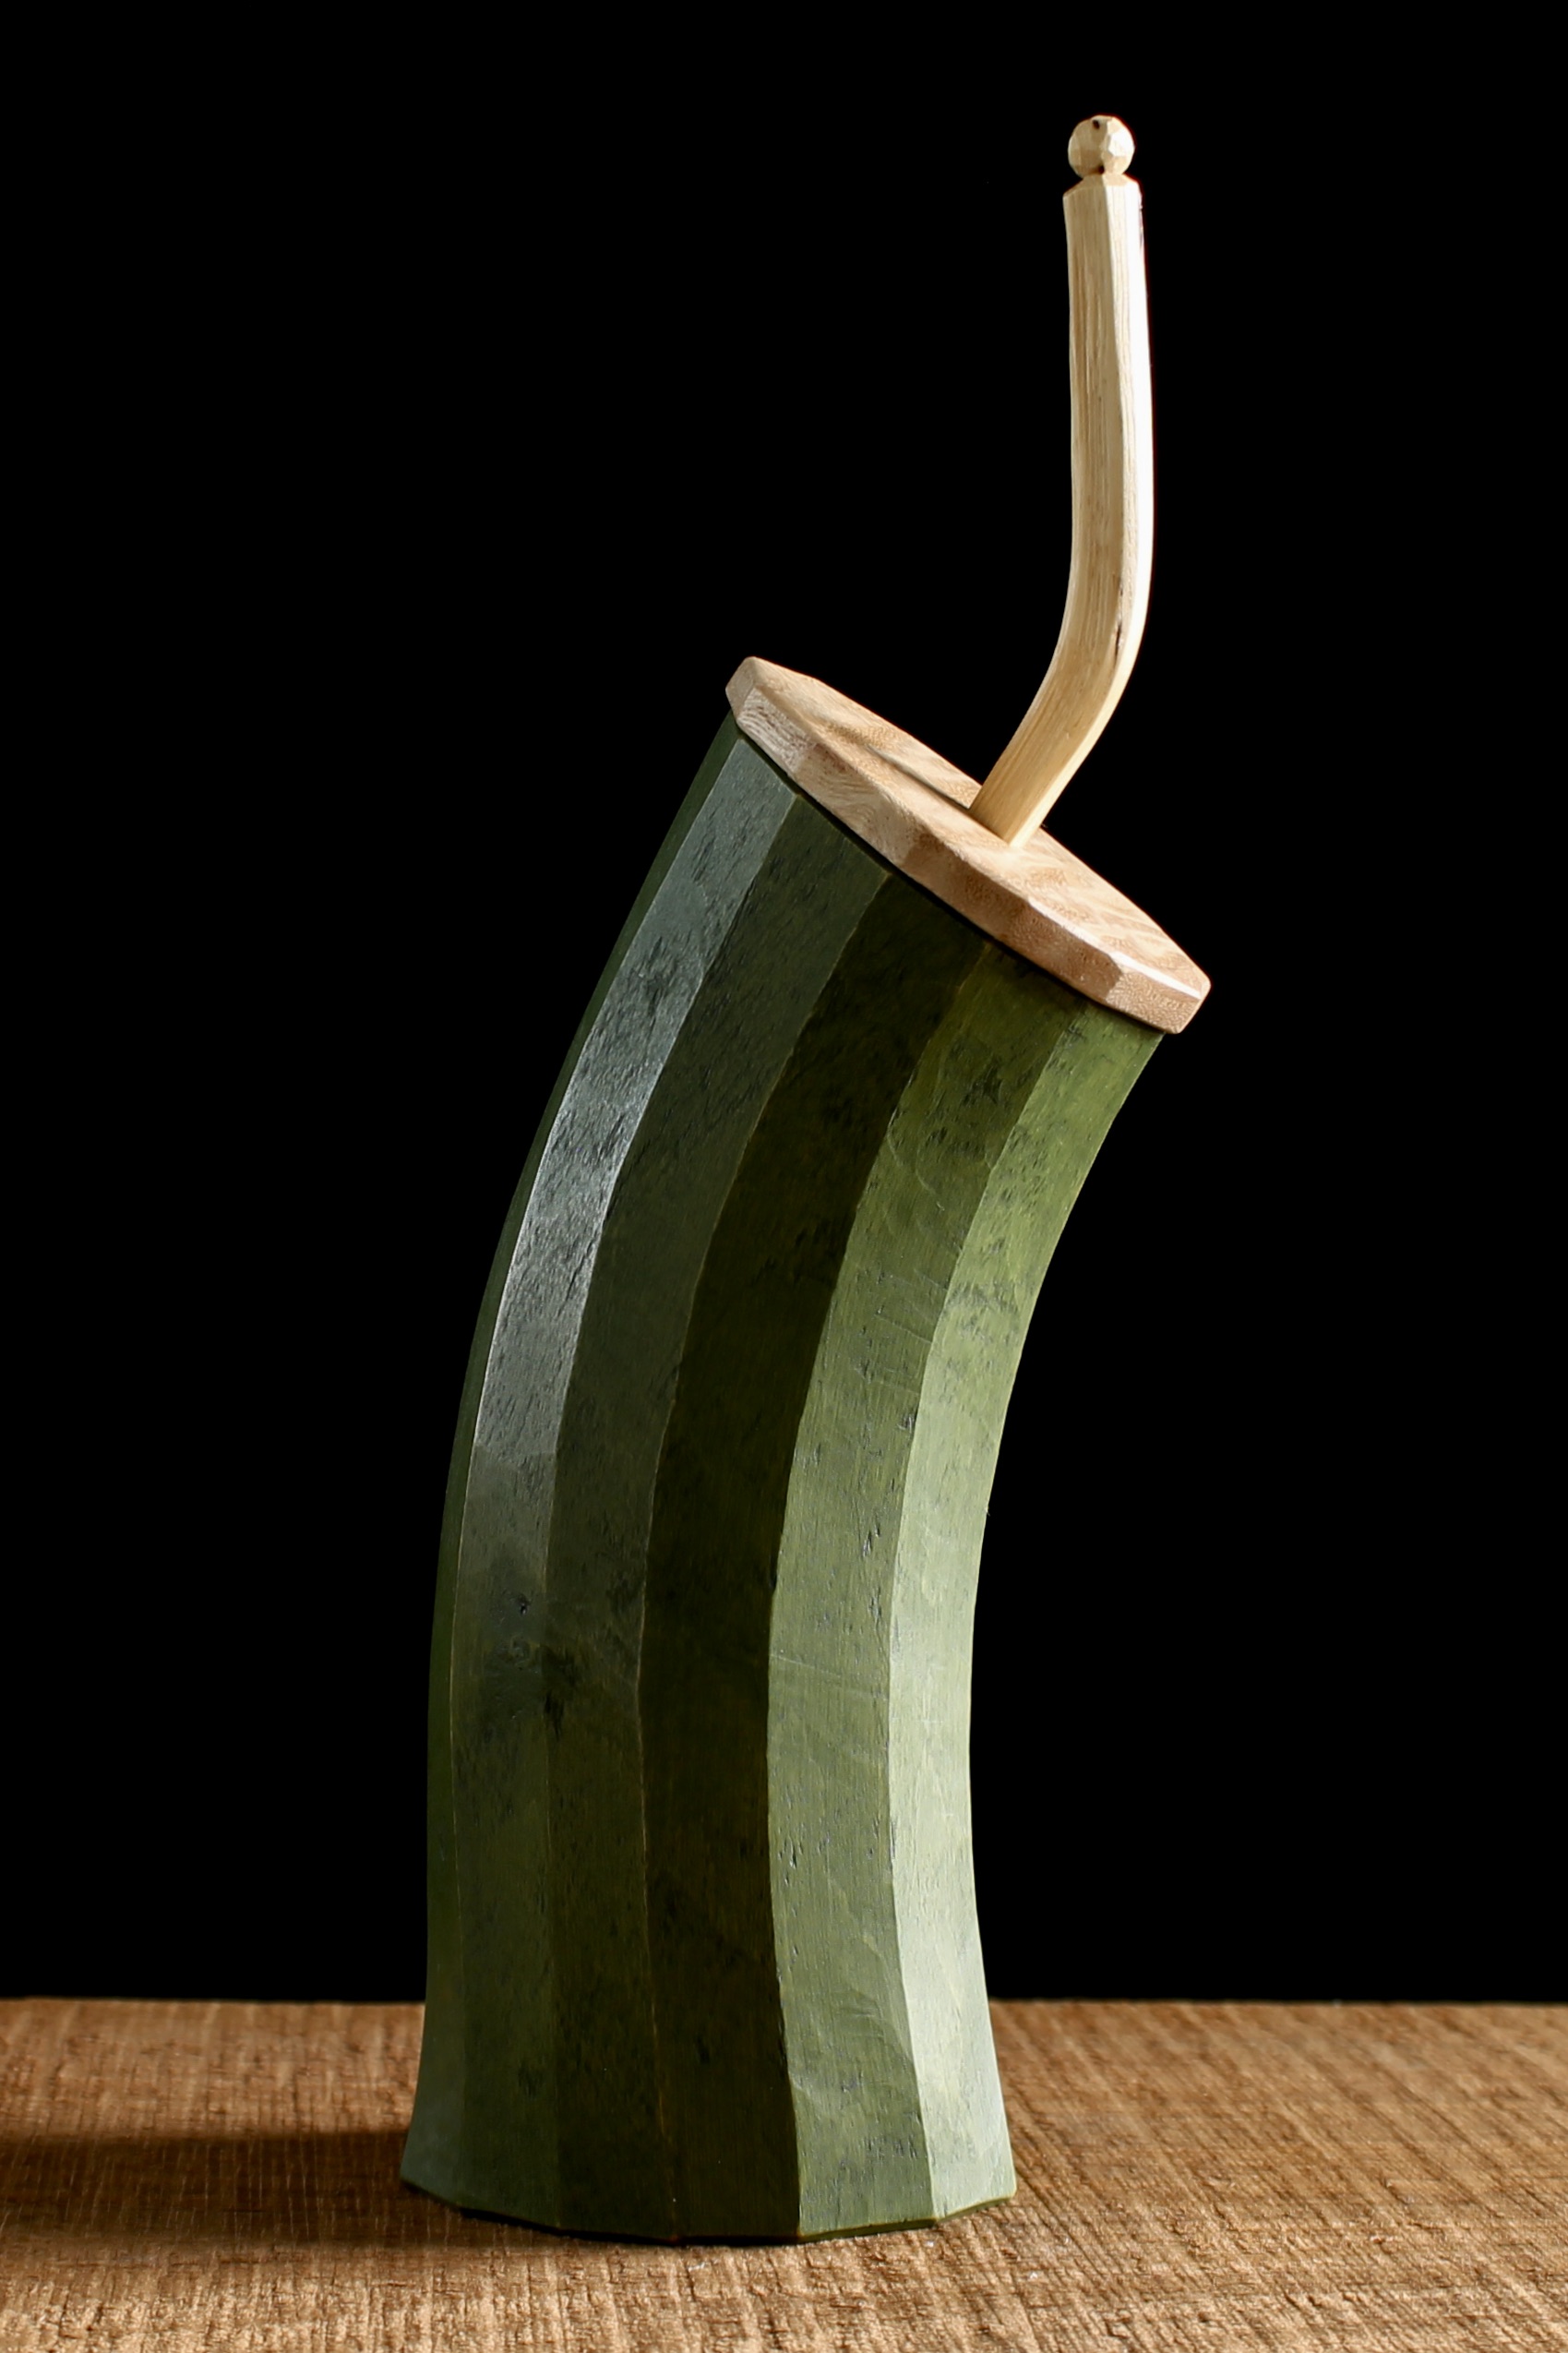
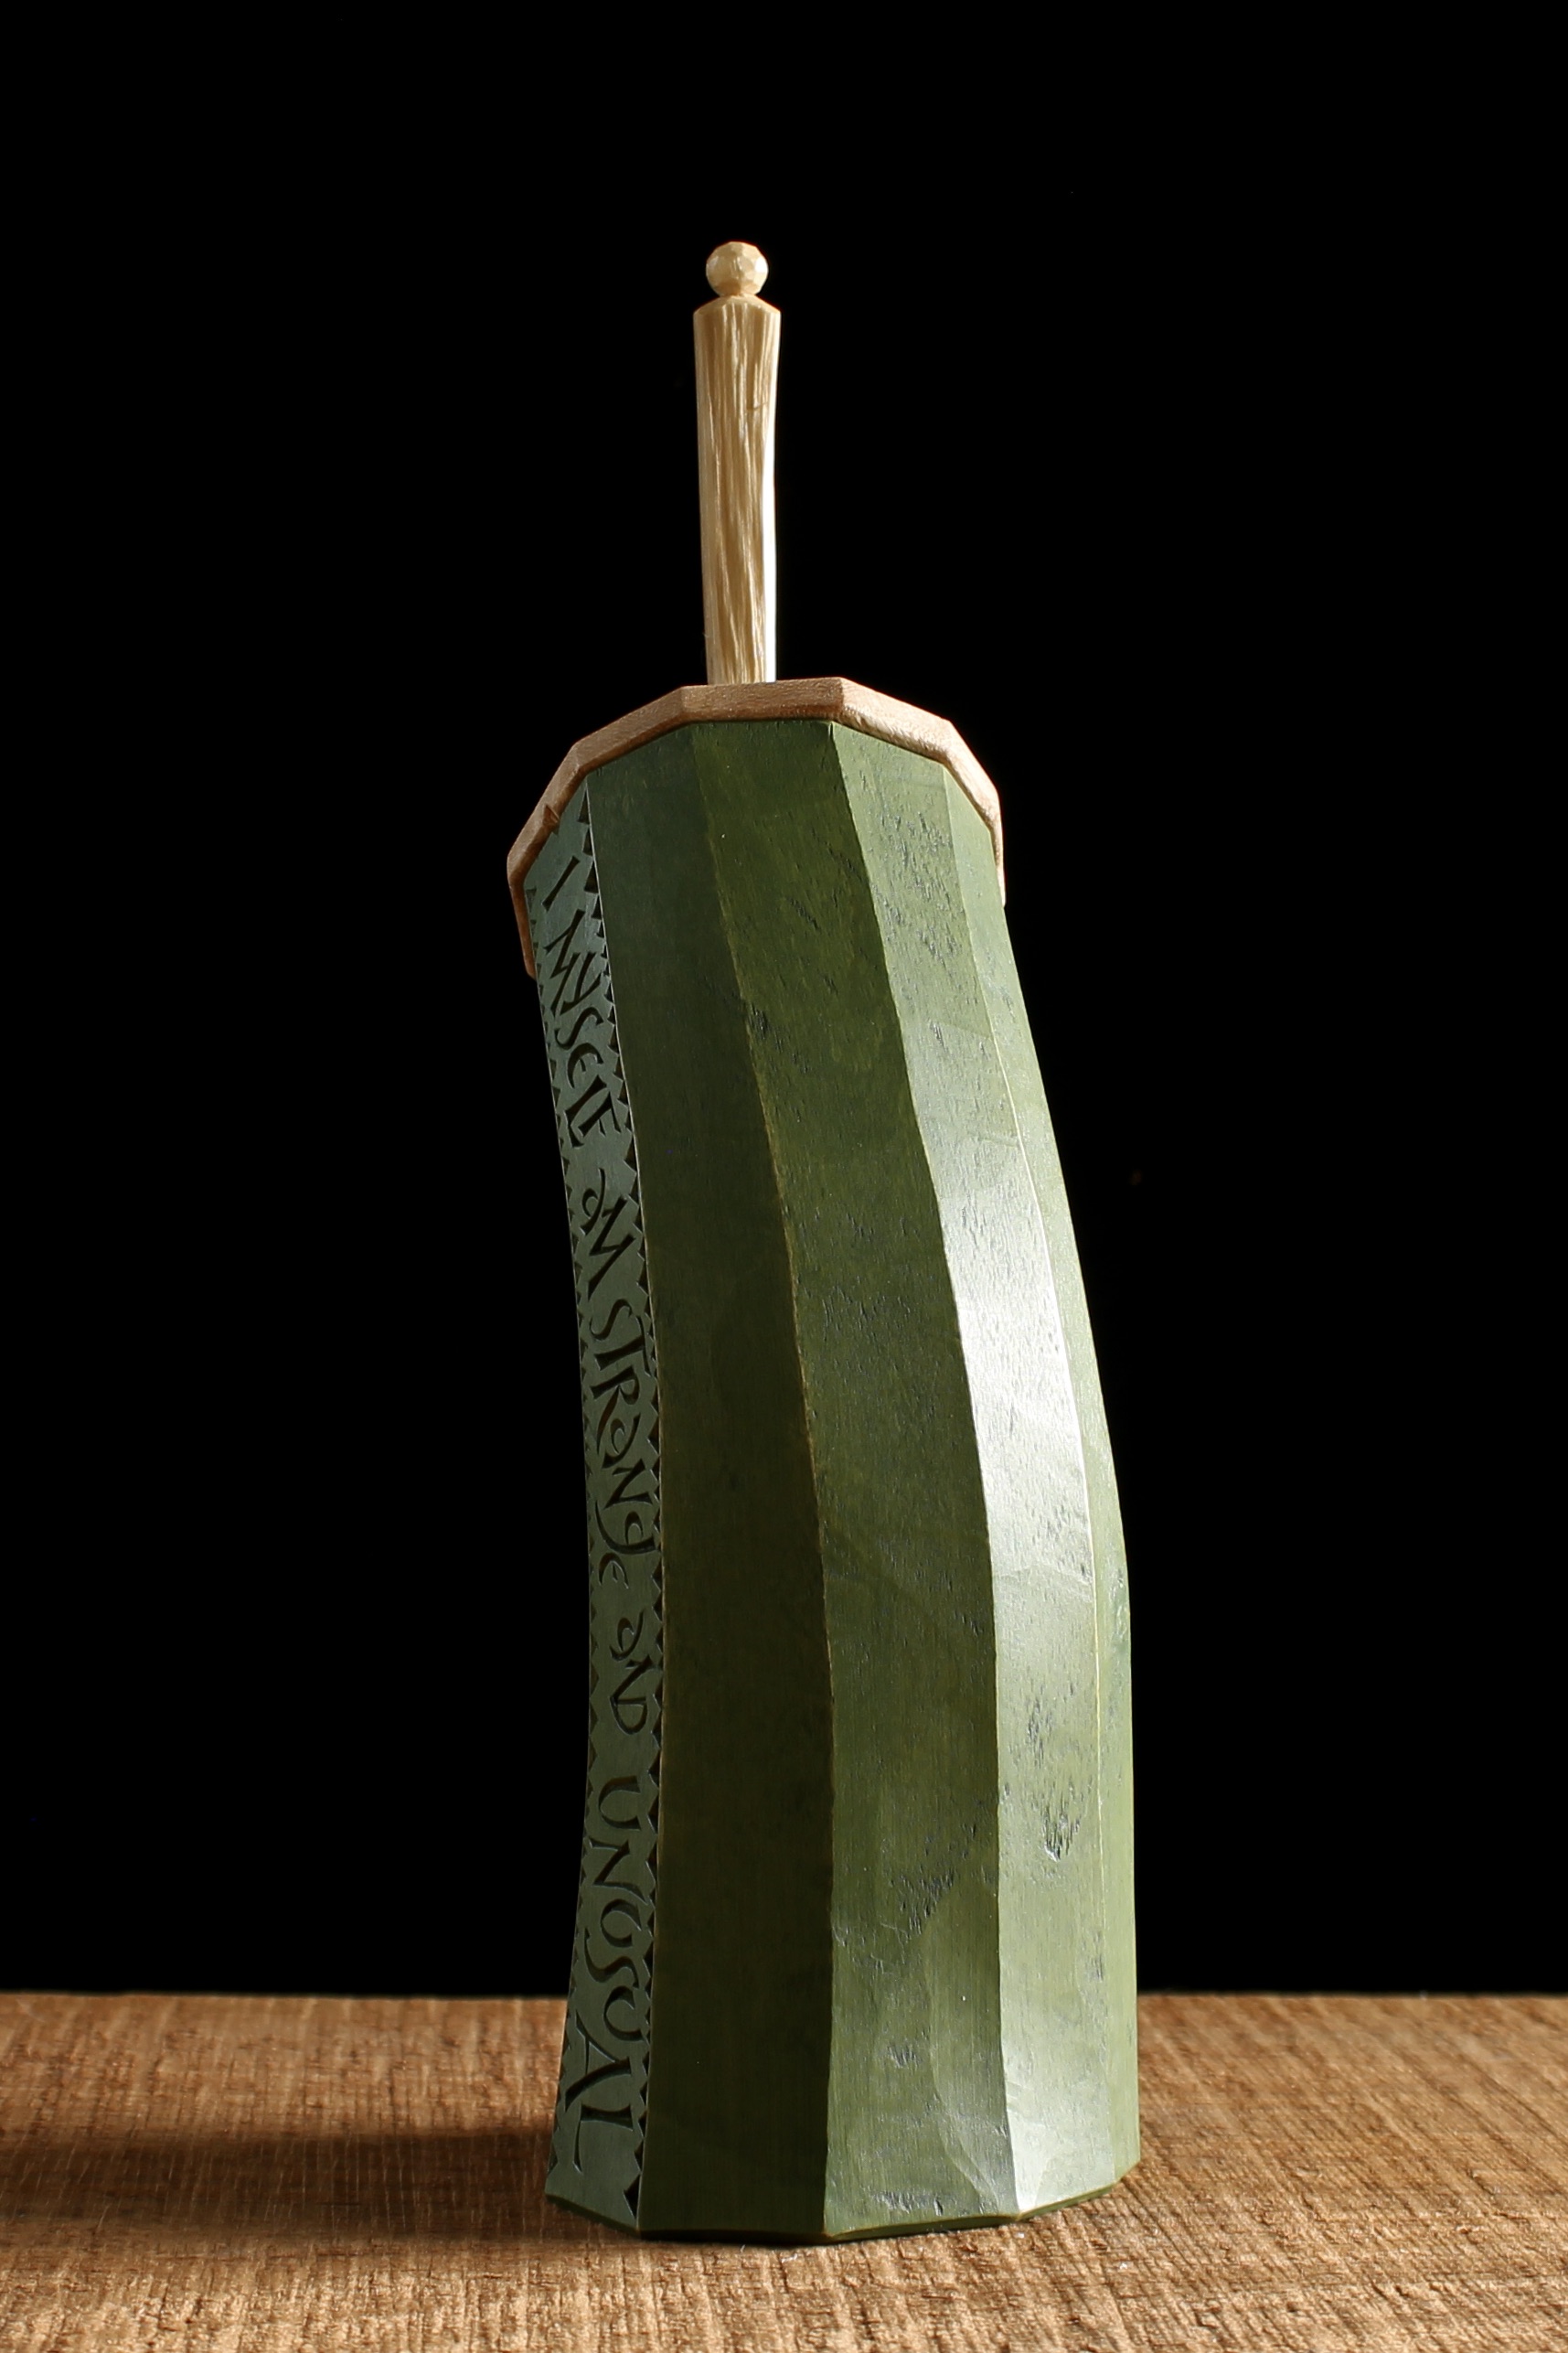
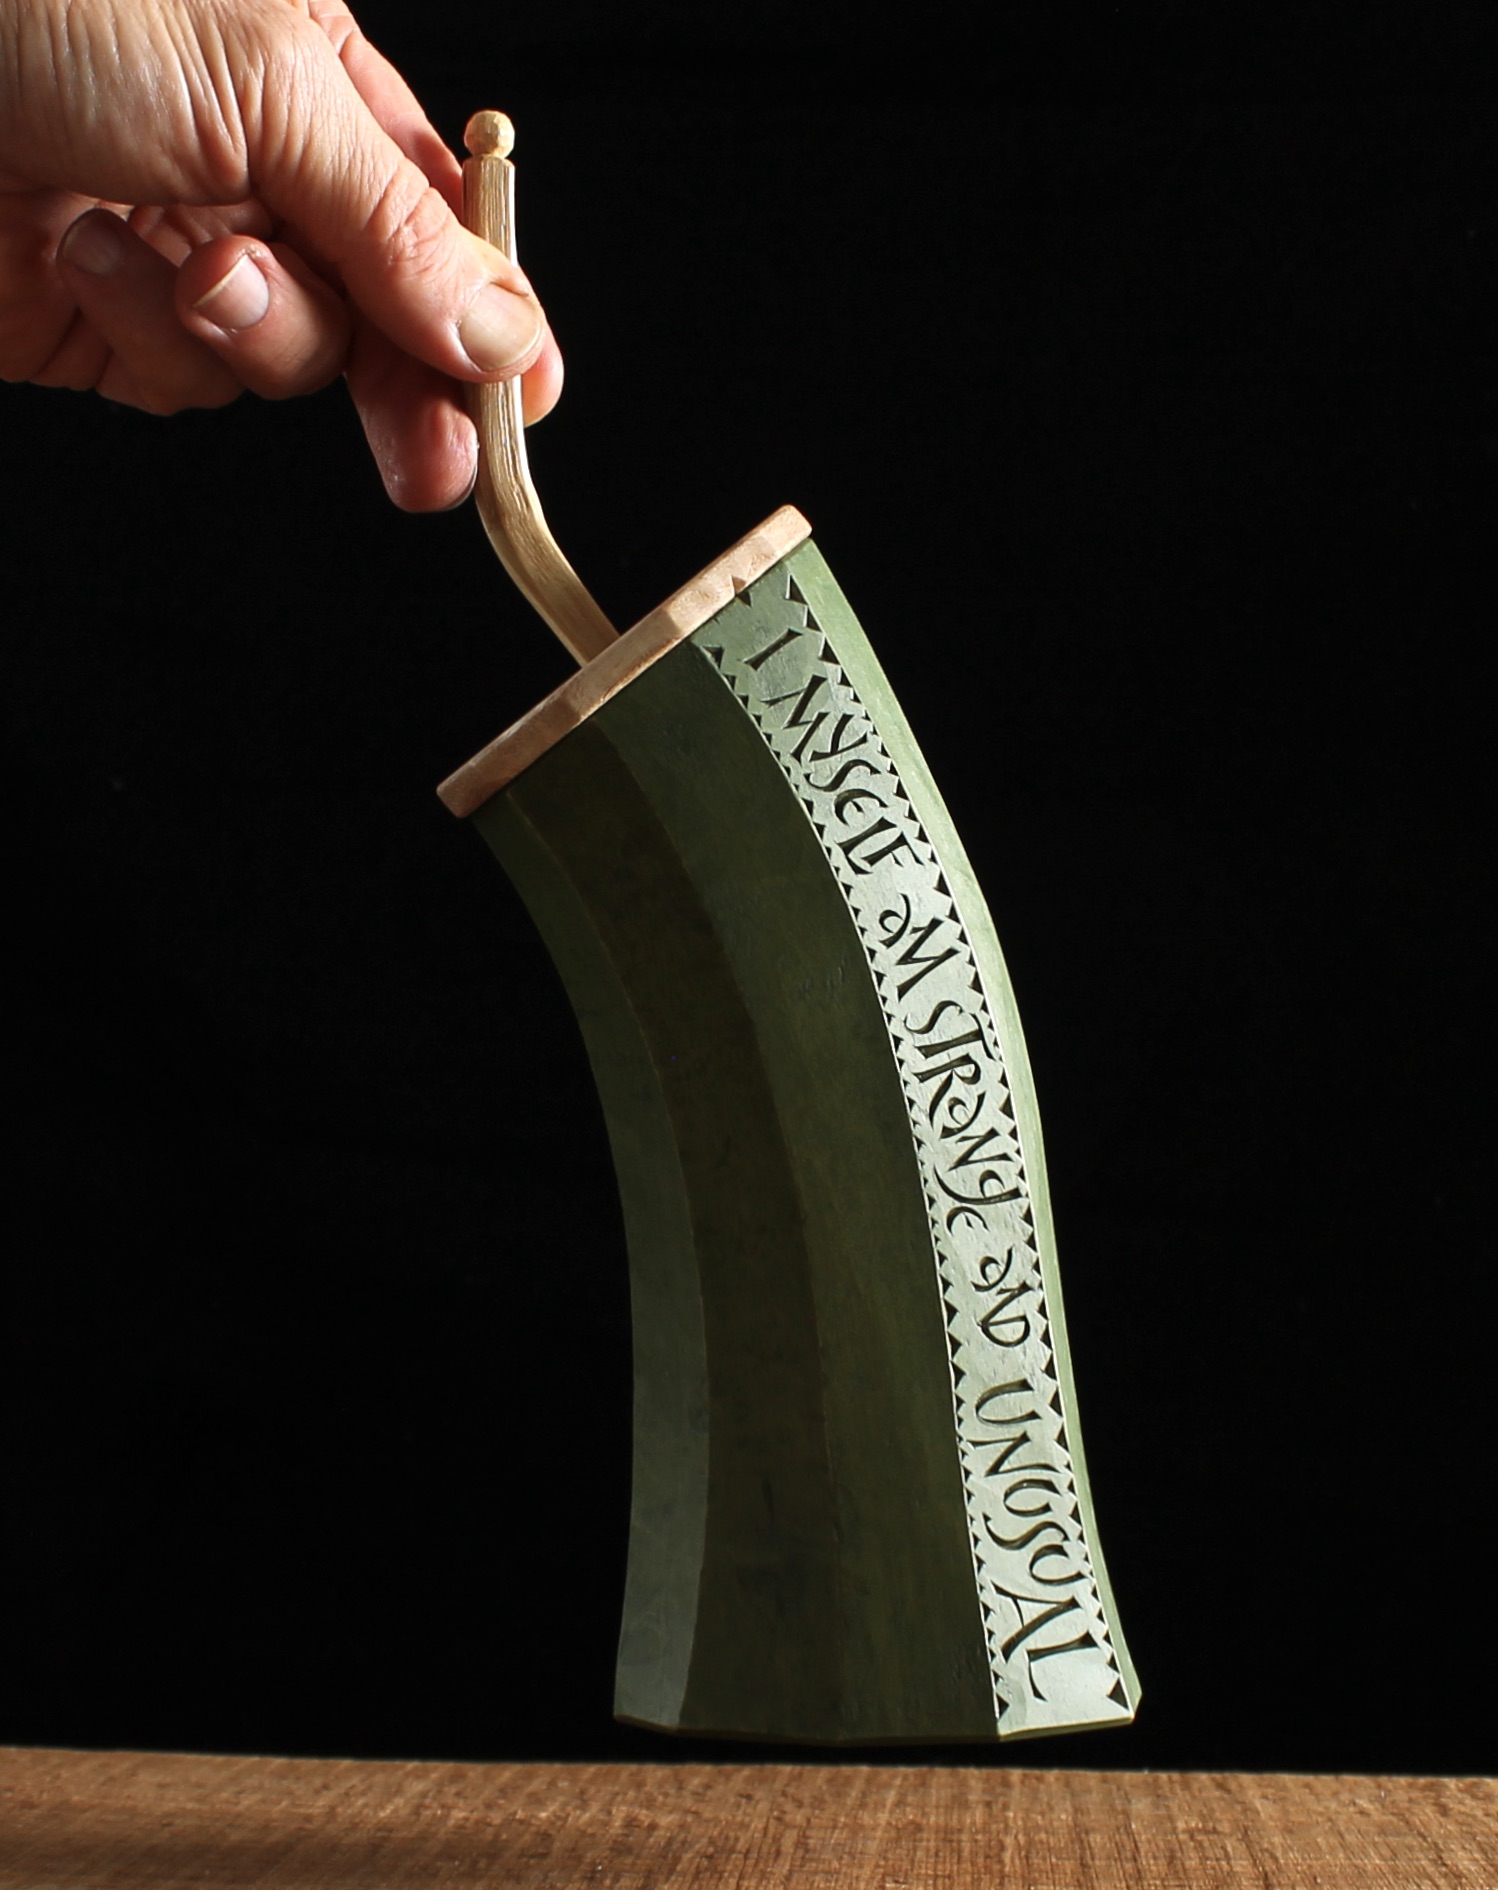
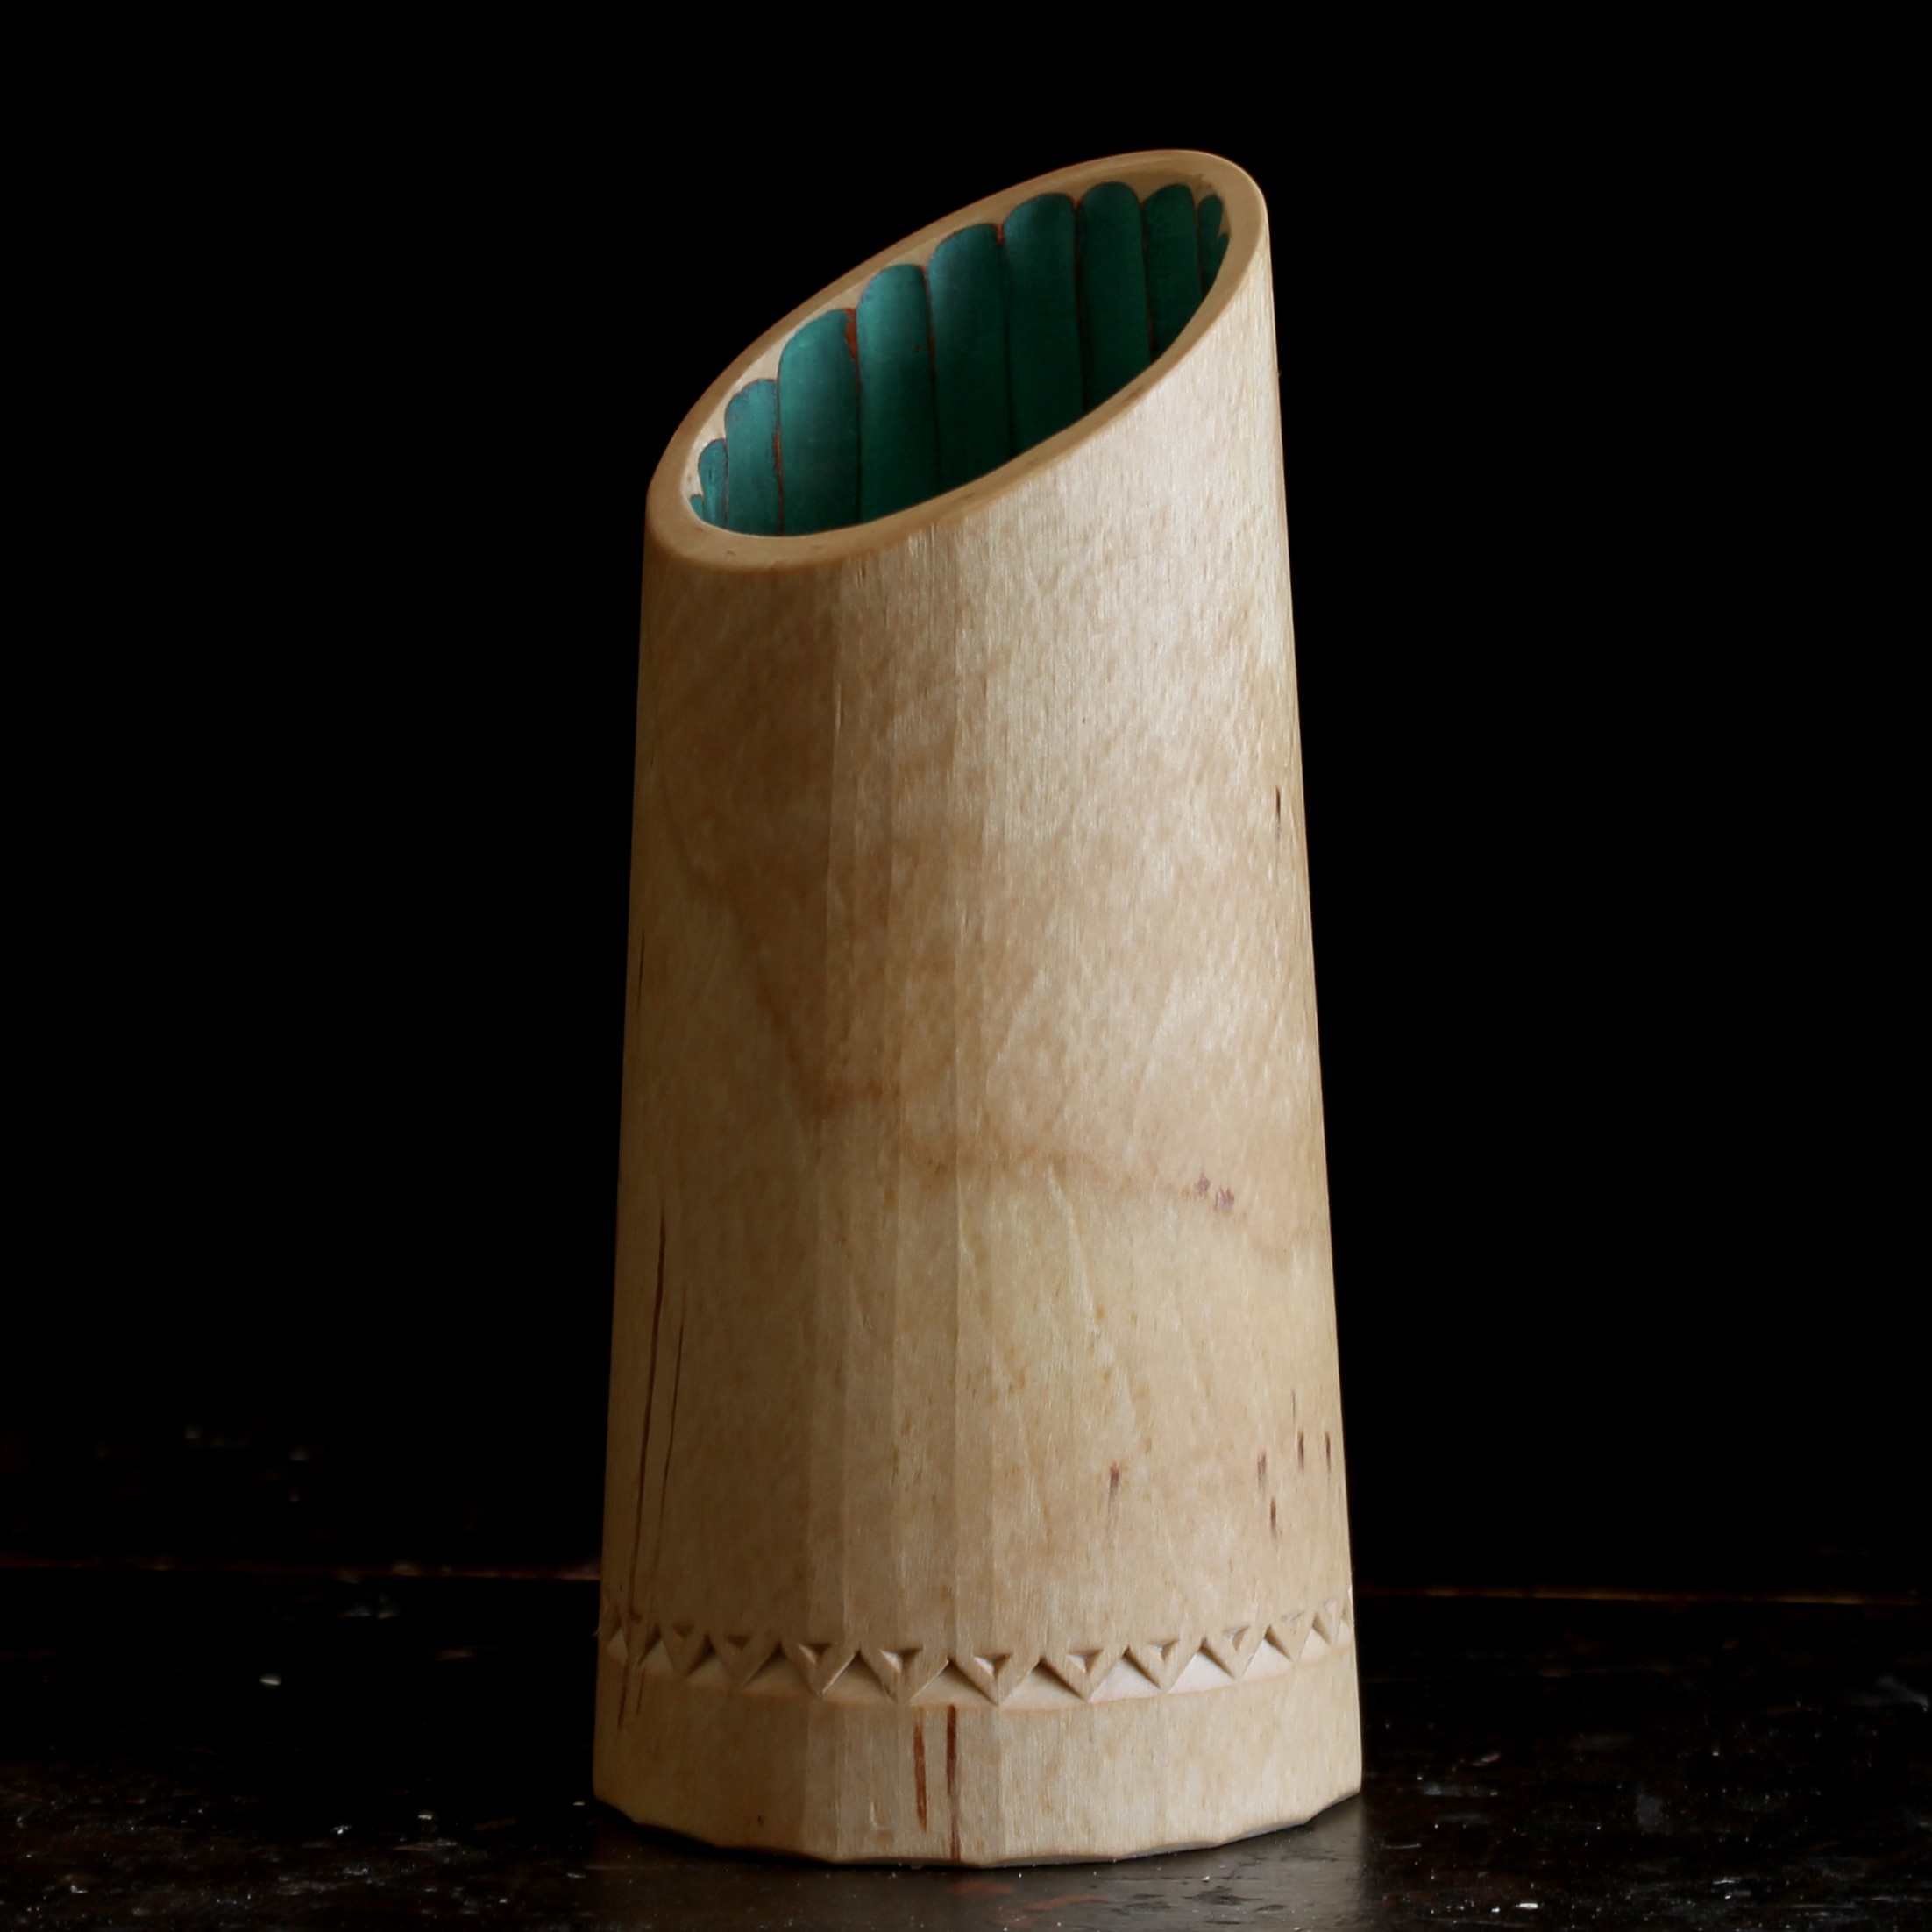
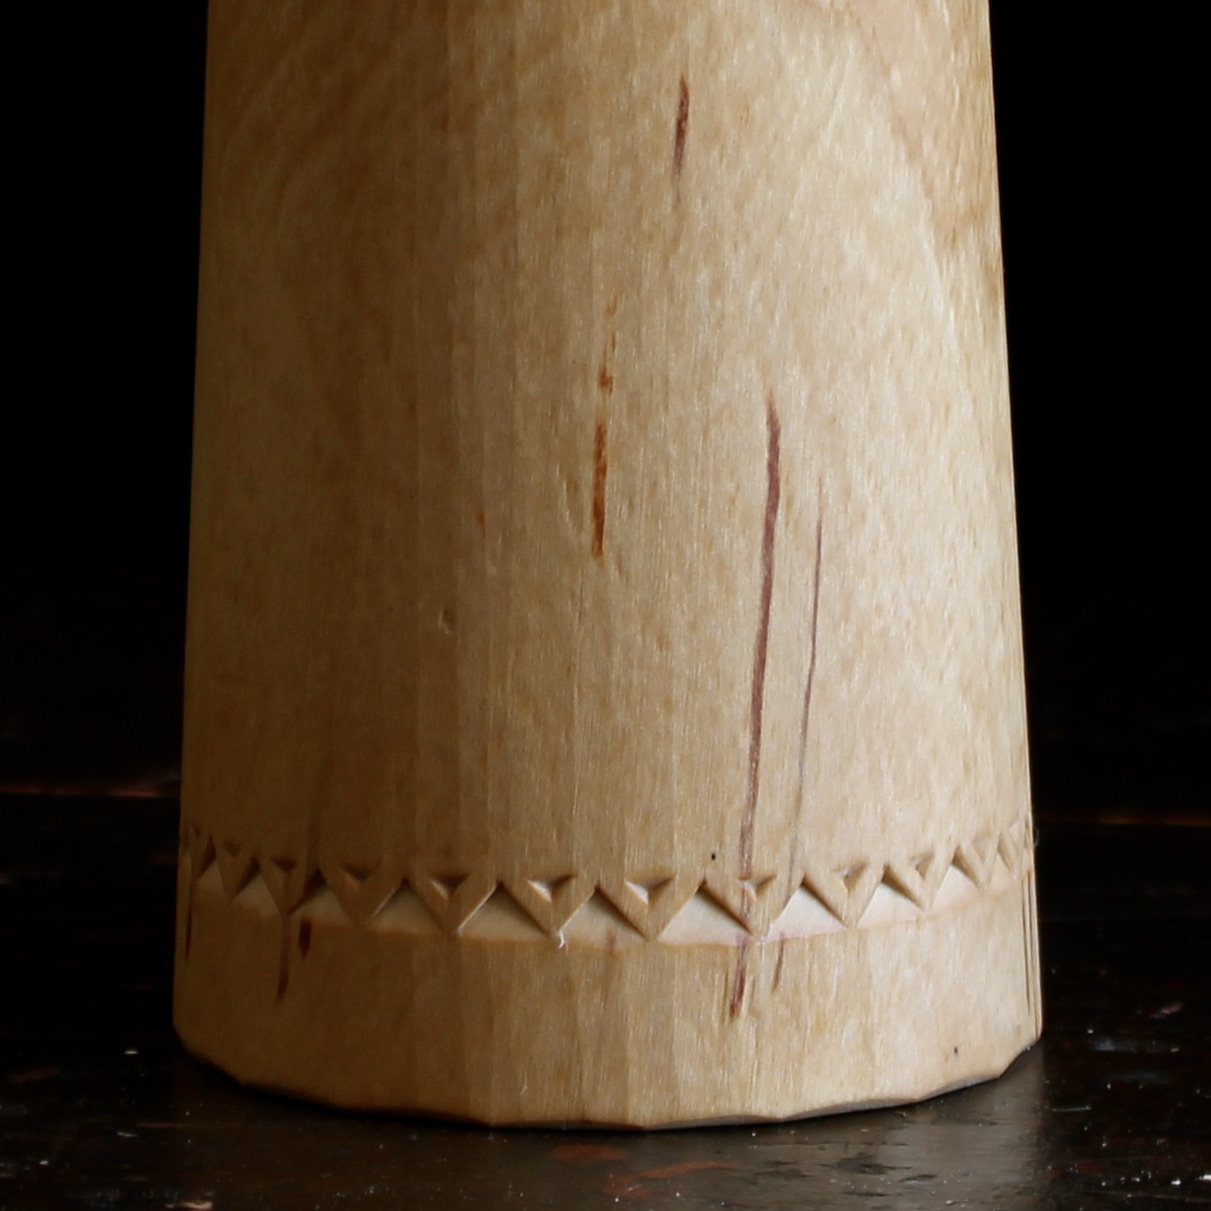
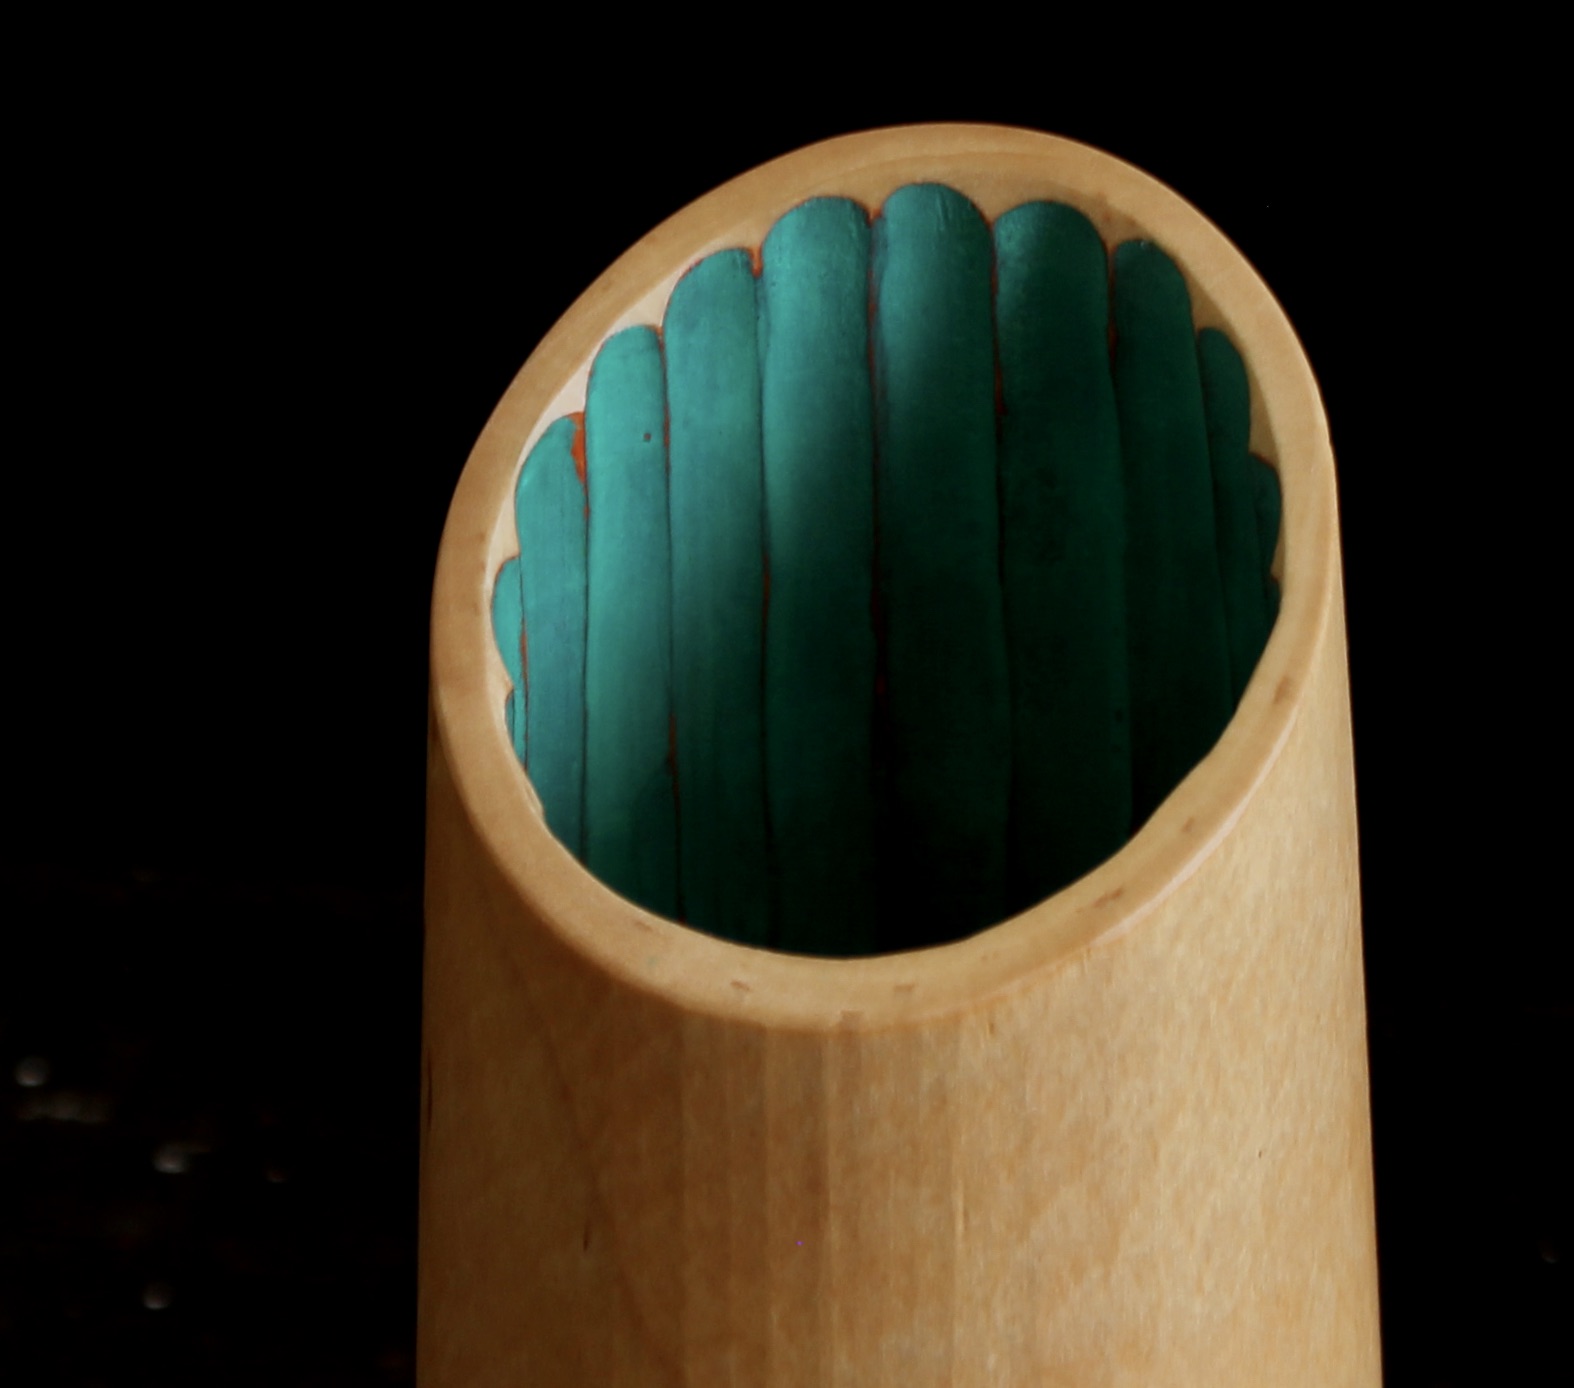
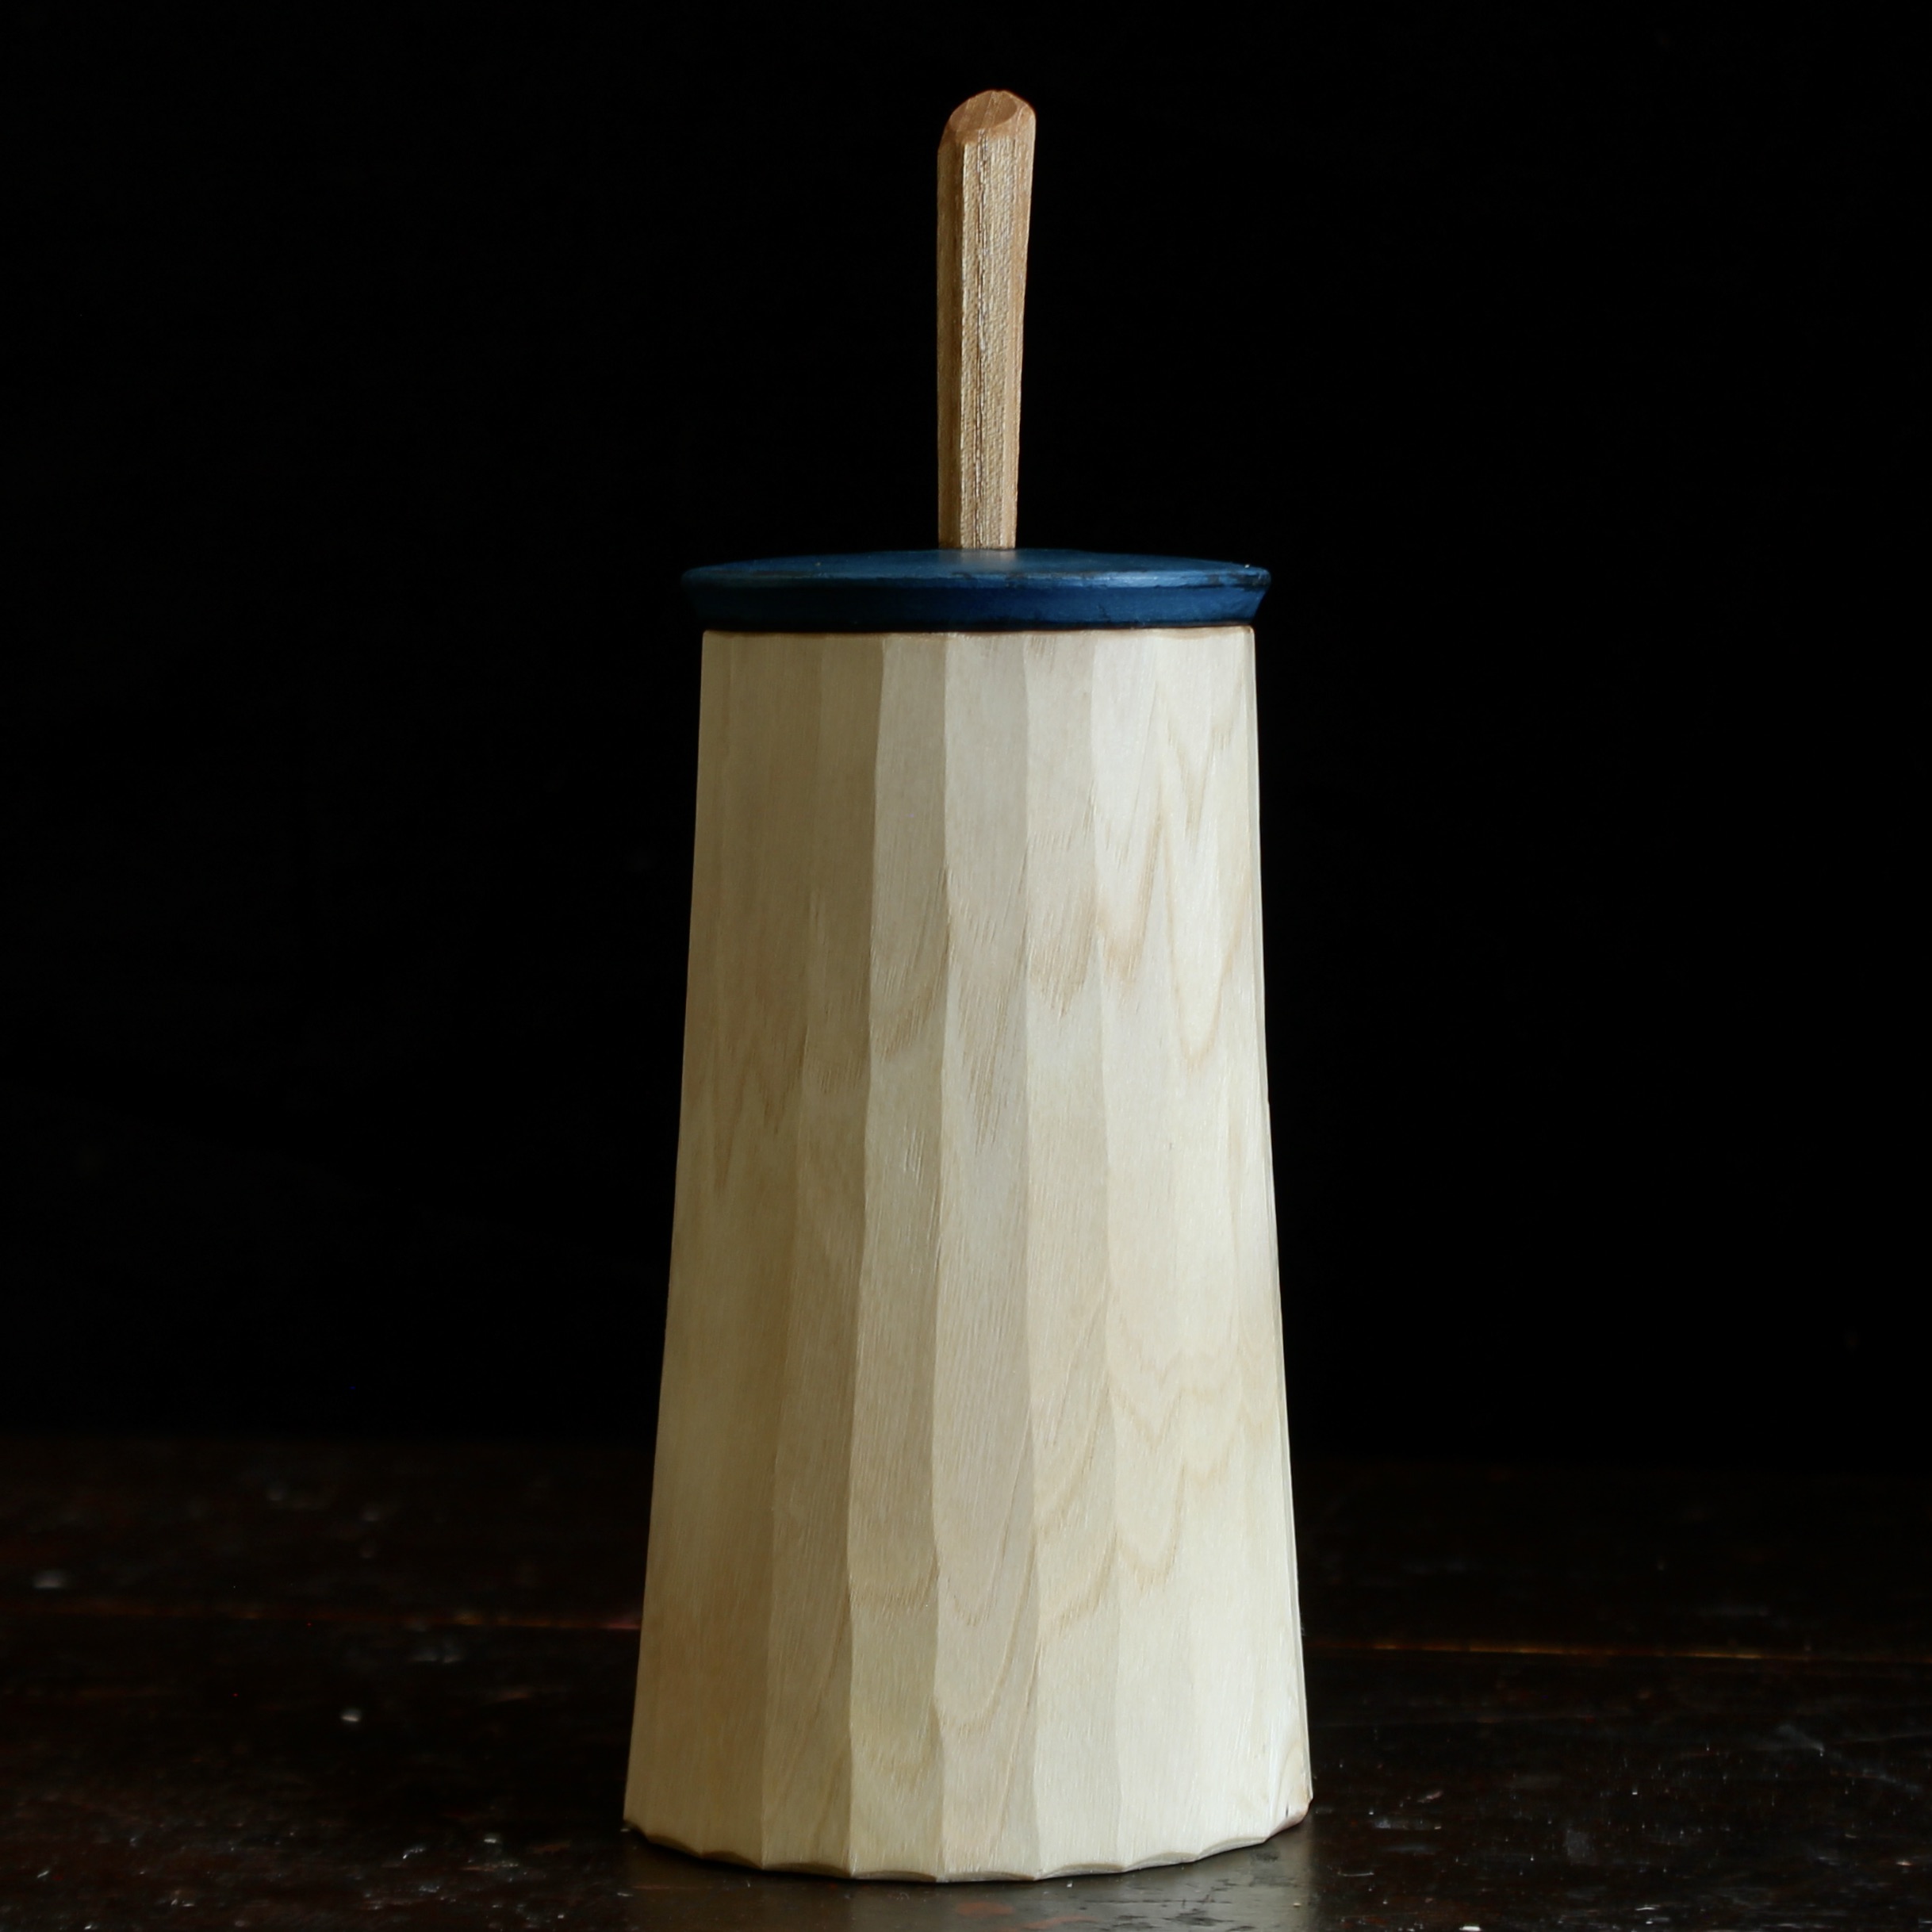
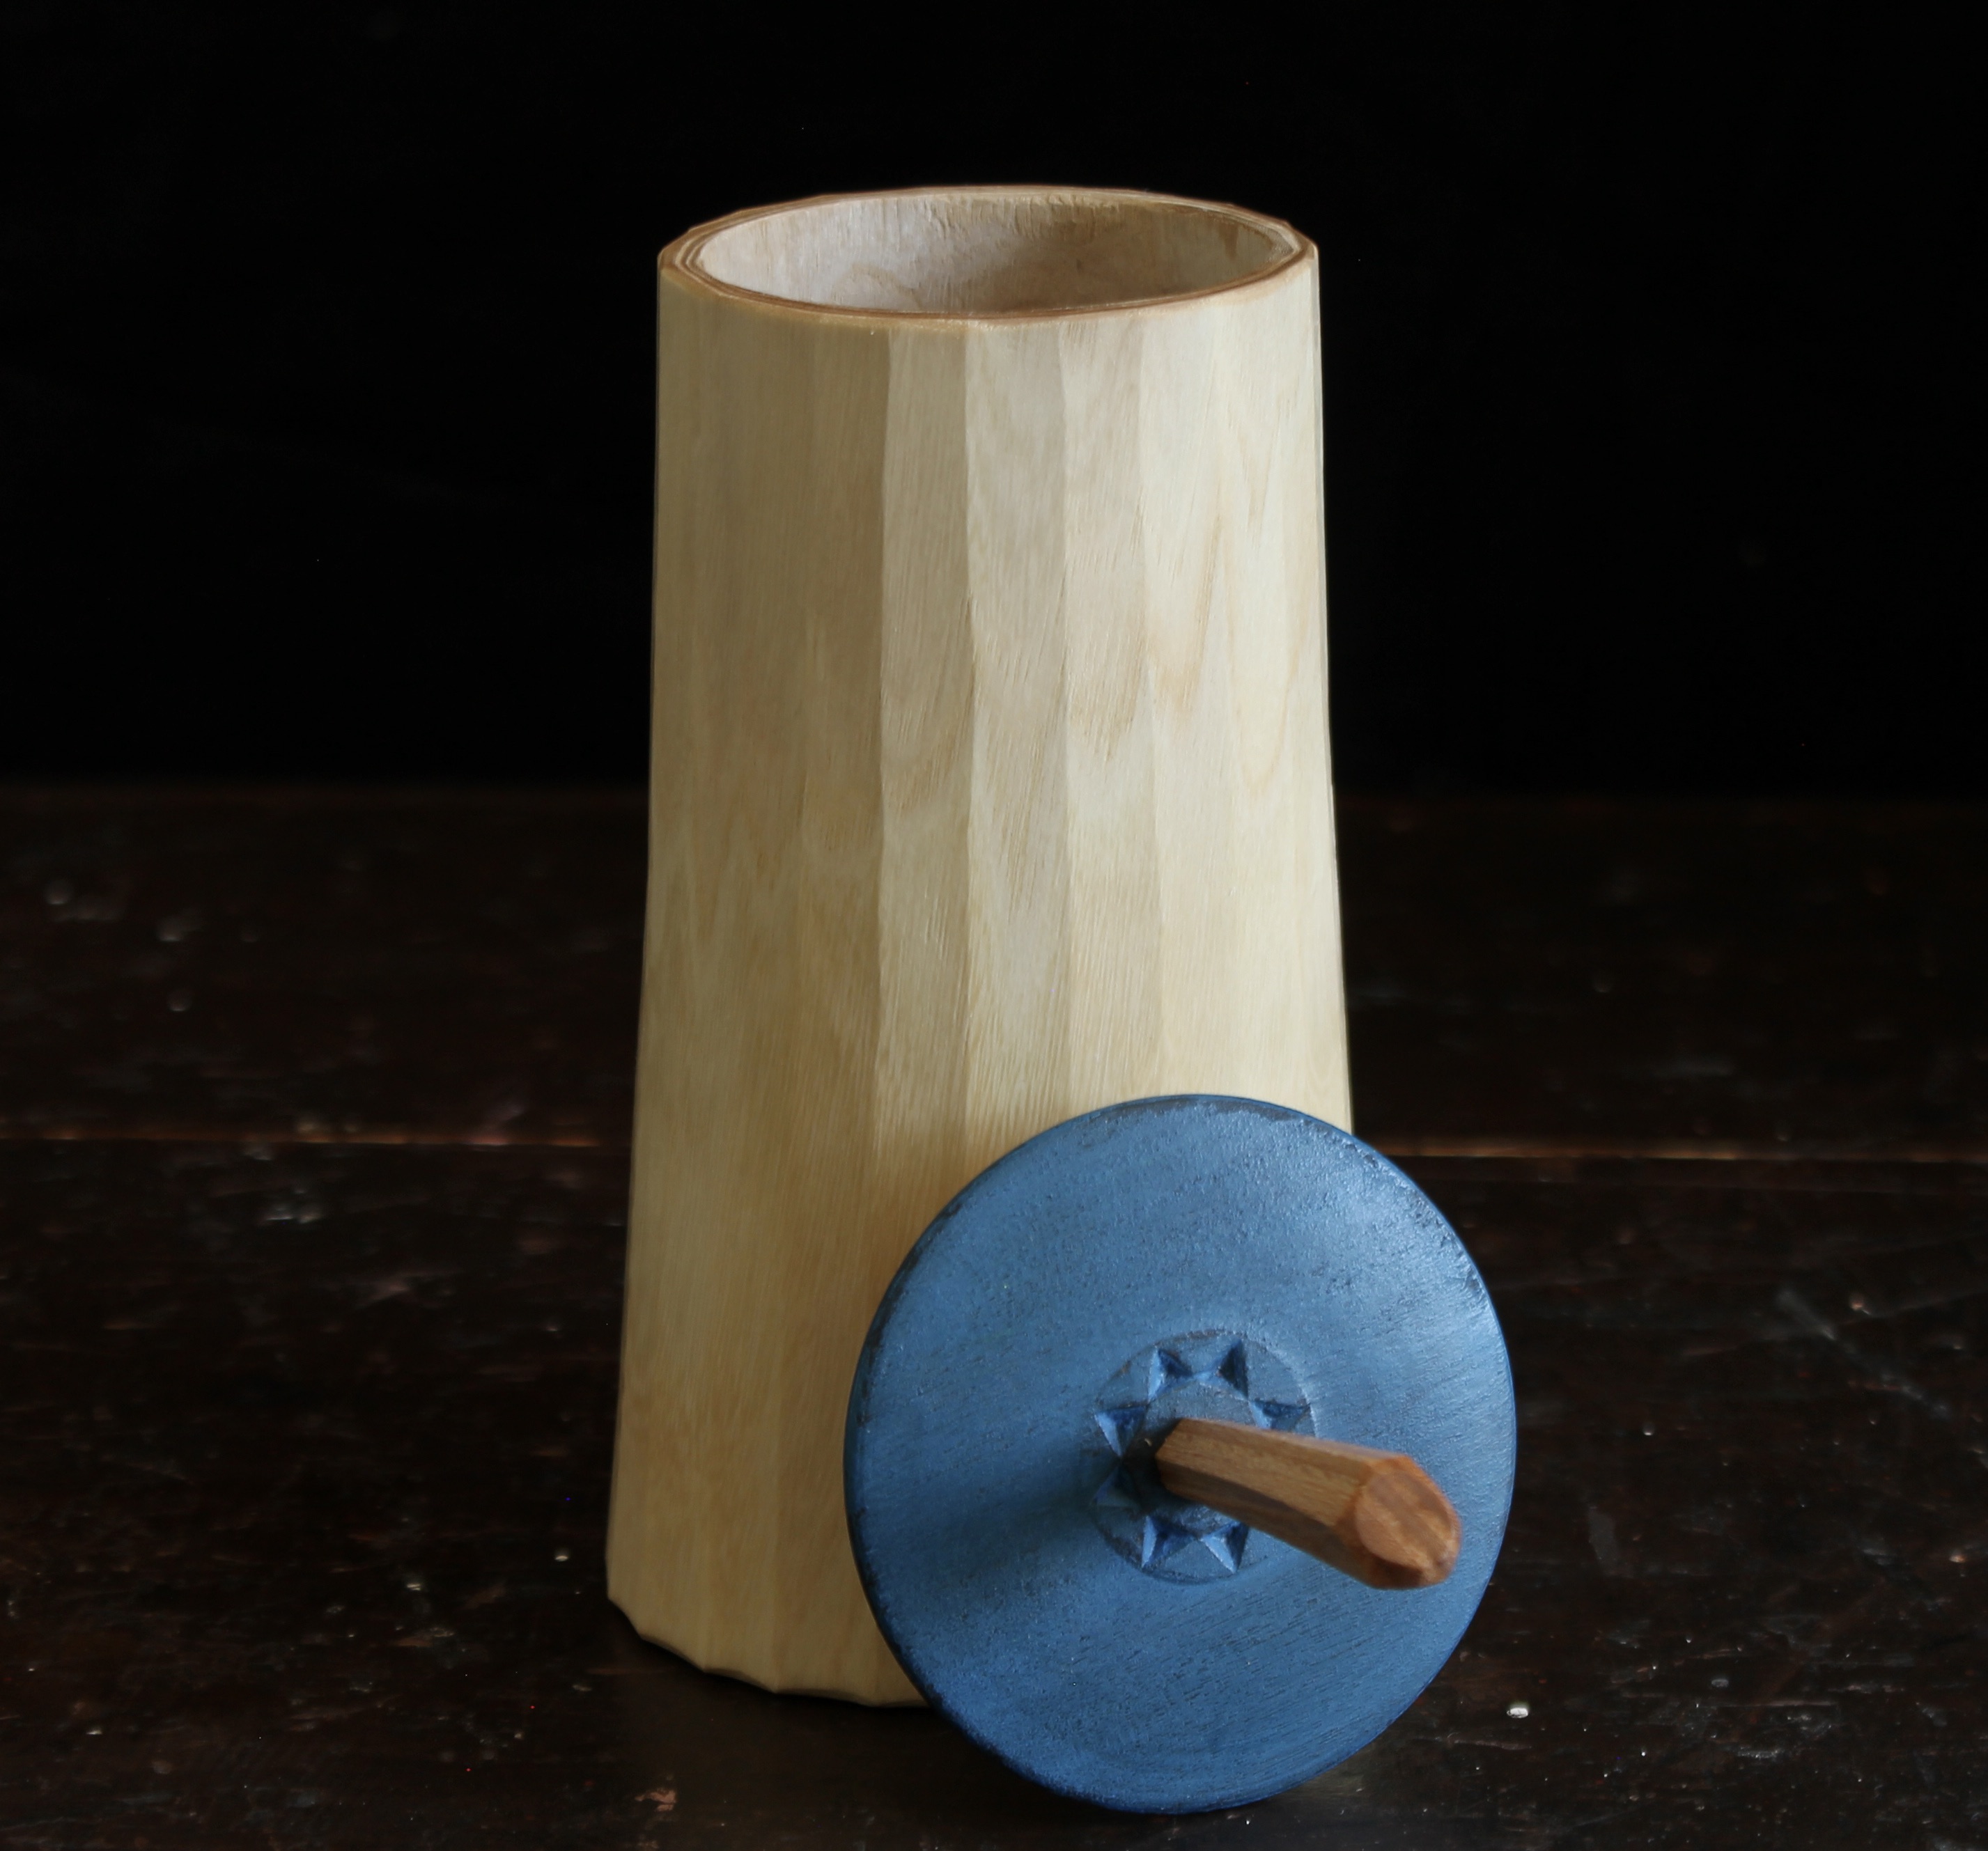
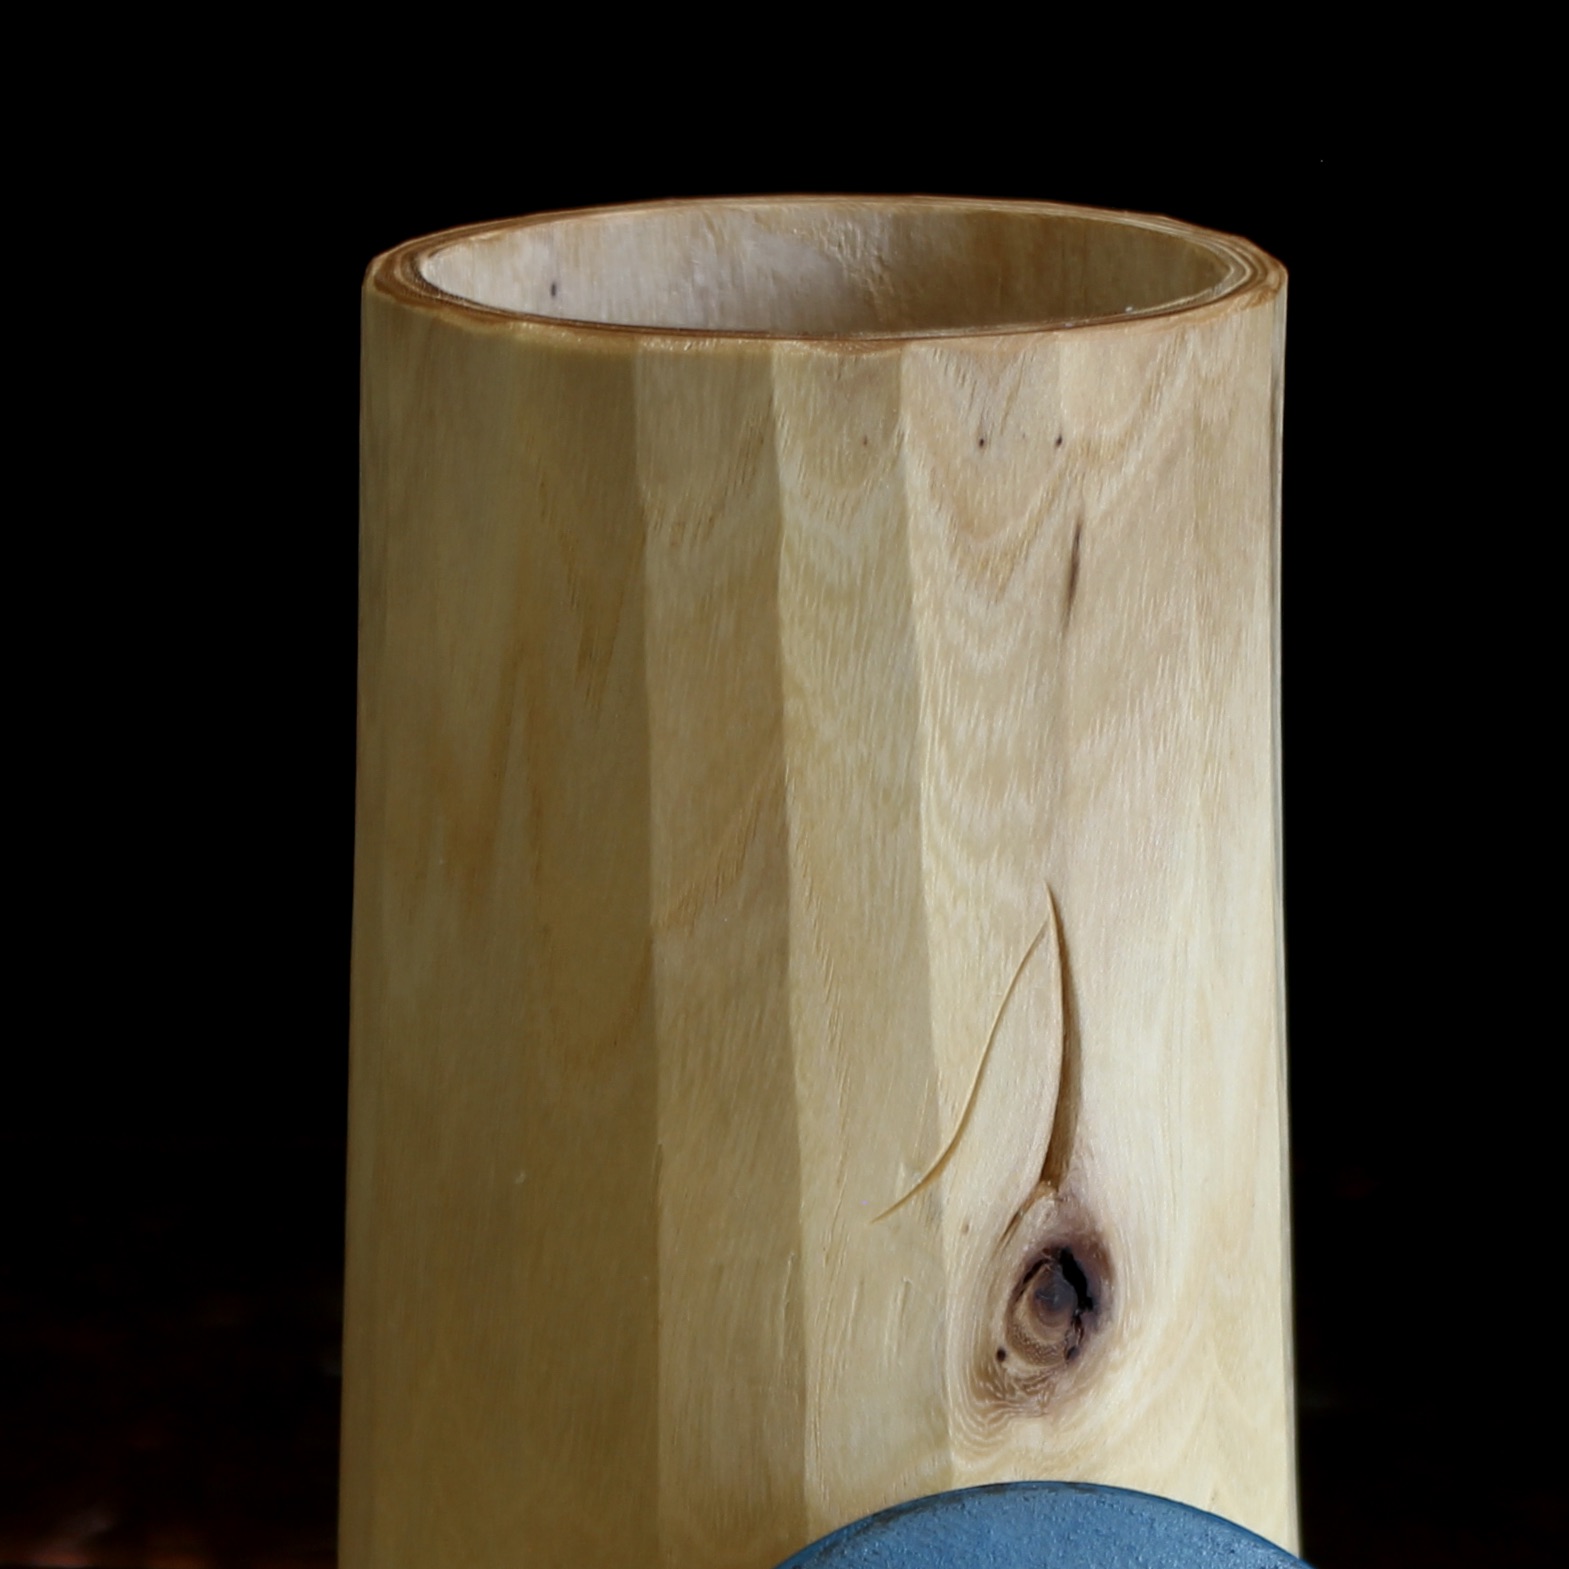
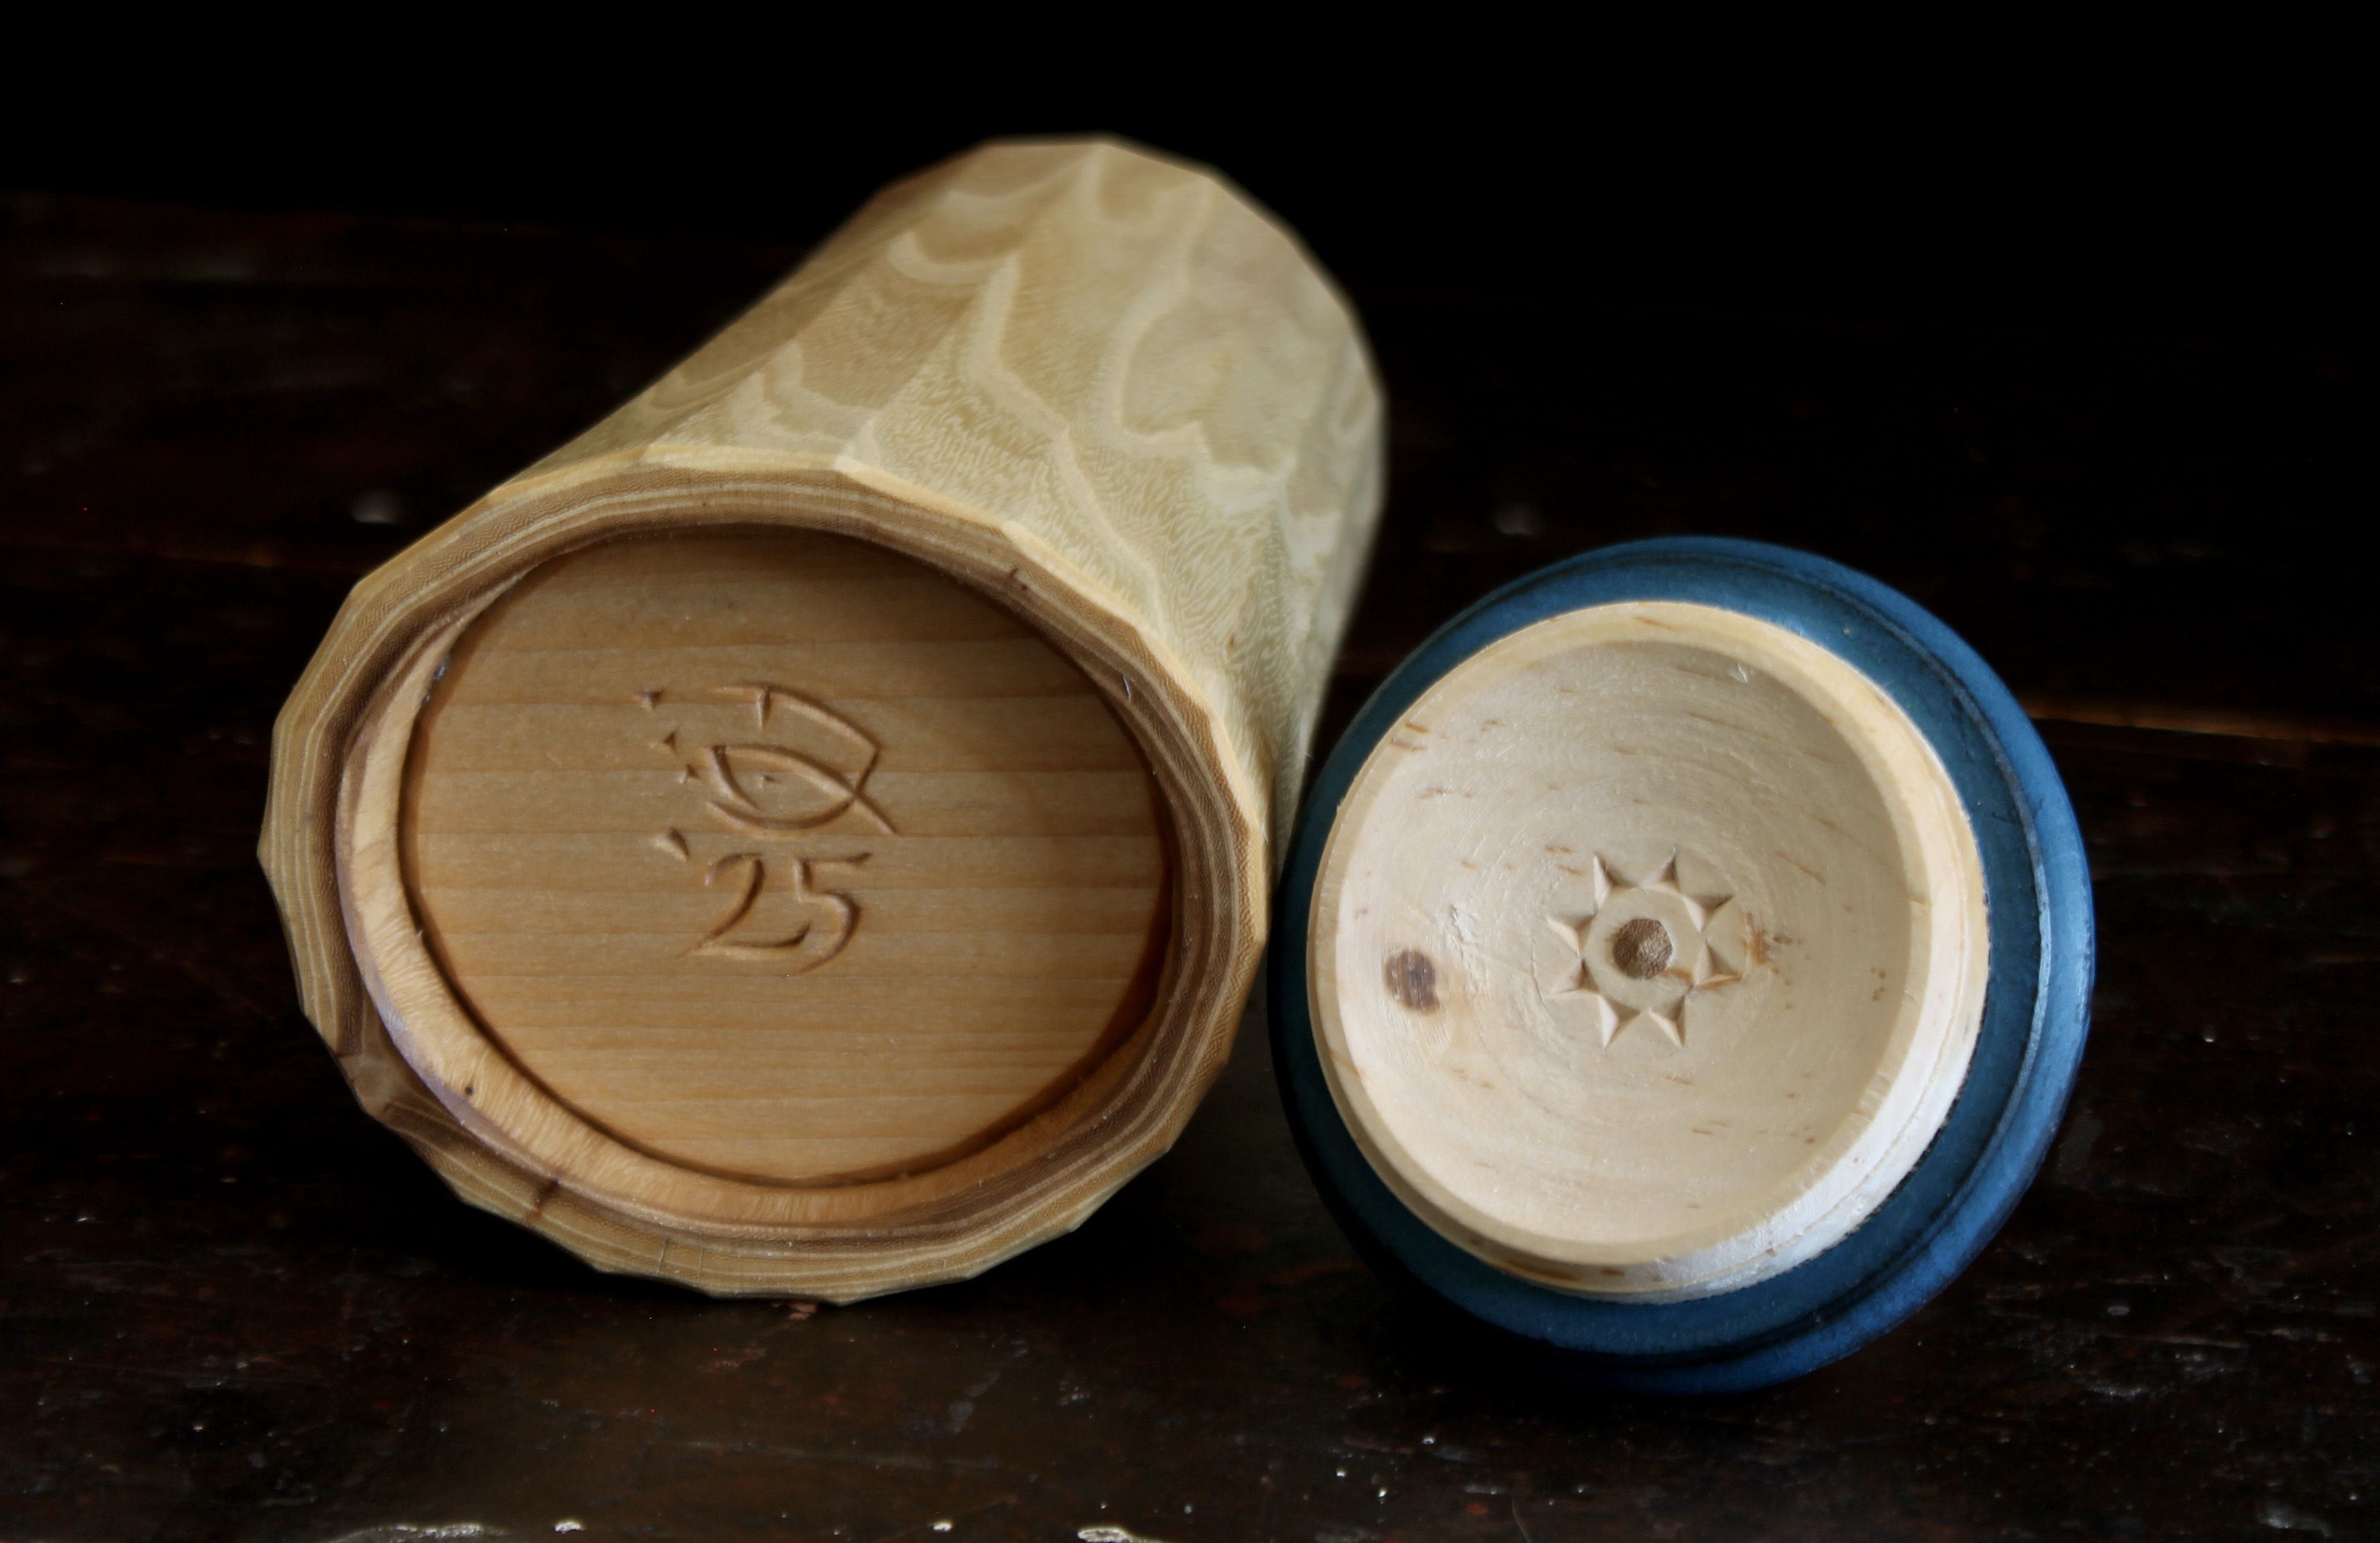
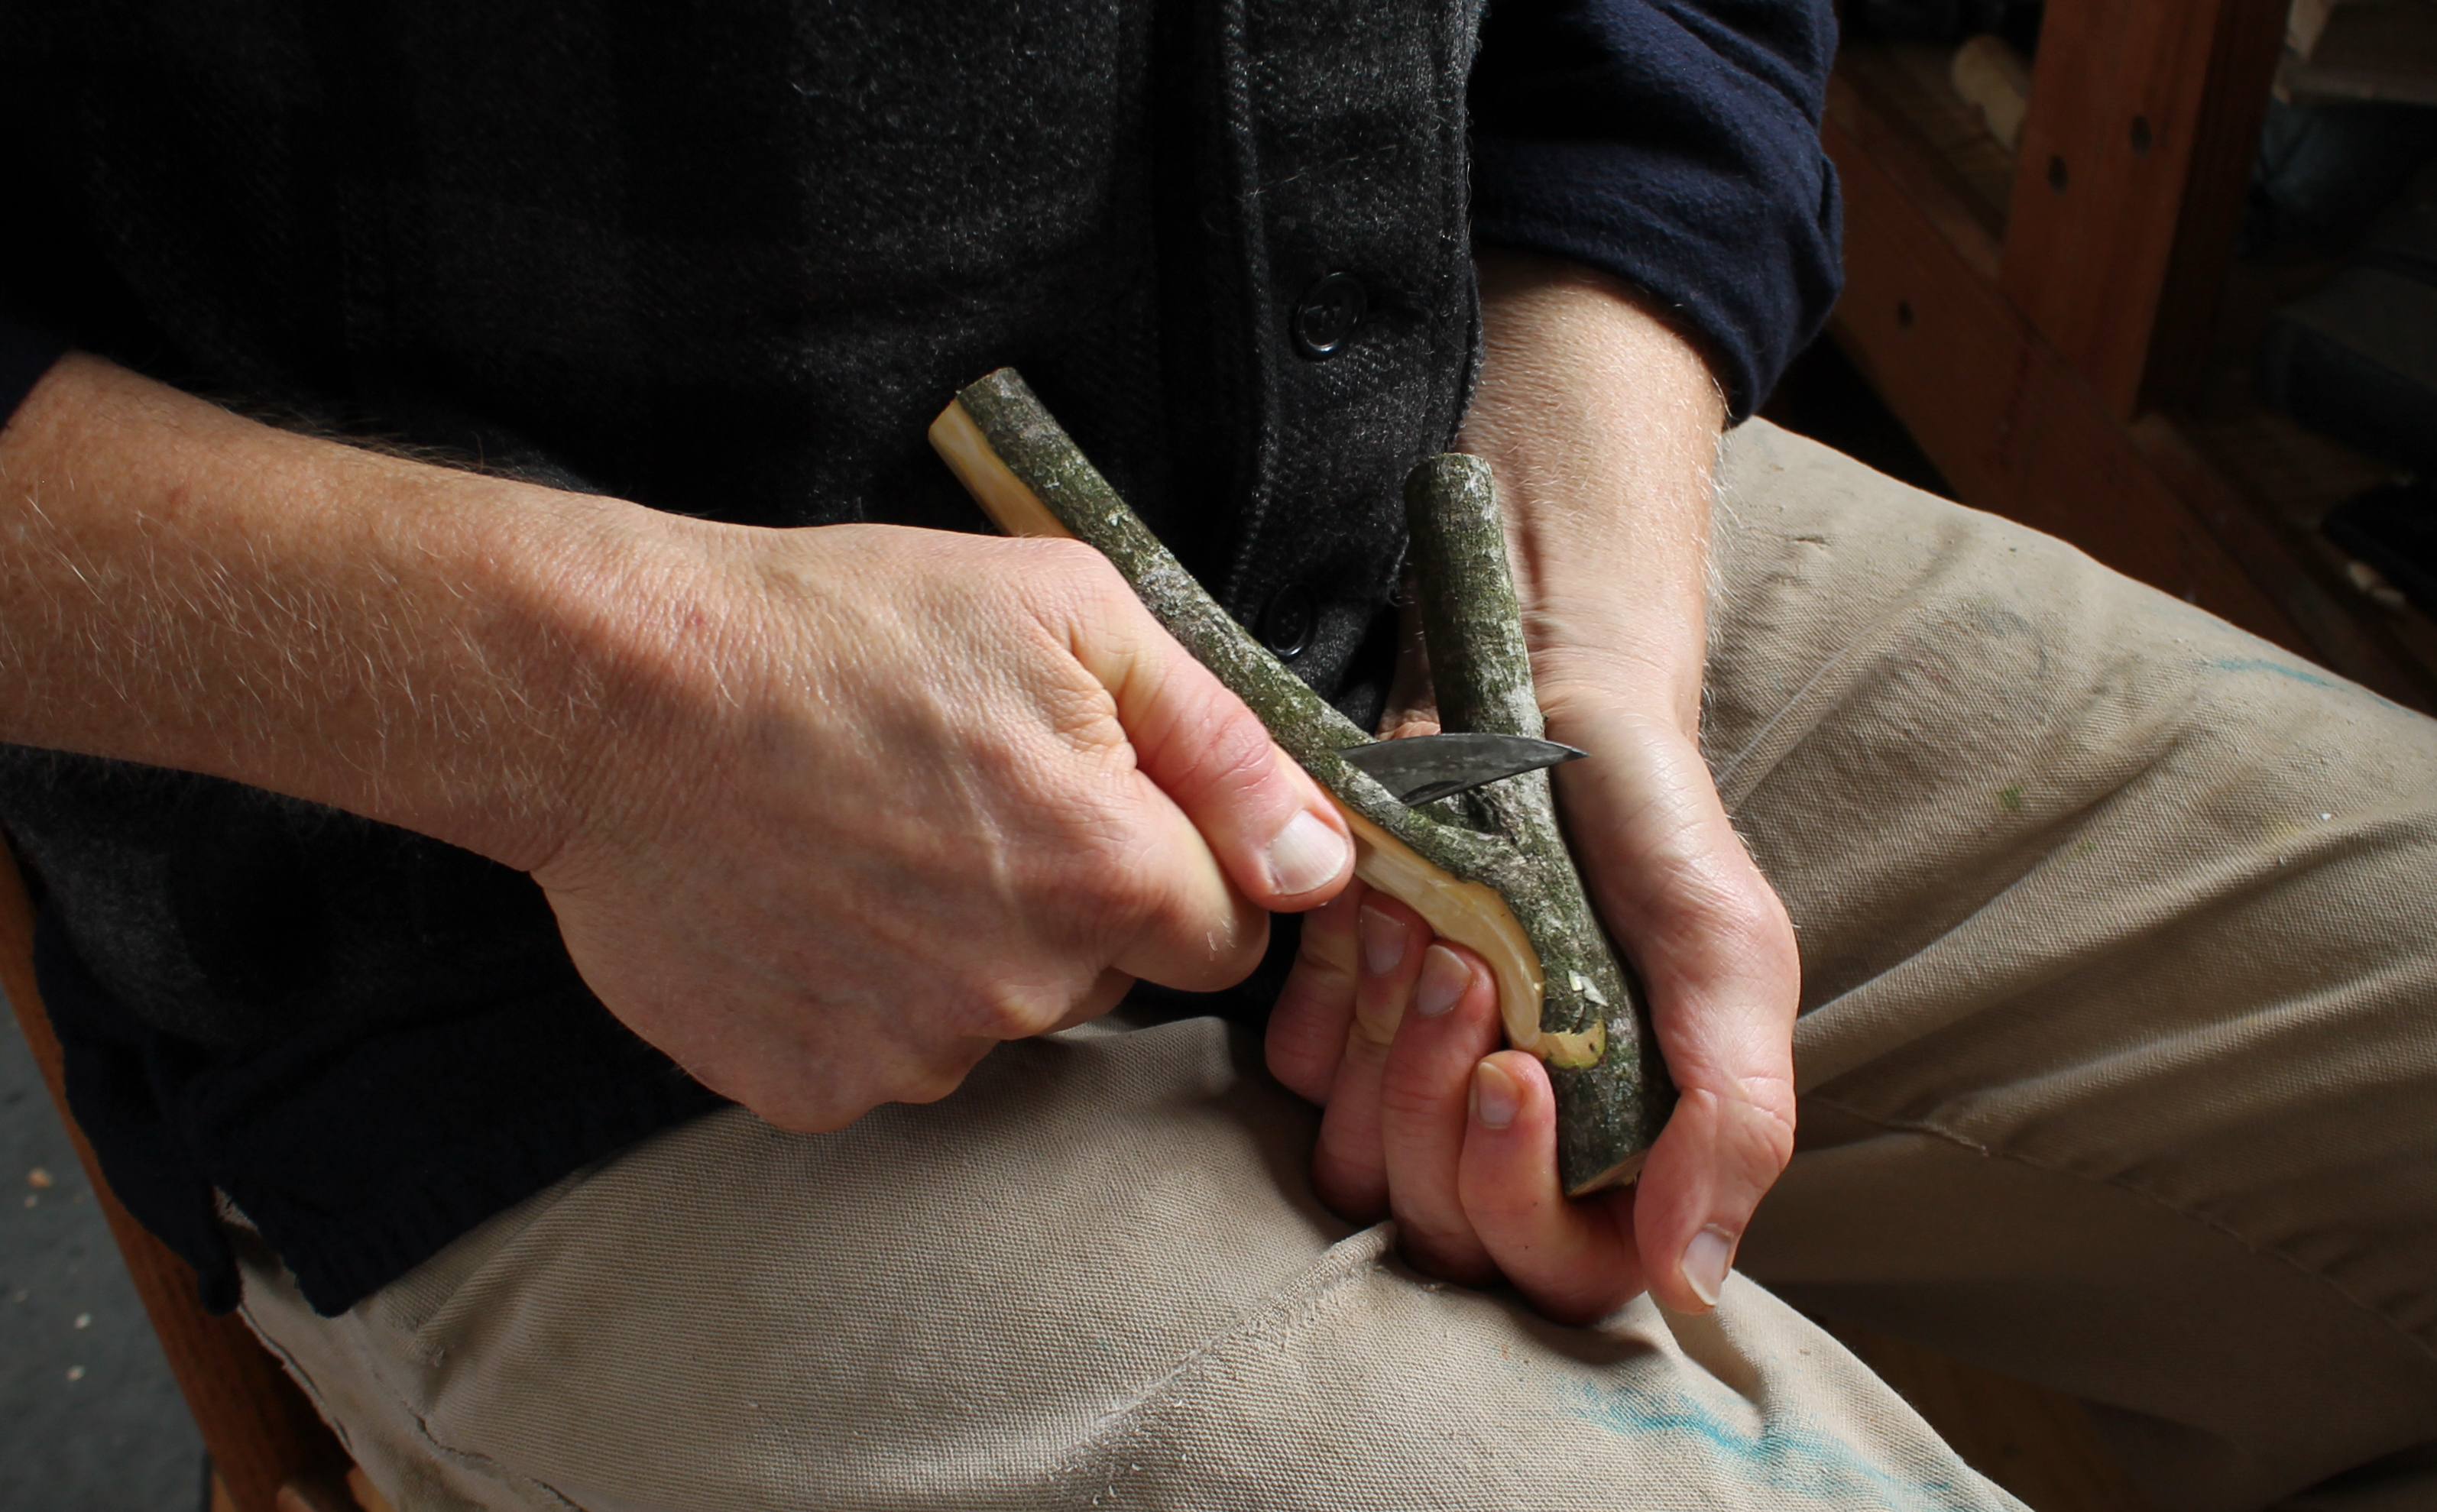
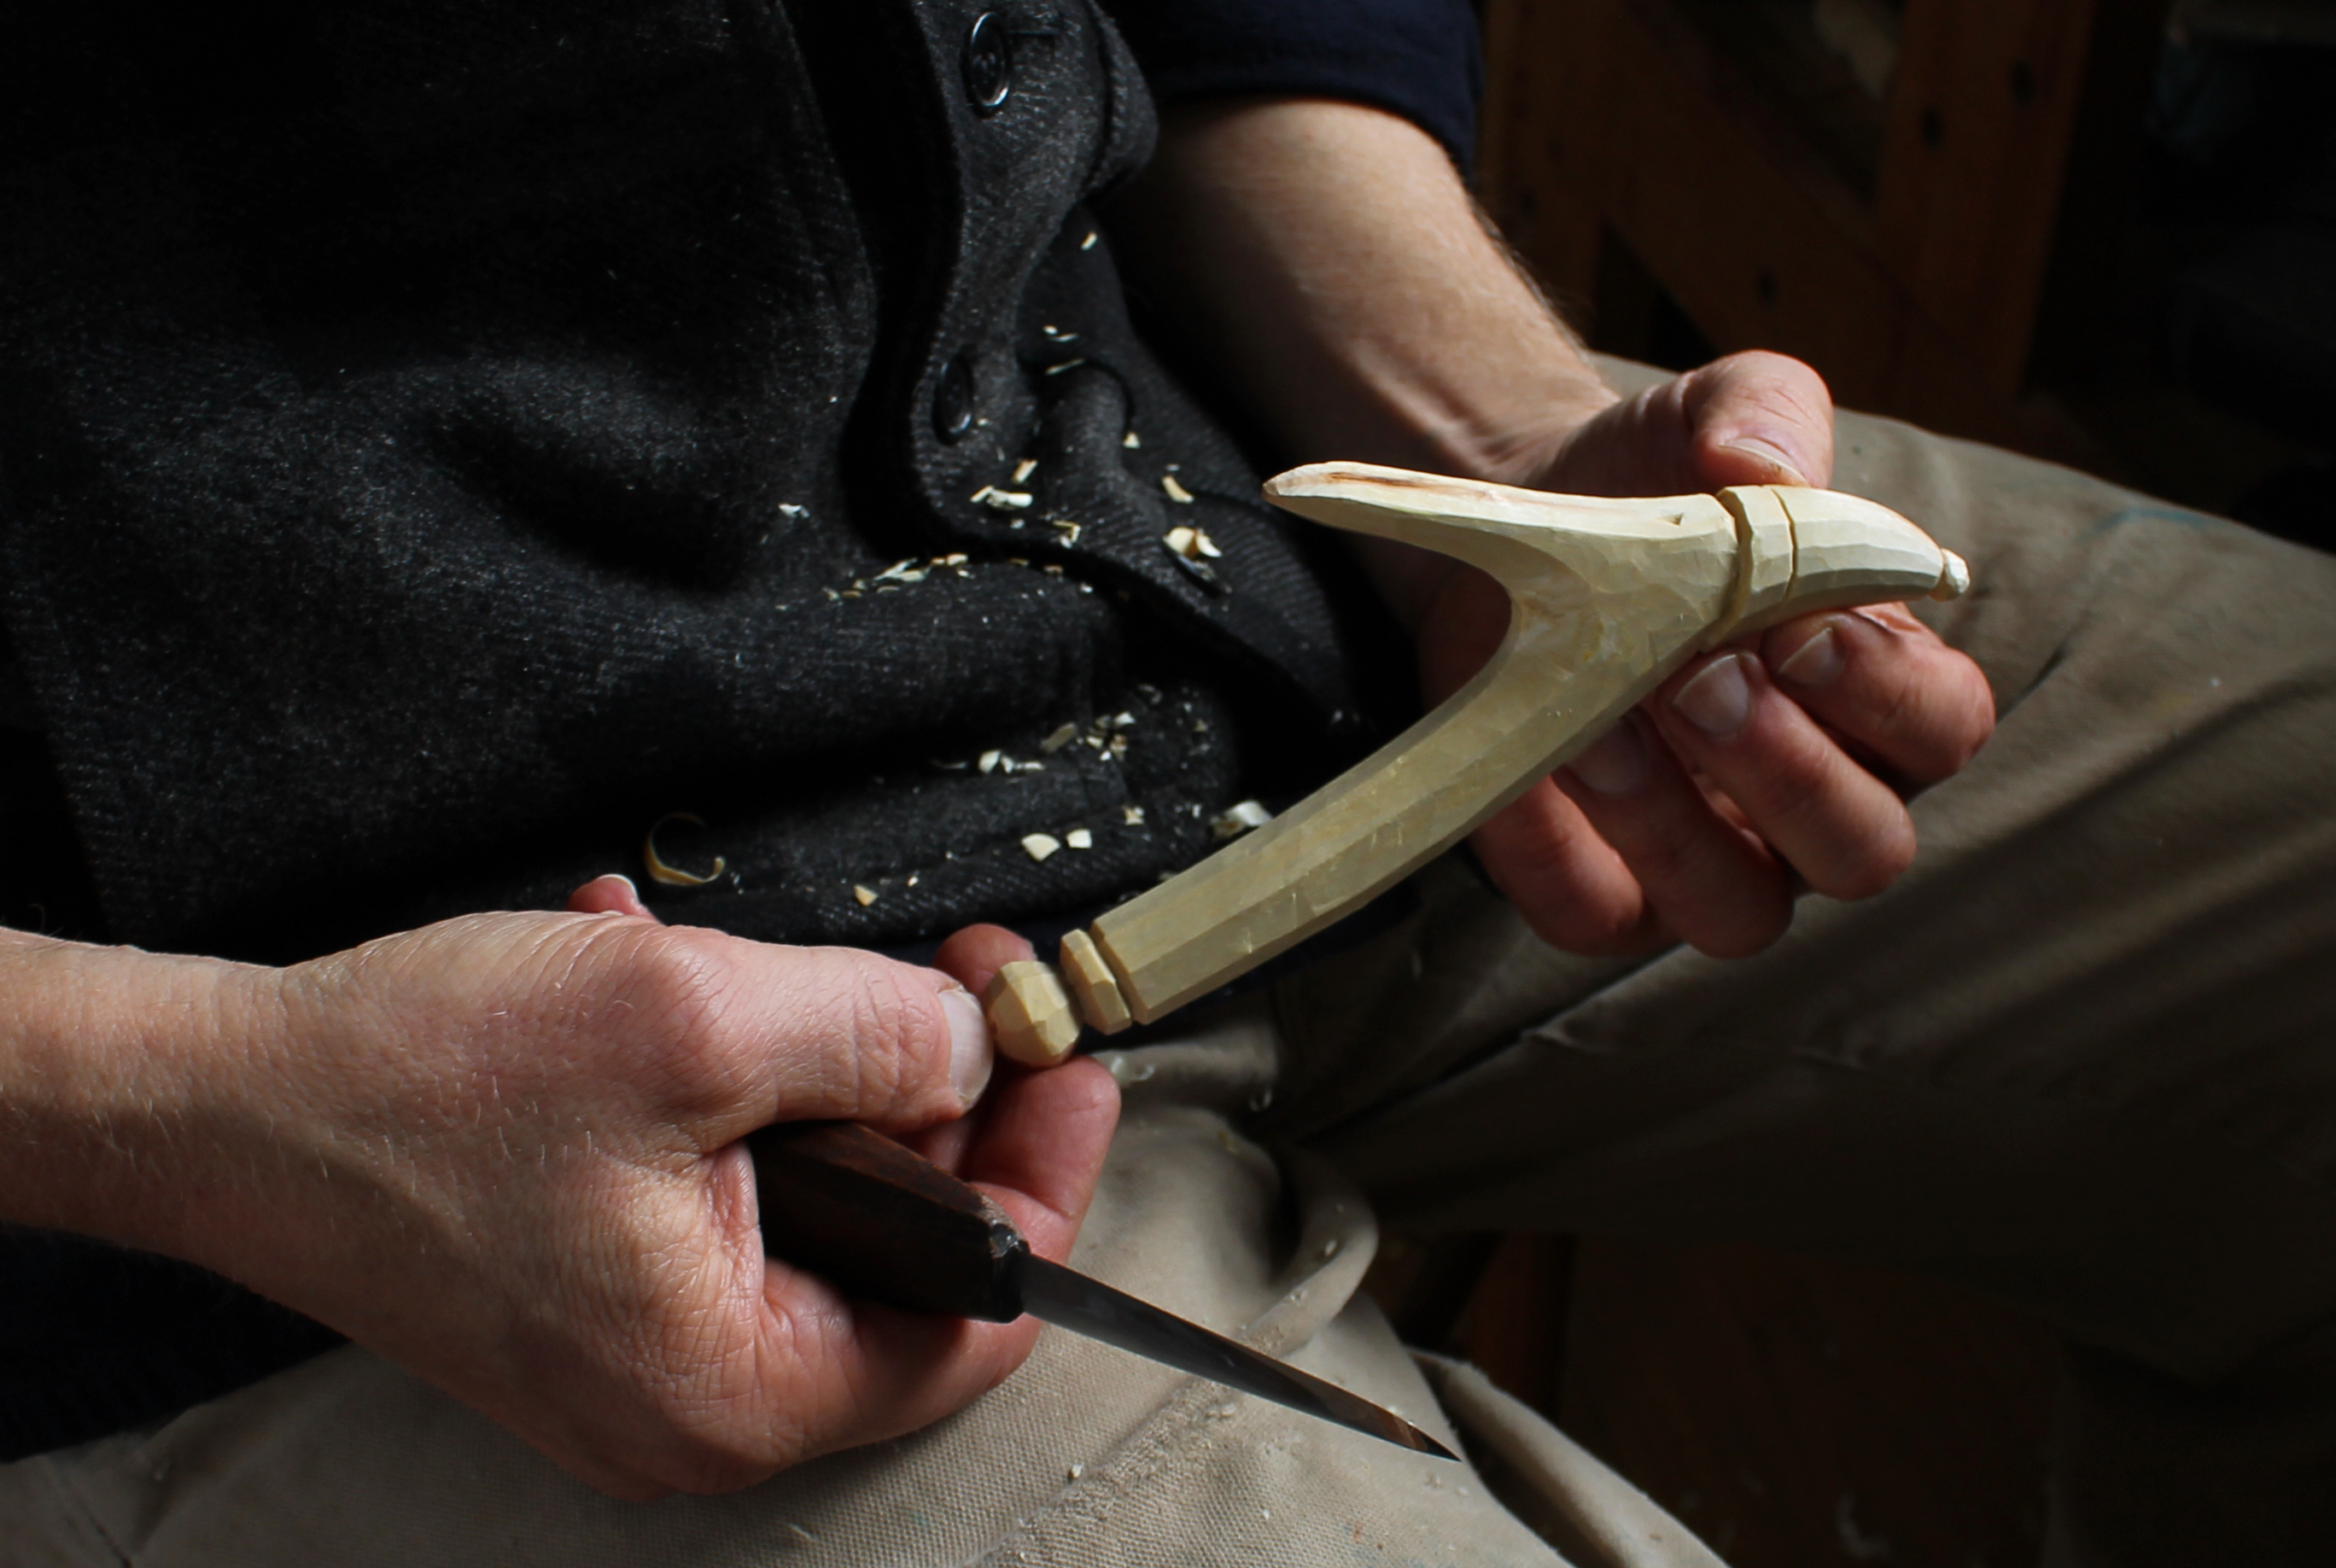
Now back to just a couple days ago and that little branch junction. The way I’m holding the branch in the photo above, the tree grew toward my knife hand. The Julfågel’s hat is in my left hand. If you go looking for suitable branches, the Julfågel will be upside down.

So joyful just playing around with ideas as they come to mind, like the facets up the hat.
Now for some color inspiration…
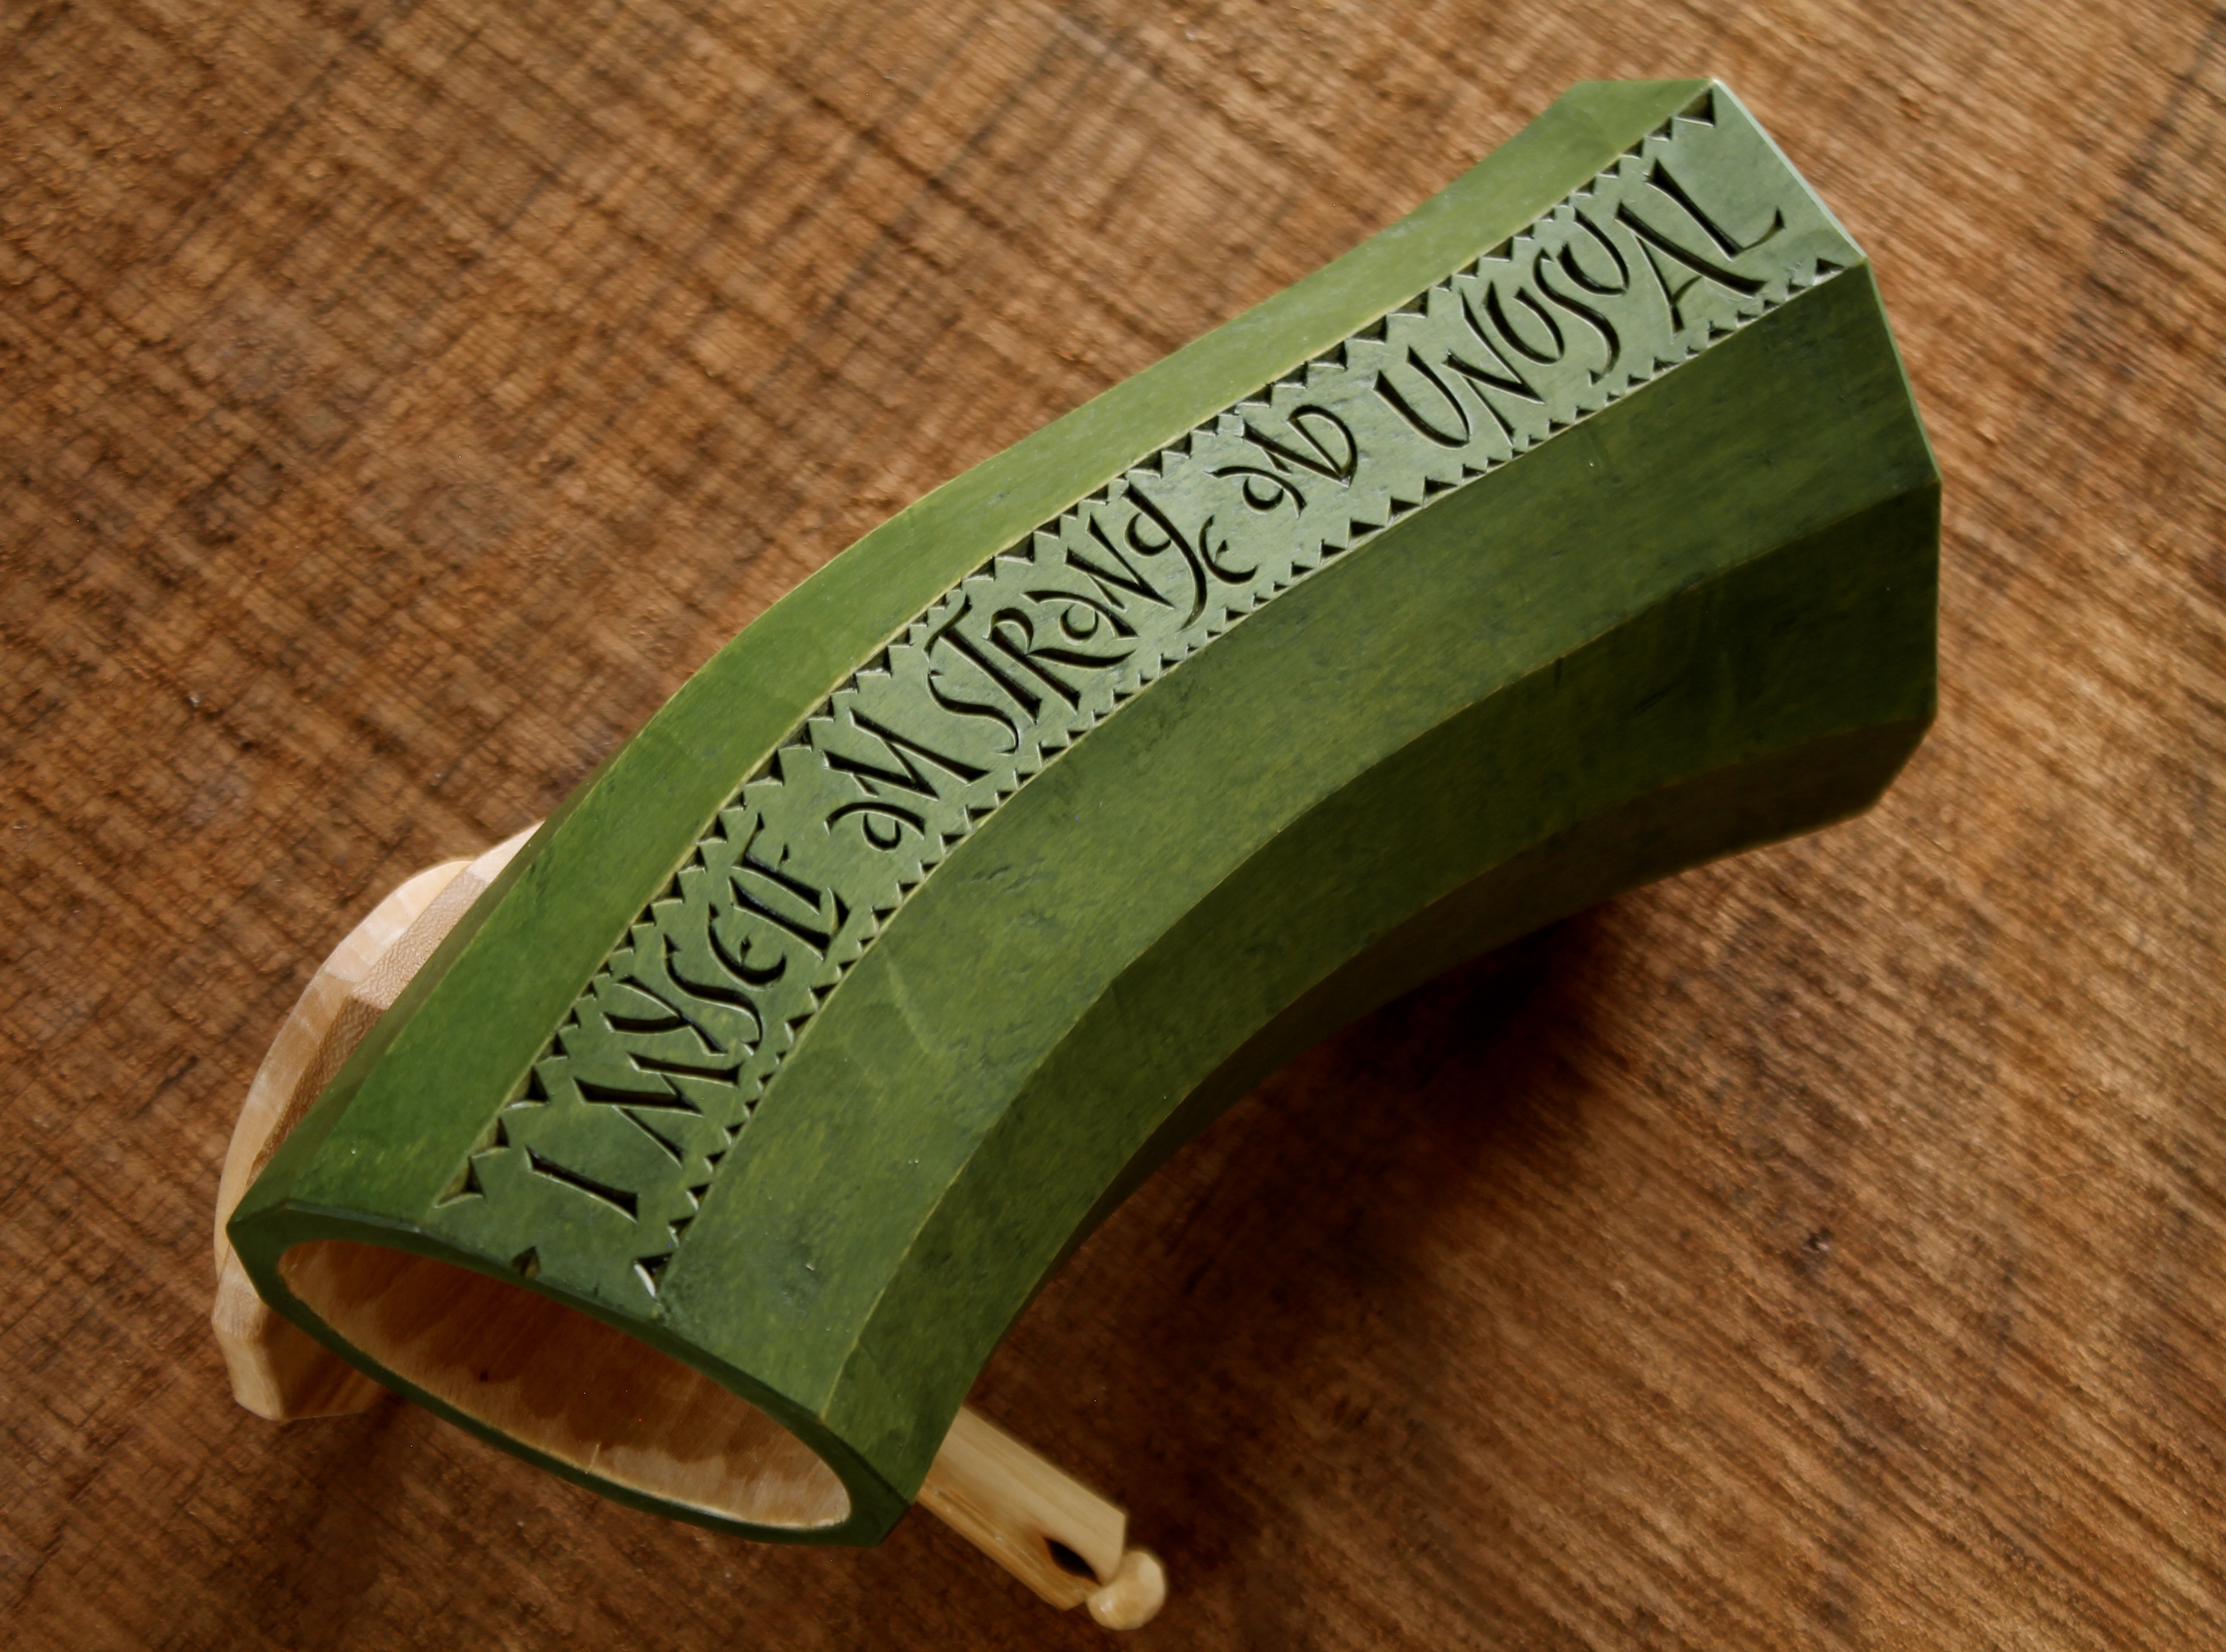
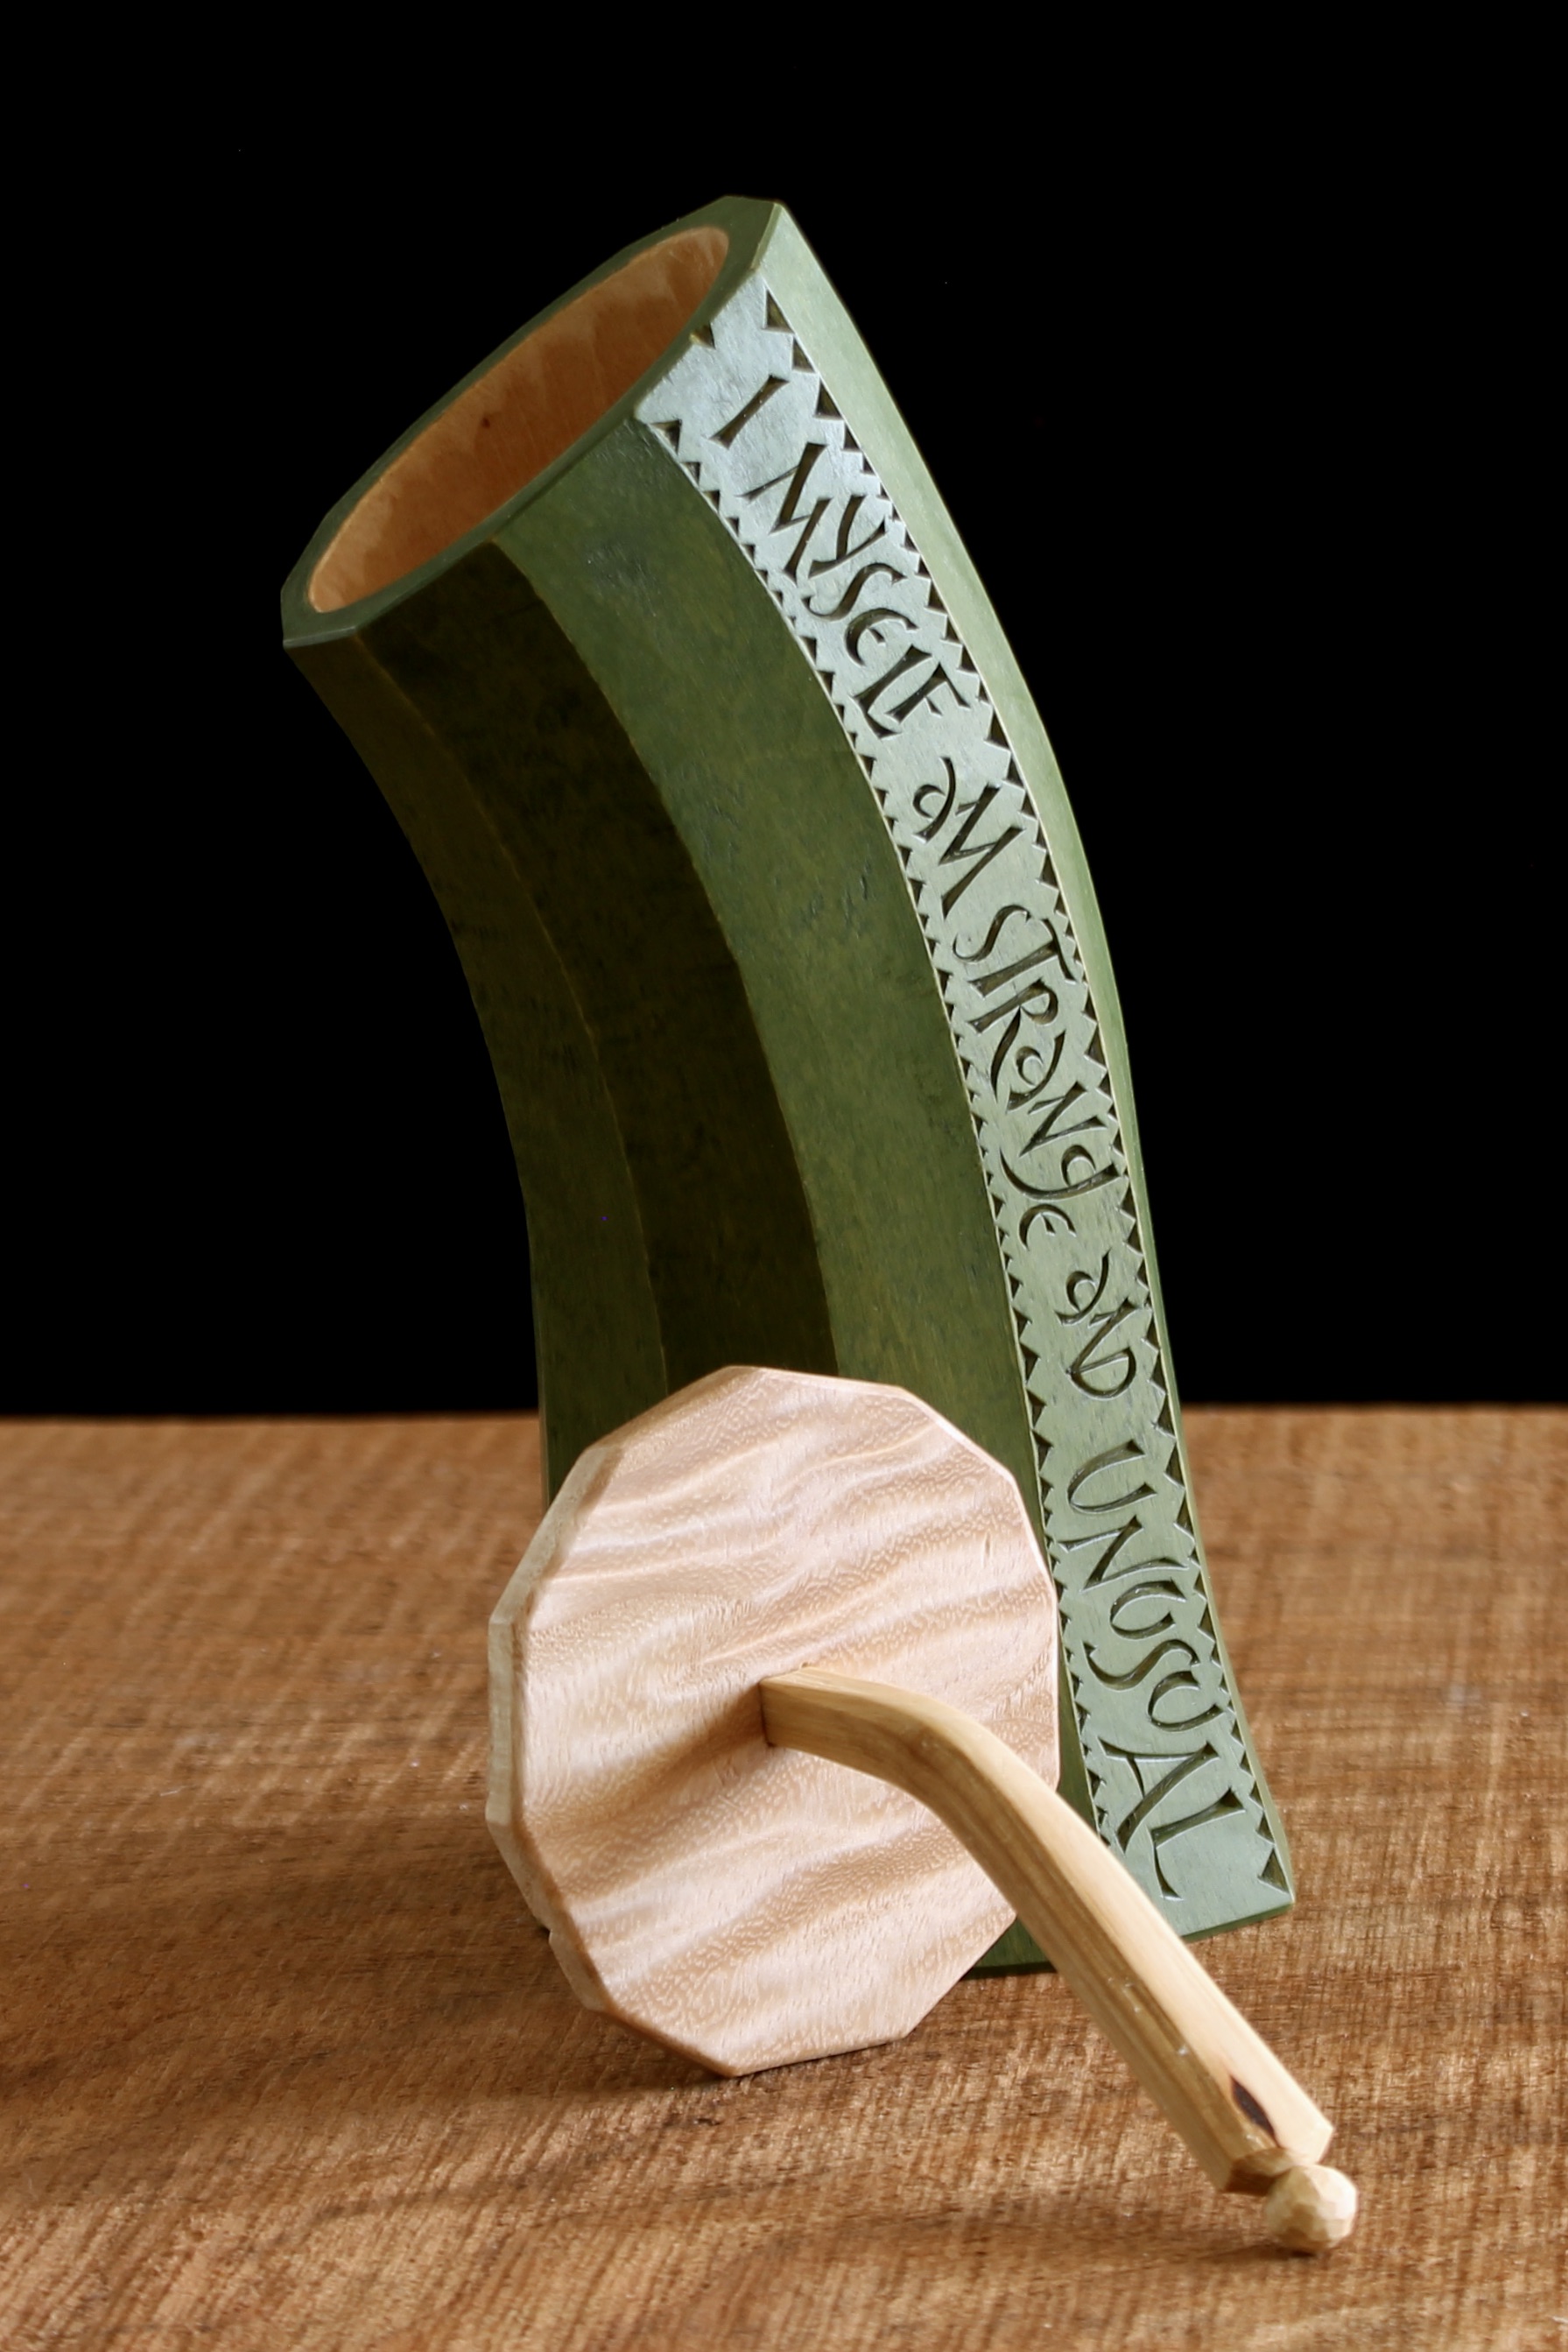
Phil Huber (of Woodsmith Magazine) kindly sent me these photos of Julfågels carved and painted by his nieces and nephews, with Uncle Phil, at a holiday gathering last year. No rules.
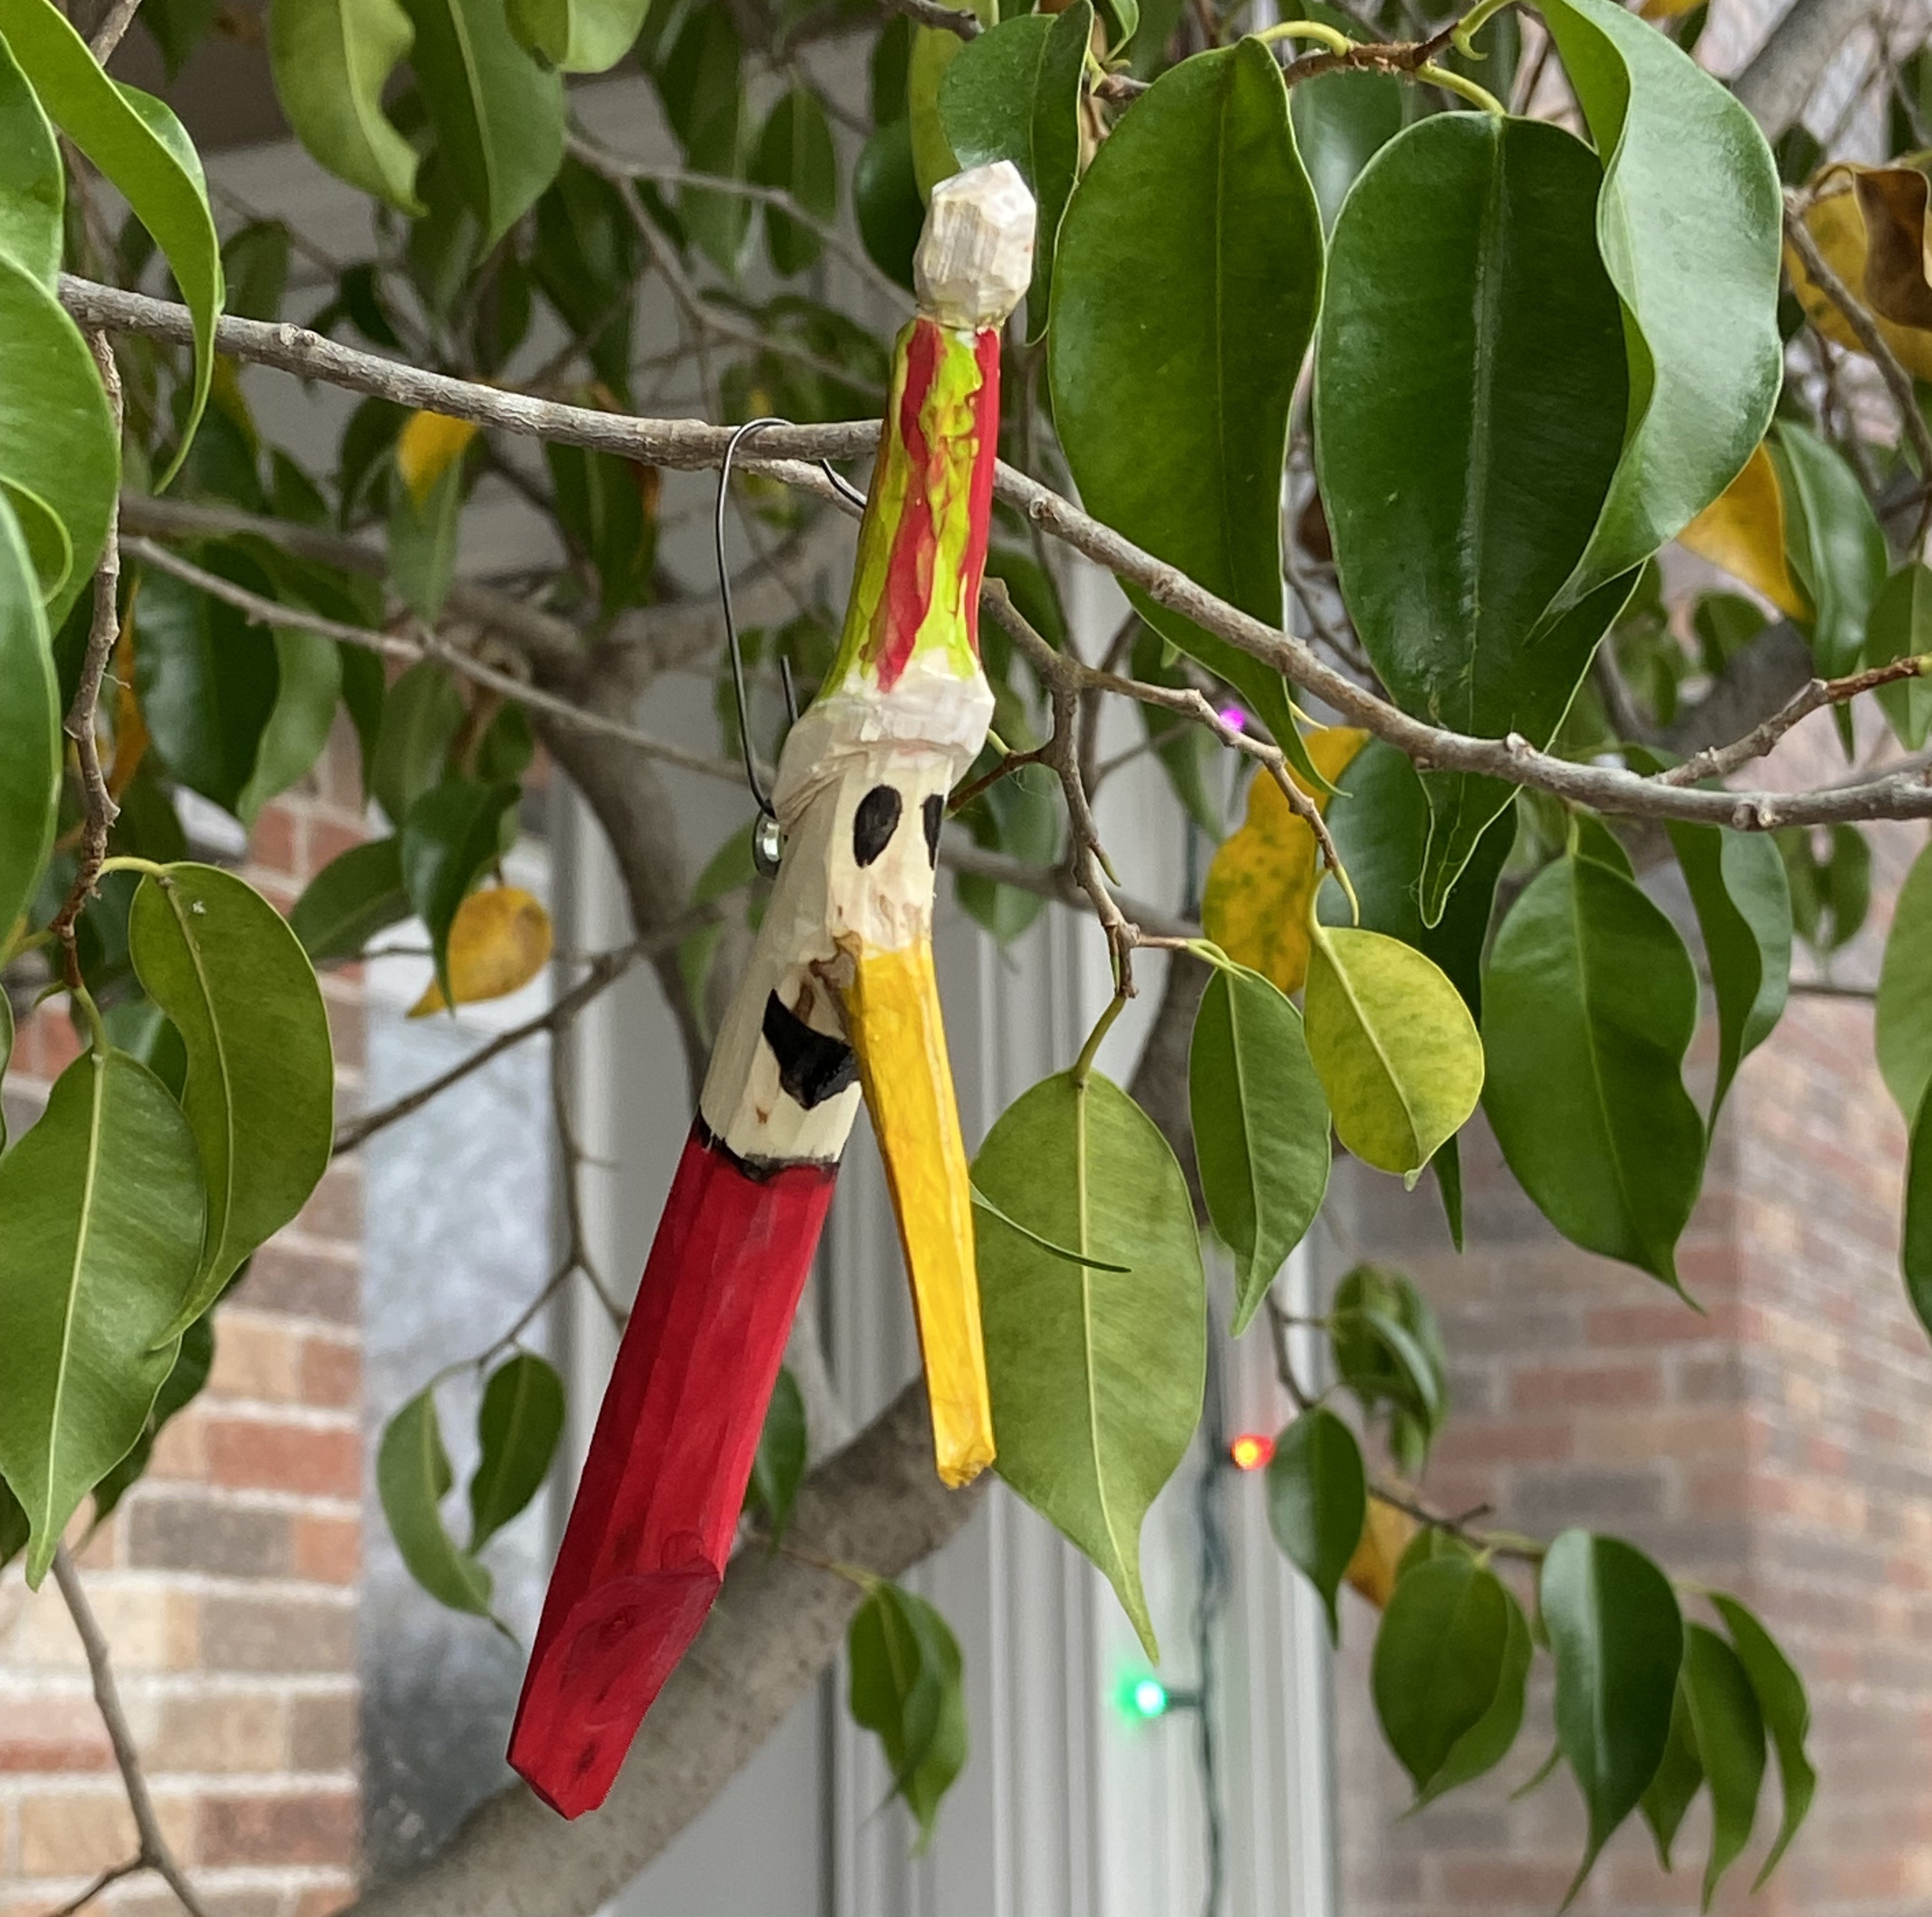

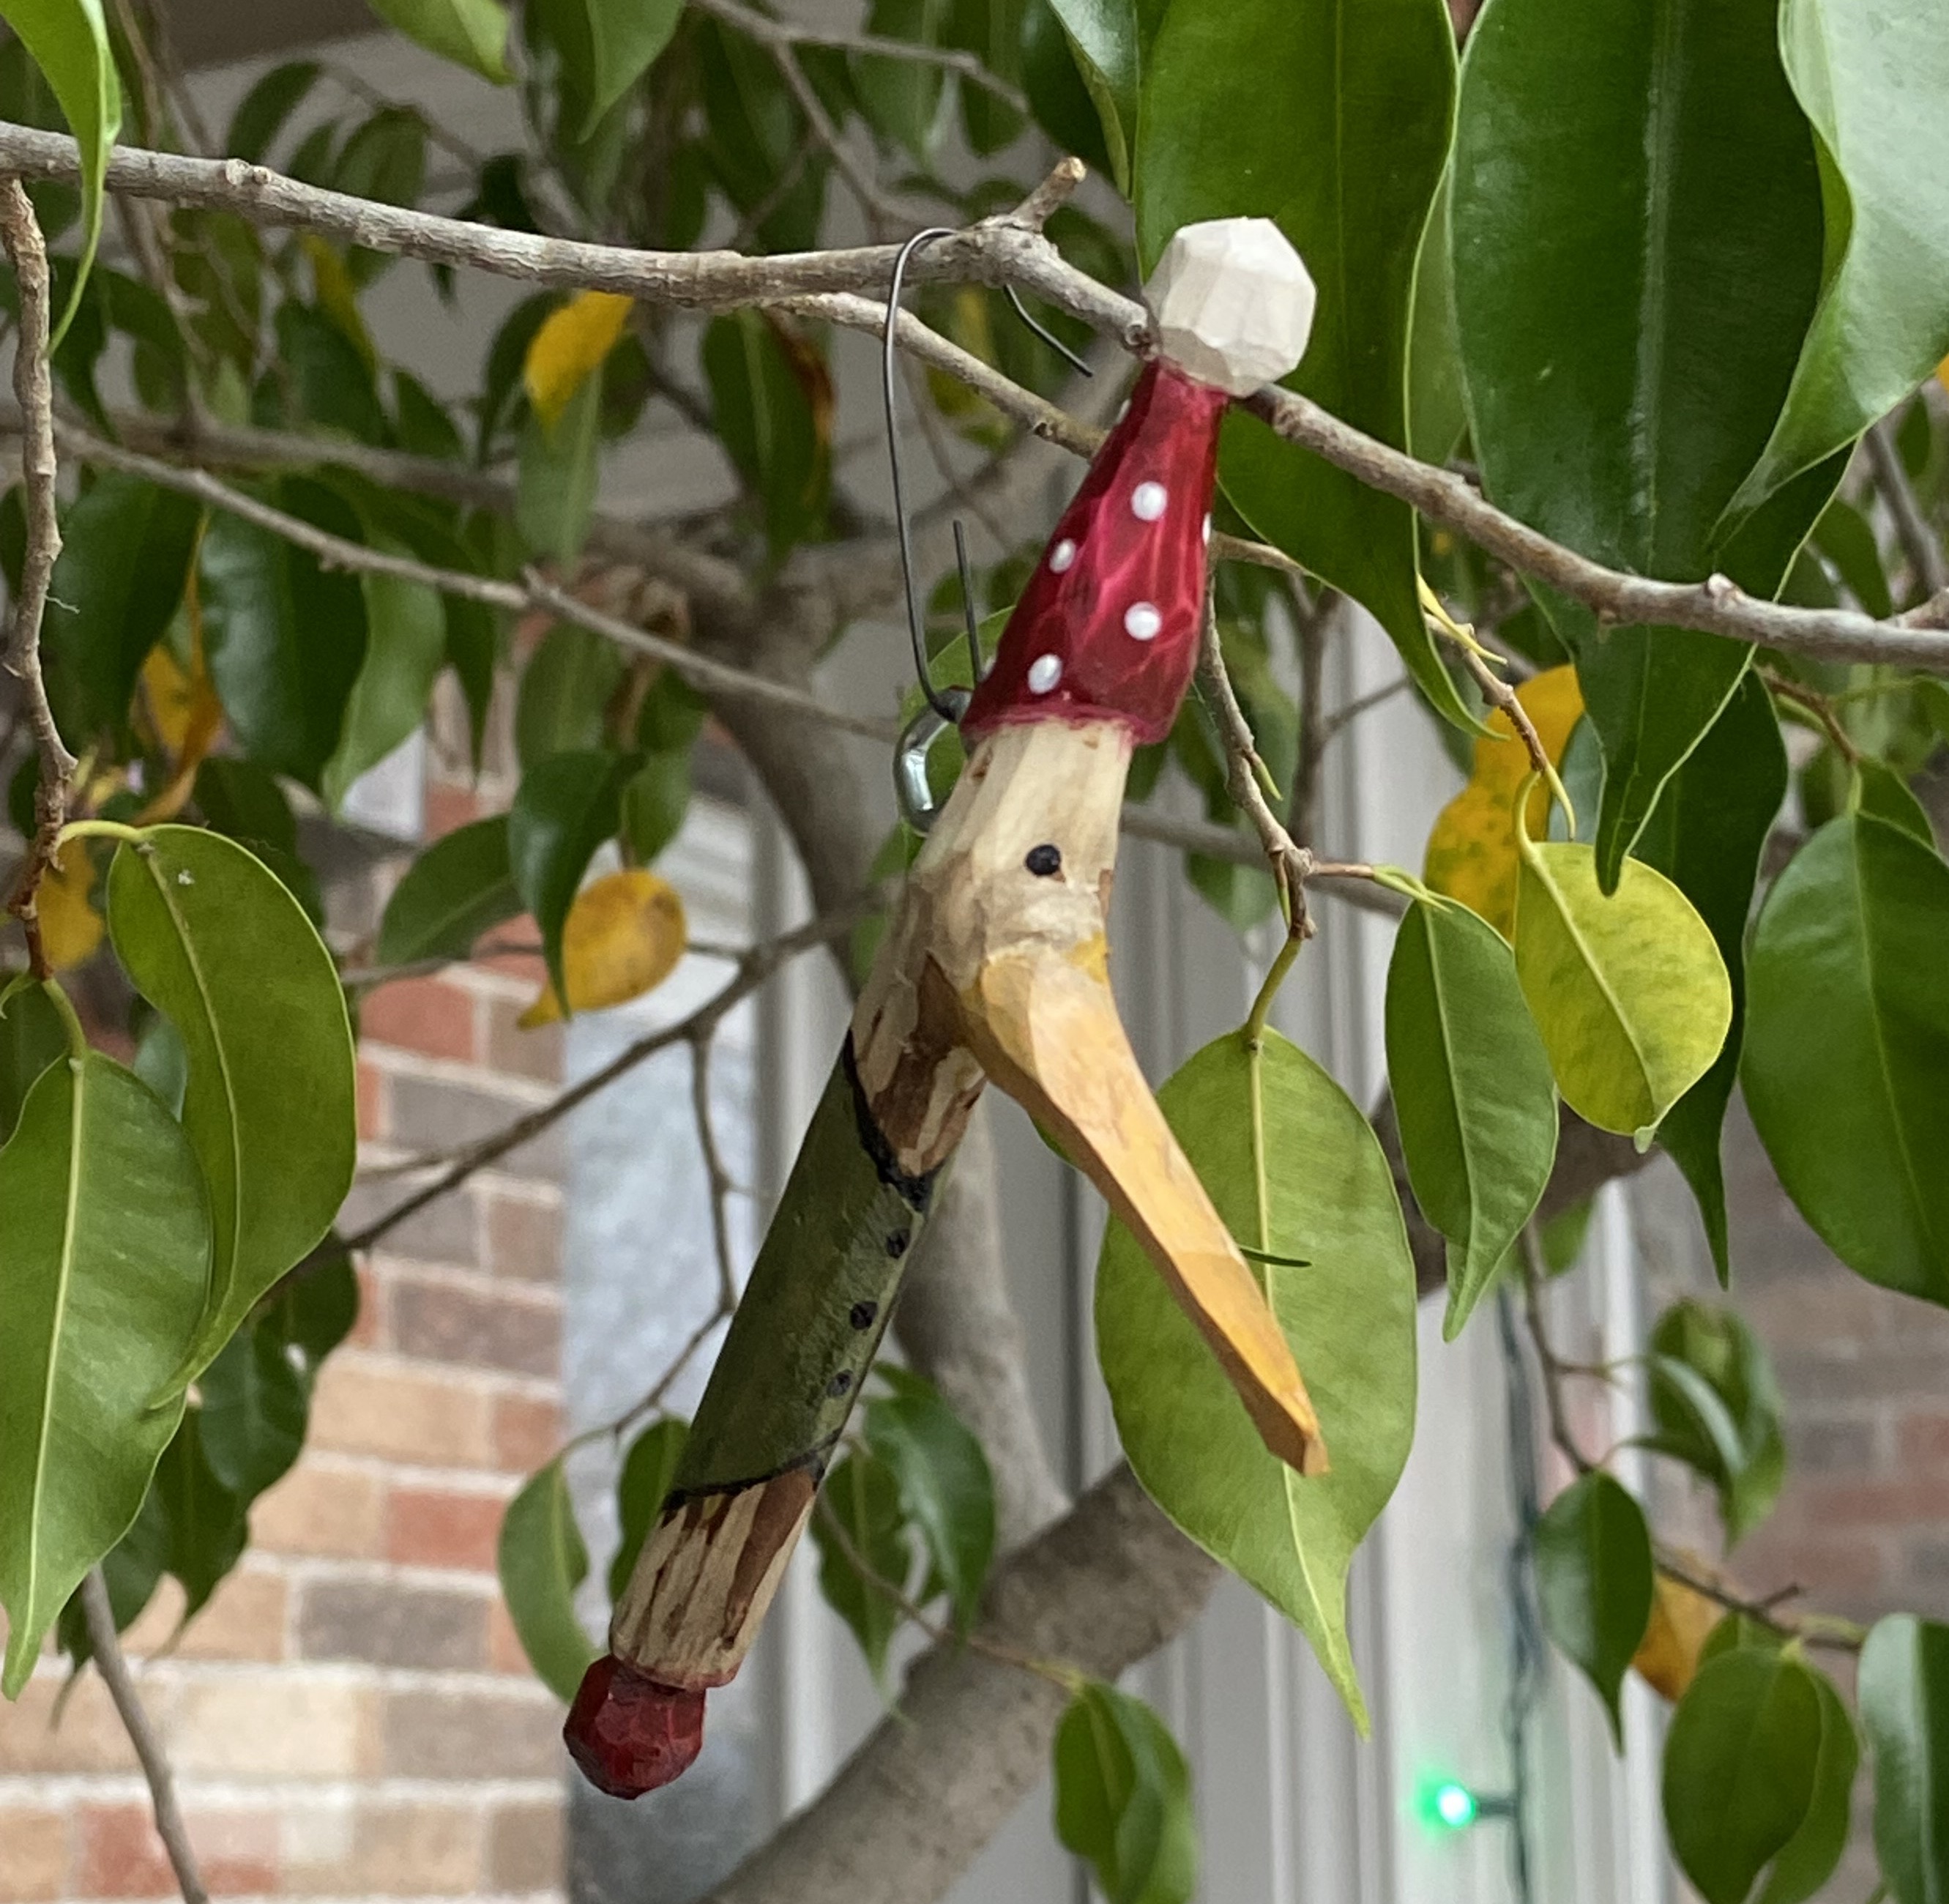
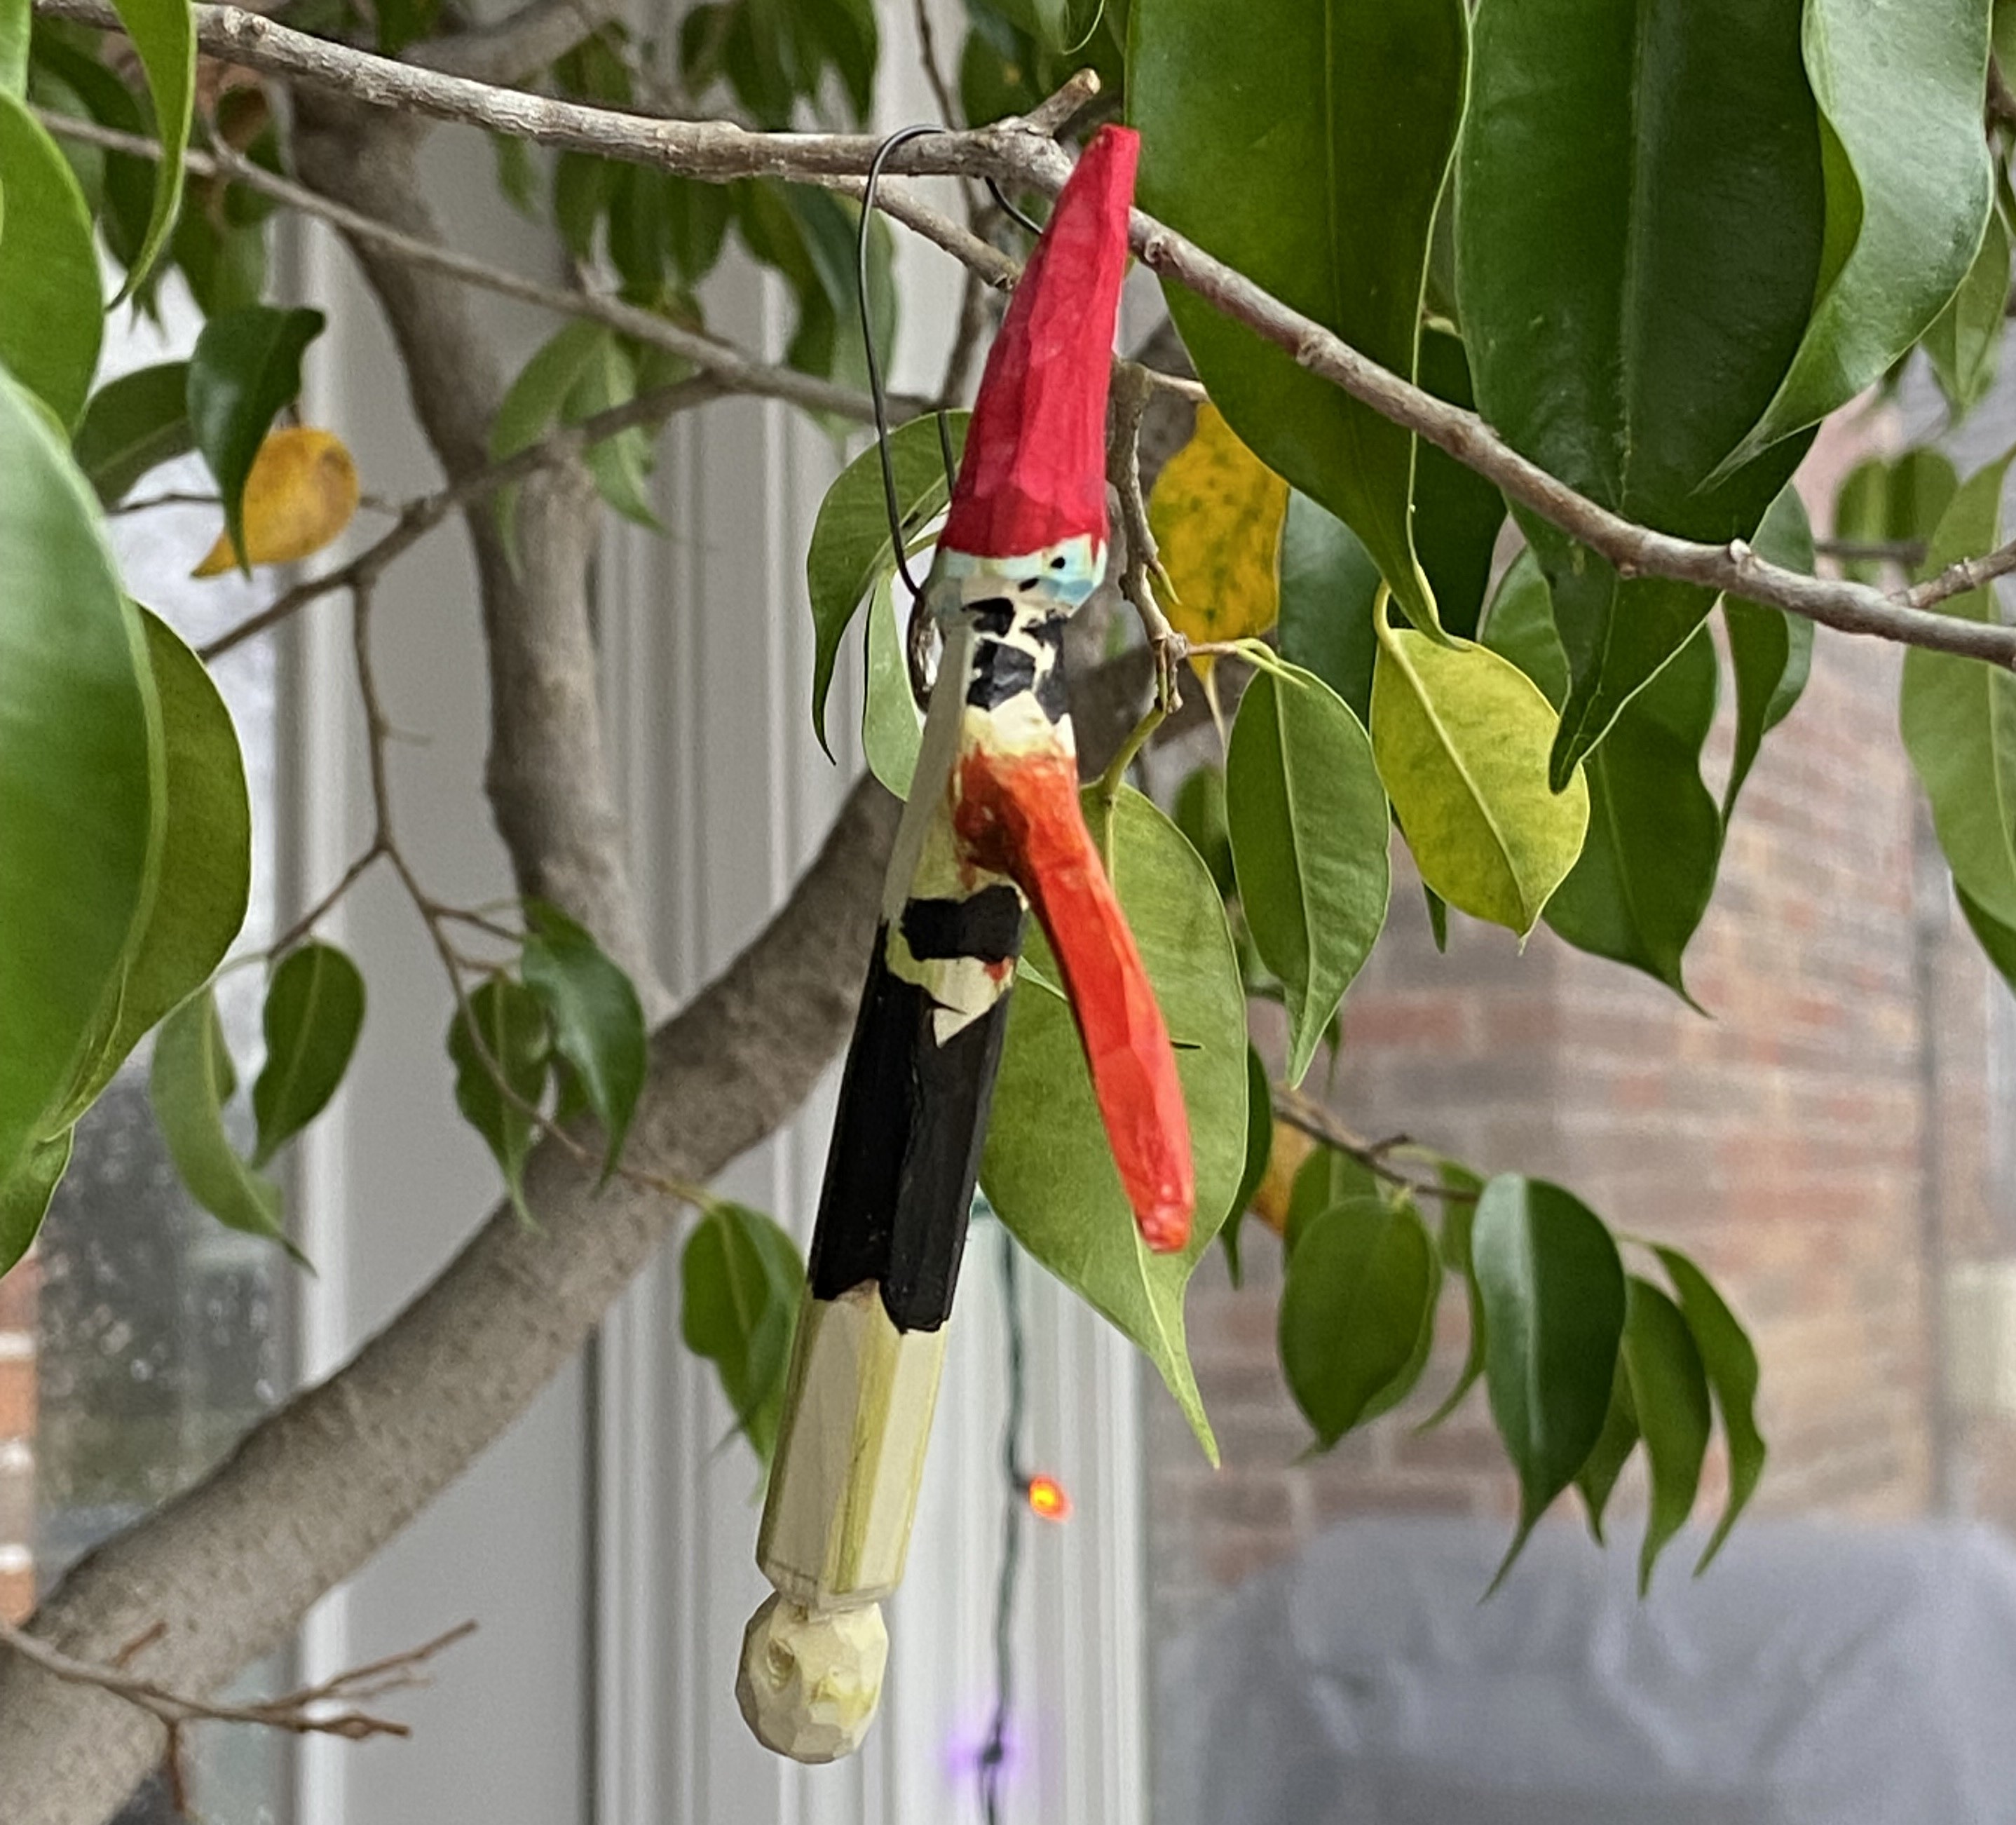
So, have some fun carving a Julfågel with a kid, or an old kid, or solo.
And while I’m referring back to old Christmas posts, here’s a link to a related one, from eight years ago: Carve Some Toys. There’s still plenty of time.