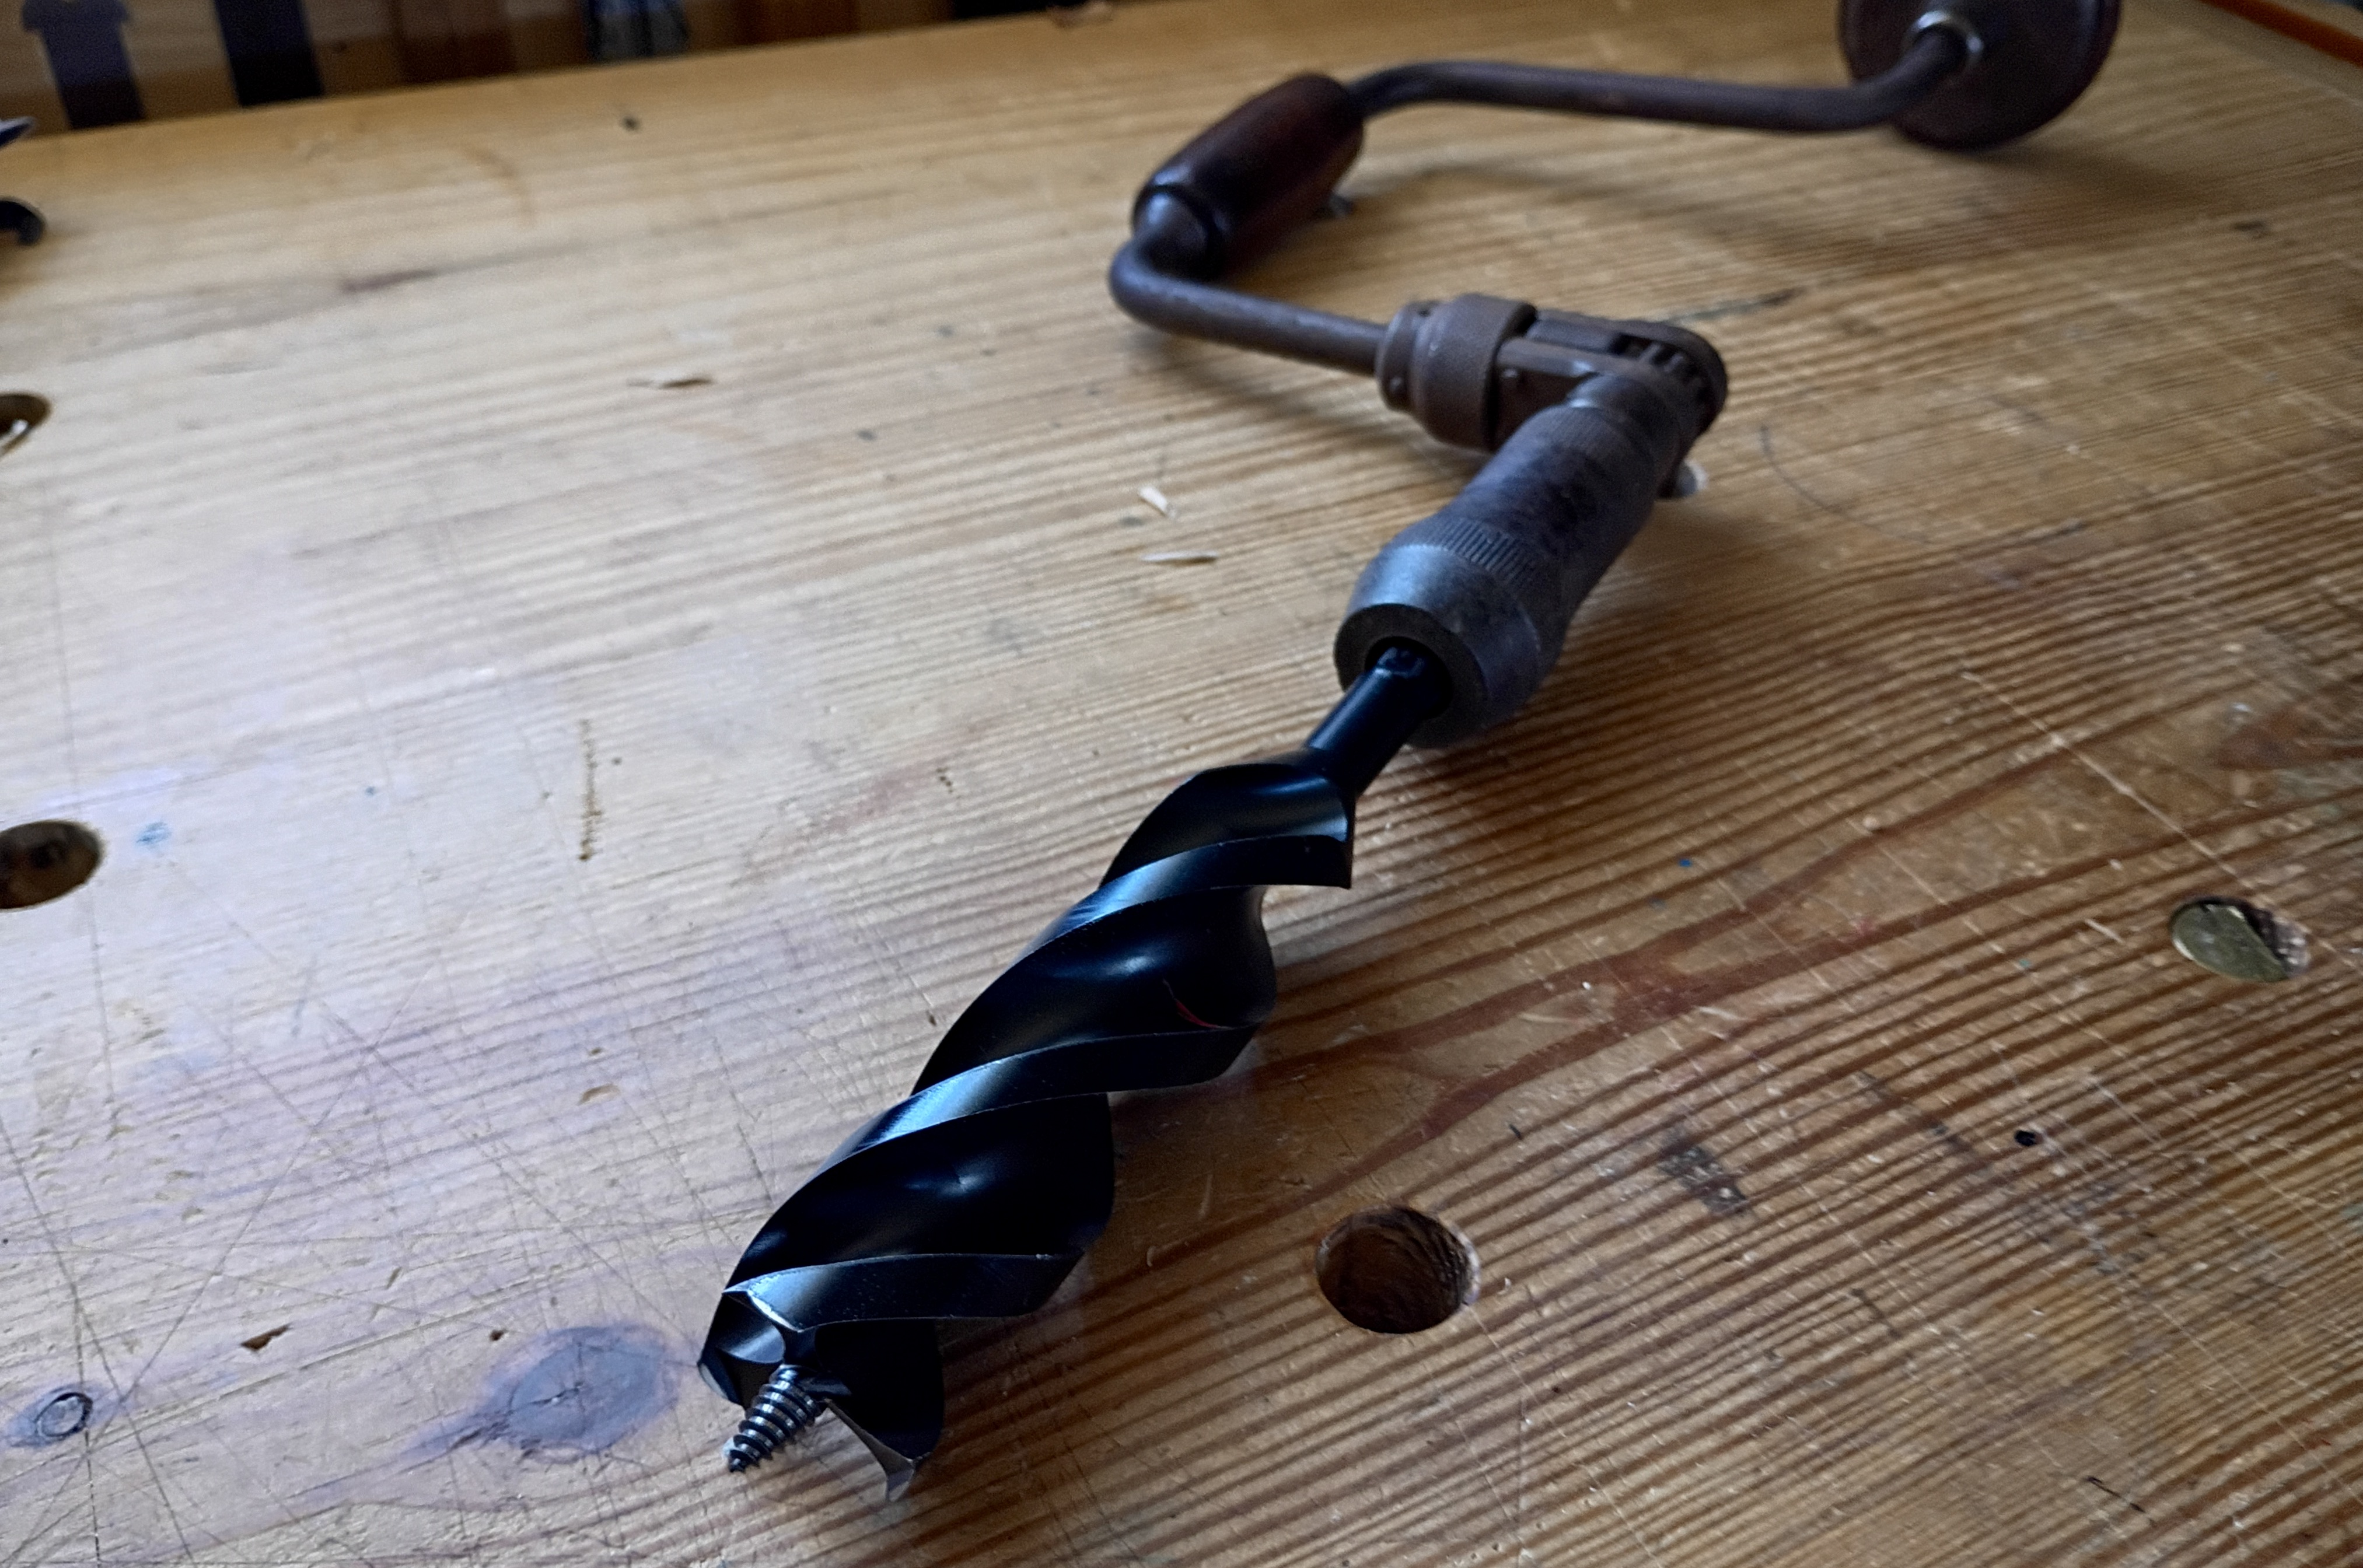
To make a shrink pot, regardless of form, you’ve got to bore at least one hole through end-grain. I typically use an antique T-handle auger for that task. In this old post, I show how I sharpen it and use it. Problem is, auger bits weren’t primarily designed for boring into end grain, so finding one that is up to the task can be frustrating.
With my shrink pot classes coming up this year at Pete’s, I decided to finally purchase some Wood Owl Tri-Cut Ultra Smooth auger bits. I had heard a lot of good things about them, and now I’ve been impressed as well. I have no connection to Wood Owl, I just think it’s a good option if you don’t have a tool/bit that is working well for you already. They come with a 7/16″ hex shank, but I found I was able to secure it well in the two-jaw chuck of my bit brace. Taylor Toolworks makes an adaptor specifically for the 7/16″ hex shank that would be more ideal, I suppose.
The largest diameter available in these bits is 1 1/2″, which is plenty large enough as a starter hole for a shrink pot. In fact, for some pots that may be too large.
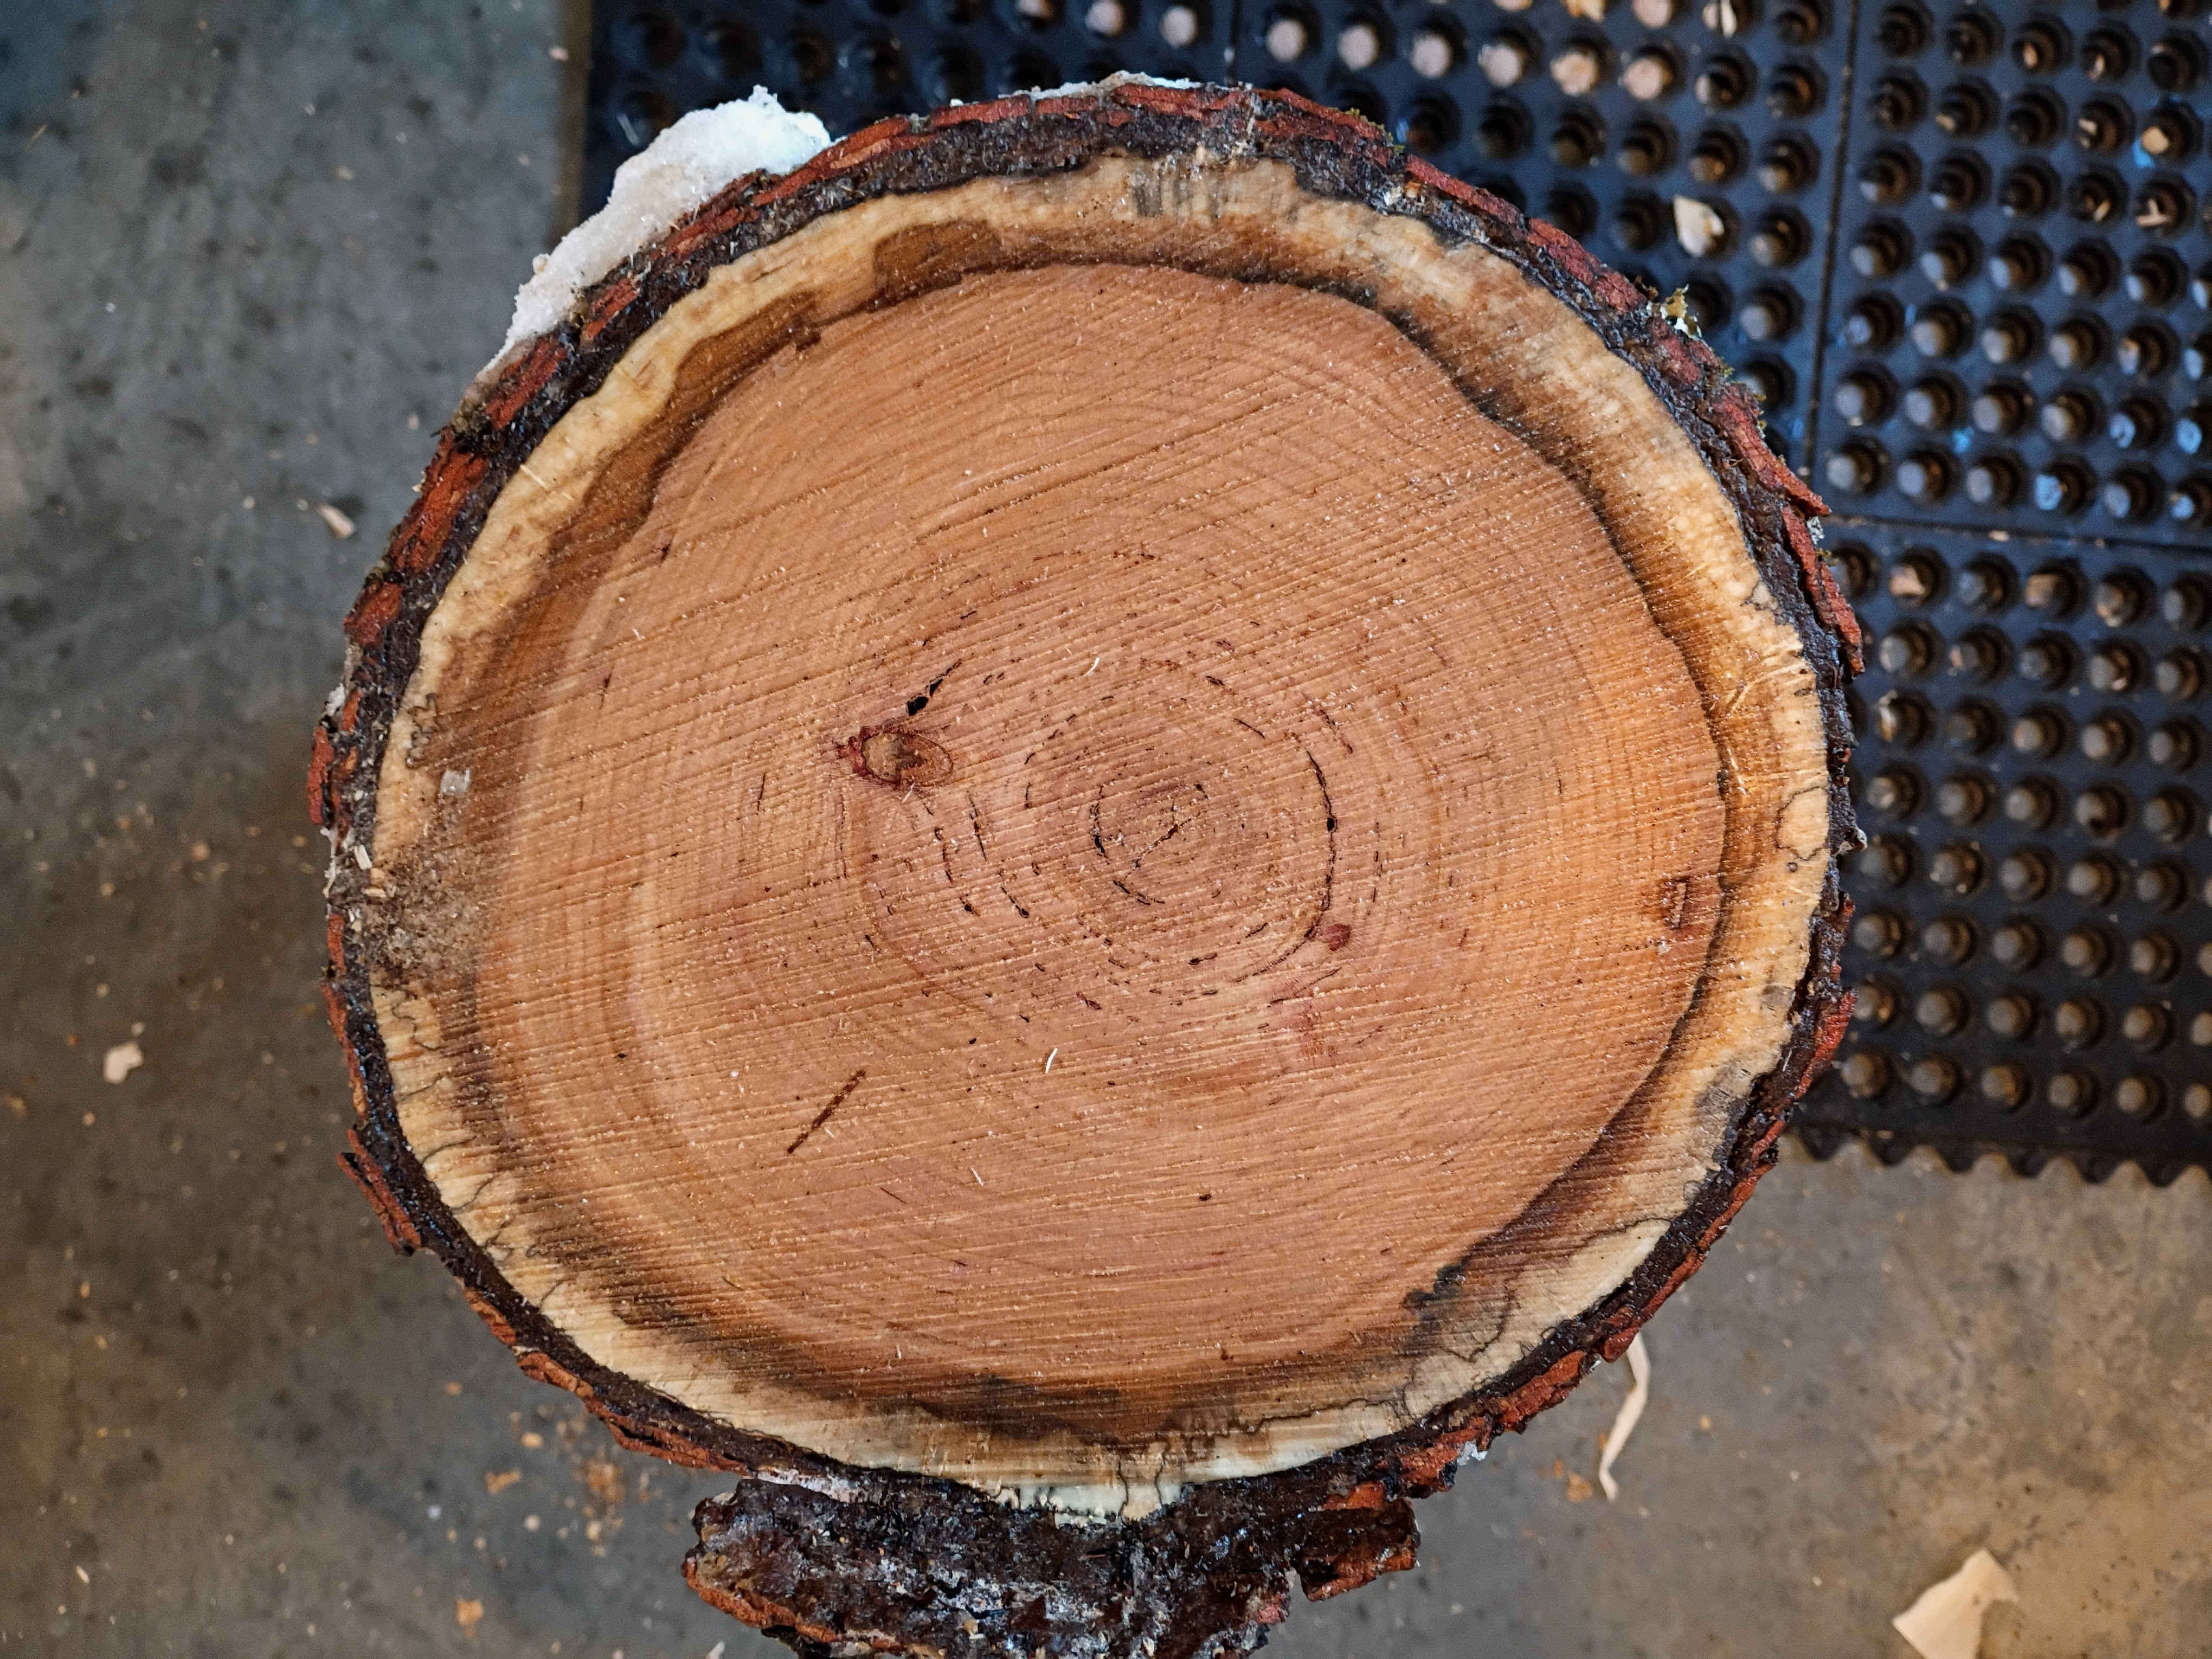
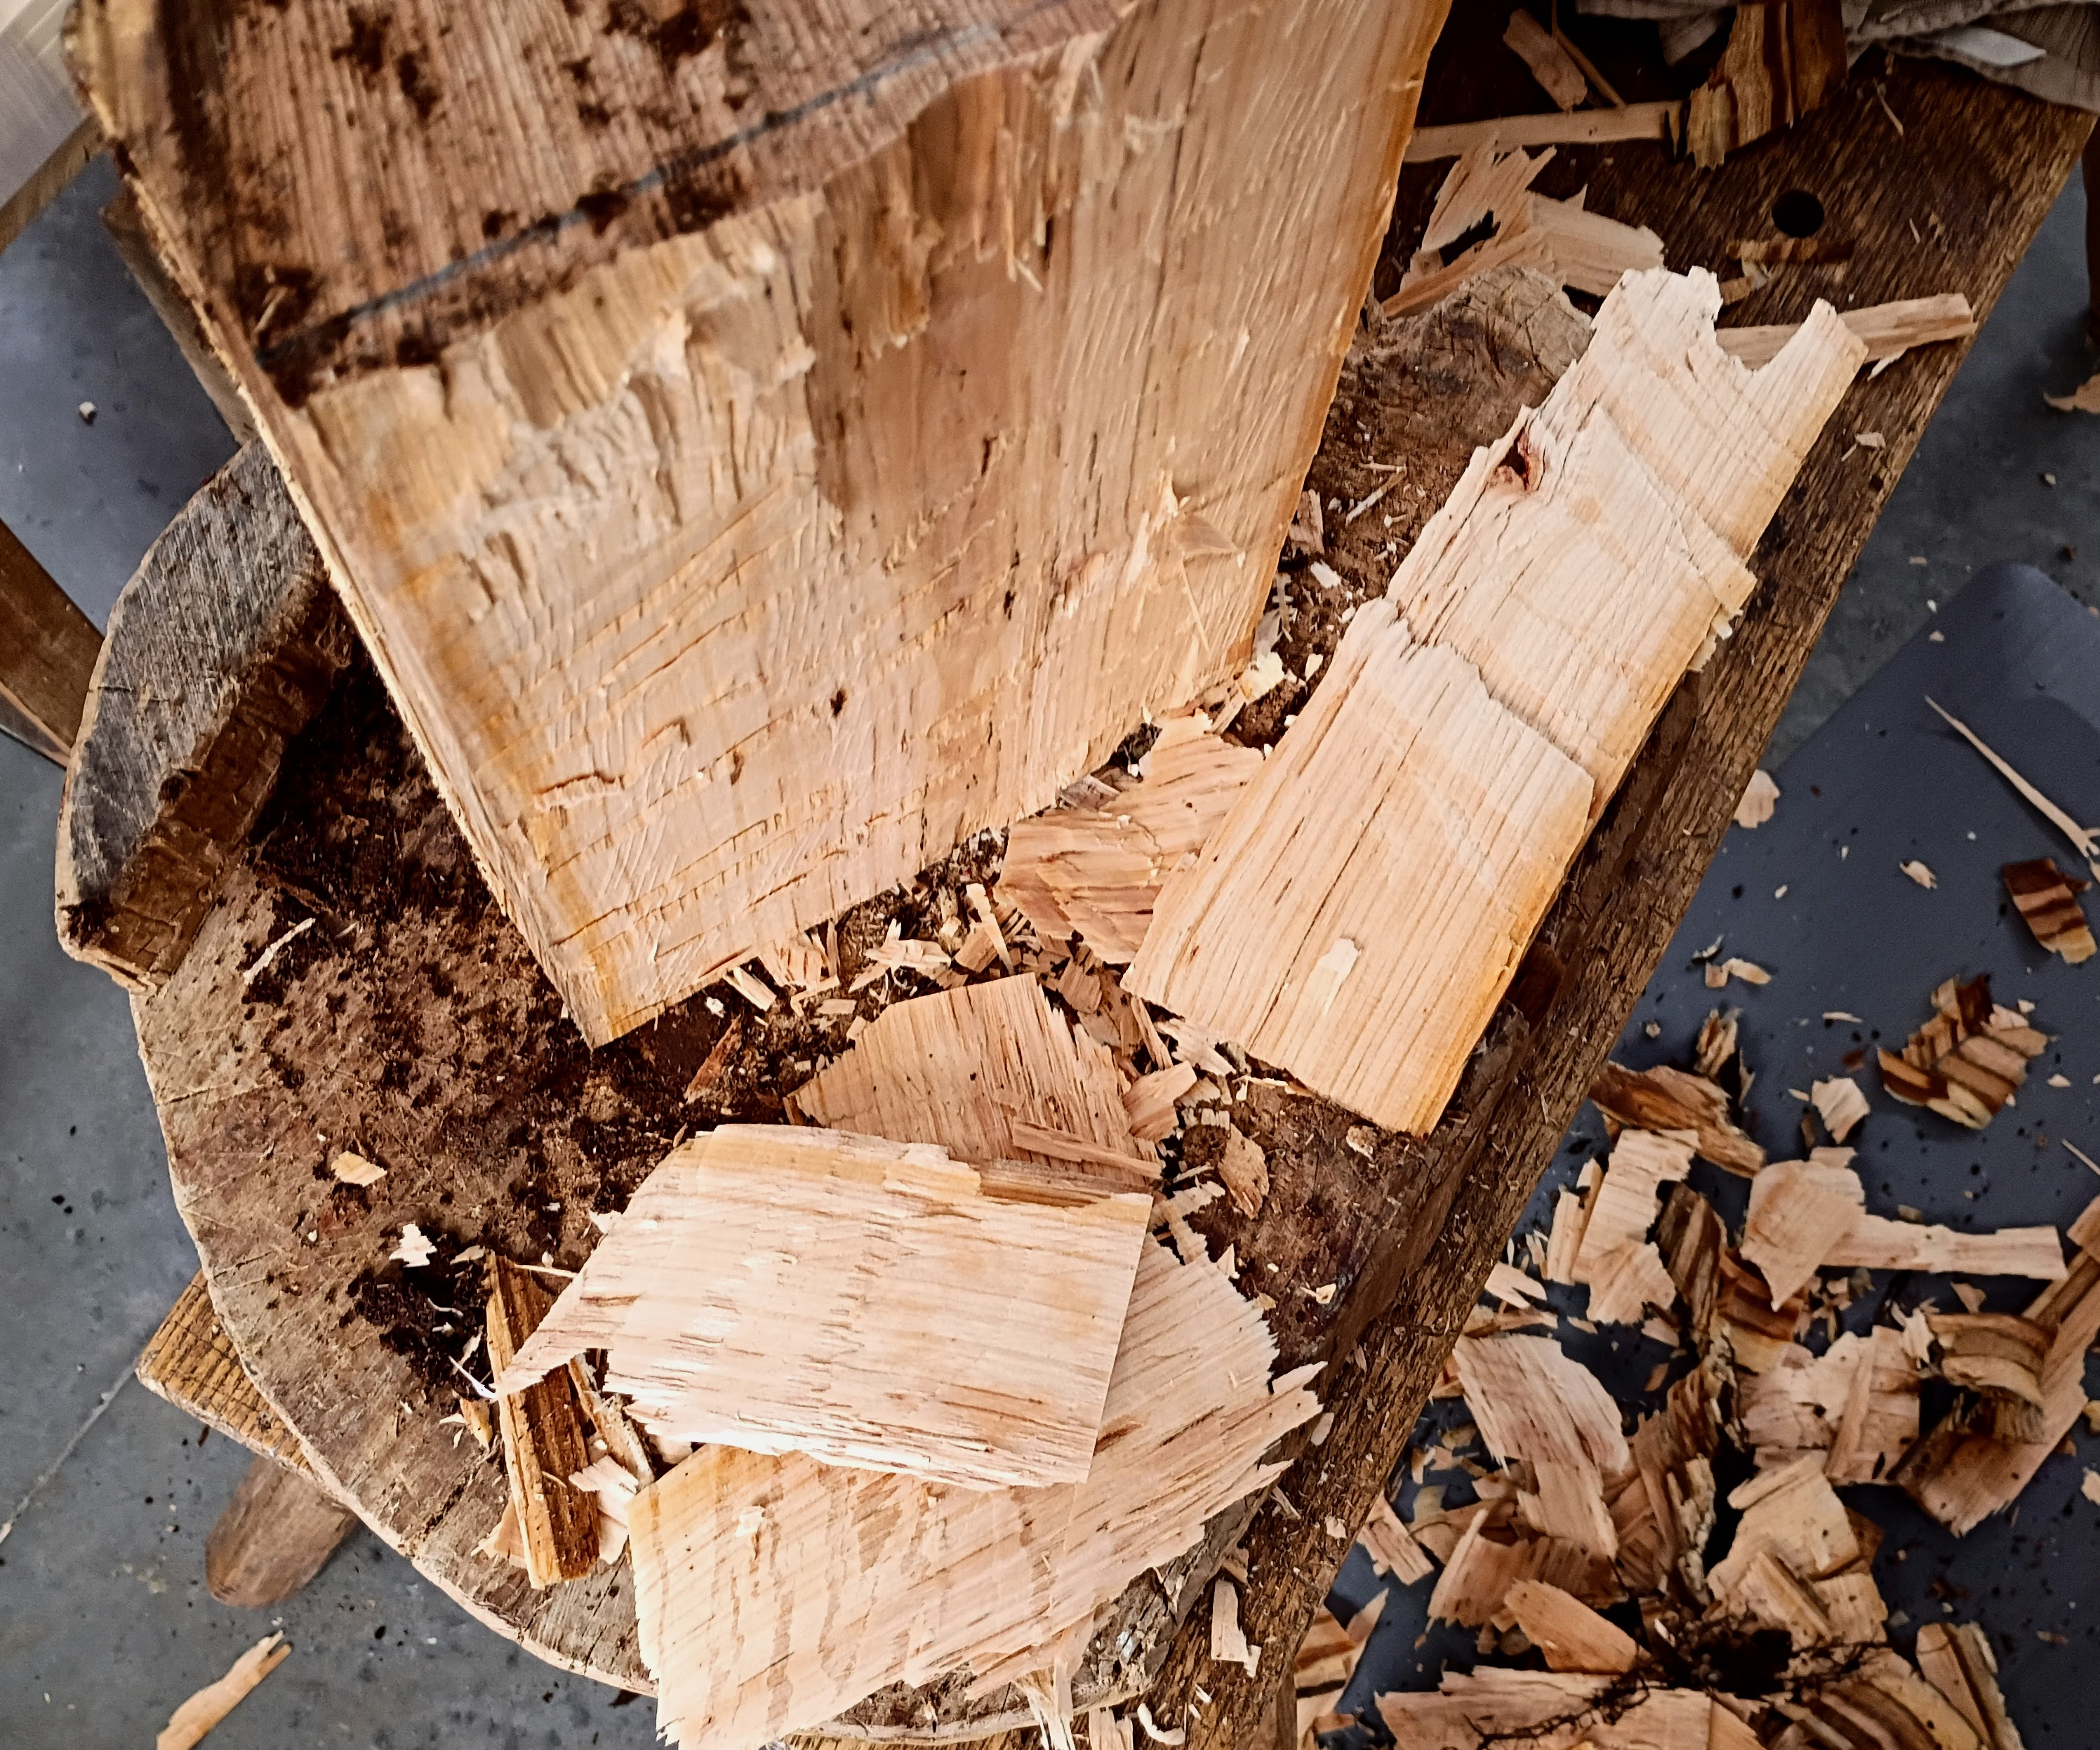
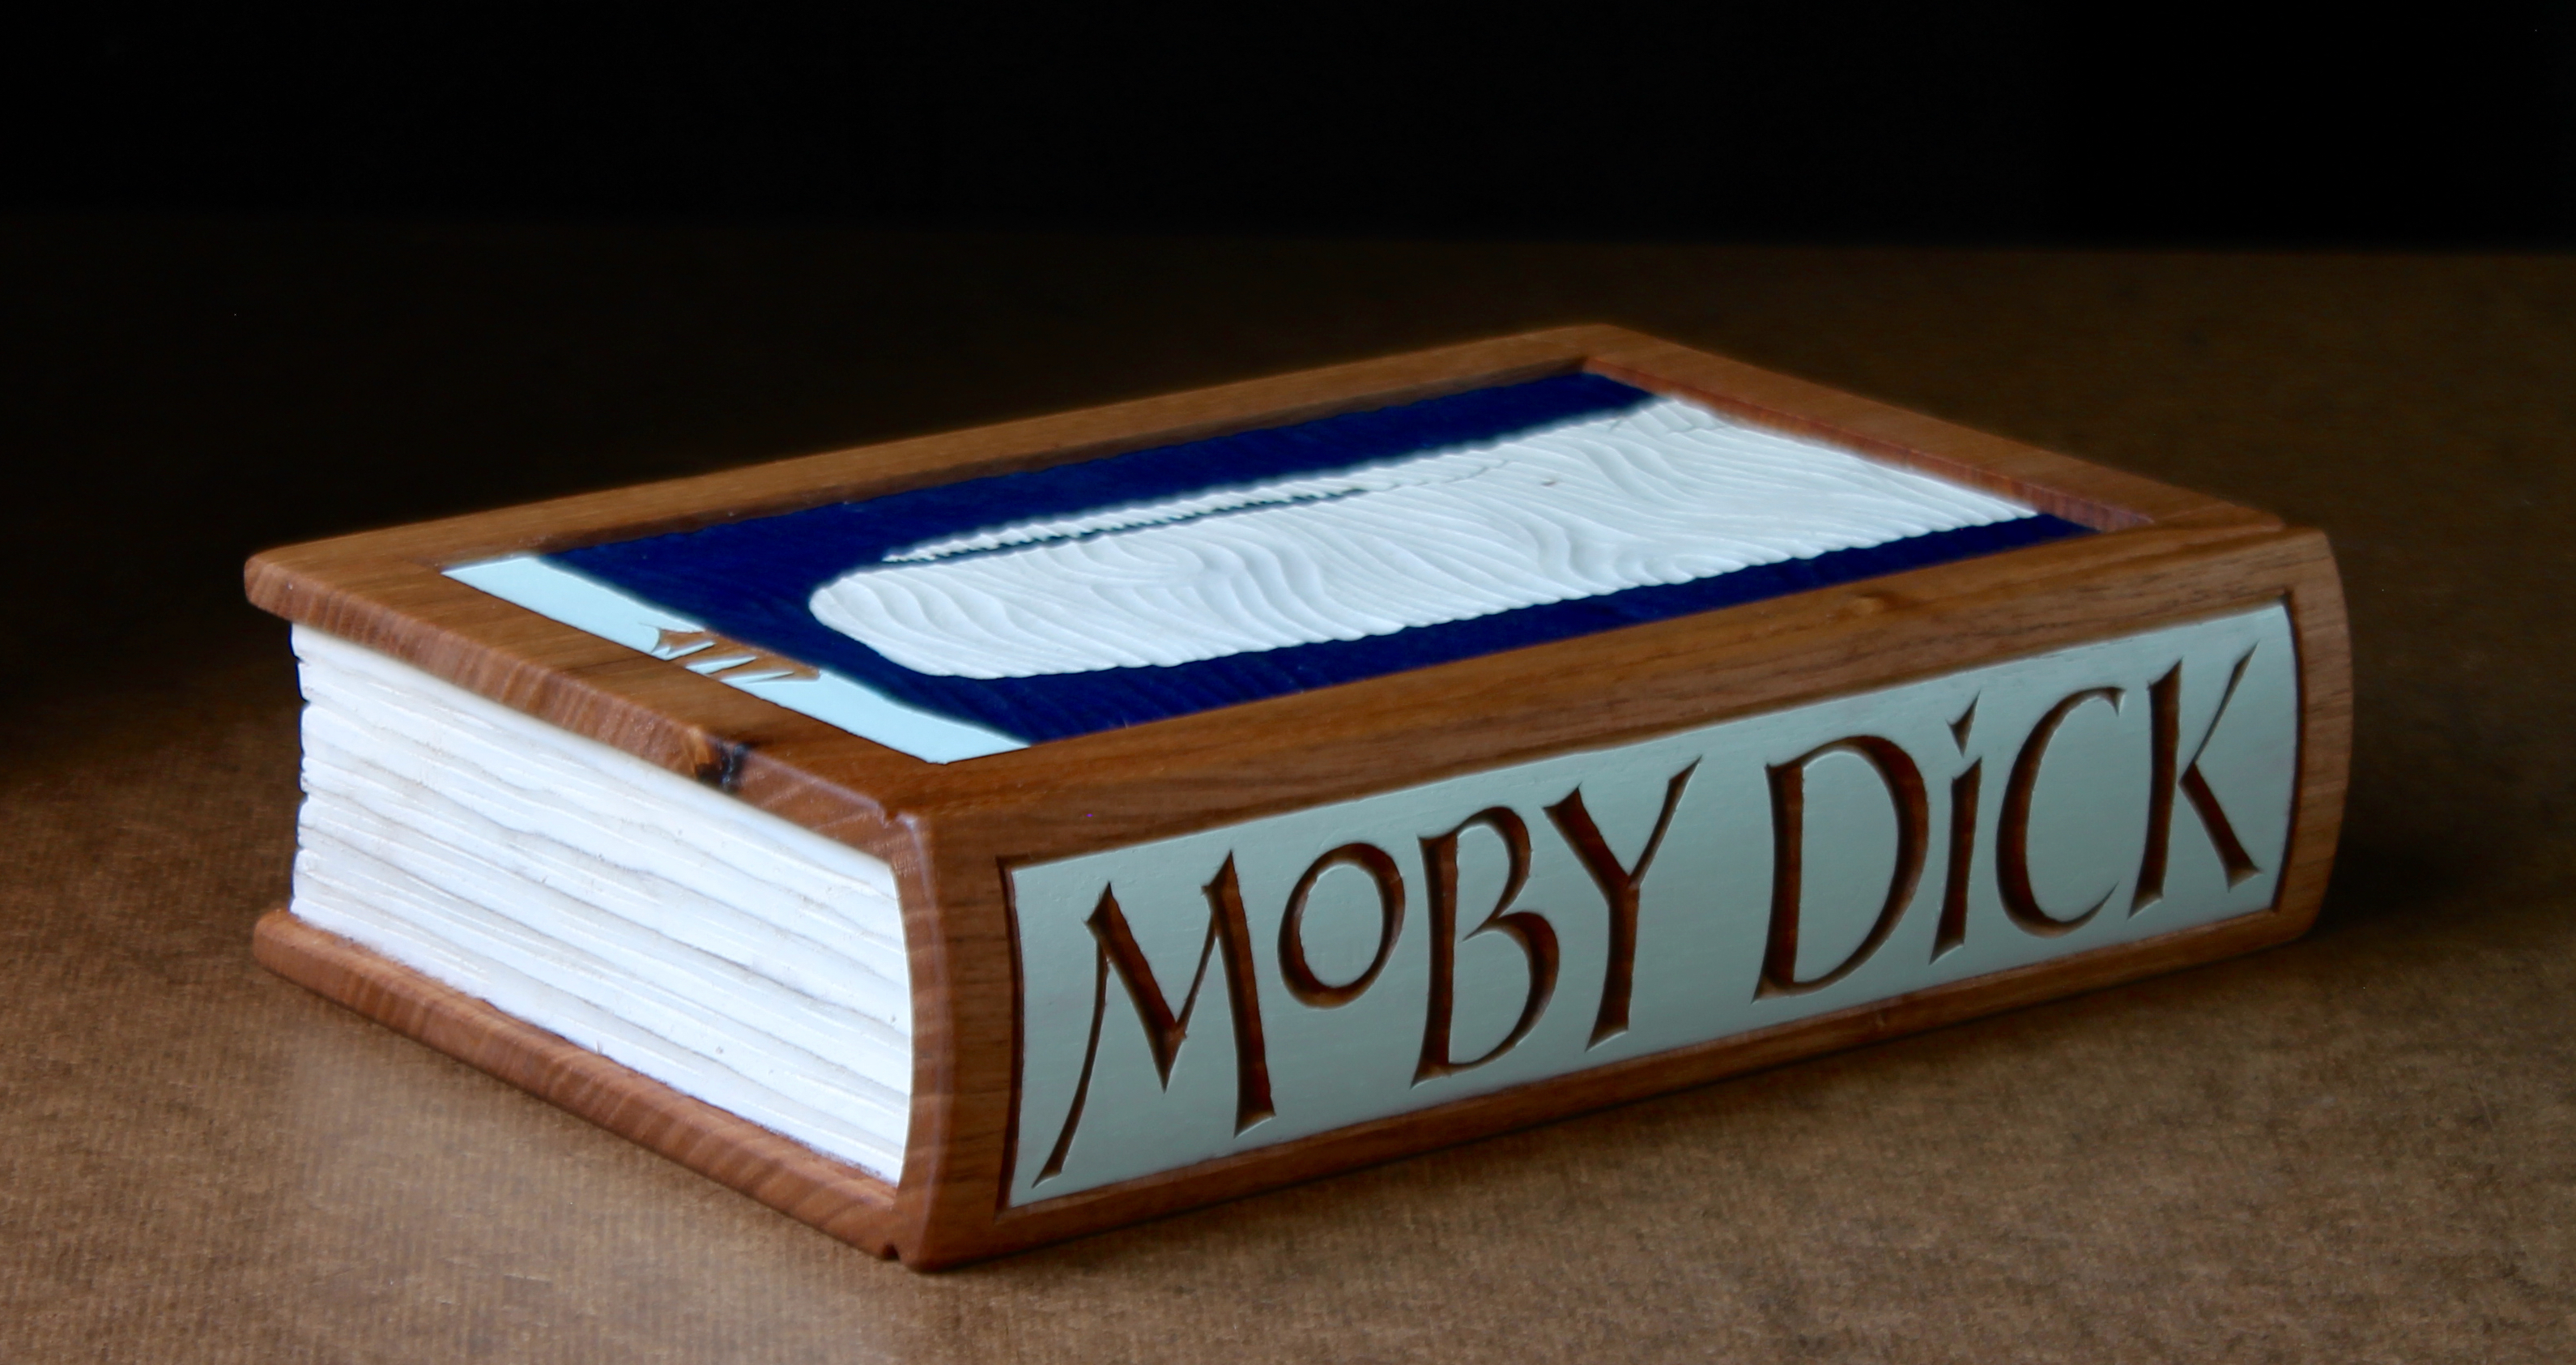
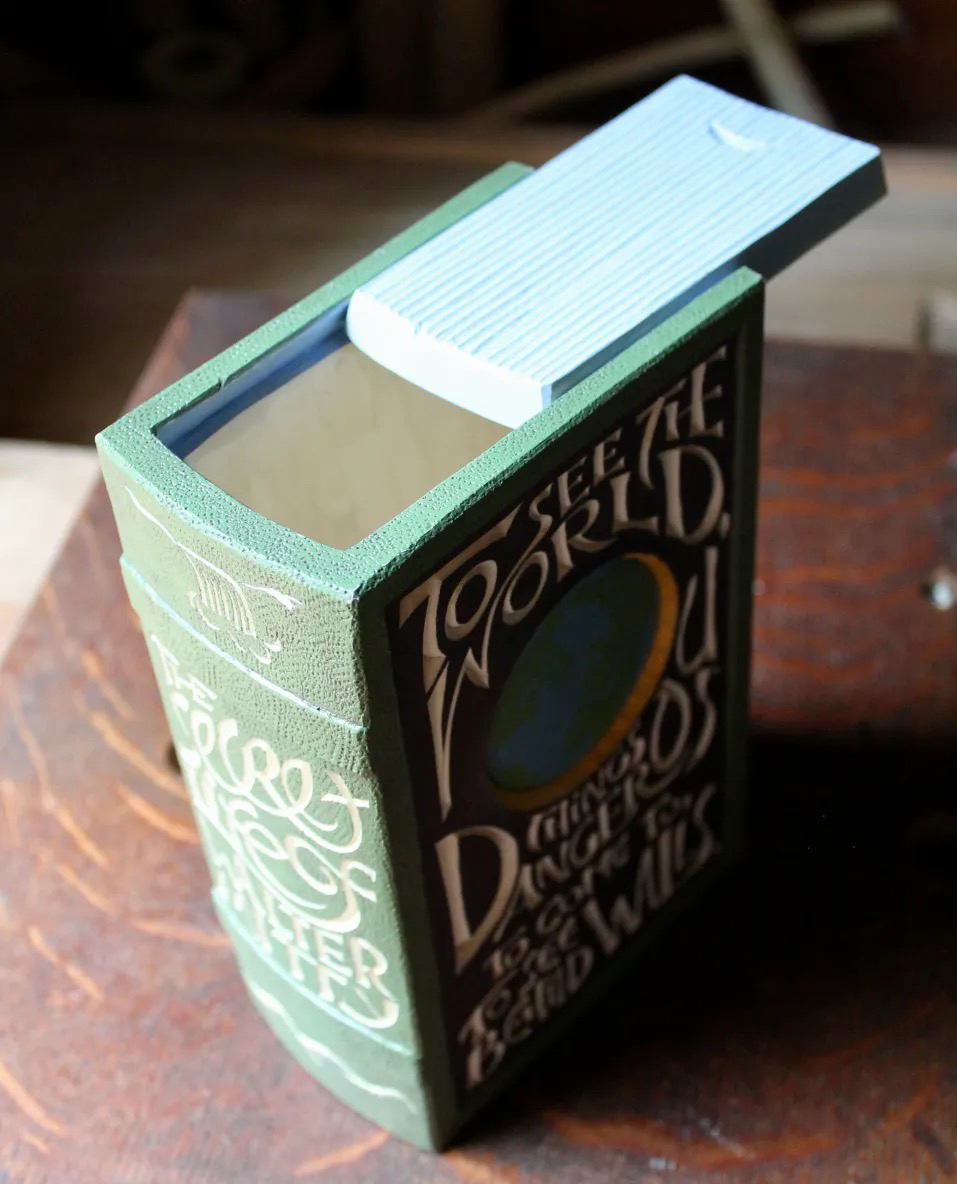
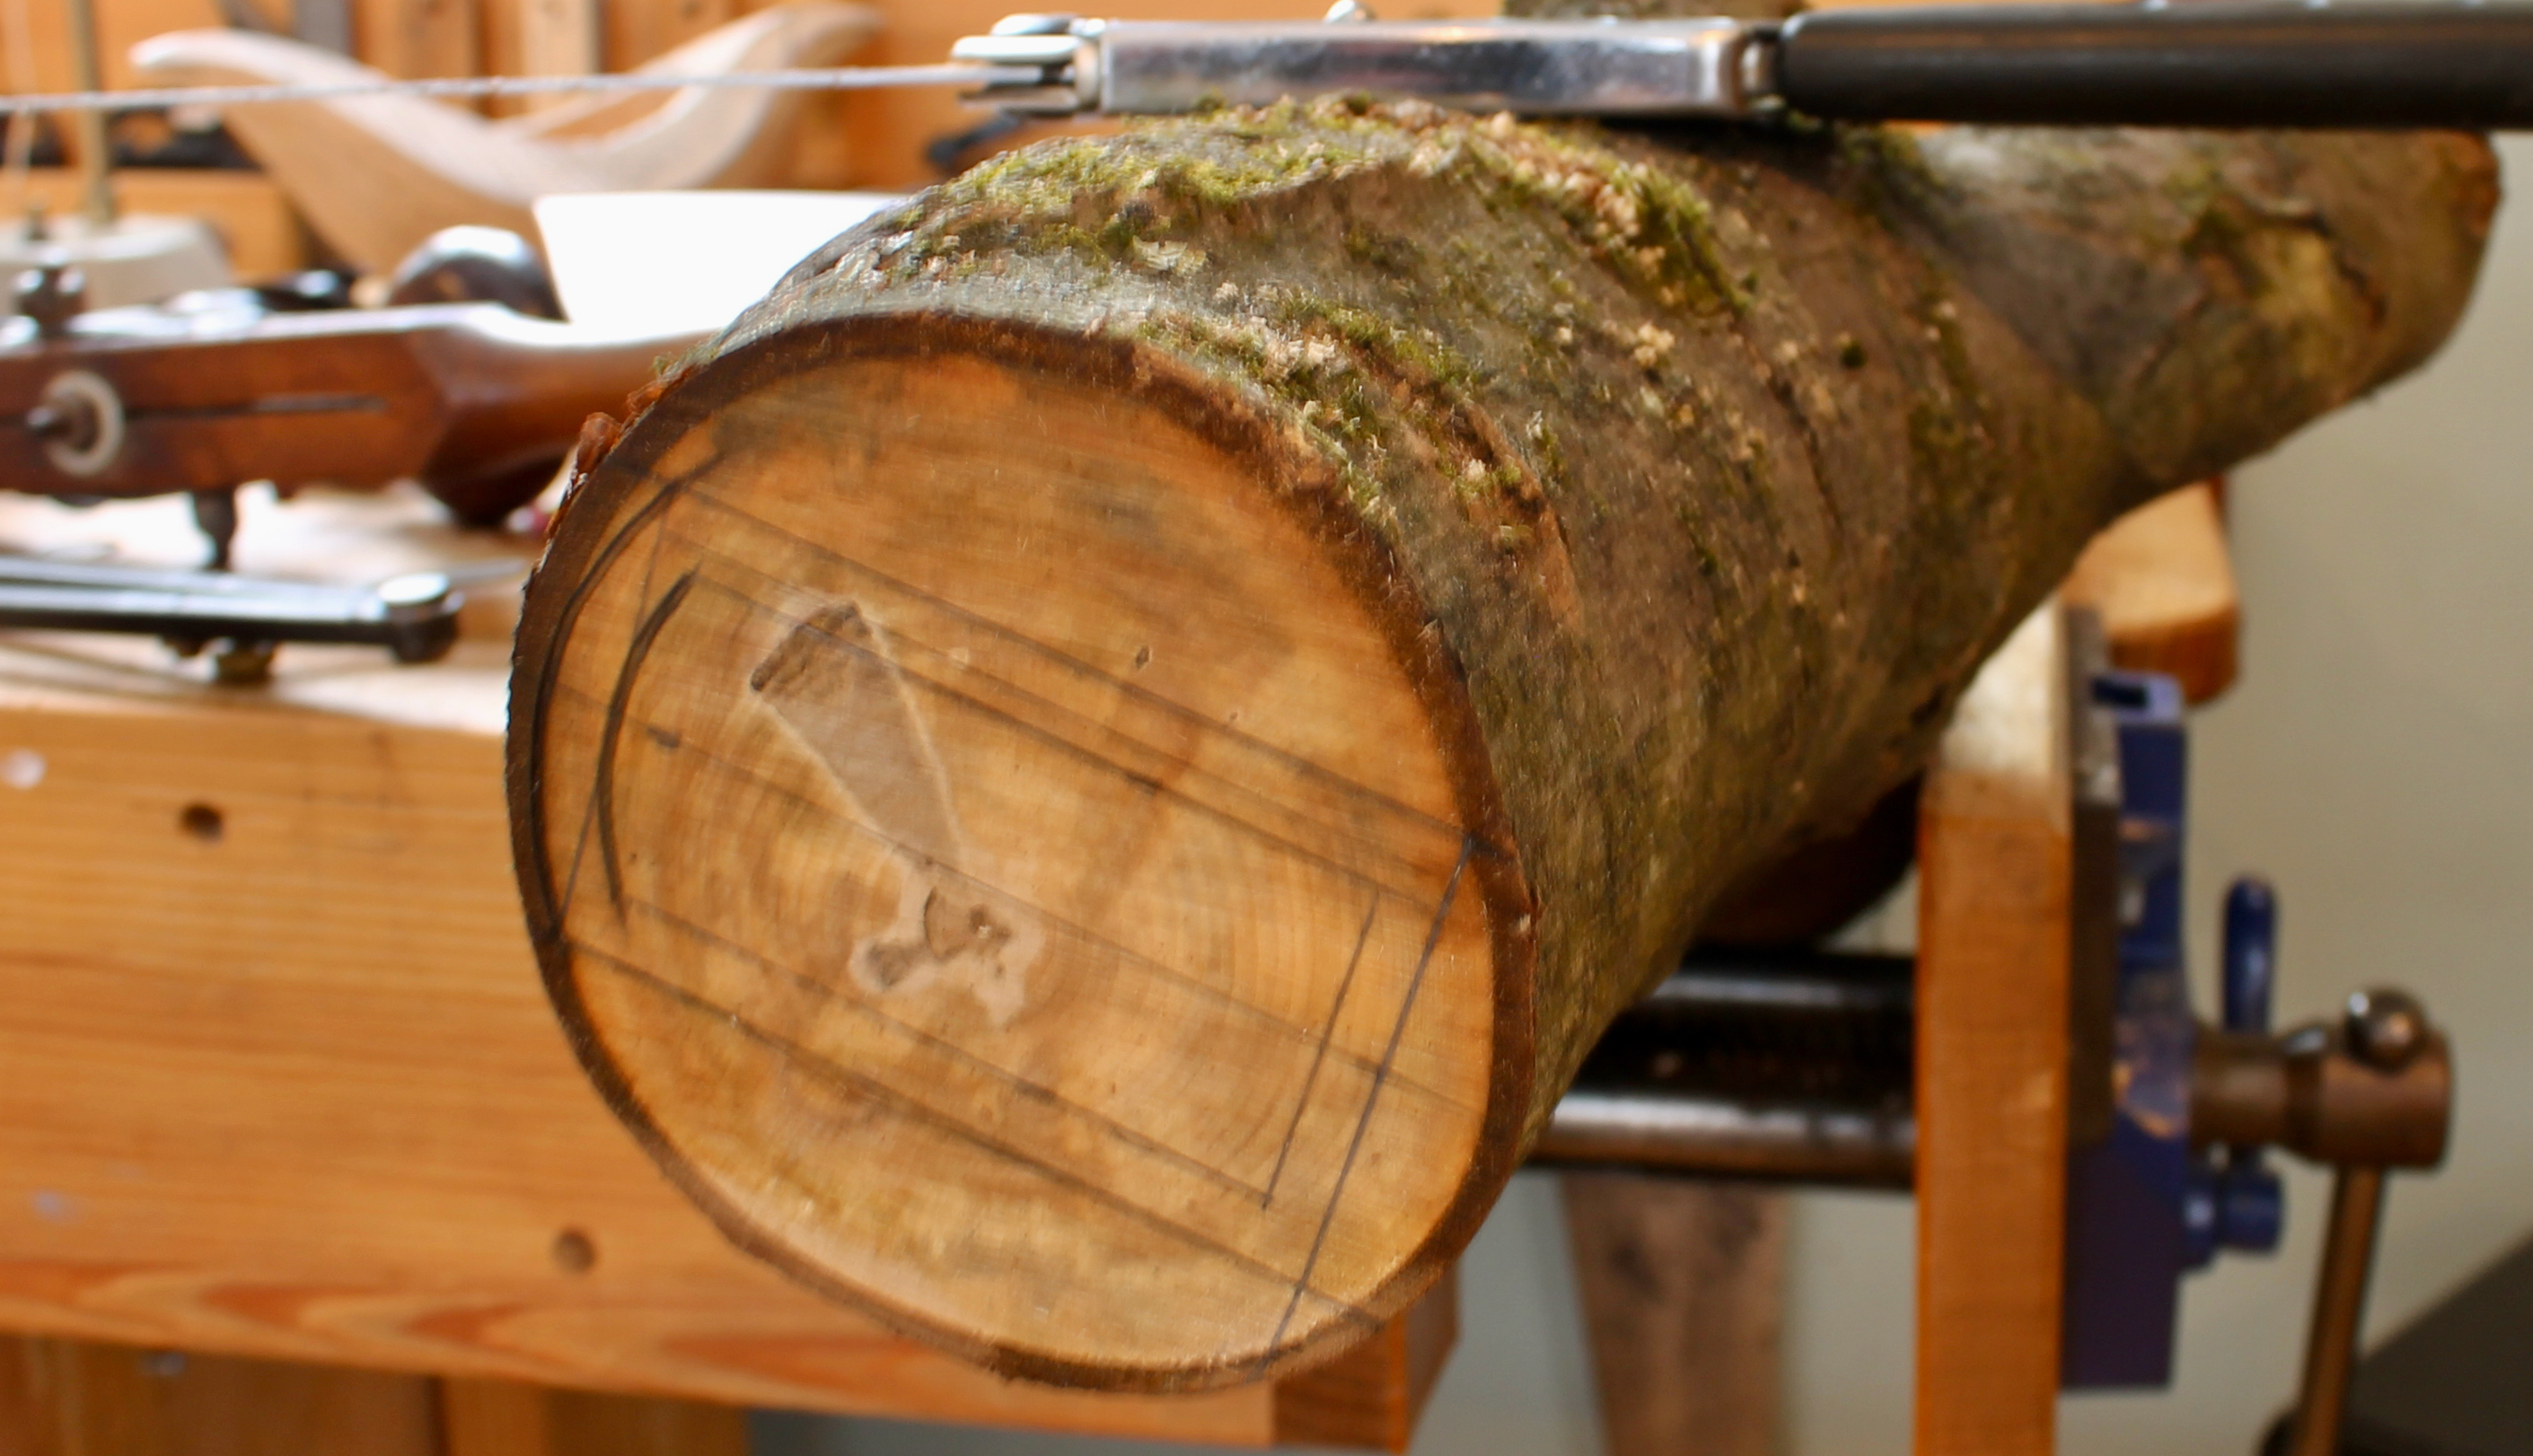
Above, I’ve sketched some lines on the end grain surface of a maple log. It’s still green, but not super fresh. This will be for a shrink book, a shrink pot in the form of a book. It’s a relatively small one, so the 1 1/4″ bit will be ideal for drilling a series of three holes to begin the excavation of the interior.
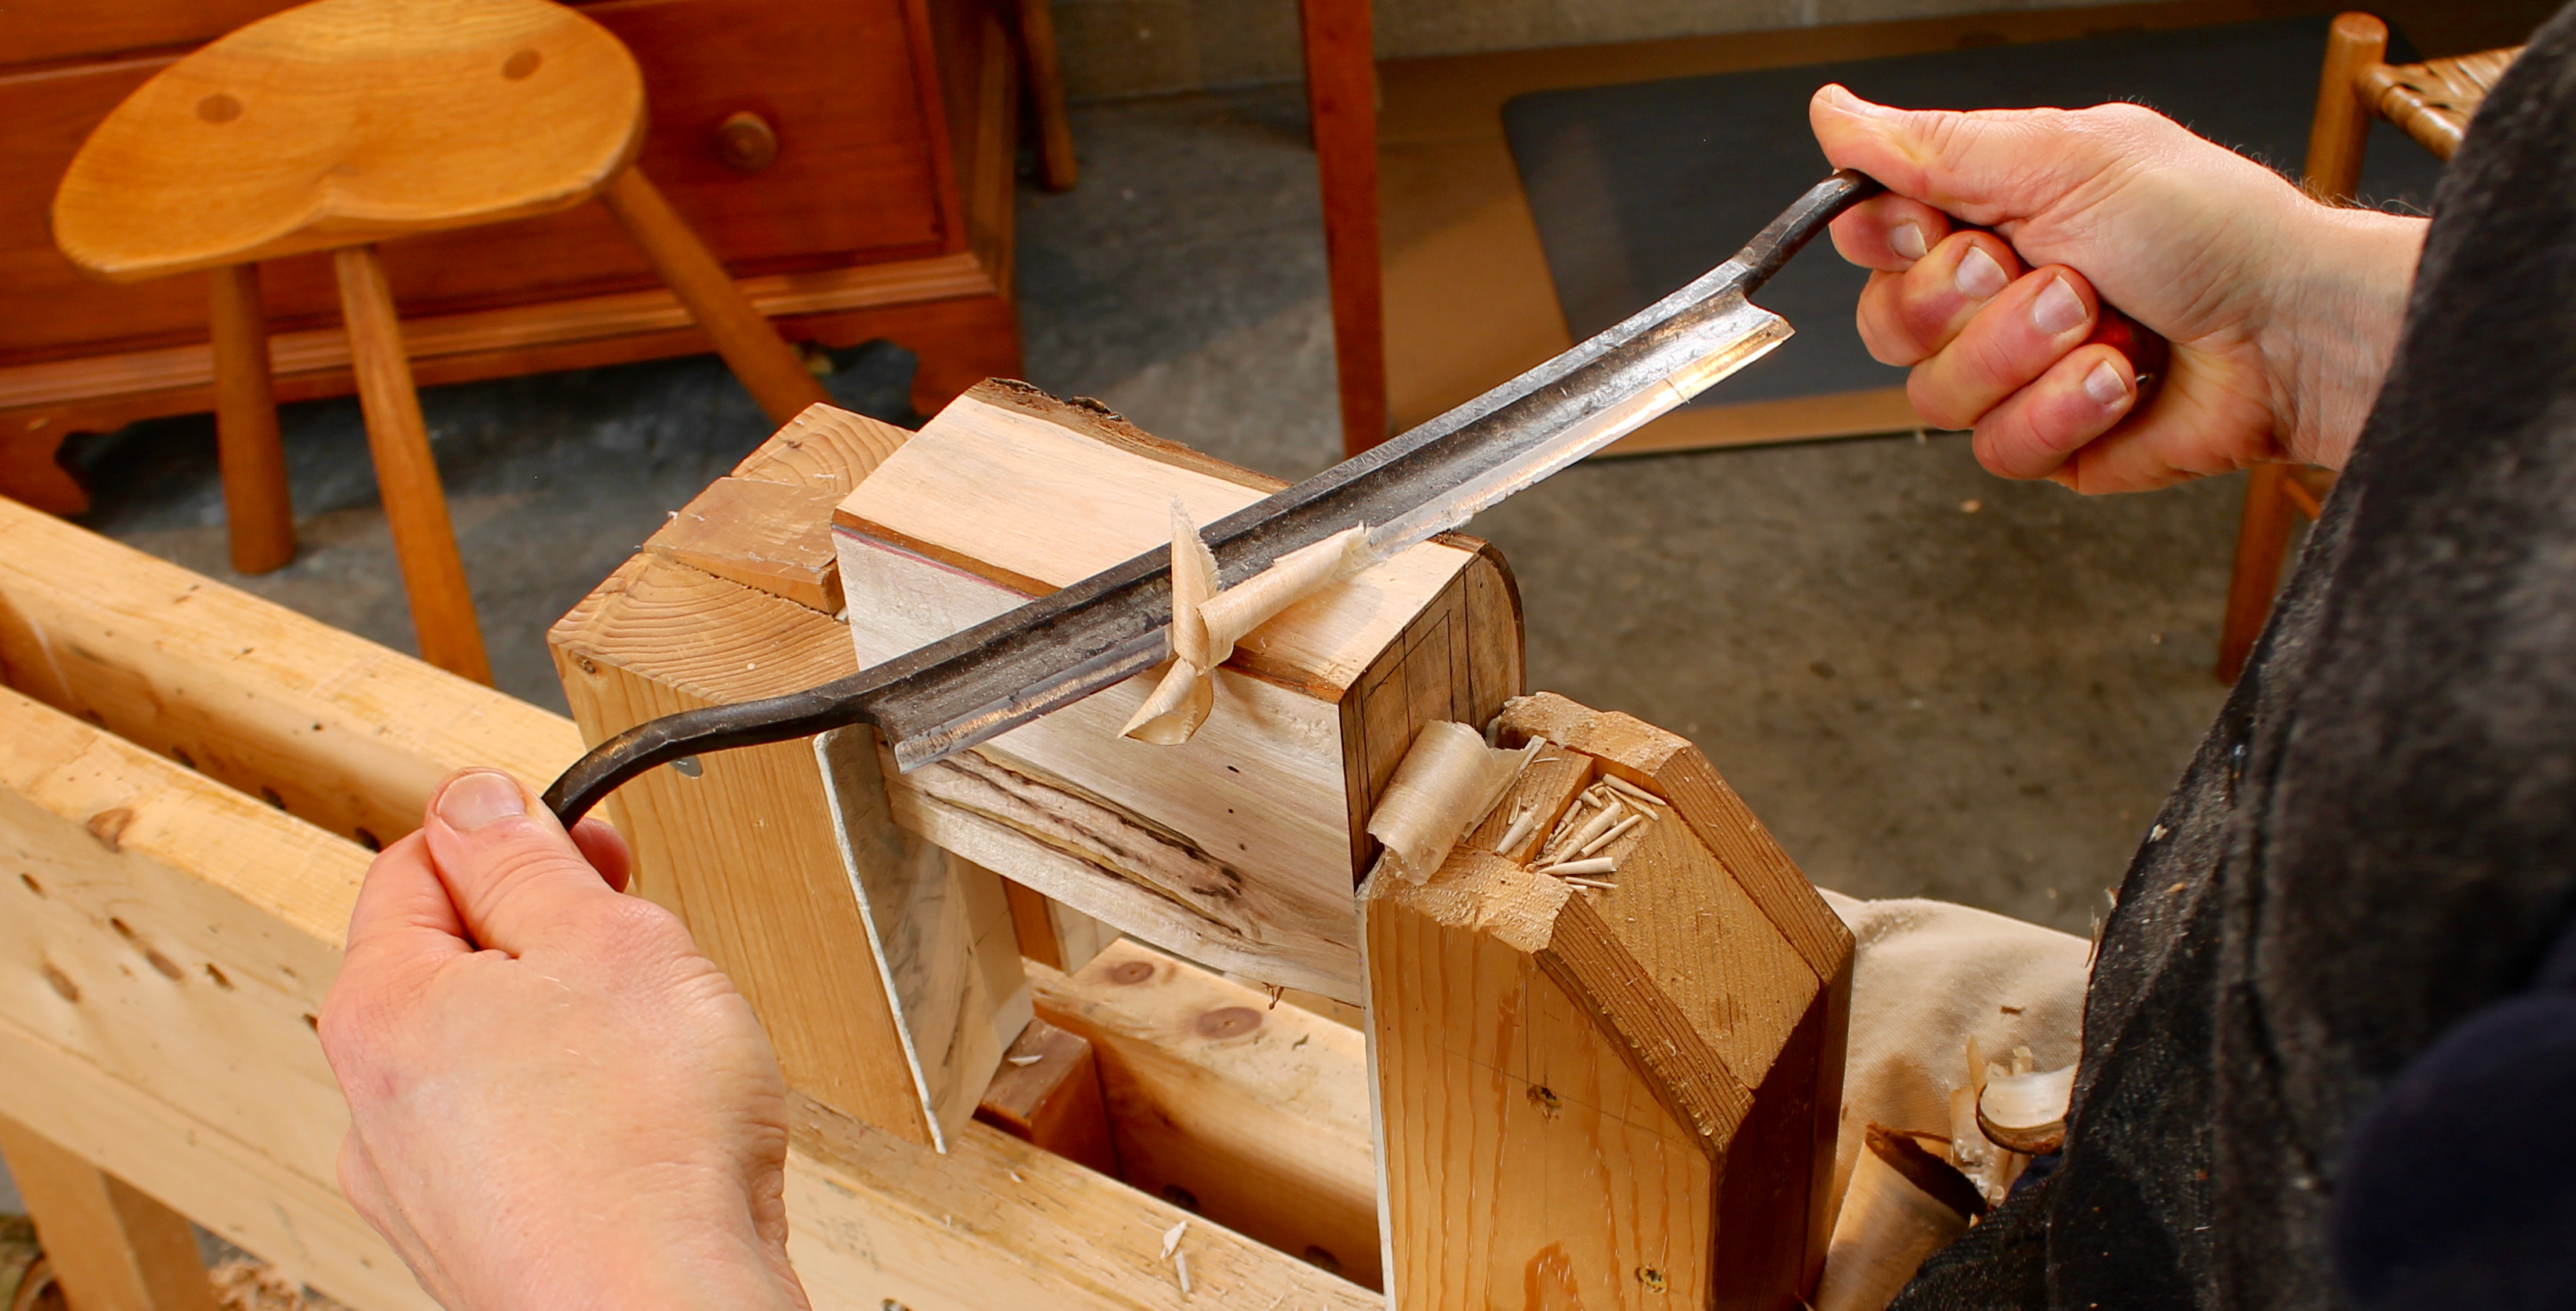
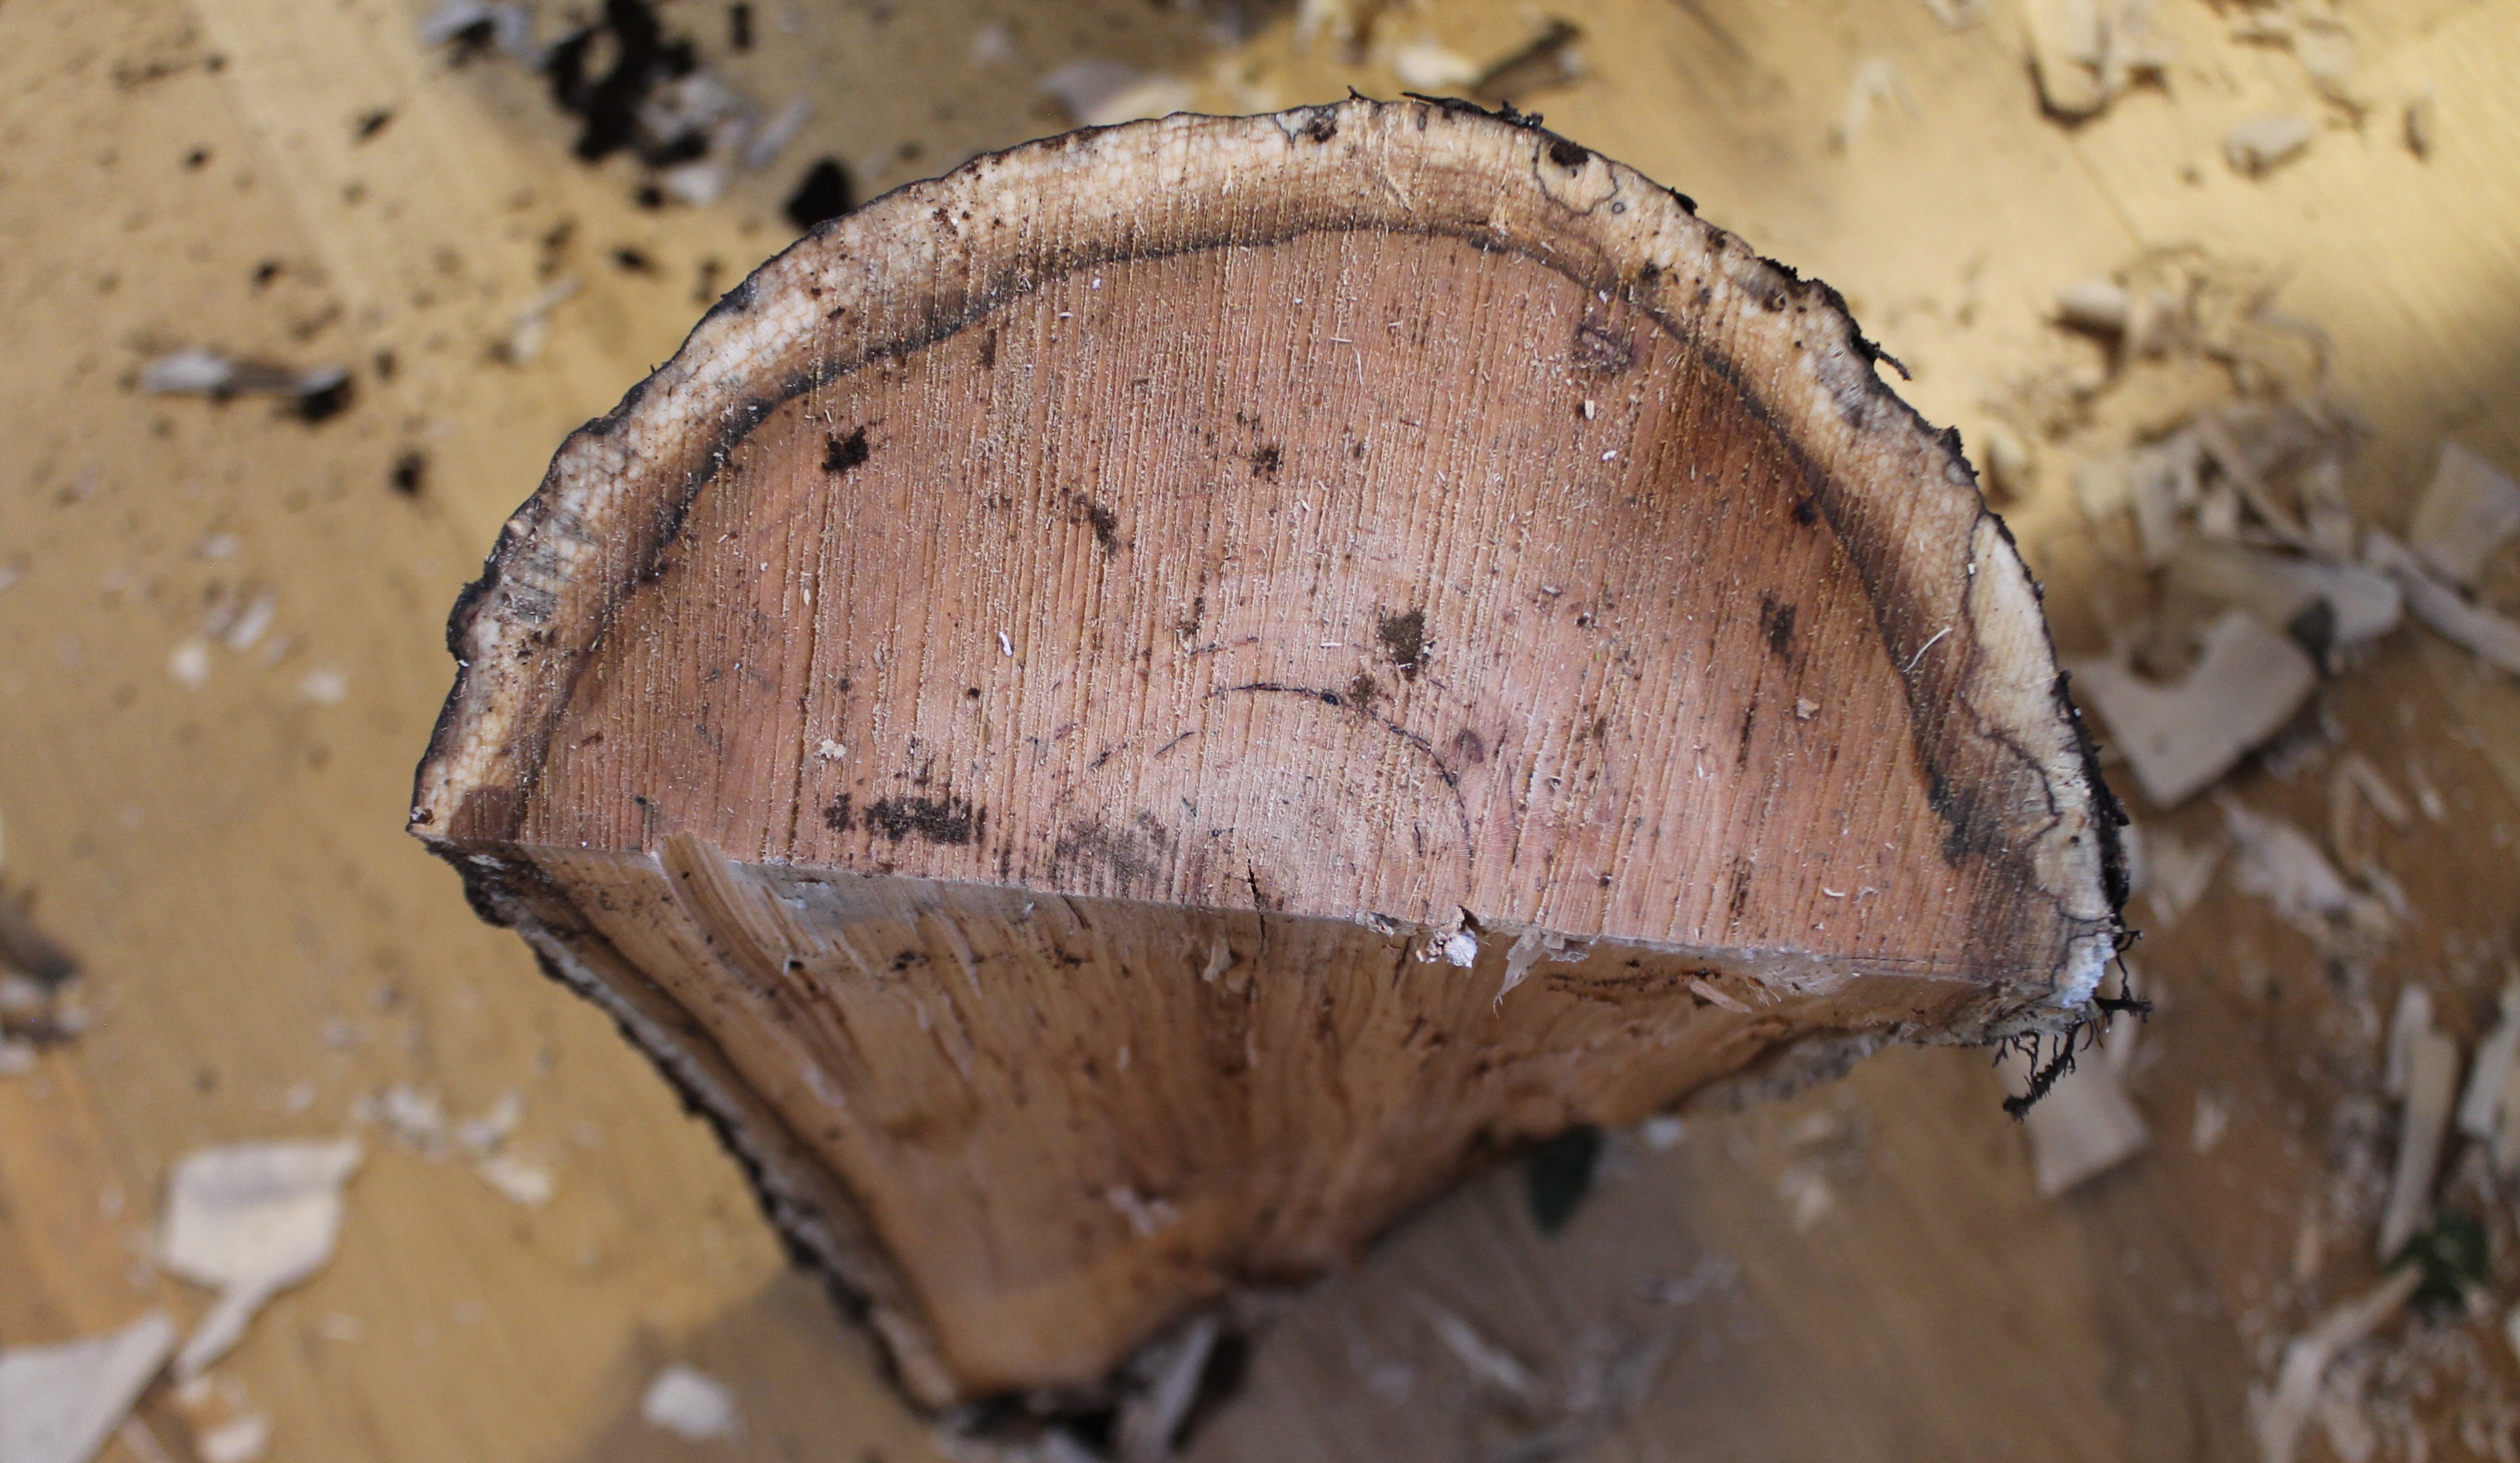
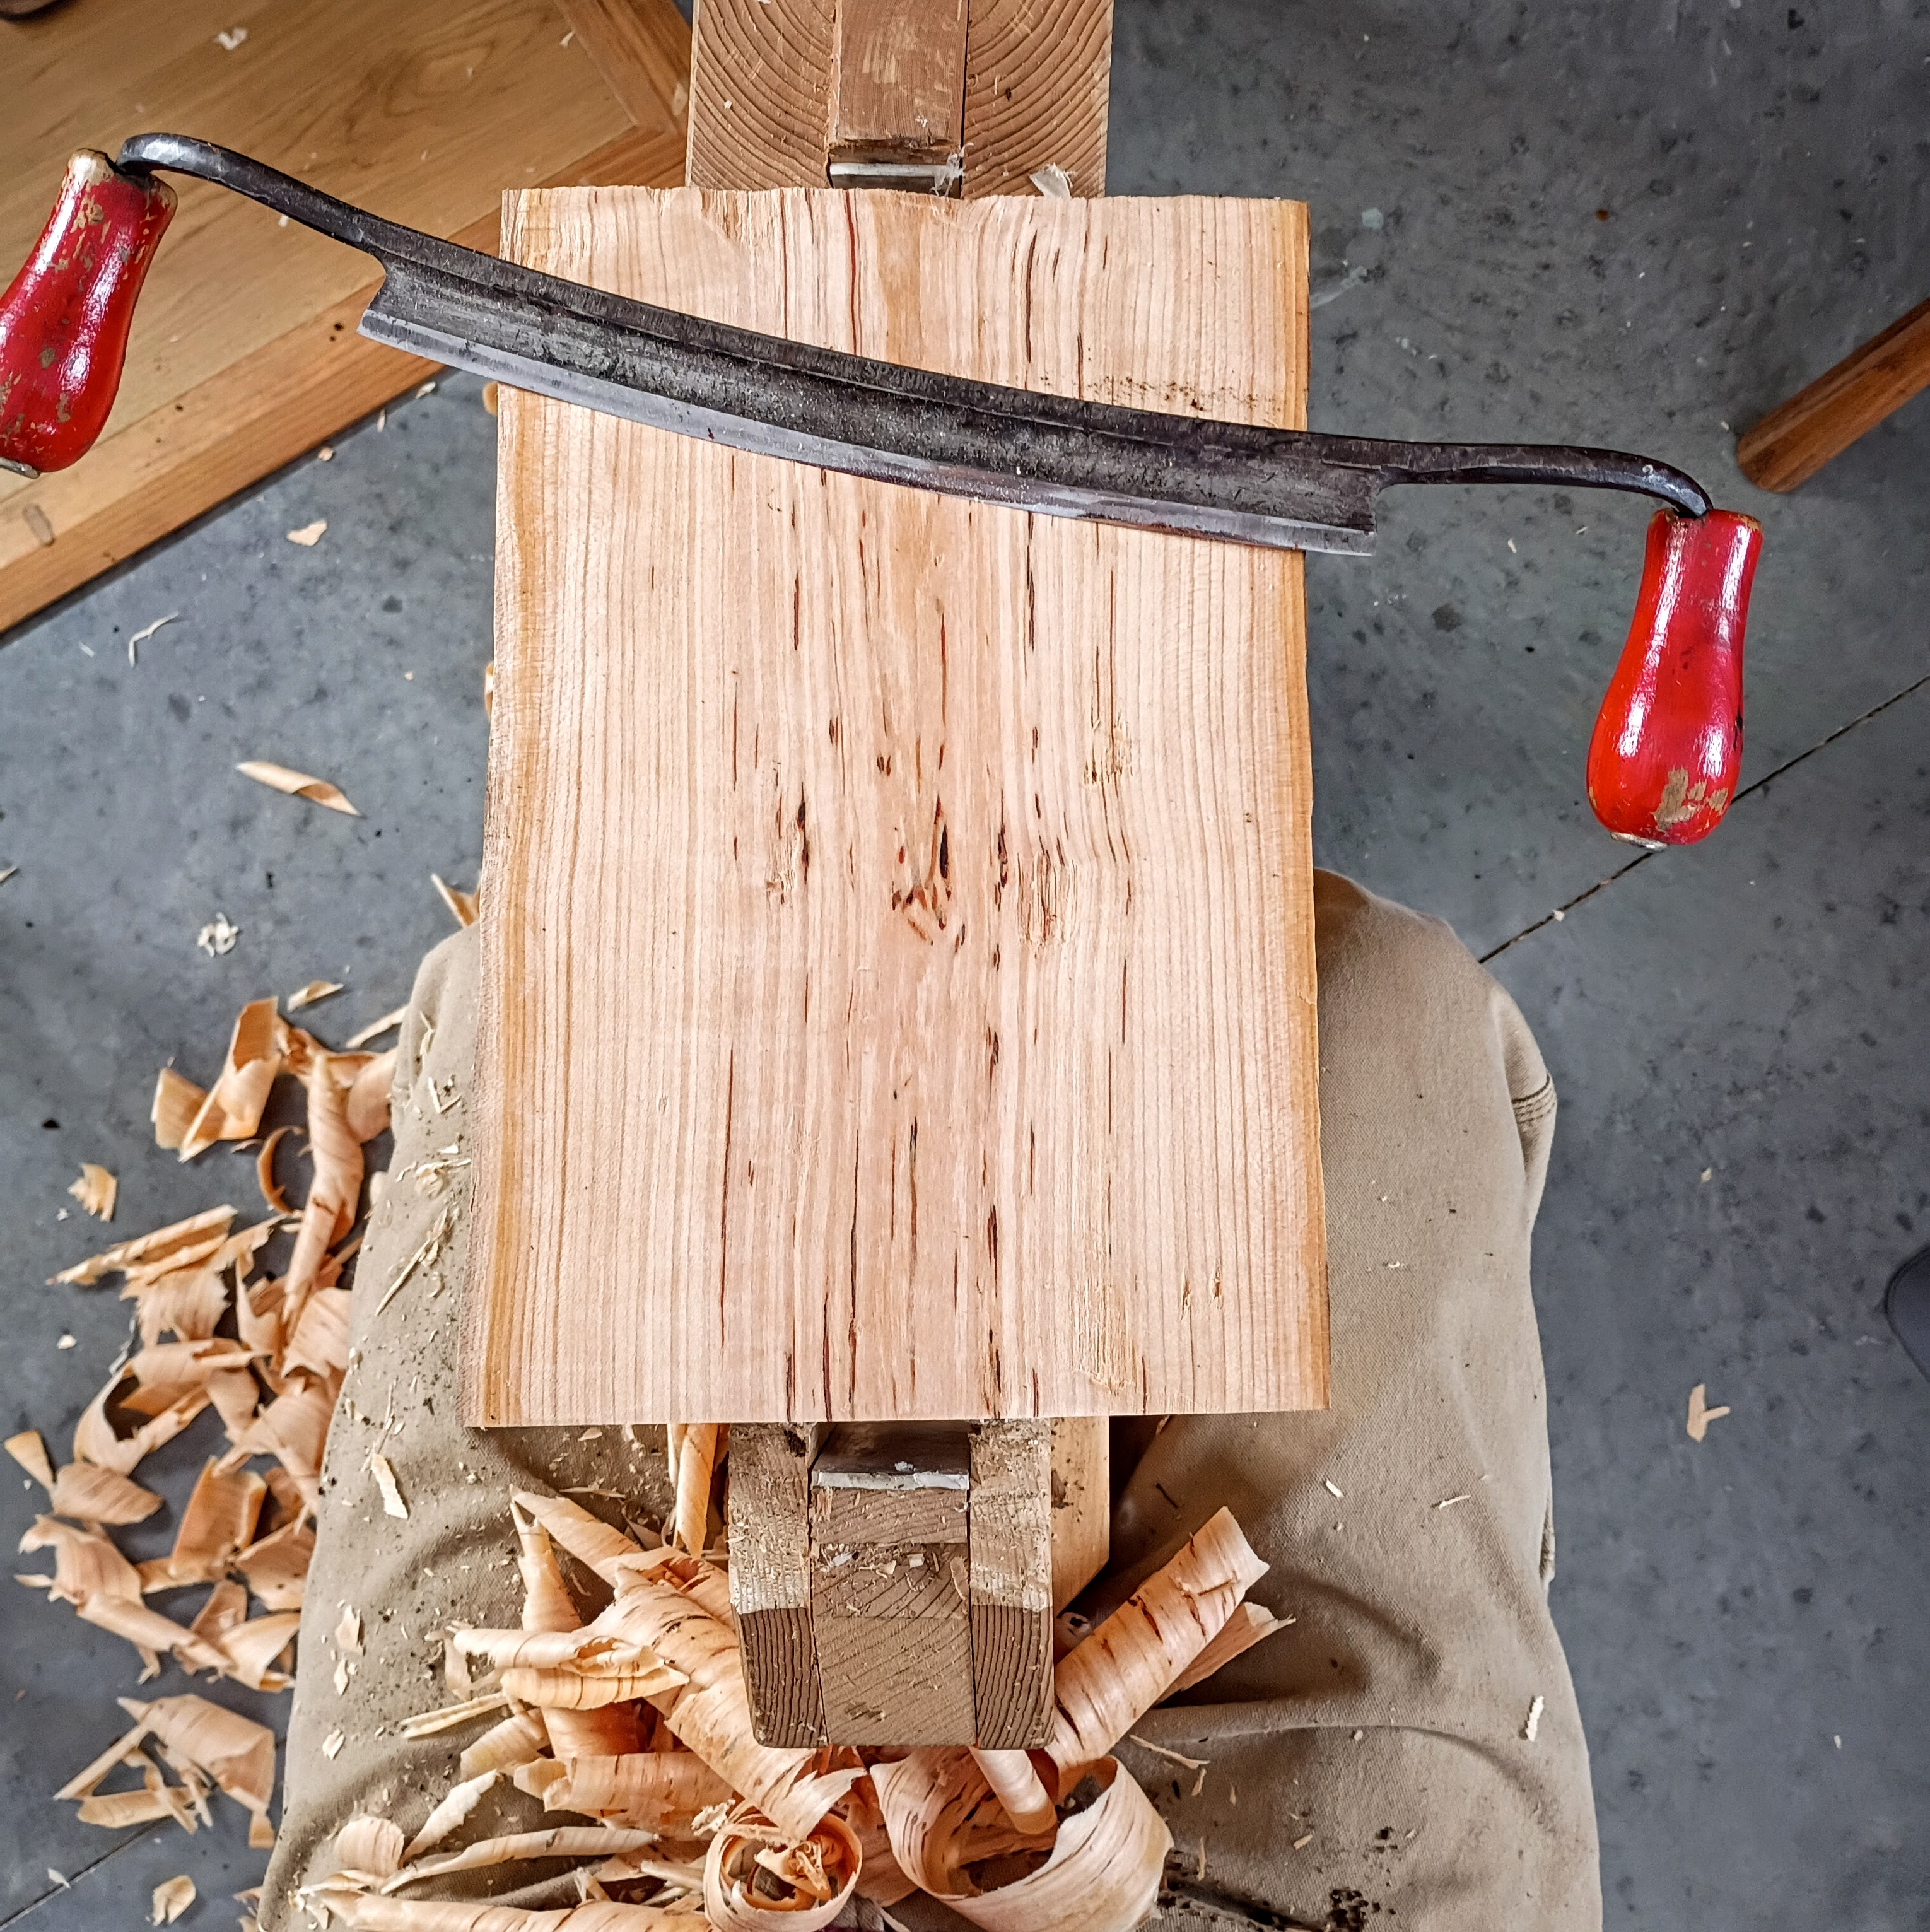
I want to bore from both ends, so I cut the piece to rough length, then split and shave the exterior to rough dimension.
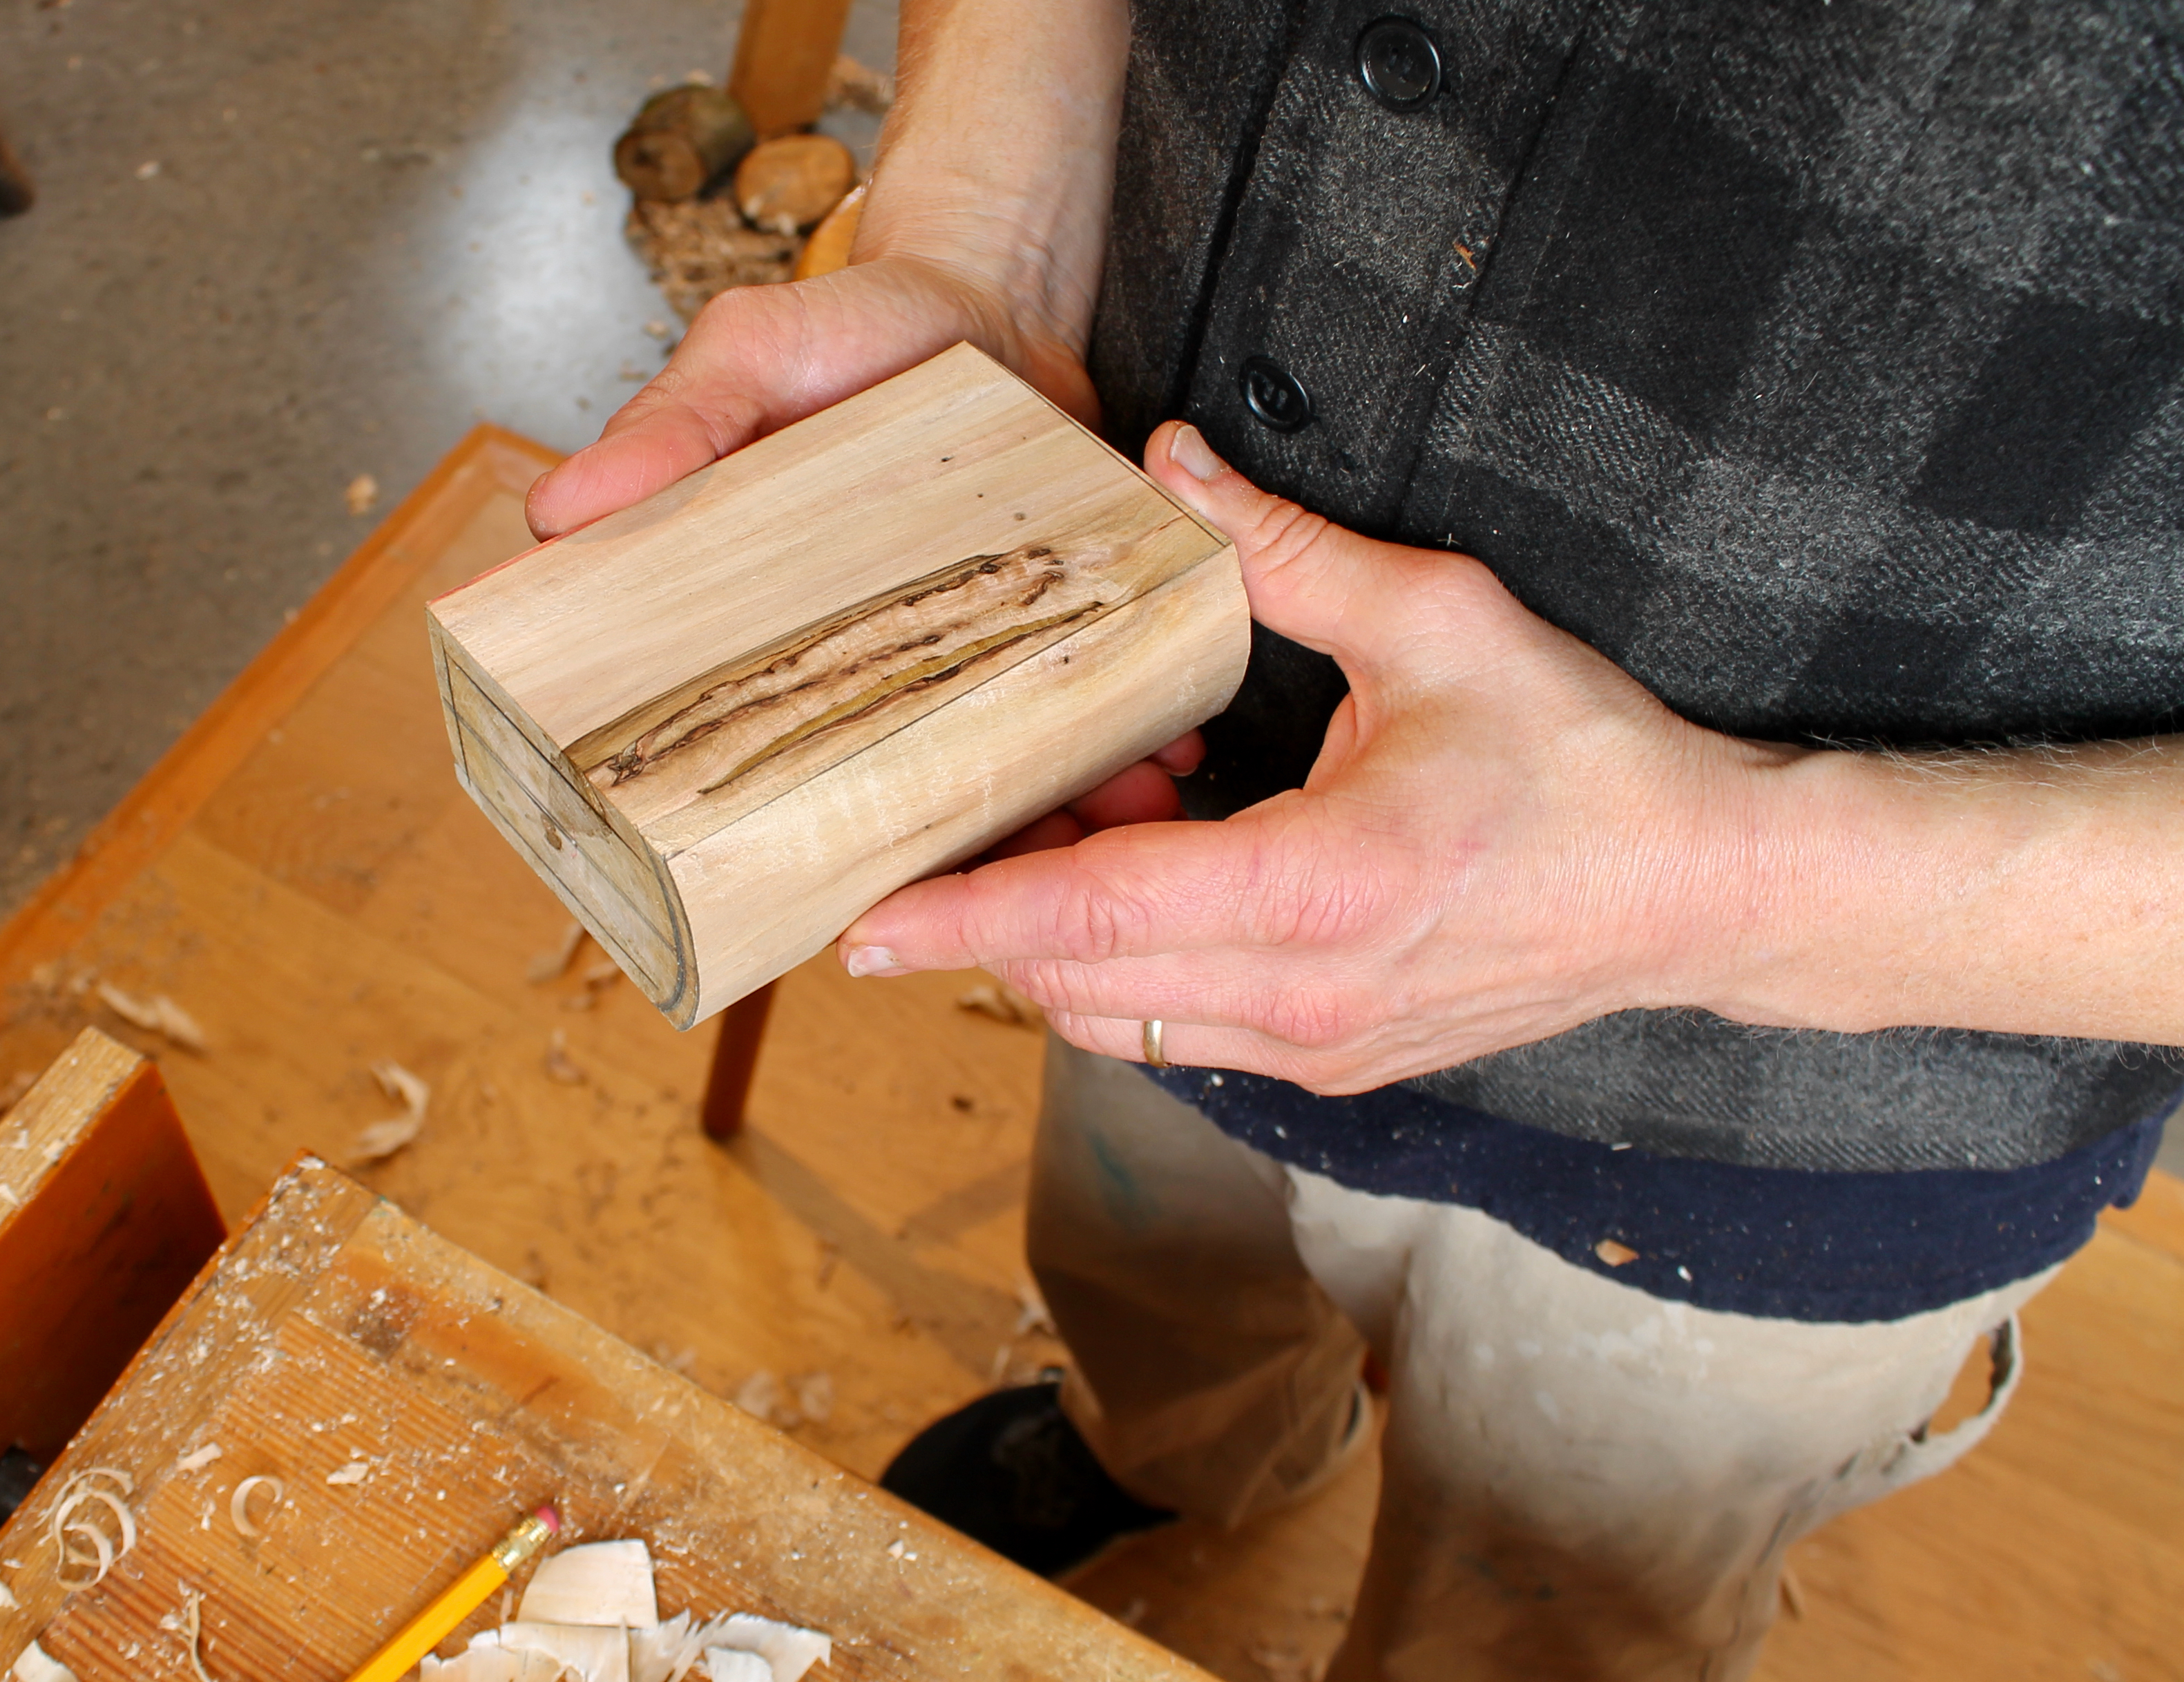
Ready for boring.
Above is a short video clip of the bit in action with a hand brace. The bits also come in longer lengths. The lead screw is excellent and the three cutting edges sheer the end grain well. Still, if you had several holes to bore, especially with the larger 1 1/2″ bit, your elbow will feel the stress eventually.
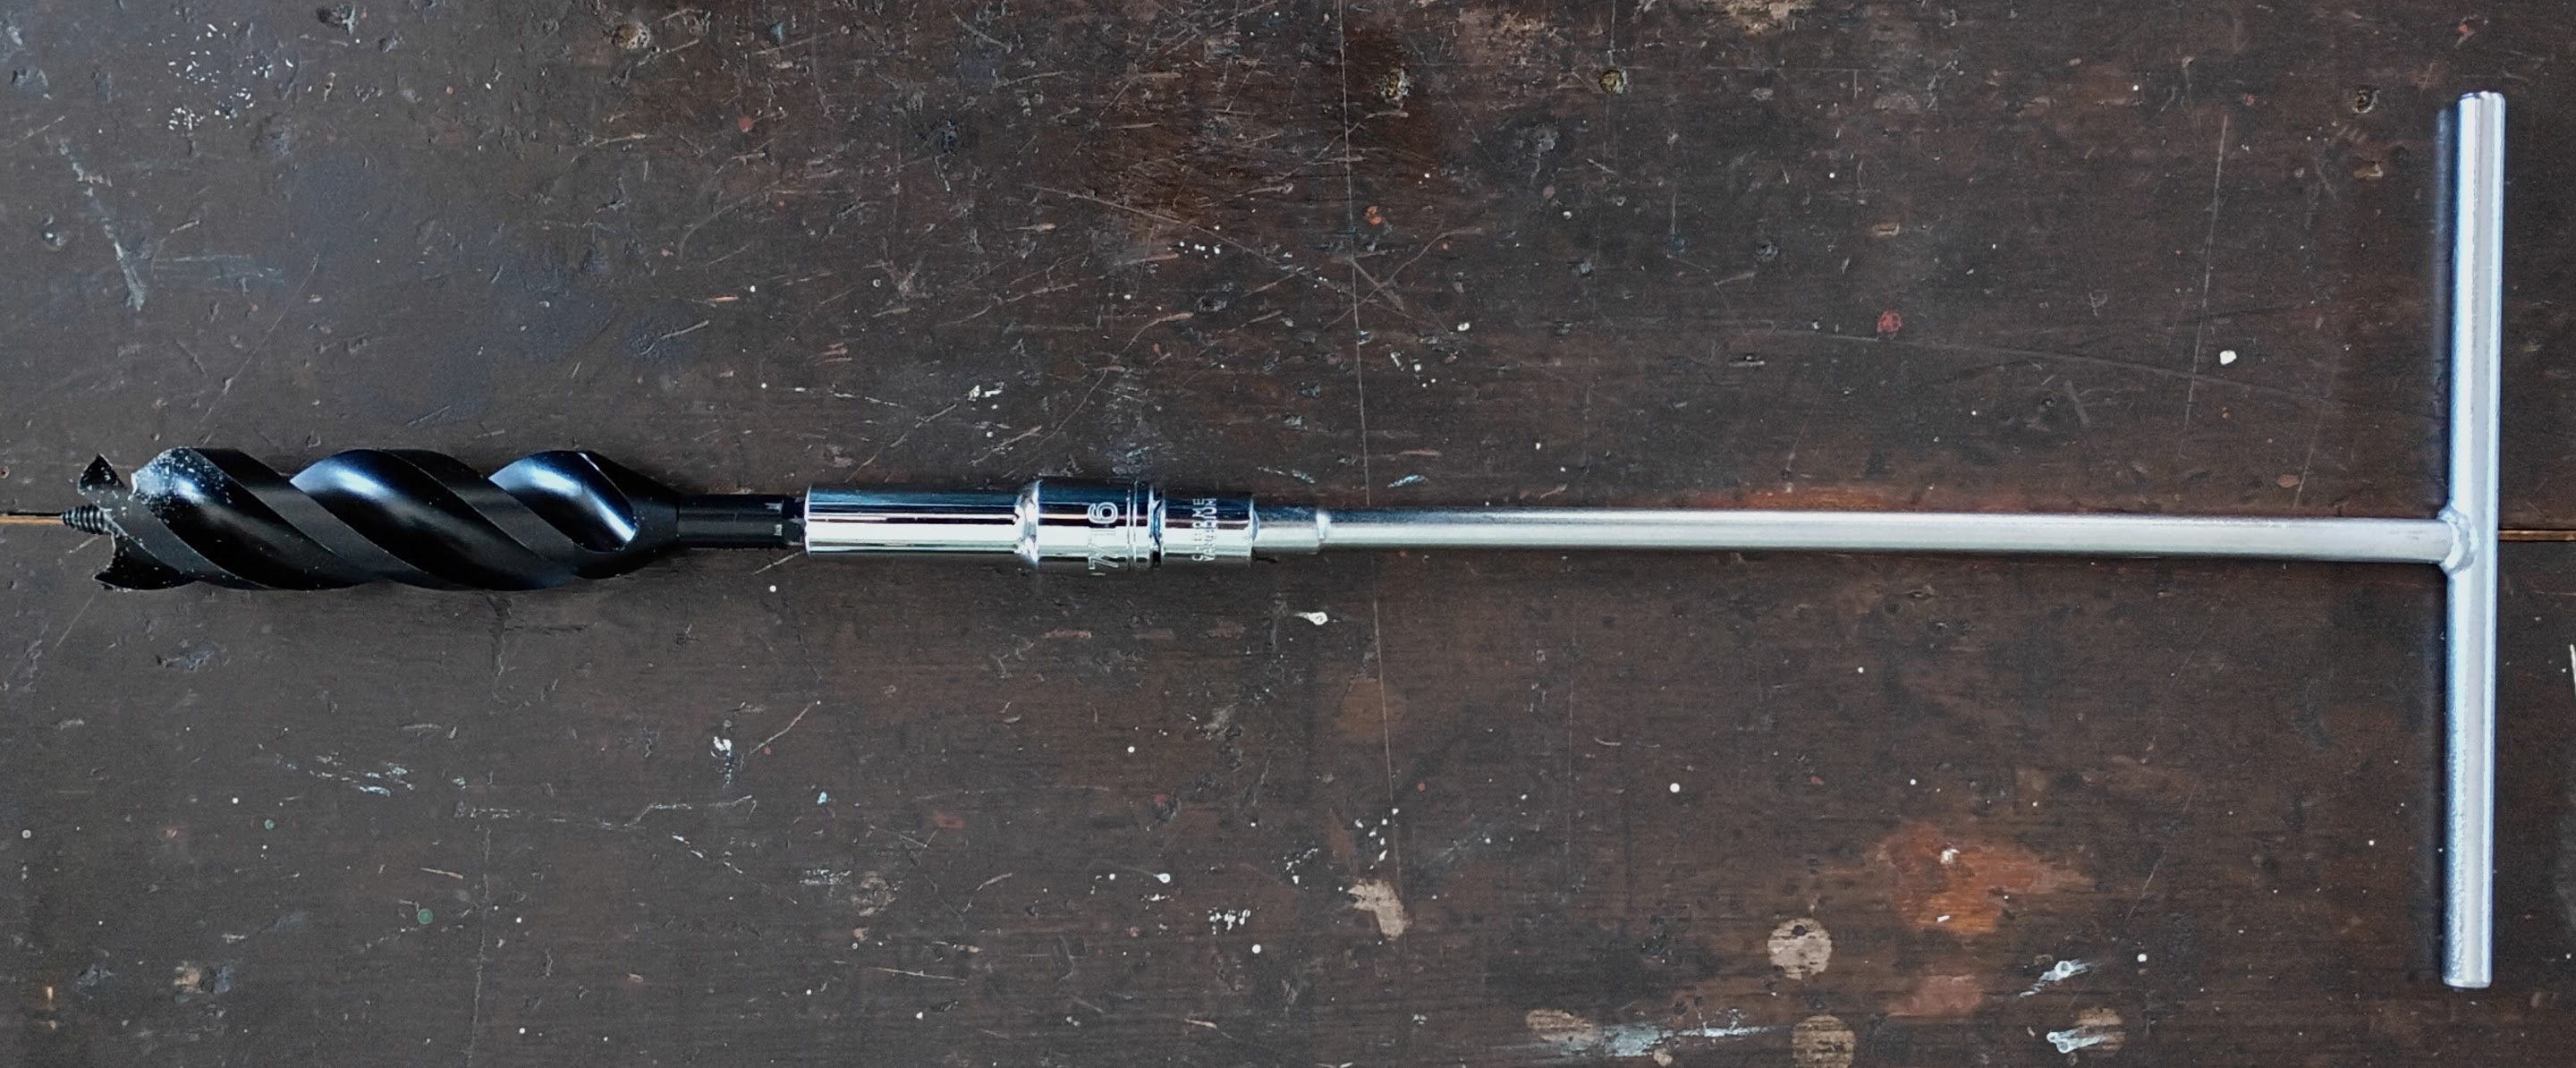
I experimented with an idea suggested by my friend Roberto to use the bit in a T-handle arrangement. It uses a T-handle socket driver with a deep 7/16″ socket. Wood handles could be added. But I never got that far, because there’s too much play in the joints, so it is difficult to direct the bit during the critical beginning stage. You could weld things together, I suppose. UPDATE: I did some more digging around and found a T-Handle wrench with an integral 7/16″ deep socket that looks promising. Looks like if one were to turn a couple wooden handles, it would be ideal. This one looks promising as well, but it seems that it’s only available in Australia or New Zealand. Also, see Roberto’s input in the comments.
Of course you can always use a 1/2″ electric/cordless drill.
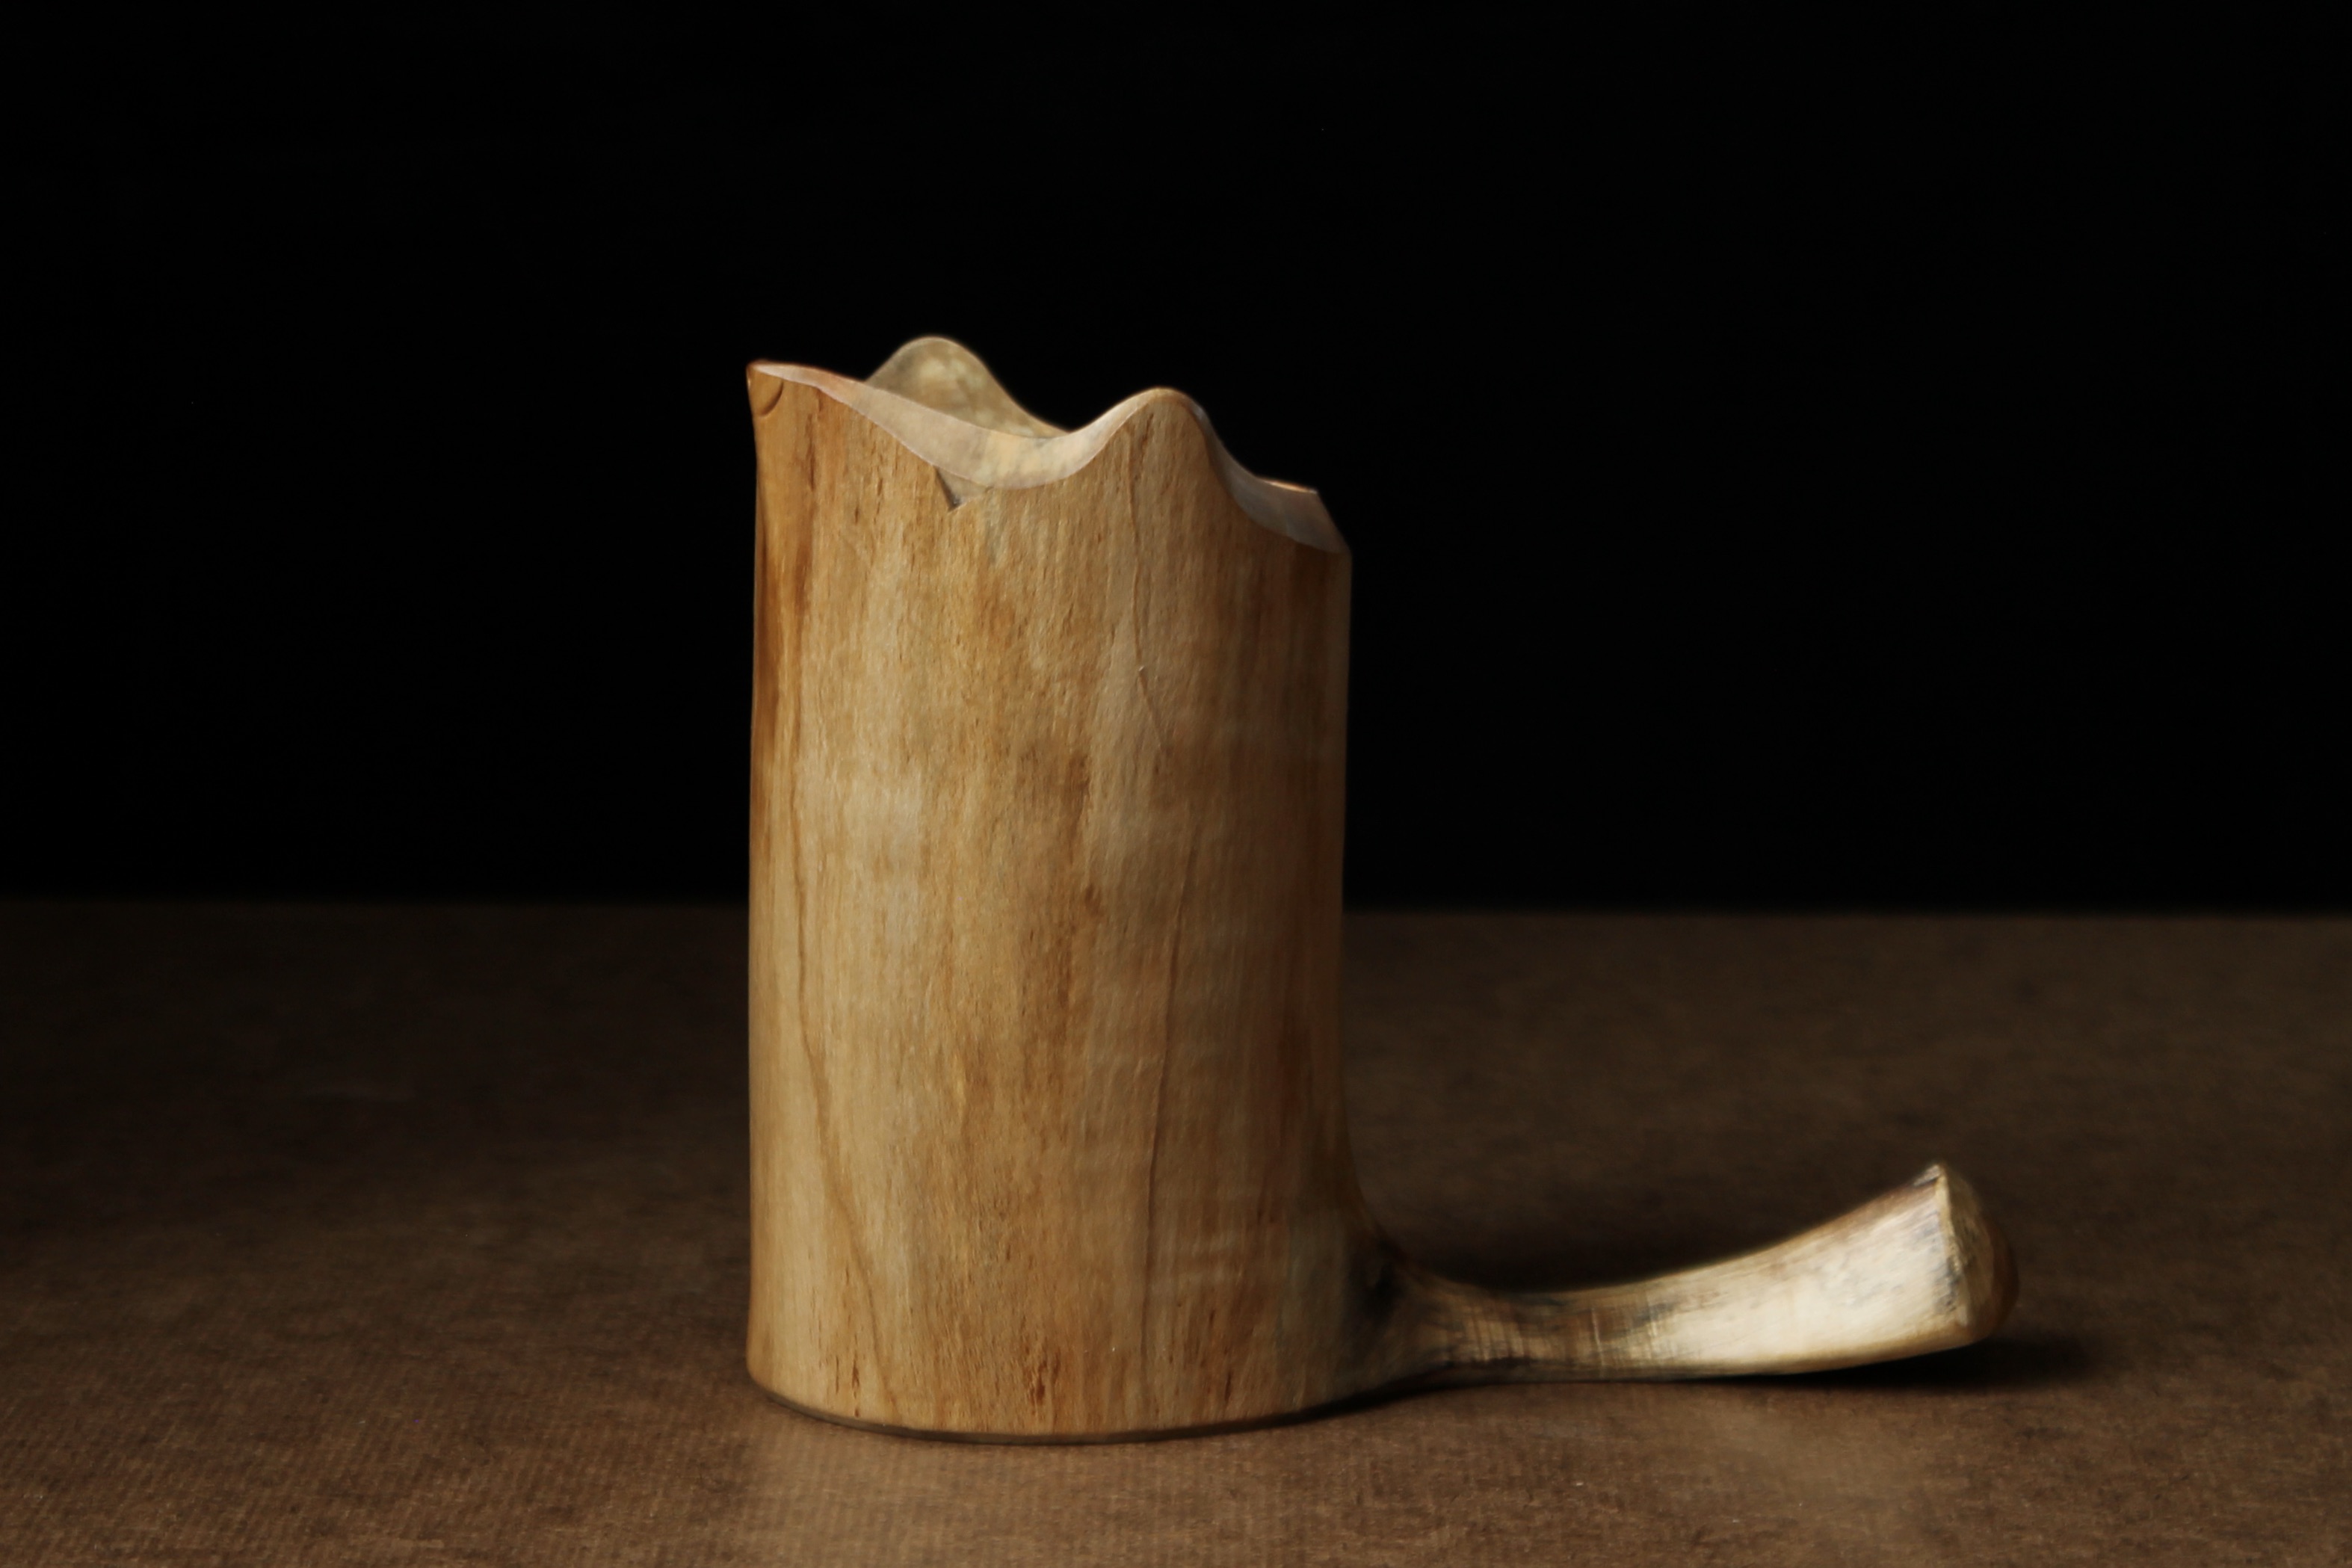
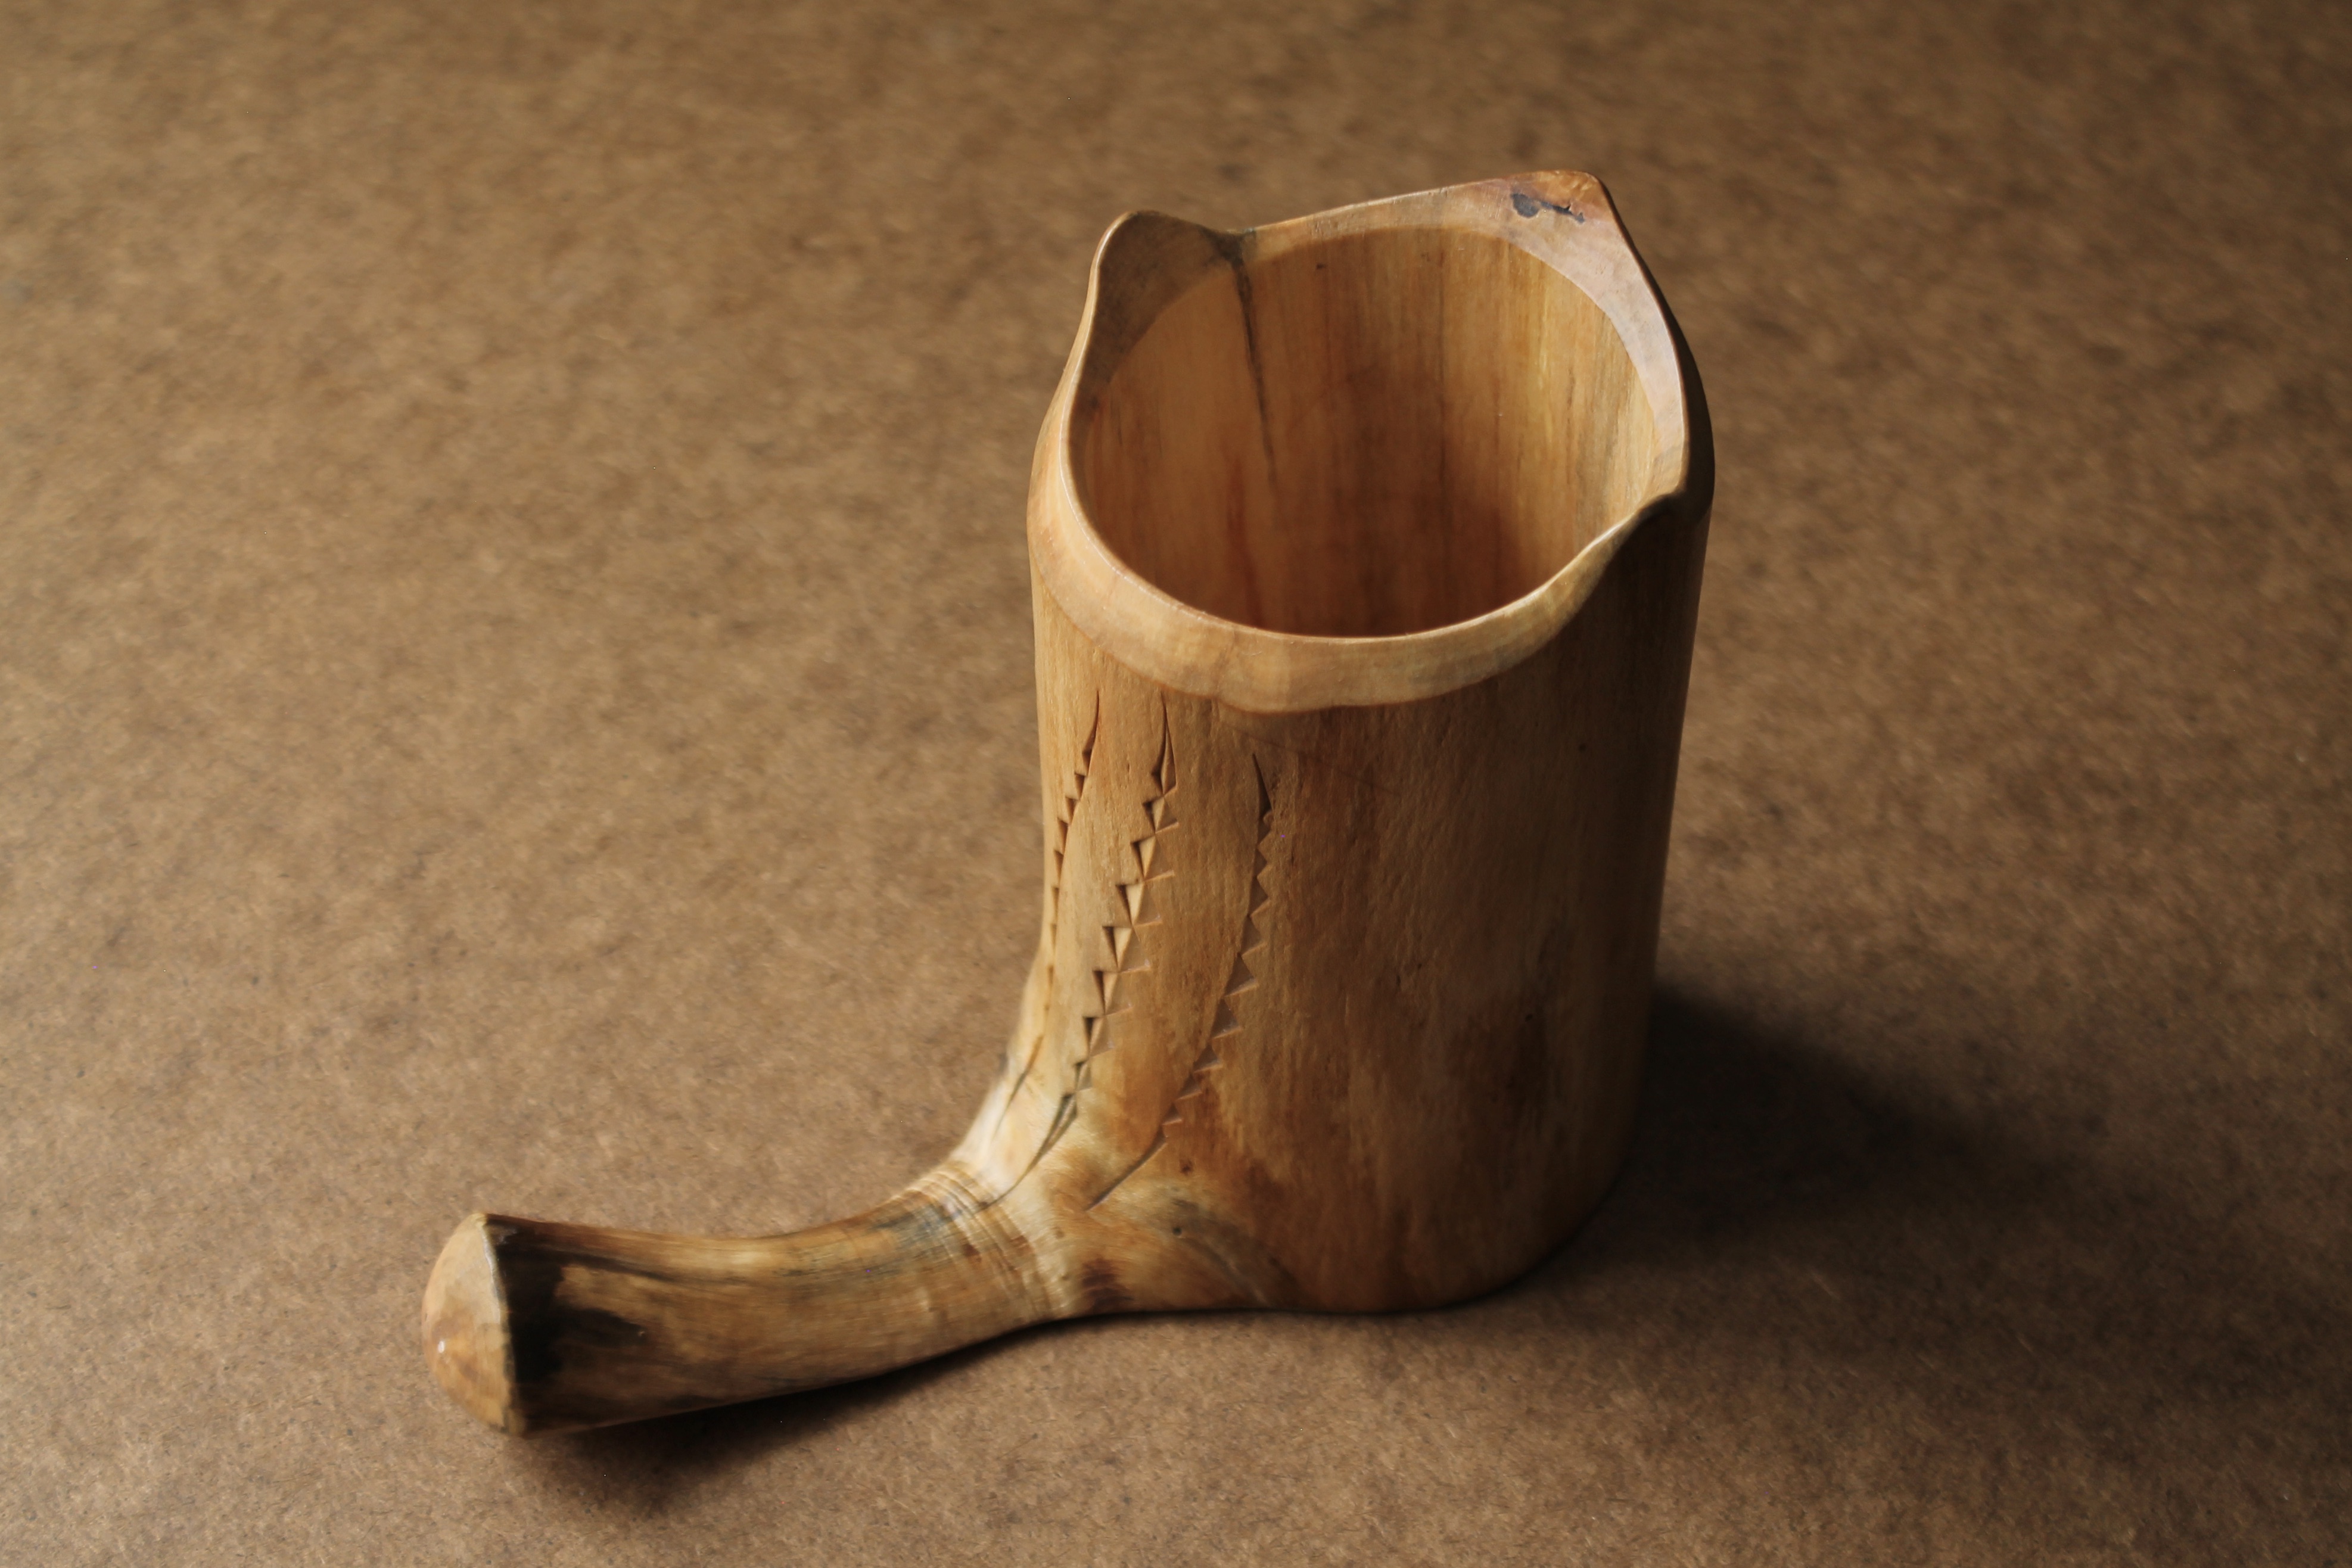
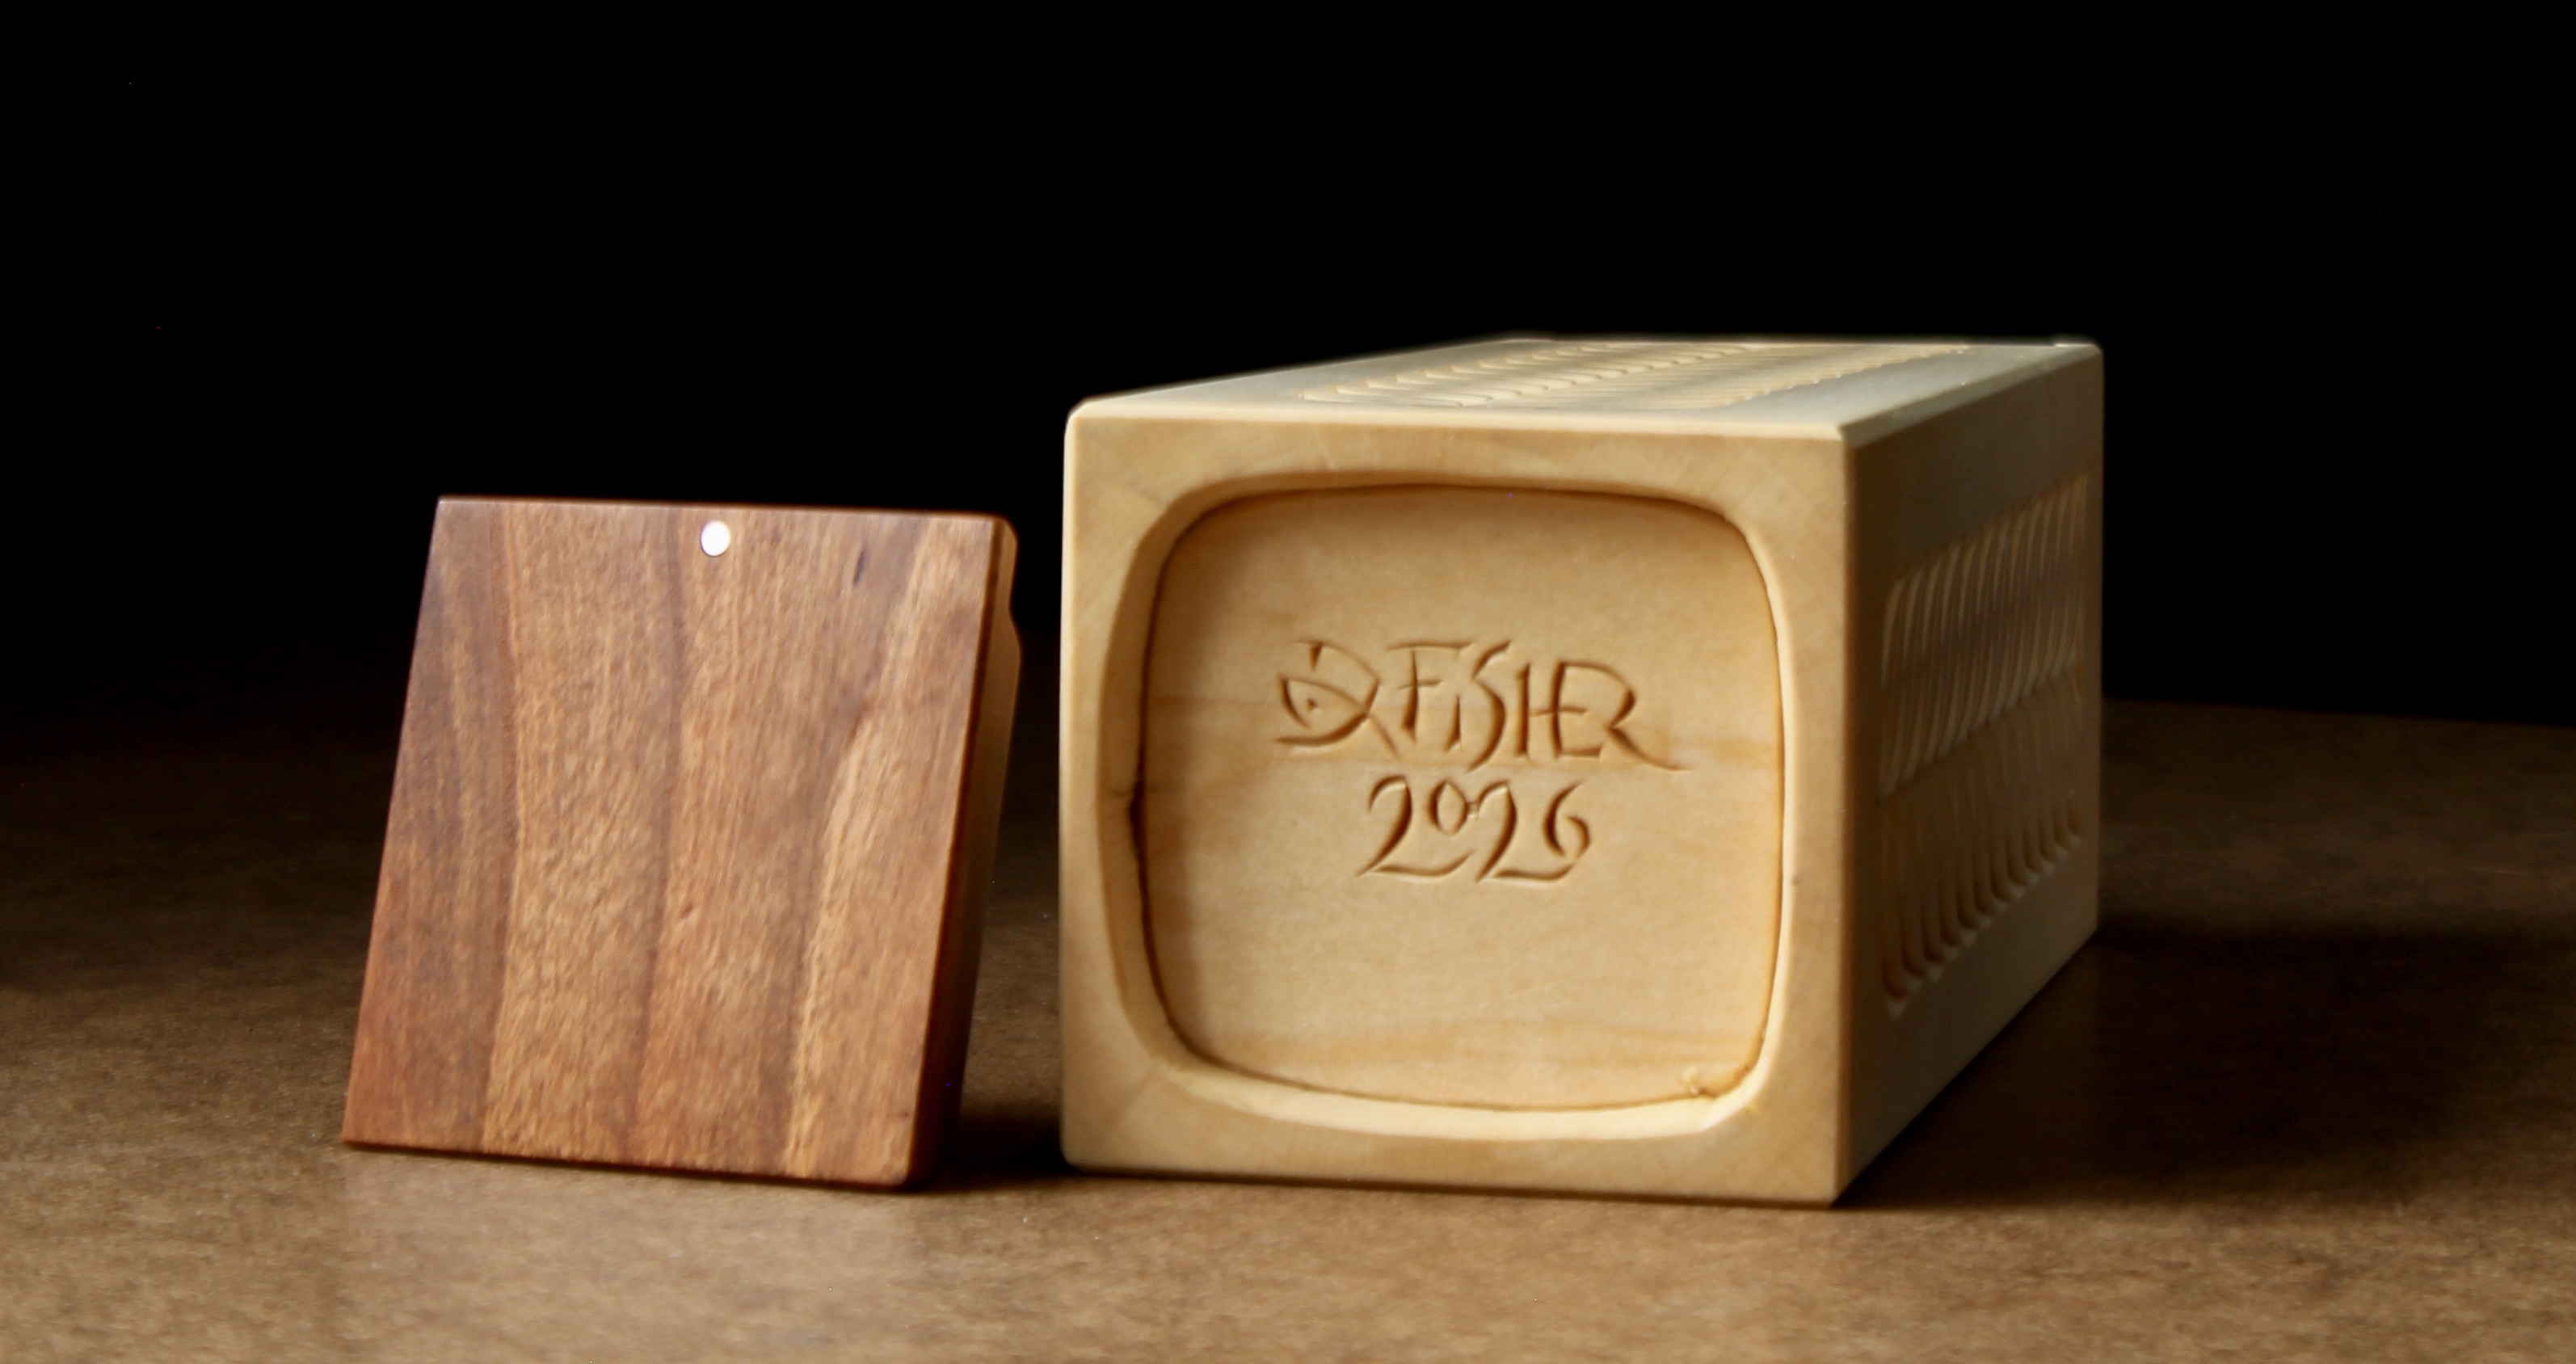
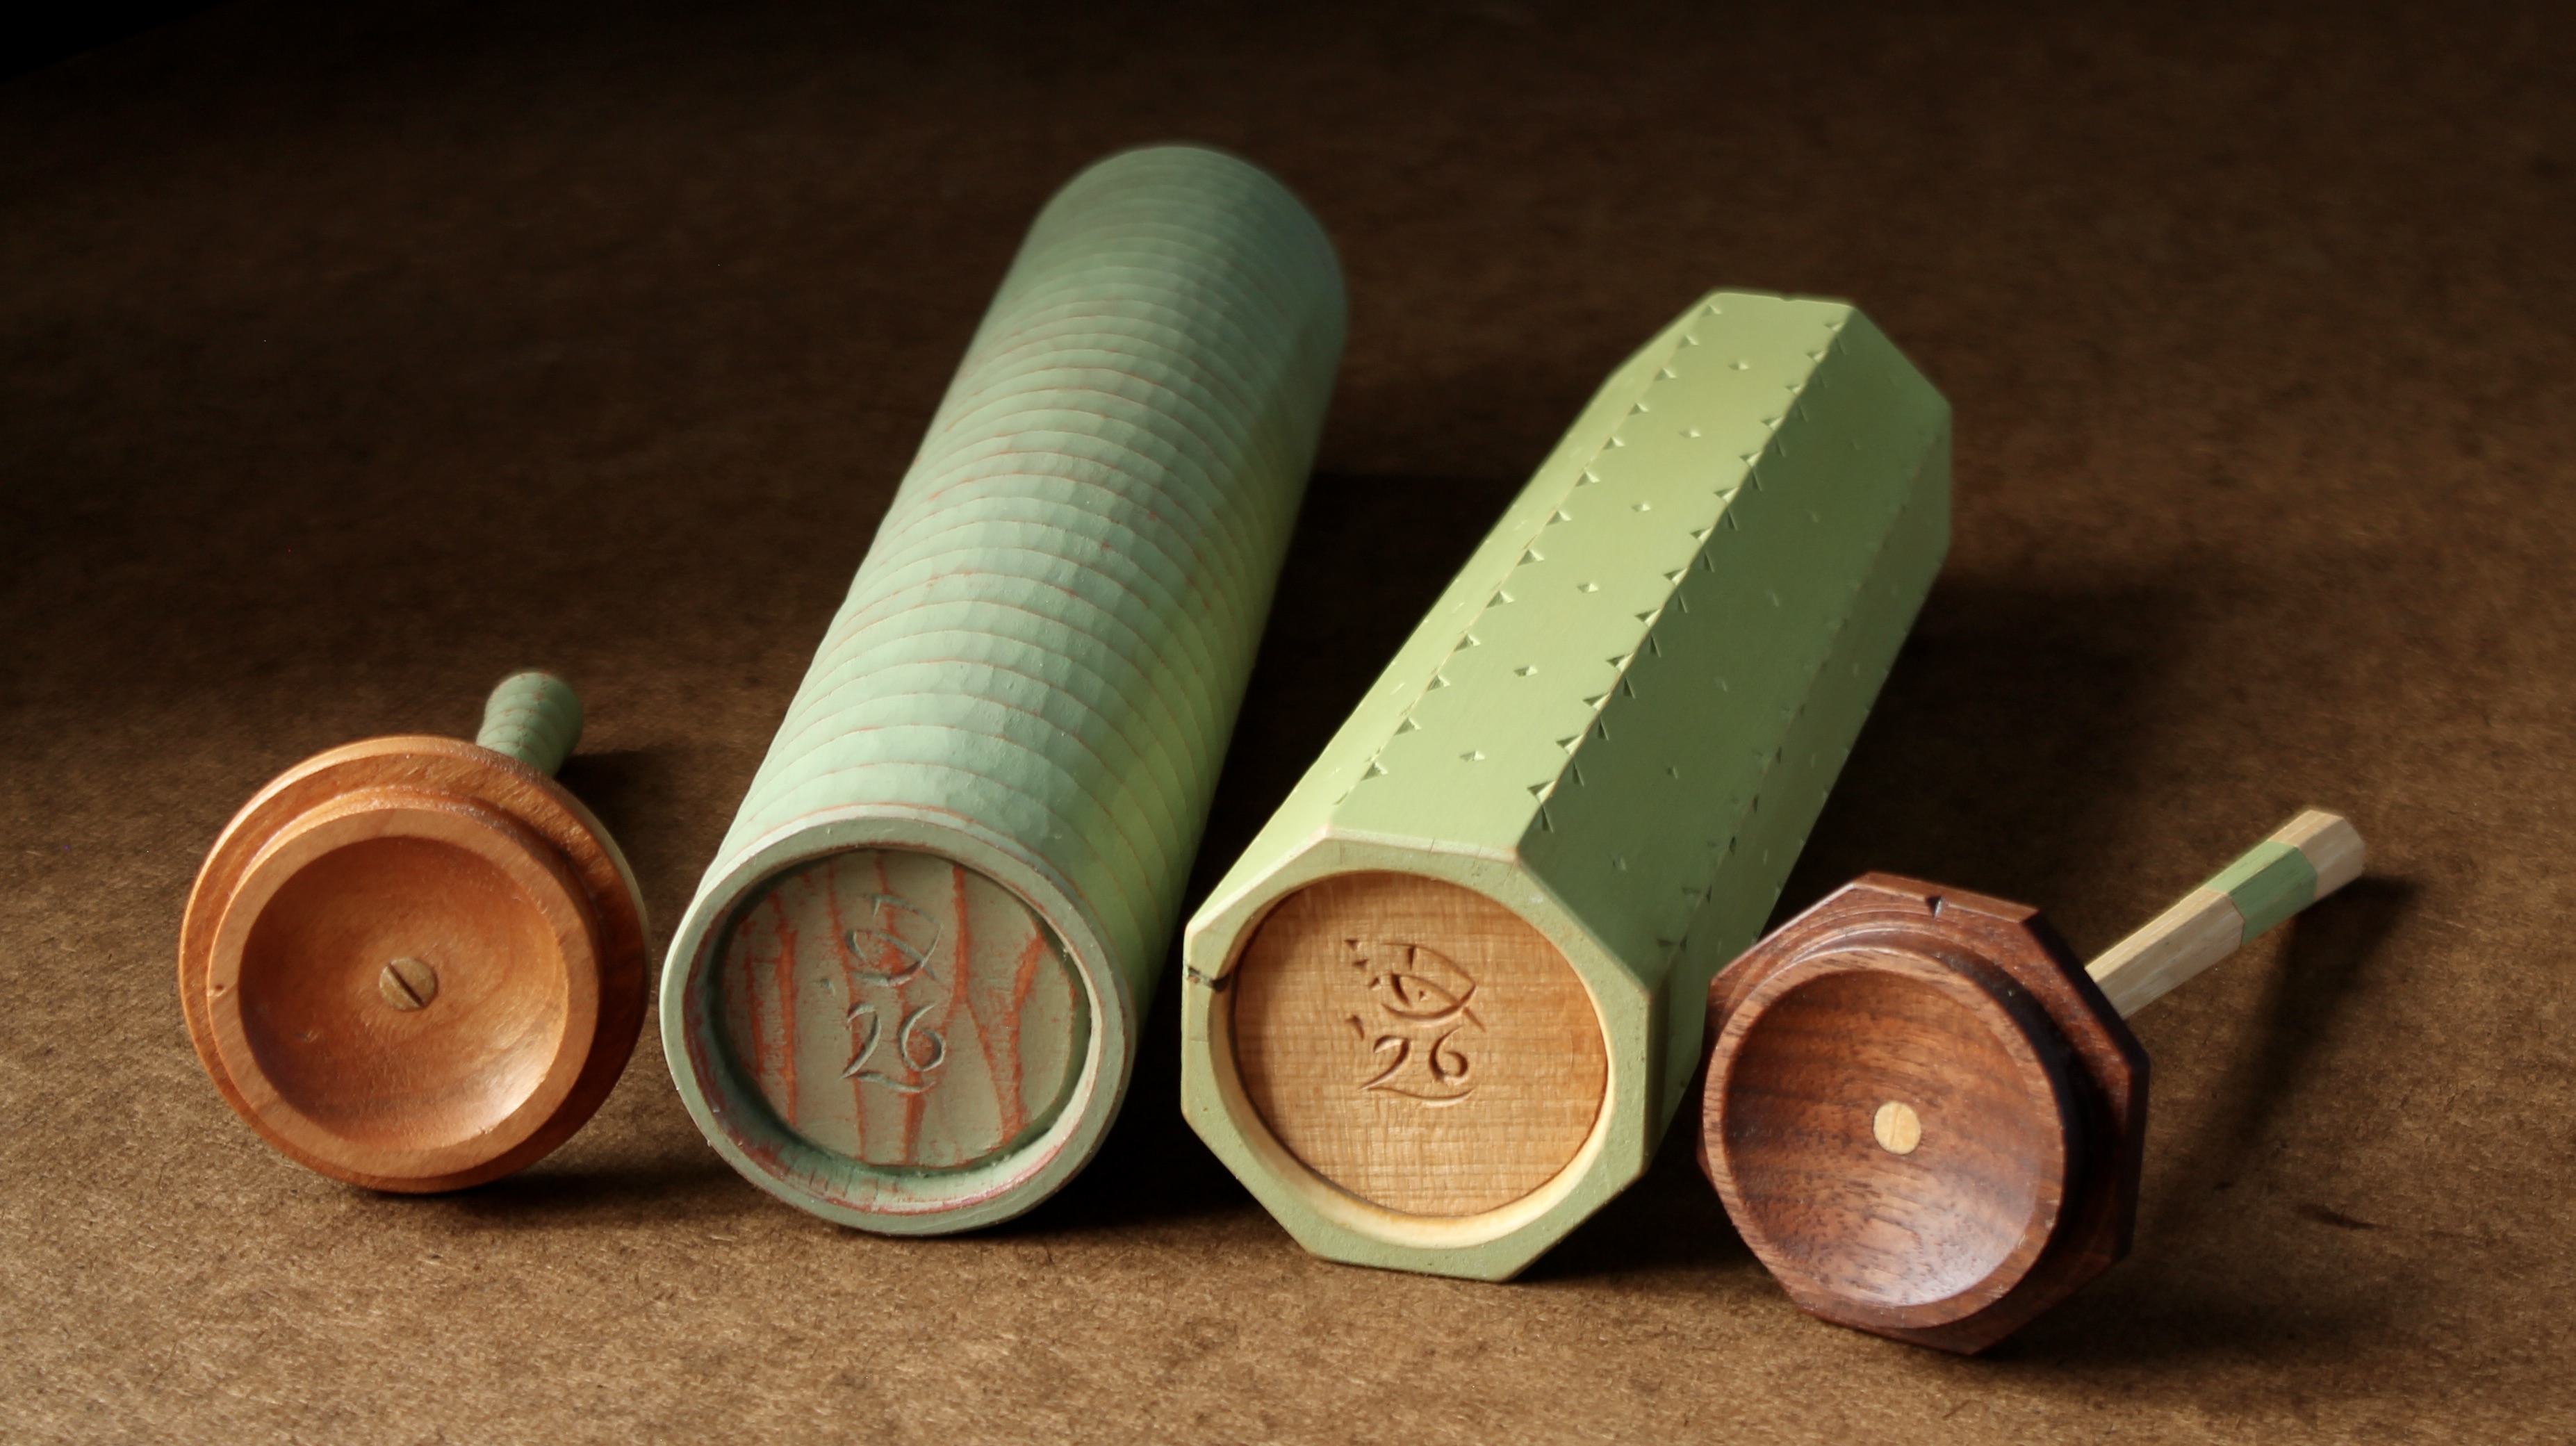
I’ve been playing around with many shrinkpot ideas, so there will be lots more to share in time. With all of the critters running around excited for spring, it’s a good time to show this one. Further down that same maple limb, there was a side branch poking out that I decided to leave. I removed the bark and allowed the natural surface character of the tree to remain. I shaped the top and added just a few cuts to suggest, maybe, a chipmunk. A shrink pet? Shrinkmunk?