What’s the matter with me? I… I got to get birds off my mind. Maybe I’ll take up a hobby.
— Sylvester The Cat (Mel Blanc) in Looney, Looney, Looney Bugs Bunny Movie (1981)
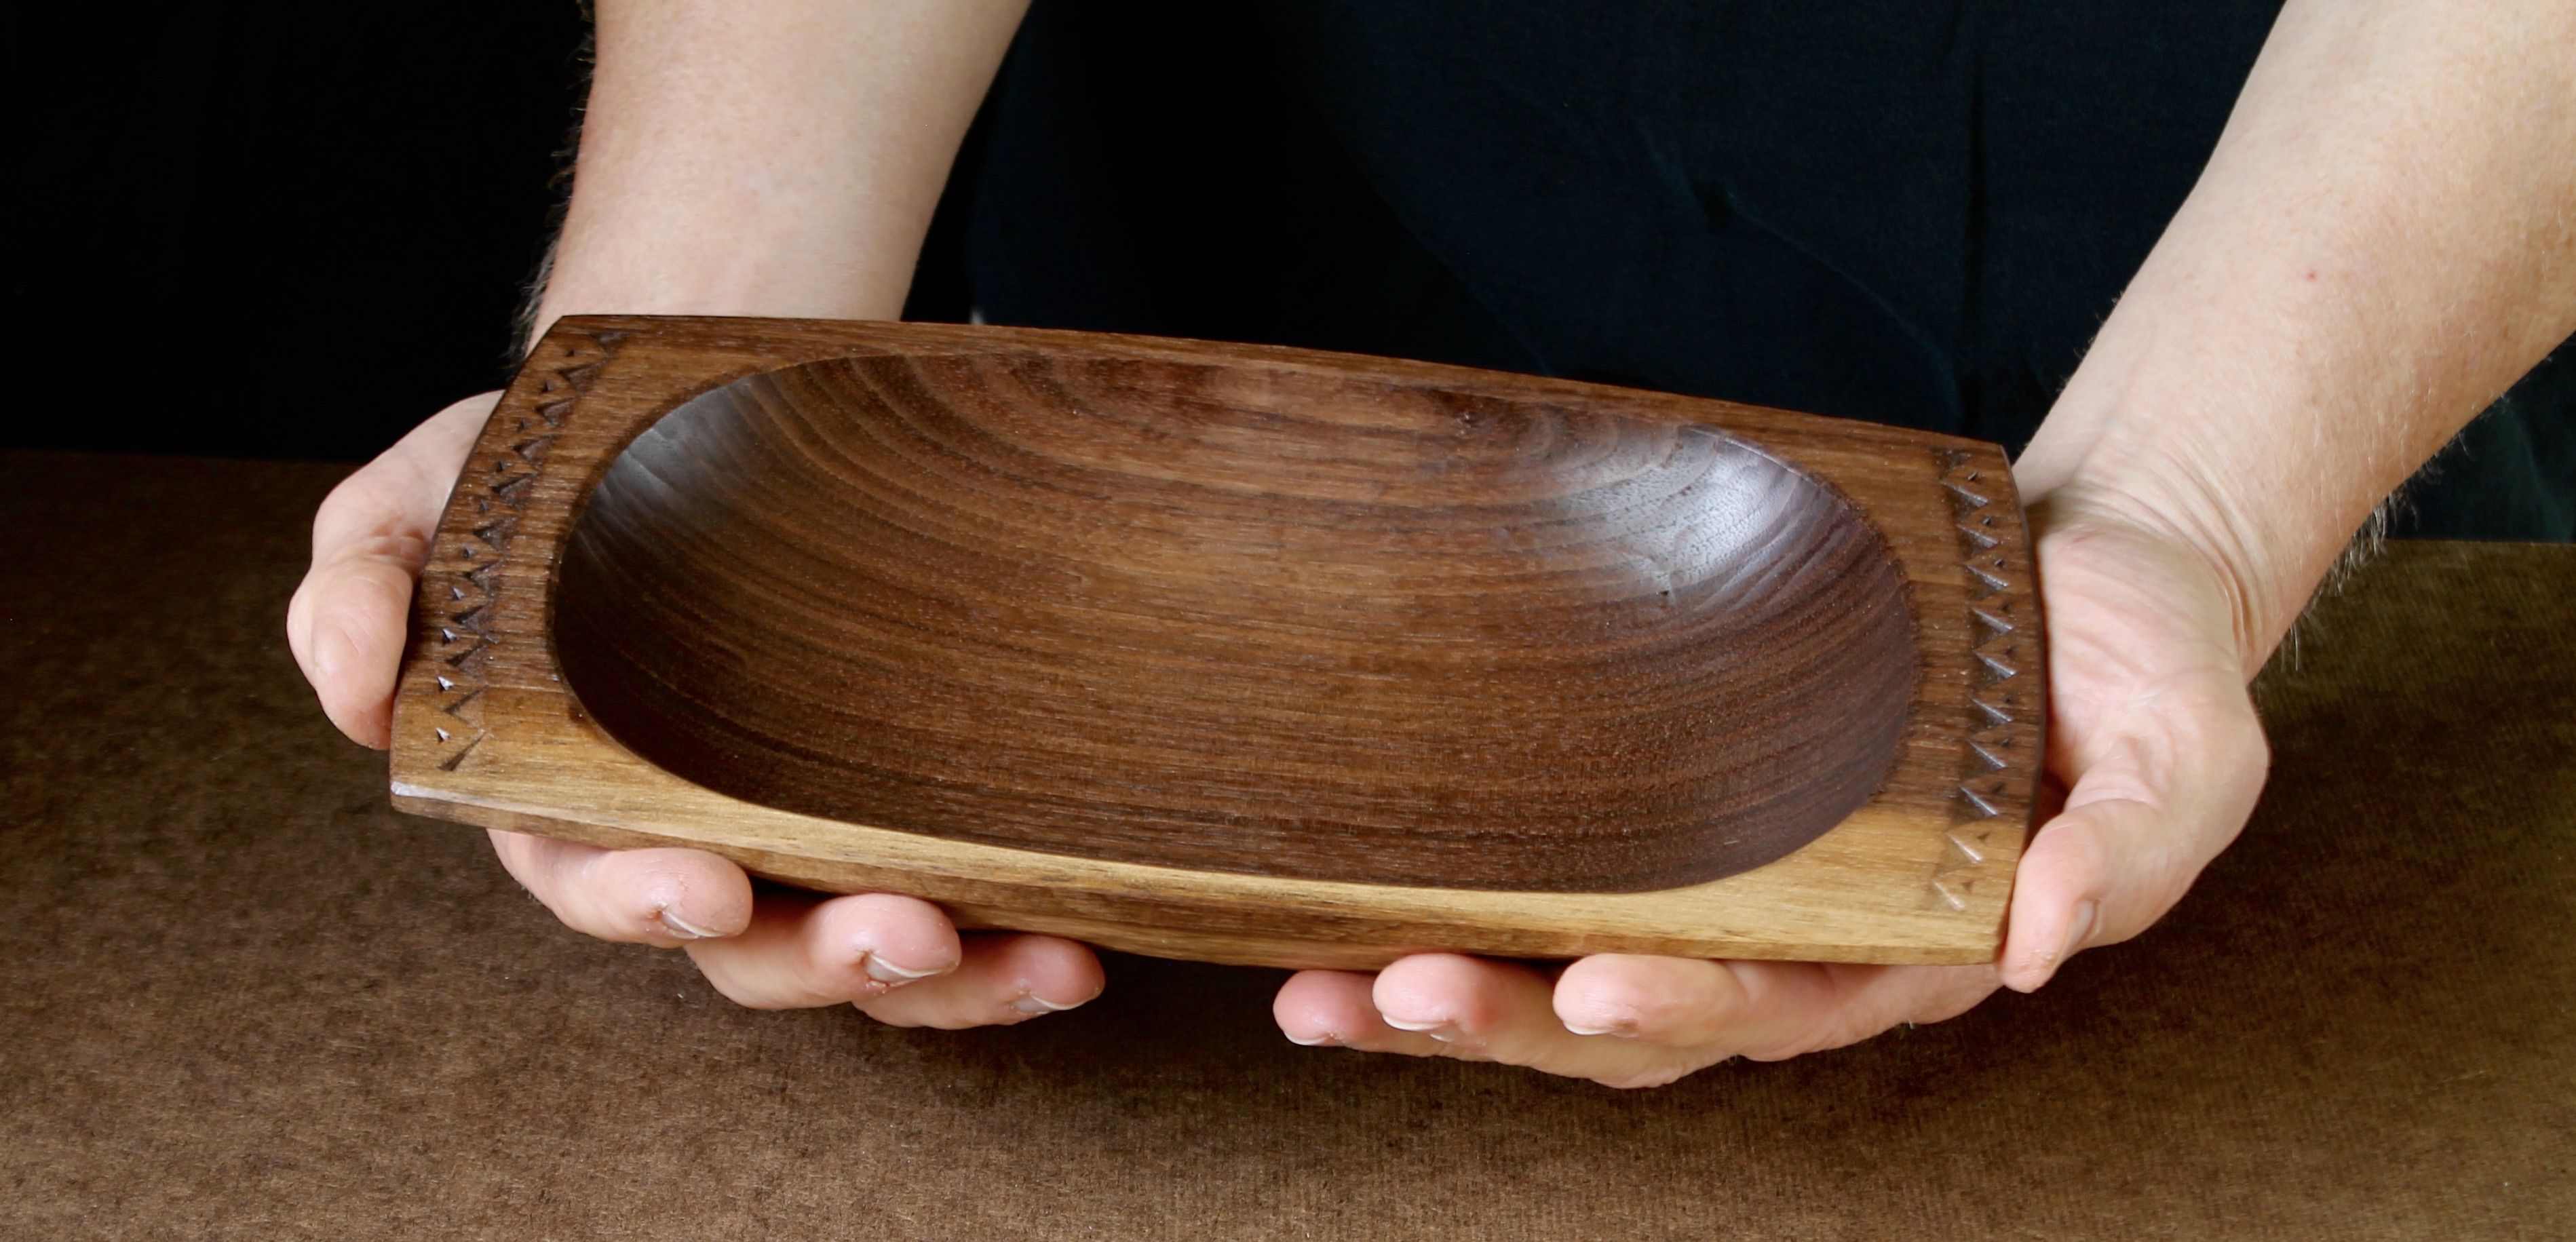
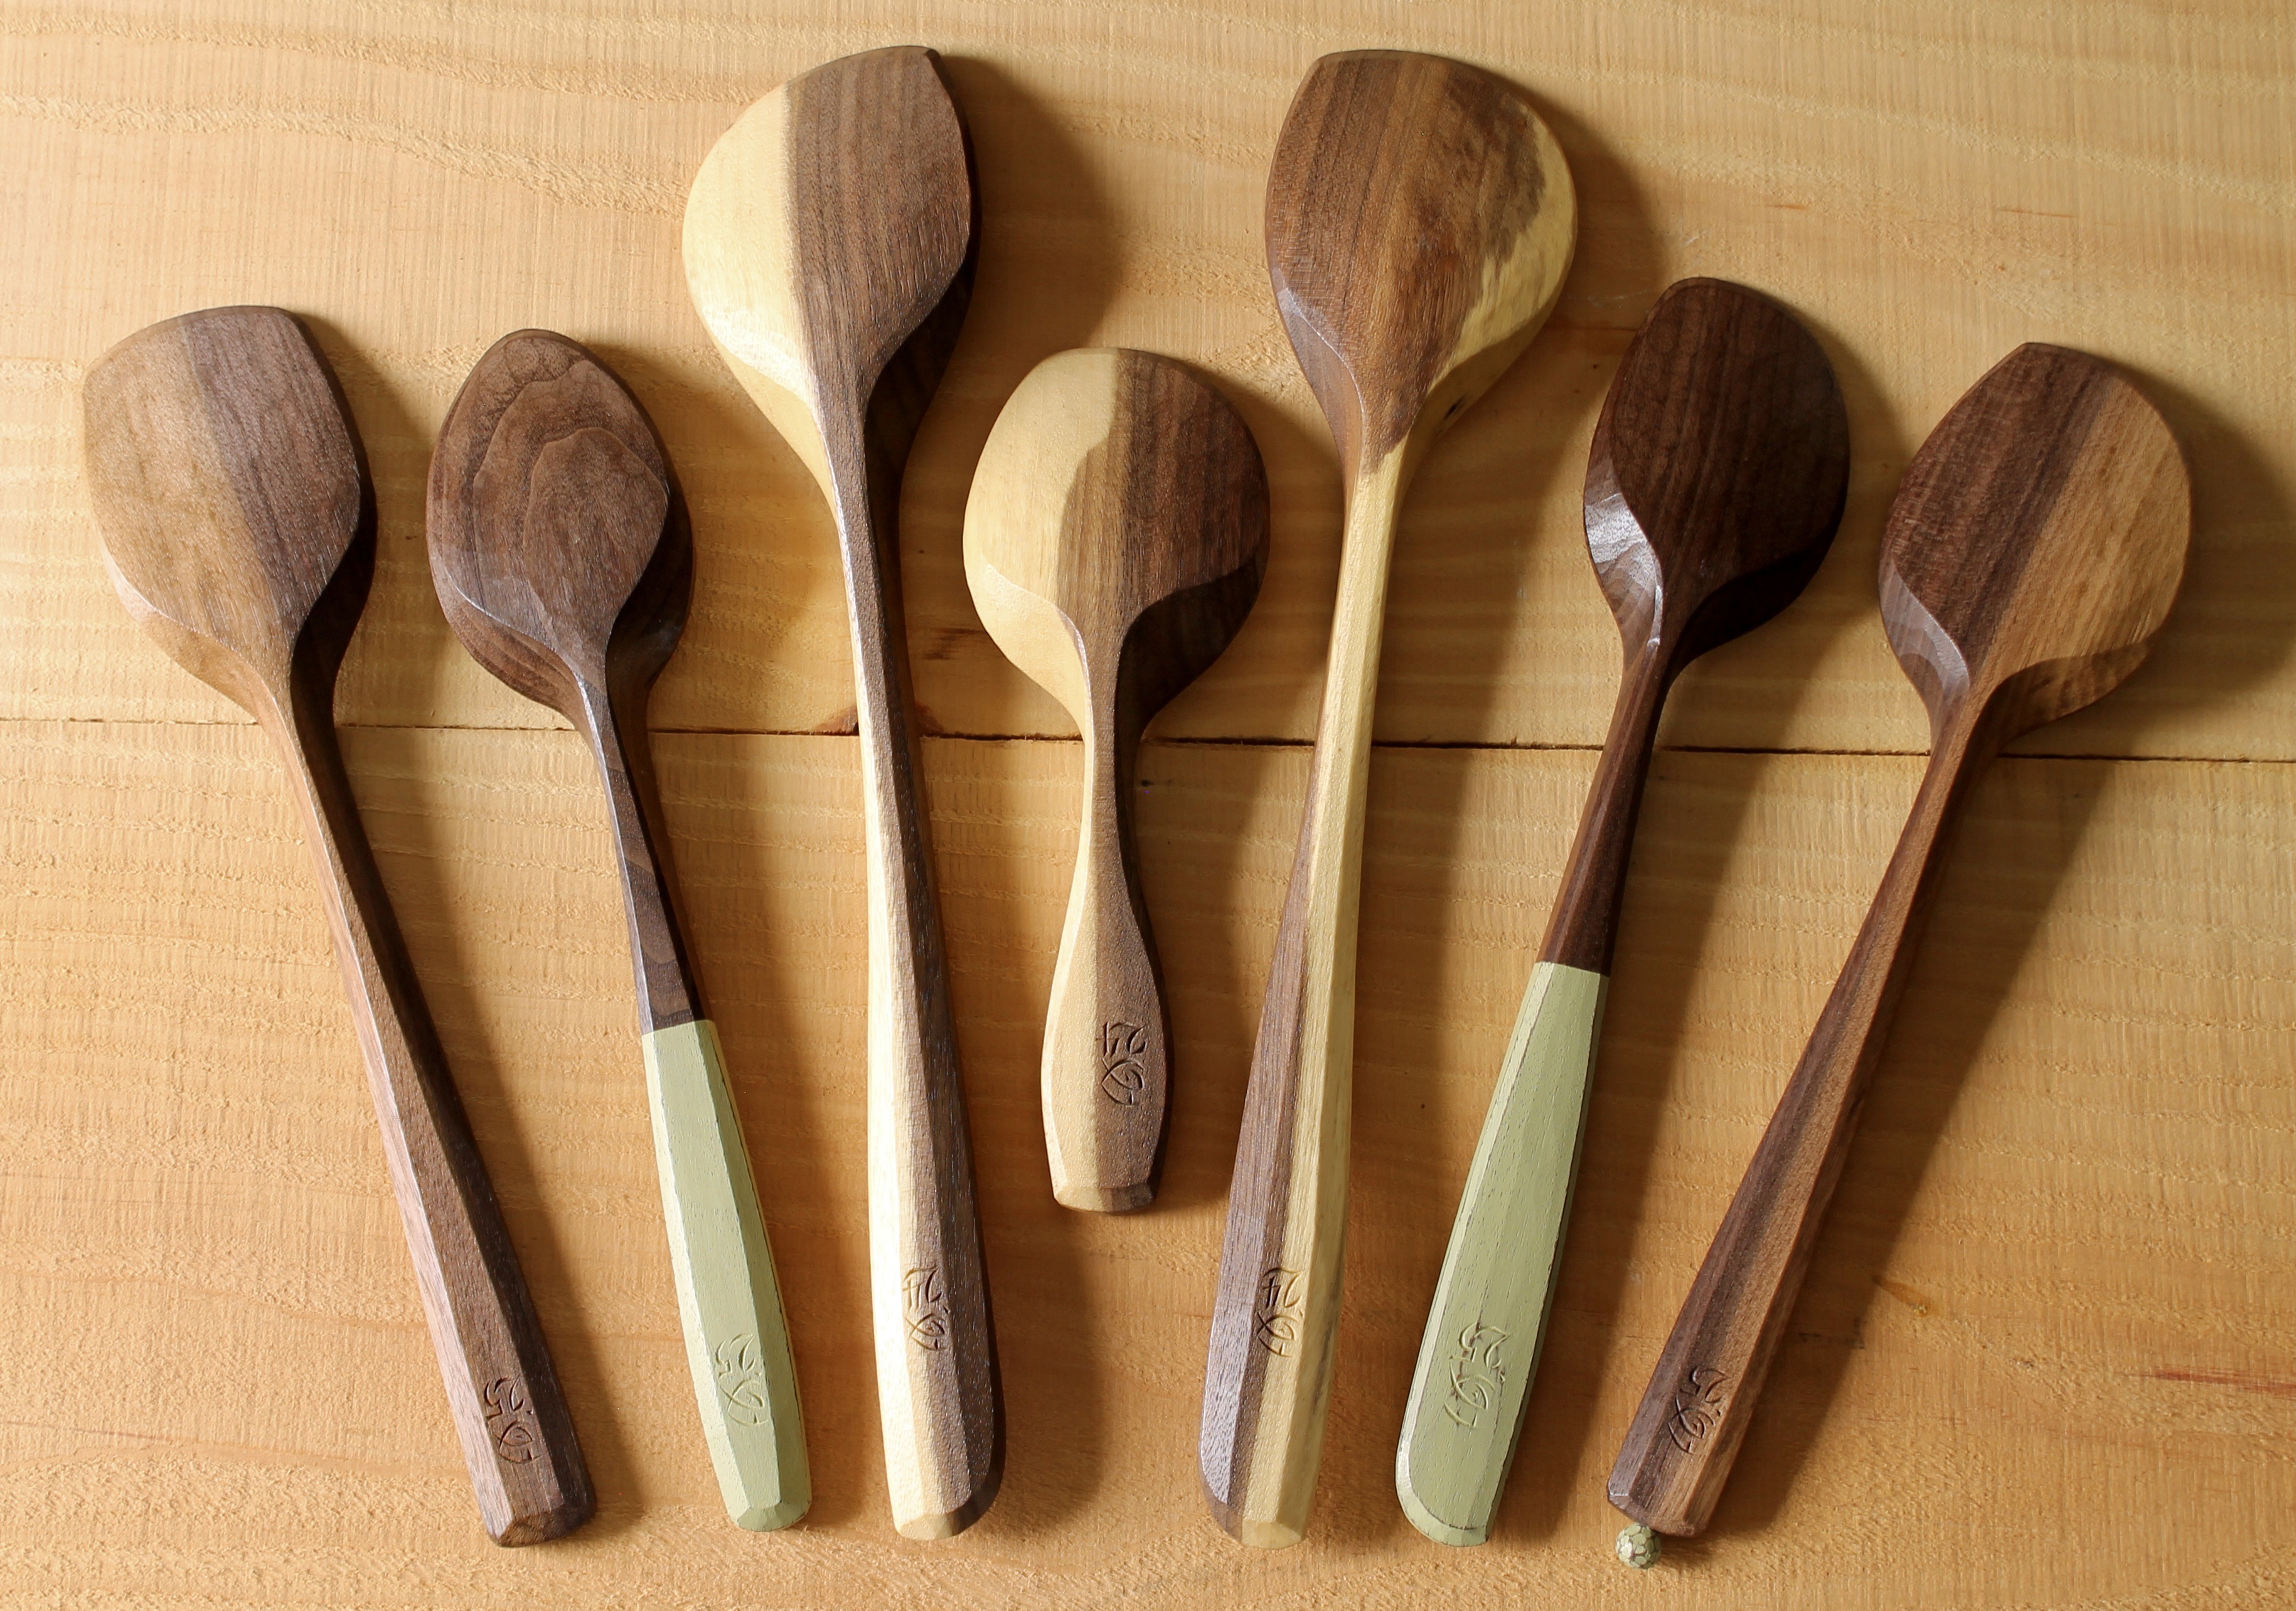
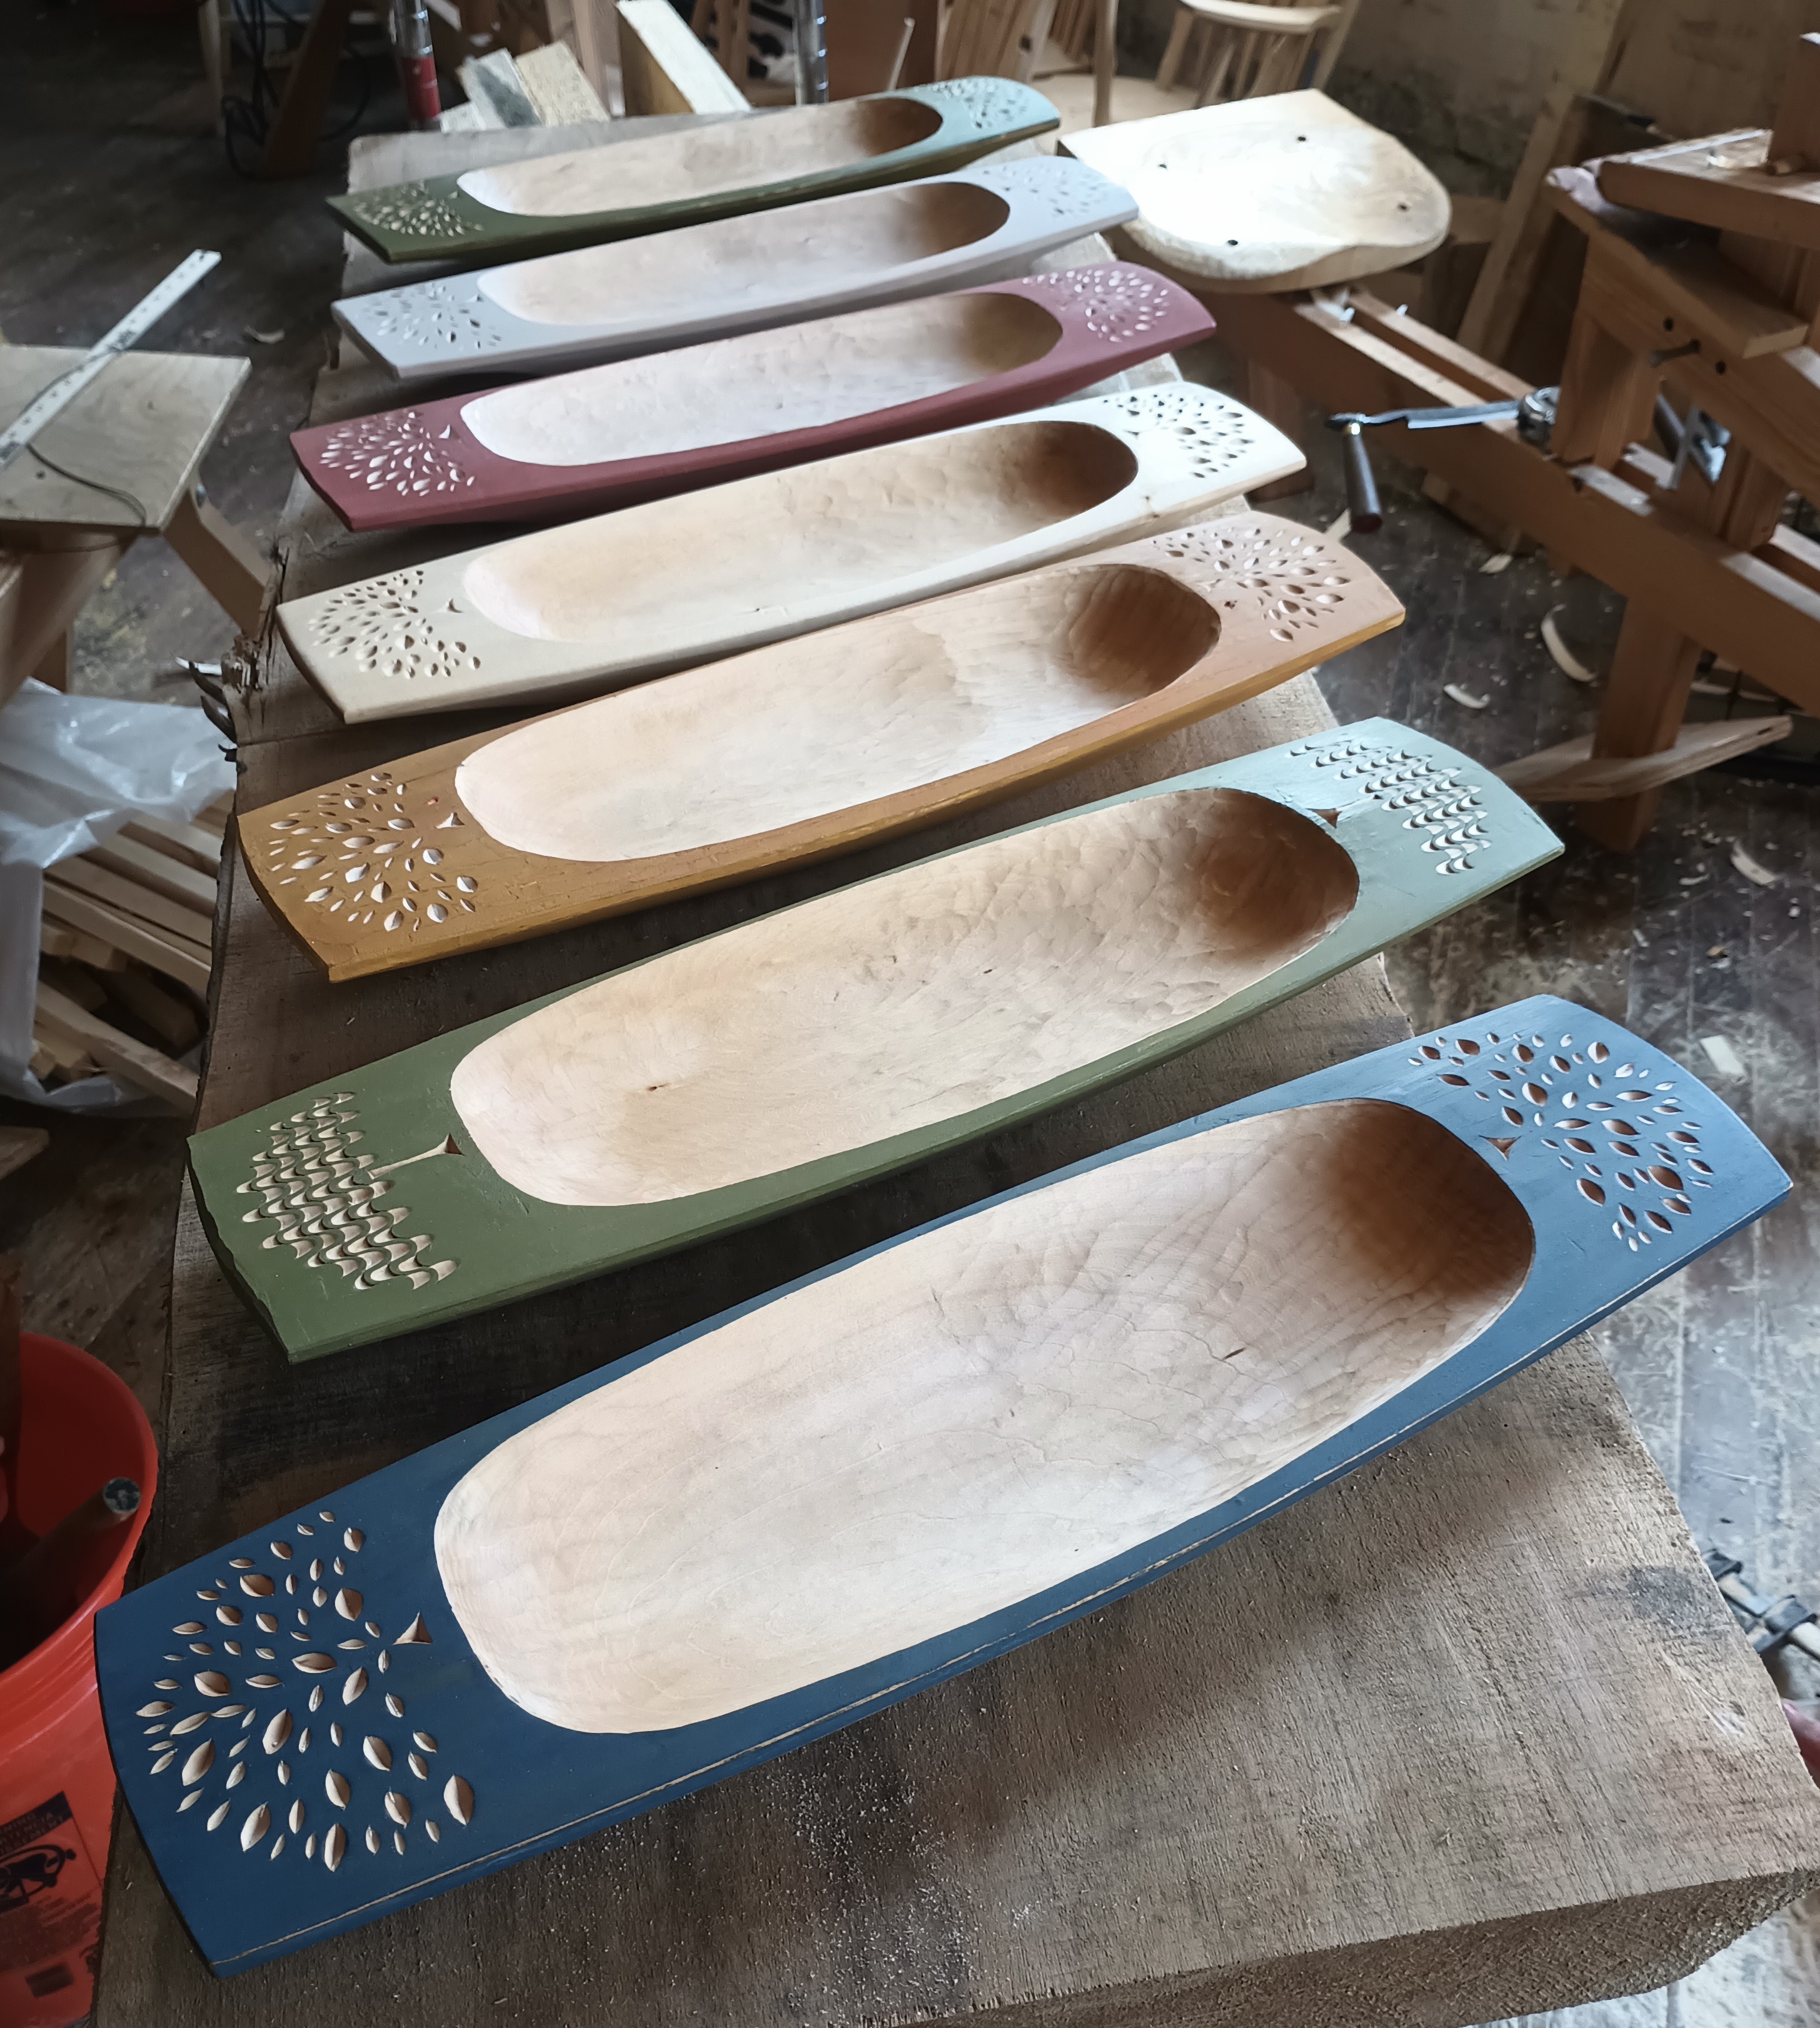
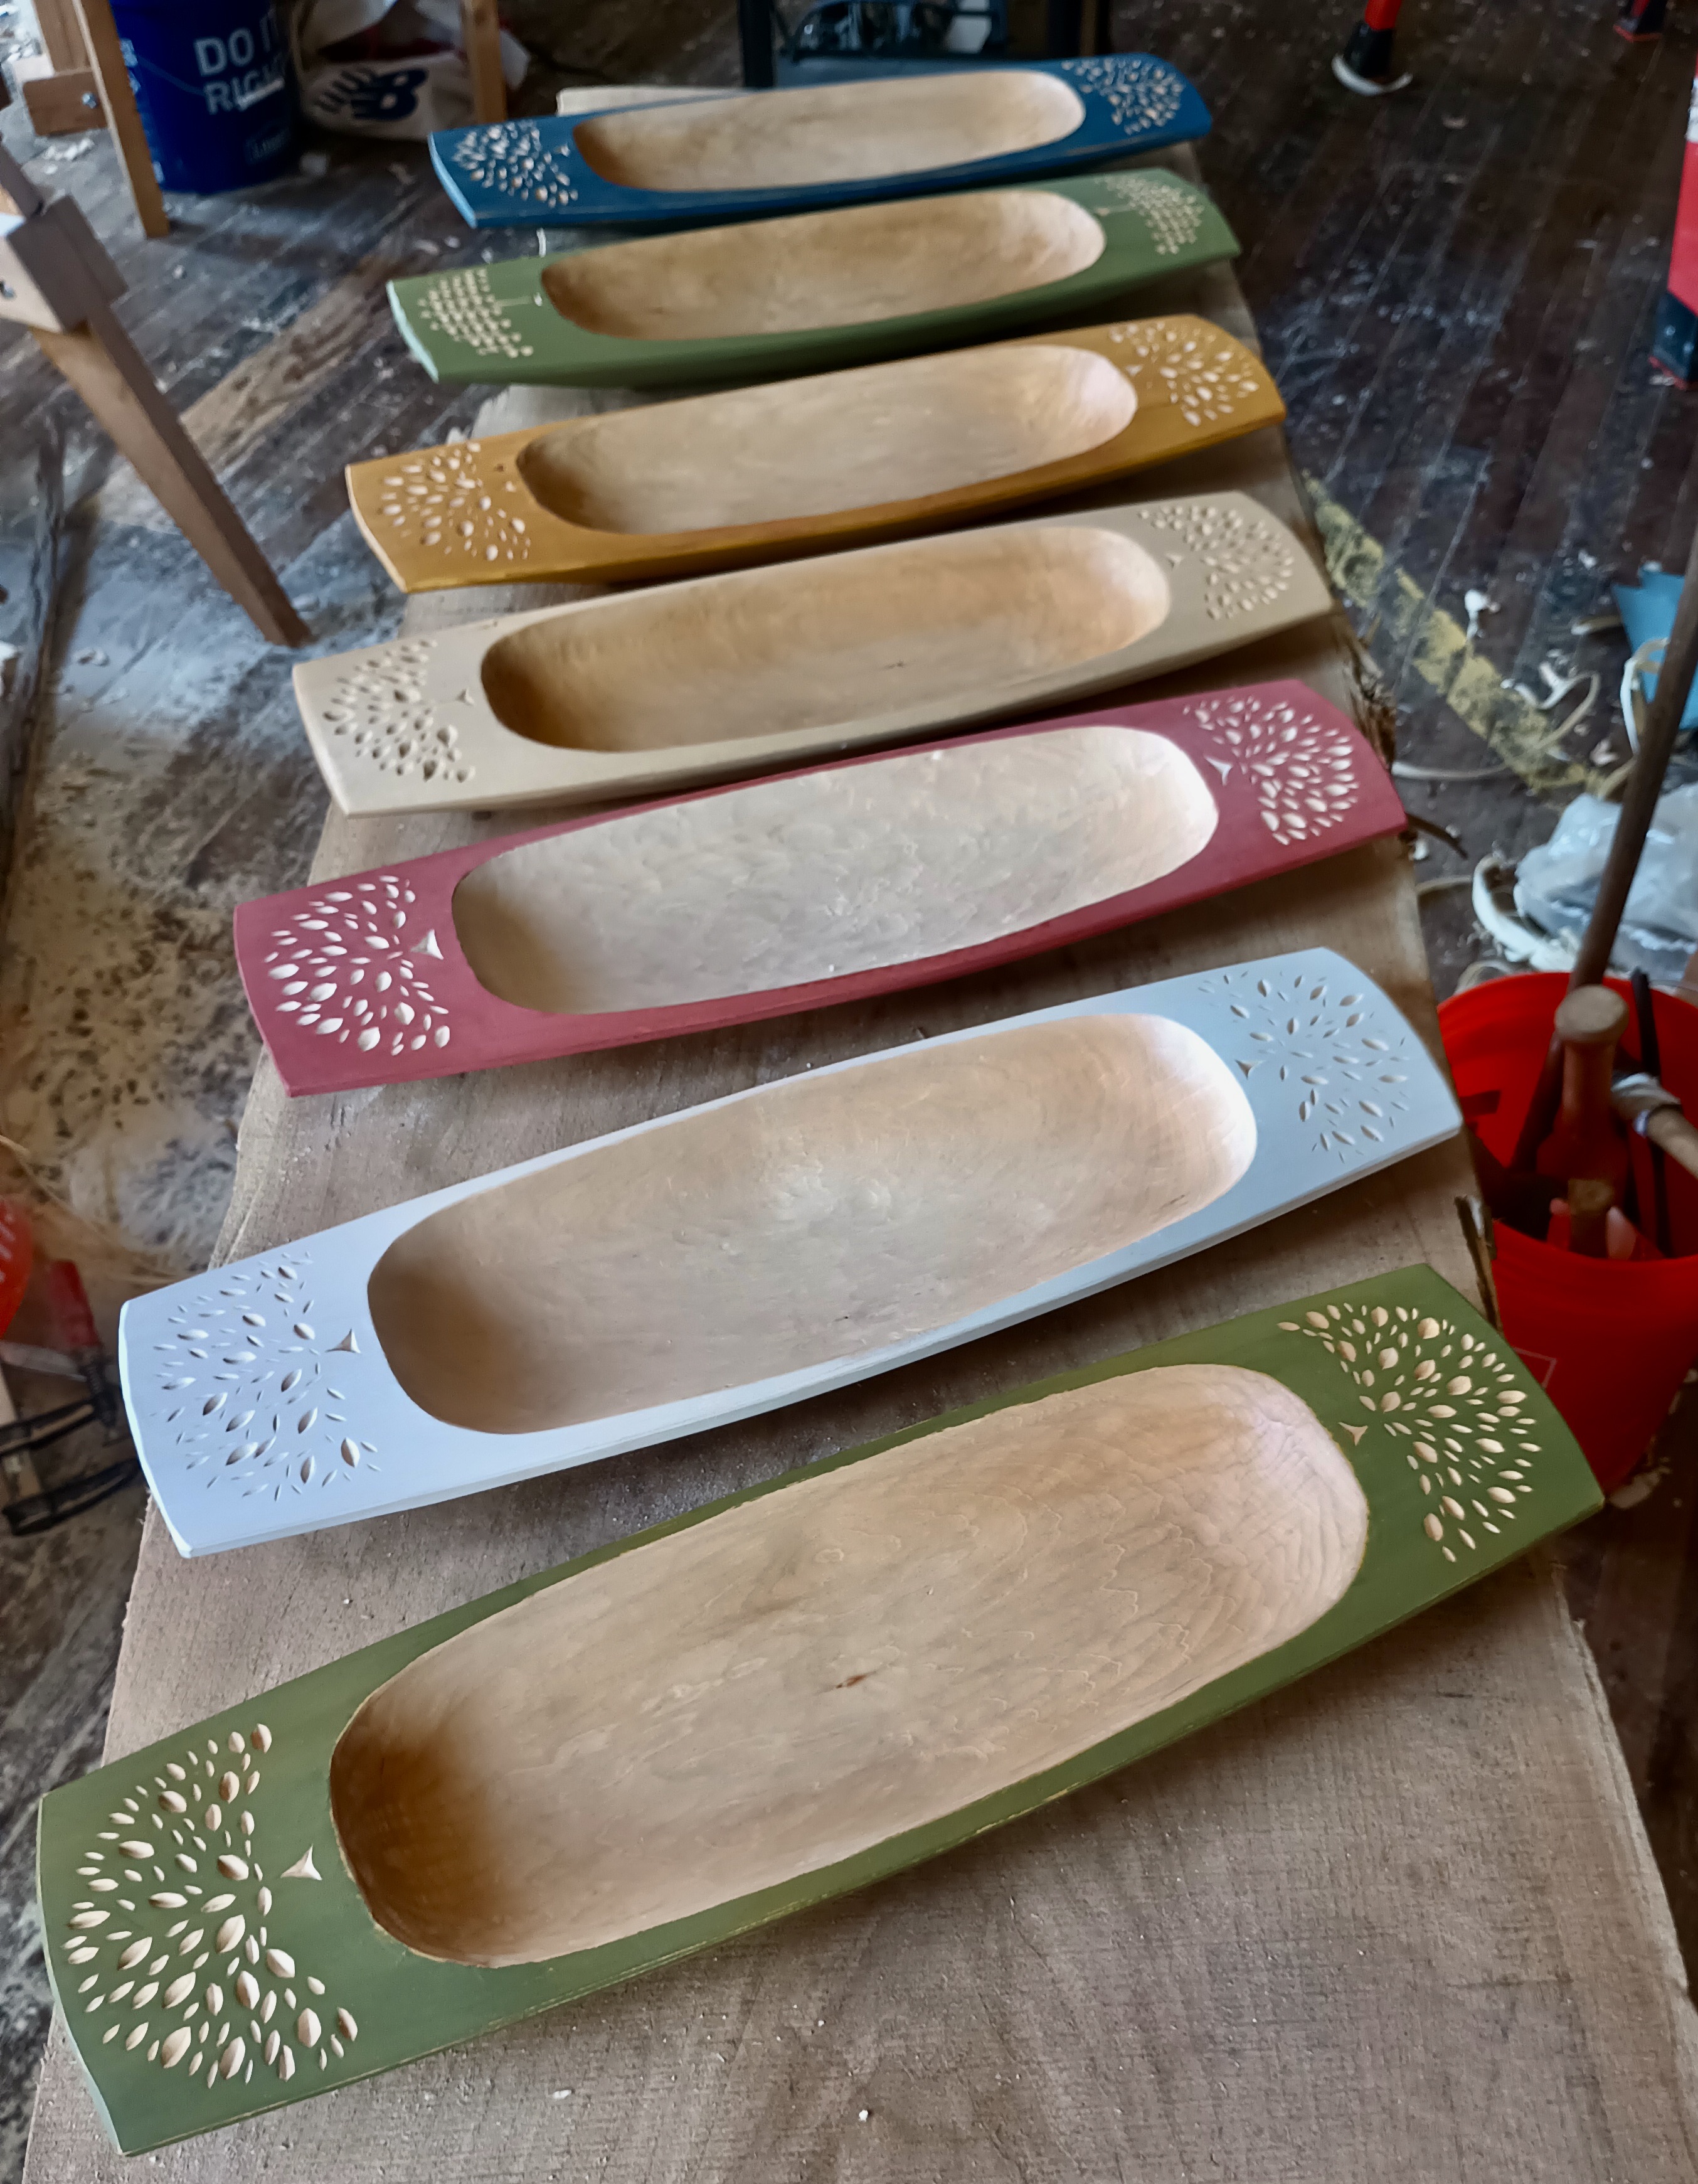
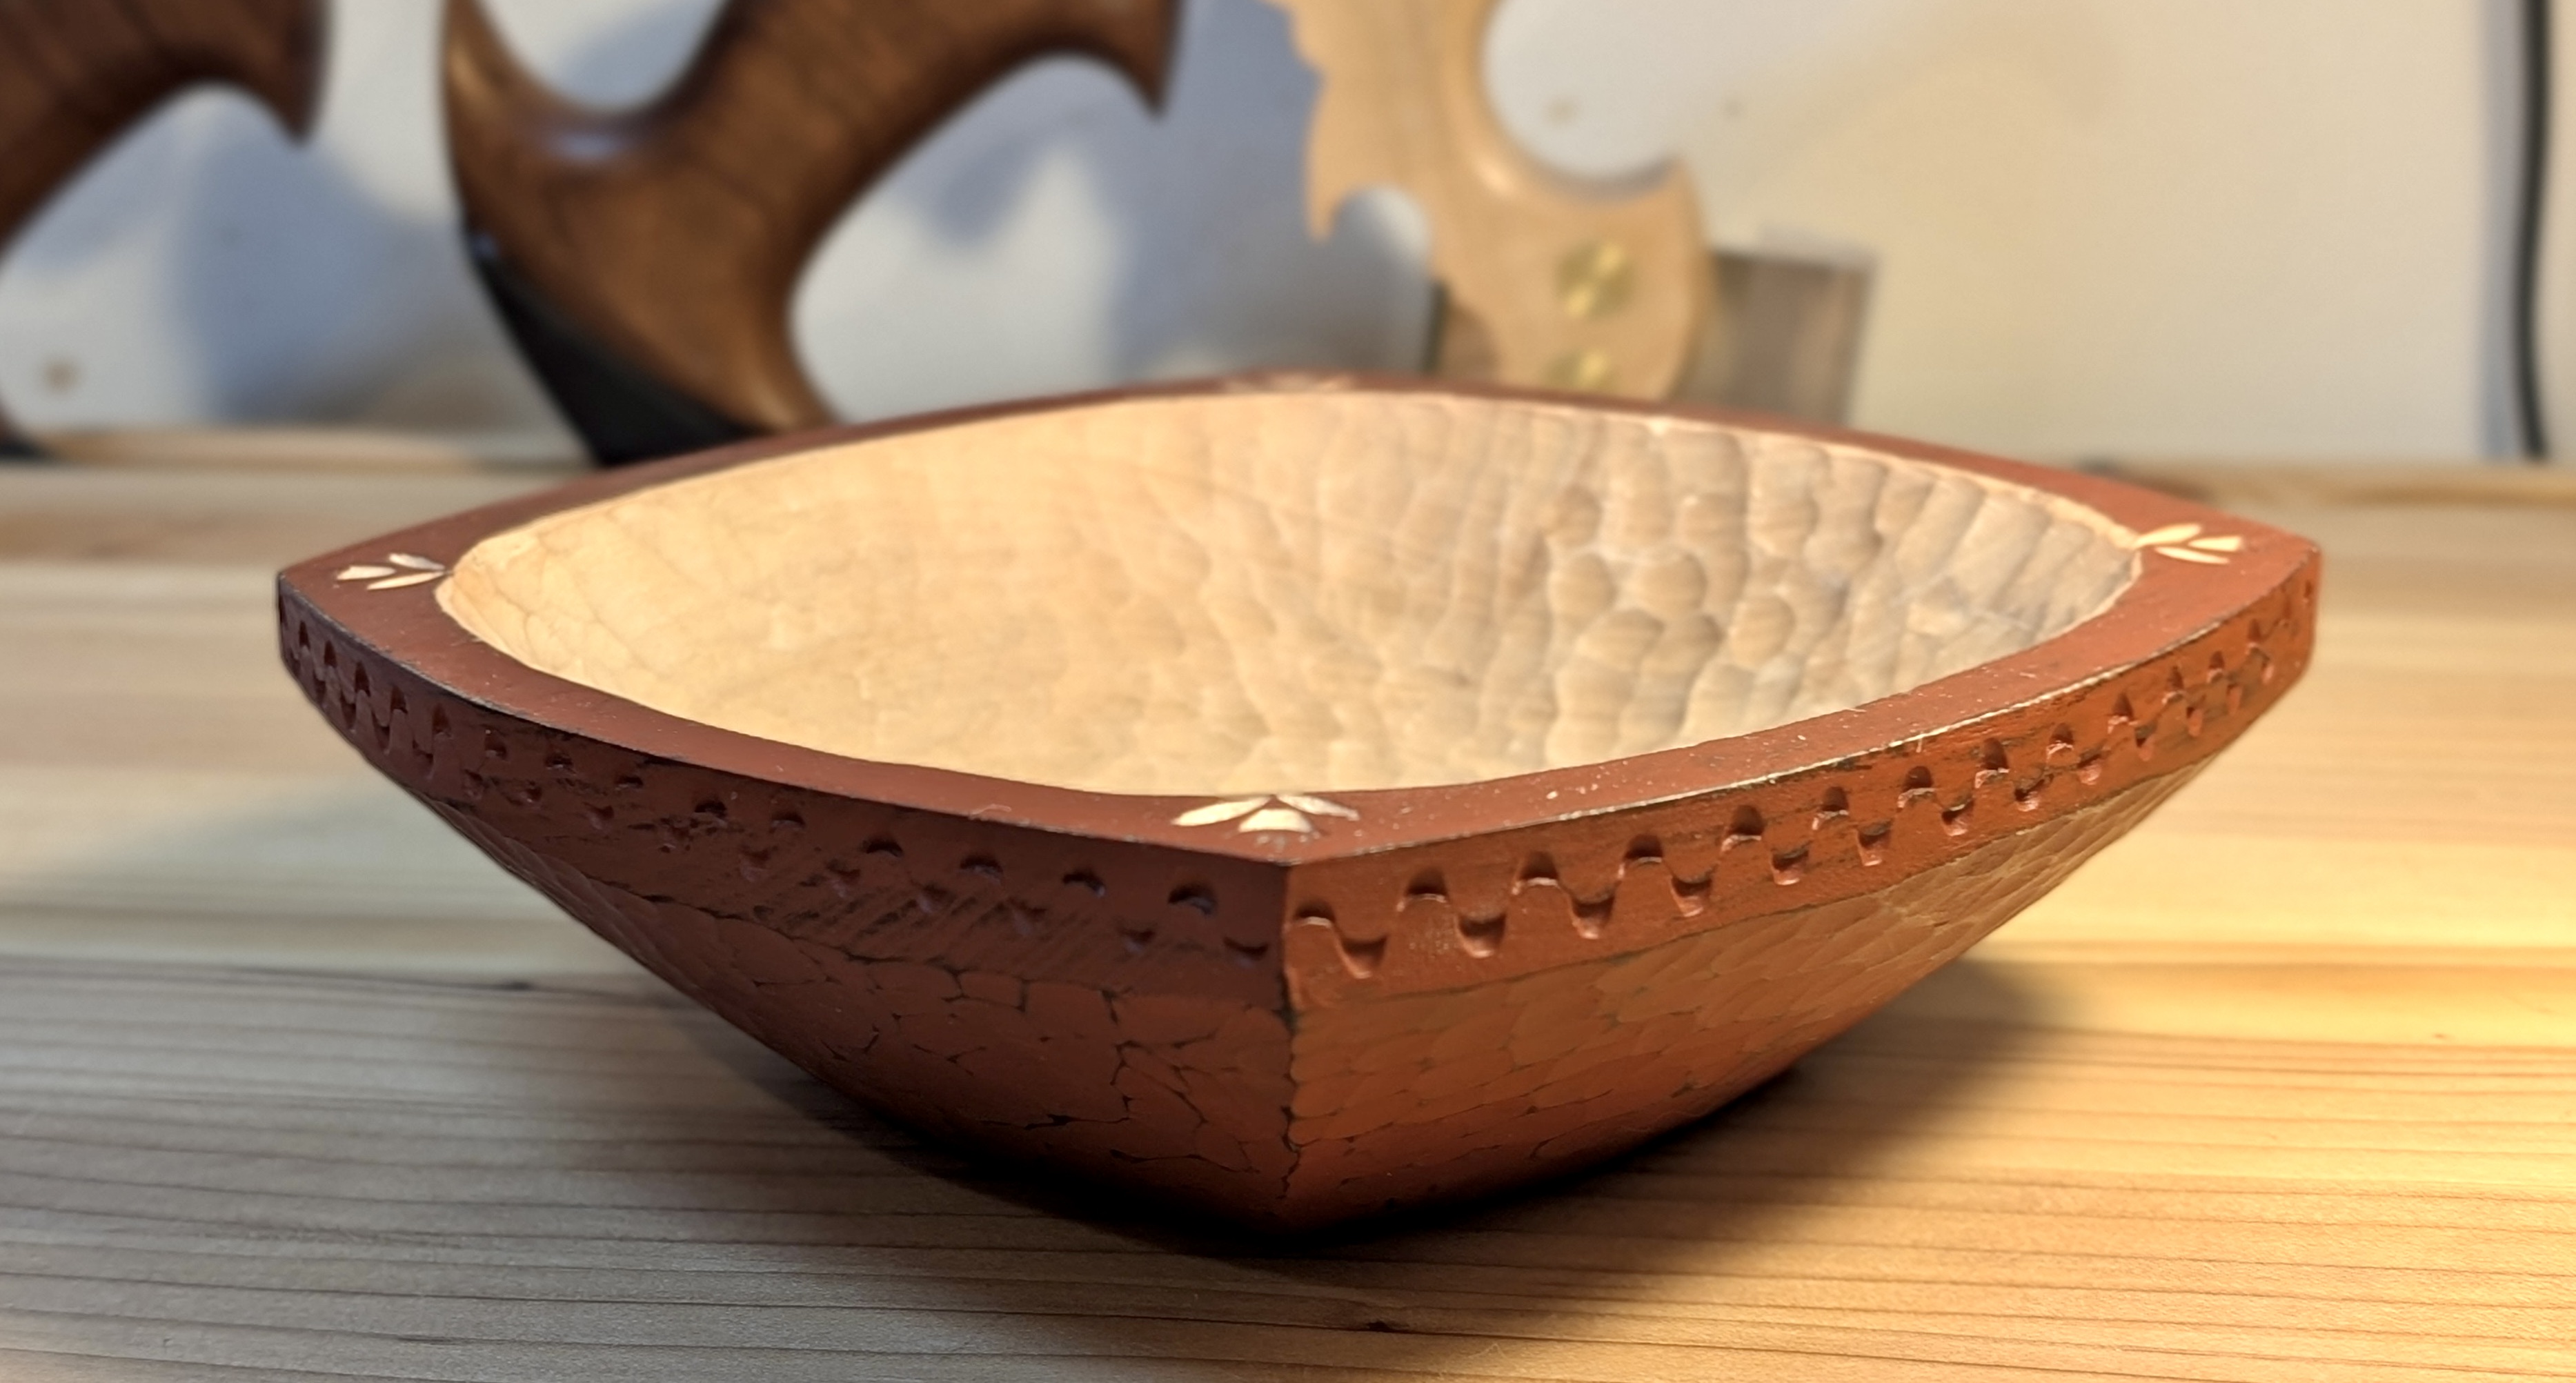
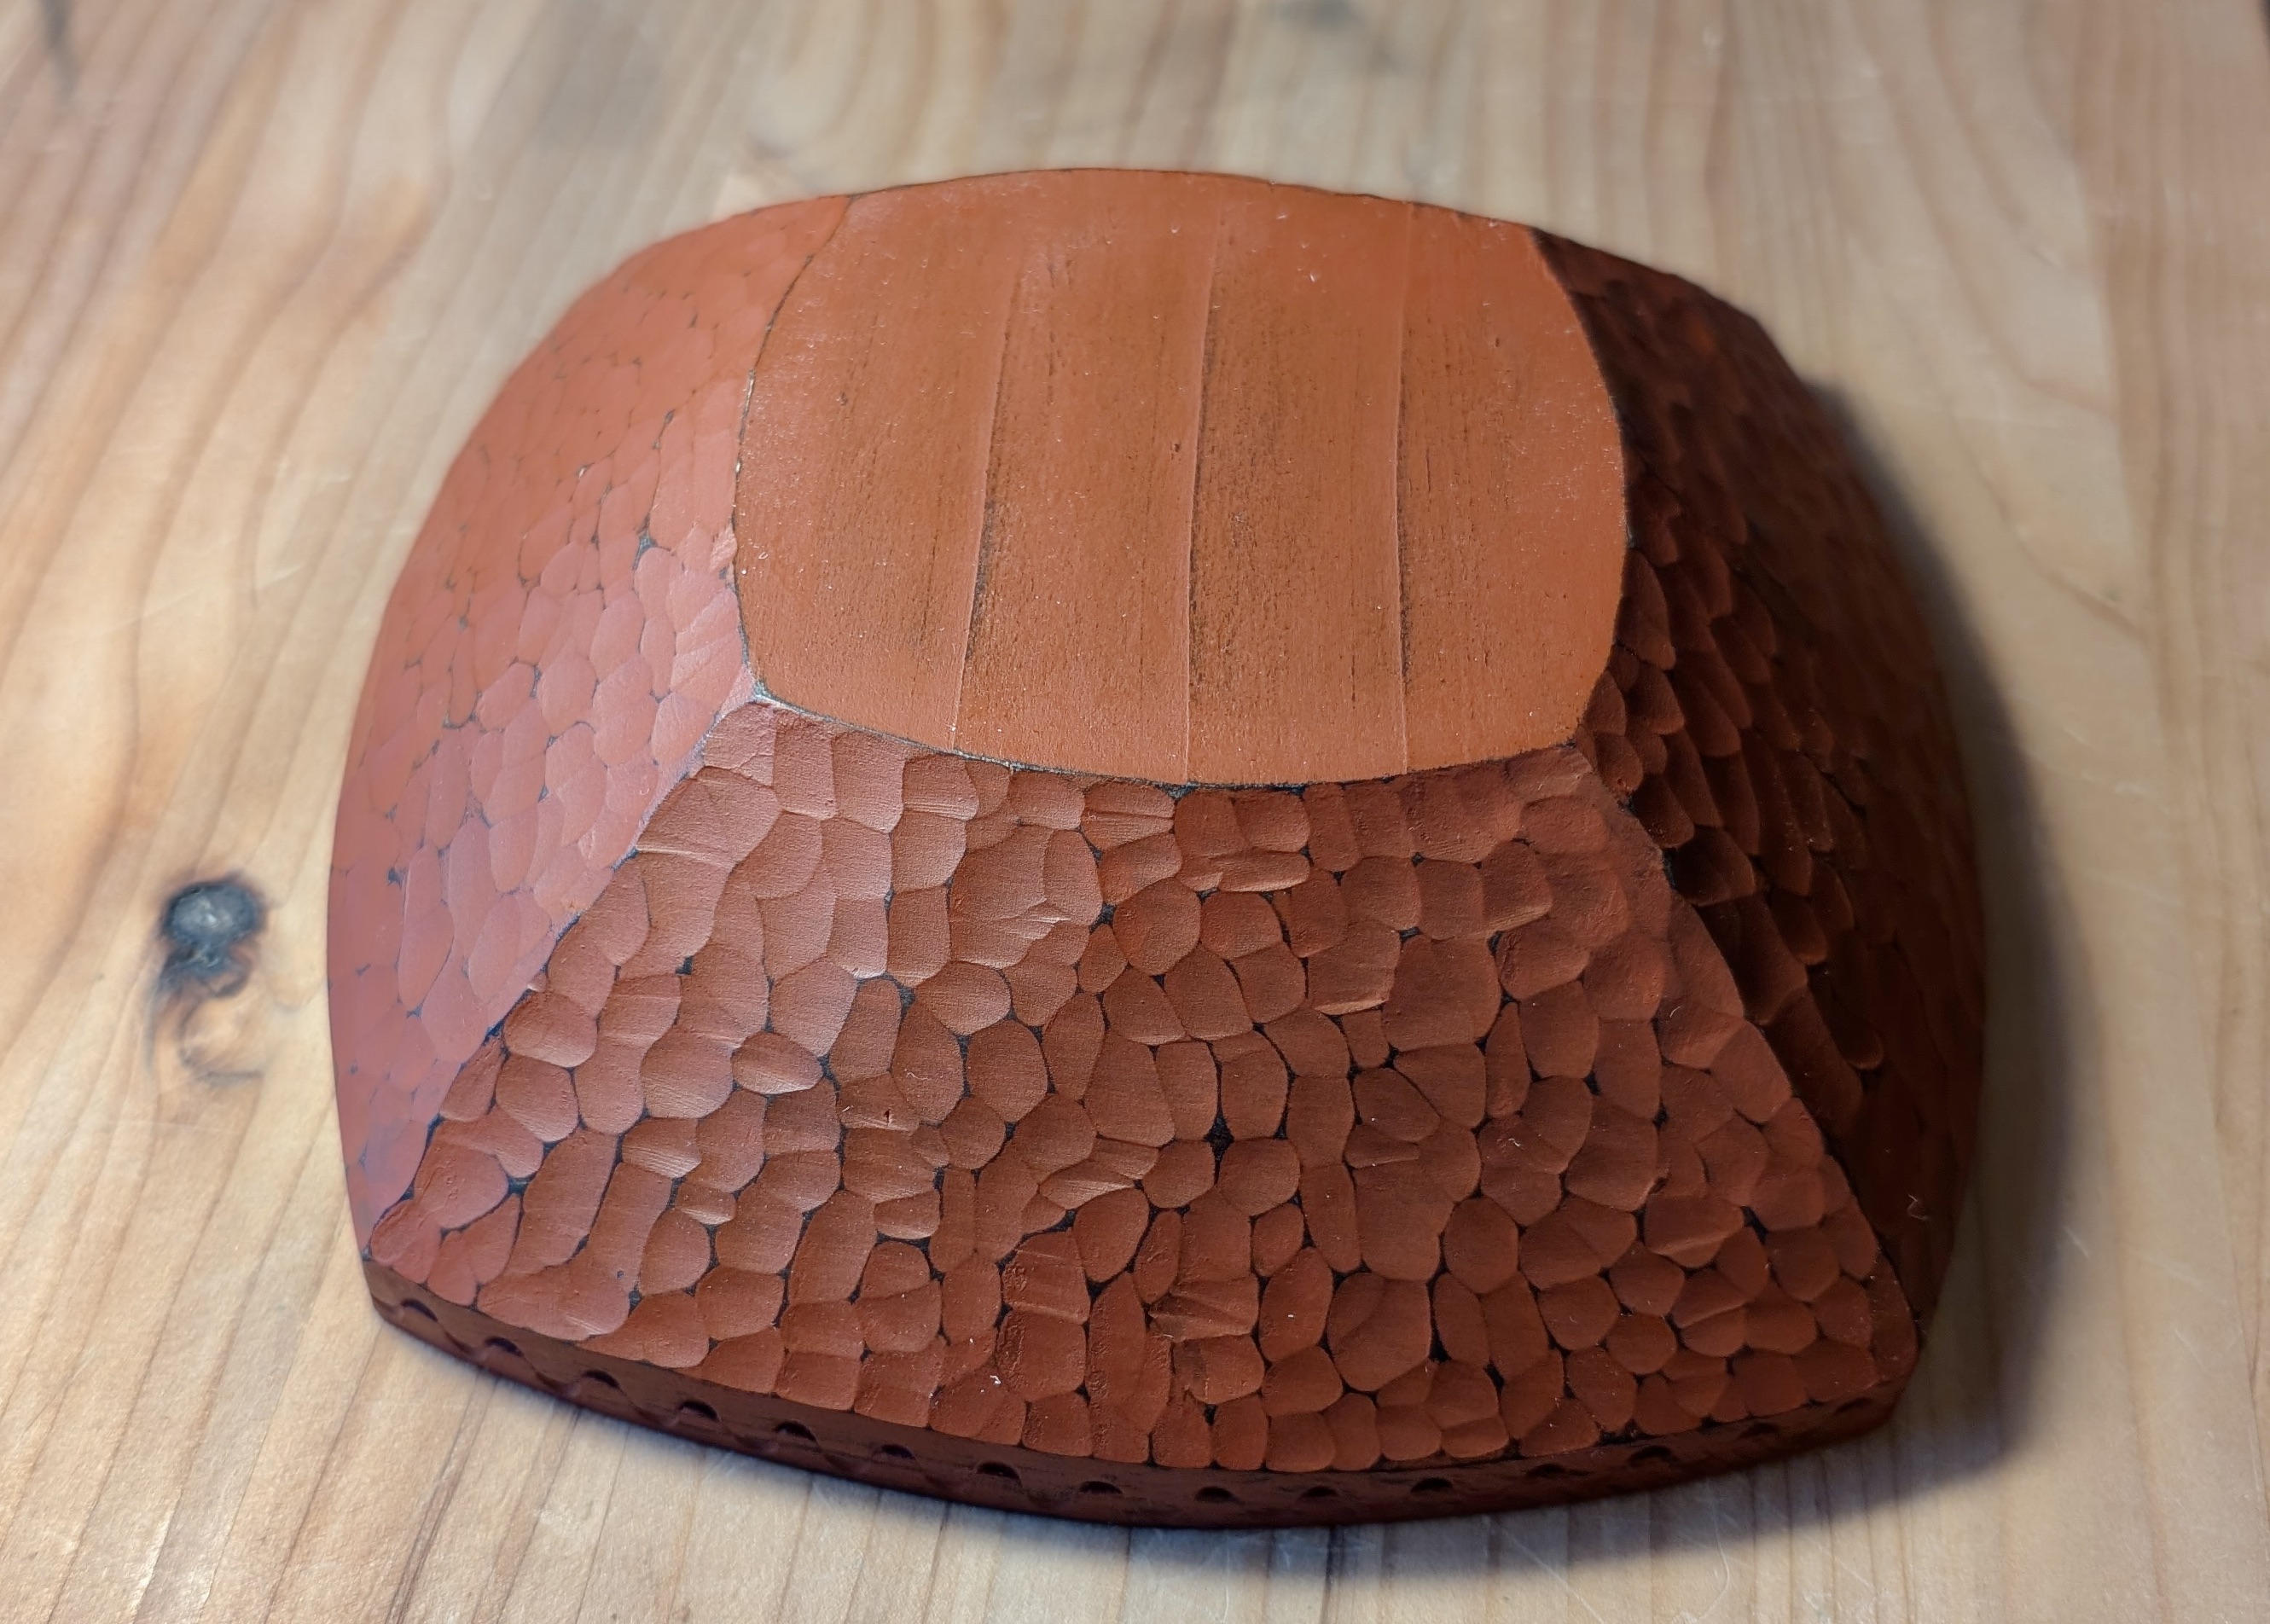
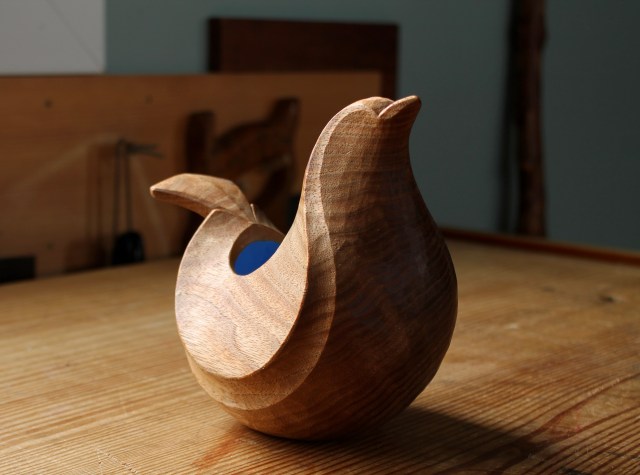
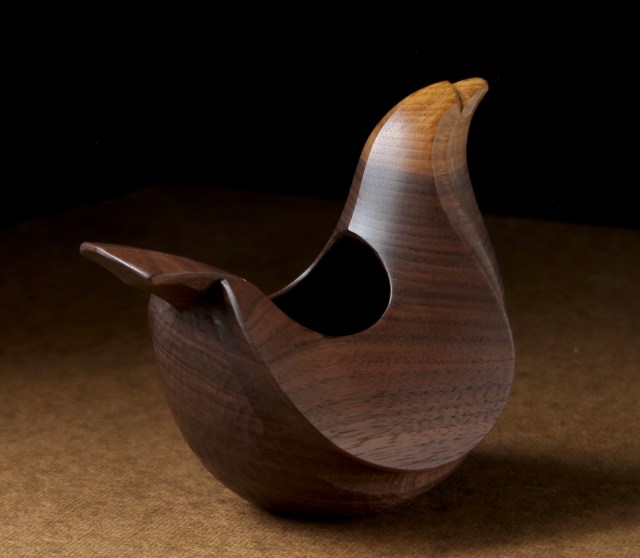
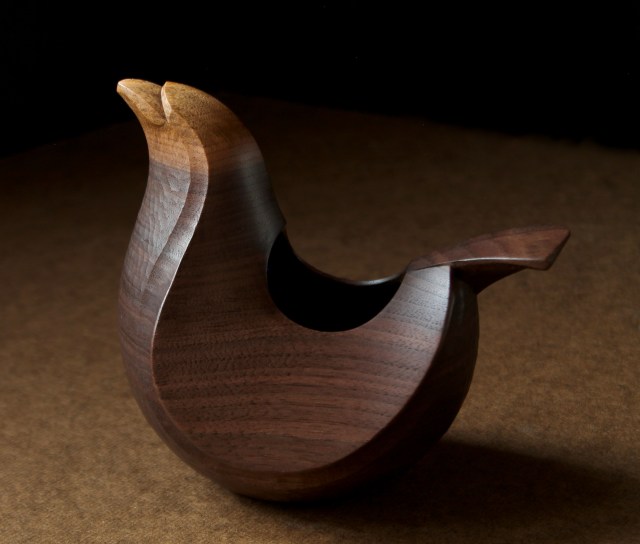
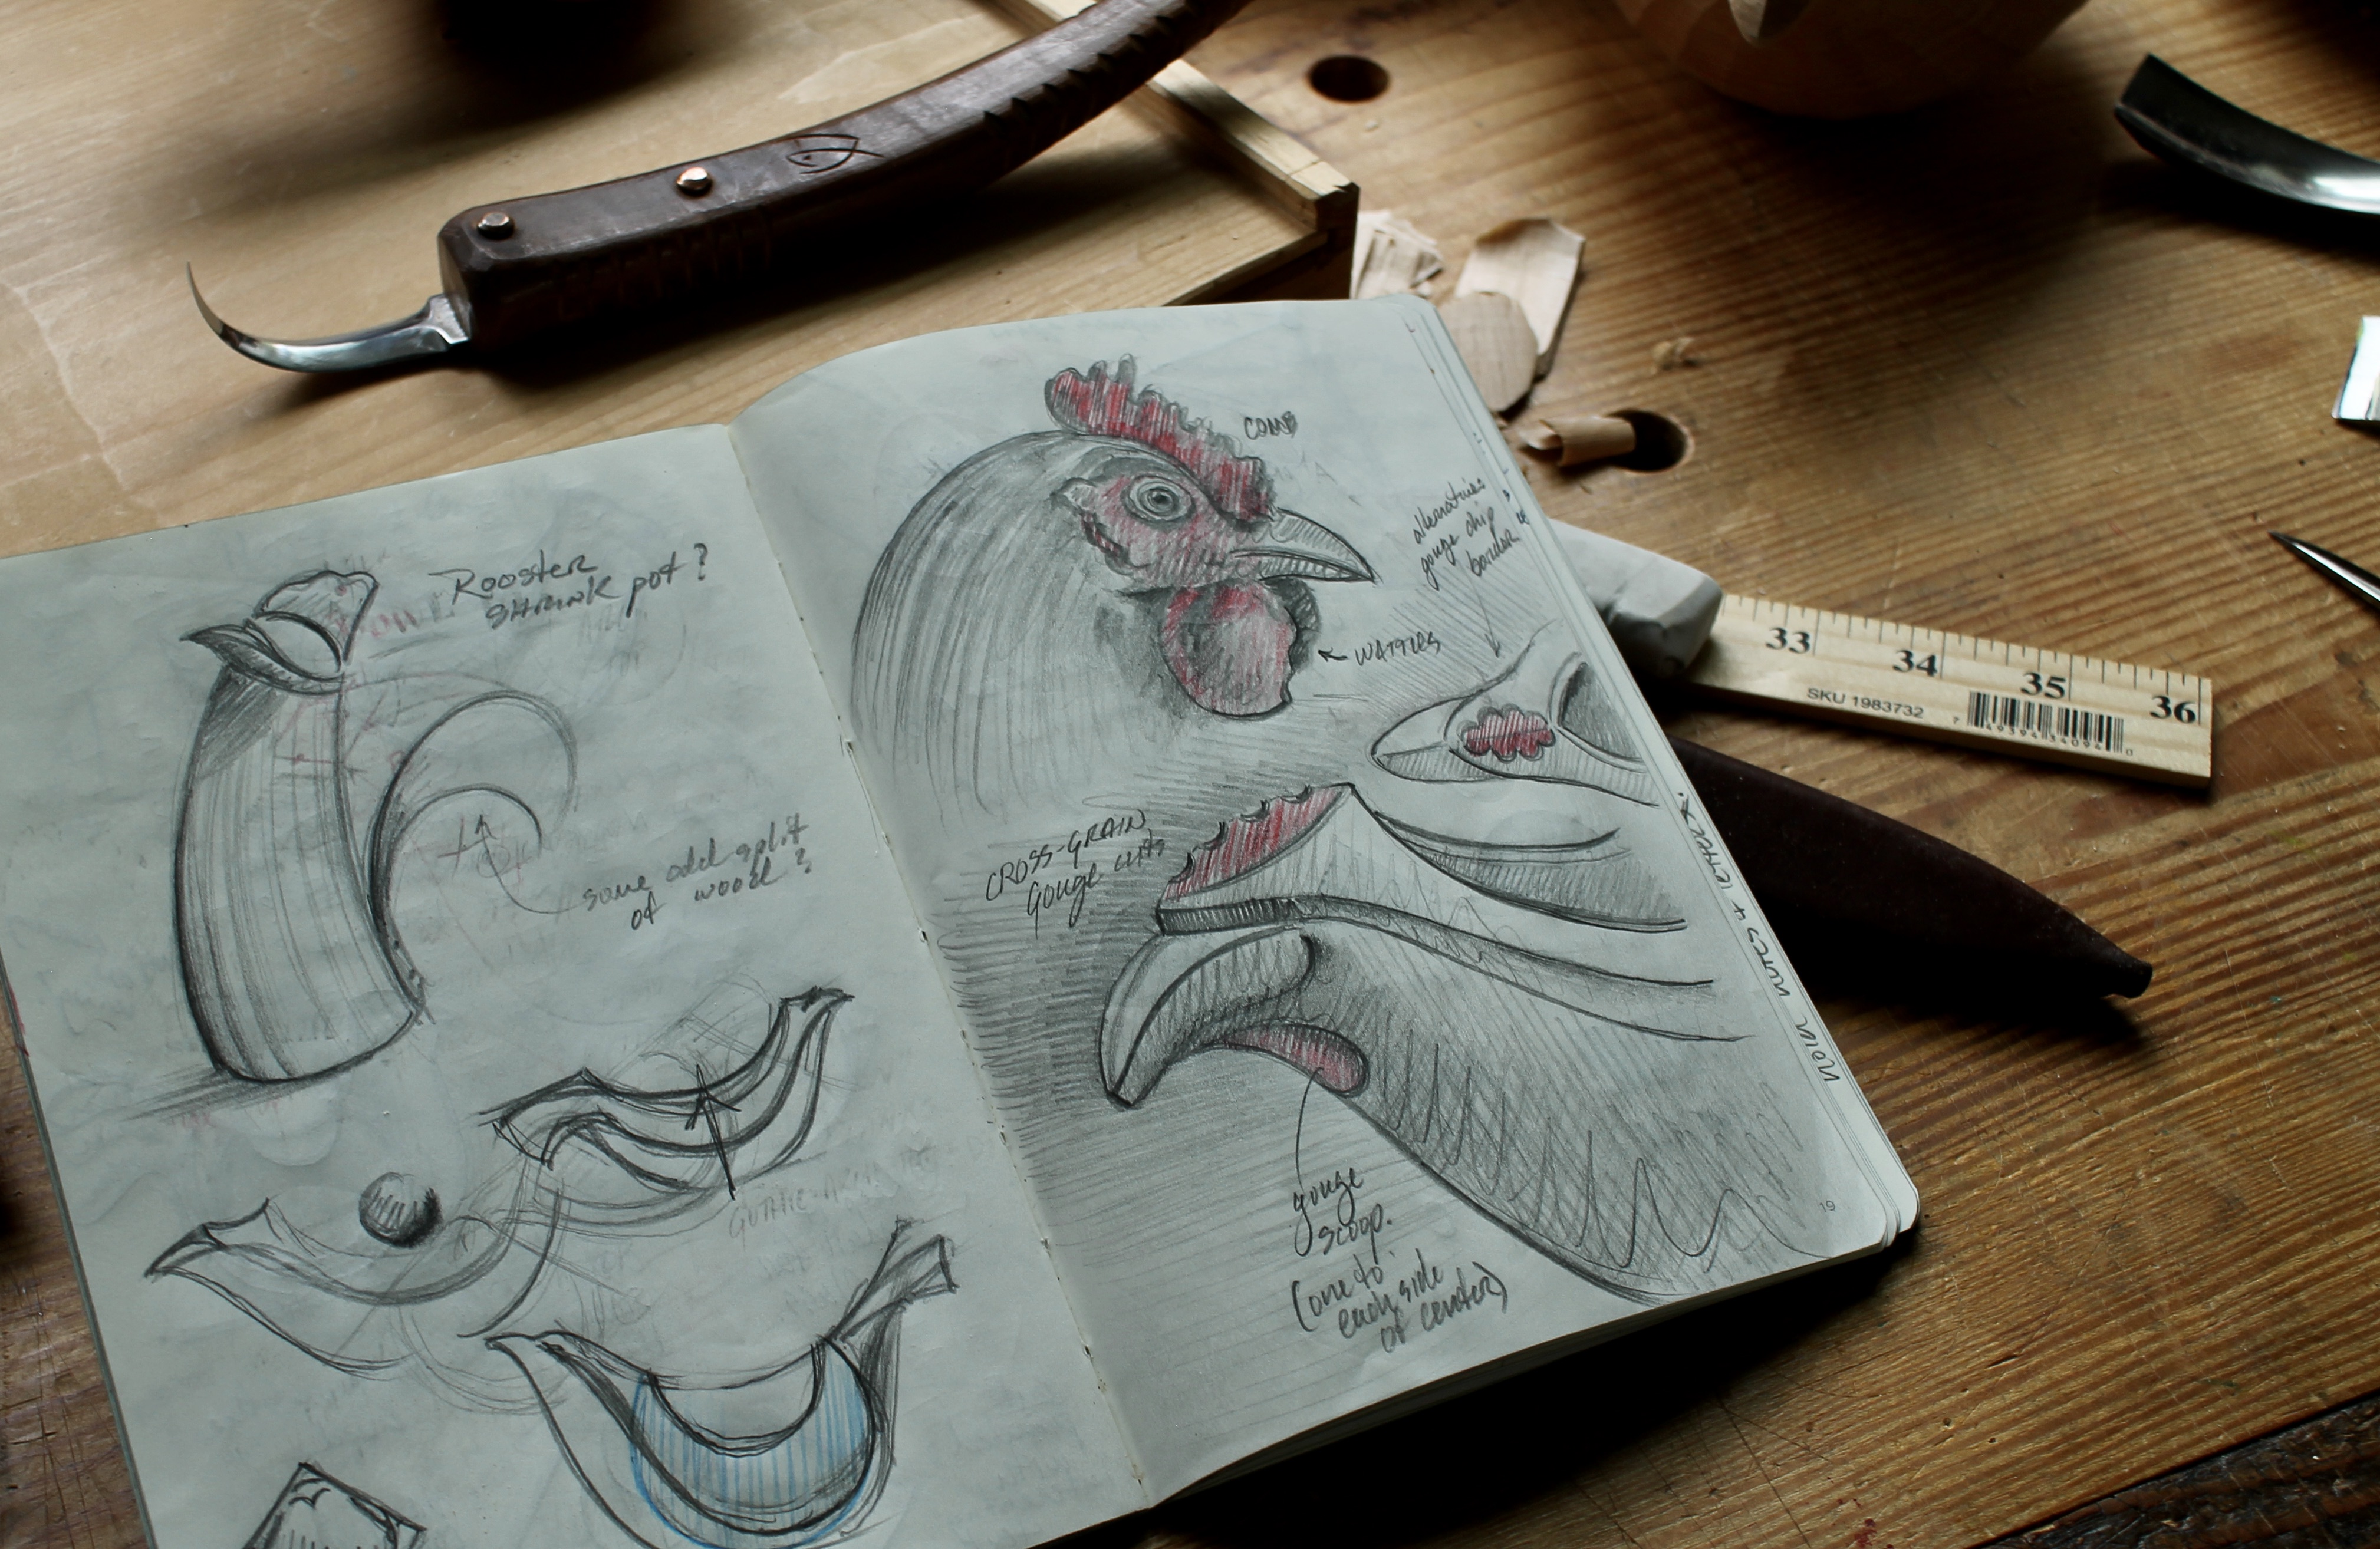
My workbench has looked like a bird sanctuary, or maybe a barnyard, lately. I’ve been carving examples for my bird bowl class at Peter Galbert’s late next month. One of the styles we’ll be working with is hen-inspired bowls. Even though I’ve carved many of them over the years, getting ready for teaching it in a class has me thinking about the design in fresh new ways.
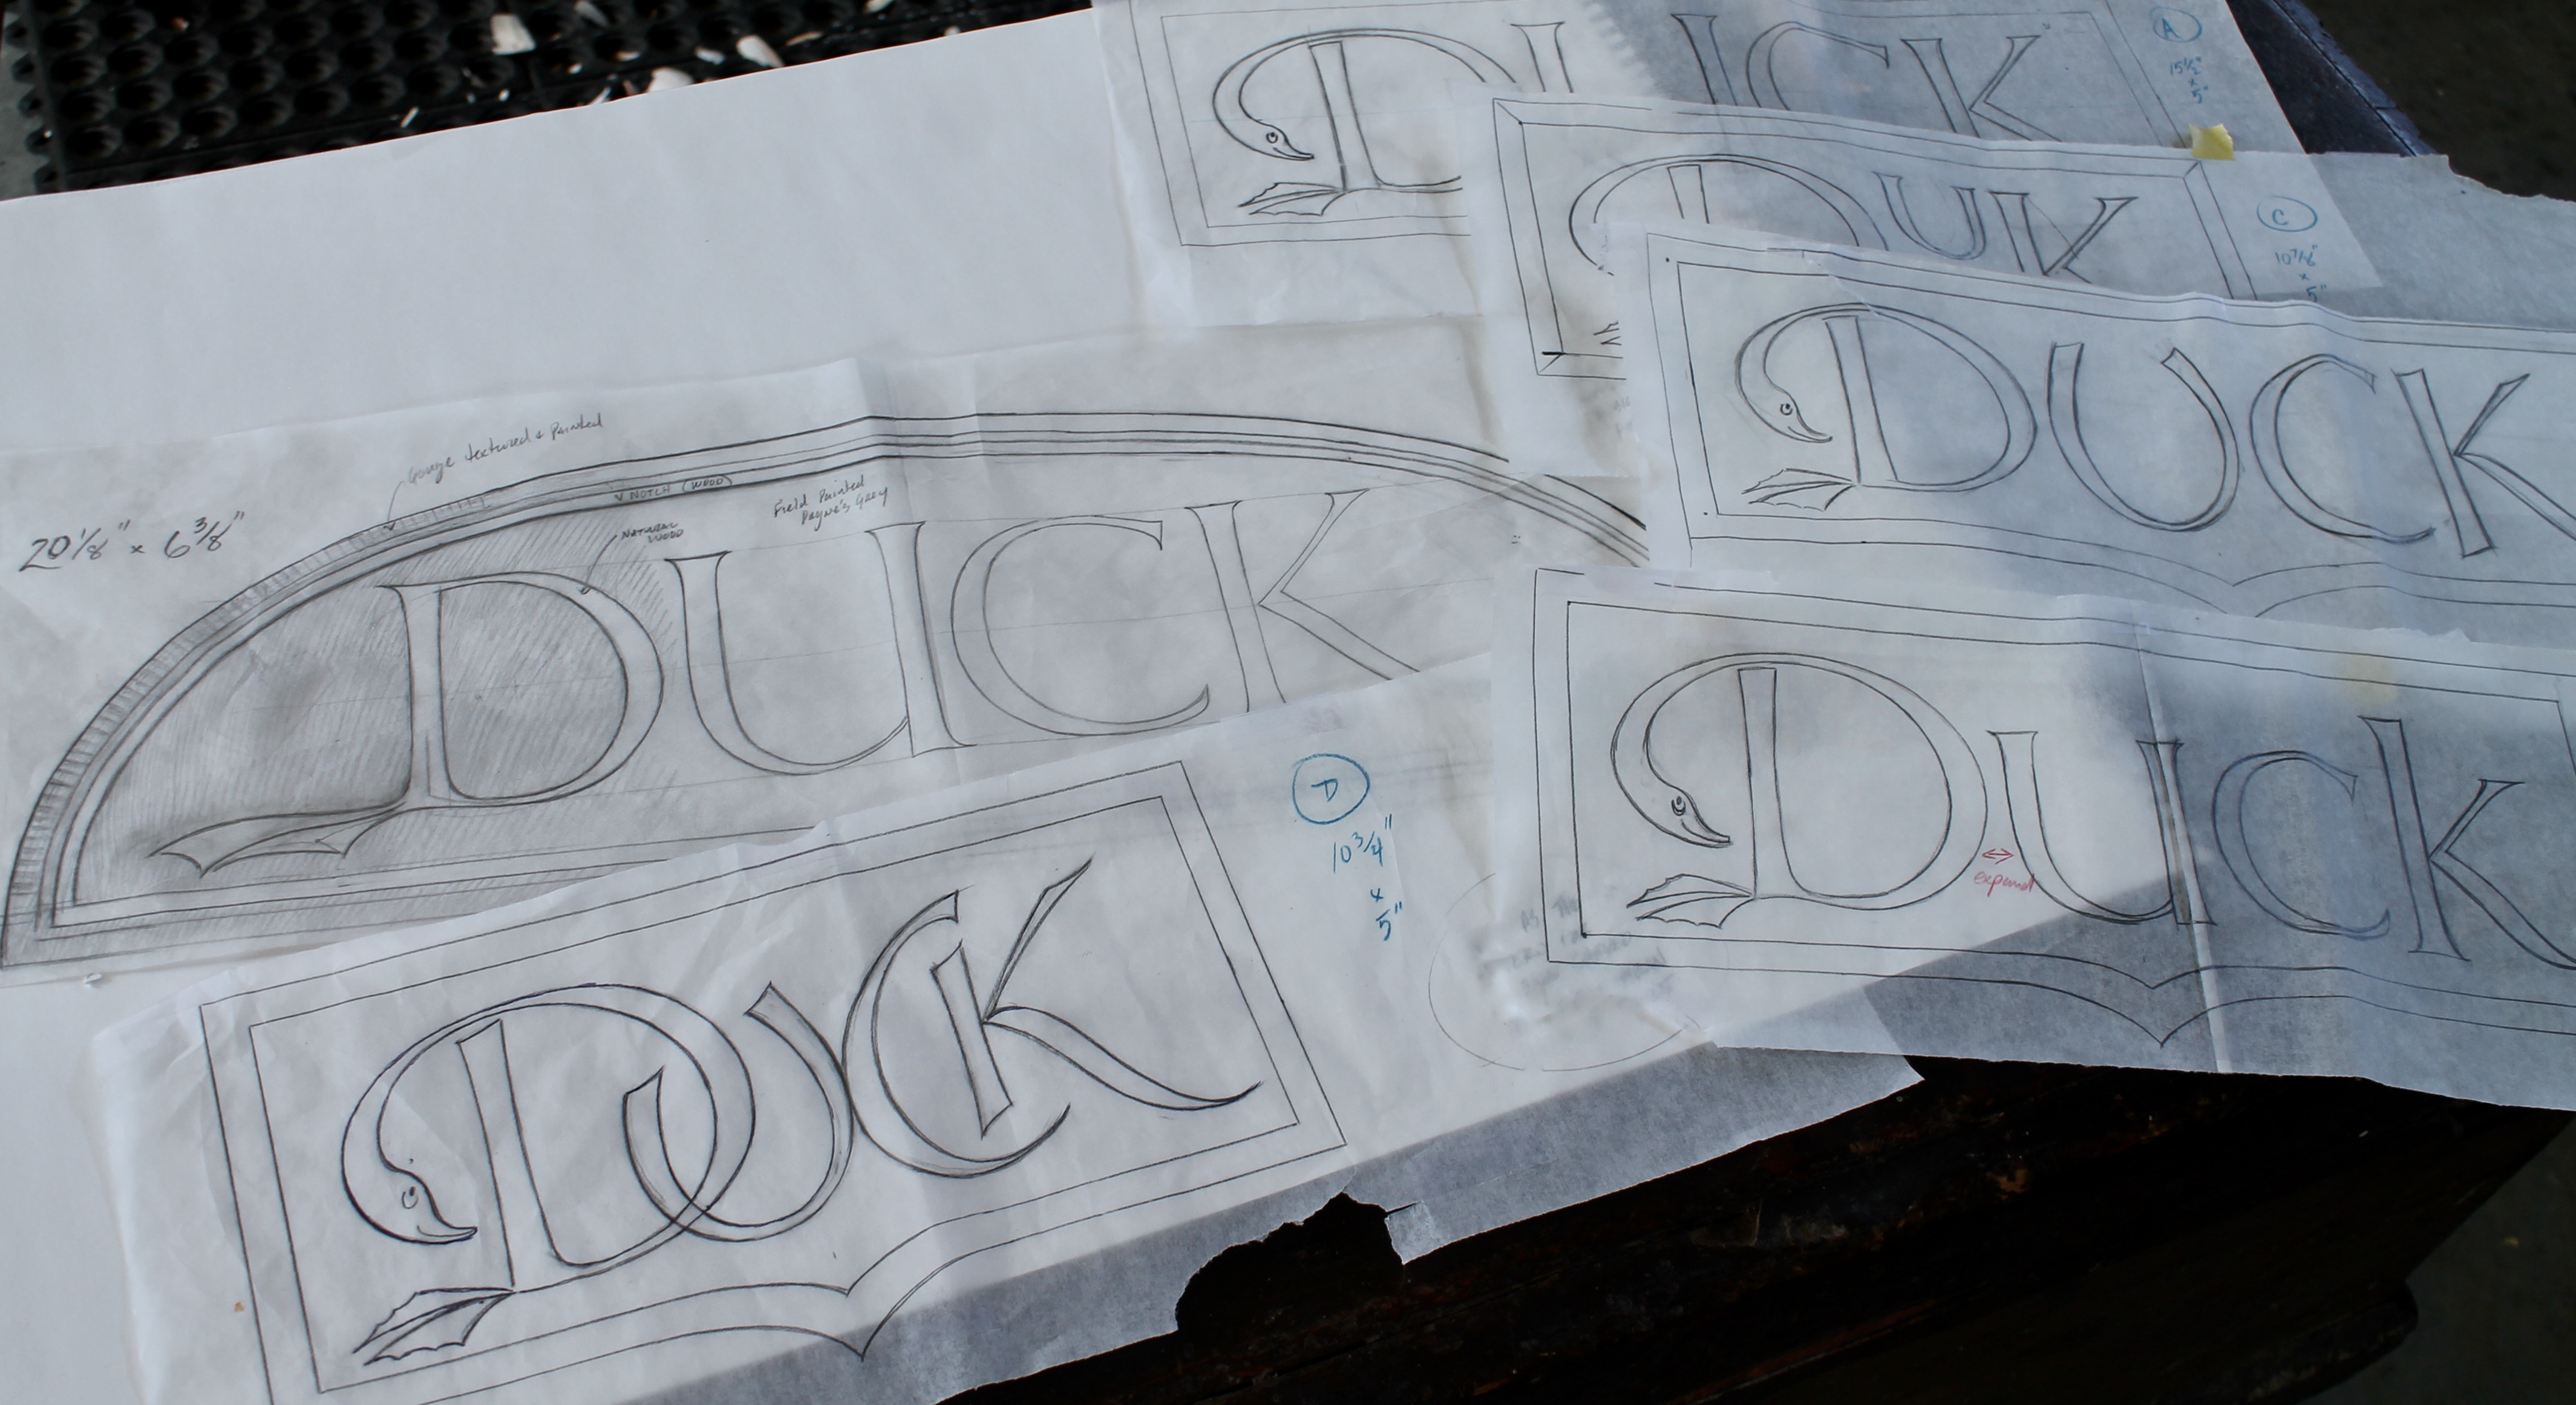
This renewed effort has been spurred, in part, by limitations. It may be counterintuitive, but limits inspire creativity and can lead you to surprising places. We experience this in many ways in our daily lives, even during a short power outage.
In this case, I’m keeping a few things in mind that make the design more practical and accessible in a class setting and beyond; things like tool requirements, wood availability, and carving experience. This doesn’t necessarily require aesthetic compromises. In fact, some subtle departures from my past designs have resulted in elements that are more reasonable to execute while still making sense aesthetically and functionally. Of course, some of my attempts have ended up as firewood, but that just goes with the territory. As these bowls get finished, I’ll share more of the details.

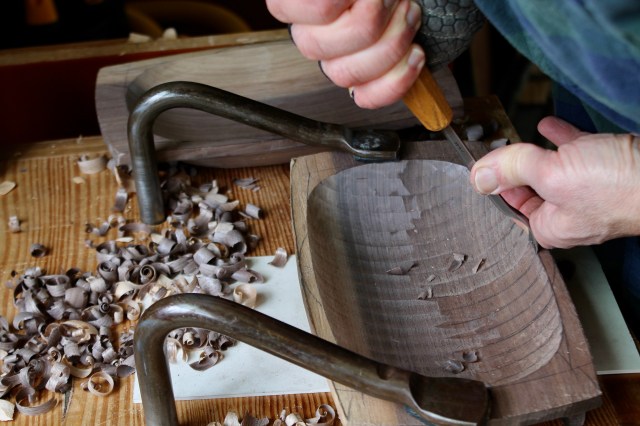
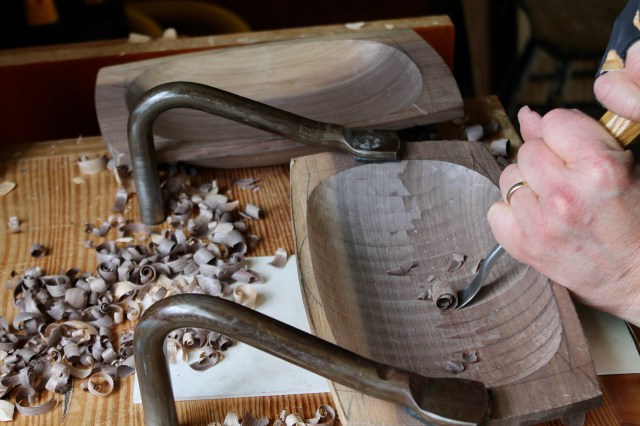
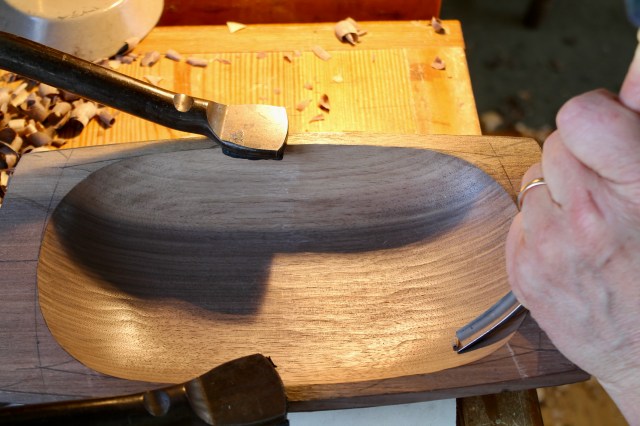
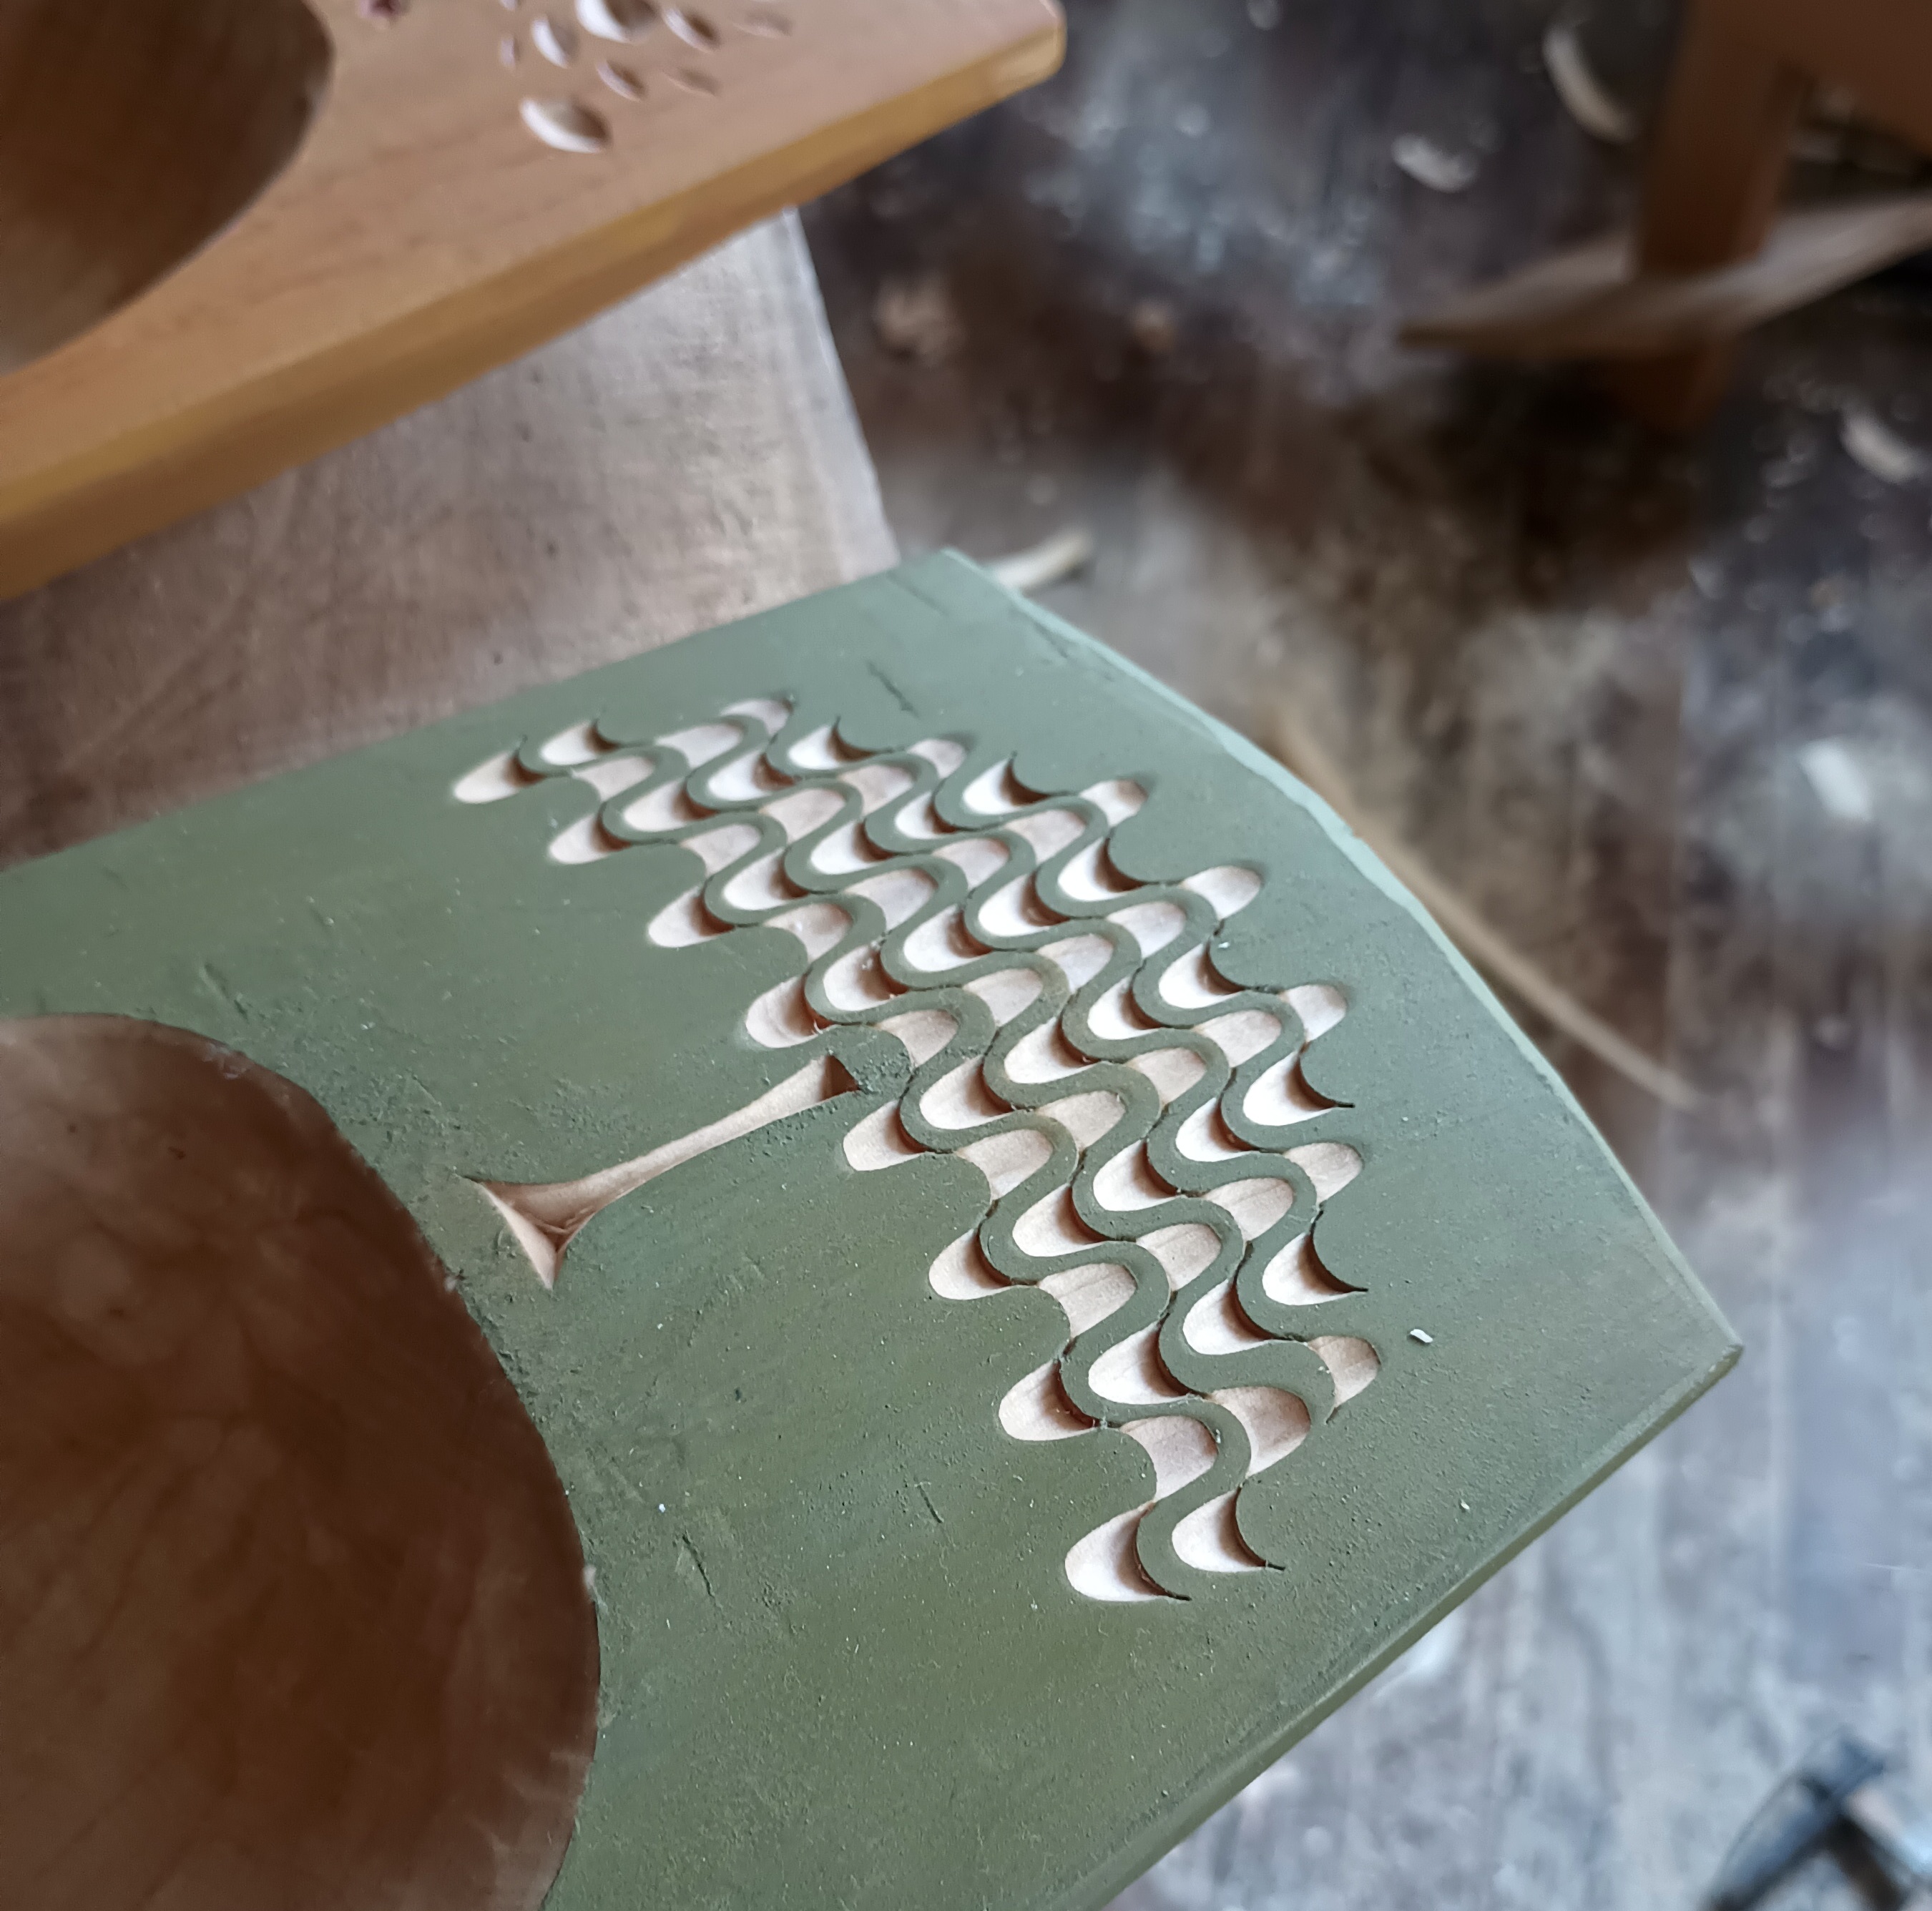
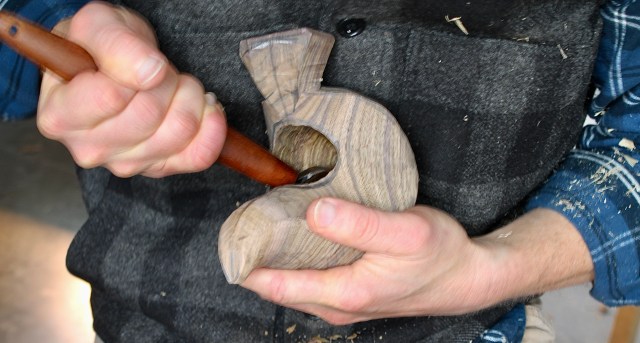
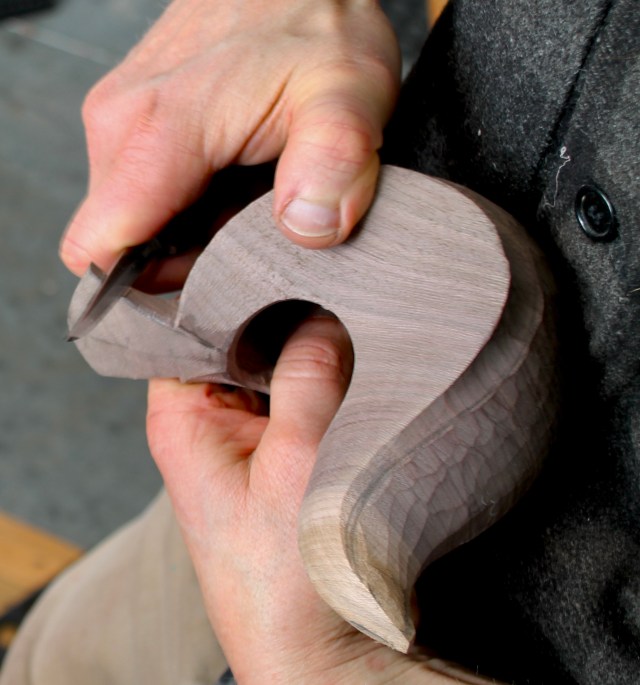
One of the techniques we’ll be working on is designing and carving flutes. Not the musical kind, the concave channel kind. And there’s no way around that steep and deep hollow, which brings me to a short tool diversion.

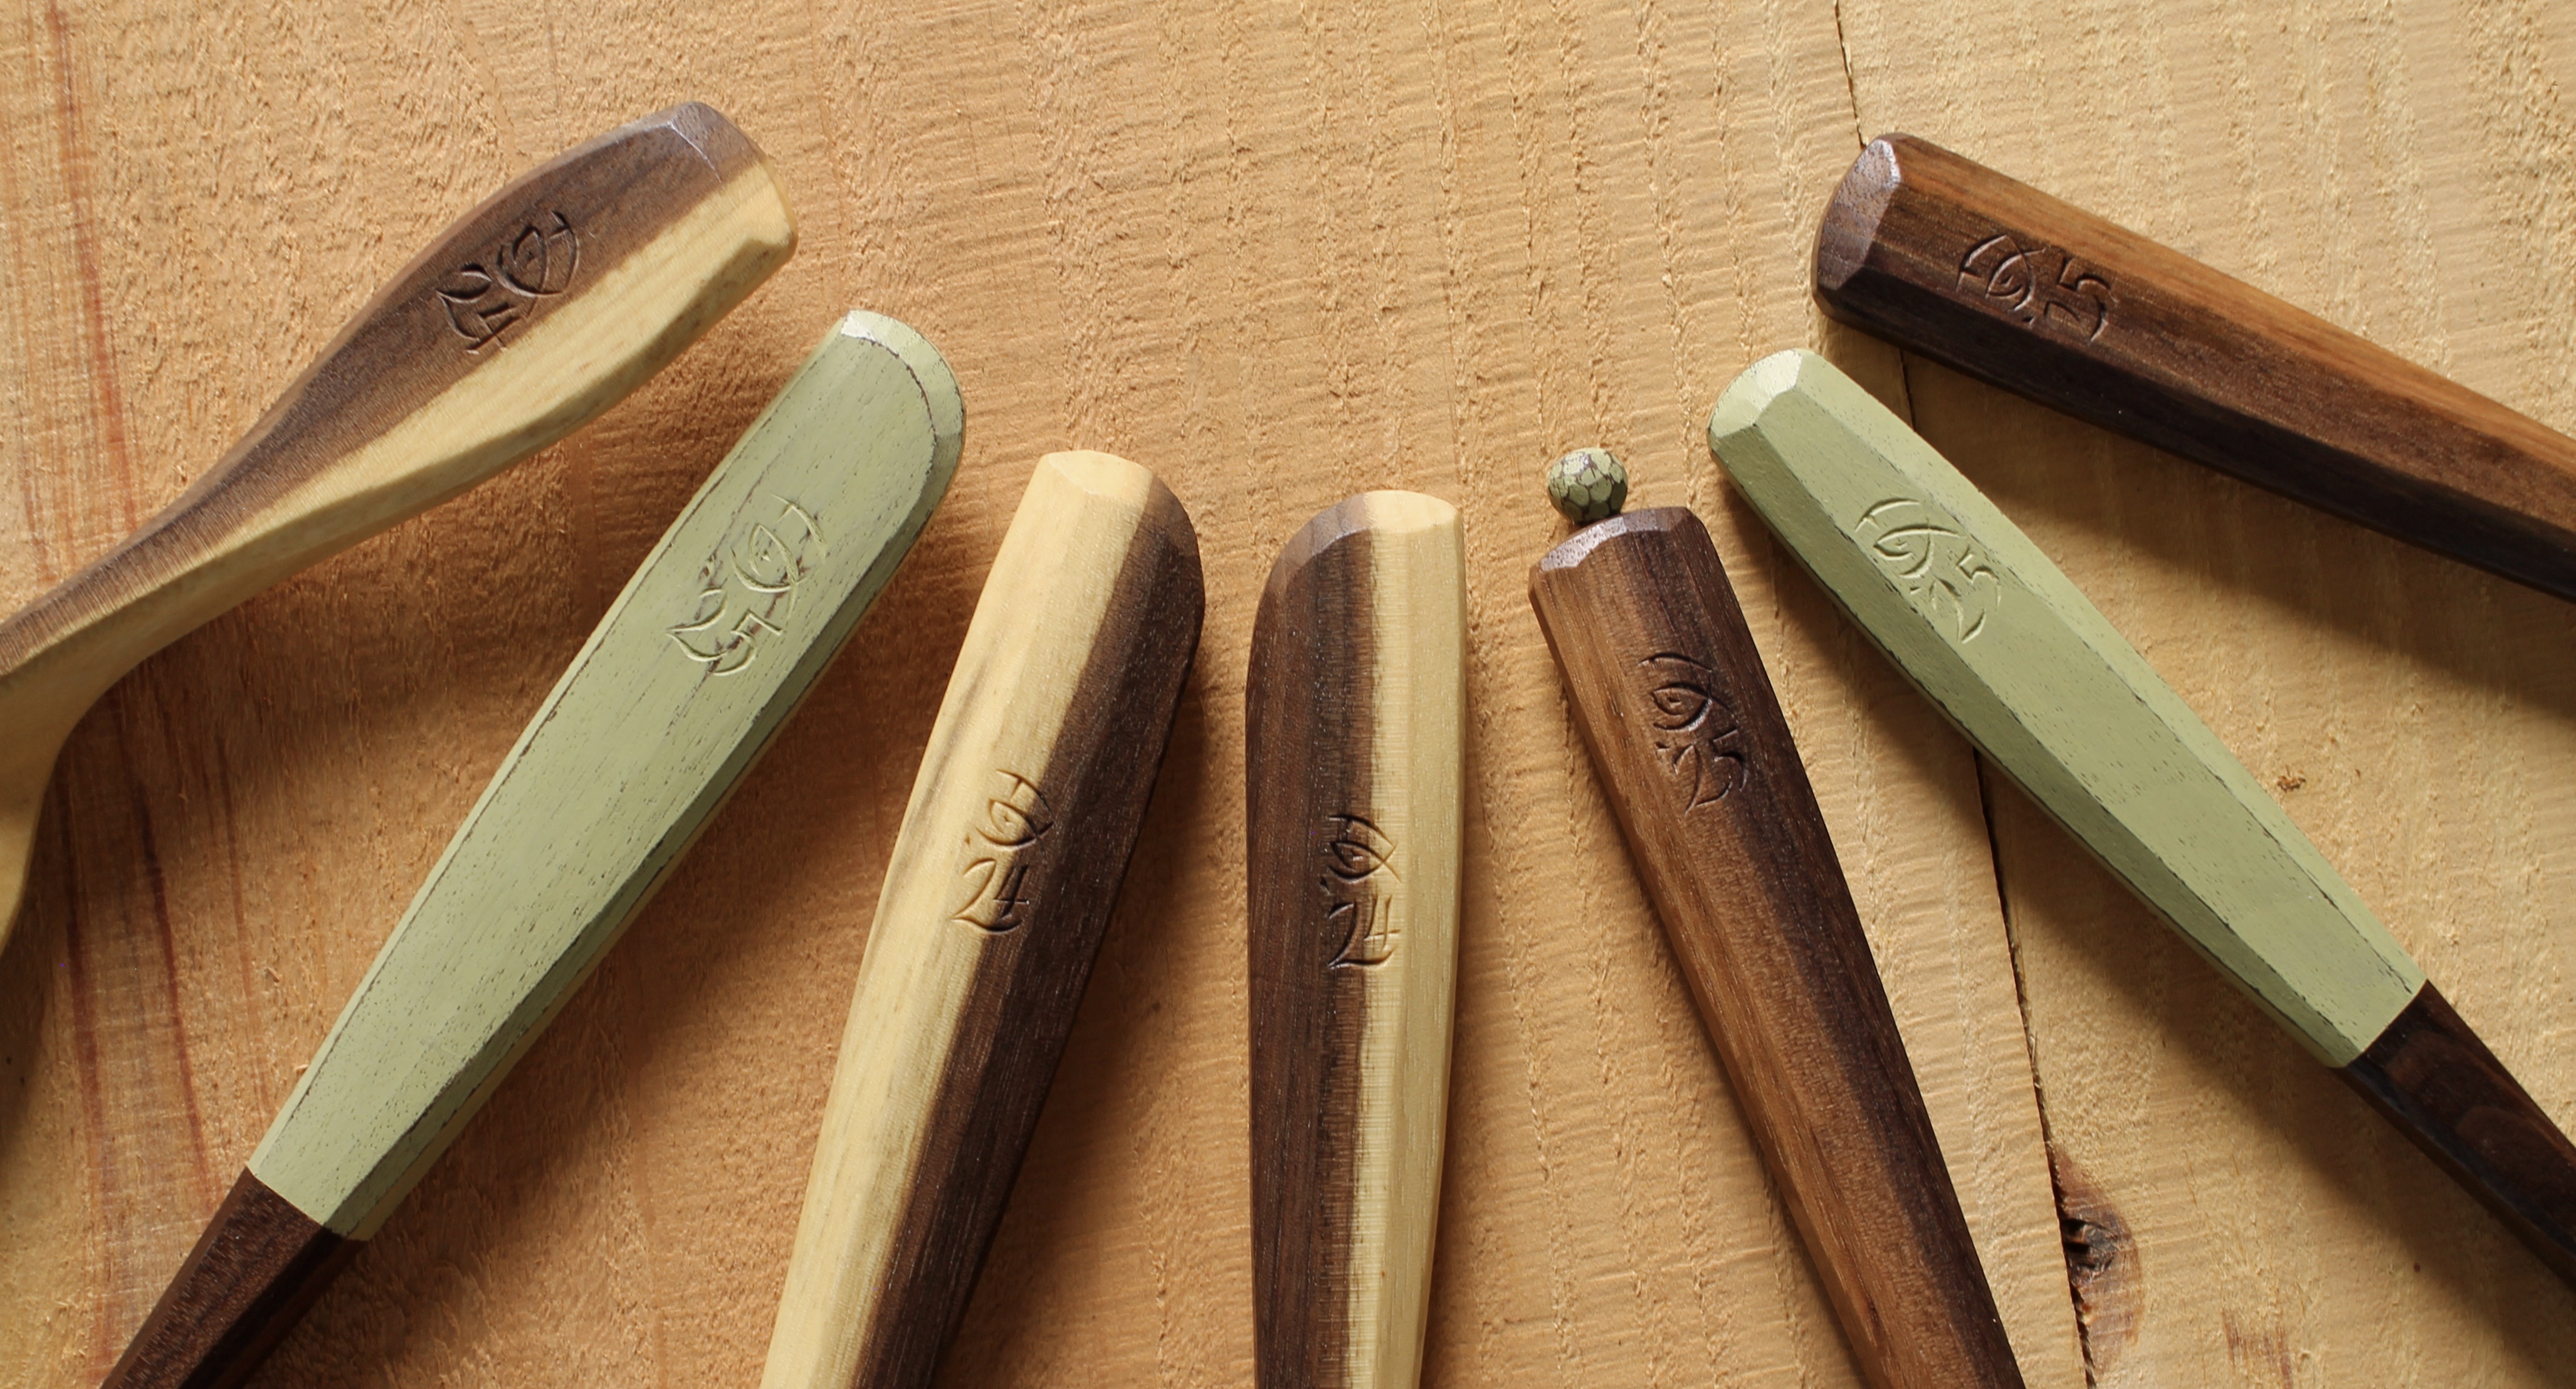
Most of the bird-inspired bowls that I carve have hollows beyond the reach of a long-bent gouge. In the photo above, you can see a typical progression of tools that allow you to cut an increasingly steeper hollow. The straight gouge at the top will only cut a shallow dish before the shank and handle are in the way. Moving down the photo, the long-bent gouge can tackle all of the usual bowl designs I carve. Next, the spoon-bent gouge gets much steeper and deeper, but for shallow hollows it’s much more cumbersome to use. Use it only when it’s needed. At a certain point, hook knives and scorps of various types allow you to manipulate the tool more freely within a space, since there is no shank or handle at all trailing the cutting edge. Shown is one of my favorites for deep bowls, an e-bend double-edged crooked knife (my handle) from Kestrel Tool. Each tool has its own strengths and weaknesses.
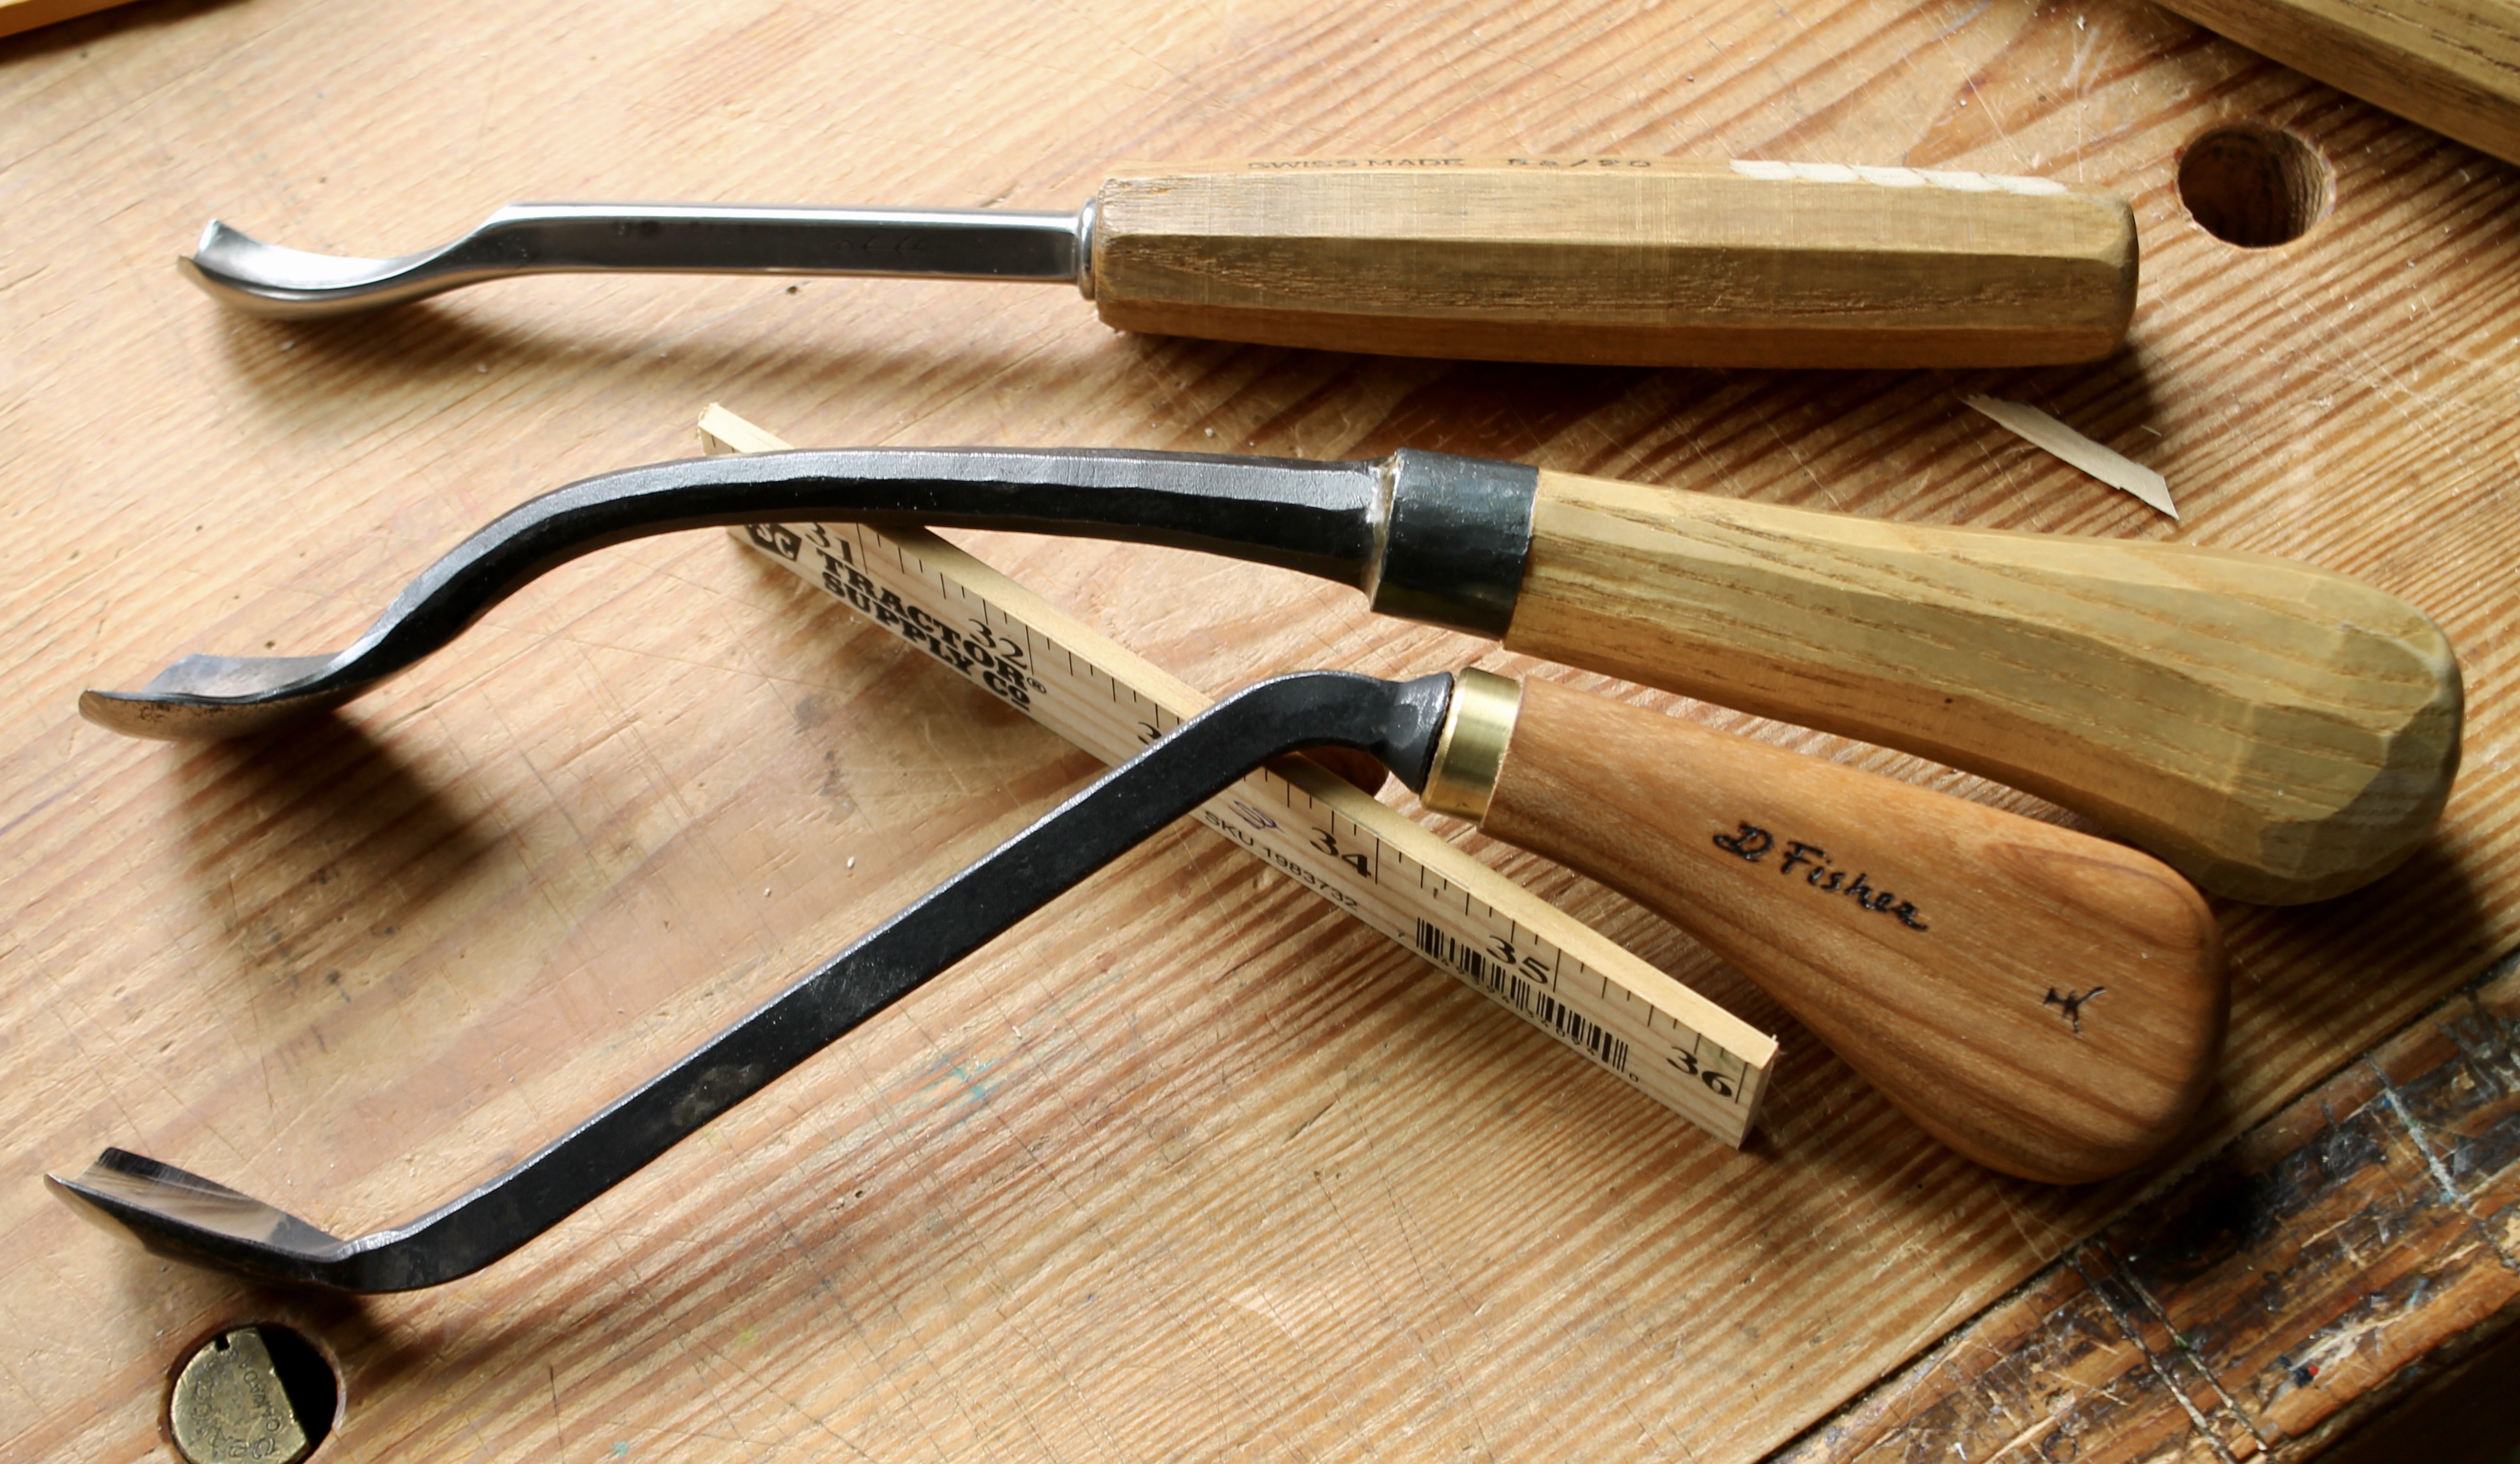
Tools in the spoon-bent sort of range come in all sorts of varieties and shapes. Here are just three. A standard spoon-bent gouge from Pfeil, a swan-neck gouge from Nick Westermann, and a dog-leg gouge by Hans Karlsson.

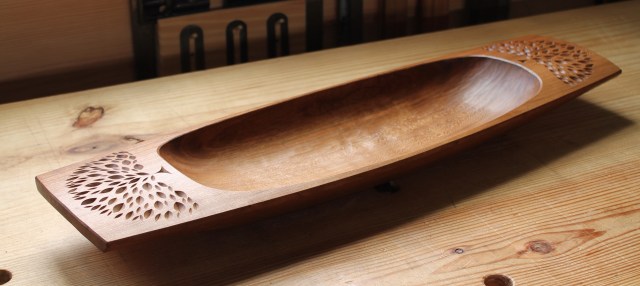
After yesterday, those bowls on my workbench are a little further along. It rained all day which is great for carving in the shop and looking out the window.

Sprinkle a few seeds on the fence rail and inspiration flies right over.