
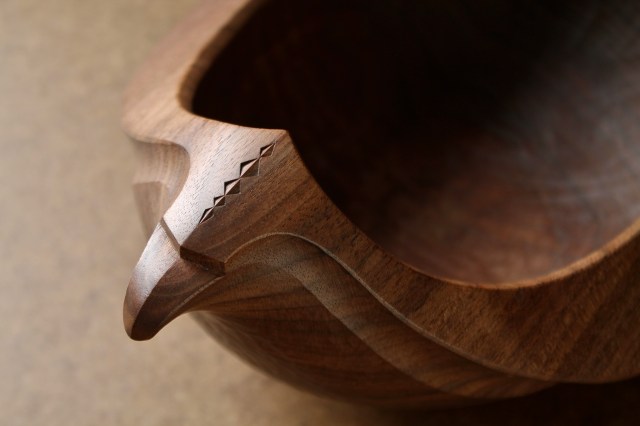
I just finished a hen bowl from black walnut. I’ve made a bunch of these hen/chicken/fowl-inspired bowls over the years. No two of them have been quite the same. Every time I start one I have some uncertainty about how all of the elements are going to come together in the end. Considering all of the details at once can be overwhelming and stop progress.

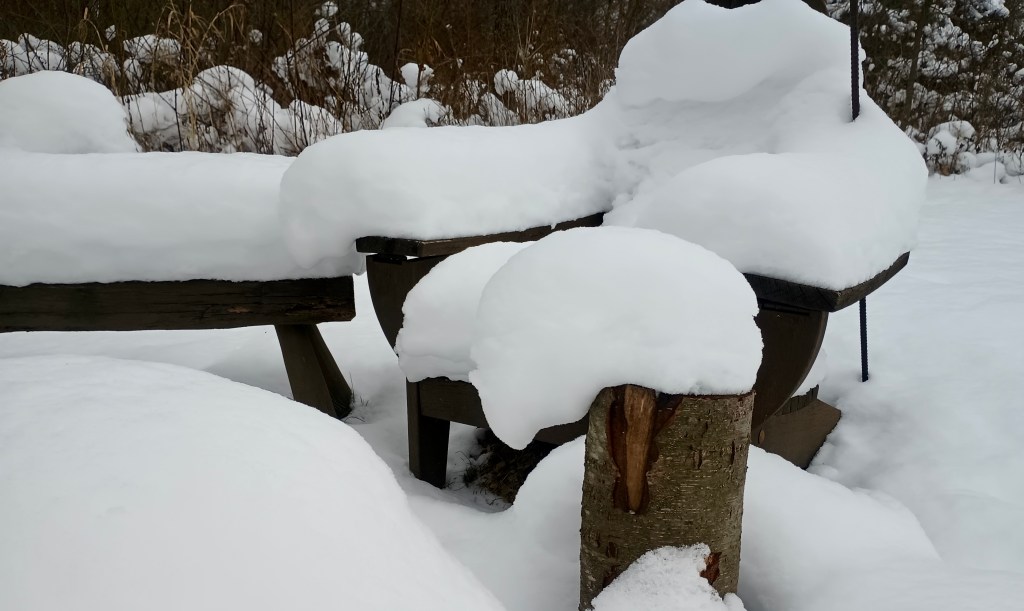
Here’s that same bowl very early in the process. Roughly a quarter section of the log, but with the wide band of sapwood already split off. At this point, I don’t have to know what the beak is going to be shaped like, or how I’m going to texture the surfaces, or how wide the wings will be. I just put all of that out of my mind for now. I know that I can cross those bridges in time.
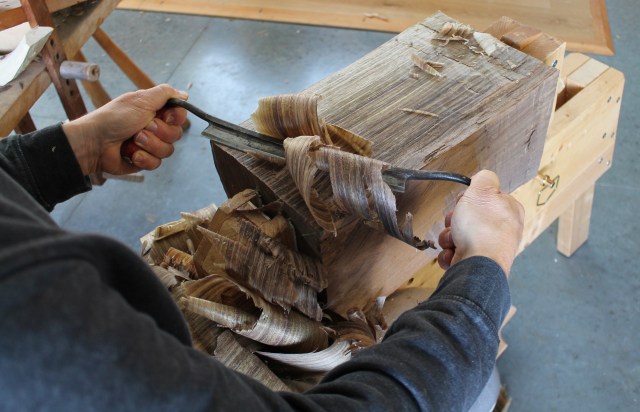
Granted, wood carving is a reductive process; once wood has been removed, it’s gone. So I try not to burn too many bridges along the way. There’s a balance and it becomes easier to manage with experience. Even after just going through a process a time or two, the familiarity is reassuring.
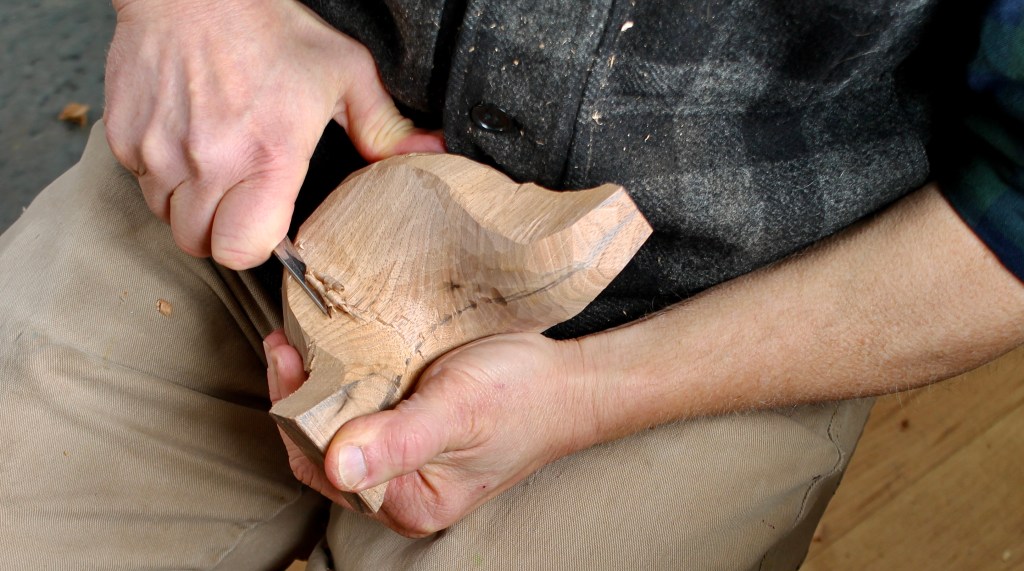
Knowing that this bowl will have a “rooftop” orientation, I needed to shave those upper surfaces and the bottom flat. While I’m shaving, the next necessary step is getting done and I can start to think about what overall proportions for layout would work well with this log — the next thing.
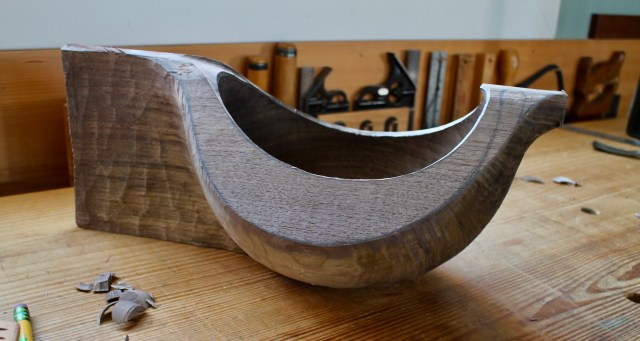
With the layout done, I can hollow and hew the piece to rough shape, then pause to think about an appropriate undercut for the wings. And as the bowl sits and dries, I’ll have plenty of time to consider that beak shape.
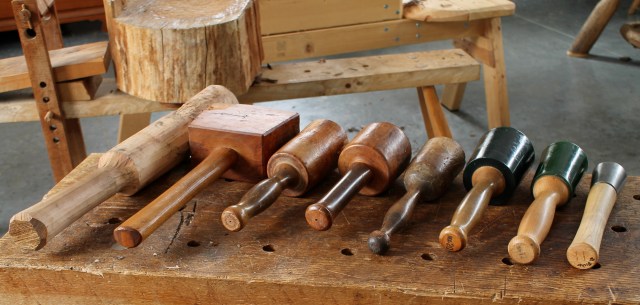
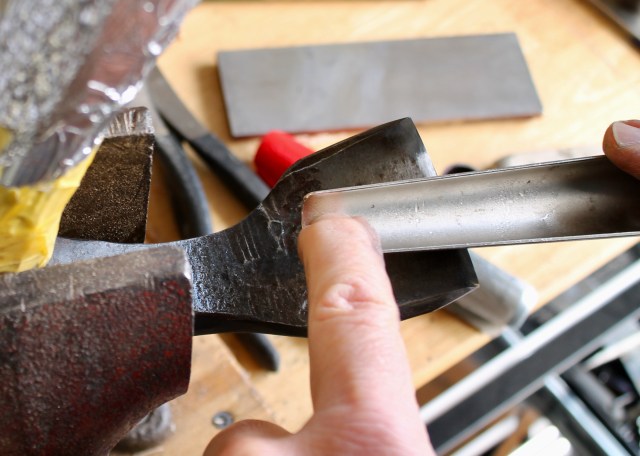
Keep things in perspective. You don’t have to make the perfect decision for it to be a good decision. There will be other pieces of wood. This is not a matter of whether to snip the red wire or the green wire. And if you’re temporarily stumped on what to do next, sharpen something. That is always a good next thing to do, and it will free up your mind.
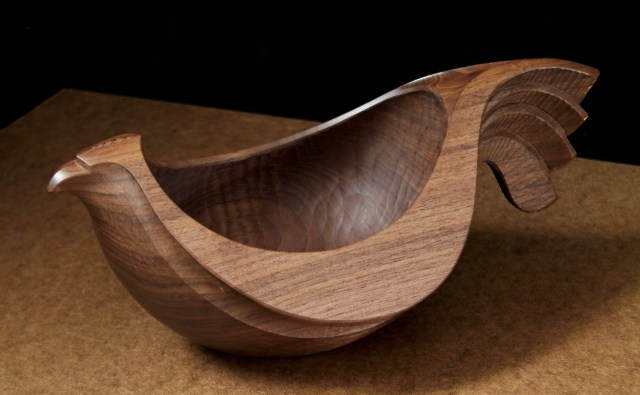
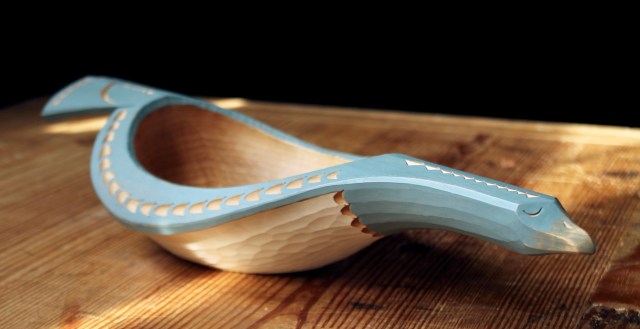
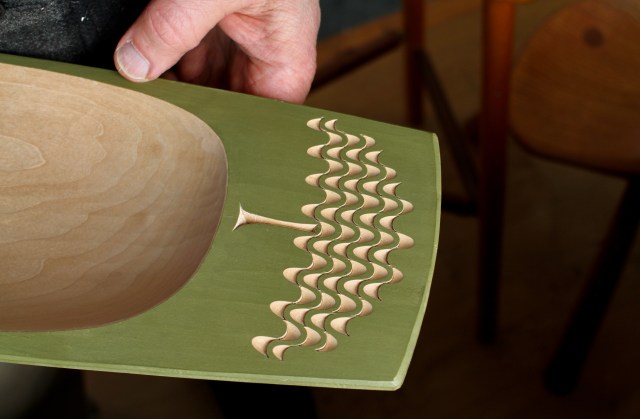
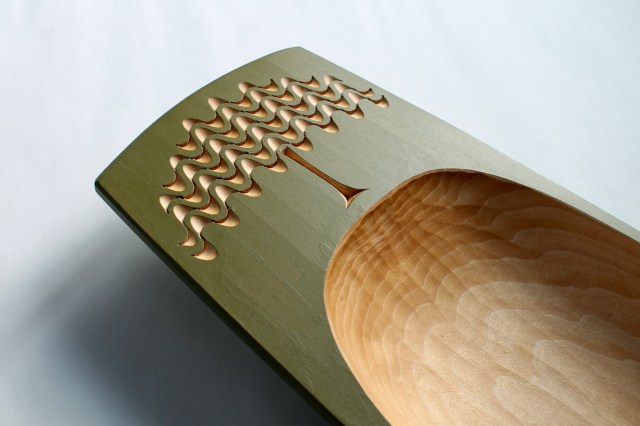
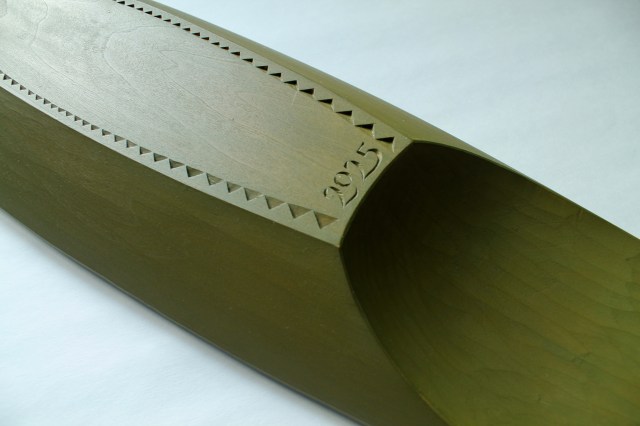
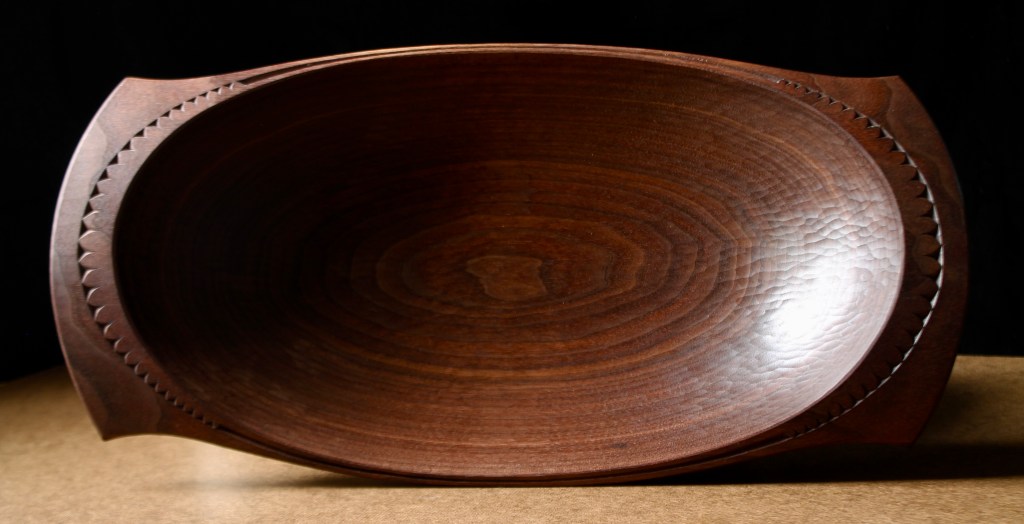
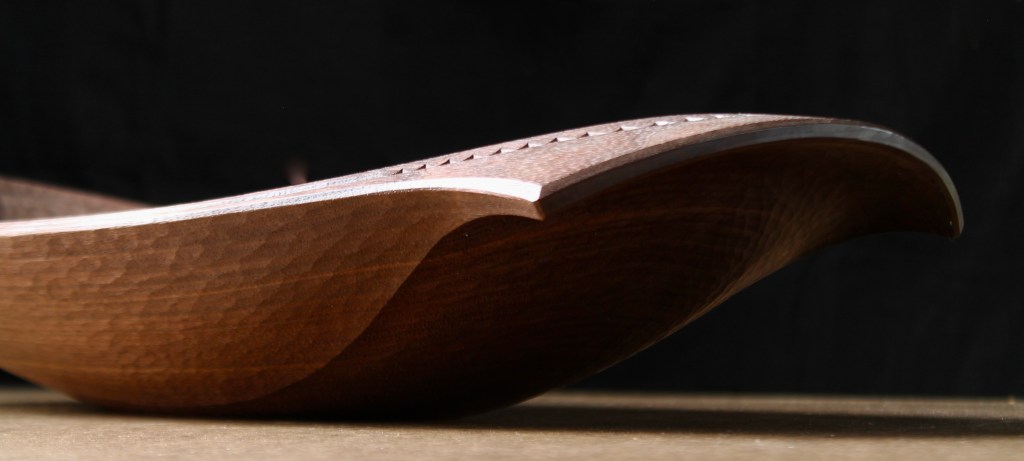
Here’s an overall shot of the finished bowl.
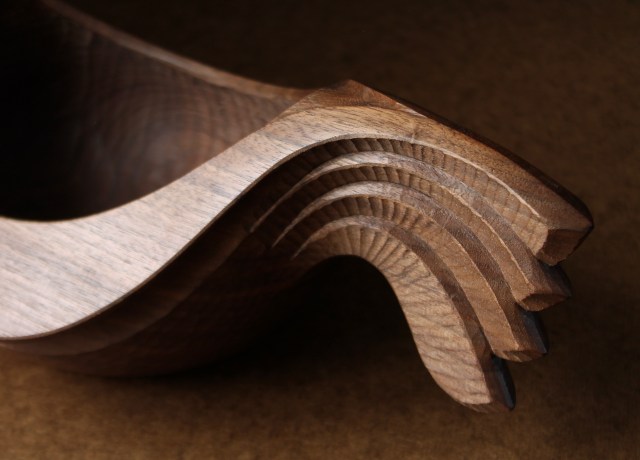
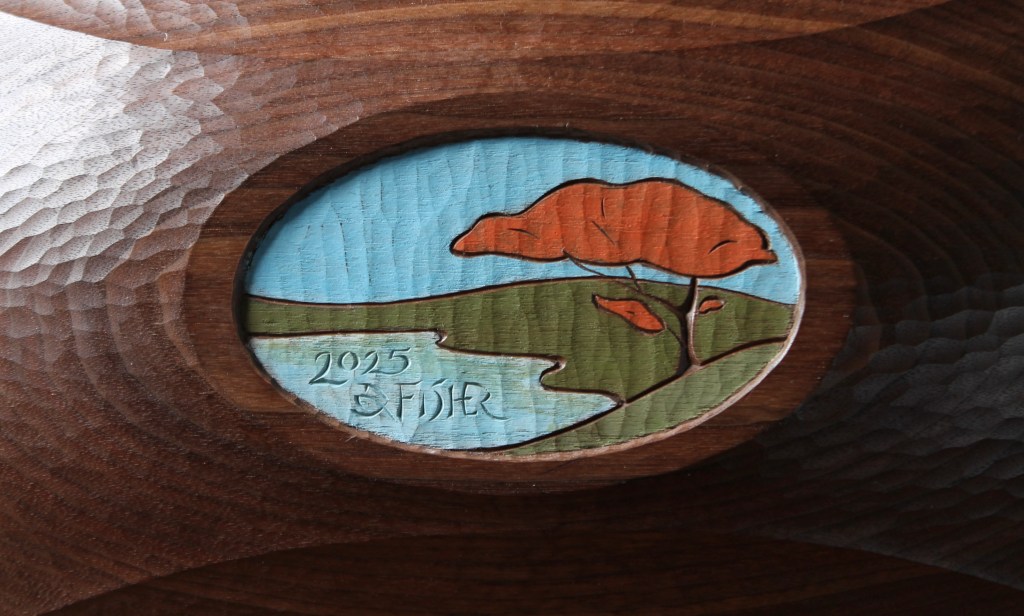
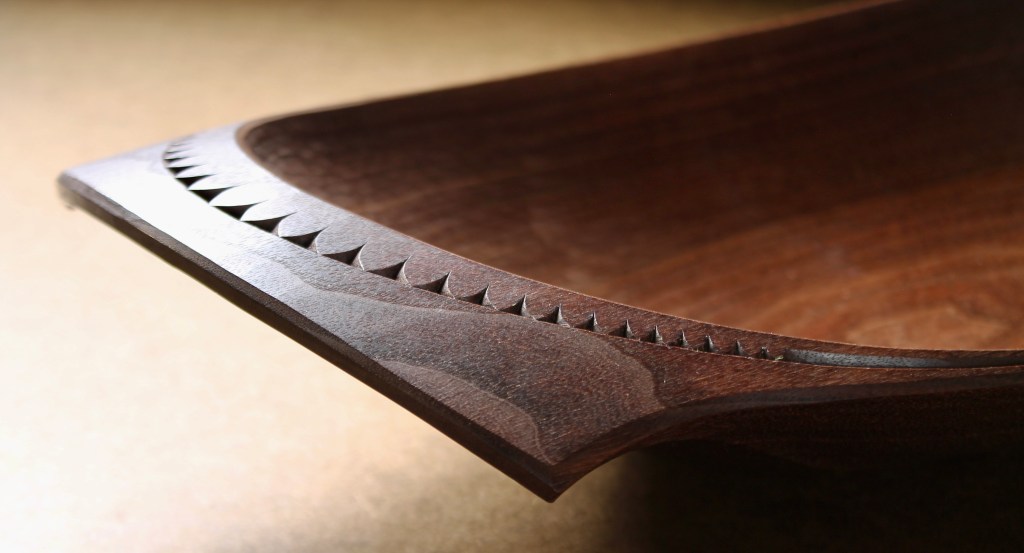
Another of the tail section.

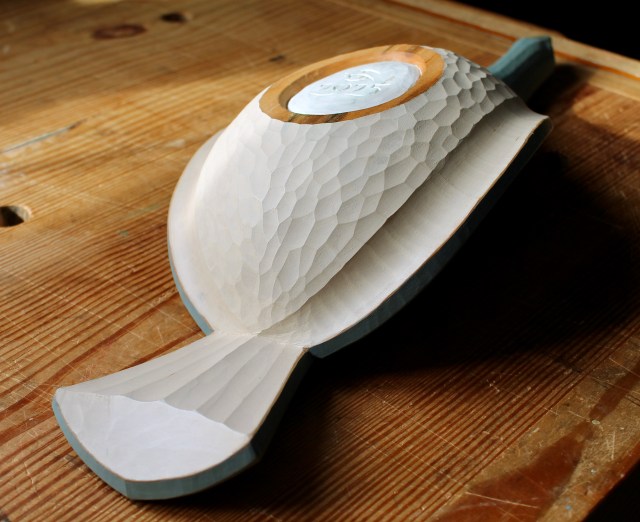
And one of the underside, with the egg-shaped foot. I already have a home for this one.
Before my first bird bowl class at Pete Galbert’s in June, I’m going to work on a version of the hen bowl form to bring to the class as a teaching example. Registration opened Monday for the two bird bowl classes this year. The June session is full but there is one opening left for the October session.
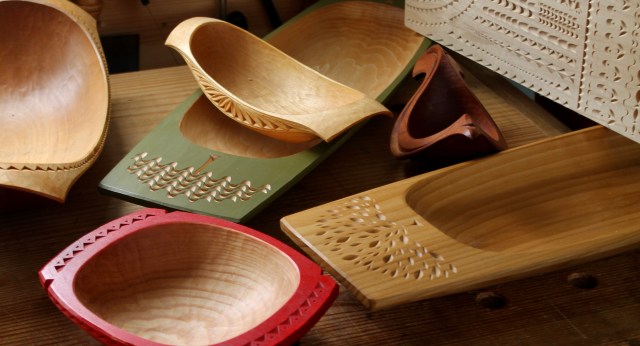
Meanwhile, I’m gathering things together to take to my Bowl Exploration class at Pete’s in a couple weeks. I’ve tweaked a few things for the class. In addition to making a long serving/bread/fruit bowl with decorated handles, we’re going to each make a smaller bowl that will introduce other techniques to transfer to all sorts of designs.

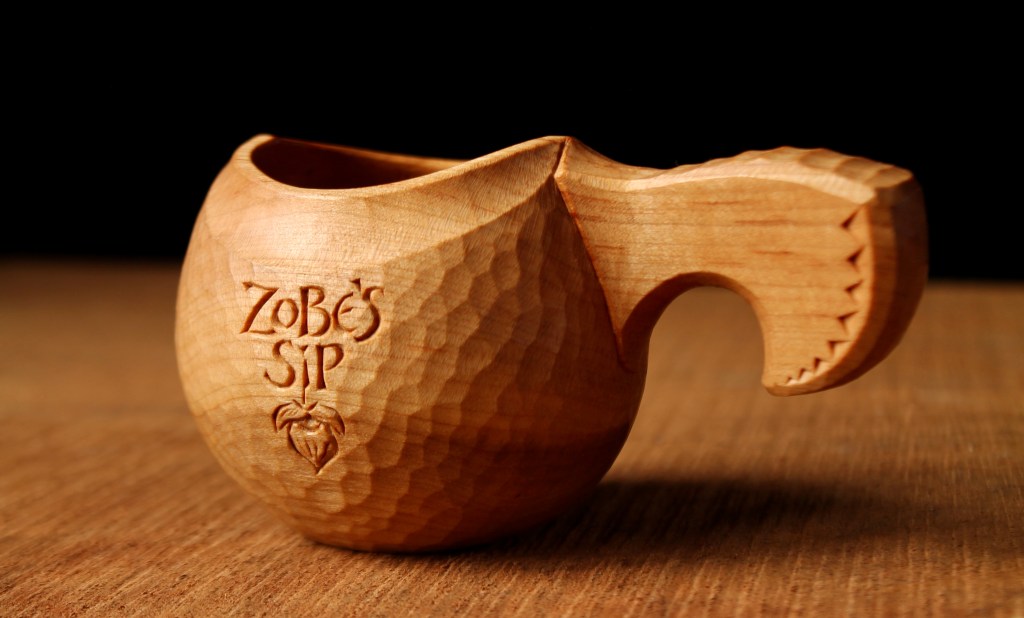
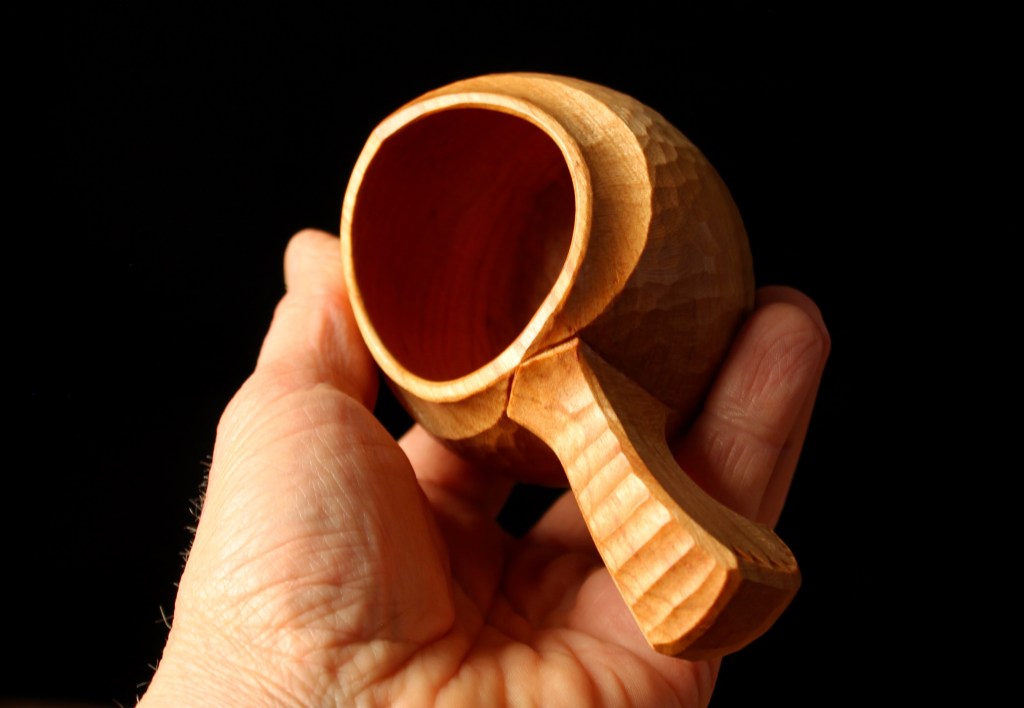
I’m calling it an “ice-cream bowl.” It’s just the right size, the wood insulates from the heat of your hand, and it just sounds better than a “broccoli bowl.” We’ve got a great group of people ready to go, but there’s room for one more if you can make it on brief notice. Starts March 10.


