

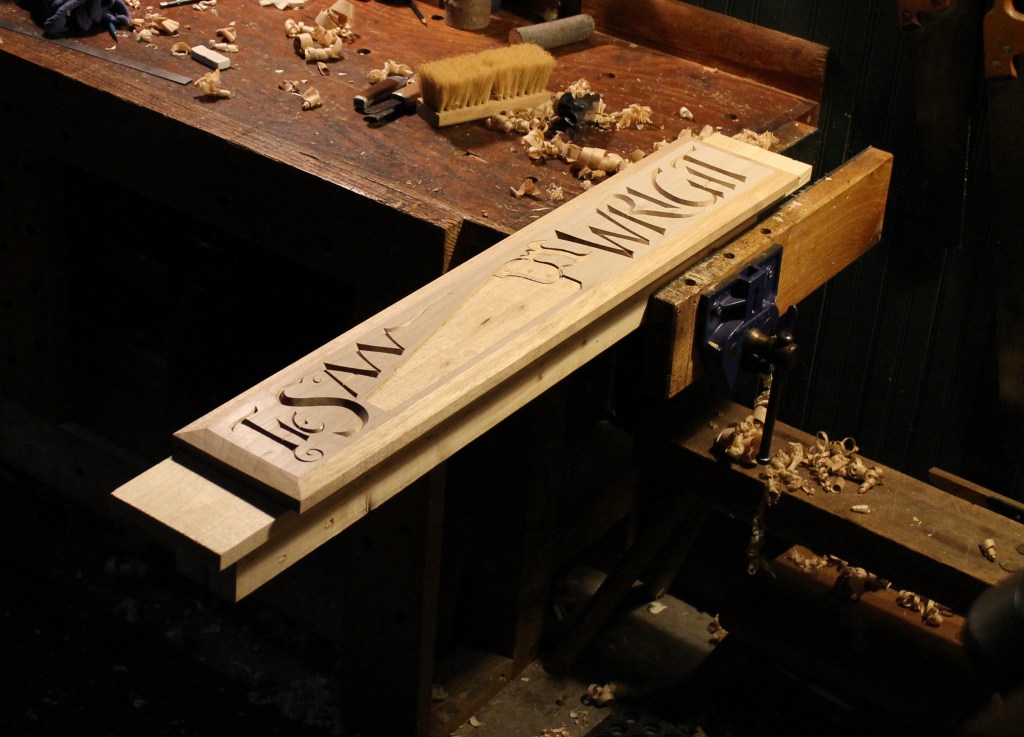
In the last month or so, I tried to knock a little bit of the rust off of my letter carving. I warmed up by completing a couple smaller projects, then tackled this long sign for Matt Cianci, a guy who really knows his way around a handsaw. Matt helped me out with some of my old backsaws that are now cutting sweeter than ever.
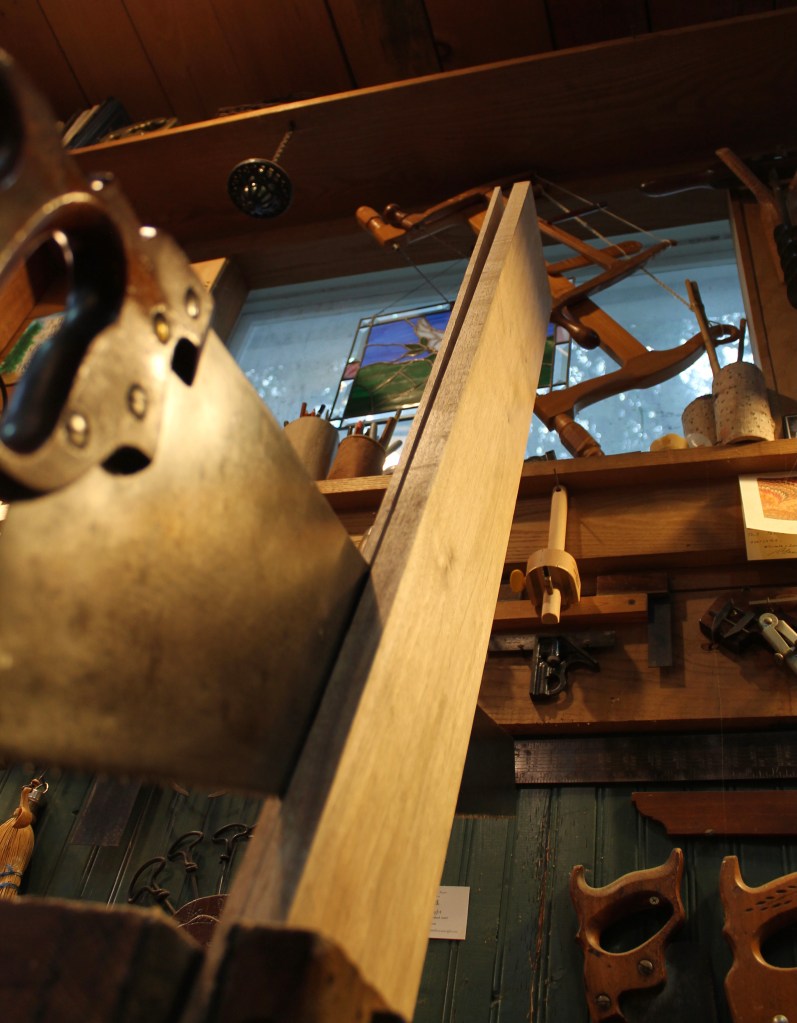
The sign is 37″ long and 6 1/2″ high. I had made a sketch and had an idea in mind, but, as is often the case, it evolved as I worked. The butternut plank I began with was nearly 5/4 (1 1/4″) thick, and my plan was to resaw it just to leave a surface textured from the cutting of the rip saw. So I planed the back side flat, struck a line around the edges, and sawed.
As it turned out, the texture left by the saw wasn’t what I was looking for, but I still wanted some contrast between the surface and the eventual carving, so I planed off all of the sawn texture and painted the entire surface with a wash of titanium white artist oil paint thinned with citrus solvent. I rubbed it back to allow the grain of the wood to peak through. Oiling the sign darkened the wood and enhanced the contrast.
All of that sawing was not for naught, however. I now have a 1/4″ butternut board for shrink pot bottoms and other things.

After carving the lettering and the saw, I planed a bevel around the edges and did some large chip carving around that border in a saw tooth pattern. More about that below.

The saw is based on an image from “Smith’s Key to the Manufactories of Sheffield,” carved in sunken relief.

And there’s the rest of the sign. Just pretend you don’t notice the little slip by the bowl of the R.
In order to have better access to this sign, I screwed together a few boards to serve as a bit of a workbench extension, which took about ten minutes. I started with two lengths of 2×4 sistered together with a 1×6 on top. I secured the sign to it with four screws through the 1×6 into the back side of the sign. I was able to pop the whole thing securely in the vise, flip it around, even angle it. Most importantly, I was able to have close access to the work from both sides.
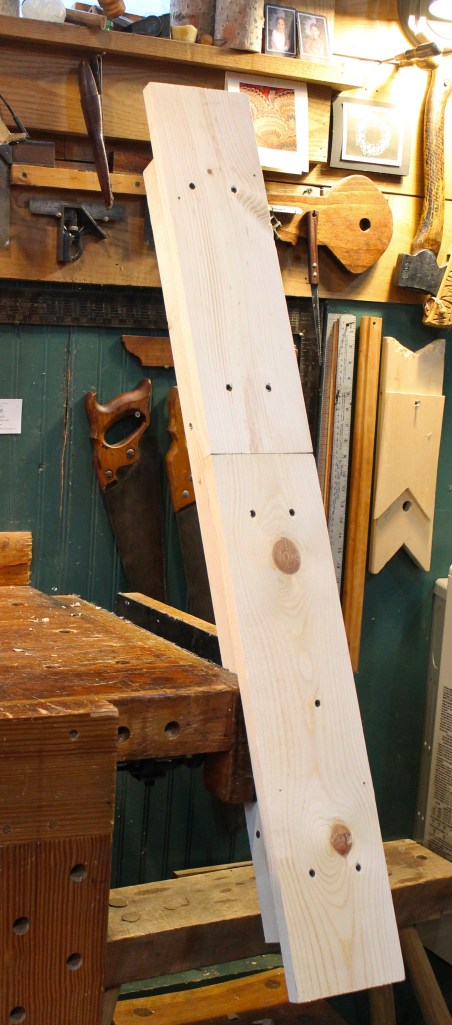
These sort of things can be made quickly to suit individual projects and circumstances. I’ll leave this one together for now, though. I could even mount a piece to it and arrange it more vertically, as above.

One last thing about that chip carved border. These chips have two vertical walls. I thought about making those vertical cuts with a chisel and mallet, but I wanted to avoid the wedging action and leave a nice sharp corner. So I used a standard utility knife, placing the tip of the blade at the apex of the chip and raising the edge at an angle to get more depth at the end of the blade. I struck the back of the knife with a rawhide mallet to make the cut. Did the trick.
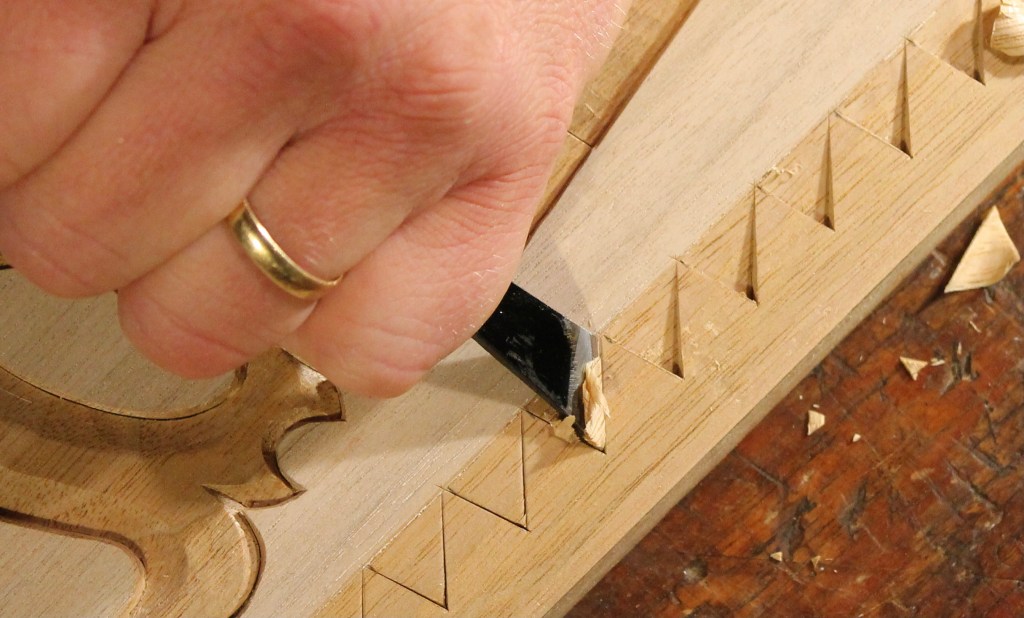
Then it was just a matter of slicing the bottom surface down to the end walls.

The skew chisel fit all the way into the corner.

really neat–
LikeLiked by 1 person
Beautiful work, Dave! You even got the “nib” on the saw plate! (I’d love a tutorial on how you carved those letters.)
Mahalo!
Earl
LikeLiked by 1 person
Thanks, Earl! There are more posts under the “lettering” category on the menu on the right side, including this post that may help: https://davidffisher.com/2018/01/09/lettering-large/
LikeLike
Very, very cool.
LikeLiked by 1 person
Gorgeous.
LikeLiked by 1 person
beautiful. Matt must be very happy!
LikeLiked by 1 person
Could I please have some of that rust off your letter carving!! :)) Beautiful work.
LikeLiked by 1 person
that’s got to be worth a lifetime of saw sharpening from Matt…
LikeLike
I don’t know about that, but if so, I’ll give you a couple of my credits since he’s just down the road from you.
LikeLike
I’ve read your blog for a long time. Very clever implementation of the sign details and workholding. All of which I’ve come to expect from you 🙂
LikeLiked by 1 person
You’re always great with the layout on your designs, Dave. Your relief carving in your lettering must need a nice edge, especially in the smaller lettering.
Also what kind of camera do you use? The natural lighting is very nice on your work.
LikeLike
Thanks. I use a digital SLR camera, a Canon EOS Rebel I think. I really don’t know much about it. My wife bought it maybe 15 years ago. Yes, natural light is what I use. I just work around the sky conditions and time of day and take advantage of the light coming through the shop windows or open door. My shop is an old attached garage. Most of the light comes through the windows on one wall which makes for good directional light.
LikeLike
Beautiful work!!
LikeLike