
One of the things I enjoy most about greenwood carving is the challenge of making the most out of the wood that becomes available. The individual characteristics of the log or branch drive the design, while I navigate among the possible directions and destinations.
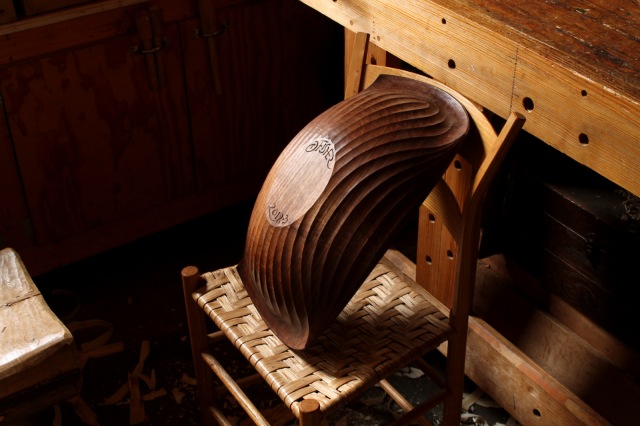
Even for pieces that don’t require a special crook or bend, the position of the growth rings and the shape of the log enter the equation. This big walnut bowl (20 inches long, 13 inches wide, and almost 7 inches high) I just finished is a good example. I don’t come across ideal logs for that design every day; a very big clear one with nice regular features.
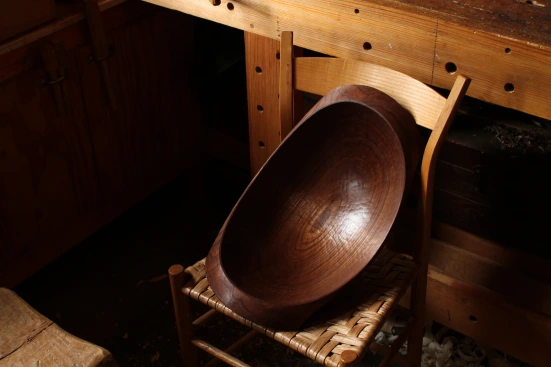
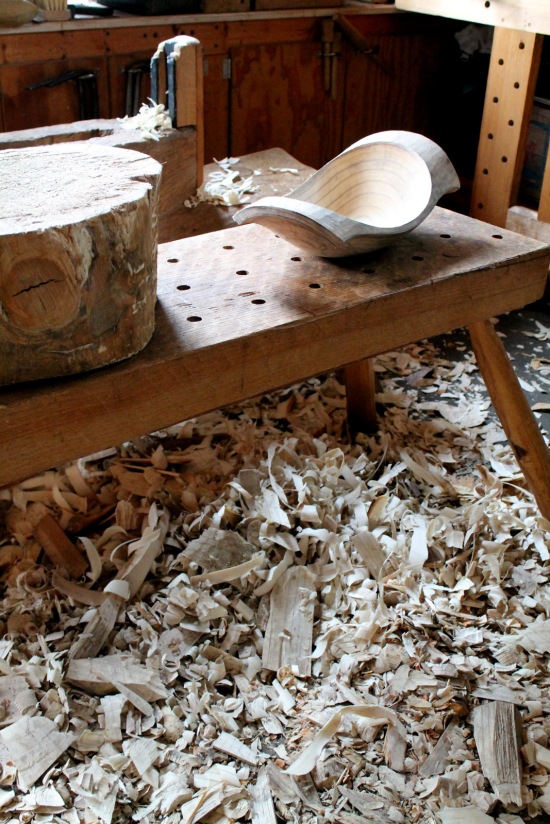
Once I’ve busted up a log for a bowl blank, I often try to get other usable blanks within the log roughed out for drying as well. Then they can be set aside for as long as it takes to get back to them for the after-drying carving stages. A lot easier than storing a wet log in some ways, and it eliminates any storage time constraints altogether. The bowl above is one of the walnut ones waiting in the wings.
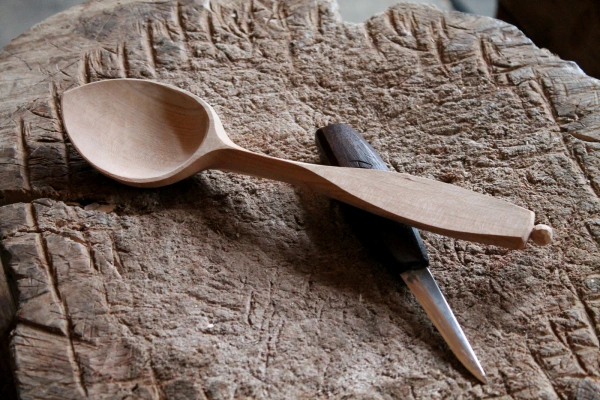
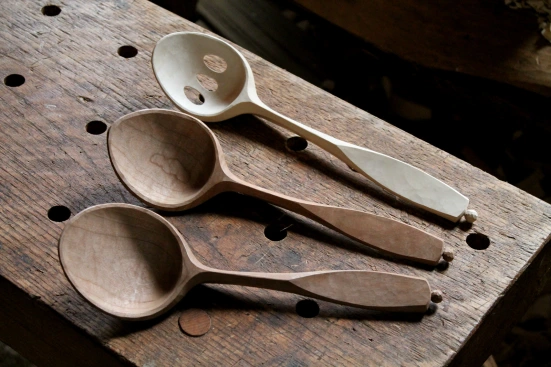
Normally, I make spoons from crooks, but with a deadline that was looming and no crooks handy, I used this straight-grained radially-split cherry blank, adapting the design to the attributes of the wood.
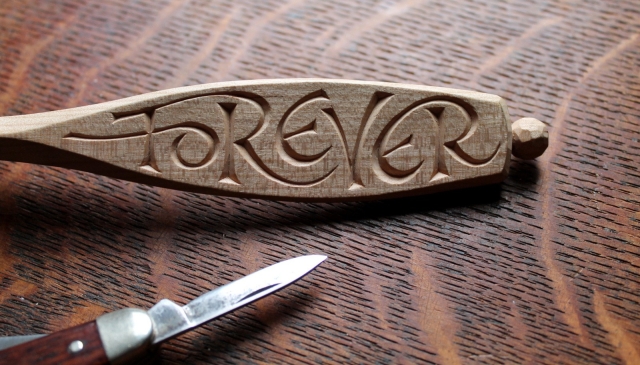
Here’s the handle after carving some lettering.
Then some great crooks in cherry and maple came my way. Crooks allow for different curves and thicknesses, while still maintaining strength following the fibers.
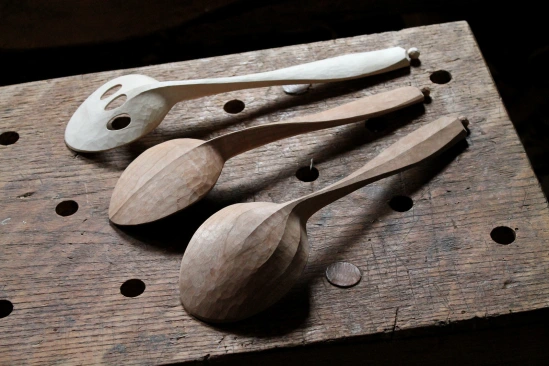
These three still need a little work and oil. Some even bigger crooks are outside in bags waiting to be bird bowls. With spring around the corner, I can hear them singing.
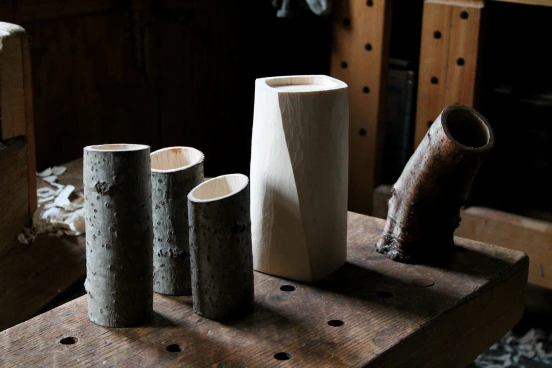
Some pieces of tree get me thinking about shrink pots. I get them hollowed out, and a bottom fitted, then I can get back to them eventually after drying. More on these and others down the road.

Tulip poplar or the tulip tree (Liriodendron tulipifera) is a very traditional wood for bowl carving, and it’s not uncommon in my neck of the woods. Somehow, I don’t think I’ve made a single bowl out of it until now. I guess I wasn’t seeking it out much if cherry and other woods were available, but I was pleasantly surprised when I dug into this tulip tree log.
In board-form, some of the best characteristics of this species are lost, I think. It grows at a rapid rate, thus the widely spaced distinct growth rings that stand out purplish against the creamy light green in between. For better or worse, this distinction will mellow to an extent over time.
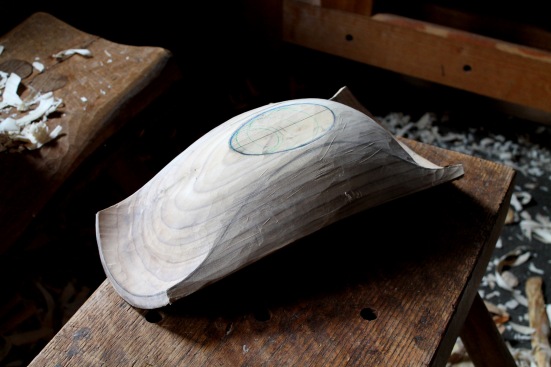
The strong pattern of the growth rings in this log was just one thing to consider. It was from the butt of the tree, so the lower end of the log flared out more widely as it transitioned into the root buttress. Going with the flow, I decided on an asymmetrical bowl with one broader, taller, and steeper end.
Roughed out for now, and I’ll return to it some day after drying. Anyone got a shovel?

Boy you have a really nice selection in progress now Dave. You have been busy! I finally got one roughed last night and I was glad I did. We are planning for Thursday…I will be in touch!!
LikeLike
Wow — good luck, Emil — Monika too!
LikeLike
Beautiful as always David. I don’t think I’ve ever seen a tulip poplar bowl before. I wonder what it will look like oiled.
I love the slight spiral in the corners of that tall shrink pot.
St.John
LikeLiked by 1 person
I’ll be sure to post photos of the tulip poplar when it’s finished, St John. Eventually — the vast majority of the work remains to be done after drying. Thanks. Love that series you did on the clamp-front chest on your blog.
LikeLiked by 1 person
OMG. I can’t help but wonder what you do in your spare time. I really like your spoon lettering but I’m curious about the shrink pot process. Maybe you could add that to the book I hope you put out some day.
LikeLike
Good suggestion, Scott. Meanwhile, I go through the shrink pot process in this post: https://davidffisherblog.wordpress.com/2016/02/13/the-magic-of-a-shrink-box/
LikeLike
So enjoyed this post-such beautiful work!
LikeLiked by 1 person
Hi Dave. What is on the handle of the bowl in the third photo? Nice bowls by the way.
LikeLike
Same general idea as #52 and #53 in my photo gallery https://davidffisher.com/gallery_1
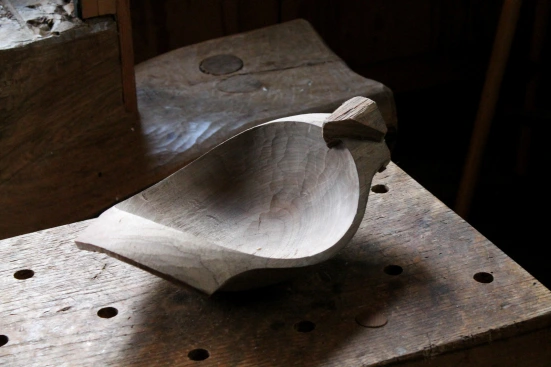
Had the idea for my first mouse bowl over ten years ago, and have made a few variations since then, but it’s been a while. Got the itch for another. When I carved out the bowl in the green stage, I just left that rough lump attached where the mouse will be.
LikeLike
Very nice mice. I thought it was a way to secure your work during carving. Similar to the way Bengt Lidstrom did.
LikeLike
Hi Dave,
beautiful art and craft, what a pleasure! Uwe
LikeLike
At the risk of repeating myself ad nauseam, this is such gorgeous work!
LikeLiked by 1 person
Thanks, Nancy. No nauseam experienced here!
LikeLike
Pingback: Memorial Bowl | David Fisher, Carving Explorations
what amazes me about this bowl is how wide the growth rings are!
LikeLike
True. That tulip poplar tree grew quickly!
LikeLike
Great looking bowl and spoons!
LikeLike