

“Not that I loved cherry wood less …”
I was paring the interior of a cherry bowl recently. Whenever I perform this operation, I hold the gouge in an unorthodox carving grip, reminiscent of a scene from Psycho or Julius Caesar.

At the beginning of the stroke, I raise up high….
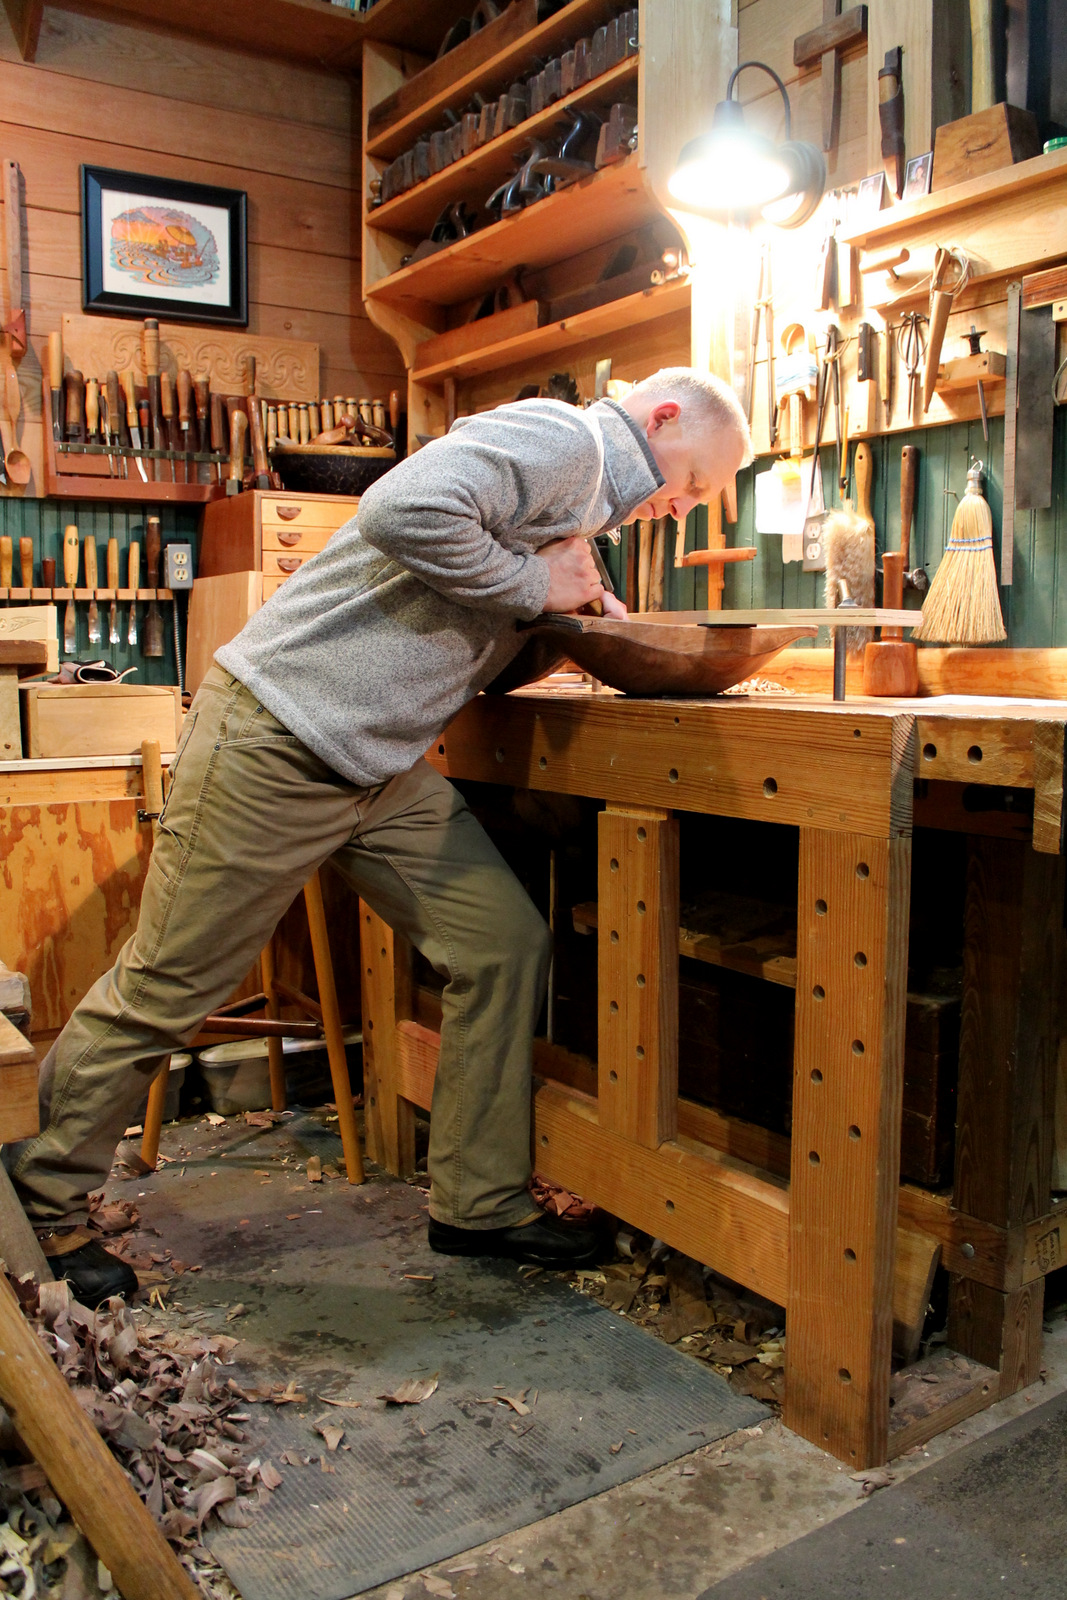
…then drop my knees, allowing my upper body to drop toward the bowl. It is, essentially, controlled falling.
This allows me to register my thumb against my upper chest, just below the shoulder. I use my body weight to propel the gouge forward, maneuvering my hands and wrists slightly to control the path of the cutting edge. I adjust the positioning of my feet and body to work around one entire half of the bowl.
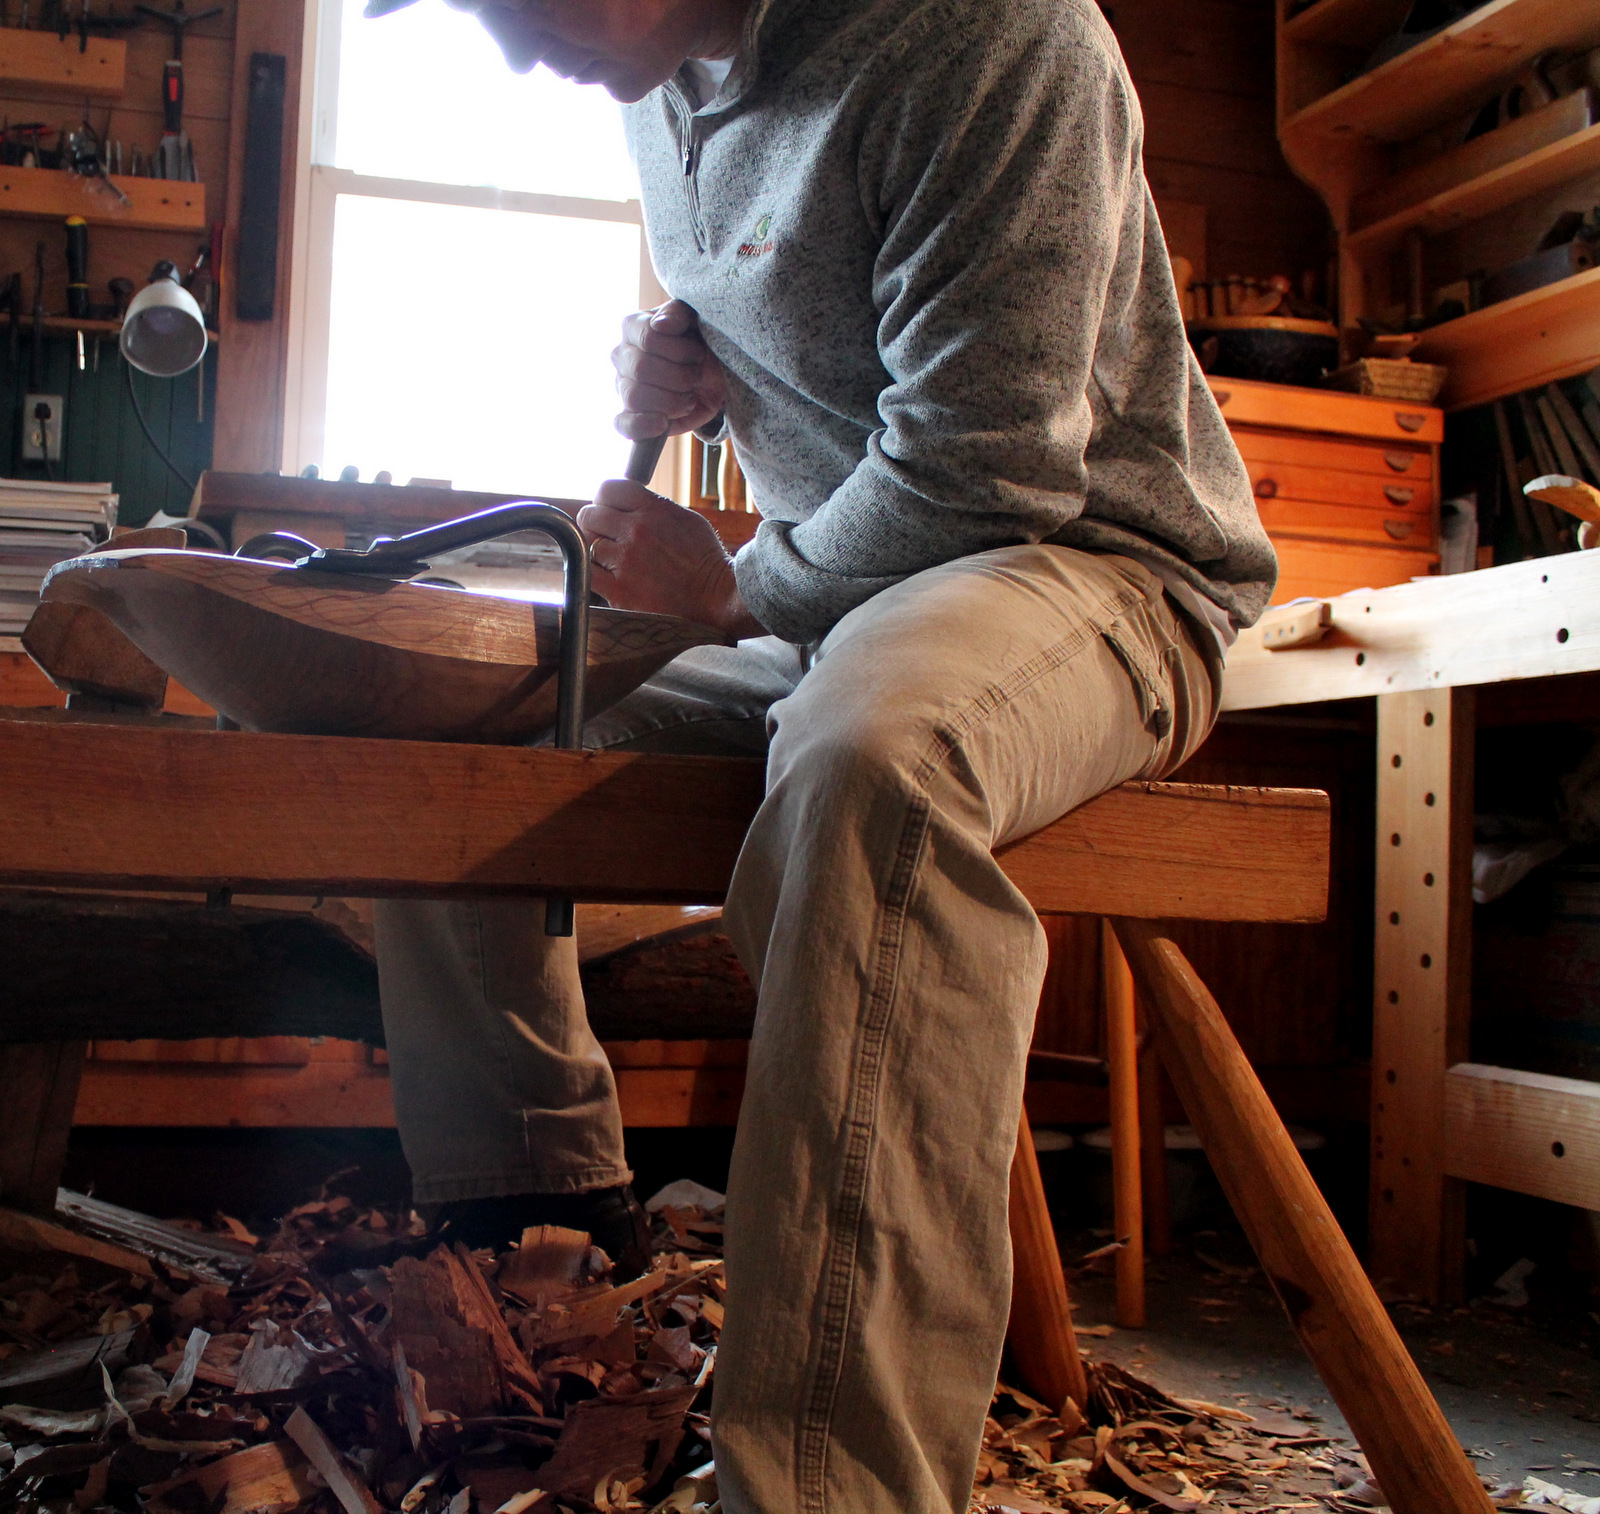
Raising yourself up on some boards, or working on a lower bench may help, also. I’m used to mine. I’m 5’11” and my bench top is 35 1/2″ high. Another possibility is working at a low bench. By sitting behind the bowl, you can lower the weight of your upper body over the gouge.
You can see a bit of my usual paring at about the 7:25 mark in this video.
The cuts don’t always go that smoothly; especially when paring hard dry cherry end grain right along the central long axis of the bowl. Regardless of the length of each cut, I aim for nice transitions between each stroke. I try to avoid the ridges (or divots) that result if the gouge stops rather than making a clean exit from the cut. For particularly hard areas, I don’t propel the gouge slowly. Once the edge is just engaged, I let my torso fall downward sharply, punching the edge forward and making a clean exit from the wood in one quick motion. Many such cuts, overlapping, can tame hard end grain.
In addition to the use of one’s body, there are a few other things I try to remember:
- Sharp. There is no substitute. If the thought passes through my mind that maybe the gouge could use a touch-up, it has needed a touch-up. I often amaze myself at my ability to ignore that thought. One test that has proven reliable to me is to try to skate the gouge edge very lightly across the surface of my thumbnail (heading toward the end of my thumb). If it is sharp enough, there will be no skating. Even with no pressure, it engages and will not move forward. Invariably this test fails first in the central portion of a gouge, while the outer portions still bite.
- Softer woods will not require as much force. It will be easier to control and propel the gouge. However, the tools have to be just as sharp to get nice, clean cuts.
- I’m supposed to be enjoying this. There is no perfect cut.
- It is easier to push a little steel through wood than a lot of steel. Gouges that are narrower and/or have a higher sweep are easier to propel and control. In the photos below, the flat, wide gouge to the far right will leave a subtle surface, but is much more difficult to push through hard wood fibers. The gouges to the left will glide through the wood more easily. Clean cuts with any of these gouges will result in different, pleasing surfaces.


Good Stuff David!
Who makes those larger gouges?
Bill
LikeLike
The three gouges on the right of the photos are Hans Karlsson. They are the H-111, H-112, and H-113 on this page at Country Workshops http://www.countryworkshops.org/gouges.html
HK tools are made by a small family forge in Sweden. They are thoughtfully designed and well made. For those not in the U.S., I have some links to European tool suppliers on my Links page at my website https://davidffisher.com/links_and_sources_for_woodworkers . They won’t use the same model number coding as CW.
As much as I like the HK tools, Pfeil Swiss-Made gouges are also of excellent quality. They are not as robustly built as the HK, but that is not critical for paring operations. In fact, all of my Pfeil S-M gouges have held up well under heavy mallet blows as well. The two gouges on the left side of the photos are Pfeil S-M, and you can see the model numbers on the handles (width, sweep, model). They are both bent gouges (as are the HK bent paring gouges; bent gouges are necessary for the interior of the bowl). Swiss Made also makes profiles and sizes in larger bent gouges than the two in the photos.
That said, there are options other than gouges. I use the gouge just for the final surfacing paring after the hollow has been shaped with the adze. However, there are other methods for achieving a final surface on the interior. One could leave the surface straight from careful cuts with a sharp adze. Inshaves, scorps, and hook knives could all be used for the final cuts. I suppose you could even use small hollowing planes or antique bowl shaves. I think those might be more reasonable options for softer woods (inshaves, scorps, knives) than I typically use, or for more standardized bowl designs (bowl shaves). For the variety of designs and wood types I find myself working with, gouges offer the most versatility.
One other possibility to mention is a curved card scraper if one wants to achieve a very smooth surface.
LikeLike
Great stuff, Dave!
LikeLike
Dave, I assume your use of more than your arms also enhances your tool control and technique.
In wood turning we use our legs and torso to define the cut while the hands and wrists control the cutting edge of the tool. I had to laugh at myself for ‘heartily agreeing’ with an article written for an activity I know very little about!
LikeLike
Hello!
I have read many of your posts and I’m happy that you share all this information with us.
I have recently bought the Karlsson Adze (50mm version) but have just have just made some practicing yet but intend to do carve some bowls.
Questions:
1: If I would use only the adze and one bent gouge, wich one of the Karlsson’s would you recommend?
2: I see in the photos that you have made your own numberings on the Karlsson gouges. The H-111=6, H-113=5?. But what is the H-112 similar to?
3: Do you use mallet on those Karlsson gouges or do you have the more robust versions for that?
Thank you!
Jonas
LikeLike
The numbering system I referred to for the HK gouges is just the one that Drew Langsner uses in his store at Country Workshops http://www.countryworkshops.org/gouges.html As far as visualizing the sweeps, I think it is best to grab a compass. Hans Karlsson uses a sweep system based on the diameter of a circle, so a 90 sweep means that the edge is an arc of a 90 mm diameter circle. Set your compass to 45 mm and strike a circle. With a ruler, mark a chord of that circle that is 35mm across. The arc between the ends of that chord represents the edge of the H-112. If I could only have one bent paring gouge, I would probably choose the H-112 (35mm, 90 sweep). I don’t use a mallet with the HK bent paring gouges. For bowl work, I’ve had enough practice with the adze that I usually go straight from the adze to the paring gouge, rather than using a mallet and gouge. But when I do use a mallet and gouge, I usually use Pfeil Swiss Made bent gouges.
LikeLike
Pingback: Gouge Choice | David Fisher, Carving Explorations
Pingback: Chestnut Bowl: Forming a Full Hollow | David Fisher, Carving Explorations